Winding Sticks
Peter Sefton’s students make an essential workshop aid – winding sticks
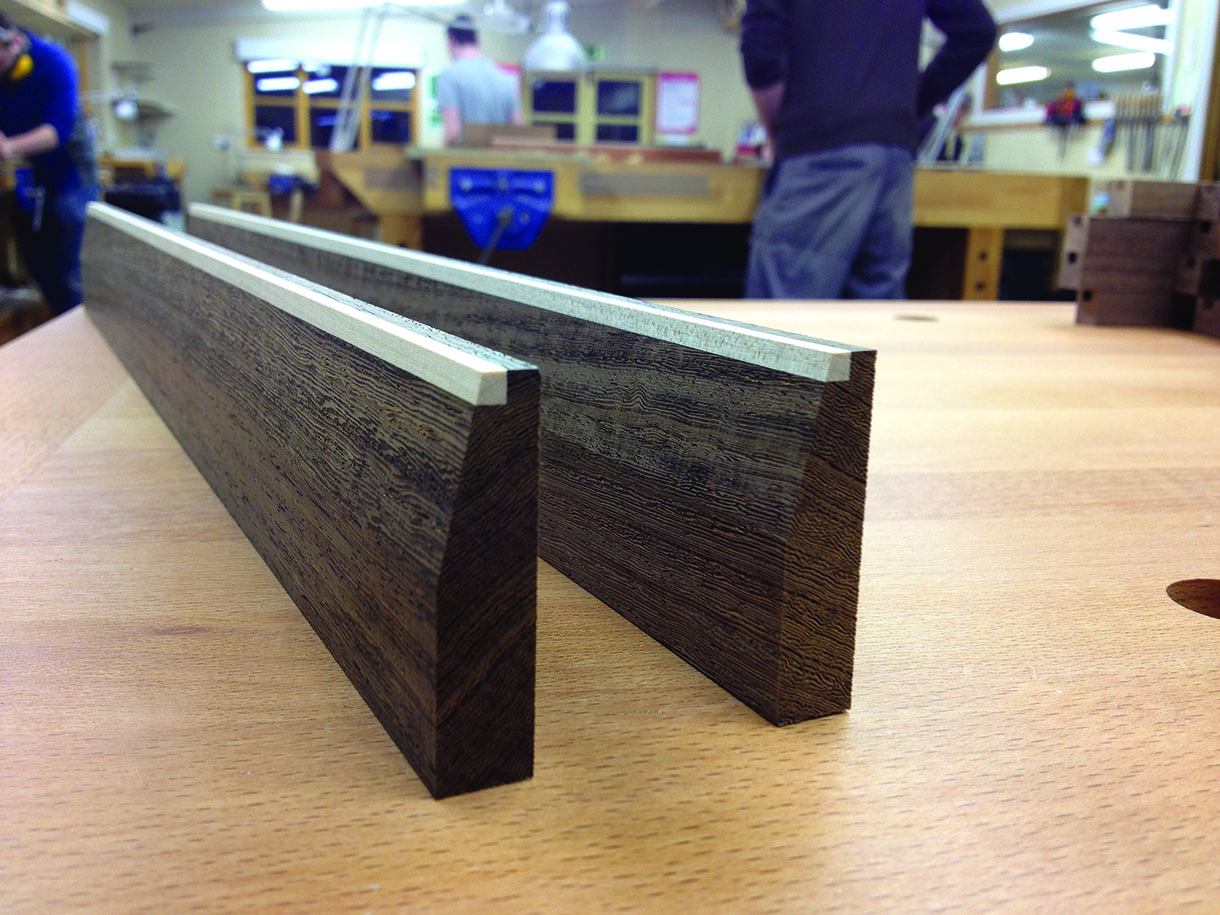
Sticks after machining ready for hand finishing
One thing that always amazes me about woodworking is that although we have CNC and laser technology, sometimes the simplest workshop aids are the best. One of my favourites is the humble pair of winding sticks. They have been around since ancient Egyptian times – when the pyramids were being built, sticks were used for checking constructions for twist – but they are still as useful as ever. We have been making some winding sticks in the Furniture School using dark wenge (Millettia laurentii) and pau rosa (Dalbergia frutescens), both inlaid with ripple sycamore (Acer pseudoplatanus). This has been primarily a wood machining job and an exercise in timber movement control. We selected some 50mm thick board and decided to slice it up to give us quartersawn stock at 50 x 18mm; these were marked up in pairs and left to settle in the workshop for a couple of weeks, both to release tension and also to ensure dryness. Later, the students re-machined the timbers, face side and thicknessed them down to 14mm before leaving them to settle once more.
The following week they were face side, face edged and thicknessed to 45.5 x 12mm. We set the spindle moulder and grooved them with a 4mm wide groove that was 4.5mm deep. This gave an accurate size to make inlays to fit. After selecting and machining the sycamore to a friction fit of the grooves, we bandsawed the inlays at 5mm wide; just wider than the groove’s depth, ensuring any cramping pressure was pushing the inlay home into the groove. Titebond was run into the groove before the sycamore was tapped home and cramped in the vice. Parcel tape was also used to protect the vice cheek from glue and any excess was wiped off with a damp rag. Some of the glue squeezed out through the wenge’s open pores. The following day the sticks were re-machined back through the thicknesser to flush down the inlay and remove a 0.5mm skim off the edge of the solid timber, to remove any trace of glue and square the edge. An angled jig was used in the thickness planer to produce a consistent chamfer on the face of the sticks before cutting them off the length with a fine blade on the tablesaw’s sliding carriage. Some of the students then used some polished stainless steel dowels to act as pins, keeping the winding sticks accurately together in their pairs for lifelong companionship with their new woodworking owners. After some fine sanding up and a couple of coats of finish, the winding sticks were good to go to work.
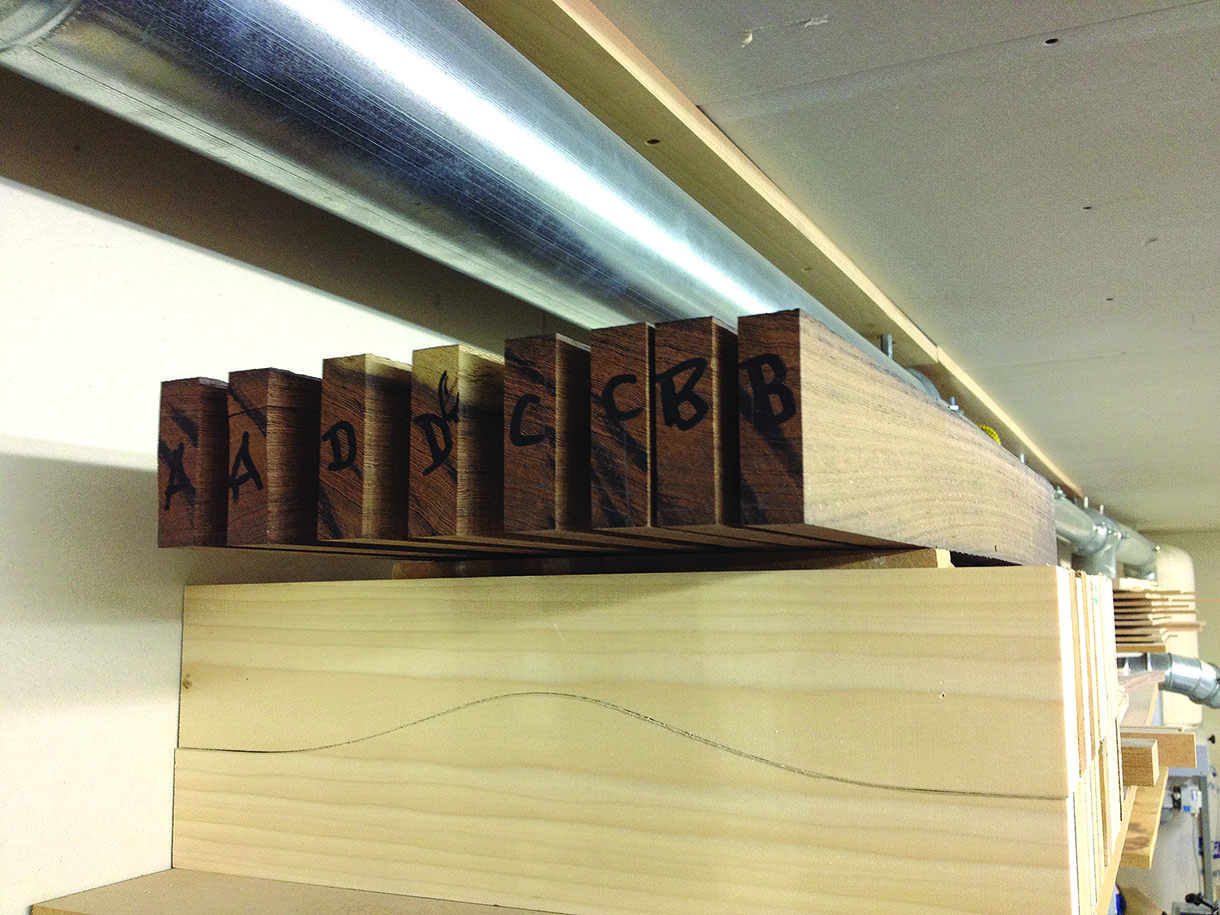
Timber left to settle
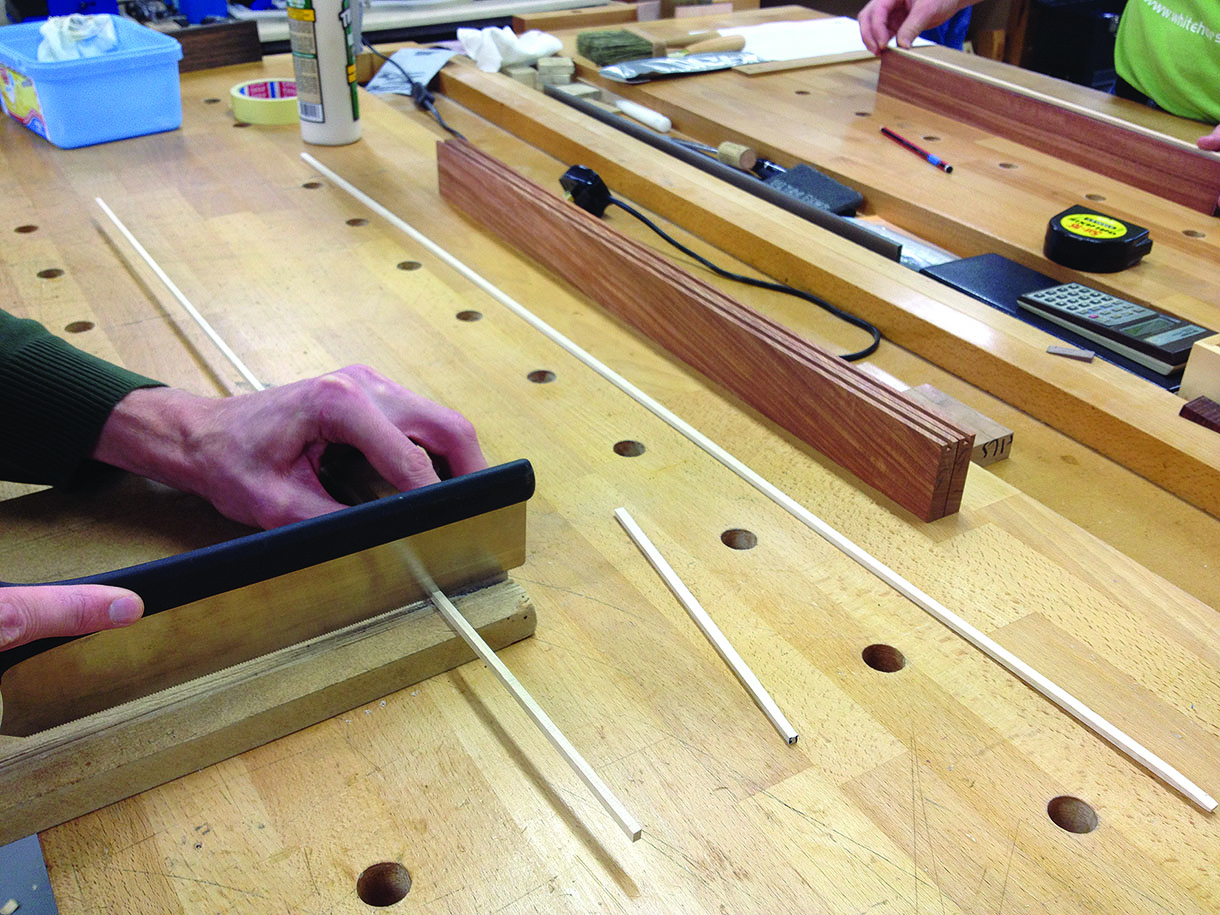
Cutting of inlays to length
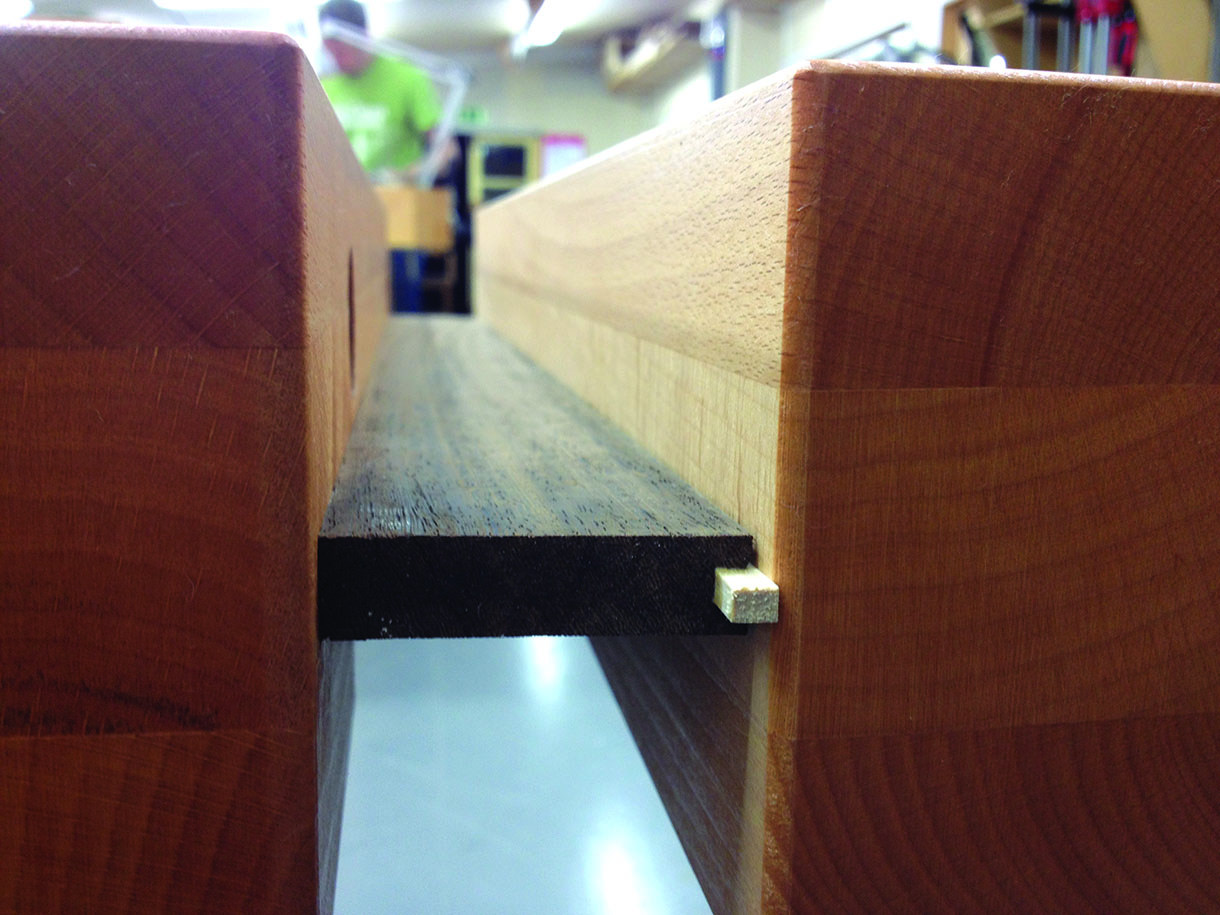
Inlays cramping in the vice


