Vic Tesolin takes a detailed look at bevel-up bench planes in the shop.

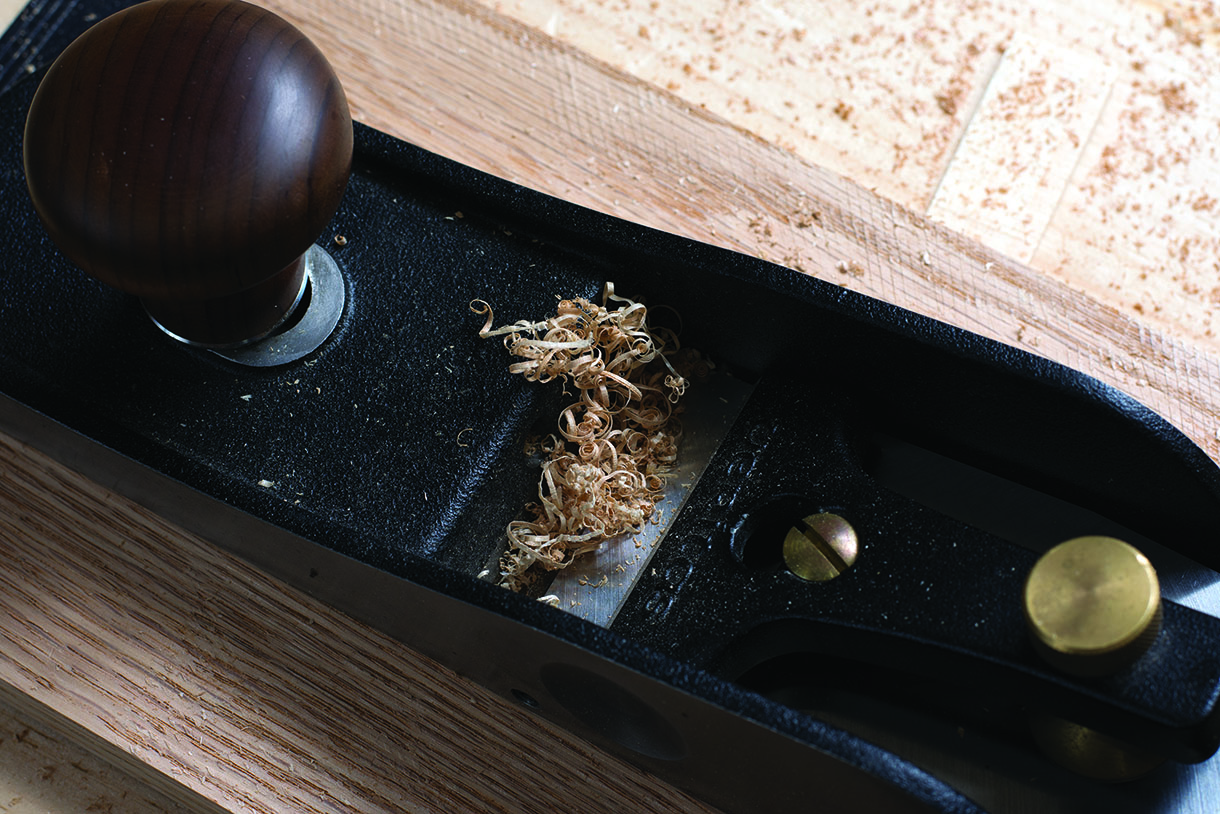
Often misunderstood and therefore frequently overlooked, bevel-up planes have a reputation for being a bit of a one-trick pony; a perception that couldn’t be further from the truth. Bevel-ups are truly the most versatile of planes and can be used for a whole host of jobs at the bench. From the coarsest of dimensioning work to bringing parts to size 0.001in at a time, these workhorses can do it all and will soon become the go-to planes in your stable.
What’s in the name?
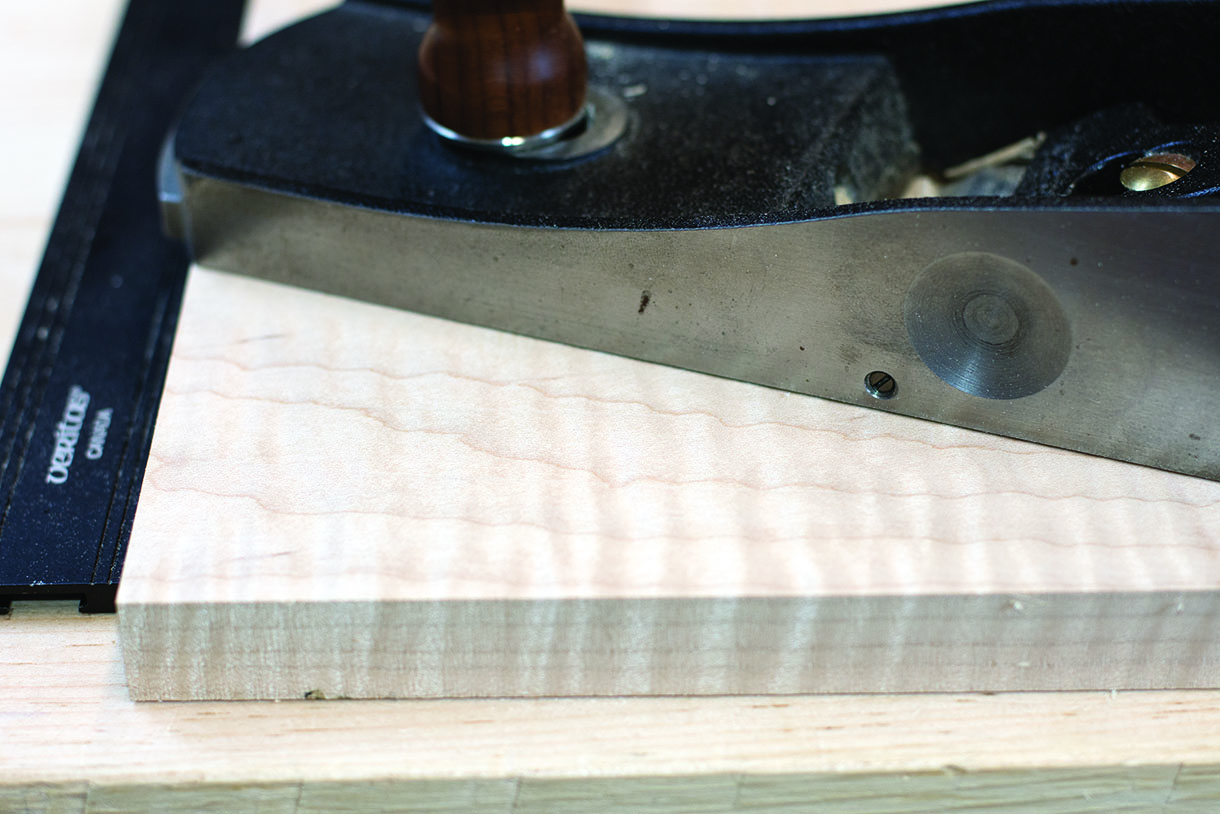
It doesn’t help that these planes have been bestowed with two different names, which obviously adds to the confusion. The first and least specific term ‘low-angle’ assumes a certain amount of knowledge regarding bed angles and refers to the relatively low angle of the bed that the blade rests on. Compared to a typical bevel-down plane which has a 45° bed (or frog), the bed of a low-angle plane at 12° is much lower, hence the name.
The second term ‘bevel-up’ is a lot less confusing and is the term I use, and will continue to use for the remainder of this article. It refers to the orientation of the blade’s bevel relative to the sole of the plane. ‘Bevel-down’ means the bevel is down and bevel up means the bevel is facing up.
It’s in the numbers
Before we get too far down this road, let’s be honest, the wood you are planing doesn’t know (or care) whether the blade is in a bevel-up or bevel-down orientation. However, what does make a difference is the angle of attack the blade has. The key feature that I like about these planes is by simply swapping out the blade you can achieve different effective cutting angles.
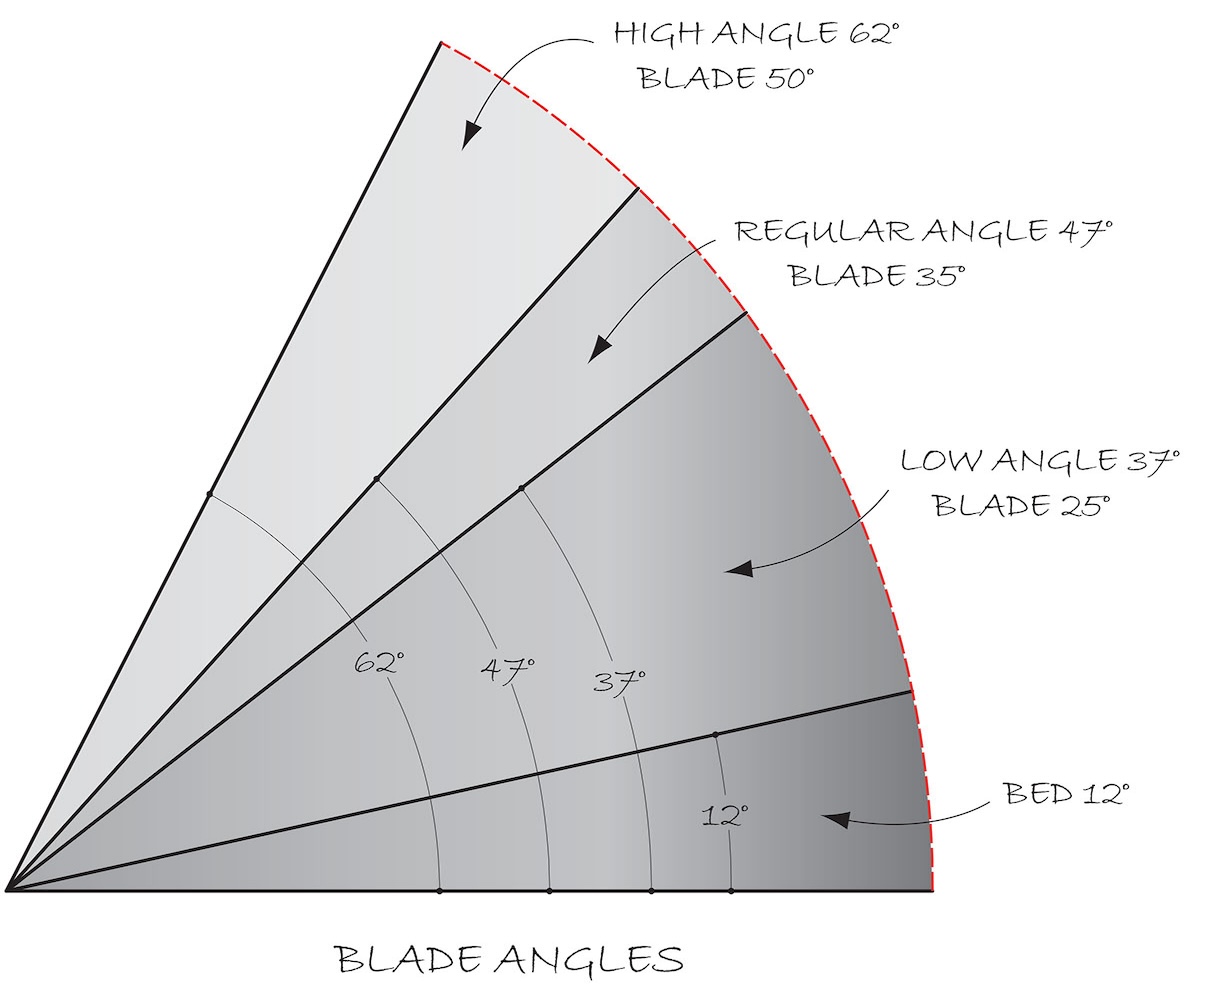
Let’s look at some simple maths here. If you install a blade that has been ground with say a 25° primary bevel onto the 12° bed, you will have a 37° effective cutting angle (attack). This is perfect for end-grain trimming, planing tame woods like pine (Pinus spp.) or wide figure that is typically seen on flame birch (Betula pendula). For more general planing tasks, I can replace the blade with one ground to around a 35° primary bevel to achieve a 47° effective cutting angle. This angle is perfect for straight-grained hardwoods such as black cherry (Prunus serotina), walnut (Juglans spp.) or oaks (Quercus spp.).
When things start to get a bit wacky in the shop and you are faced with some wild grain like curly maple (Acer spp.) or figured rosewood (Dalbergia spp.), drop in a 50° (primary bevel) blade for an effective cutting angle of 62° and a fine cut to tame those beautiful boards. Keep in mind that the goal with all these angles is to work with as low an angle as possible without getting tear-out. The lower the angle the better the finish will be on the board. I like to apply the finish (shellac, oil, etc.) off the plane so the better the surface the happier I am.
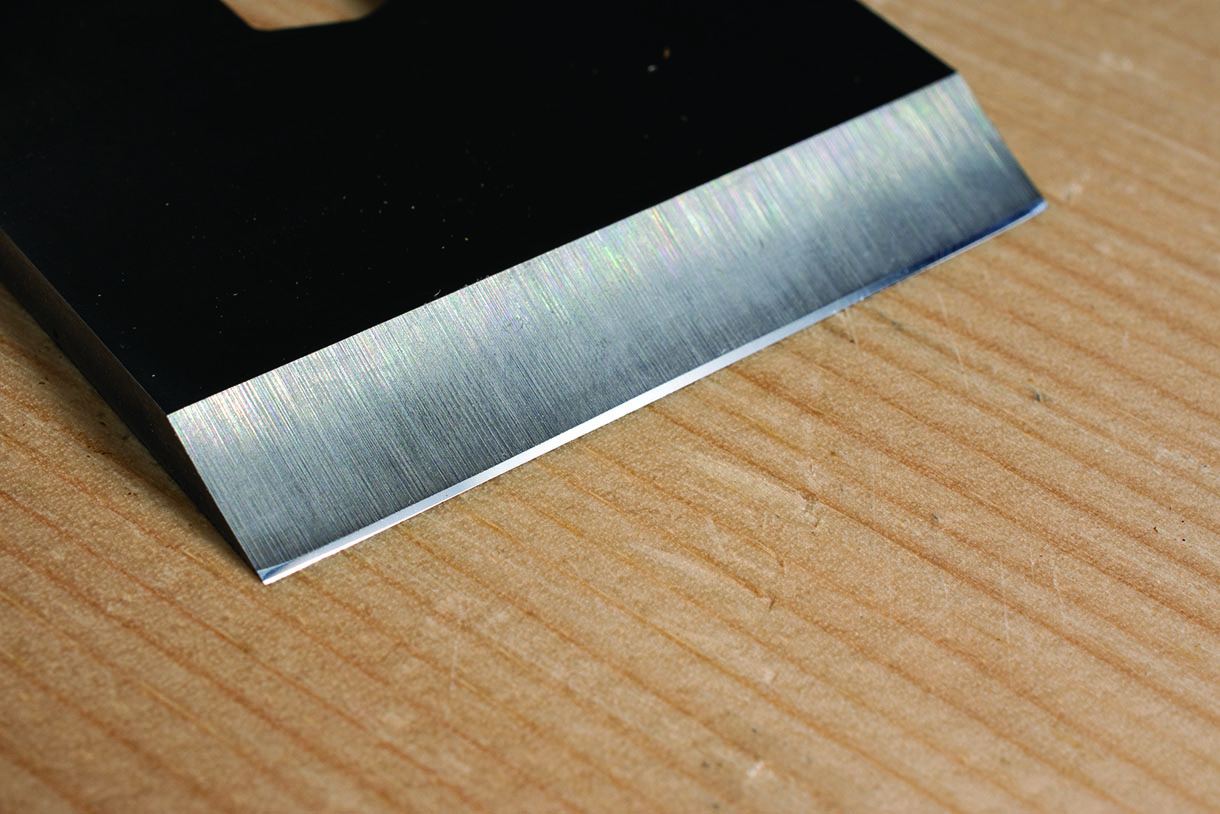
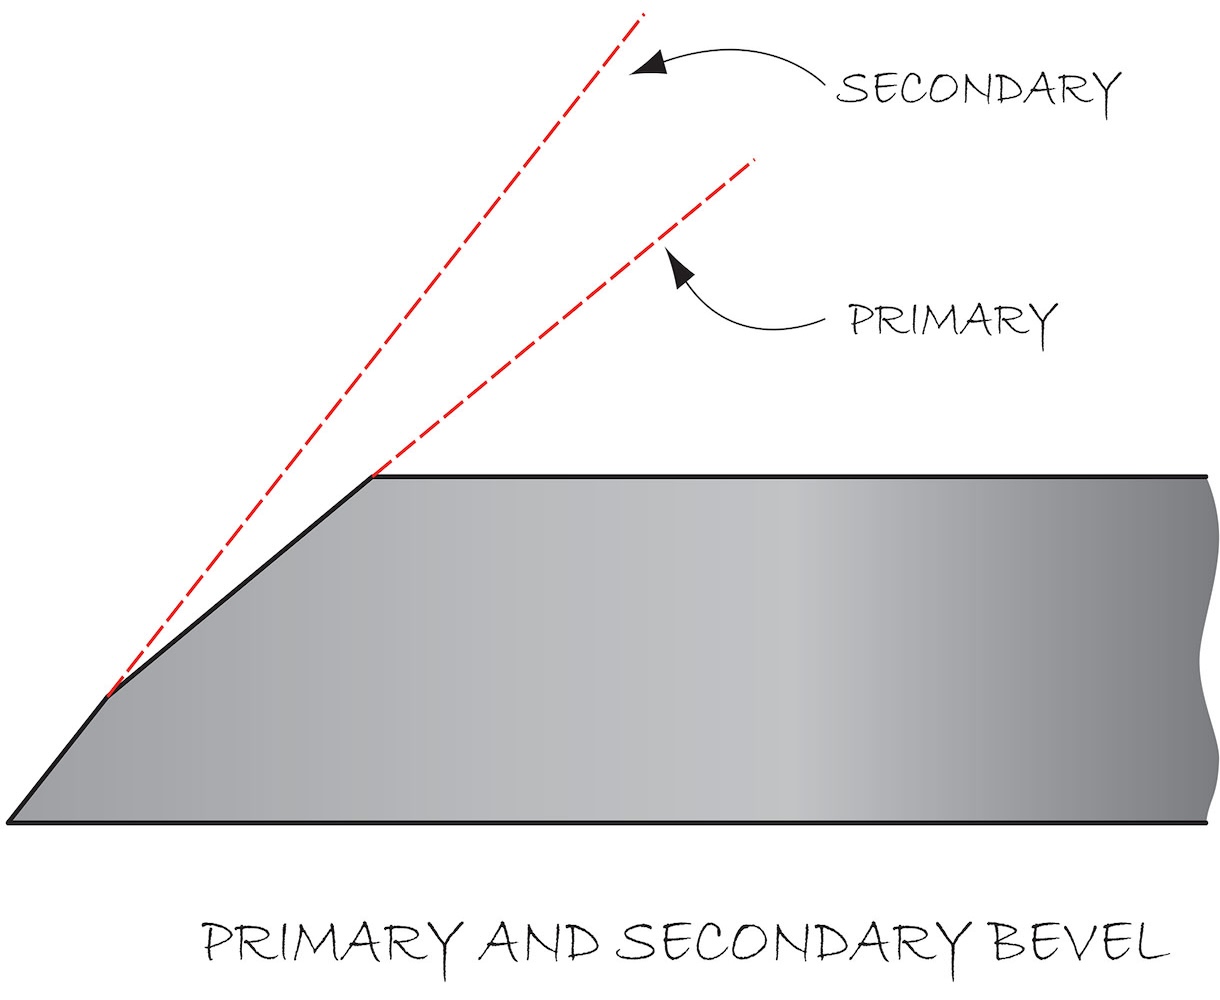
Different blade angles
Primary and secondary bevels
The primary bevel refers to the angle initially ground onto a blade. The secondary bevel (sometimes referred to as the micro-bevel) is the bevel you hone and polish at the very tip of the blade. The sole purpose of the secondary bevel is to speed up the honing and polishing of a blade. Once the secondary bevel reaches the halfway point of the primary bevel then it’s time to re-grind the primary. In my shop, all my primary angles are ground at about 23° on a wheel grinder then I apply the secondary bevel required for that blades task. For example, my bench chisels have a secondary bevel of 30° and my high angle smoothing blade has a 50° secondary bevel.
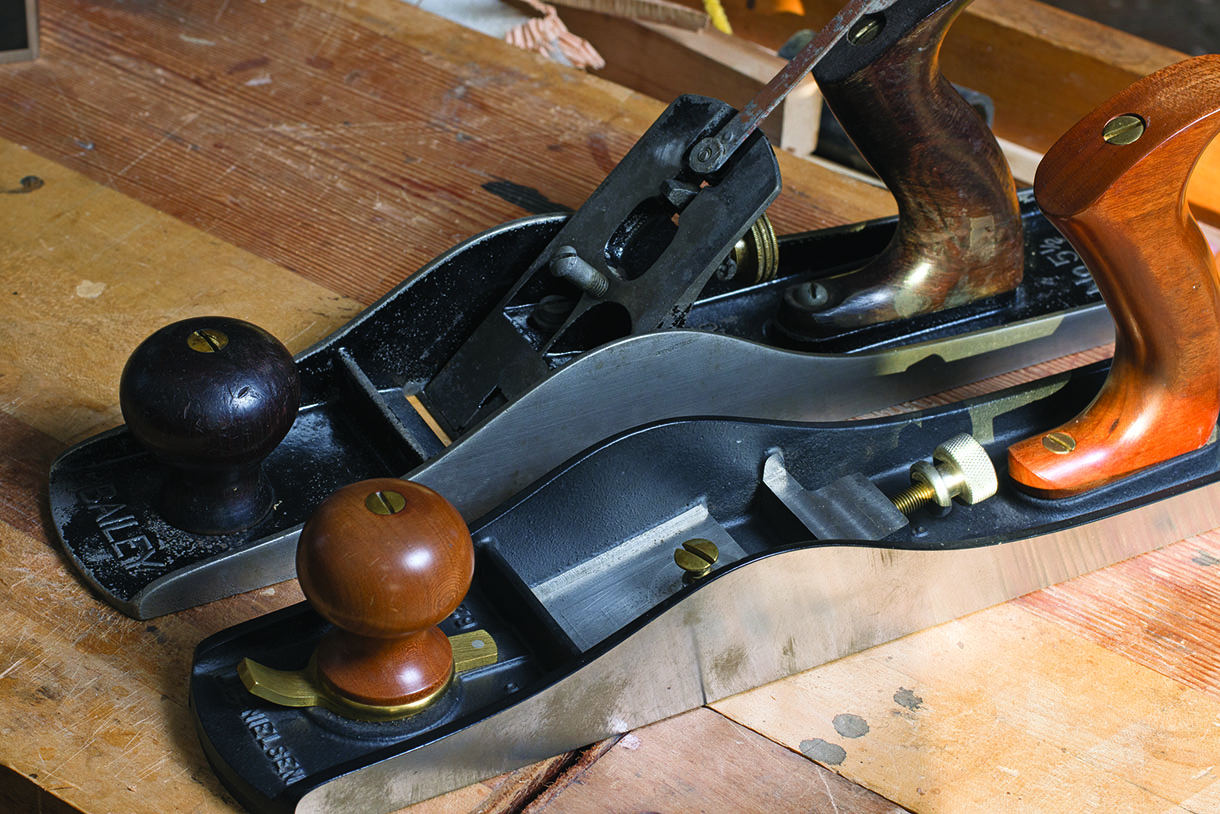
Task master: low-angle jack plane
The most versatile size of bevel-up plane in my shop is the low-angle jack. The reason for this is that its size makes it a great multi-tasker – as the name suggests, it’s a jack of all trades. I almost always recommend it as the first hand plane a woodworker should own and here’s a few reasons why.
long enough to flatten boards
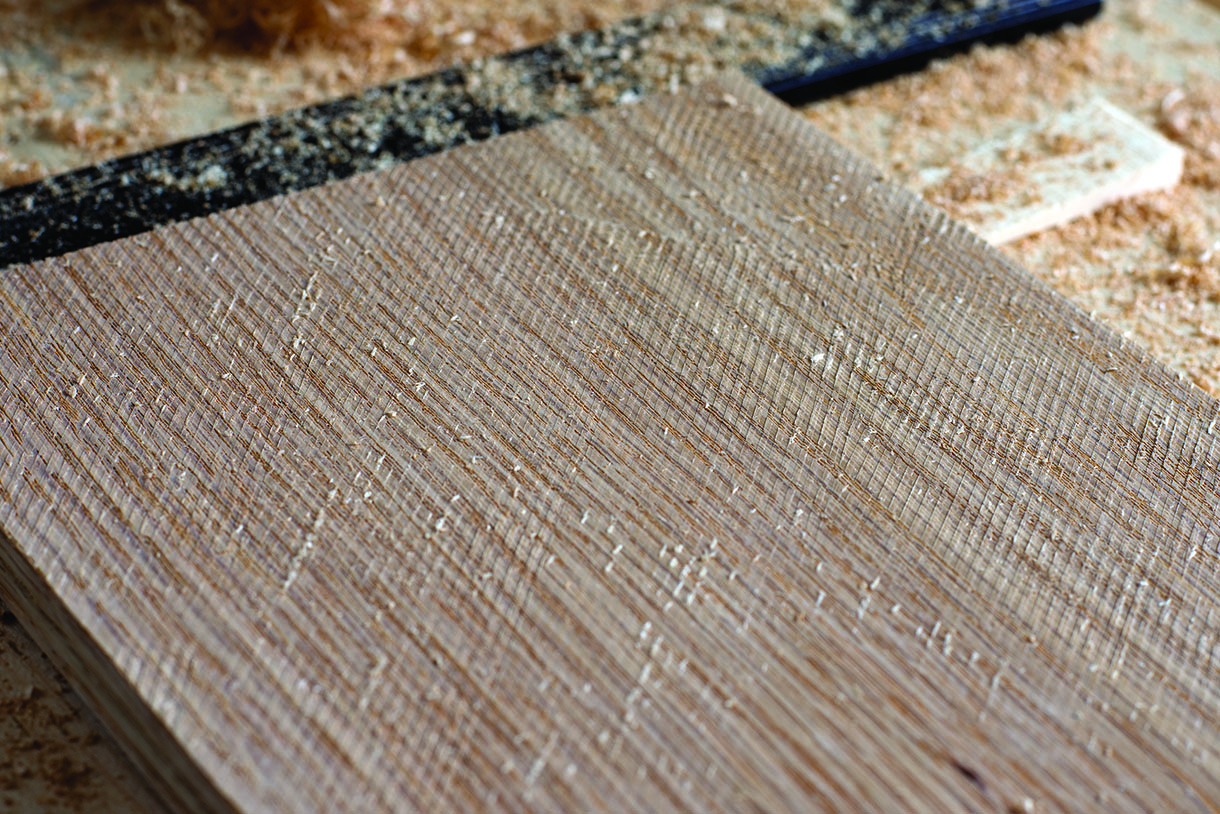
One of the first crucial tasks to preparing timber is to get one face flat. Power planers (jointers) can certainly do the trick, but if you have a 16in-wide board and 6in-wide planer then you have a problem. The length of a jack can easily handle boards up to 20in wide. Another common issue that crops up when preparing timber is tear-out. It’s not uncommon to have to remove a fair amount of material to get a board flat. This often means taking big bites with the plane so that you are not there all day. We know that taking big bites with a plane is a sure-fire way to get tear-out.
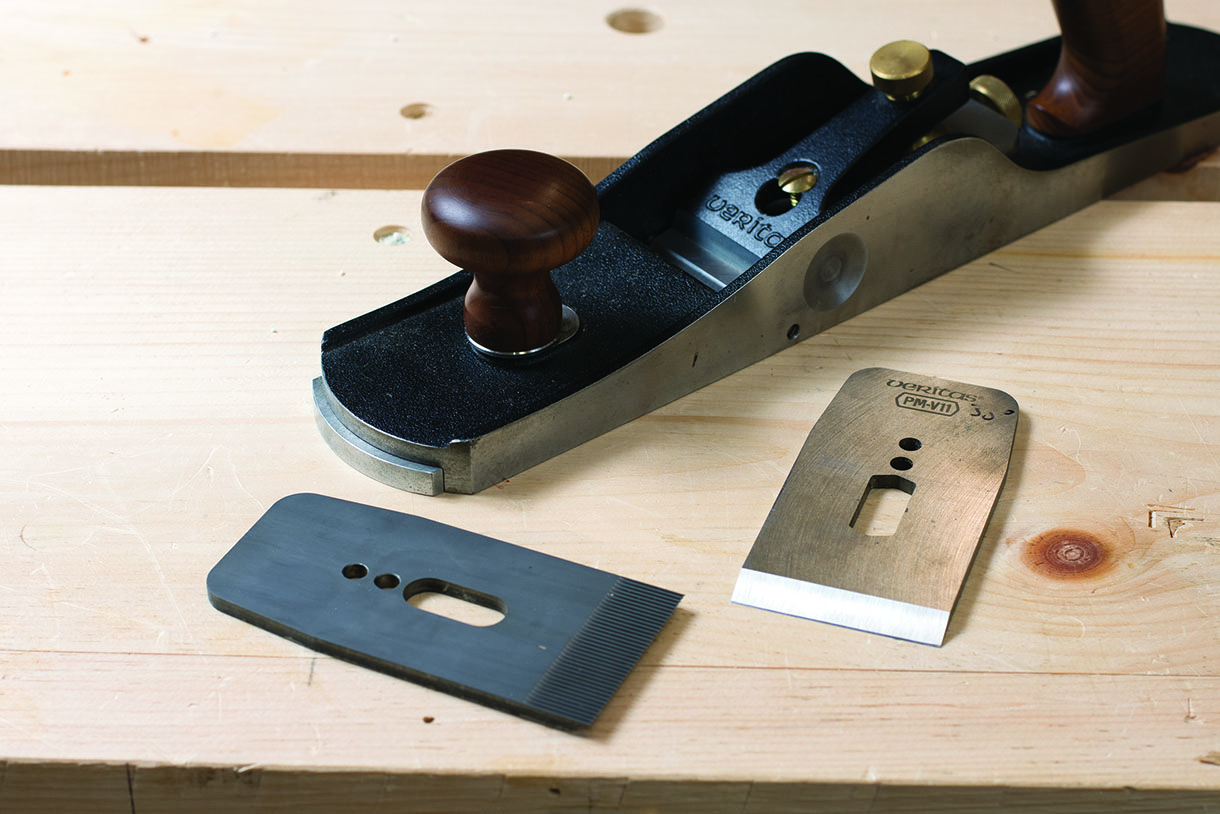
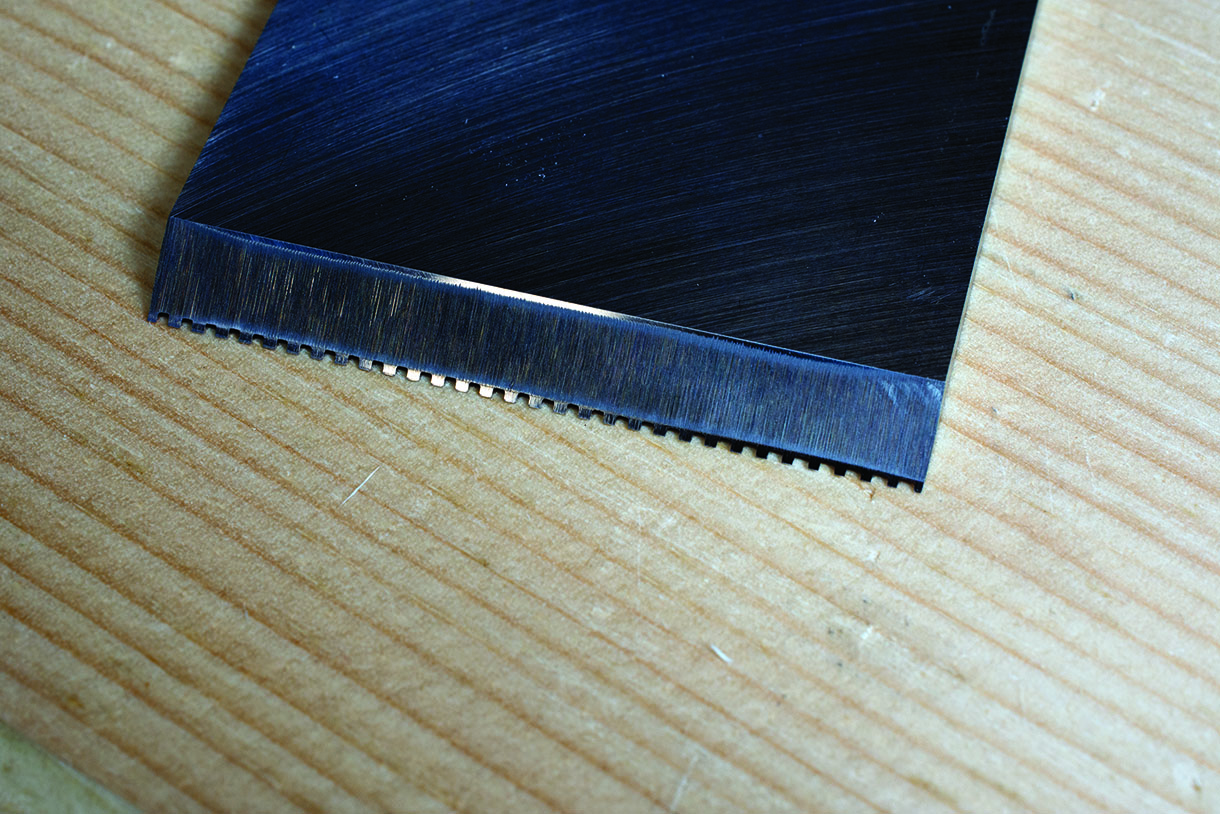
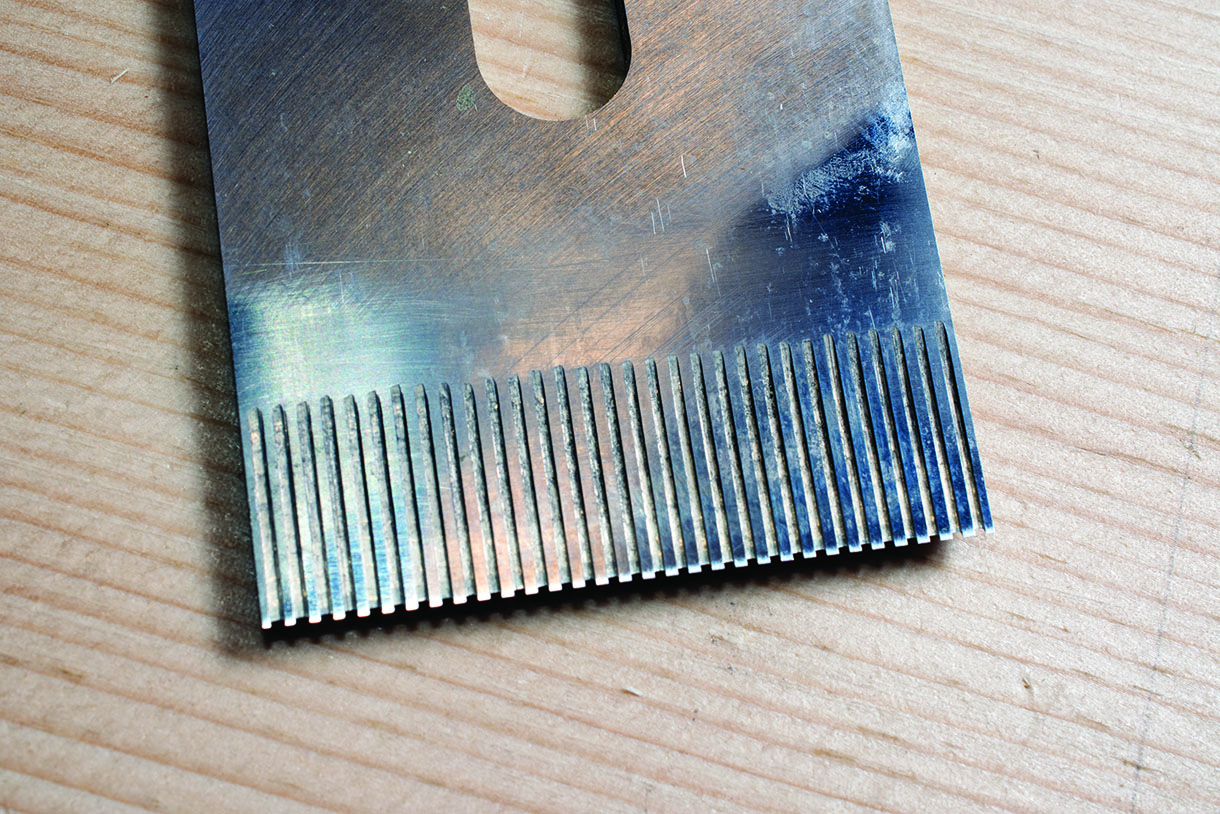
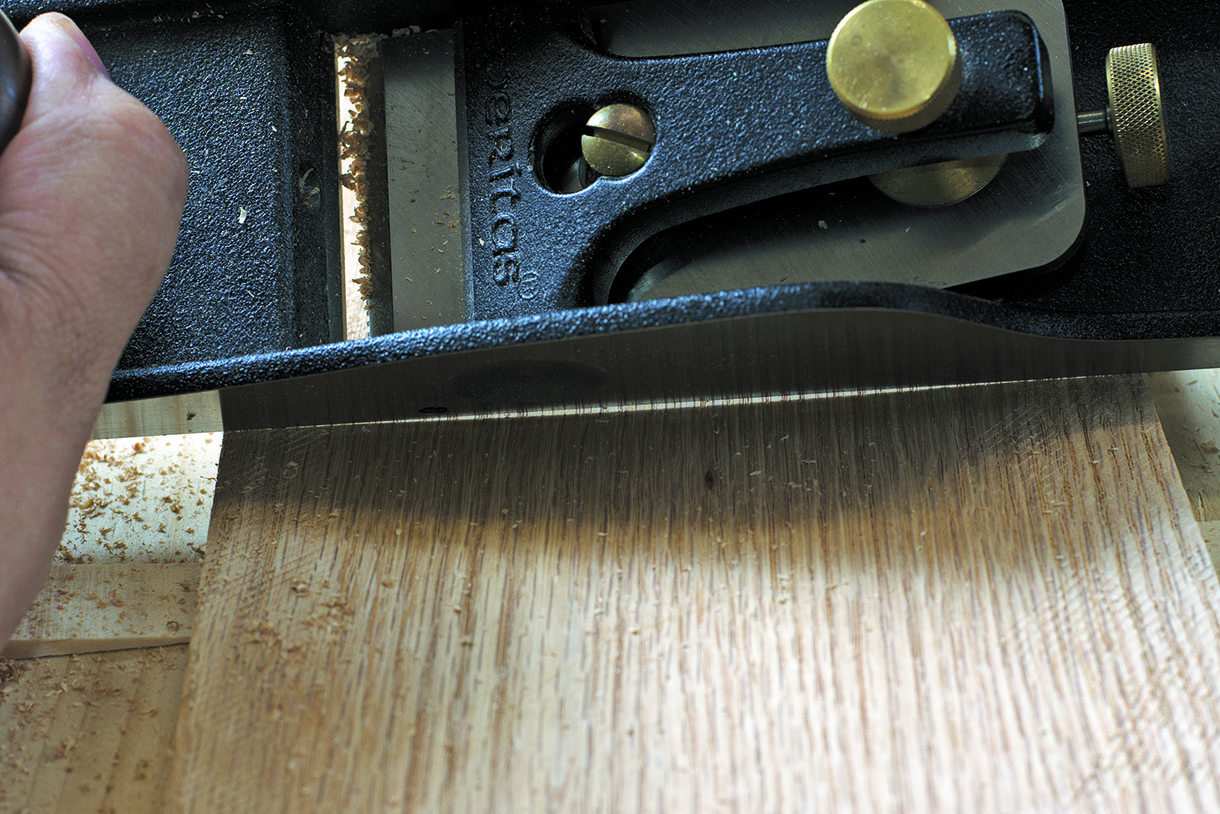
So what are your options? In this scenario, a toothed blade is most certainly one.This blade can be a real life-saver if you need to remove a lot of material and it works its magic in a couple of ways. The blade has individual teeth that act as mini planes when they go through the wood. Essentially you are cutting with only half of the blade, so the result is less effort required to take a heavy cut. If you have ever tried to push a regular blade set to take a 1/16in cut you understand exactly what I mean. No one enjoys prepping timber by hand. It’s heavy, sweaty work and reducing the effort required gets you through the task faster so you can get onto the fun stuff.
Small bites, big results
To get a board flat, secure it to the bench with the cup facing up. You will have to use some small wedges to prevent the board from rocking. Traverse the grain at around 45° in both directions to begin the flattening process. The plane will naturally ride the high spots and gradually bring them down. Don’t worry about the surface quality at this point, as you are simply trying to get the board flat. Once the plane has touched all the points on the board, place the plane 90° to the grain and tilt it on to its edge – instant straightedge. Look for high spots, mark them with a pencil and remove them.
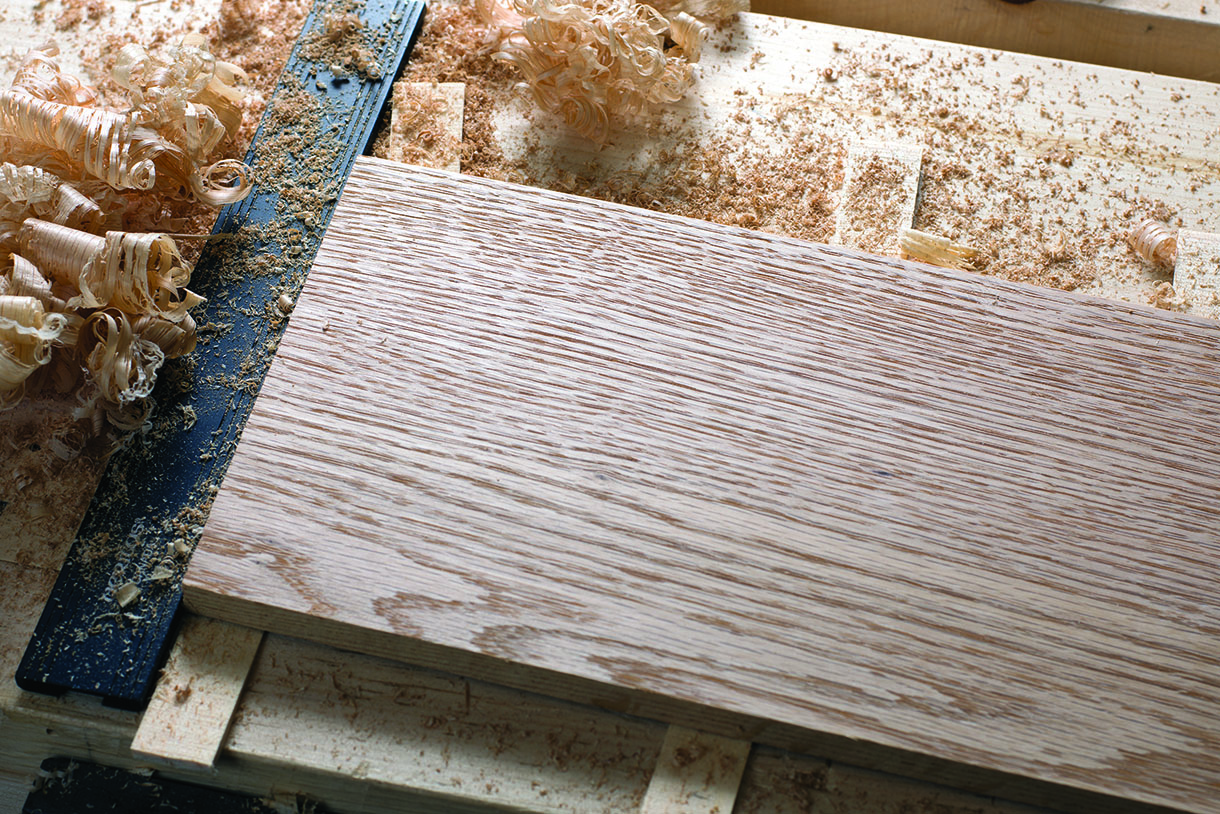
The other advantage a toothed blade gives you is the lack of tear-out in highly figured wood. In this case, the blade is taking multiple narrow shavings instead of one large wide one, which in nearly all cases causes the wood to tear-out. With the toothed blade installed contact with the grain is reduced allowing the wood to fracture more easily thus eliminating tear-out. Despite resembling your favourite corduroy slacks from the 1970s, the surface left behind will be flat. This is easily fixed, however, by replacing the toothed blade with a lightly cambered blade that is honed and polished to an appropriate angle for the wood you are working with. Just a few passes with a light cut will remove the toothing marks and yield a stunning surface that will dance before your eyes.
In many cases, I don’t feel the need to reach for a smoother but will instead use the plane that’s already in my hands. While the low-angle jack is long enough to flatten and joint boards, it isn’t too long to act as a smoother. Closing up the mouth and backing off the iron to cut a fine, fully supported shaving is all you need to get a great surface ready for a finish.
End-grain dominator
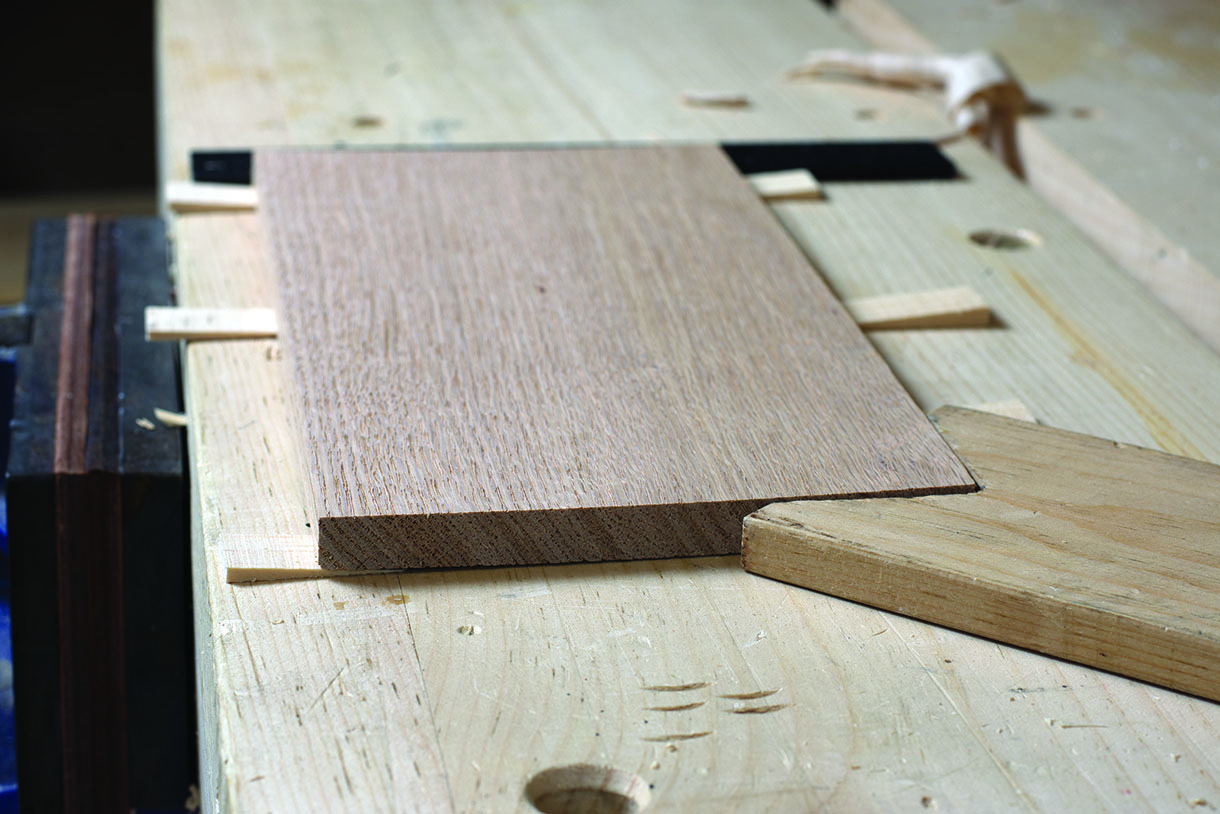
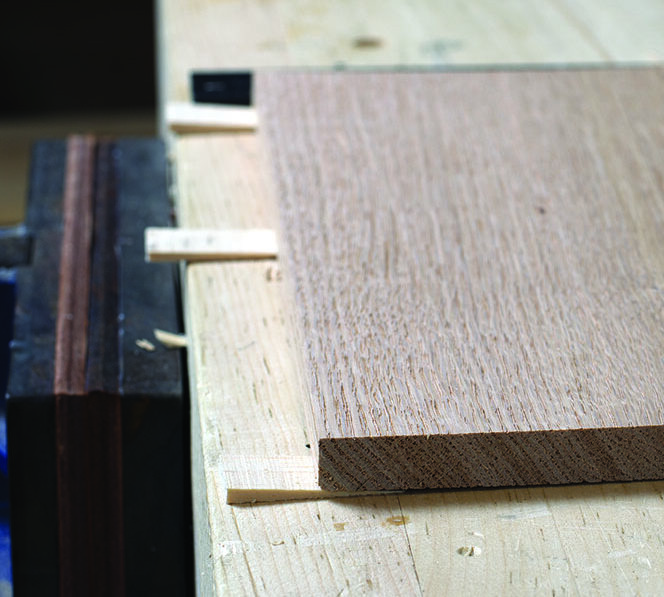
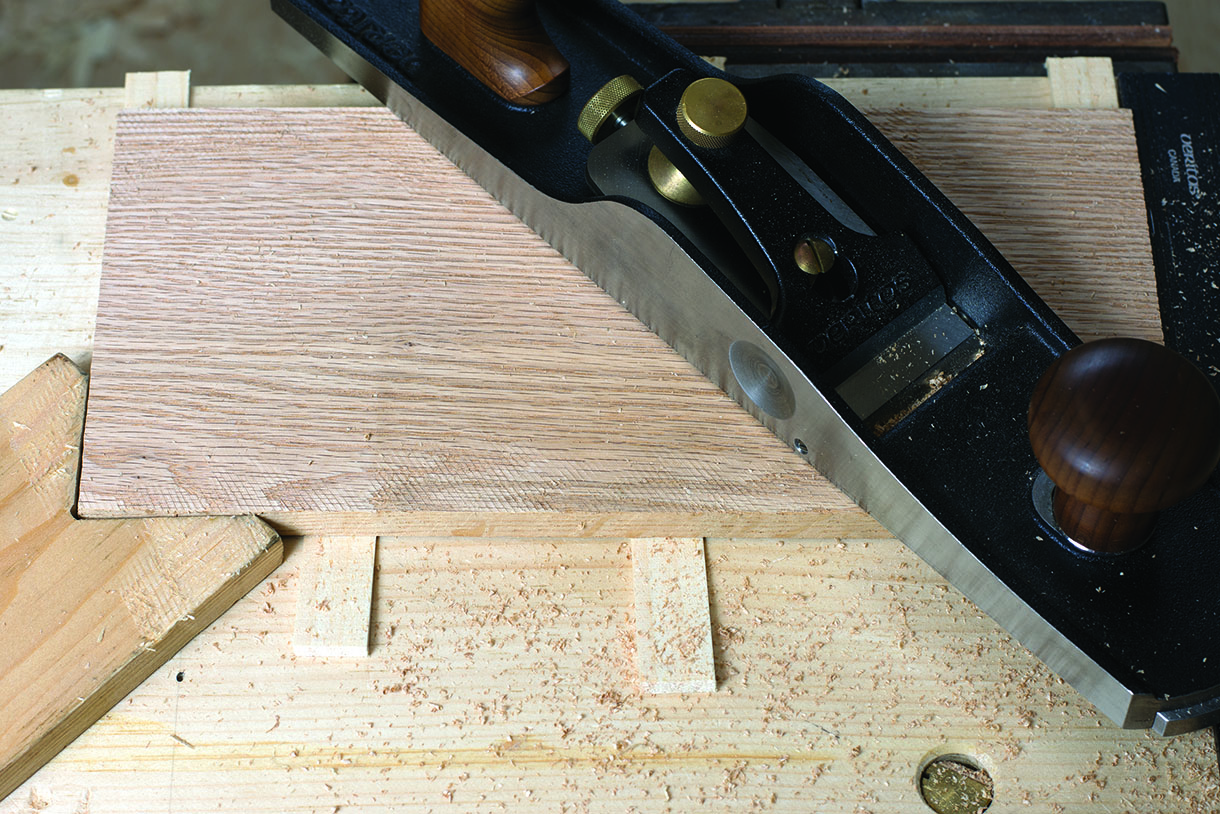
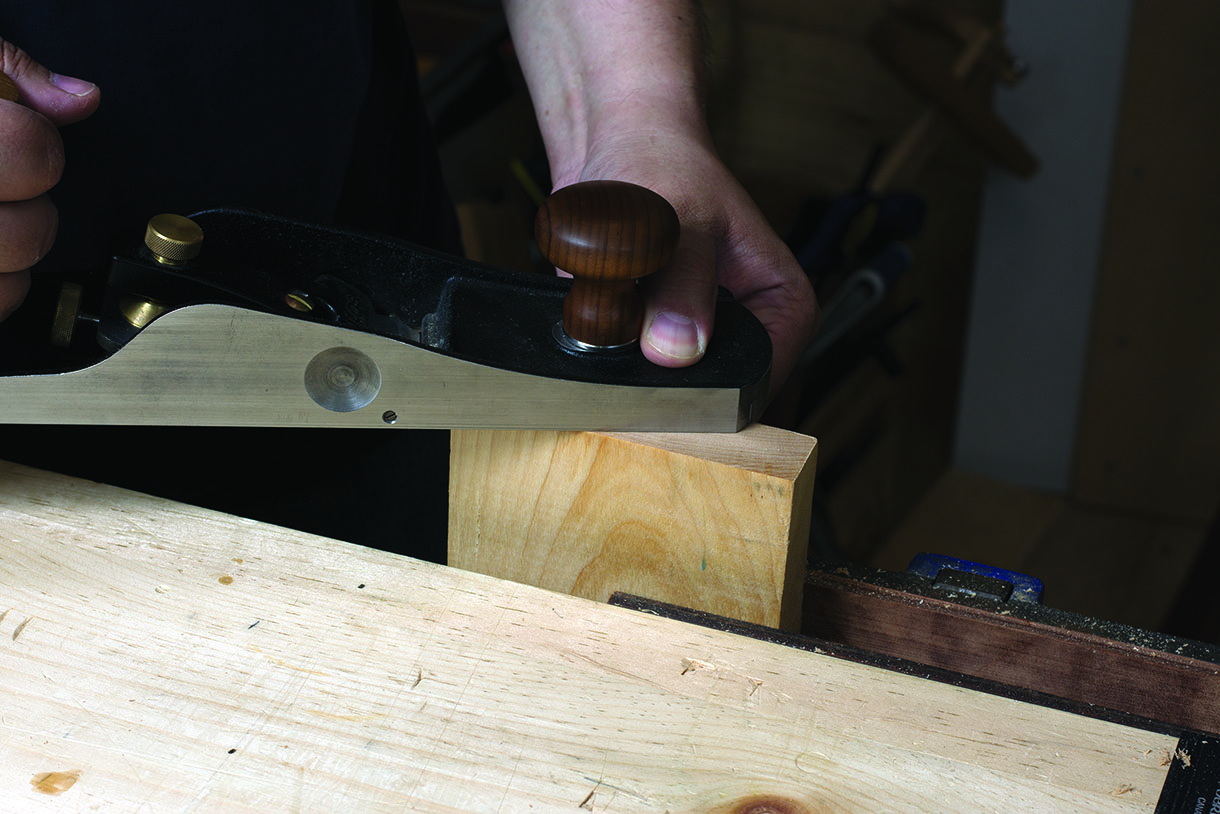
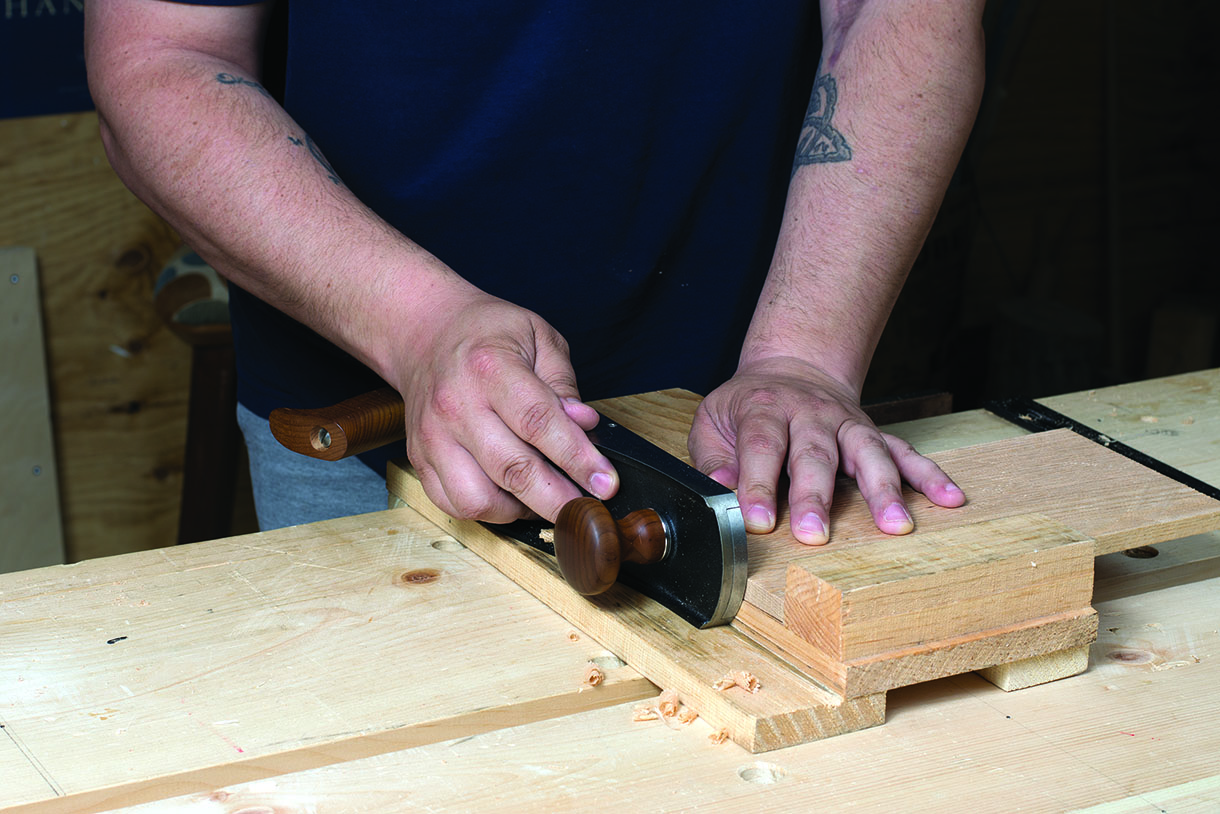
There aren’t many machines available to the home woodworker that allow for trimming end-grain with the accuracy of a well-tuned bevel-up plane. Again, the low-angle jack is my plane of choice because it has the mass to power through what is well known as the toughest cut to make in woodworking. Trimming end grain is akin to cutting across a tightly packed group of drinking straws. The blade needs to be sharp and presented to the wood at the lowest angle possible to get good results. For boards thicker than 1in, you can secure them upright at your bench and work them freehand.
Be mindful as you approach the end of the cut. The grain is not supported and needs to be backed up or you risk the dreaded spelch. For thinner boards, the use of a bench appliance like a shooting board is a must. The fence and table will hold the work square and plum while the plane works on its side to trim the end grain. This technique is perfect for trimming workpieces such as drawer fronts to get them to fit perfectly in the pocket.
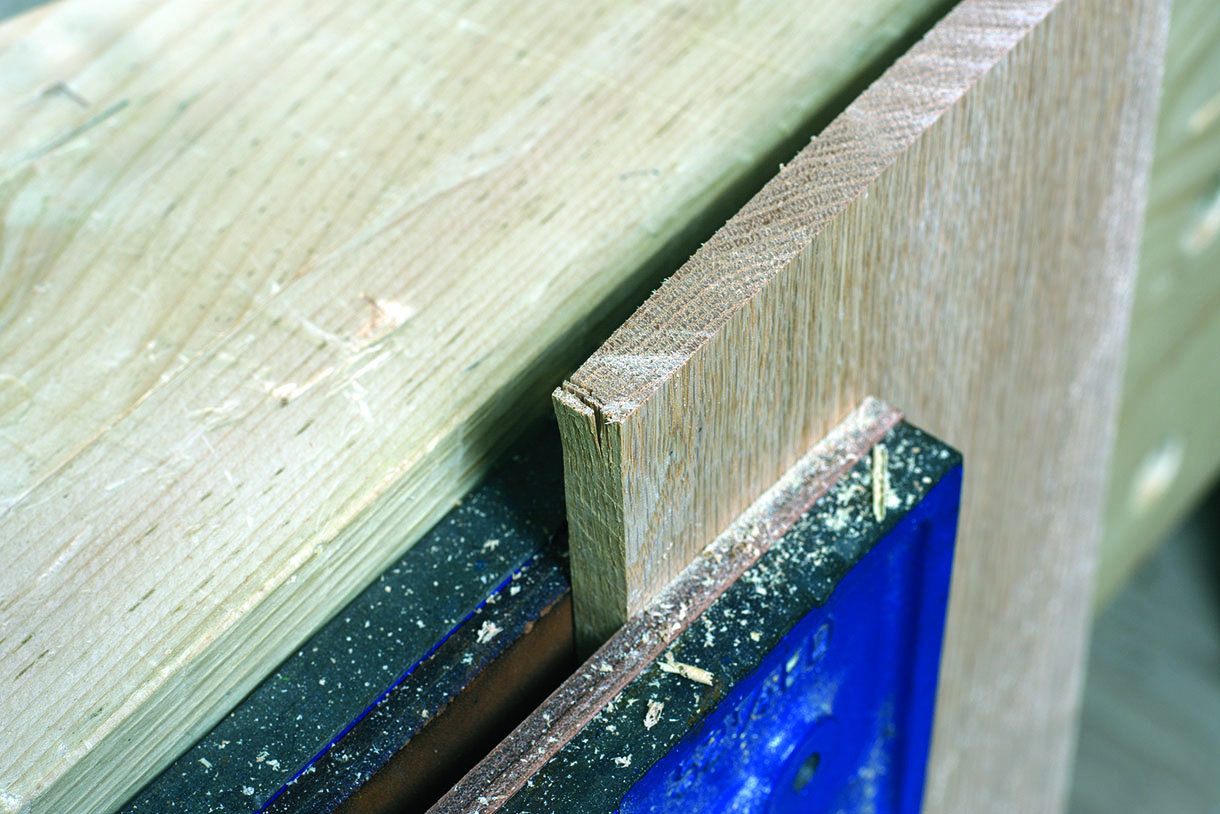
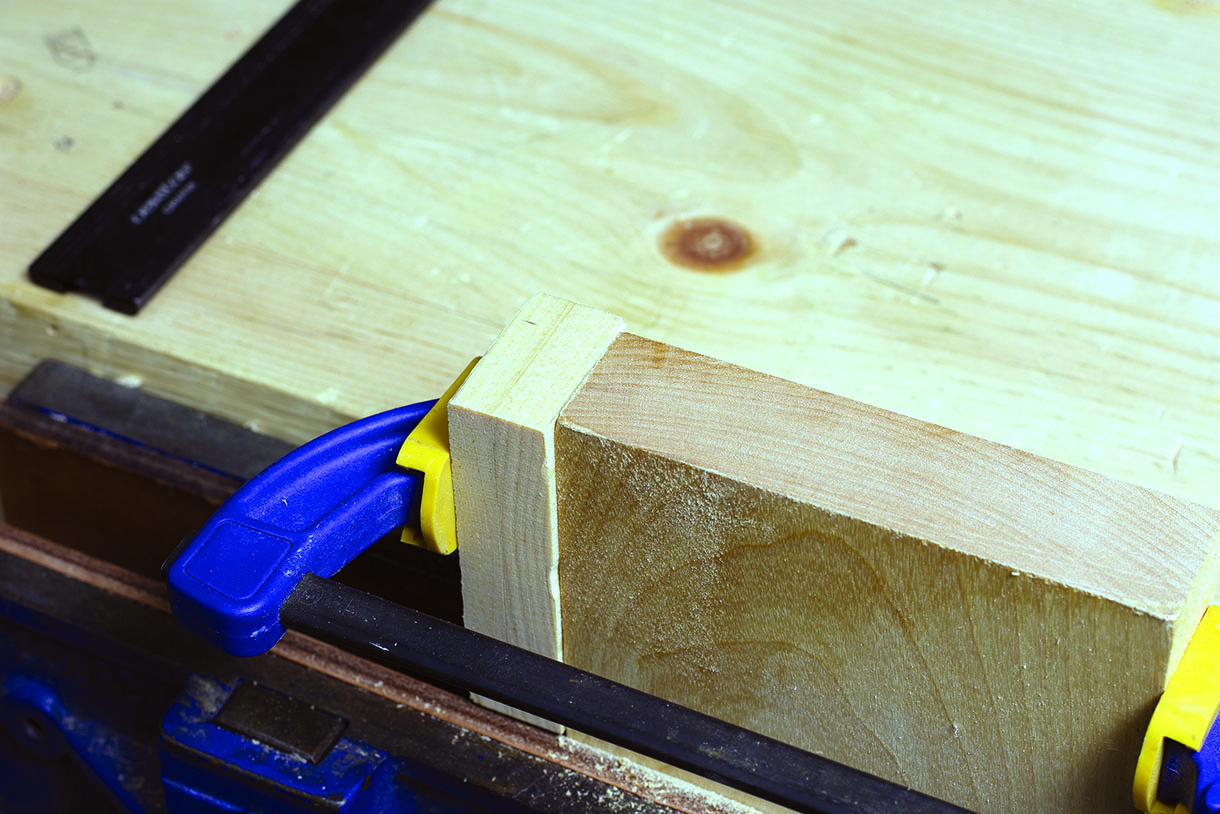
Don’t spelch at the bench
Getting spelch on a board is about as disgusting as the name would indicate, and you want to prevent it at all costs. Spelching happens when the end grain at the end of a cut is left unsupported and fractures away from the board. It makes a sickening sound and is usually followed by profanity. There are a couple of ways to prevent this from happening. If you are using a shooting board, the fence will provide the requisite support to prevent spelching. If you are working without a shooting board, simply clamp a board to the end of the cut to support the fibres. Sometimes with a sharp iron and a skewing cut you can get away with an unsupported end but be warned – spelching can rear its ugly head at any time, so play it safe and back up that cut.
Don’t forget the other bevel ups
There are quite a few planes at the bench that have bevel-up blades. Most of these planes are designed to work end-grain or across the grain, which is what they were born to do.
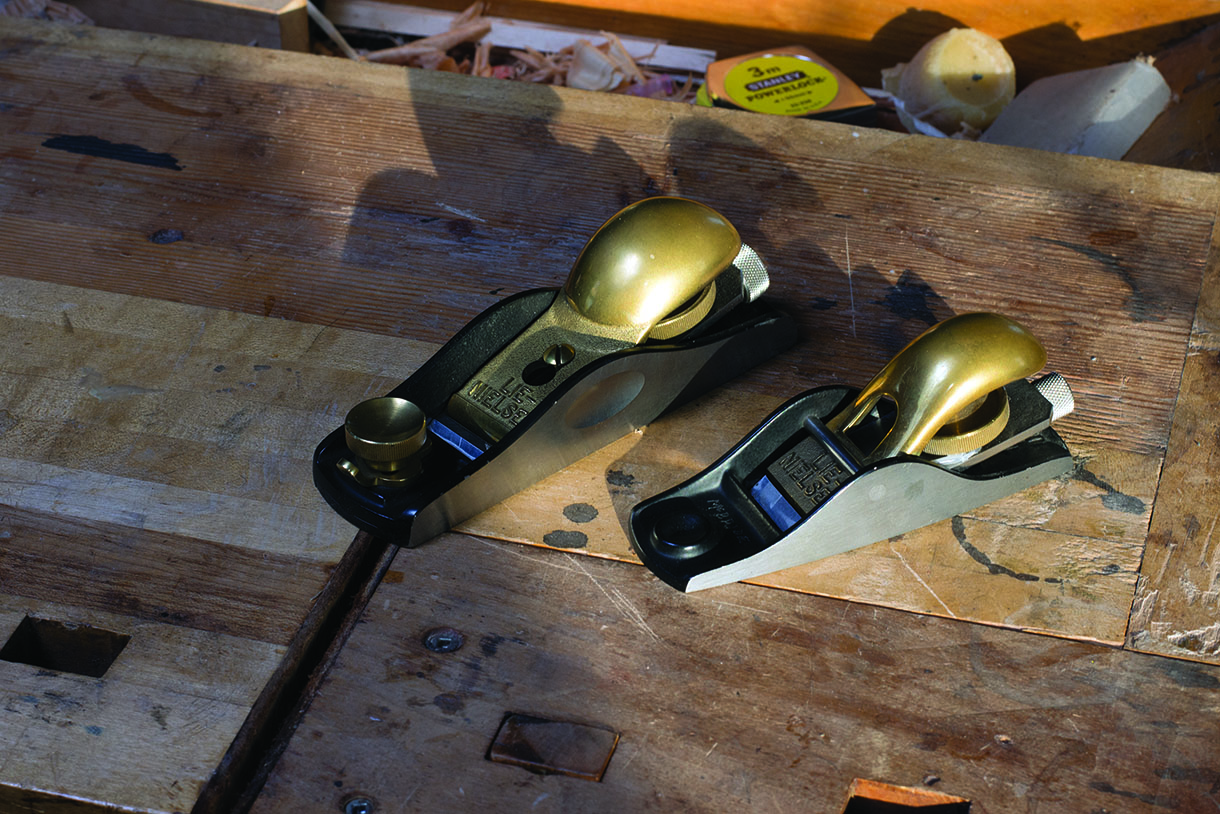
Block plane
This small tool is a giant when handling end-grain or cross-grain work but also works well with the grain. I refer to this bevel-up plane as my ‘eraser’; used anywhere that I need a bit off here or there. I use mine for cleaning up end-grain, removing an arris or even sharpening pencils to custom points for different types of marking. While not very useful for large work, the block plane excels at the little niggly bits.
Shoulder plane
Designed to trim up the end-grain of a shoulder commonly found on the tenon-half of the mortise and tenon, the shoulder plane sports a bevel-up blade that makes those end-grain cuts a breeze. Many folk use the shoulder plane to tune up the cheeks of the tenon as well, which if you haven’t guessed yet, is all cross-grain work.
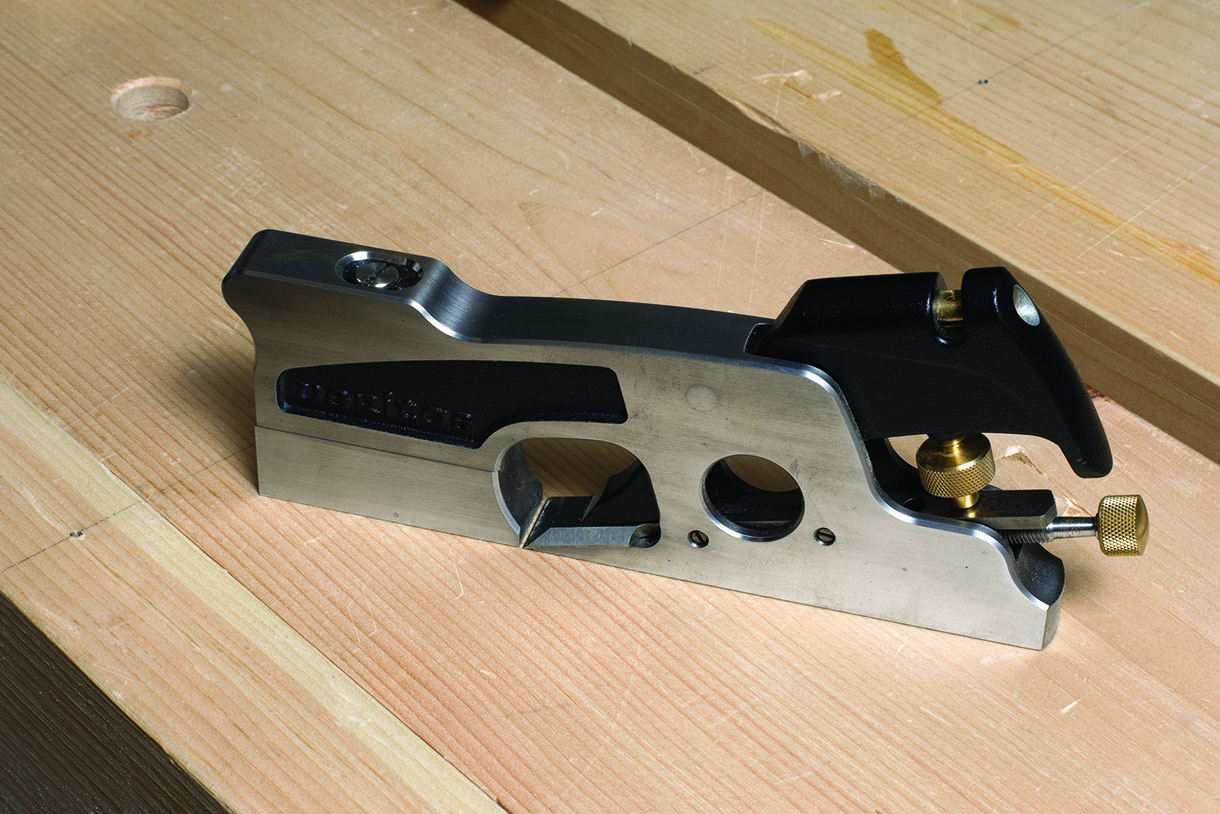
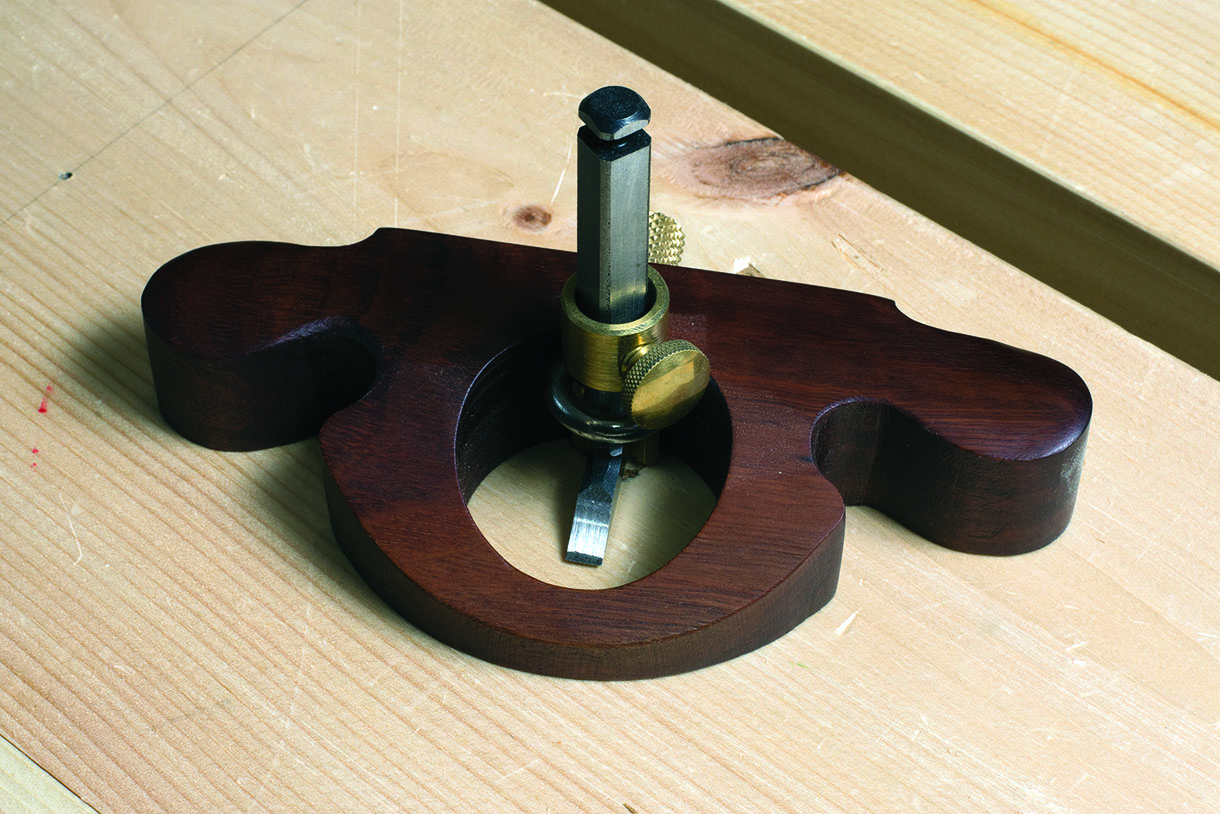
Router plane
I’m always amazed by the surface quality left behind by a router plane. With the grain or across, this tool delivers fine surfaces that are perfect for joinery or inlay work. Big or small tasks are a joy to do with this bevel-up plane. I would have to say that the router is one of my favourite hand planes.
Conclusion
It wasn’t long into my woodworking journey that I discovered bevel-up planes and brought them into the fold. Apart from some wooden smoothers that I’ve made I would have to say that all my other bench planes are bevel-up. They are simple to sharpen, set-up and maintain, and are tremendously versatile. Simply adding a couple of extra blades lets you tackle anything from calming pine to eye-catching curly maple. Give these planes a shot – you won’t be disappointed.
Further reading
PHOTOGRAPHS BY VIC TESOLIN