Painted Dresser
Louise Biggs makes a beautiful bespoke dresser
Louise Biggs makes a beautiful bespoke dresser
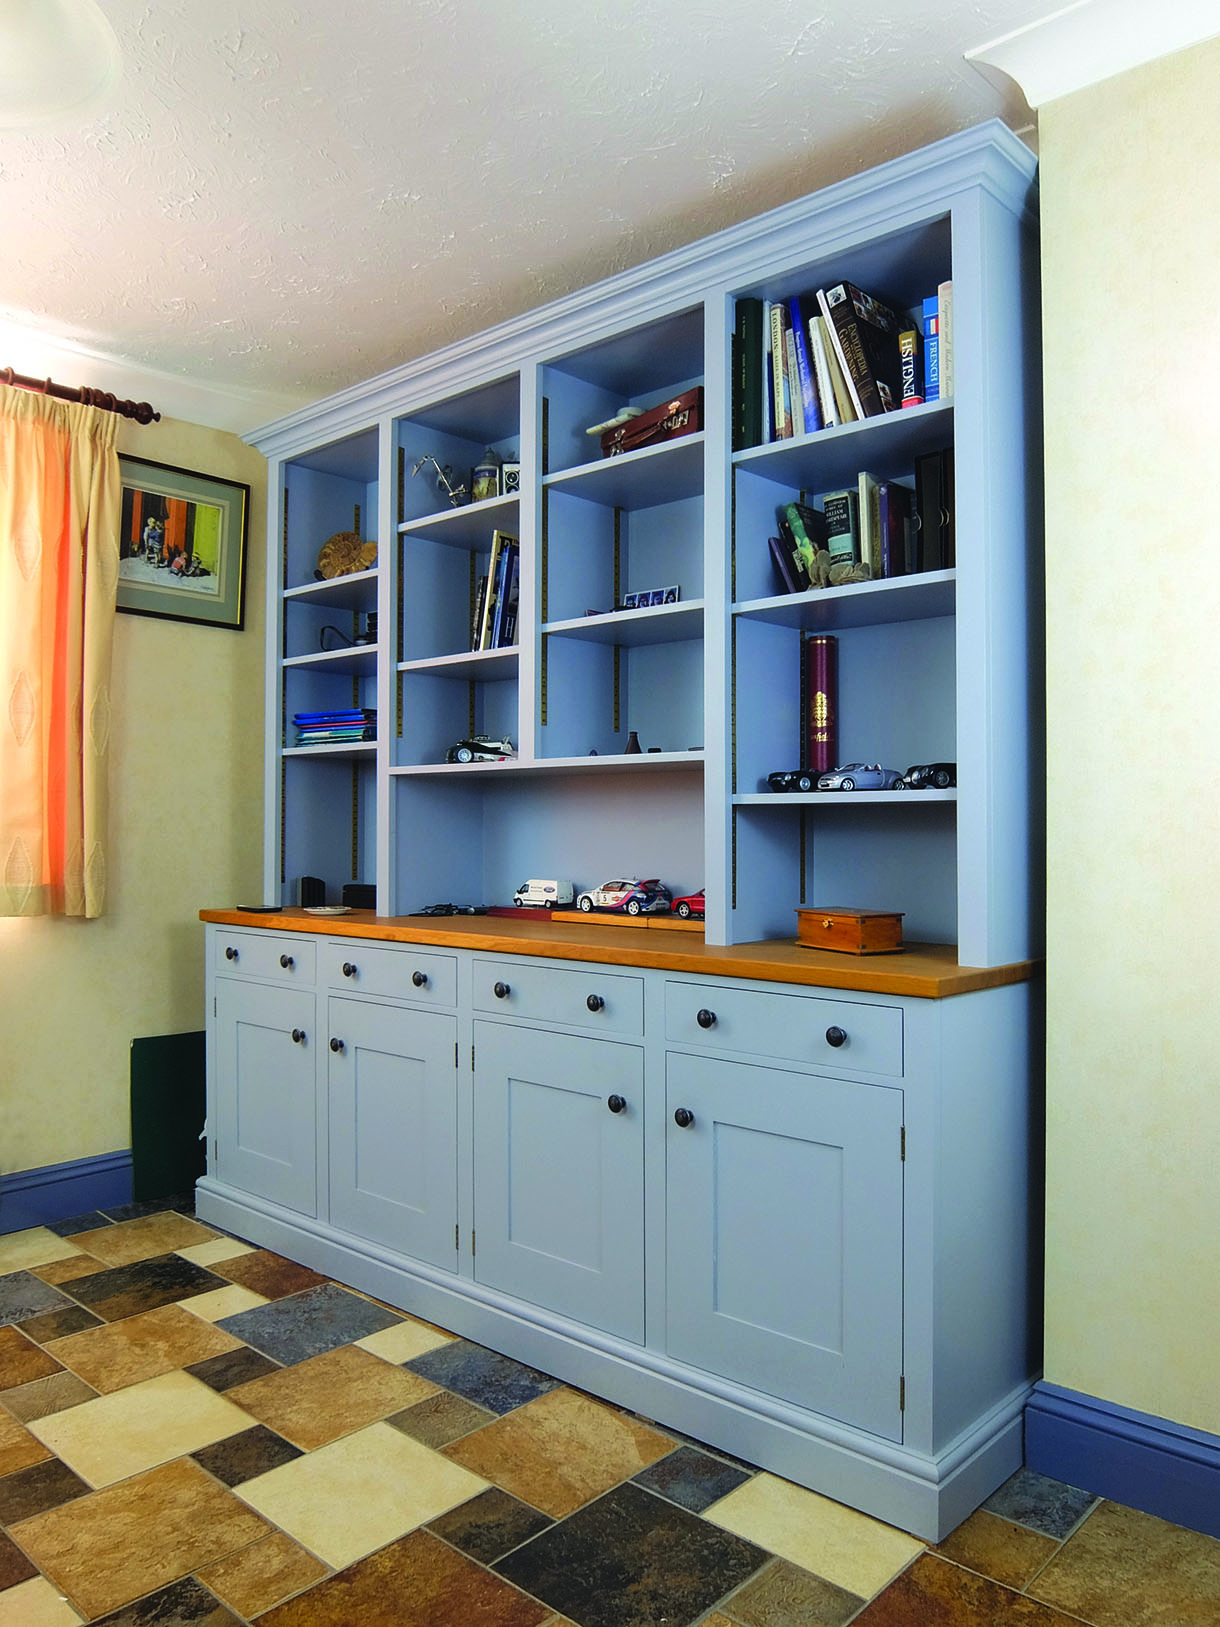
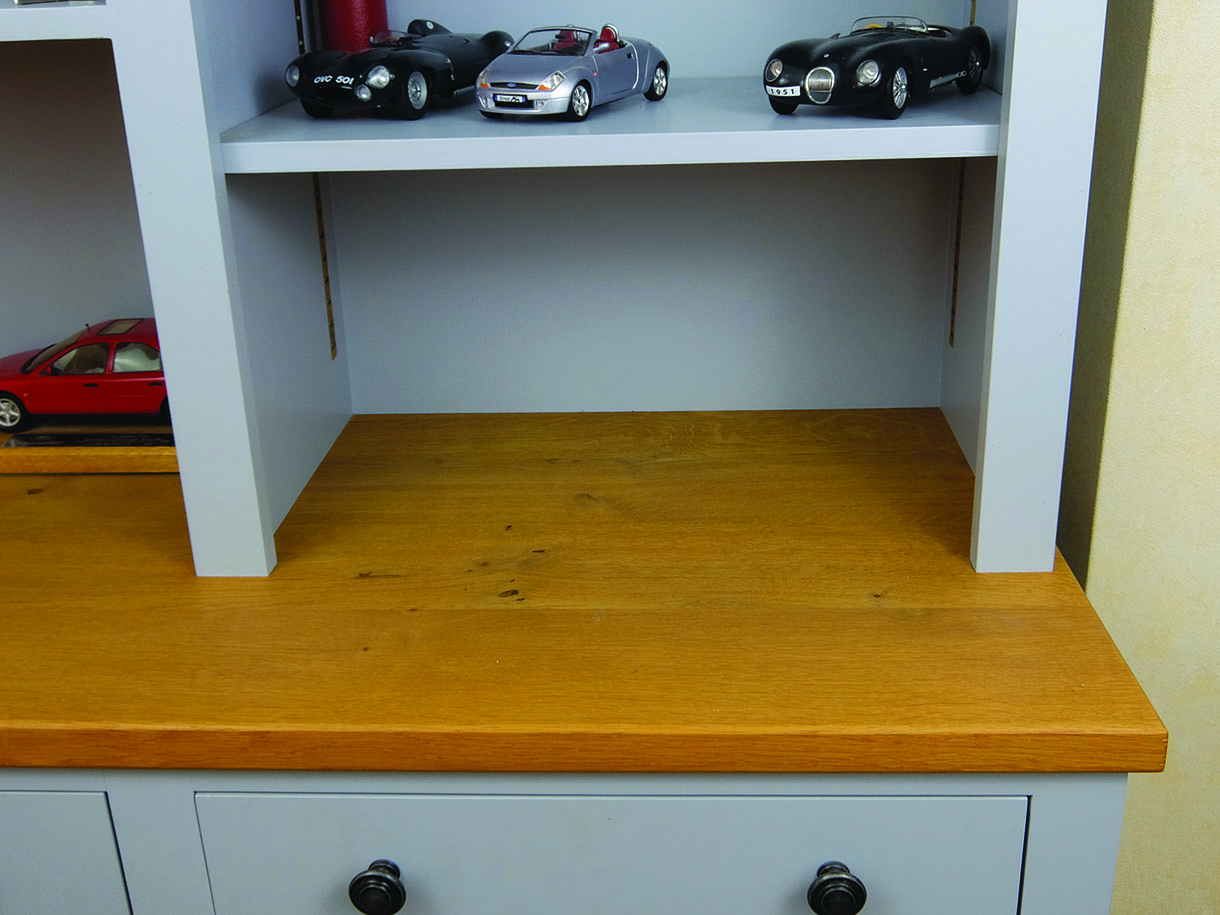
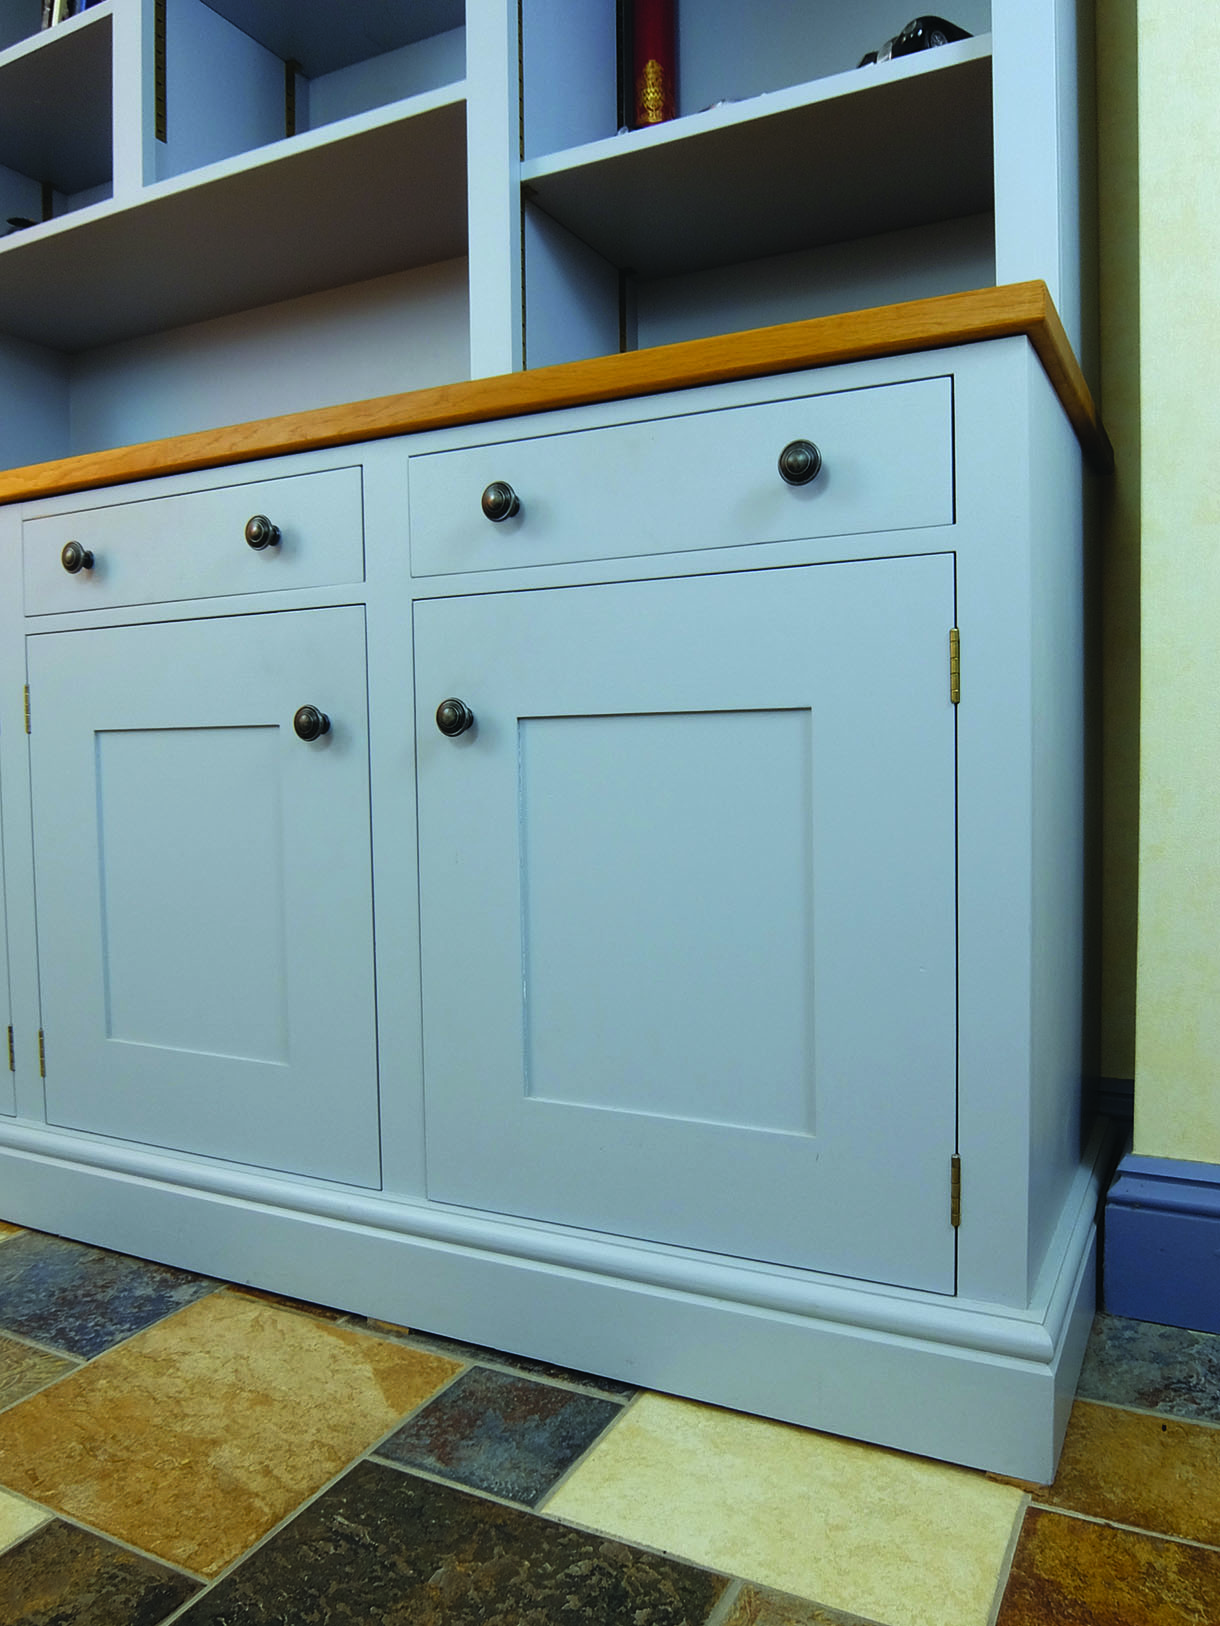
I was approached by clients some years ago who wanted a freestanding dresser to fit a recess in their home. They required it to have plenty of shelf, drawer and cupboard space and had already developed the basis of an idea of how they wanted it to look. After a few changes for construction purposes and to ensure the proportions were right, the final design was agreed and the dresser was completed and installed.
Tools used
• Table saw and/or panel saw
• Planer/thicknesser
• Rule
• Pencil
• Squares – various sizes
• Chisels – various sizes
• Mallet
• Utility knife
• Router with router table
• Router cutters – straight – various sizes
• Dovetail cutter
• Step-rebate cutter
• Guide clamps
• Screwdrivers
• Mortiser or mortise chisel
• Dovetail saw
• Dovetail jig, if preferred
• Mitre cutter – machine or hand
• Good-quality paint brushes
• Personal protection equipment – eyes, breathing and fumes
Wood
• Blockboard
• European oak (Quercus robur)
• Tulipwood (liriodendron tulipifera)
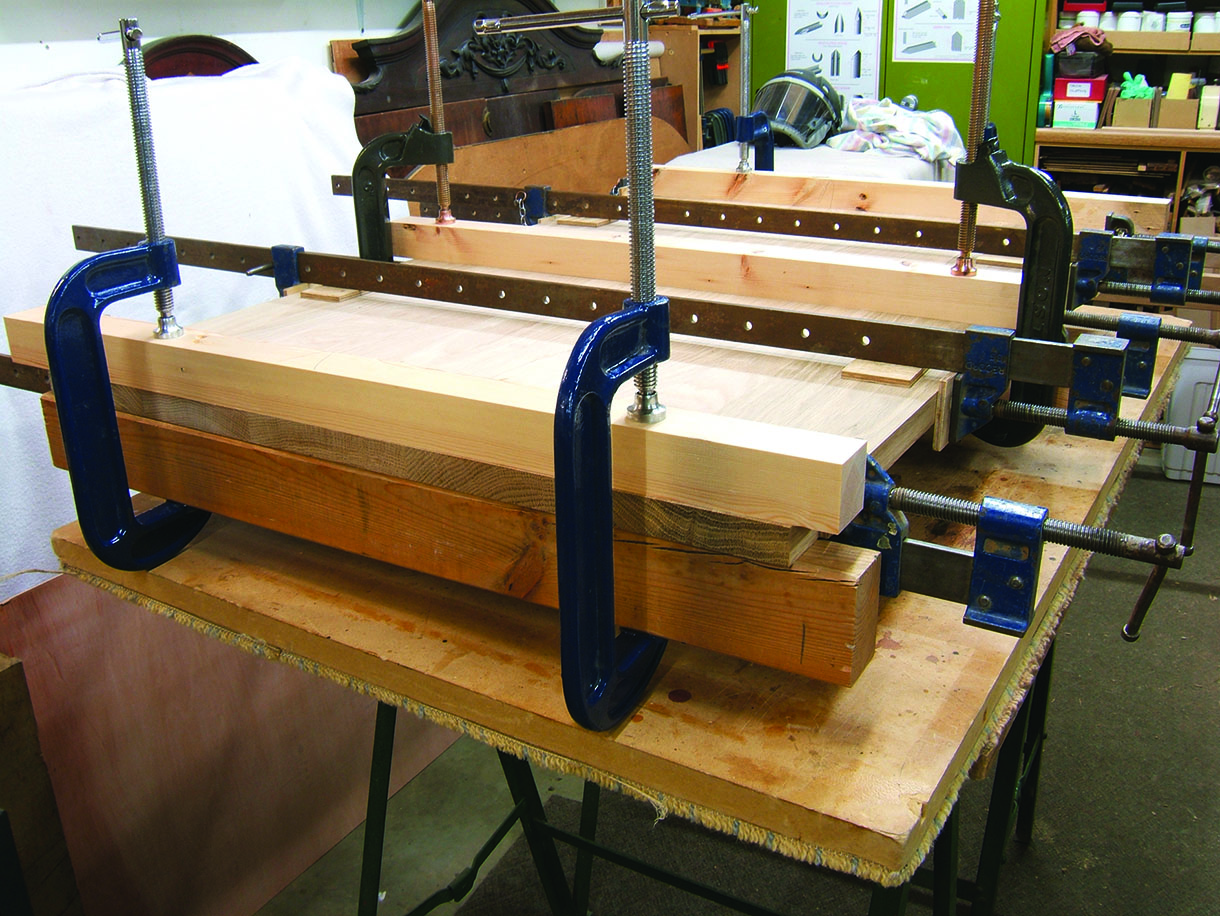
1. Firstly, draw up a full-size workshop rod. The next stage is to form the oak top. You need a lot of sash cramps, ‘G’ cramps and battens to glue the top correctly and keep it flat (the illustrated top is only half the length). Commonsense also says you need more than one pair of hands
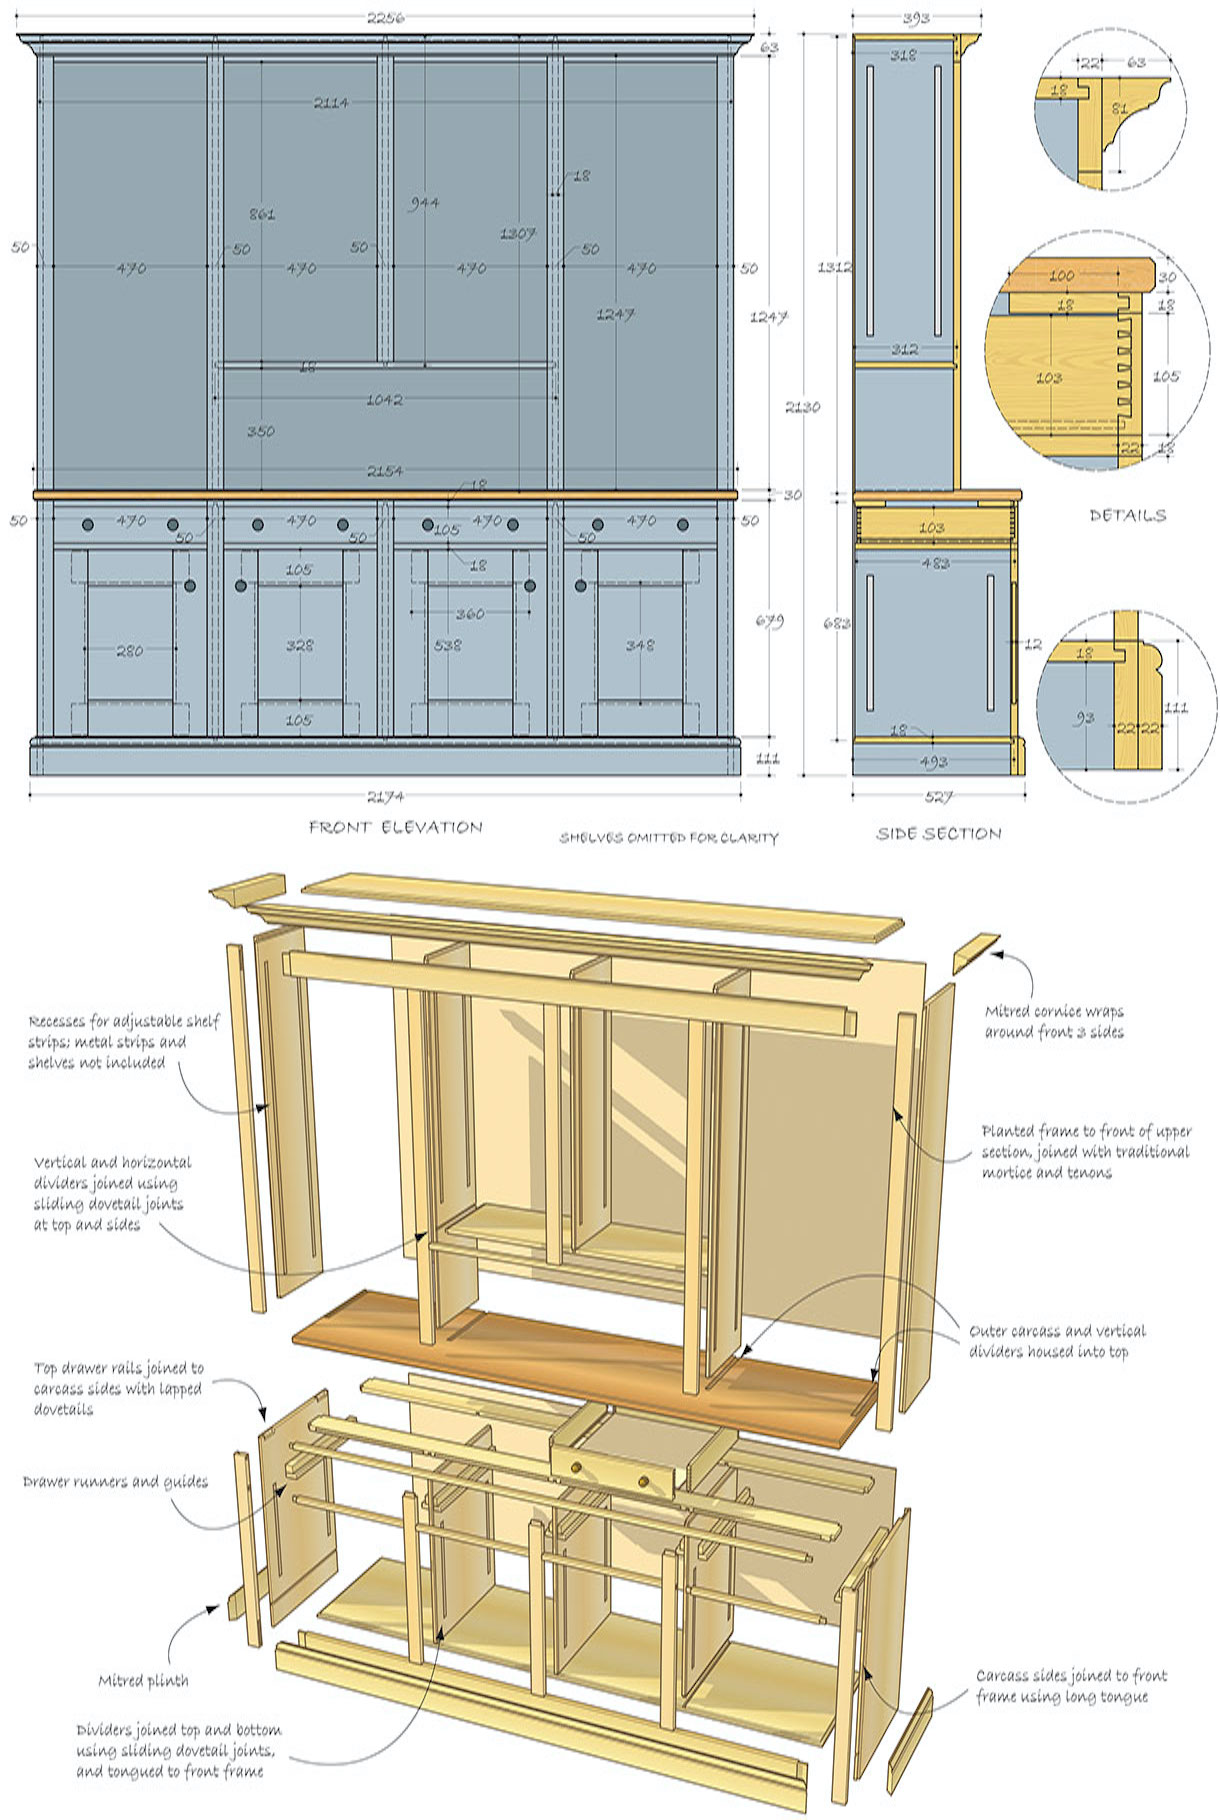
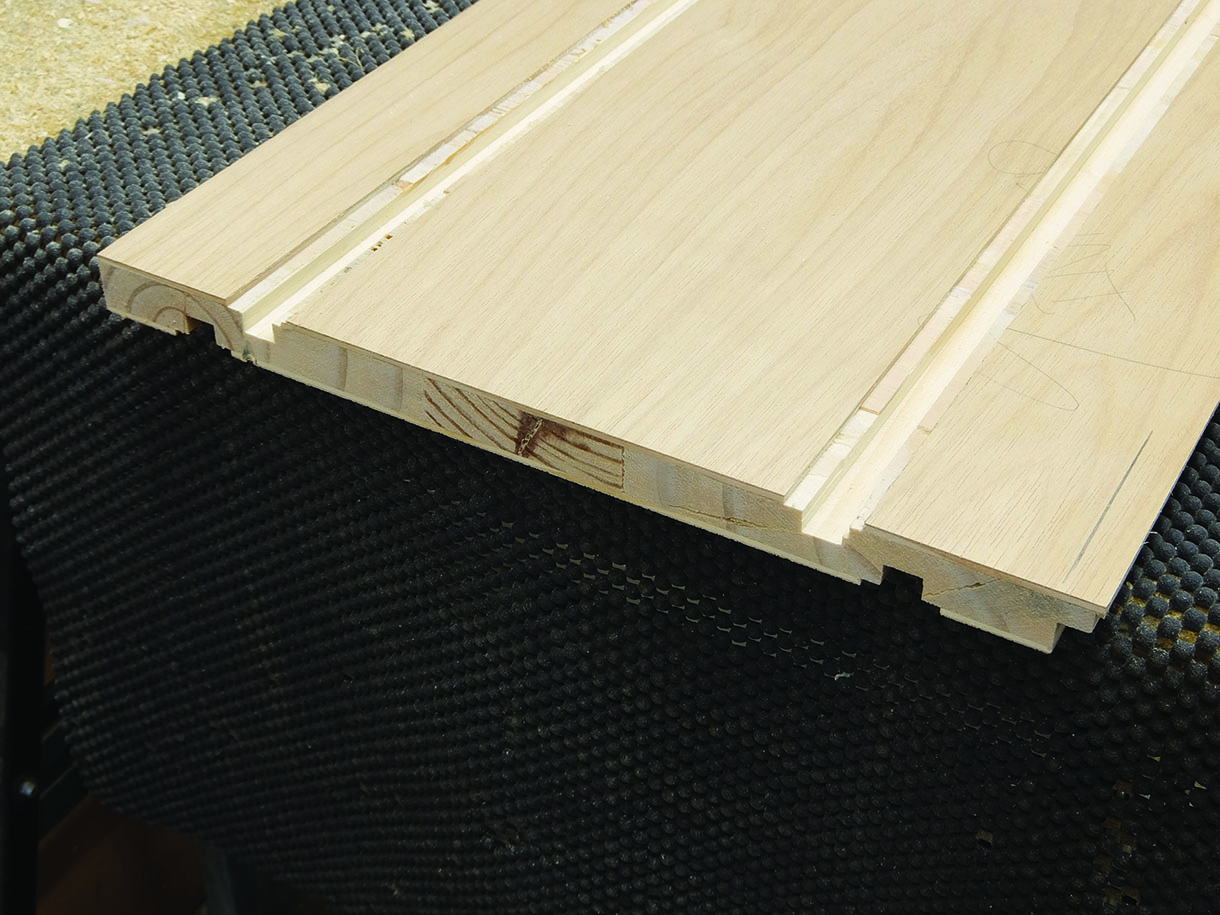
Main construction
The front frames, top and bottom, being tulipwood are mortise and tenoned together and then tongue
and grooved onto the main carcass. With the sides and partitions cut to size, the back panel is rebated into the side and top panels for the top section and sides, bottom and back top rail for the bottom section. On the bottom section the top rails are jointed to the sides with large lapped dovetails. The drawer rail, partitions and bottom panel and partitions are jointed using sliding dovetails.
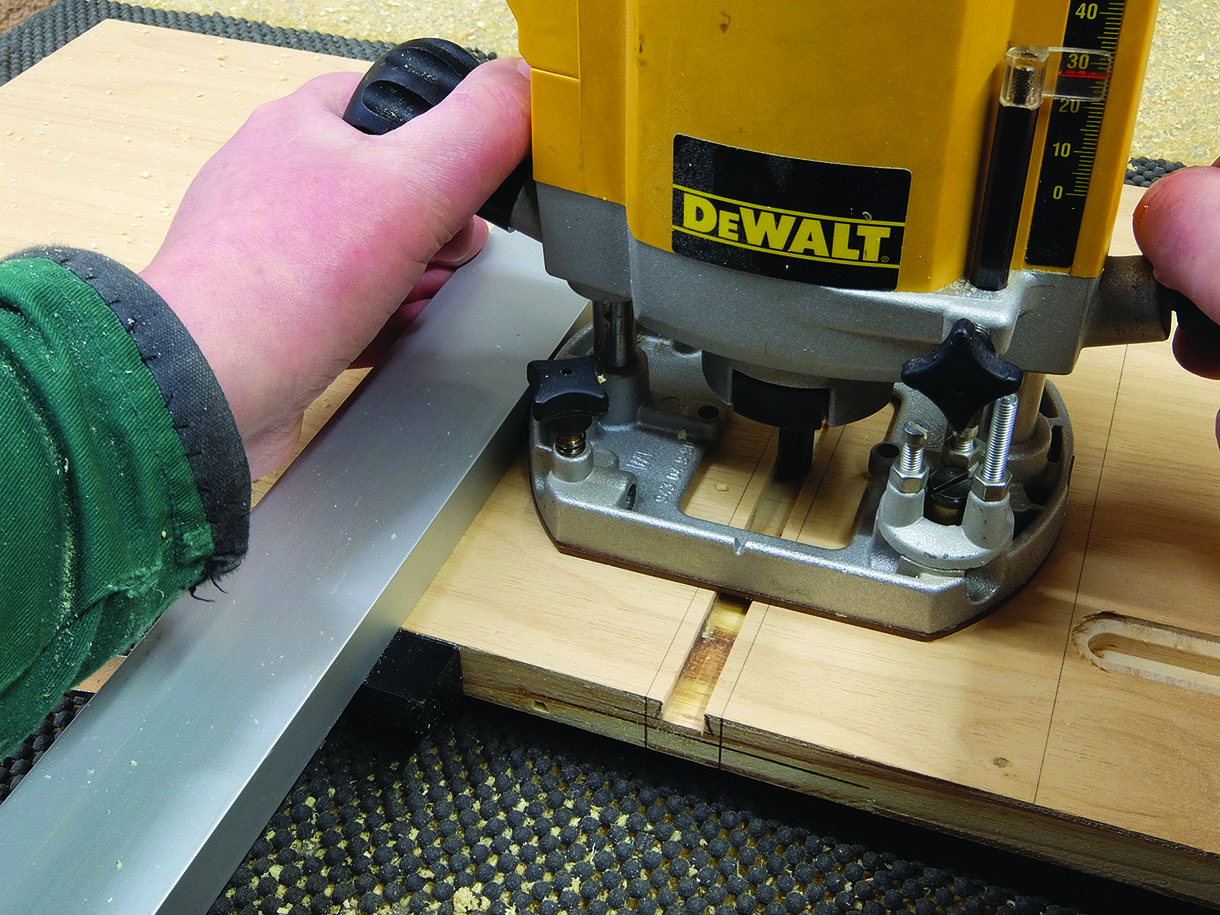
2. Next, mark the position of the partitions and bottom panel. Using a straight cutter with the router against a guide clamp, cut a groove across the panels to match the narrow point of the dovetail
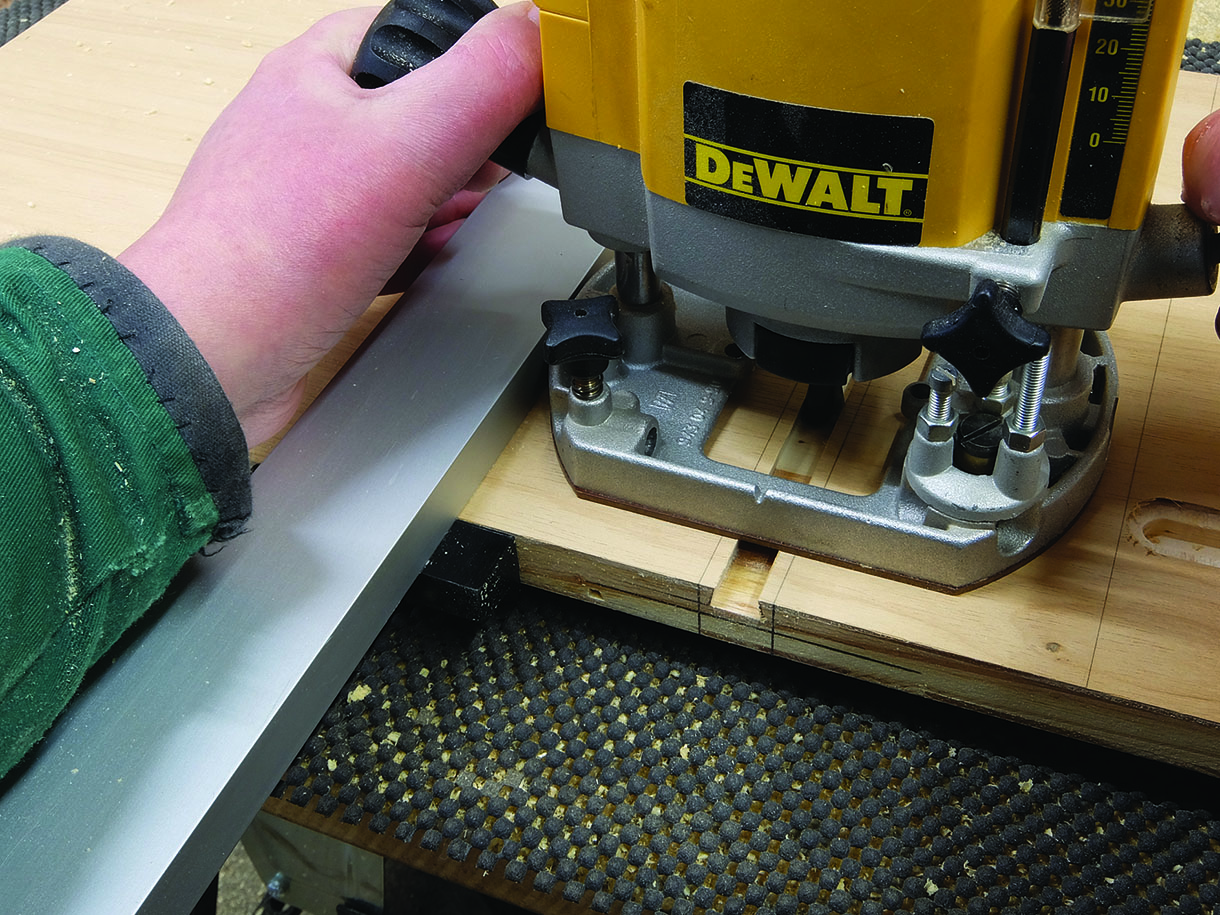
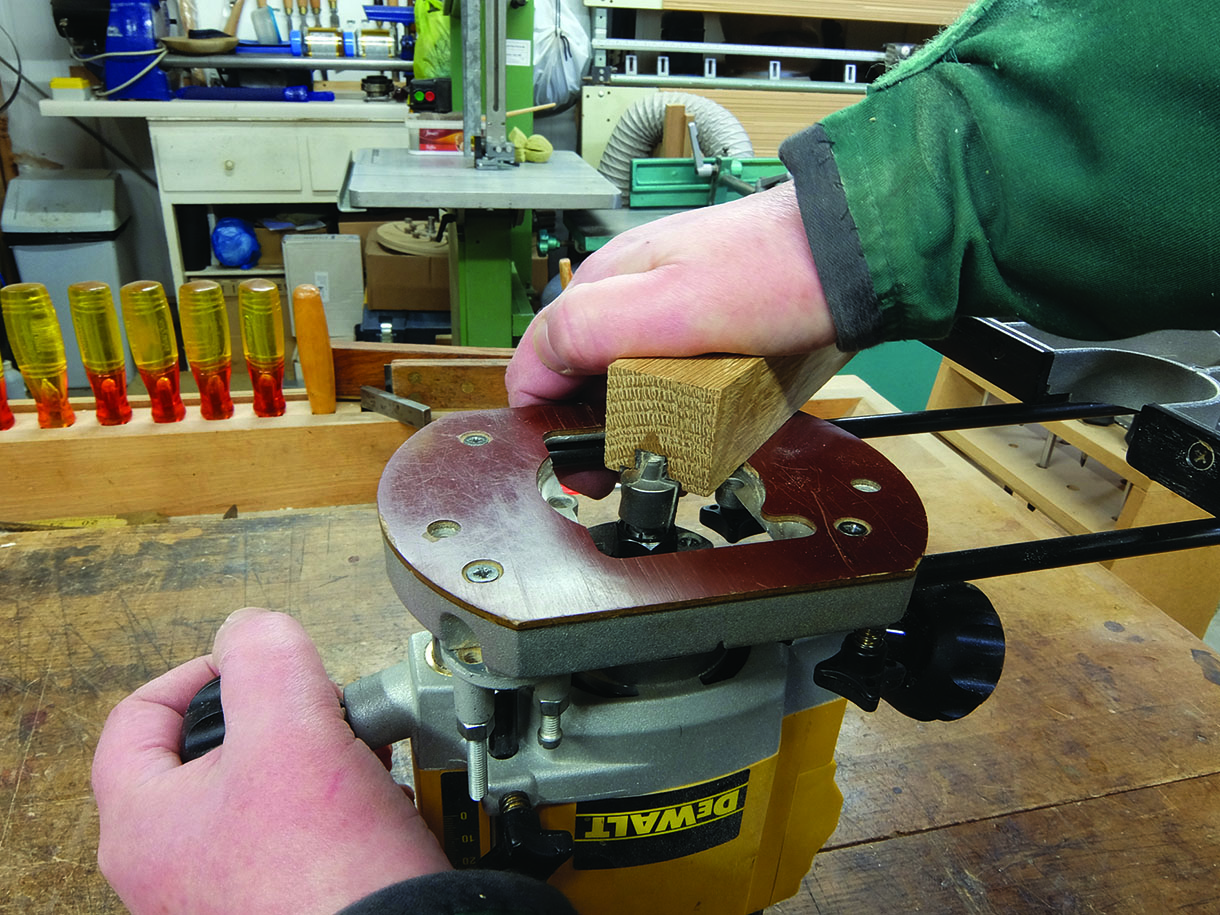
3. Then, follow this through with the dovetail cutter to form the ‘tail’. By cutting the groove through first it takes a lot of pressure off the dovetail cutter as they do tend, especially with dense hardwoods, to snap at their narrowest point. When cutting the sliding dovetails cut all of the grooves first, followed by the dovetail, to form the ‘tails’, but this does involve careful resetting of the guide clamp
4. Transferring the dovetail cutter to the router on the table, cut the corresponding ‘pin’. When using blockboard score a line across for the depth of the pin to prevent breakout of the surface veneer when cutting across the grain. The first cut on either side is just the tip of the cutter, then adjust the fence a little at a time until a good fit is achieved without being overtight so as to allow for the glue
5. For the top sections join the partitions to the top panel and fix the shelf to the centre partition and outer partitions with sliding dovetails, with the side and top joined with a stopped tongue and groove
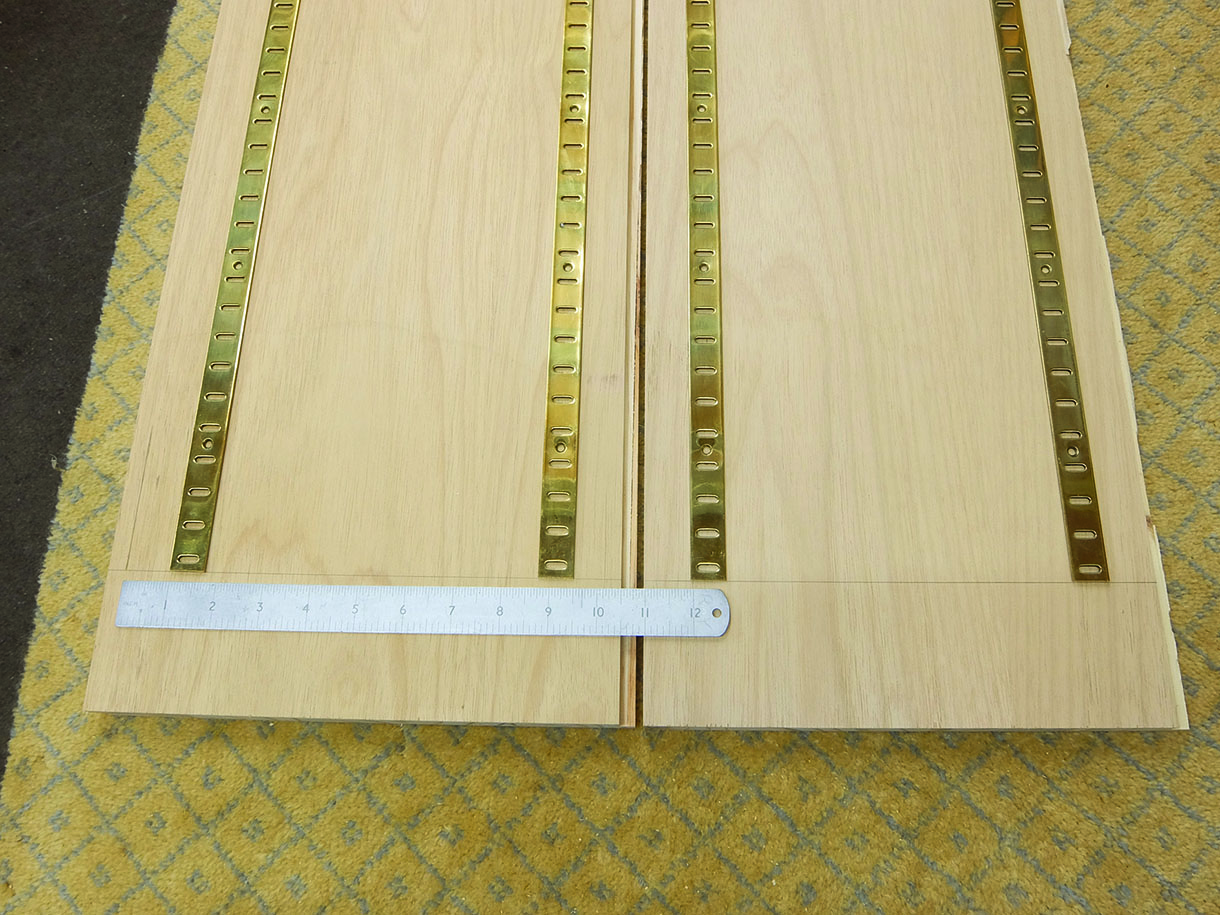
Recessing the bookcase strips
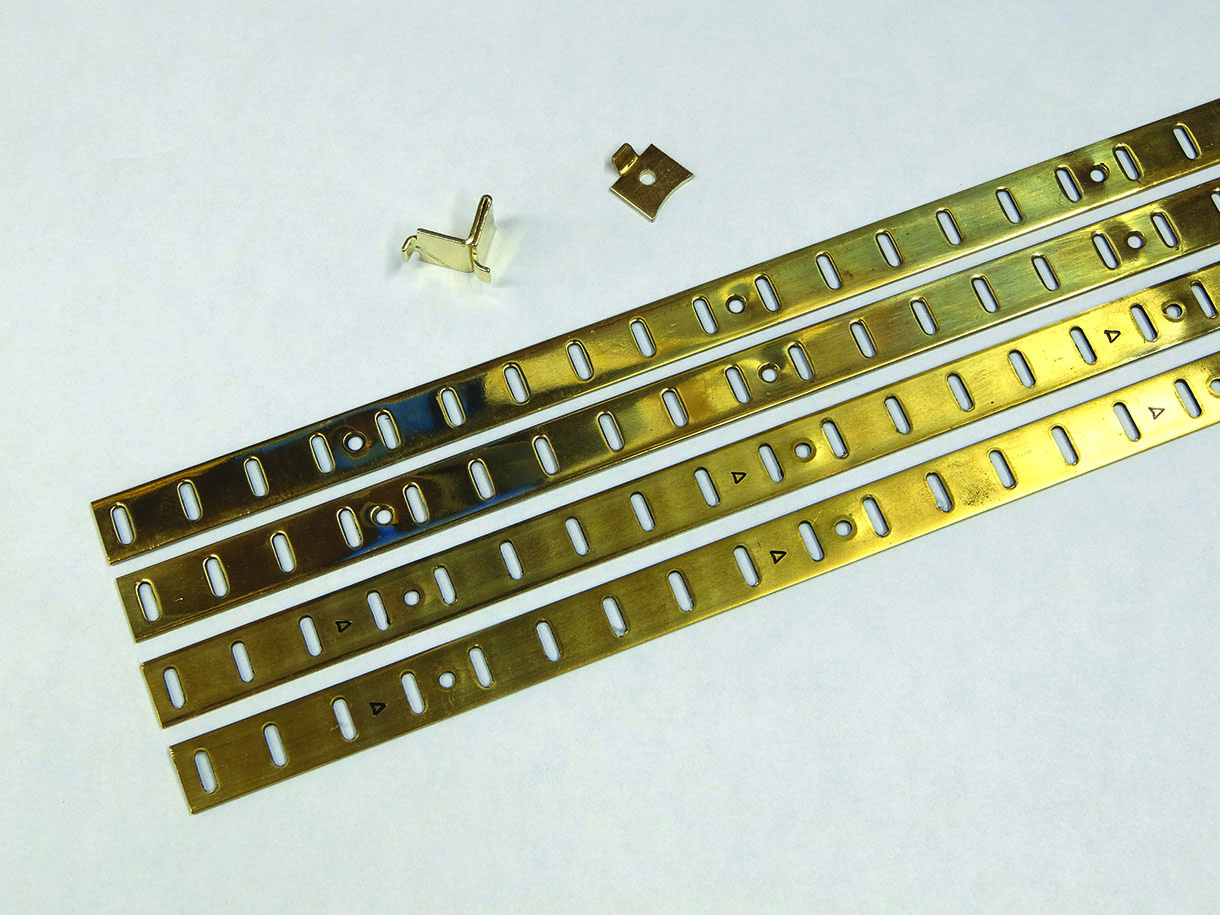
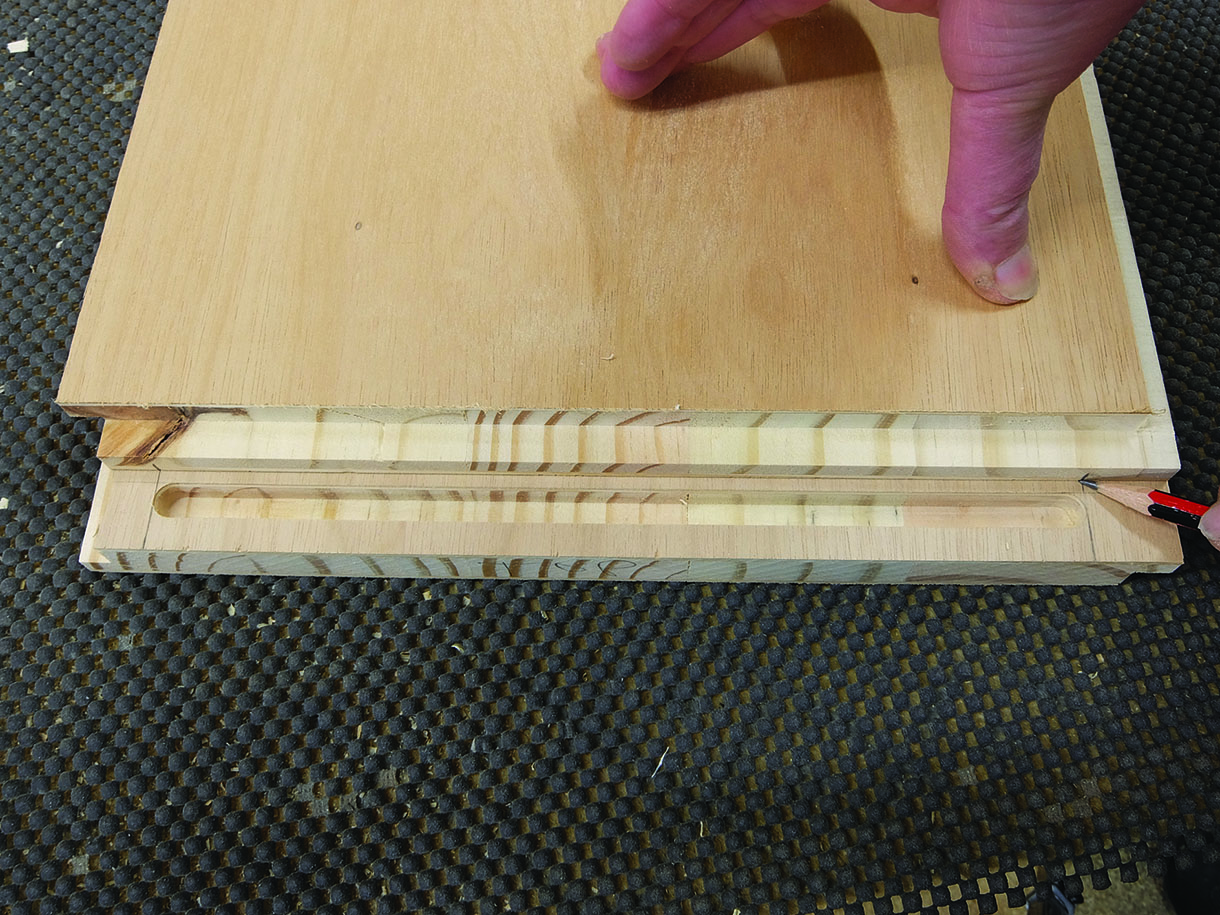
6. With the top and bottom’s sides and partitions cut to size and rebated, the next stage is to recess the bookcase strips. Accurate marking out is critical to keep the shelves level with no rocking. Unlike some shelf supports, this type leaves no room for error. The strips are marked on the reverse side in order that they are kept the same way around when fixing. At 1829mm long they can be cut to form two pieces; one for the top and one for the bottom if length allows.
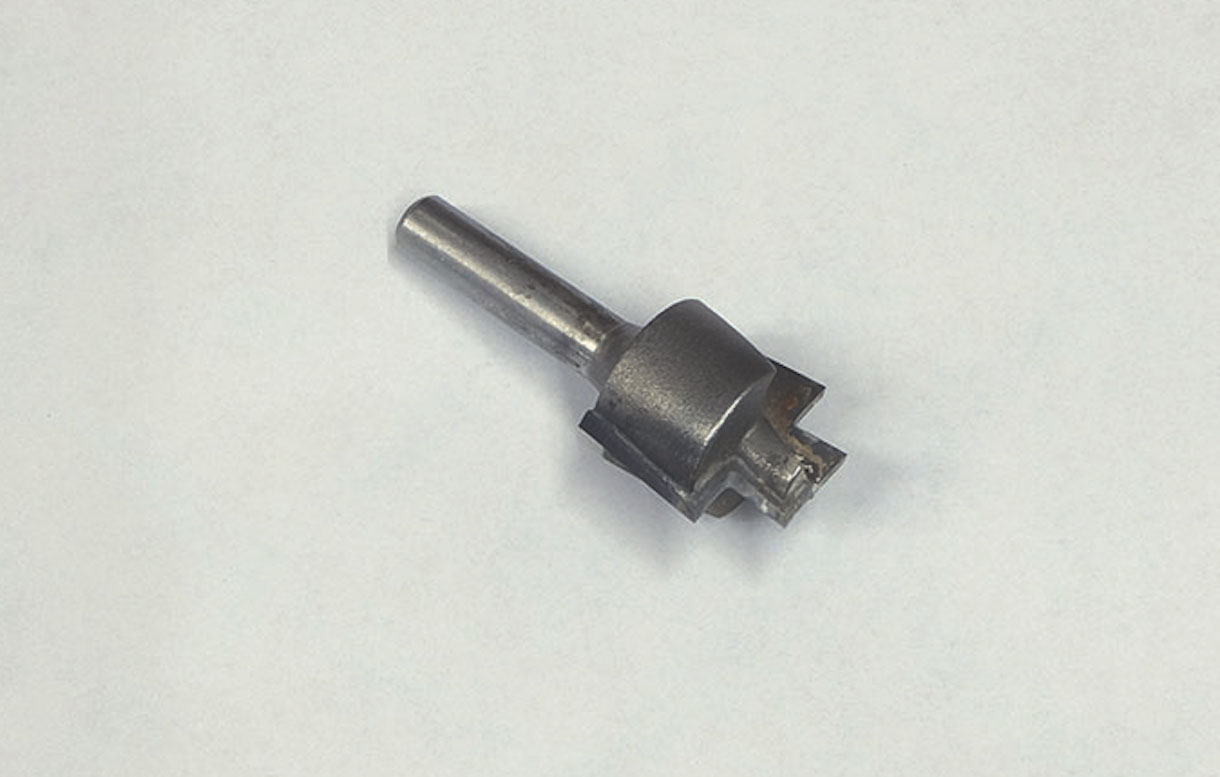
7. The recesses can be cut using two different size router cutters, but cutters are available that cut both recesses simultaneously for bookcase strips
8. Next, the length of the strips need to be worked out for the top and bottom sections. One section of each is marked, the remaining sides and partitions can be marked from those two. How far in from the front and back edges the strips are placed is the next concern. If the strips are to be recessed in either side of the partitions they need to be offset so as not to break through the board. I tend to decide this on how the piece is to be viewed. In this case, the dresser is viewed mainly from one direction, so I placed all the left-hand strips in the same position and offset all those on the right
9. You can also offset the strips in sections. For example, working from left to right of this dresser, sections one and three would match and sections two and four would be offset
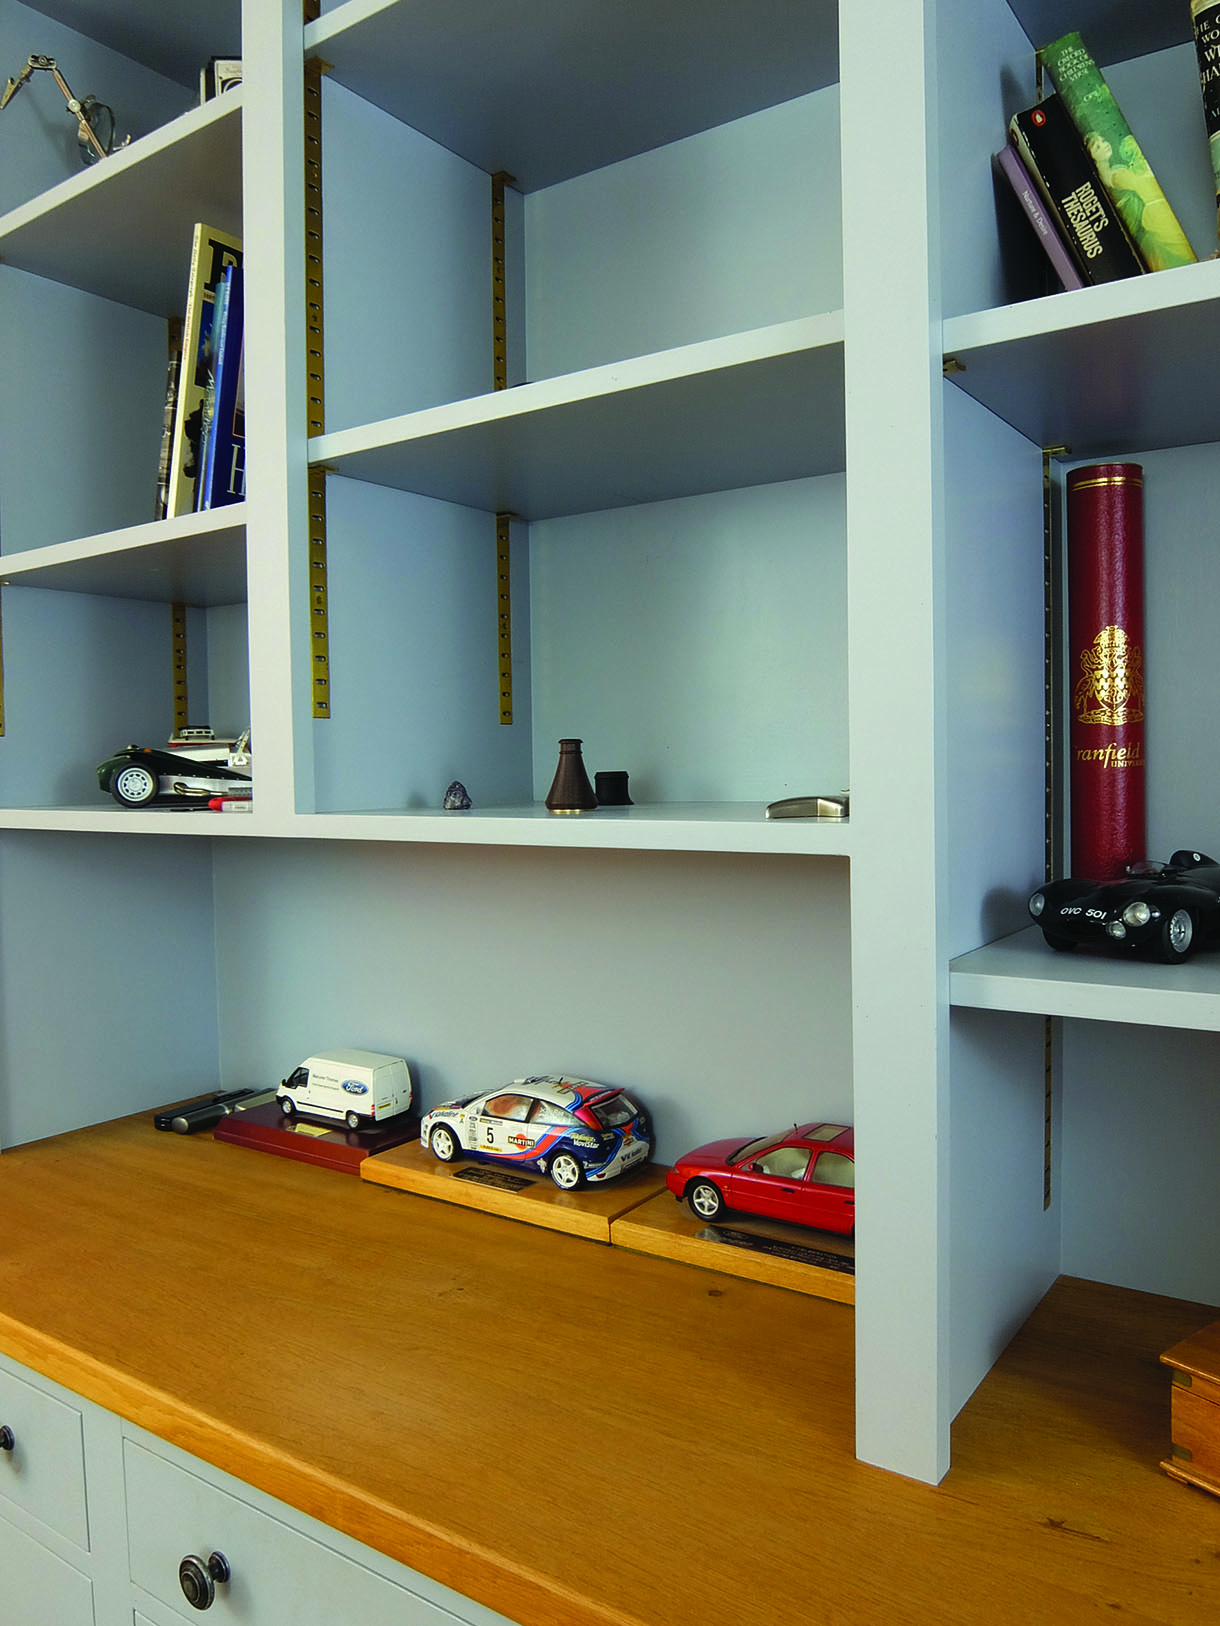
10. In this case the shelves are placed behind the front frame so tipping will be difficult. Were the shelves between the frame I would tend to move the strips further towards the front of the shelf or recess the rests into the underside
11. Set the depth of the cutter from a test section kept for this purpose
12. For a cleaner cut make two passes with the router, the first to the depth of the back rebate
13. Then, for each pass of the router, cut all the strip recesses in that position before altering the router for the final depth required. Follow the same procedure for moving the fence for the different offsets from the edges. Once all the recesses are cut, cut out the ends square, keeping the bottoms level with each other. Use a square to score across the bottom ends and up the sides
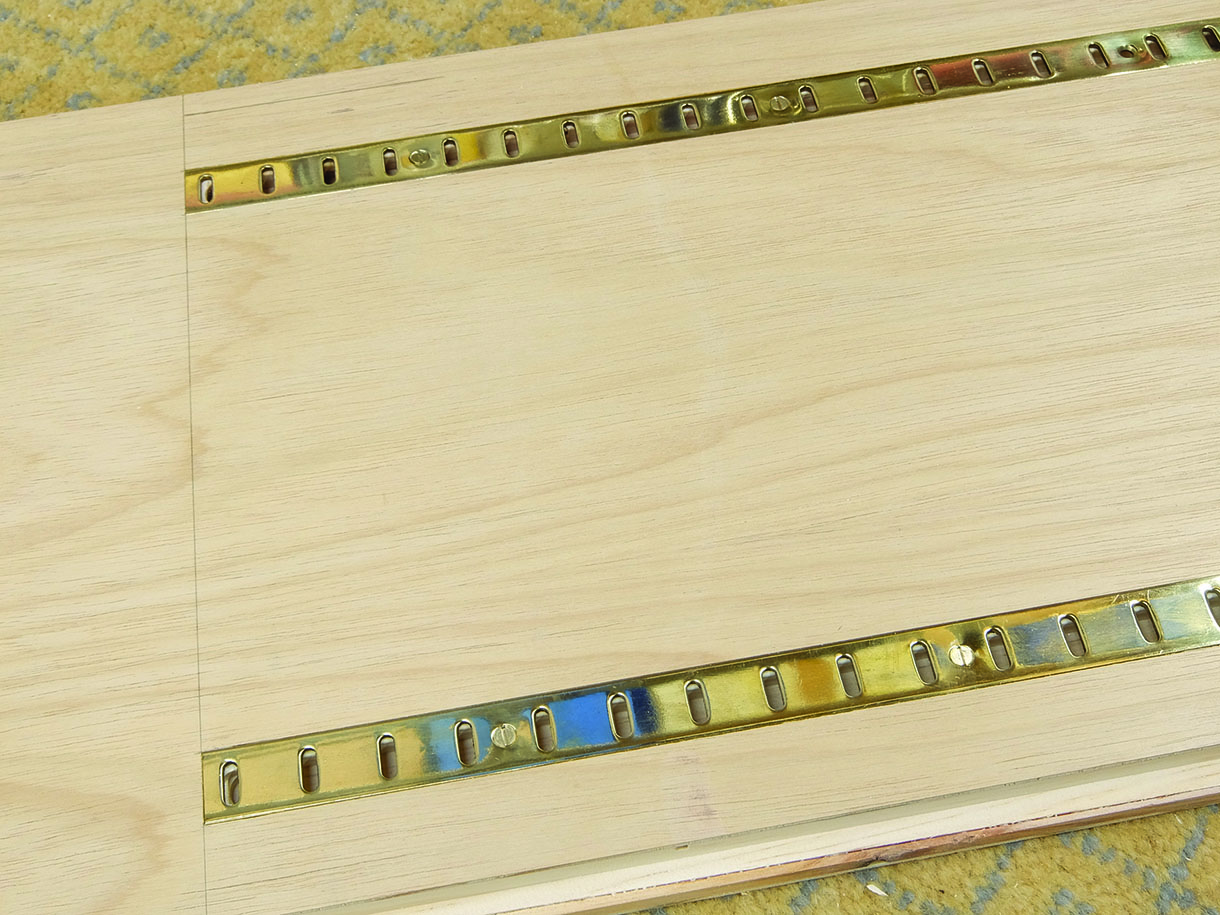
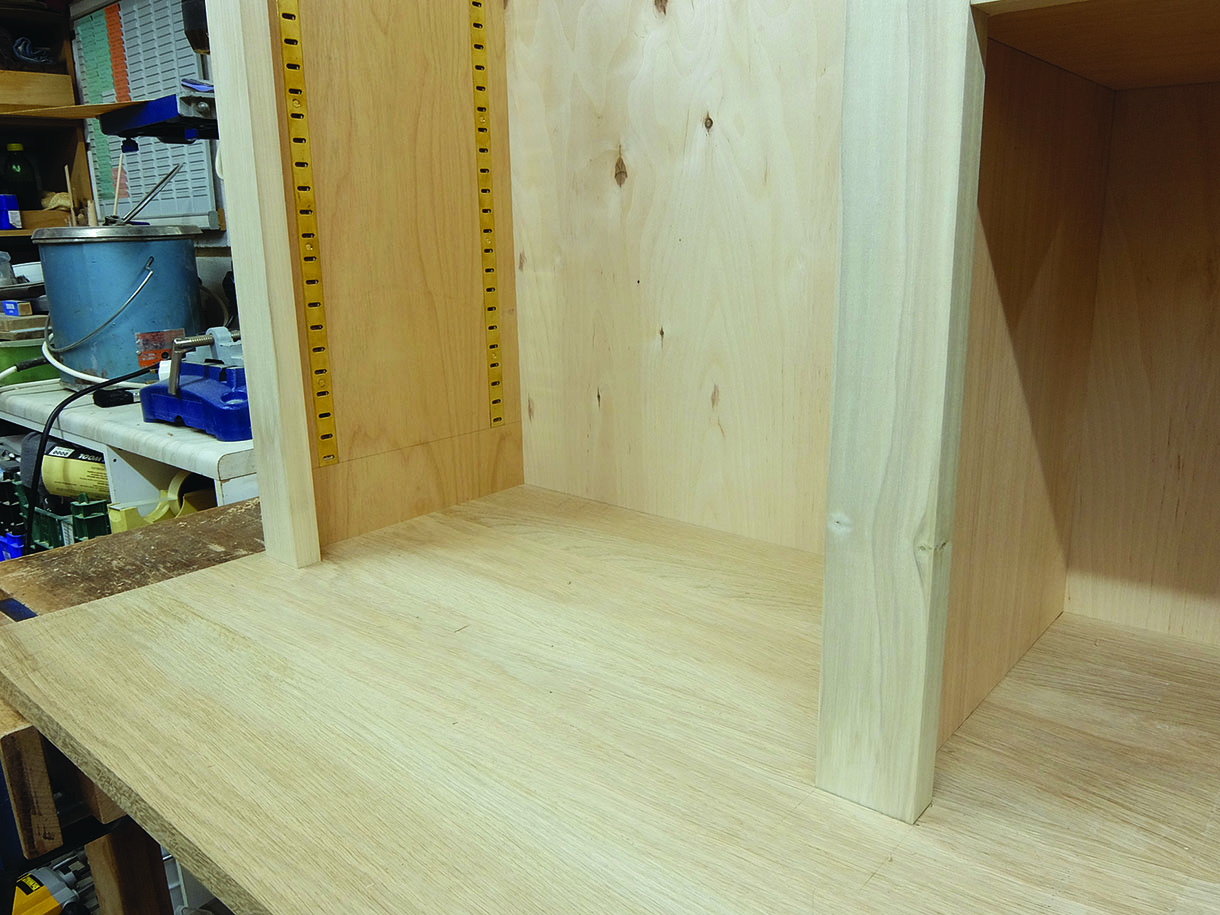
14. Remove the remaining waste with a chisel before inserting the bookcase strips and screwing them into place. I always use slotted screws for fixing the strips as it looks far neater with the slots parallel to the adjustment holes for the rests
Cutting into the oak top
15. With the design of the dresser, the two middle sections have a fixed bottom shelf, but this left little
to position the sides and partitions and keep them in place. With the top 30mm thick I decided to extend the top sides and partitions by 5mm and cut these into the oak top. The back was also extended and fixed into a rebate which made the top section solid with no chance of it moving out of line or square
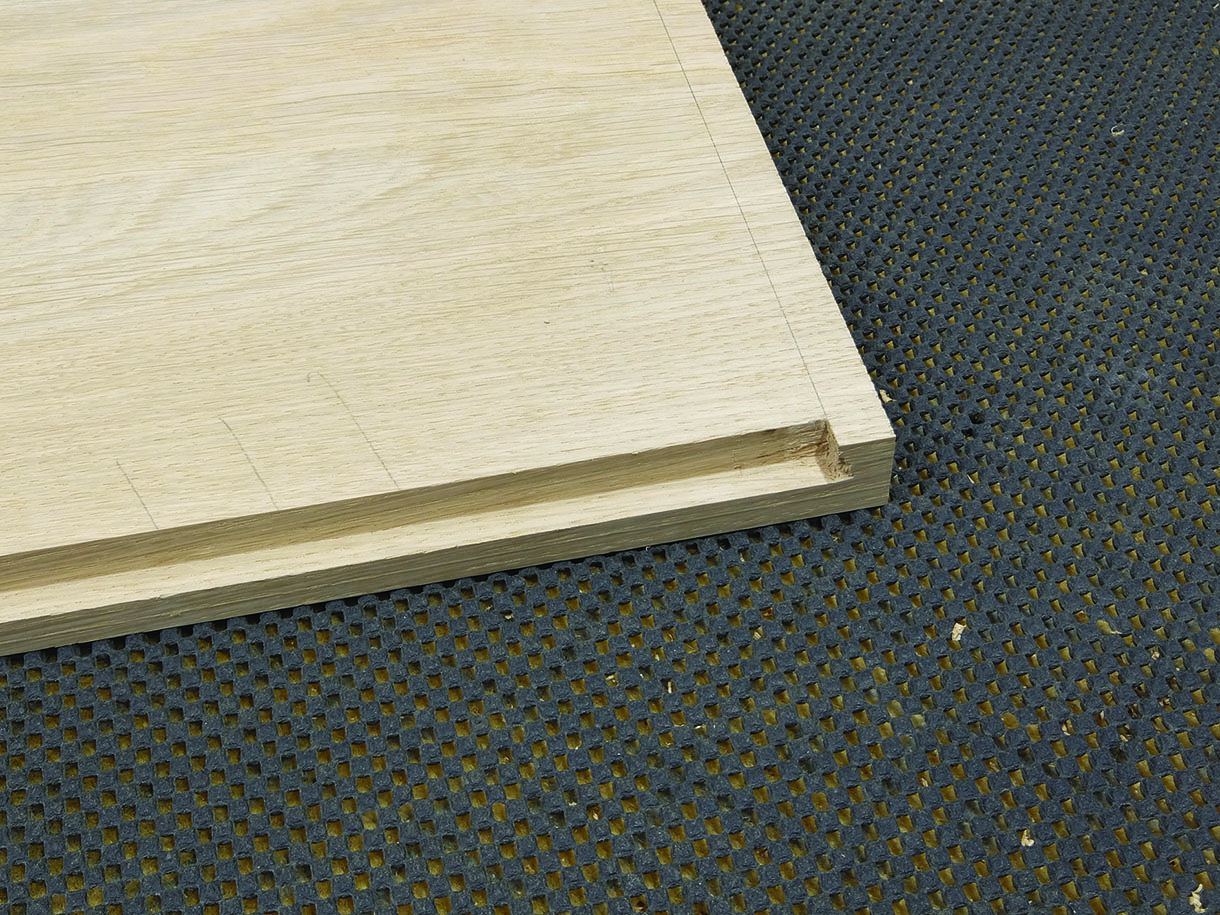
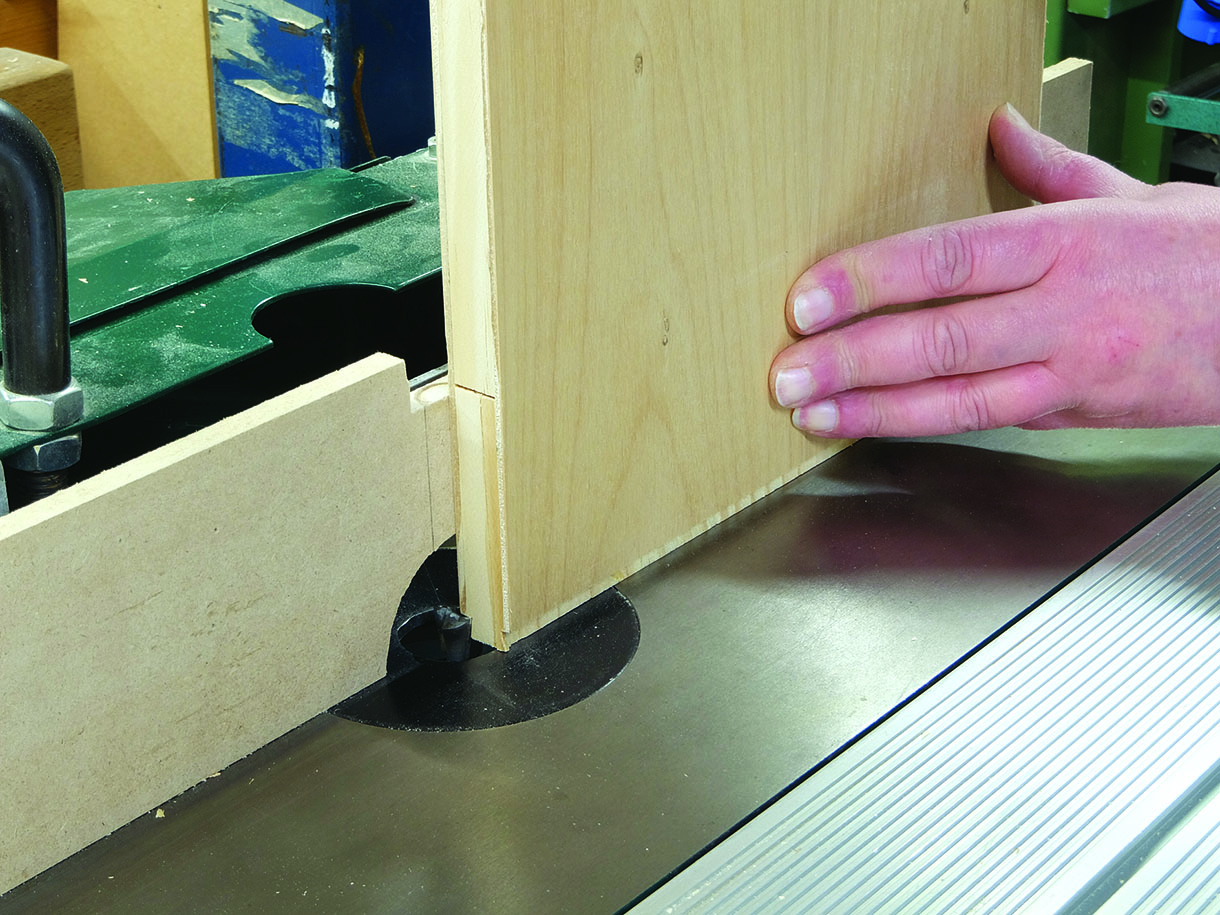
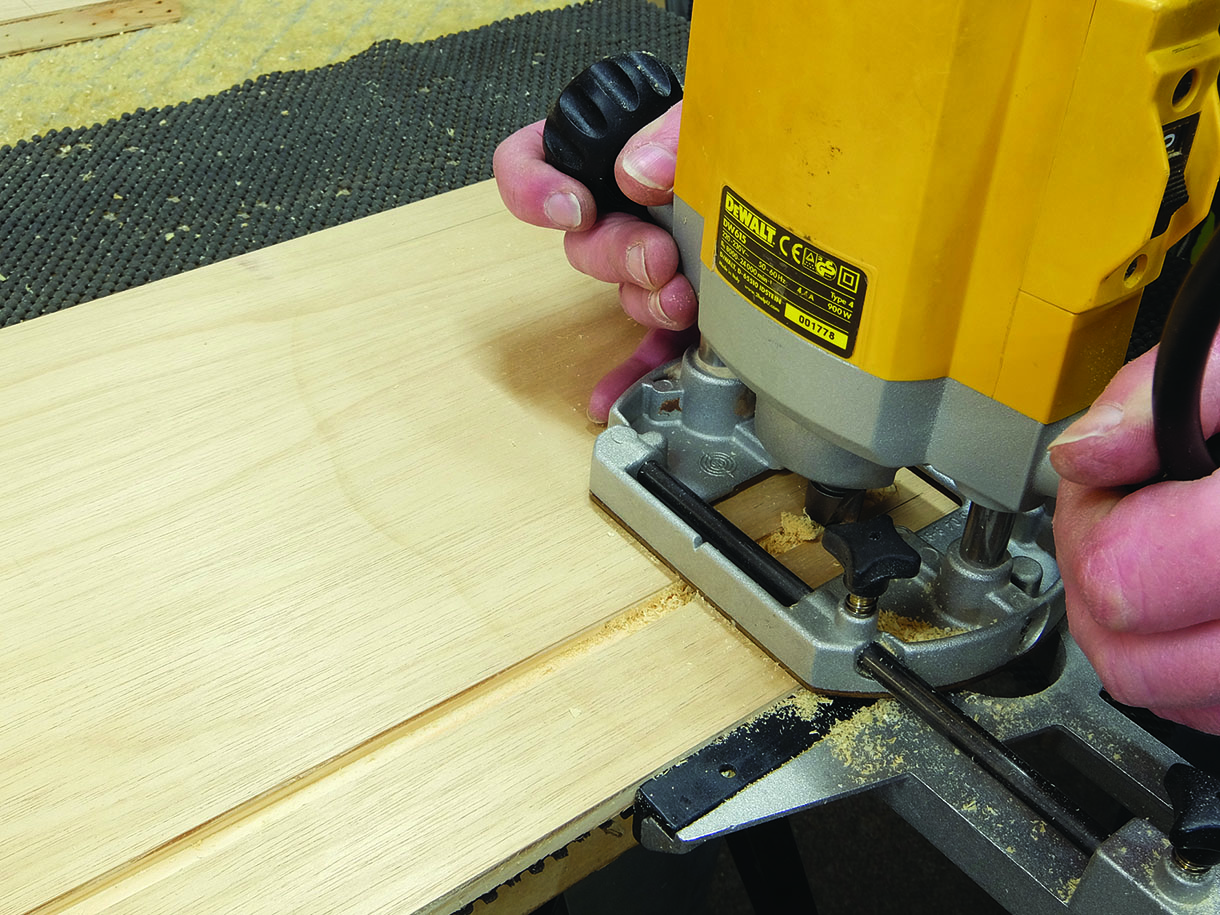
16. Firstly, cut the rebate for the back panel; this has a depth of 10mm to allow the back to be screwed into place and stops in from either end. With a straight cutter take the rebate out over three passes to obtain a cleaner cut with less chance of breakout on the oak. Then, lift the top section onto the top and position the back in the rebate. Now bring the sides into position, parallel with the end of the top and check with a square, then mark their position. Follow the same procedure for the two partitions
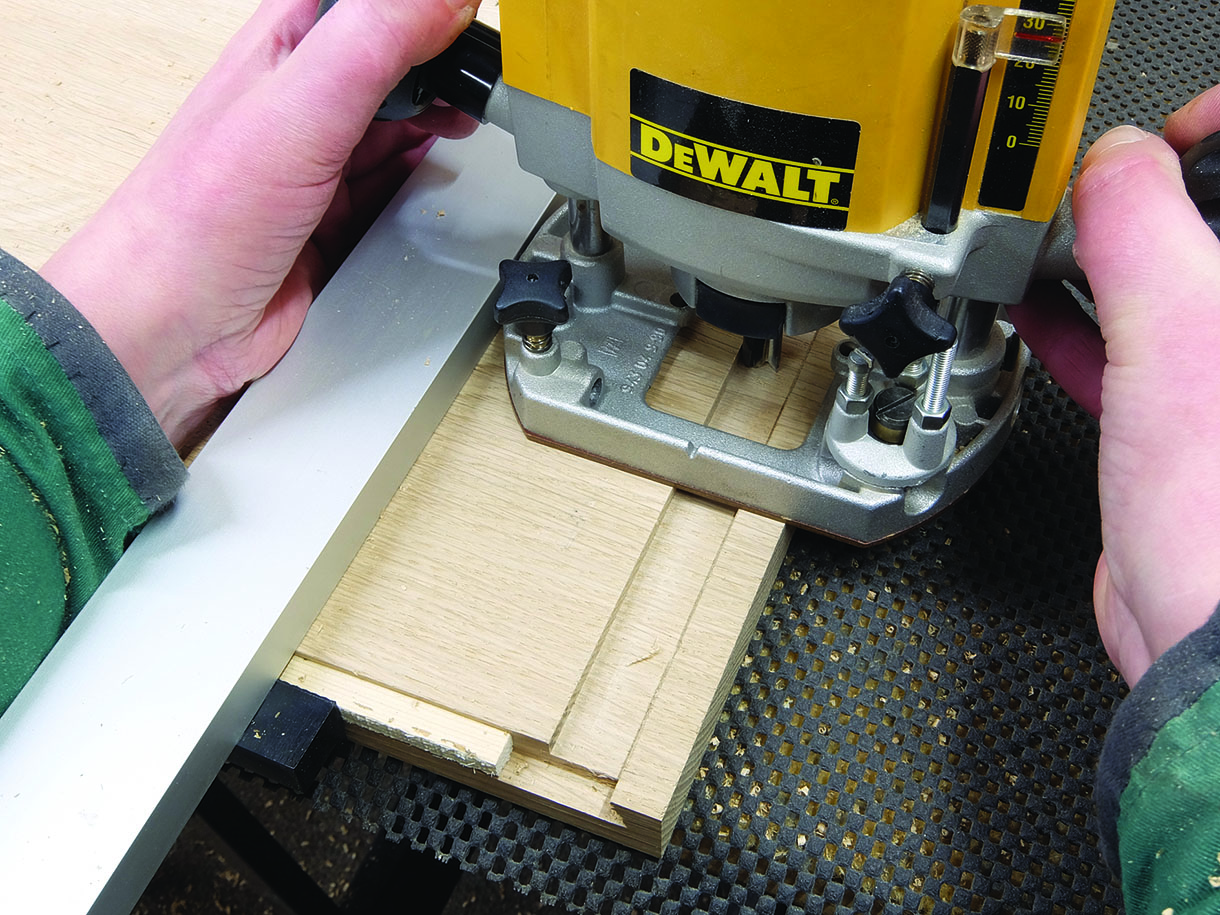
17. Using a guide clamp as the fence for the router, cut a groove for each side and partition, stopping at the front edge and running through at the back
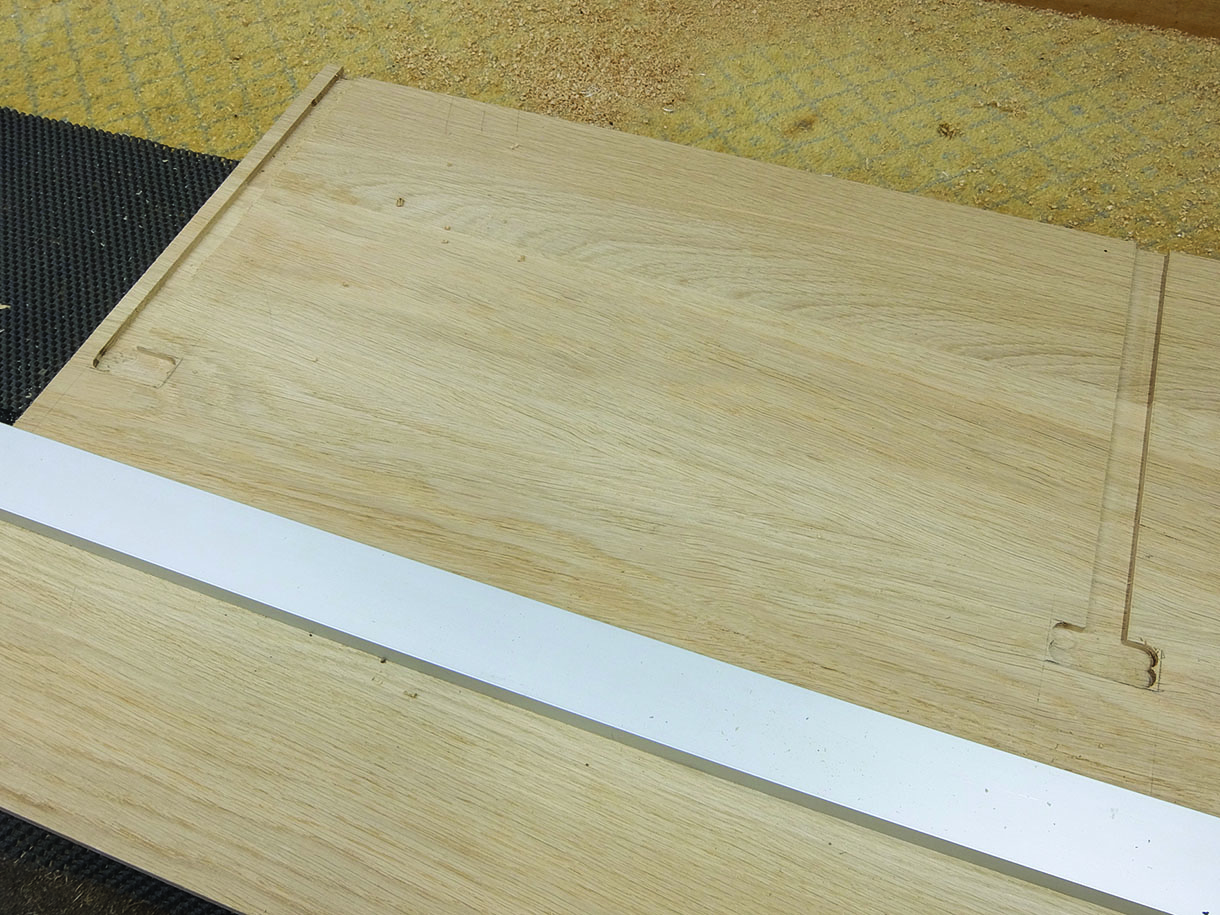
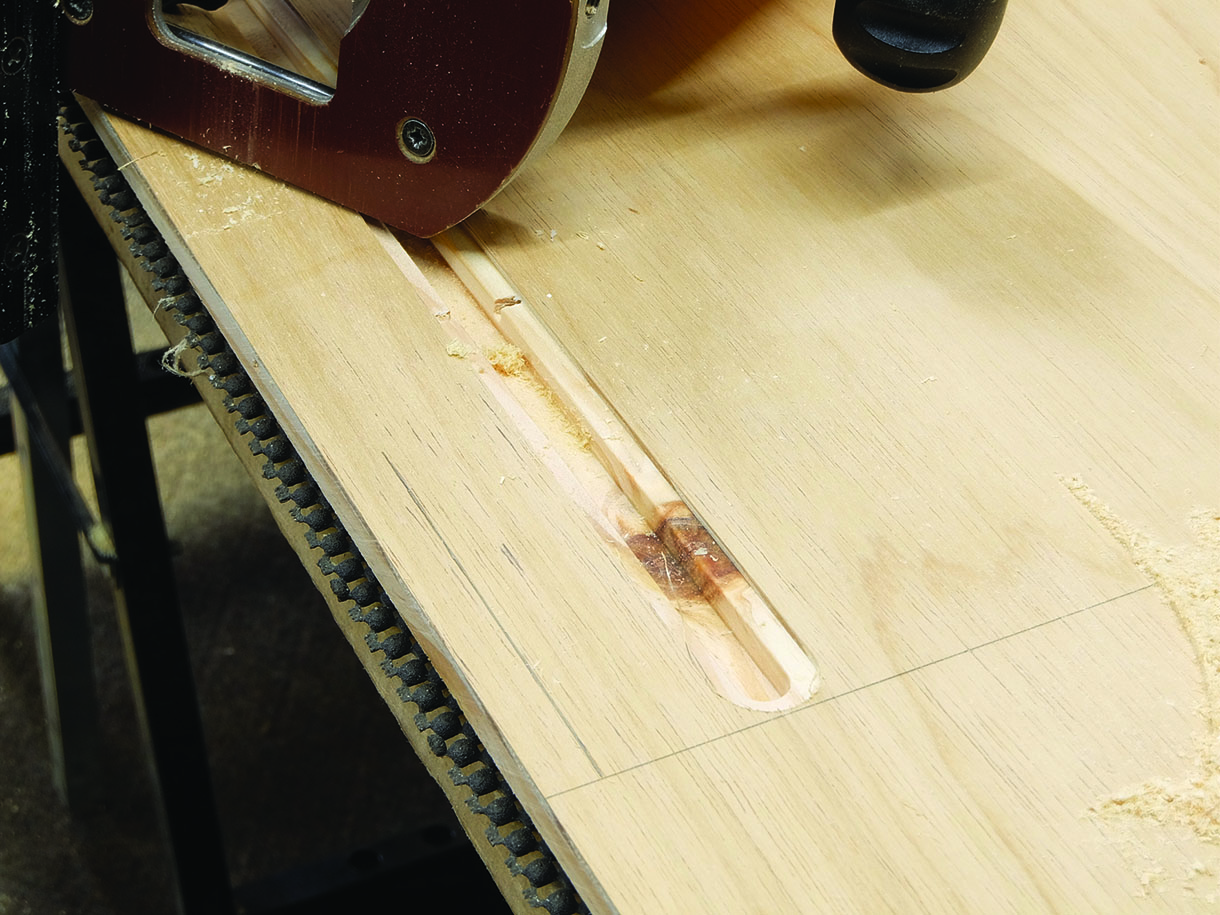
18. Once the sides and partitions fit tightly in the grooves, mark the front frame and cut out the areas in the same way as the grooves. Use a straight edge to rout out the front edges of the cut-outs and then move the straight edge back to cut the back edge of the frame
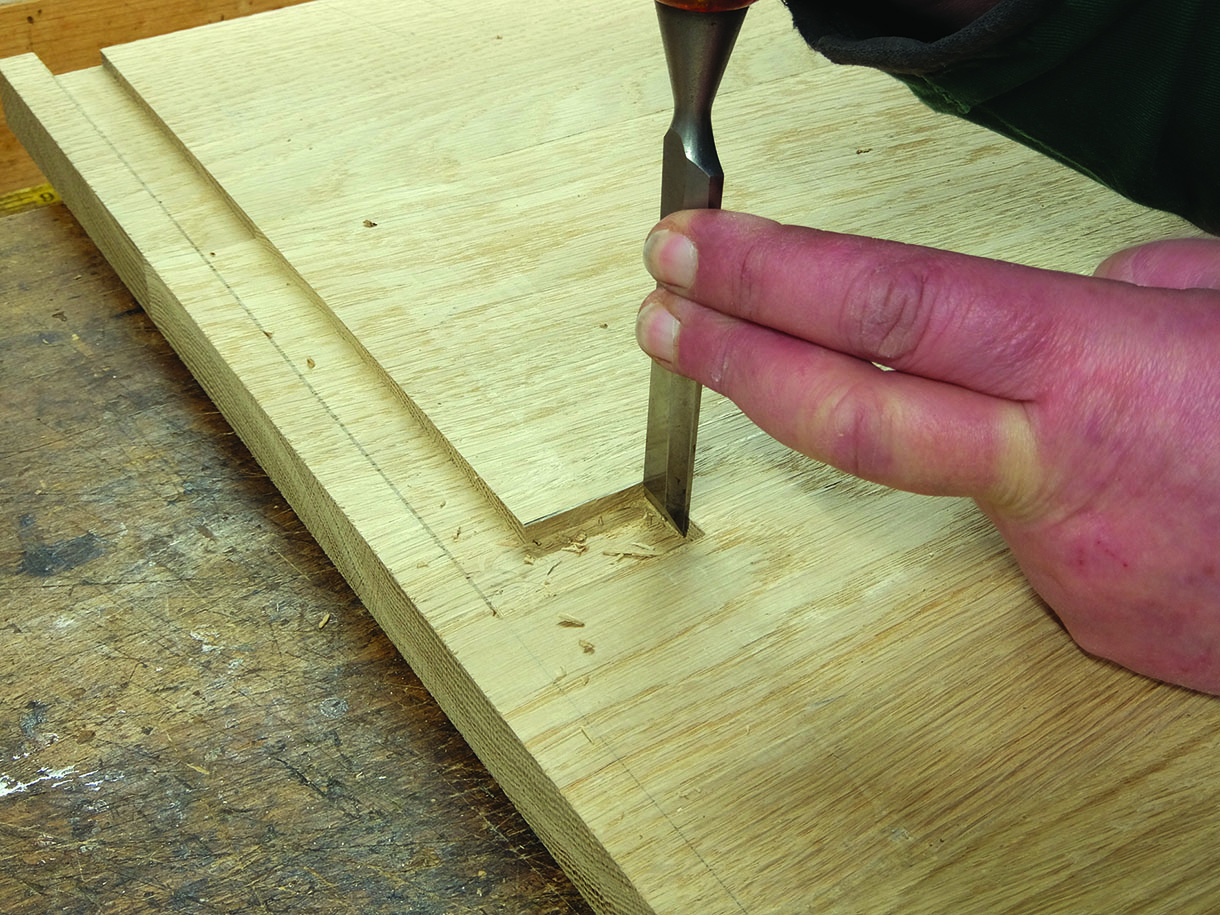
19. The corners can now be cleaned out using a mallet and chisel
20. The end result should be the upper section locked into place within the top. Drill through the grooves in order to countersink under the top and then pull both sections together with screws so that the two can be separated for painting and finishing
Main construction continued
21. With the carcass together, form the doors using mortise and tenon joints with the centre panel rebated into the frame. Fit with solid drawn bass butt hinges, recessed into the door frame and carcass, then fasten using magnetic catches. Lap dovetail the drawers at the front and through dovetail at the back, all cuts done with a dovetail jig and the bottom panel fitted into a rebate. They run on wooden drawer runners attached to the partitions behind the drawer rail. On top of these runners are the drawer guides that will steer the drawer into the carcass properly. Add the cornice and skirting mouldings before the top and bottom carcass are separated and mask as required for painting the piece. Next, remove the oak top and finish it with Danish oil. Once the top and top carcass are re-joined the dresser is ready


