Tablesaw Magic
Even the best tablesaws can be difficult to set for accurate and reliable cuts. Jim Duxbury gives us some handy workshop tricks to make the job easier
Recently I have become less dependent on making measurements and marking cut lines on boards. They are time-consuming, inaccurate and almost impossible to duplicate. The following three tips are easy to do and inexpensive to make. In fact, for the most part, scrap blocks of hardwood and a little thought yield fantastic results. Note: manufacturers make a variety of configurations of tablesaws so some adaptation may be required.
Tip 1: Calibrating the saw rip fence to the ruler on the fence clamping bar
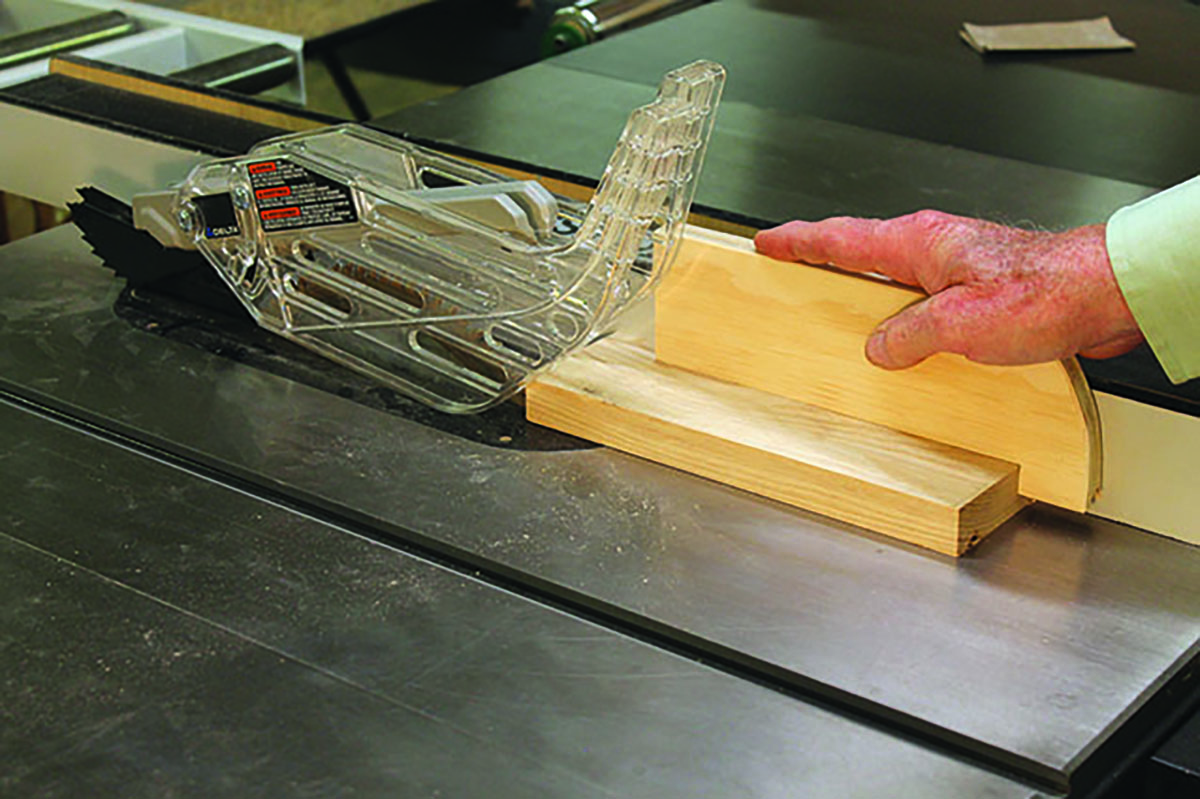
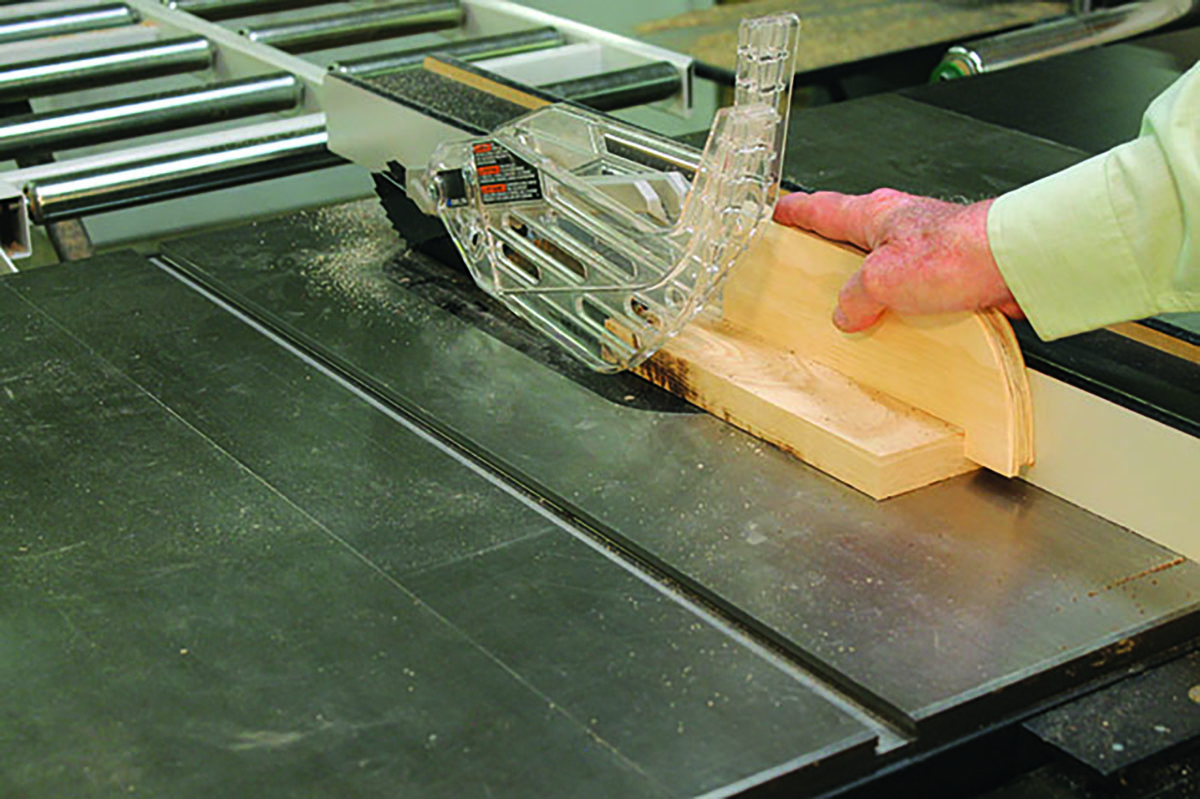
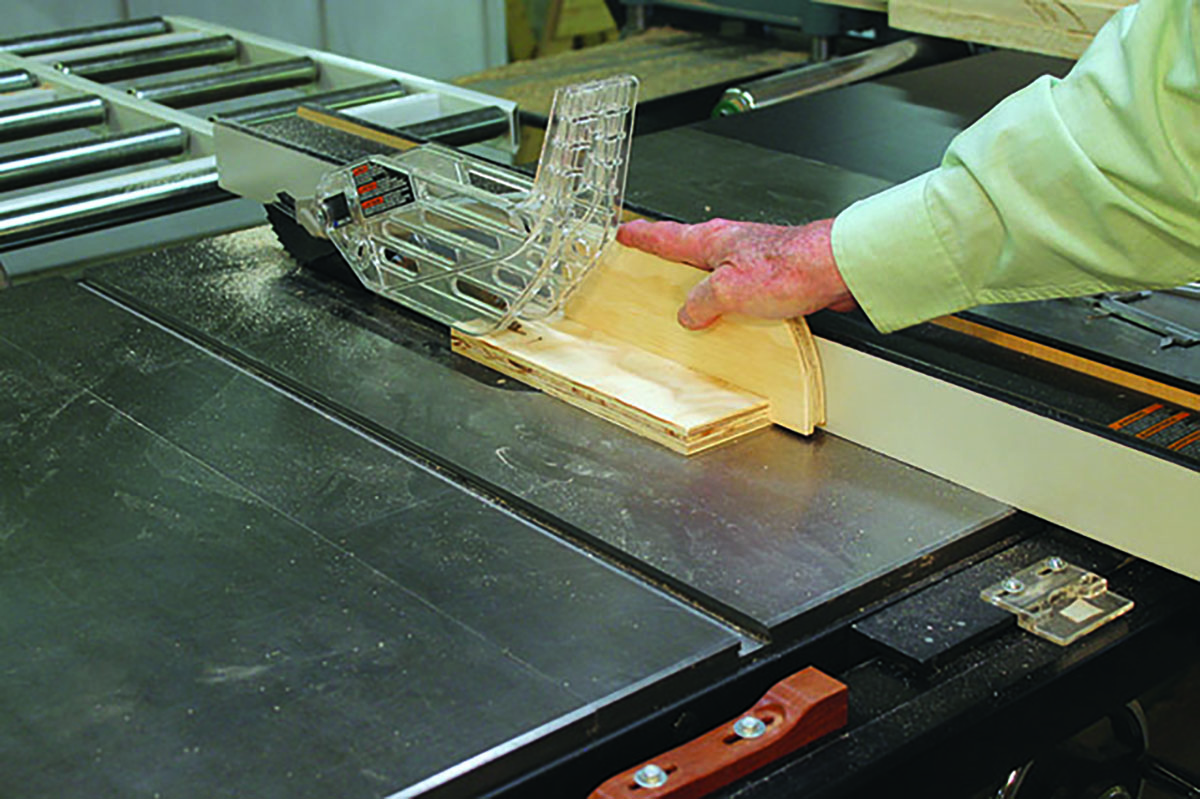
1. This is simple to do, dependable and yet is seldom done. Begin by setting the fence about 50mm from the blade and clamp it down firmly. Take a block of wood that has been jointed on one long side, put the jointed side against the fence and, with a pushstick, make the cut.
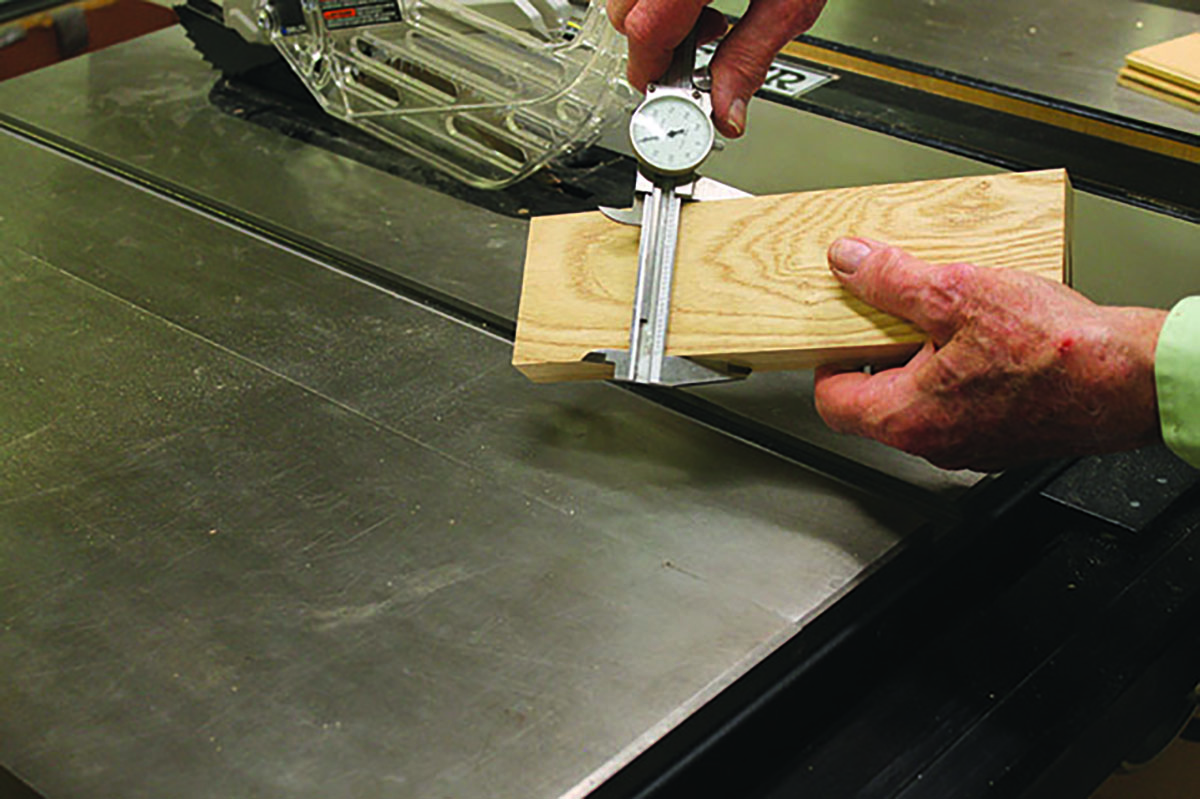
2. Now use callipers to measure the exact width of the piece just cut.
3. Then from this dimension adjust the rip fence gauge to read the same measurement on the clamping bar rule. Lock the fence gauge in place. With this small adjustment you have eliminated measuring from the tip of one tooth to the side of the rip fence and then having to make multiple test cuts to get it perfect. Speed and accuracy improve along with the ability to use other jigs, as you will see later on.
Tip 2: cutting multiple pieces of wood to the exact same width
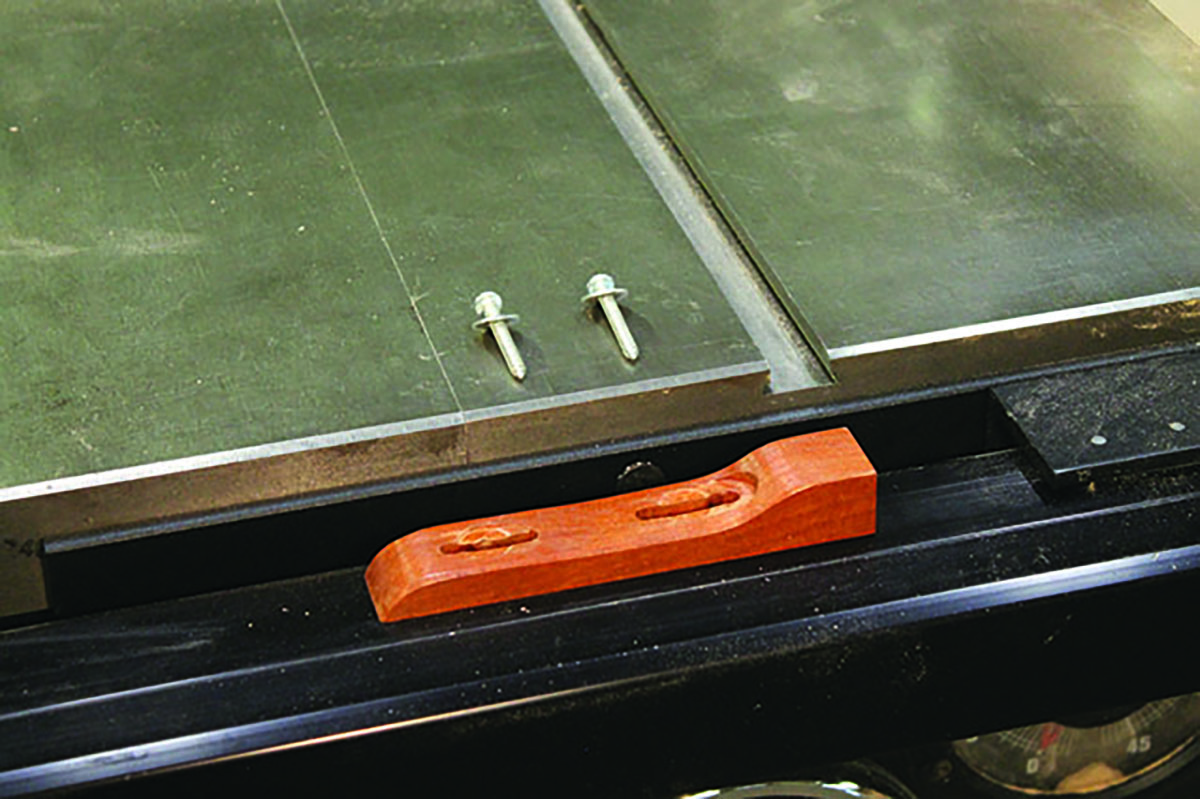
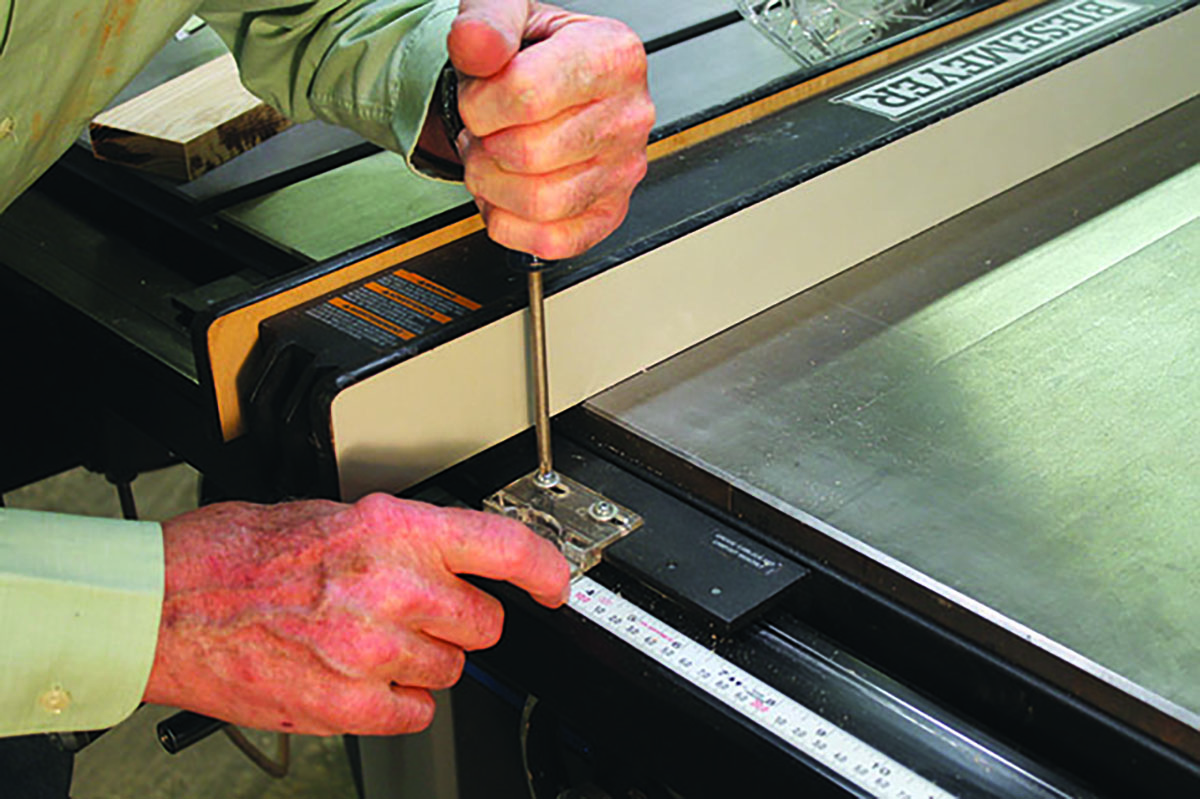
1. Measuring, setting and sneaking up on this cut setting takes time and can be frustrating. A gauge makes this process simple and fast. To make this gauge, I have used a piece of hardwood about 180mm long x 25mm wide and 16mm thick. Be sure the thickness does not make this piece higher than the saw table top as it may be an obstruction in other operations. Now make two slots for the No.12 screws with washers shown lying on the table top. Slots can be made by drilling four end holes about 25mm on centre and sawing out the centres with a scroll or coping saw.
2. Next, take a piece of hardwood scrap jointed on one side and make a cut about 50mm wide. Do NOT move the rip fence. Take the cut piece and place it at the end of the rip fence clamp and hold the new gauge against it. Locate and drill two holes in the clamping bar for the metal screws.
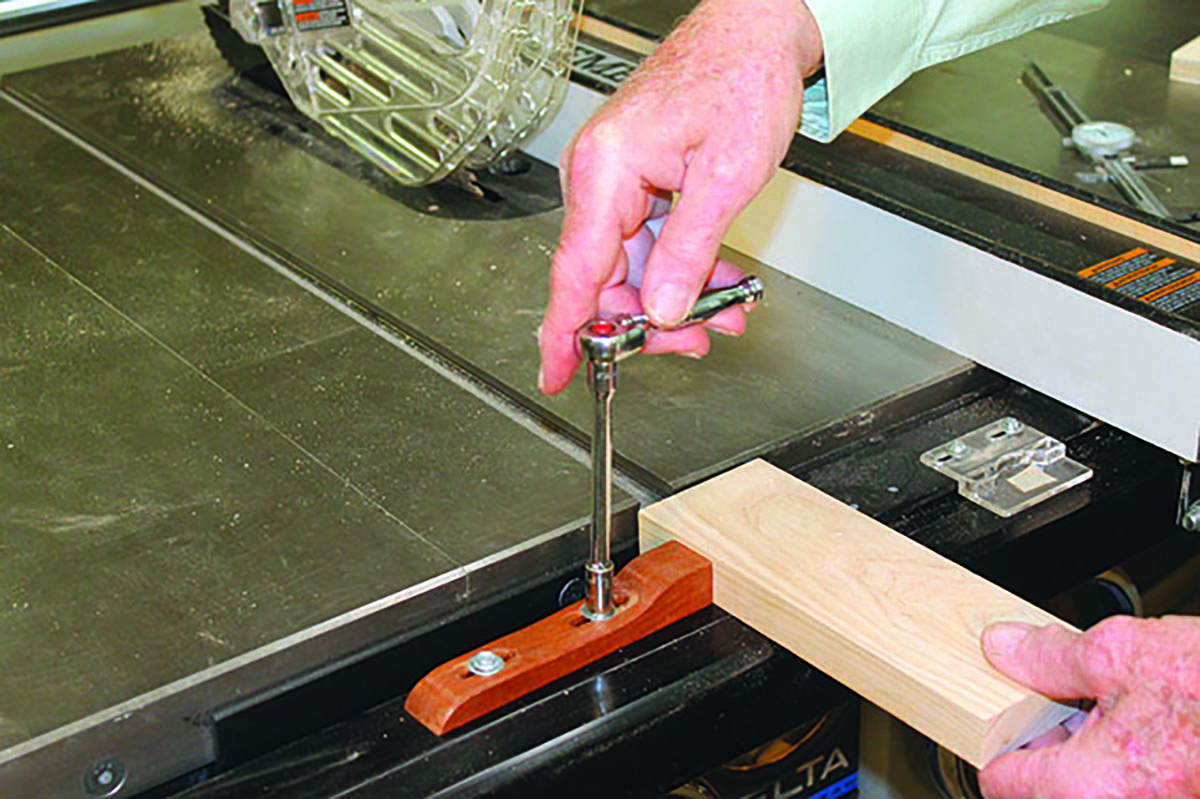
3. Drill the clamping bar and mount the gauge with screws in the middle of the slots. Take the previously cut piece and hold it against the fence bar, bring up the gauge so that it is just snug and tighten the mounting screws. This gauge is now set.
4. To give it a try, move the rip fence away. Take a scrap piece of wood you would like to duplicate the width of, place it against the gauge and bring the ripsaw fence up to it. Lock the fence in place.
5. Take another piece of wood wider than the first and rip it.
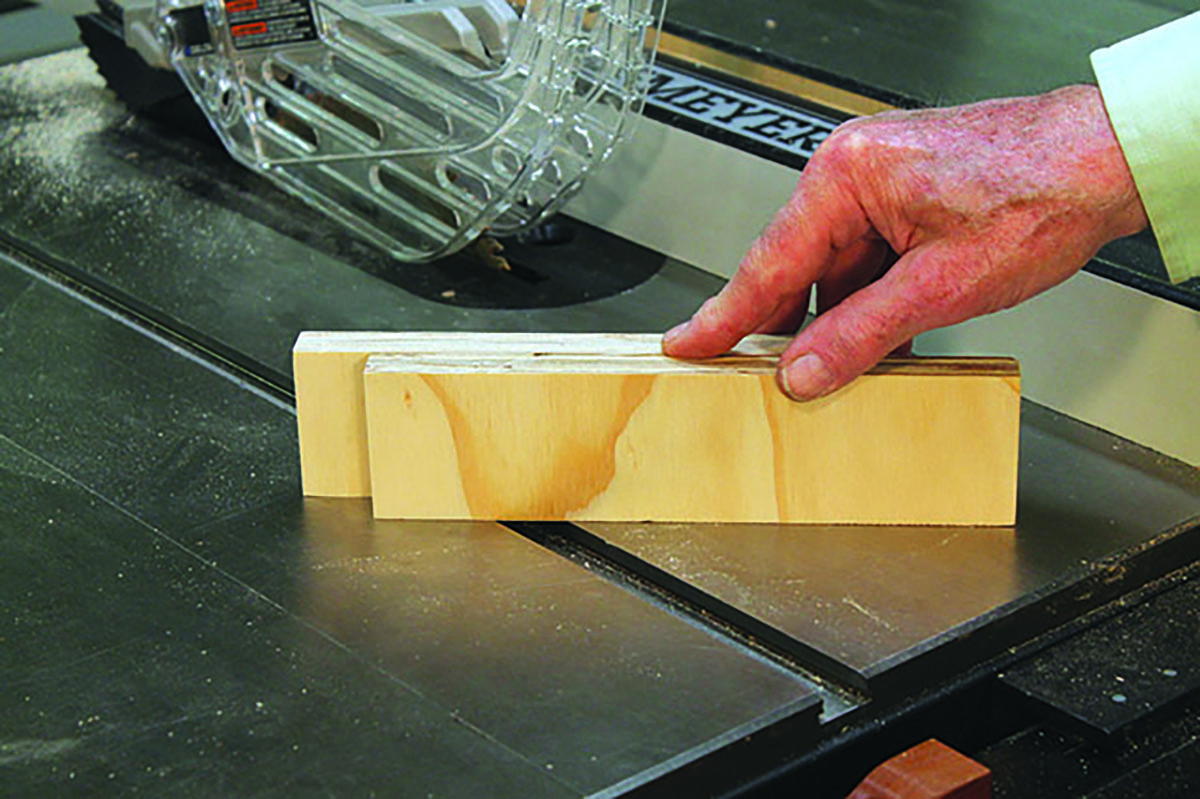
6. Two pieces of the exact same width. It’s magic!
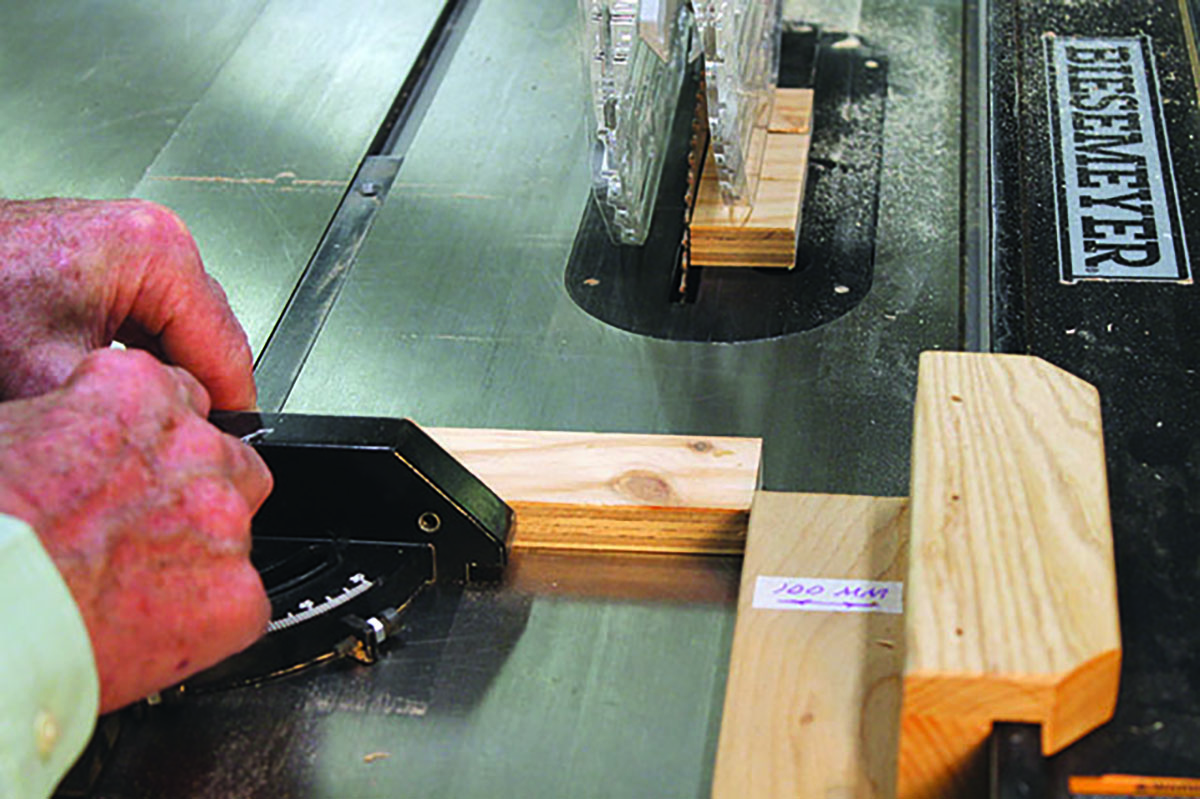
Tip 3: accurate cross cutting on the tablesaw using the mitre gauge
1. Multiple pieces can be cut with the use of this mitre gauge and the rip fence as an end stop, however this requires a space to be left between the end of the board being cut off and the rip fence. This is very important. Without that space the cut off piece can get trapped between the blade and the fence causing the piece to wedge and fly back.
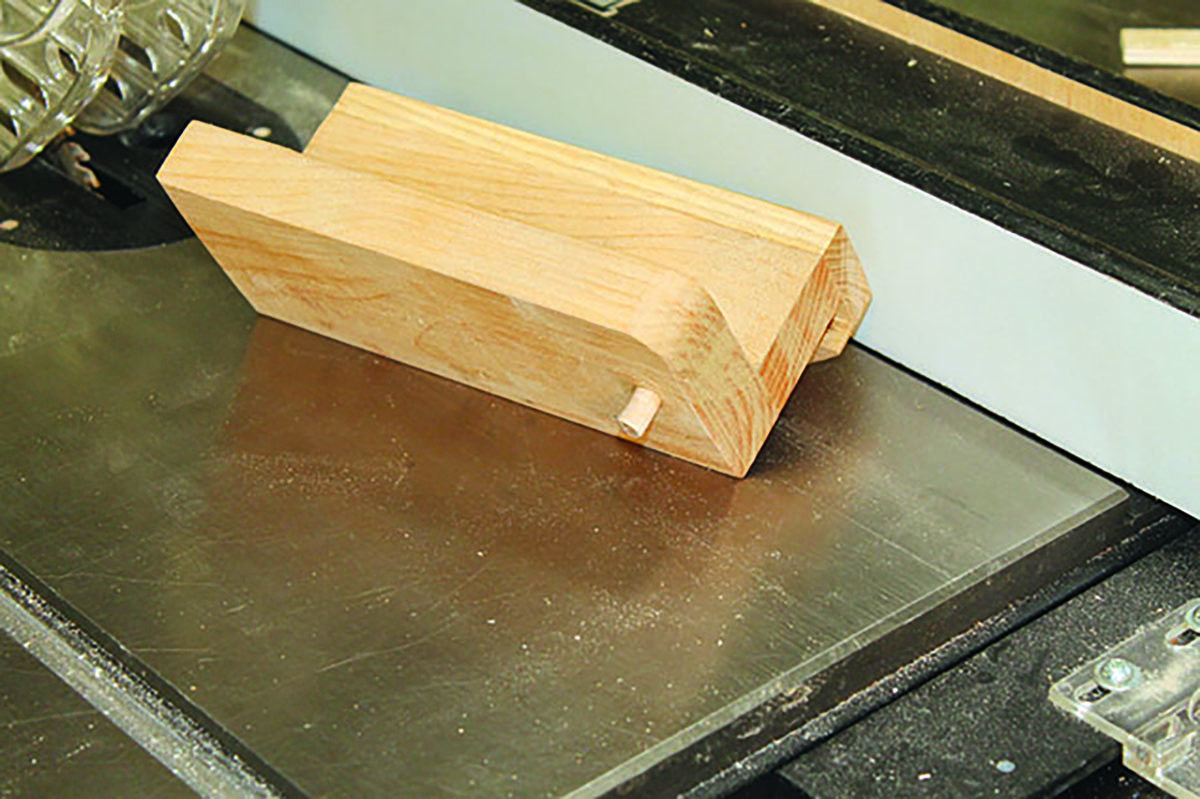
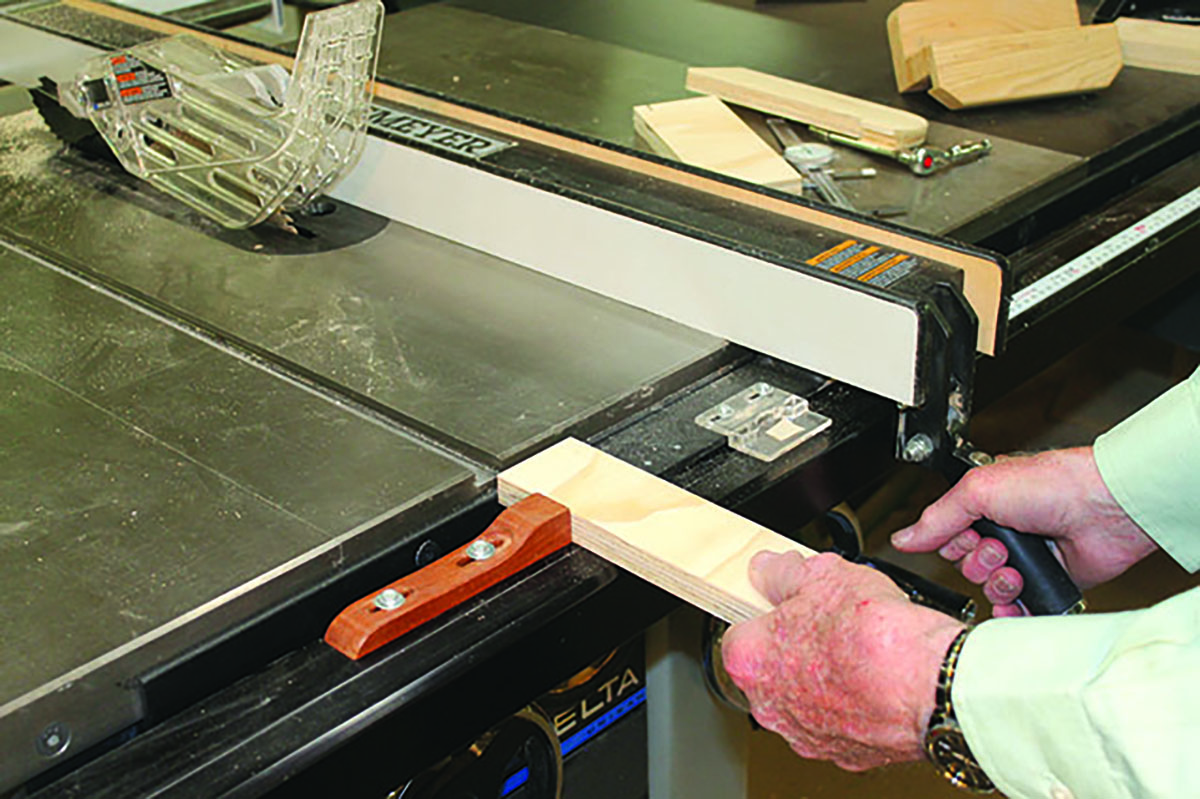
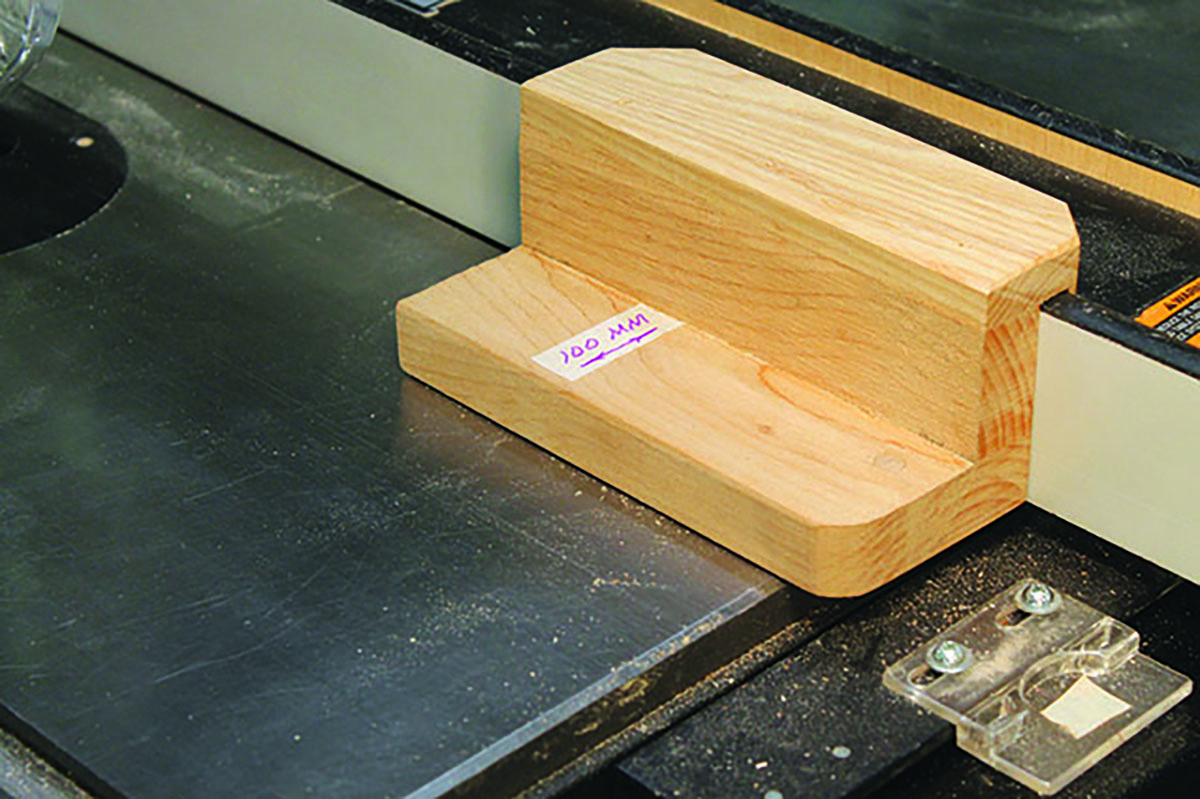
2. To provide for this space, I am using a 100mm spacer. This spacer consists of a piece of hardwood, about 200mm long, cut exactly 100mm wide. Calliper this width to be sure it is exactly 100mm wide, then drill a 6mm hole in the end of the spacer and glue in a short length of dowel. This dowel fits down at the end of the saw table so that the gauge cannot travel towards the blade. The vertical piece and top piece that hooks over the rip fence is optional and has to be custom made to fit the fence configuration. You may just use the 100mm spacer piece and the vertical piece with a clamp securing the gauge to the rip fence. This works fine also but requires another step and a clamp. The important part is the 100mm dimension and the previously calibrated fence setting. When this spacer is completed, install it on the saw rip fence. Now, for example, if you want multiple pieces exactly 48mm long, set the rip fence to 148mm. 100mm + 48mm = 148mm.
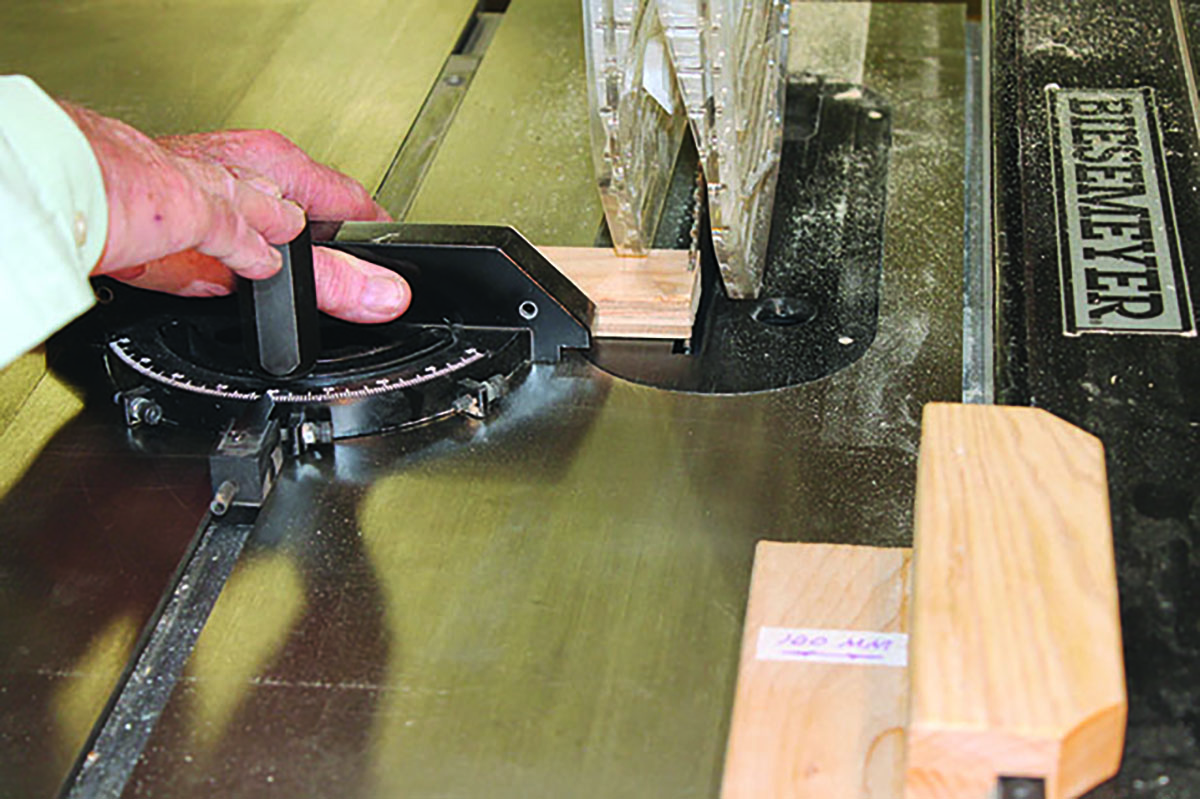
3. Next, with the use of the crosscut gauge, make a small cut to square and clean up the end of the board.
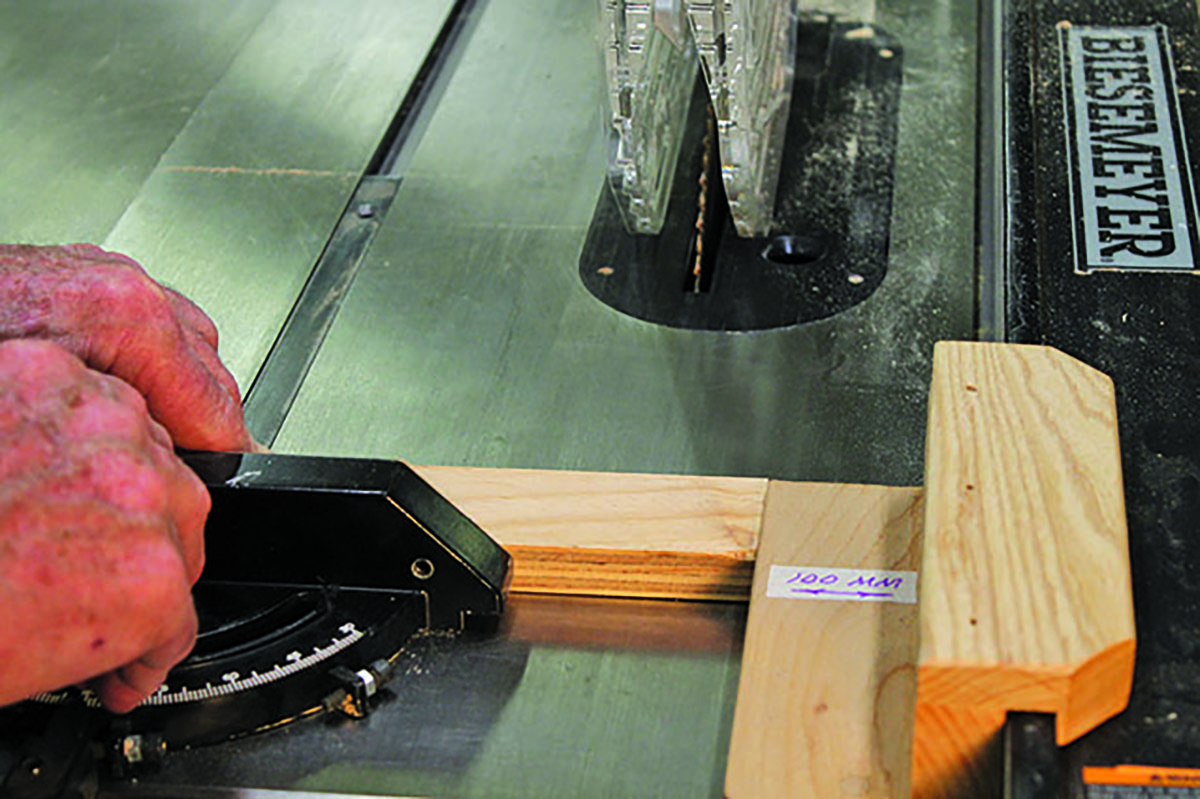
4. Then bring the crosscut gauge back…
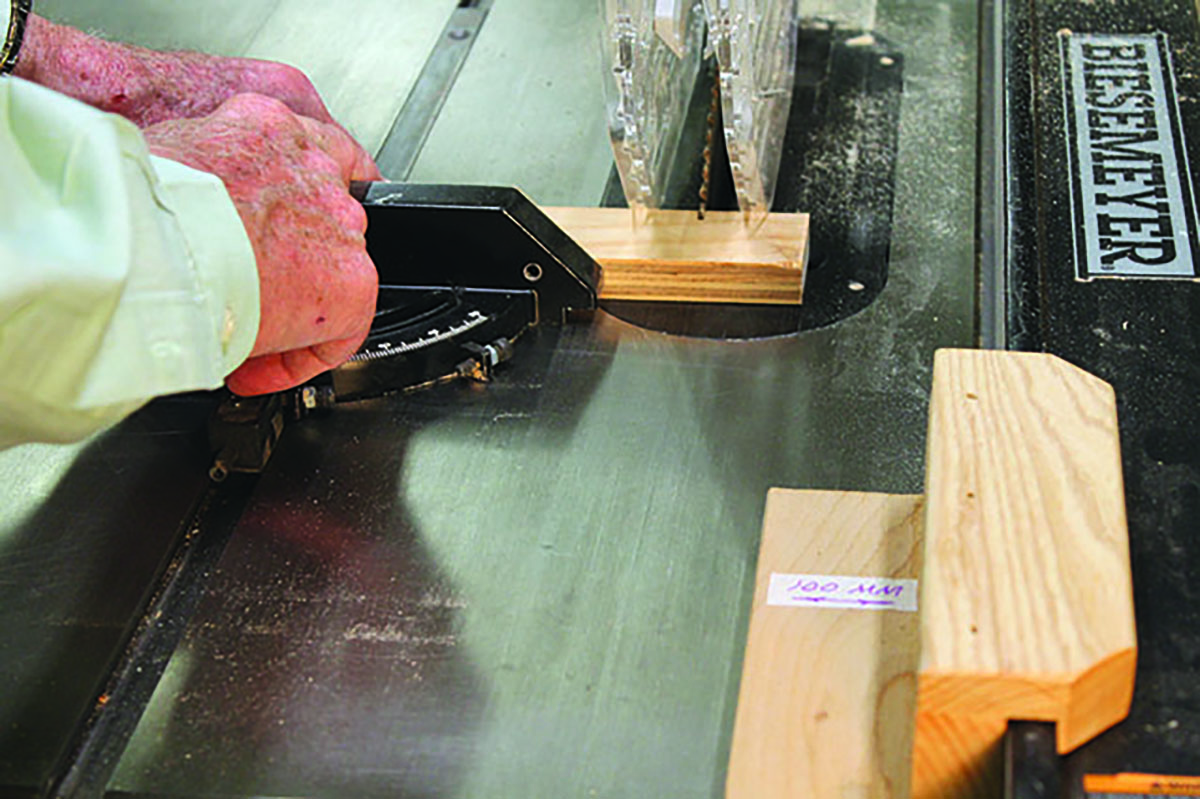
5. … extend the piece to the new gauge and make a cut. Repeat this to cut a second piece and then as many more as you like.
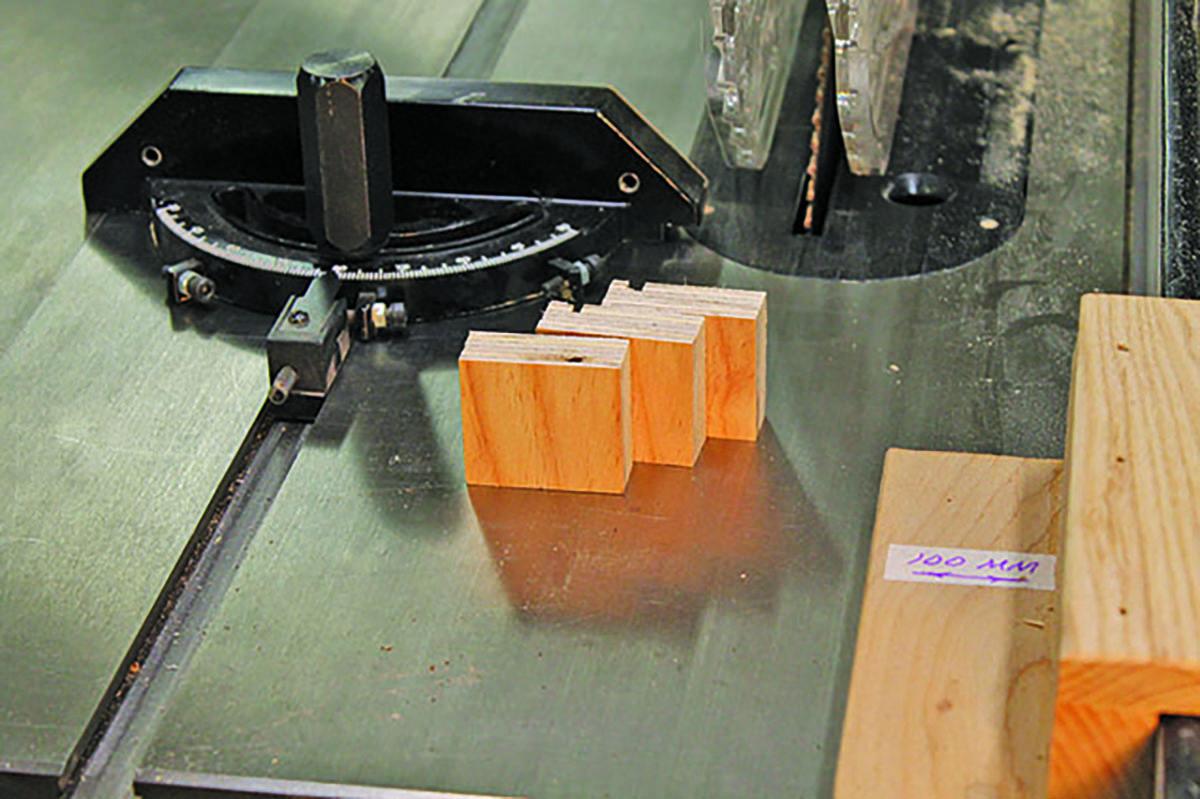
6. Lay the pieces on their sides and check the length. All exact – with no pencil lines or rulers!


