Oak Leaf Dragon

0

Oak Leaf Dragon
Duane Cartwright carves a mythical oak leaf dragon

Duane Cartwright carves a mythical oak leaf dragon

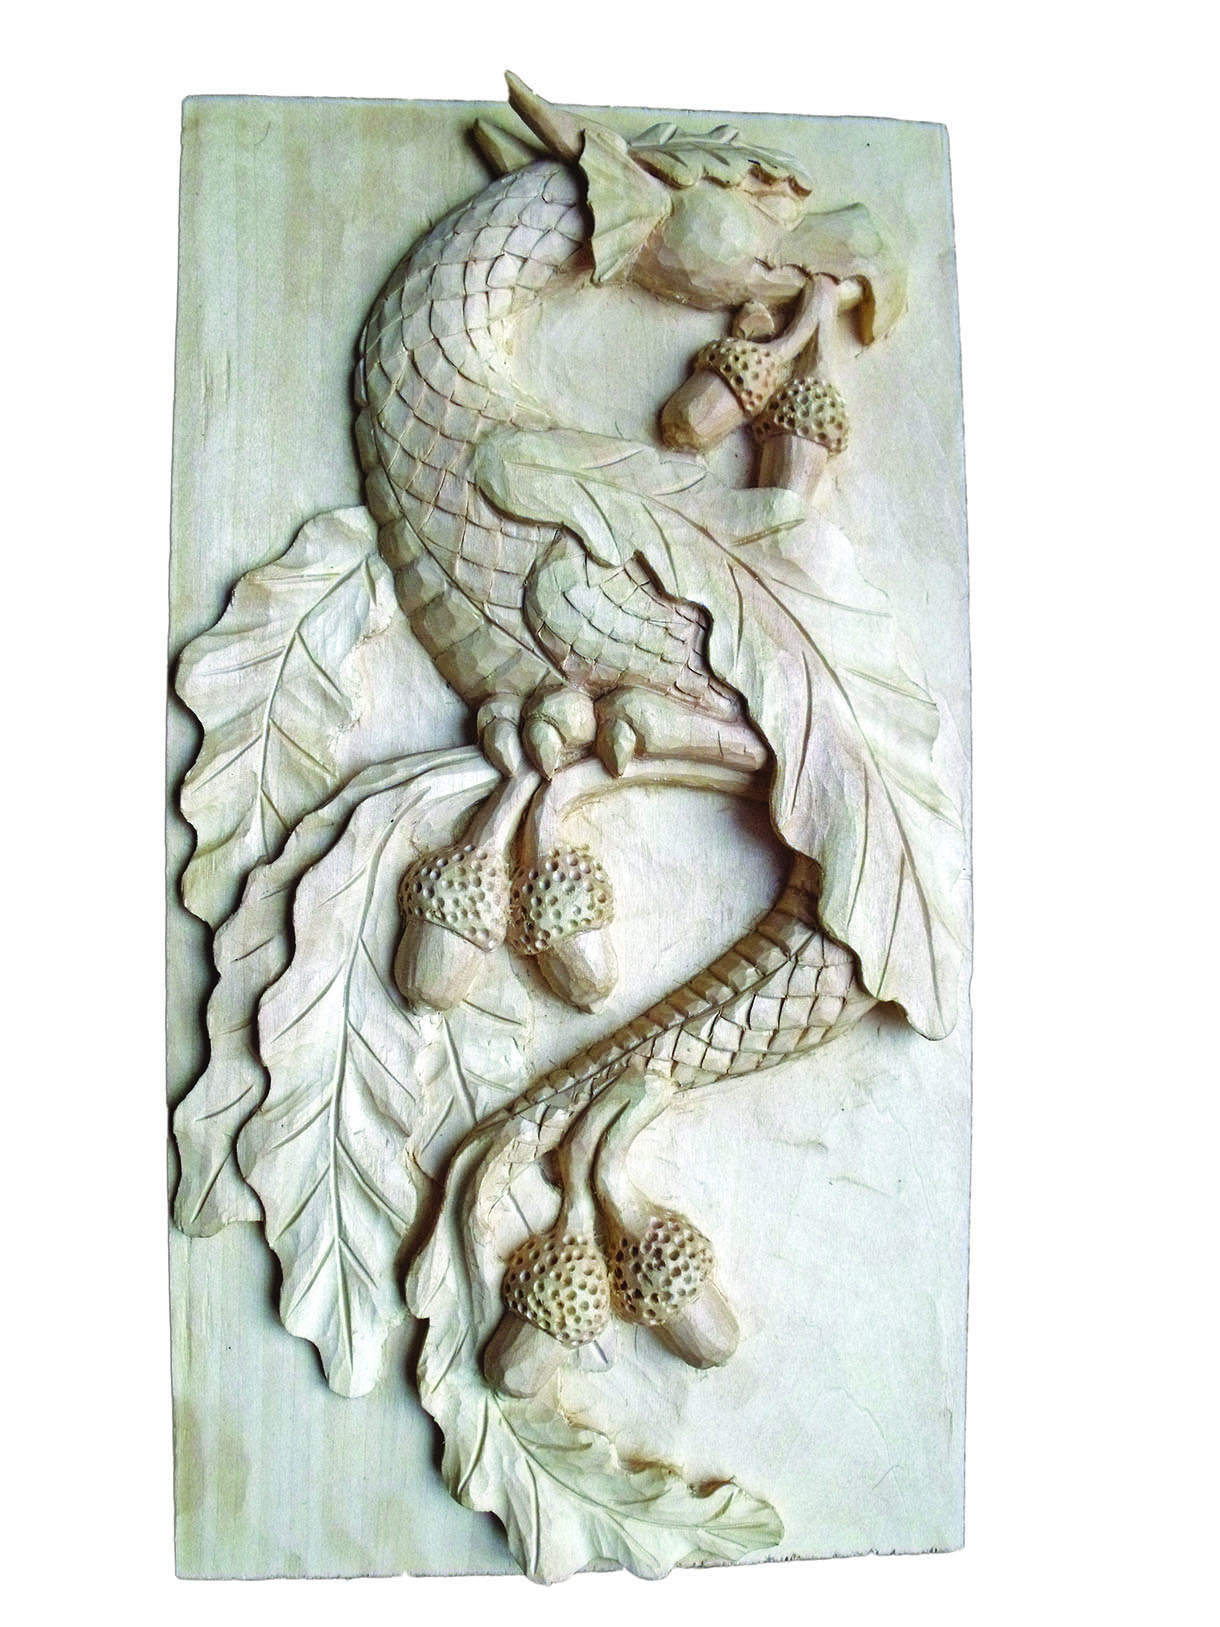
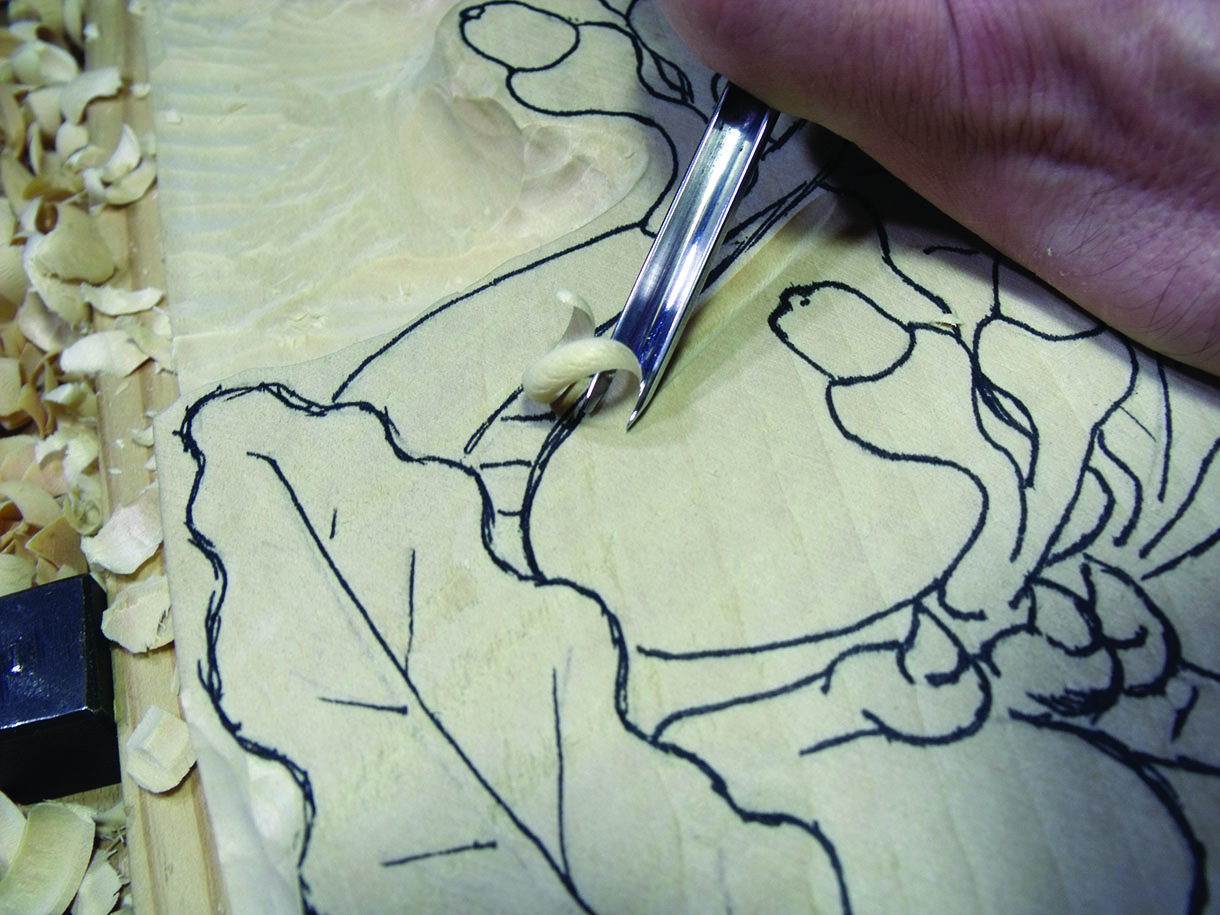
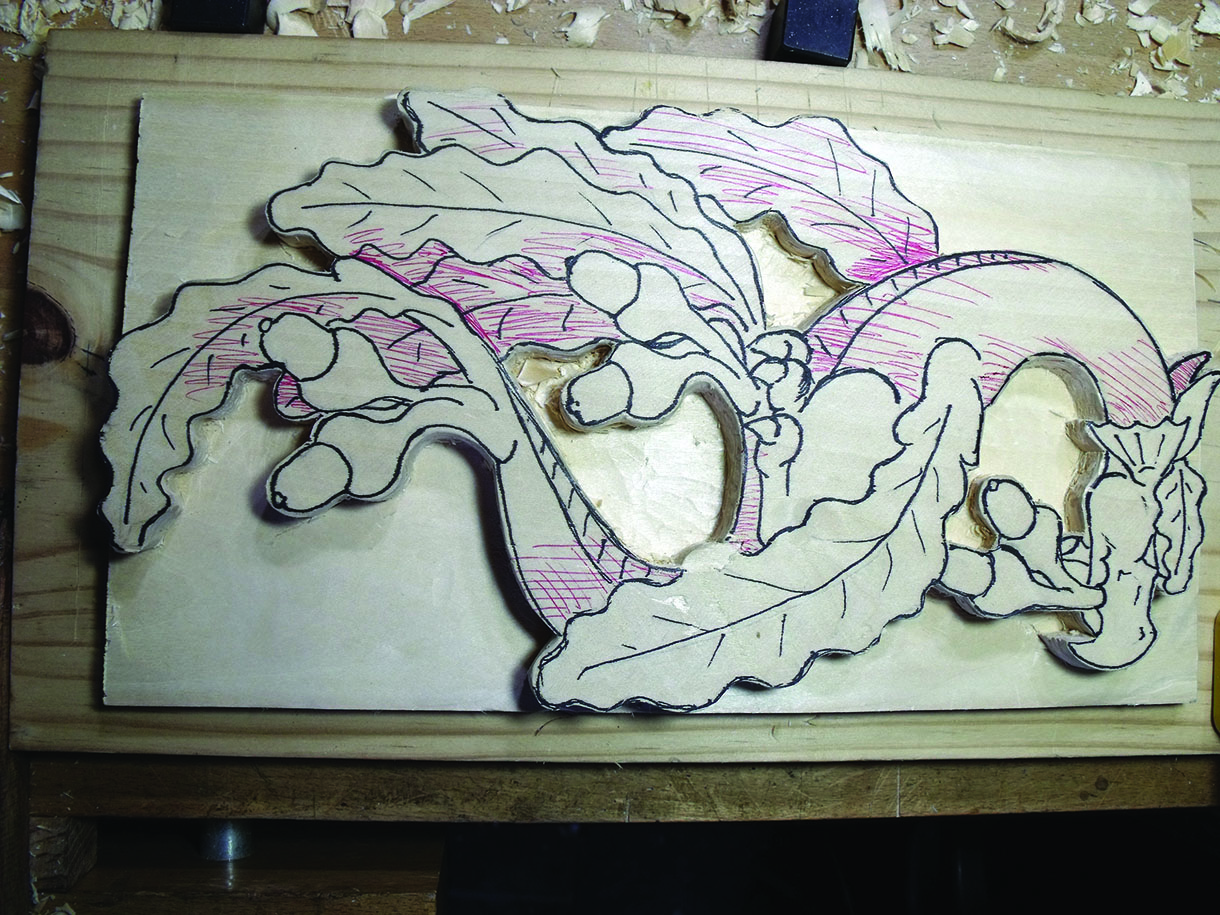
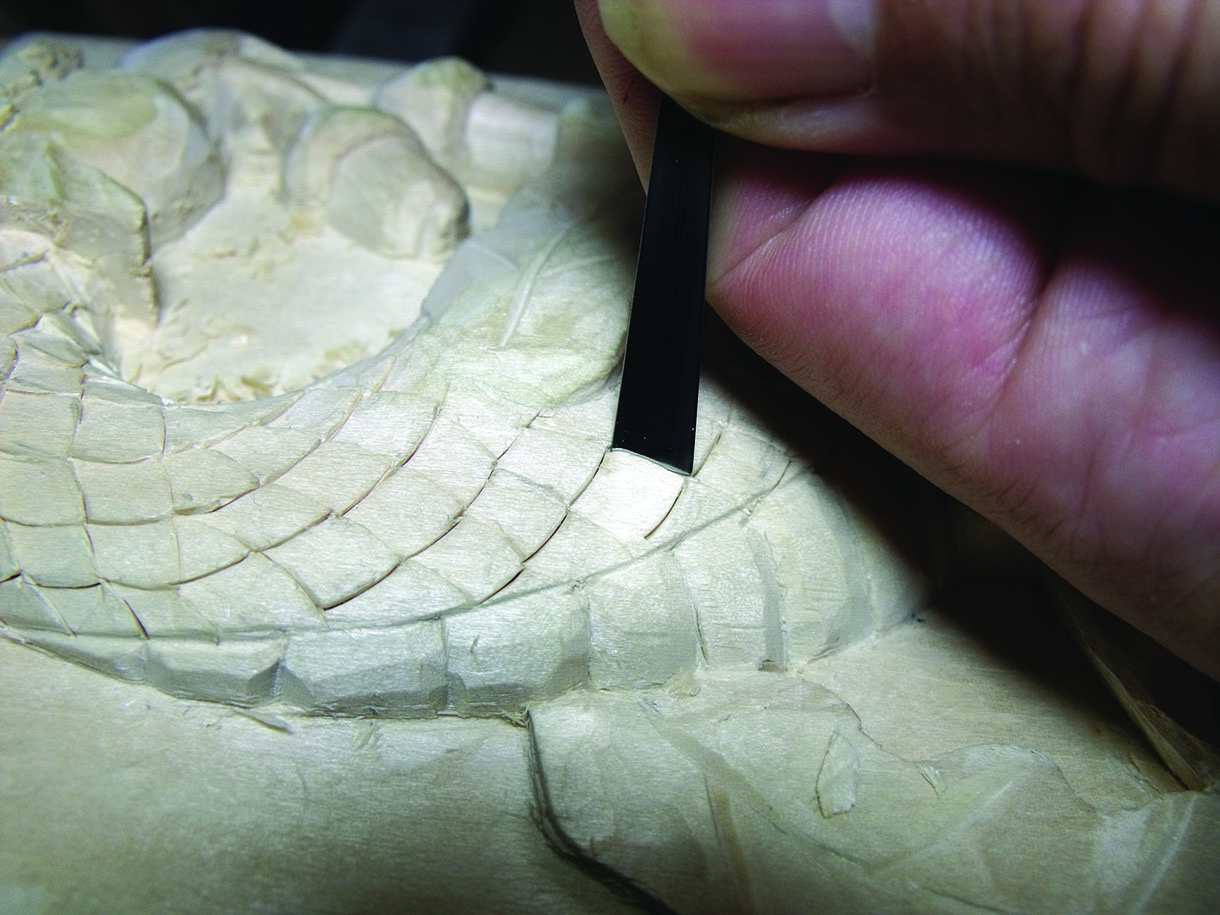
The leaf dragon is a mythical creature which can be found in many art forms. It’s a great subject for woodcarving as it can be shaped and designed to fit many different styles of carving. Dragons and foliage in their many forms have been popular carving subjects throughout history and the two have been blended together with varying success. This is my interpretation of a leaf dragon. 

Design
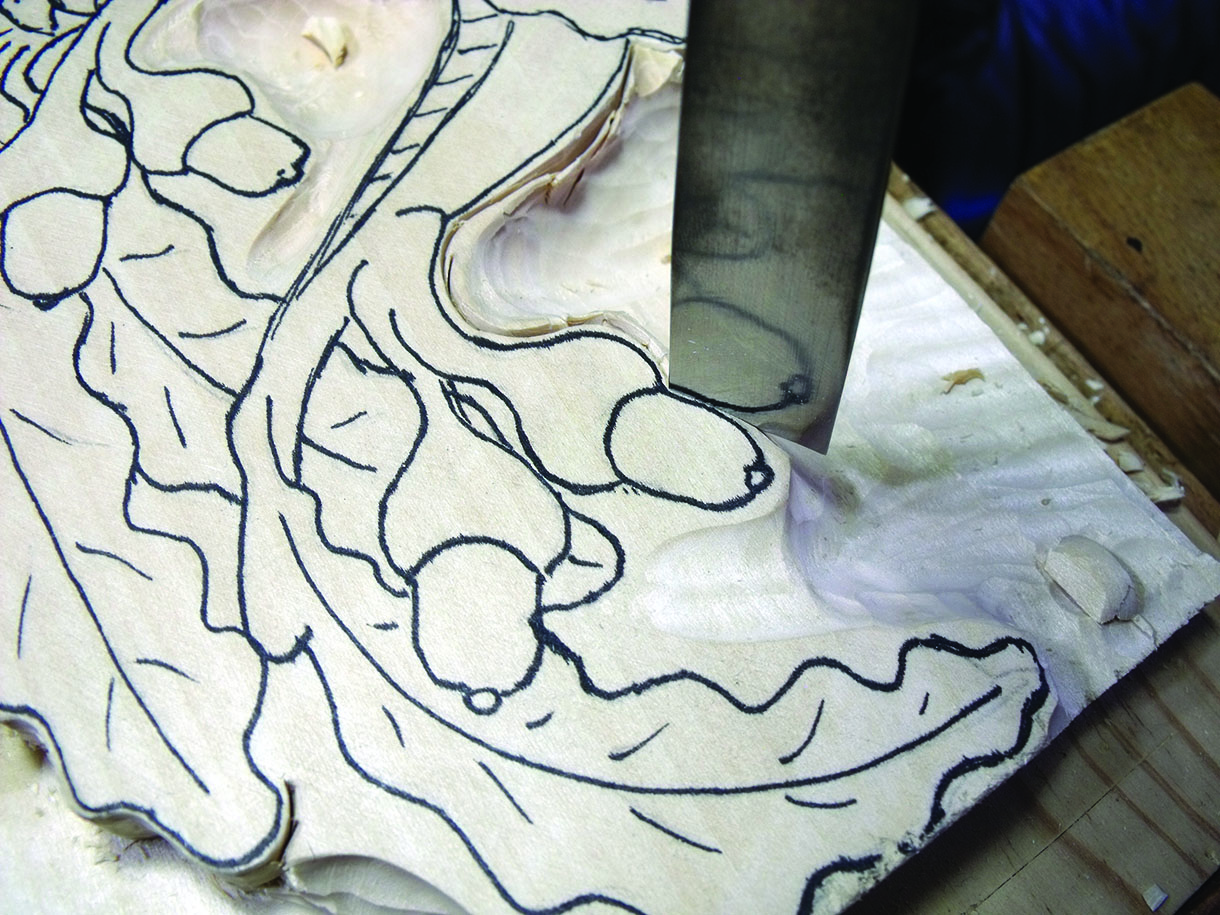
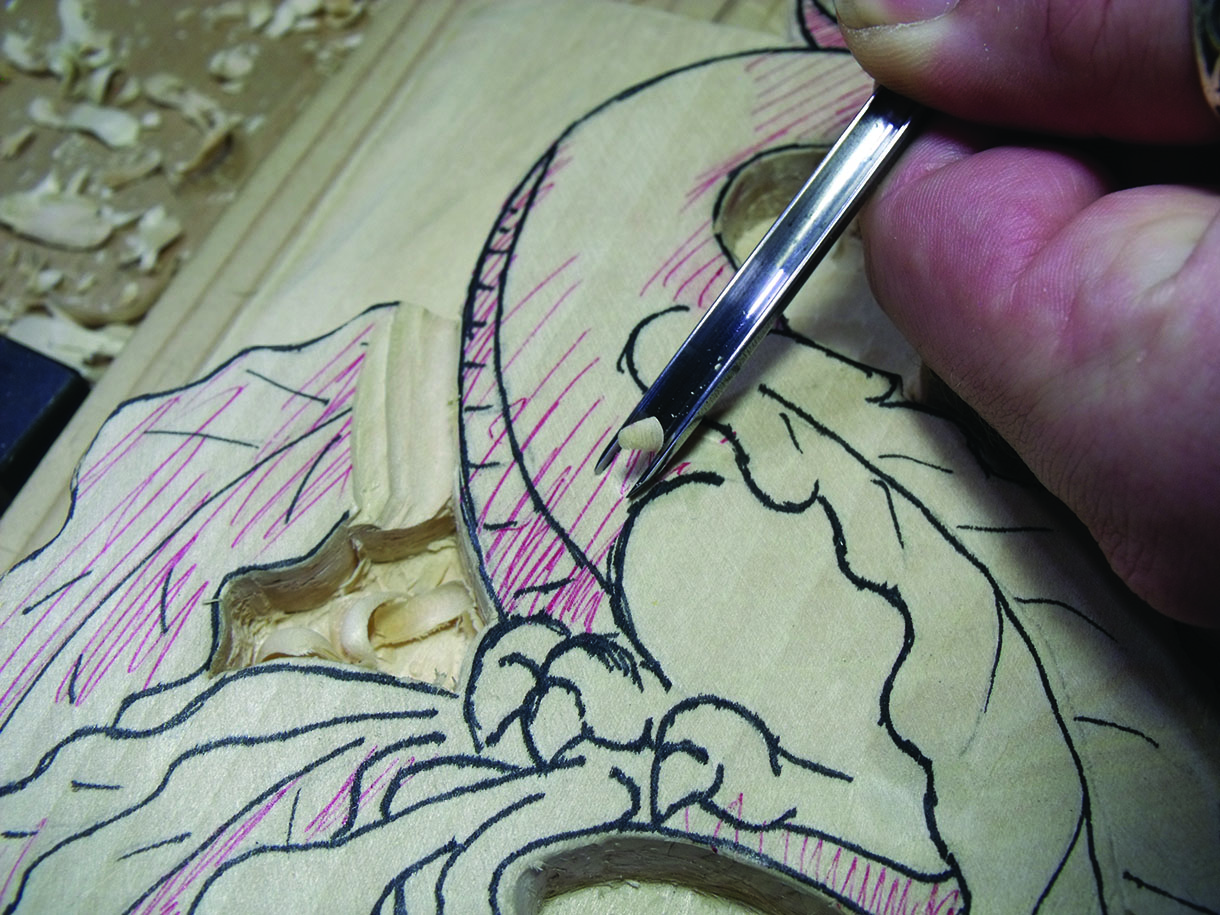
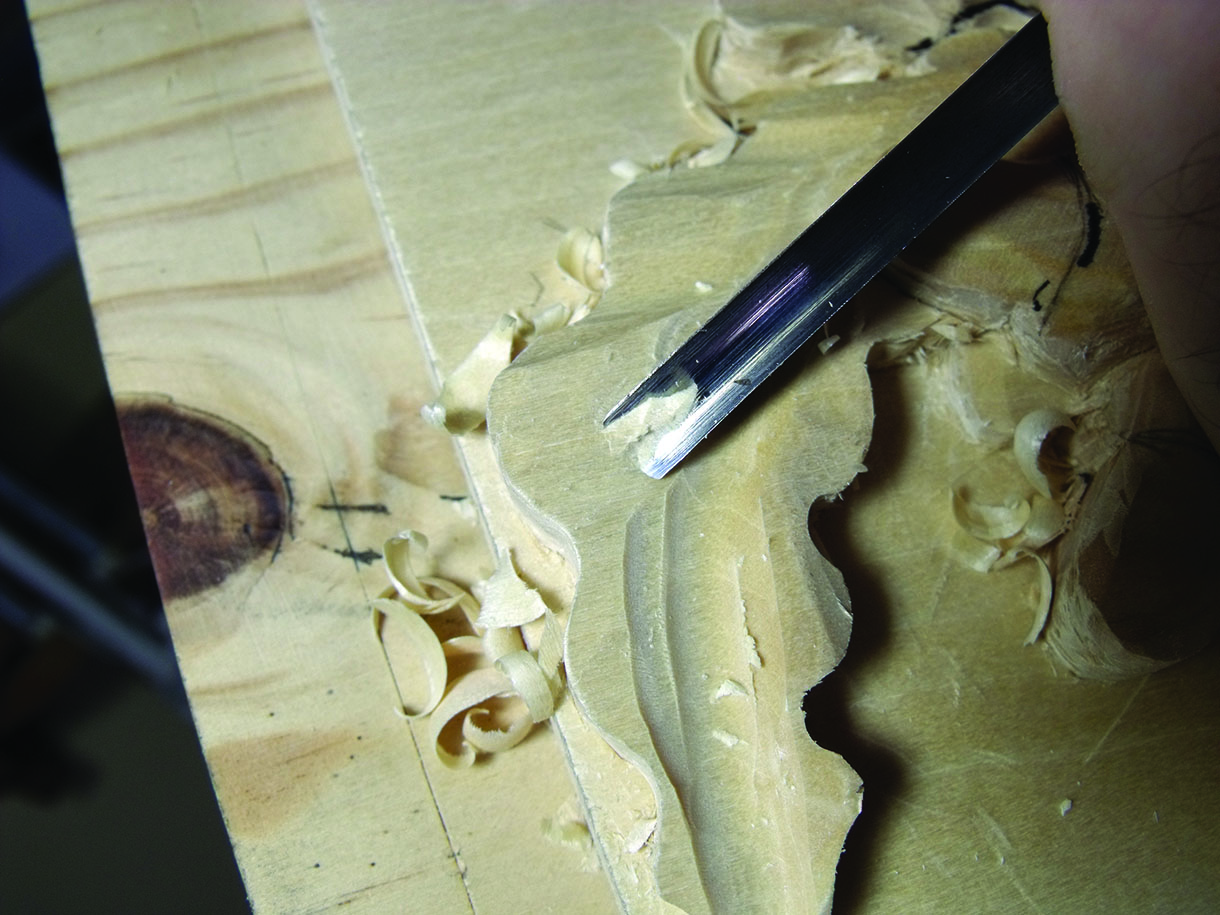
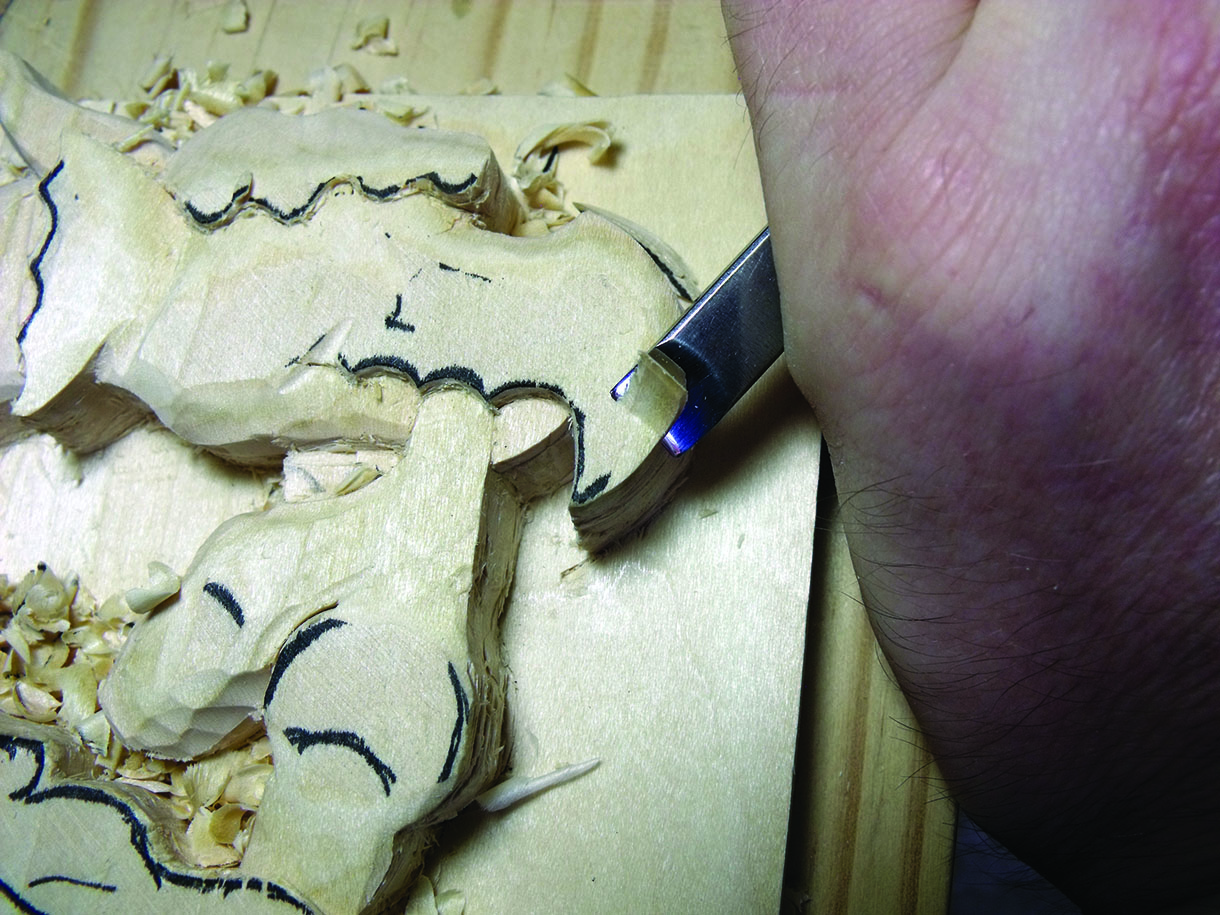
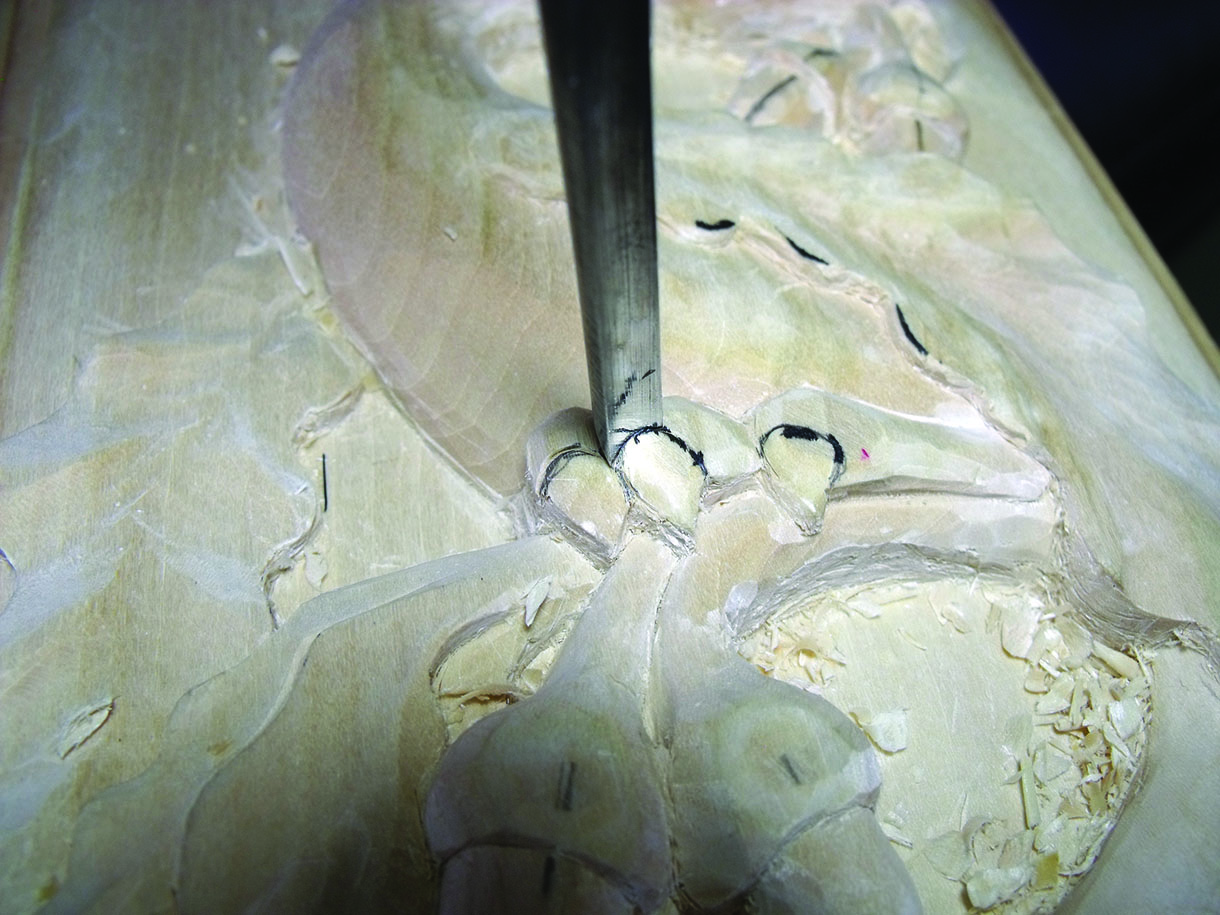
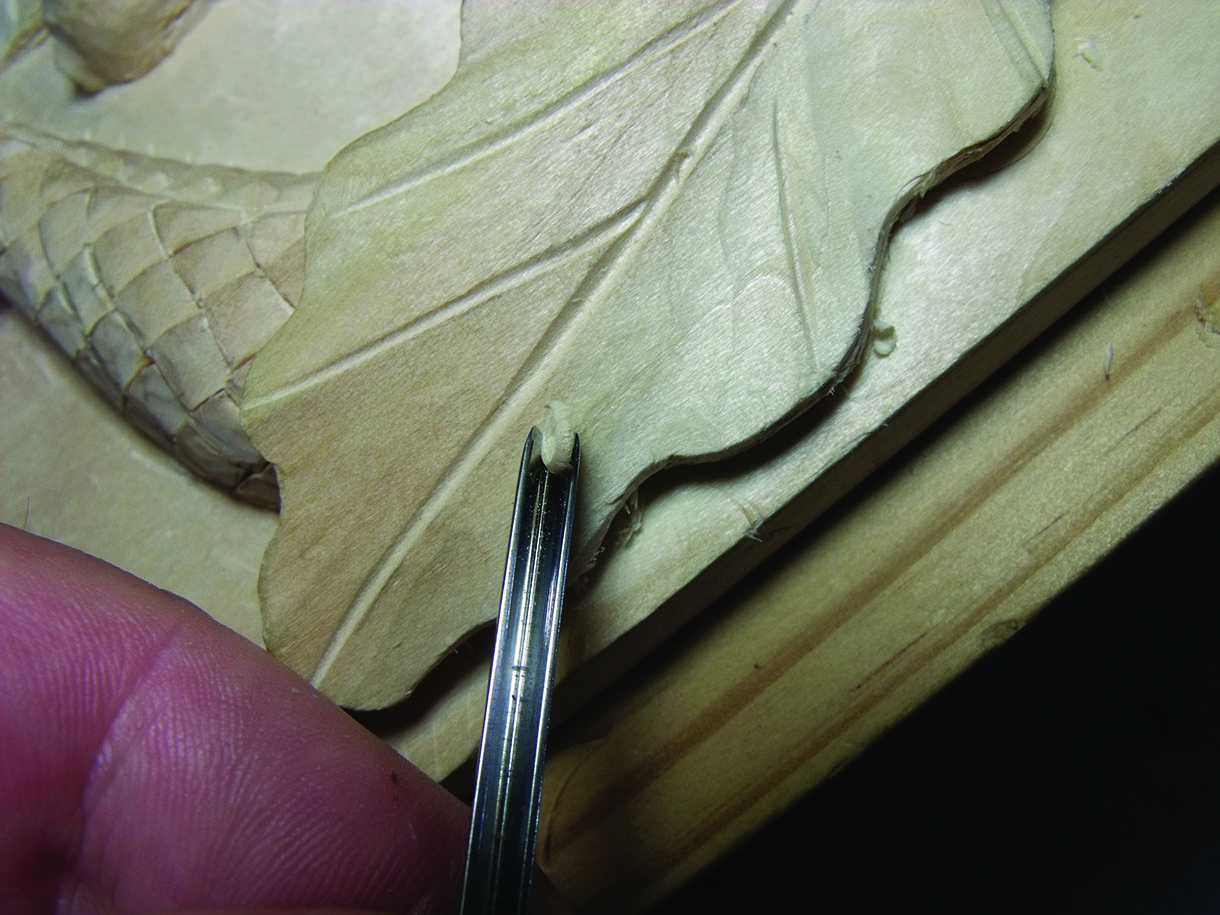
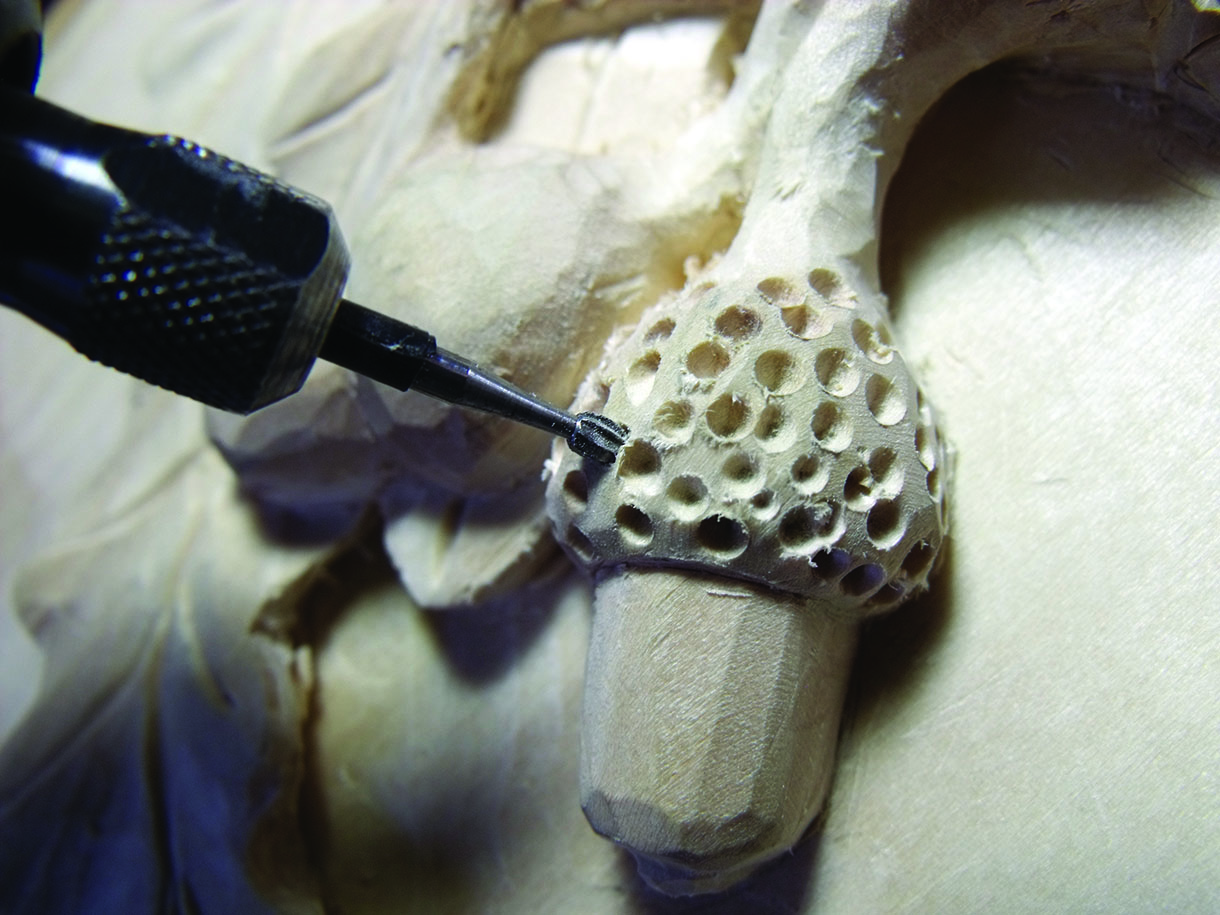
I have used oak leaves and acorns in this project, but any leaf shape or species could be used. If designing
or altering the provided design it’s worth keeping in mind the overall shape of the design. I used the ’S’ shape for the dragon, but a ‘C’ shape can also work very well.
Using the pattern provided there are a couple of options open to how you could carve this design. I have carved it as a shallow bas relief, but this design could easily be carved as a deep relief, or even as a pierced relief by cutting the outline and the inner waste areas with a bandsaw or jigsaw.
As a shallow relief, you could also print and carve the design in reverse and place them in such a way to have two leaf dragons facing each other. This type of design is perfect for placing on a fireplace, cupboard doors or something similar.

What you will need
Tools:
• No.3, 20mm
• No.3, 12mm
• No.5, 3mm
• No.7, 20mm
• No.7, 6mm
• No.9, 15mm
• No.9, 5mm
• No.11, 3mm
• No.21/2, 8mm fishtail
• 2mm spoon chisel
• Hooked skew
• Small carbide burr
Wood:
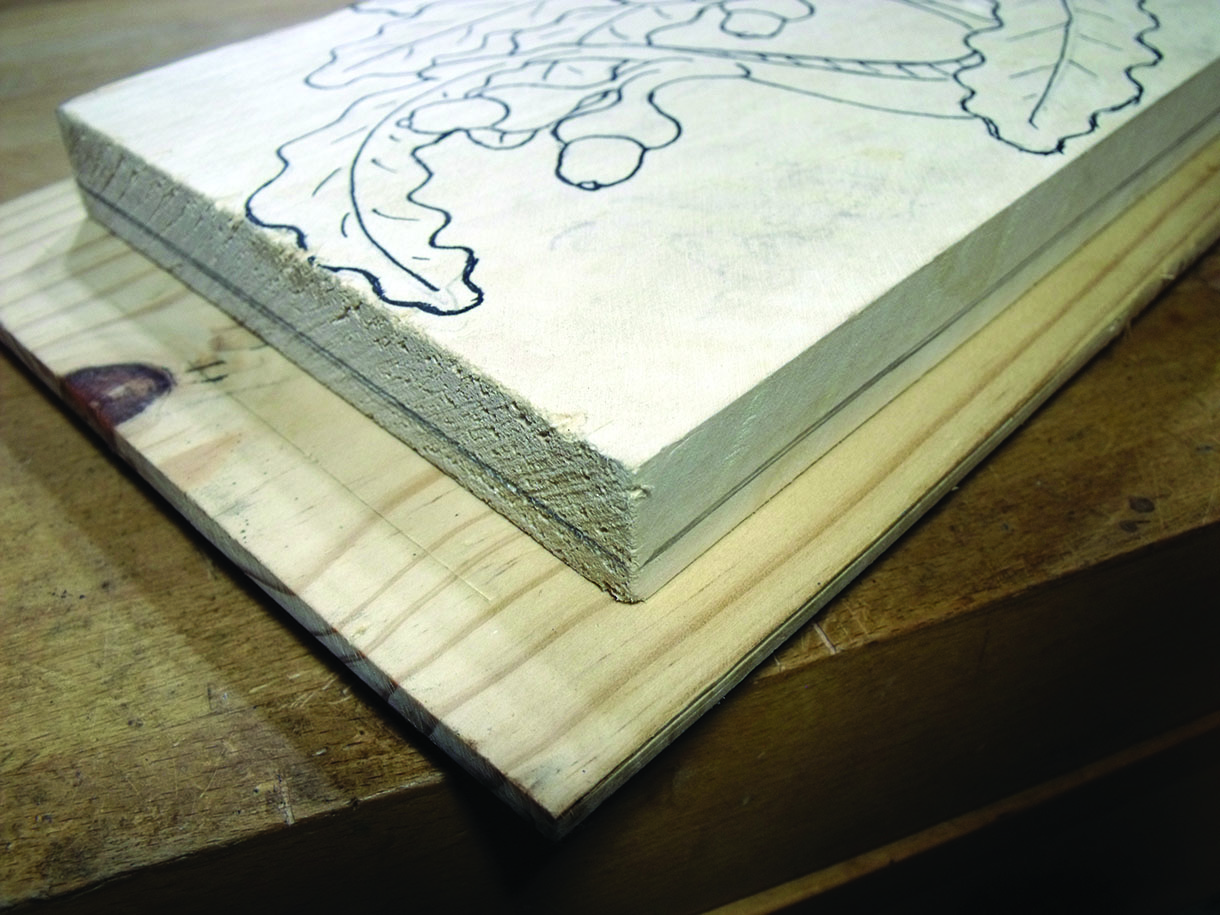
Basswood (Tilia americana) – 280 x 150 x 25mm

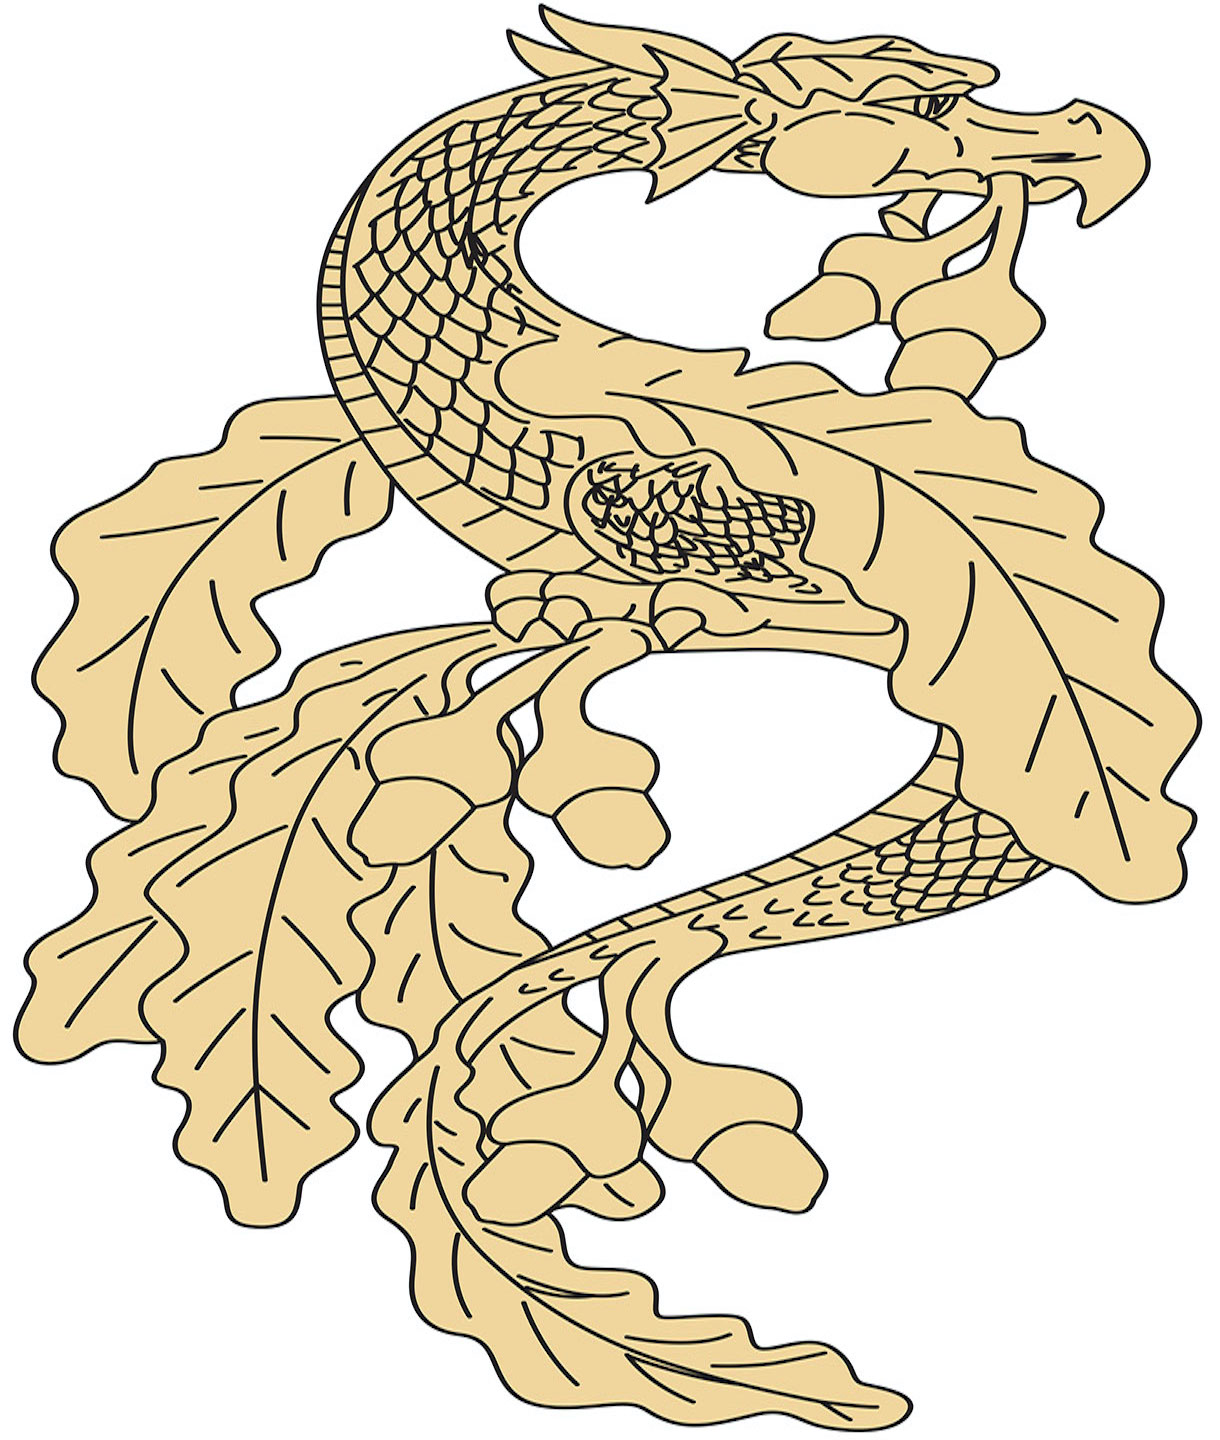
Transferring the design
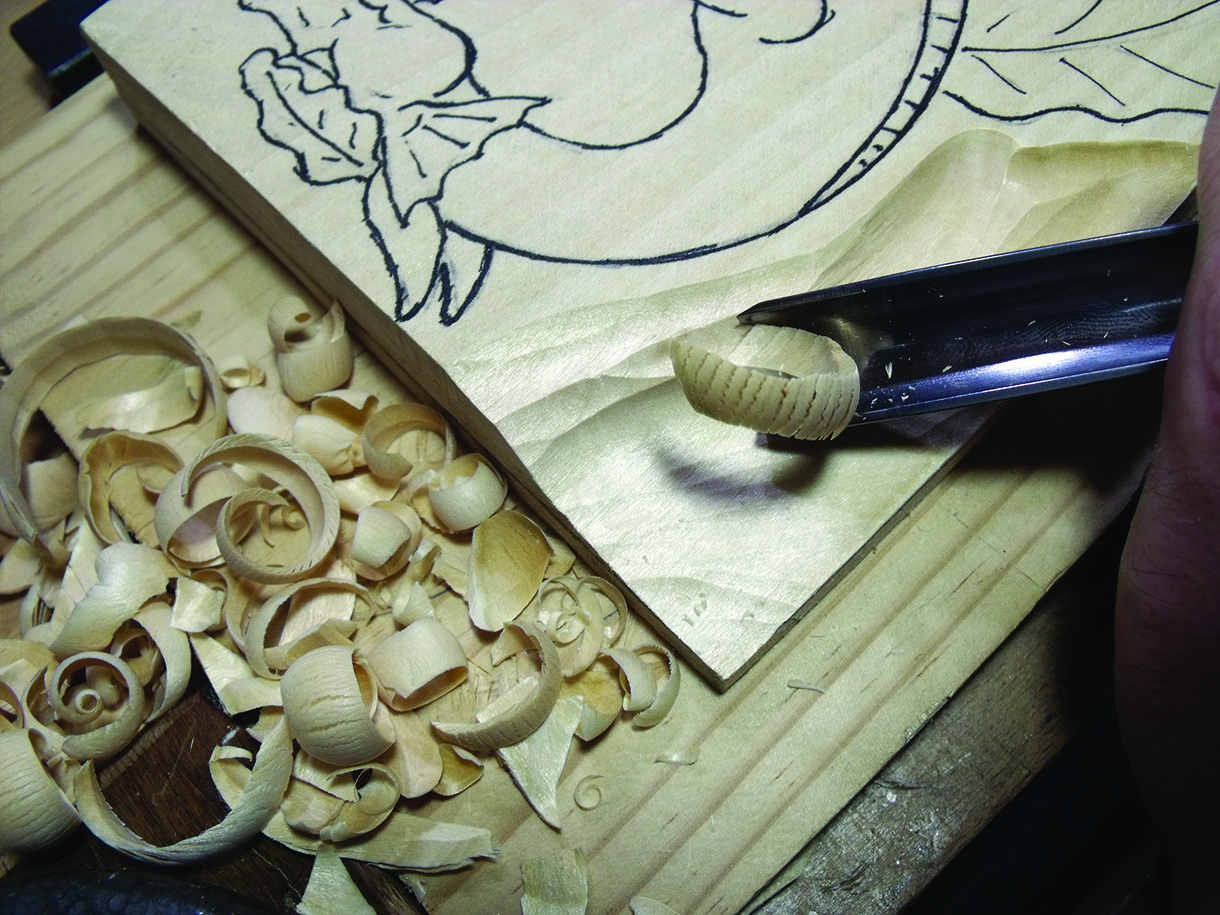
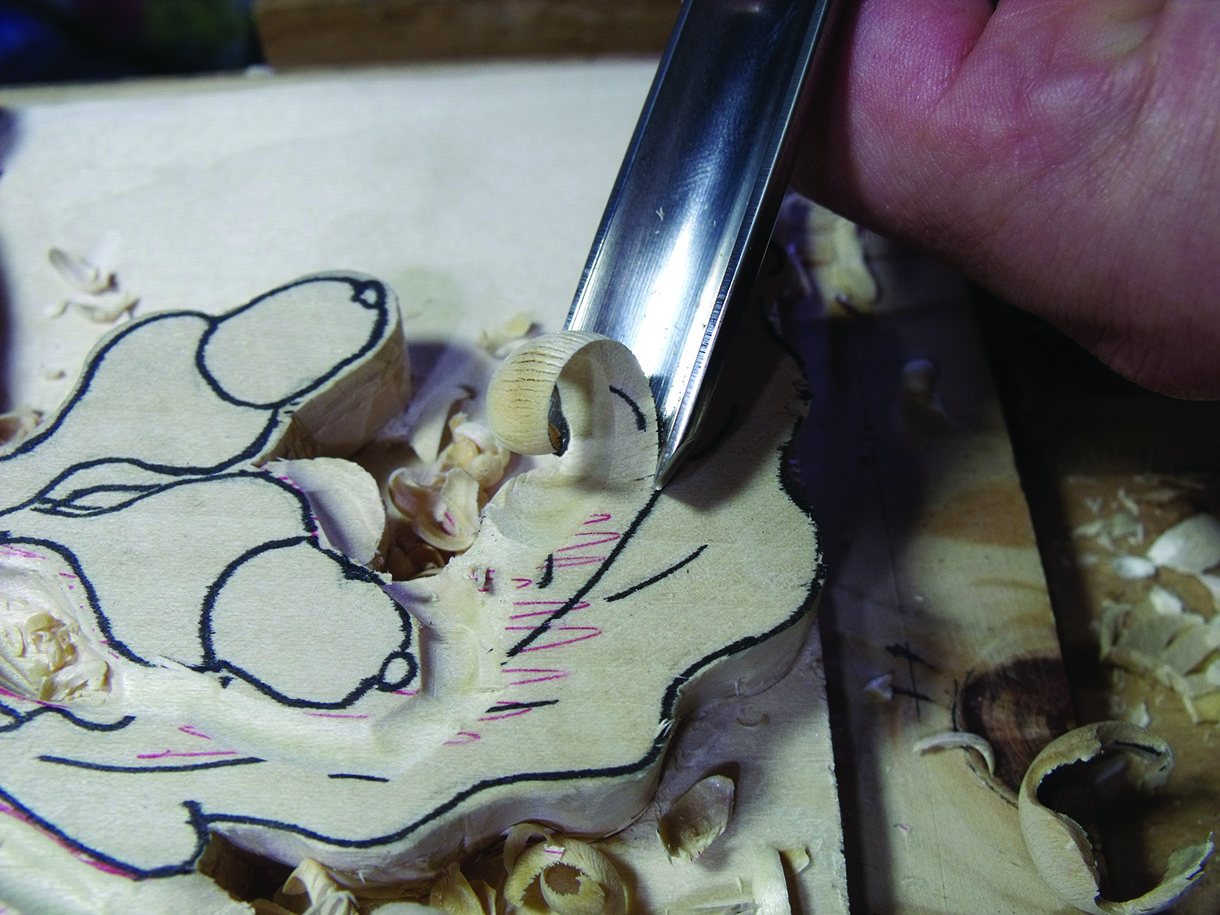
Once you’ve chosen your piece of timber for the carving, transfer the design onto it by using a 6B carbon stick, rubbing it over the back of the printed design and tracing over it. Or you can just glue the printed design onto your block of wood. With the design in place and once you are happy with how it looks, draw a line around the edge of the panel at about 5mm from the back. This is a guide for the depth of the background of your carving.

1. Use glue and paper to attach a scrap piece of wood to the back of the panel – using a larger piece of wood than the panel will allow somewhere to clamp onto with quick G clamps or attach to a carving vice

2. With the panel secure you can now start carving. Use a deep gouge to start to remove the waste wood around the outside edge of the design, taking the background down to just above the depth line

3. Now, use various deep gouges to clear out the inner waste areas down to the required depth and use a depth gauge or straight edge to keep check on the depth and do this check regularly

4. With the bulk of the waste wood removed, start to cut in to the pattern. Use the best fitting gouges to the shape being cut. When cutting in keep check of the grain direction, especially around the leaf lobes, etc. Cutting down with a twist and slicing cuts will help to prevent breakages

5. Now use a shallow gouge to level the background. Once the bulk of the background is carved down and level, mark out where all parts of the design over and under lap each other

6. Next, use a deep No.11 sweep gouge or similar to start sketching out and separating the areas that overlap each other and around the leg, acorns, leaves, etc.

7. Use a medium to deep gouge to round over the body, giving it its shape. Take down the leaves to their required depths

8. Now, using the pattern as a guide, redraw the shapes of the leaves back in place. Once you are happy with how the leaves look, use your best fitting gouges and cut in the leaves

9. To give the leaves movement, add folds and bends. Carve down the leaves’ centre veins with a deep gouge, then from the centre vein carve out in between the leaves’ lobes. Use a medium sweep to blend the folds of the leaves together

10. Now cut in around the beak where the acorns enter, then round over the beak area. Cut in the eye and other facial features, then continue shaping the acorns and stem with a reversed gouge. Next, use a chisel and cut in where the acorn joins the shell creating a stop cut and then round over the acorns. Draw a centreline on the acorn and shell. Use a deep gouge to carve across the end of the acorn, creating the nipple and with a shallow gouge reversed finish rounding the acorns

11. Moving onto the paw/foot cut in around the foot and toes, then with a shallow gouge reversed continue shaping the paw. Use a No.7 sweep, 6mm gouge or similar and cut in the claws, then round them over, keeping aware of the grain direction

12. Once the shaping is done, start on the detail. There are different ways and styles of carving scales, so try various styles and use different gouges on some scrap wood first before committing to the carving itself

13. For the leaf veins, start by drawing them in place and use a veiner or ‘V’-tool to carve them in

14. Add texture to the acorn shells using a small carbide burr and a rotary grinder to create dimples. If you don’t own, or wish to use a rotary grinder, a ‘V’-tool will create a cross-hatching effect. With all detail carved in, undercut areas like the leaves’ lobes and the acorns’ stem. Use a shallow gouge to finish tidying the background up to the undercut areas

15. You have the option to sand or leave the carving tooled, or to add texture and contrast sand only some parts. If sanding, start with 150 grit or similar and go through the grits, brushing down before moving onto the next one. Then give the whole carving a coat of sanding sealer. Once dry, cut back with a fine abrasive and, if needed, apply another coat of sealer, or your chosen finish. Attach a picture hook and you’re done


0%
0%
Awesome
  • User Ratings (0 Votes)
    0
Share.

Leave A Reply

This site uses Akismet to reduce spam. Learn how your comment data is processed.