Book Stand
A ‘bookworm’ makes himself a simple book stand
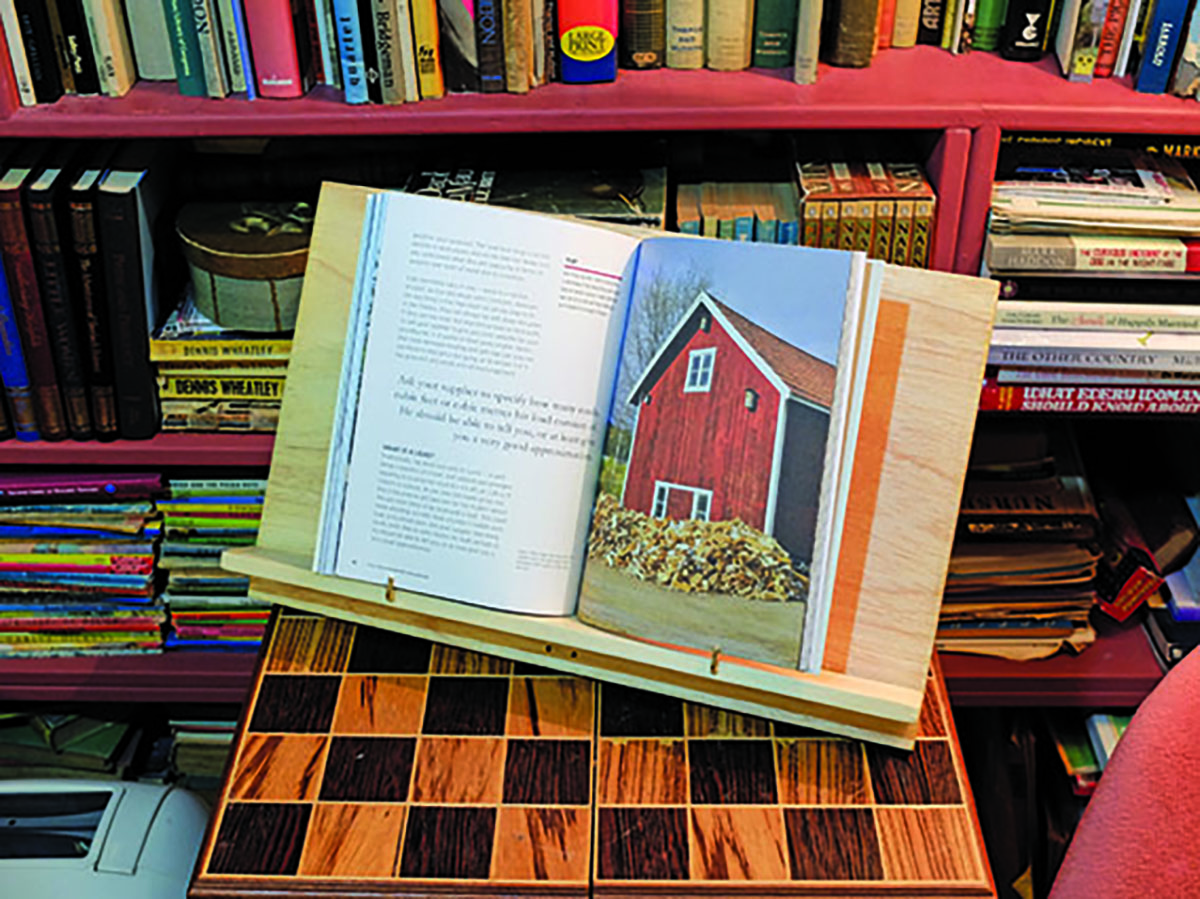
Although I have called this a book stand it could be ‘multifunctional’. It could be used to hold books, magazines, a tablet, drawings, all the possibilities are there – even the size isn’t critical.
It took me only a few hours to make and the result is pleasing to look at as well as functional.
Now read on…

1. An offcut of 12mm ply is suitable for the task. The stand needs to accommodate a largish technical book in my case; that way I can consult the pages in the workshop without them flopping closed if I let go. The ply I have for the project doesn’t need to be quite as wide and can certainly be quite a bit lower.
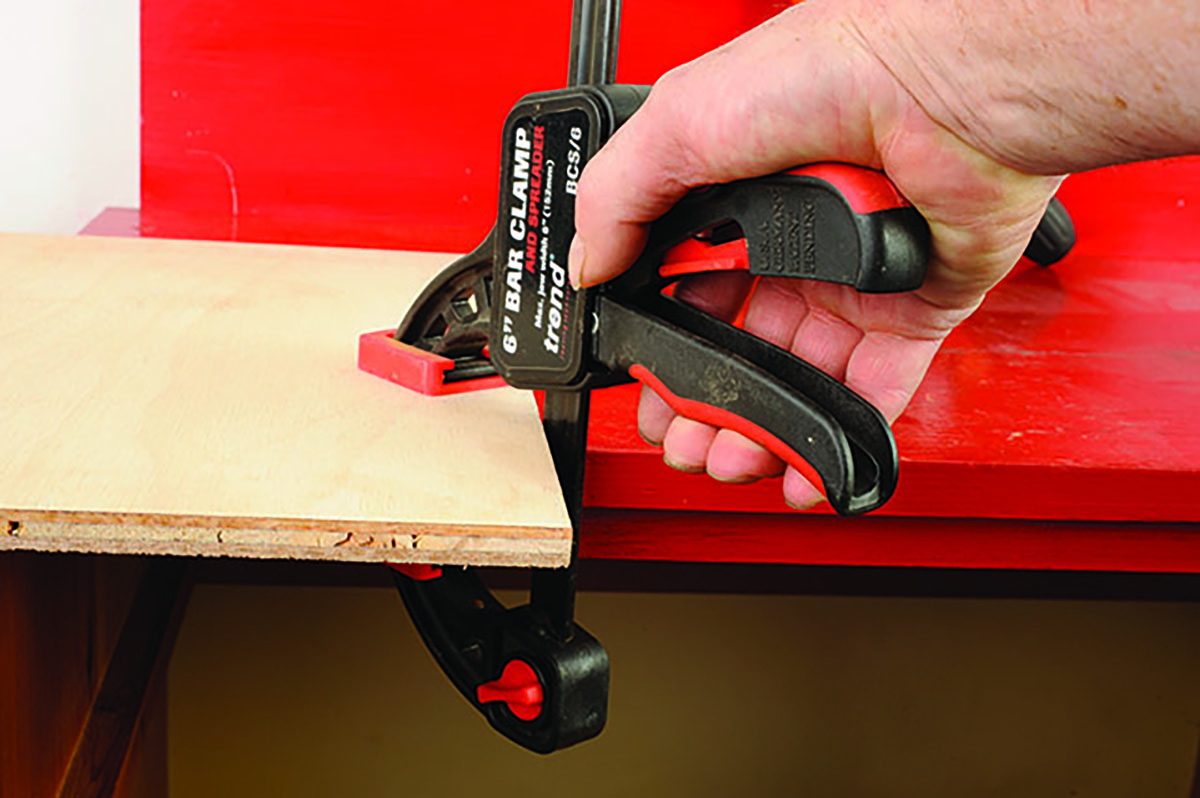
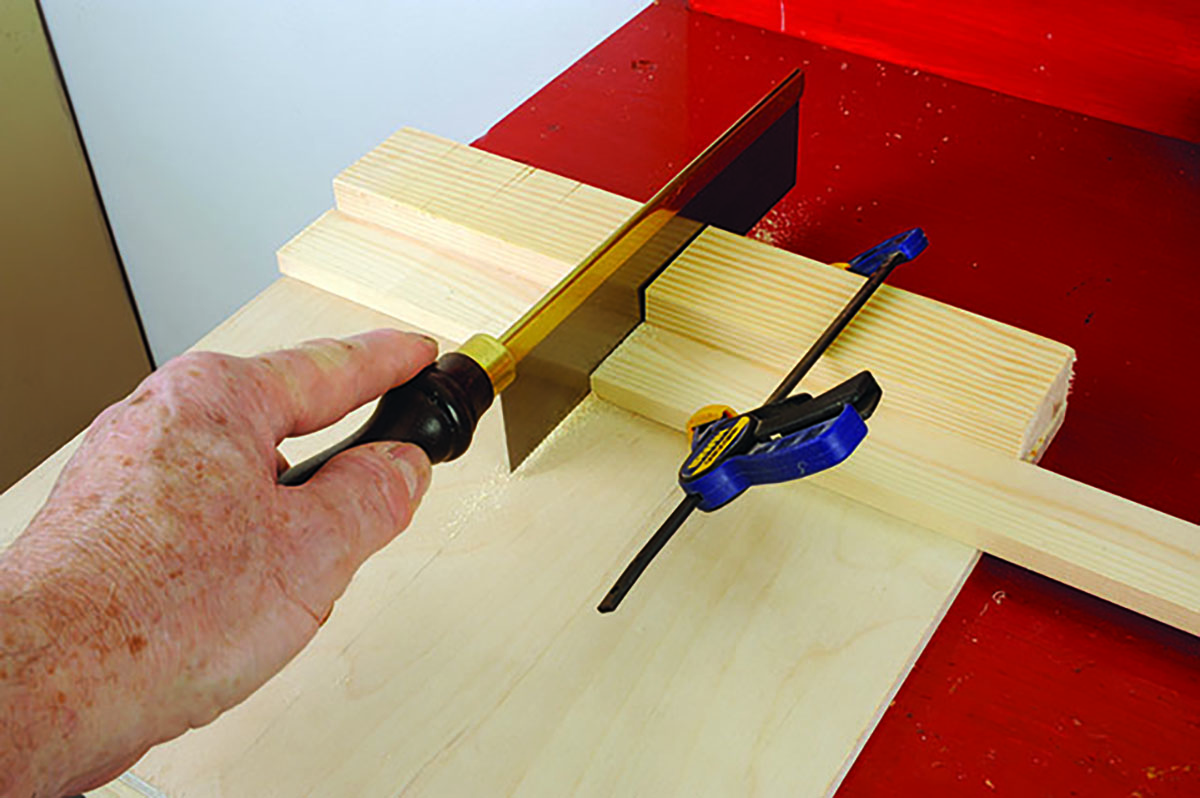
2. To cut down the height of the board I clamped it to the bench to hold down the board while sawing it.
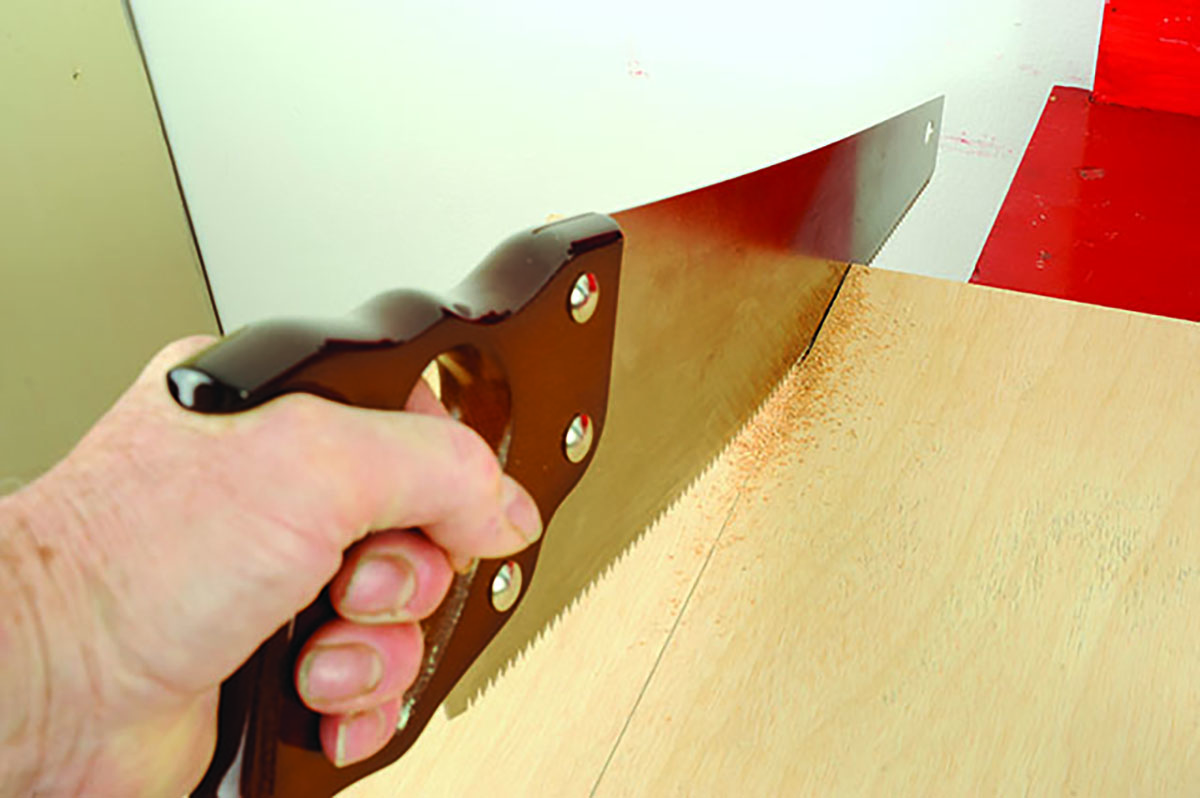
3. Using a good sharp saw, cut the board to size. The width, or I should say length grain-wise, was fine on my board so I left that as it was.
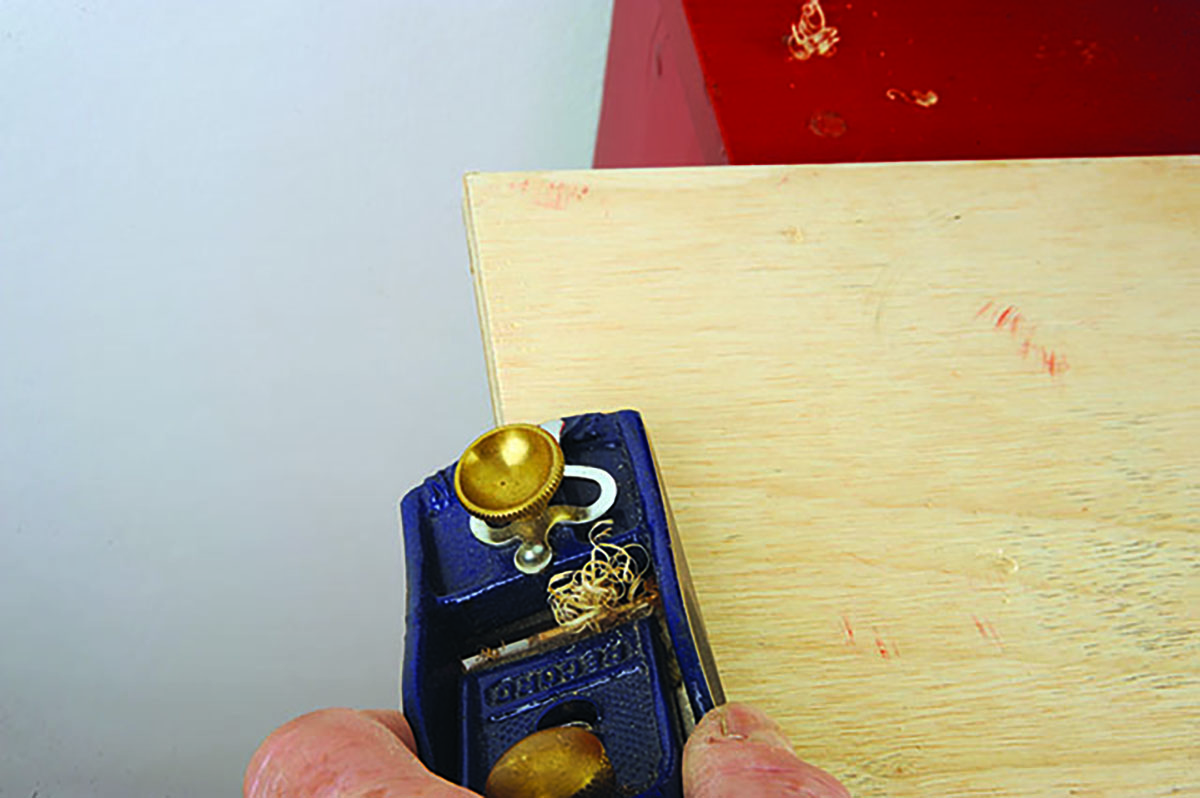
4. Next, trim all edges smooth with a block plane then bevel them slightly to make the edges look and feel more acceptable.
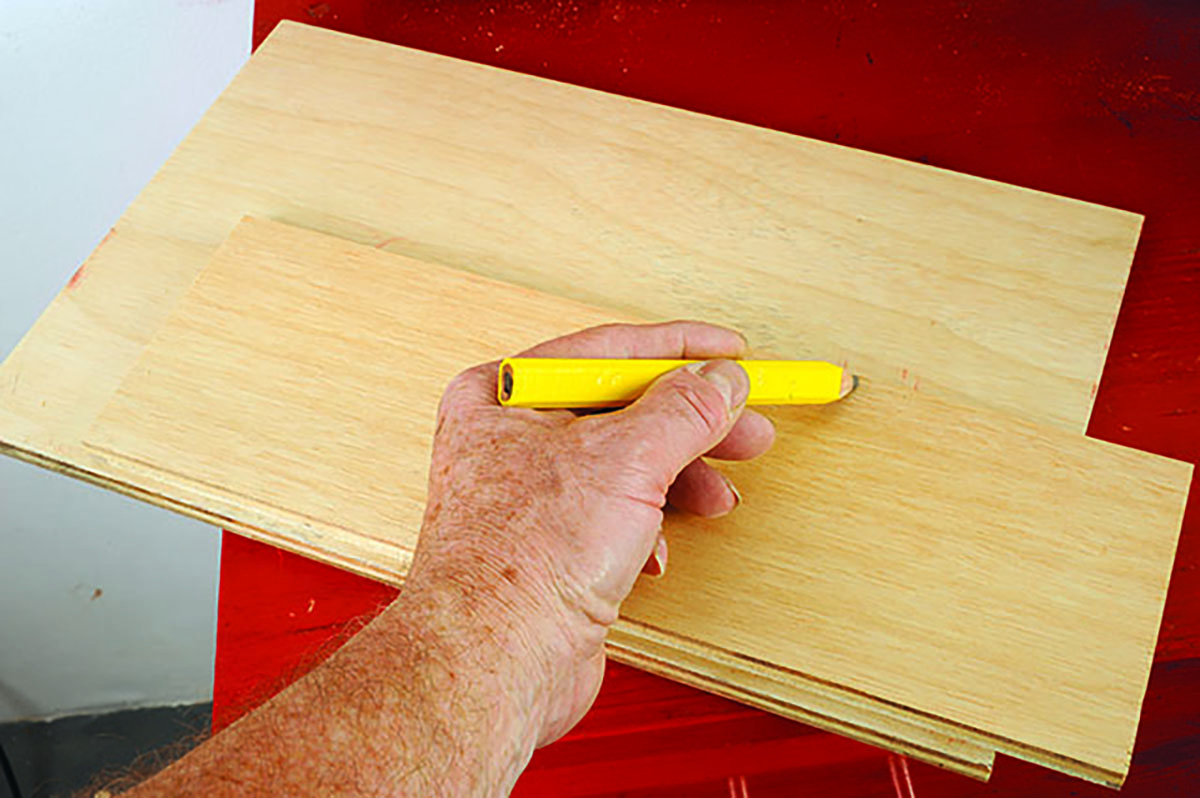
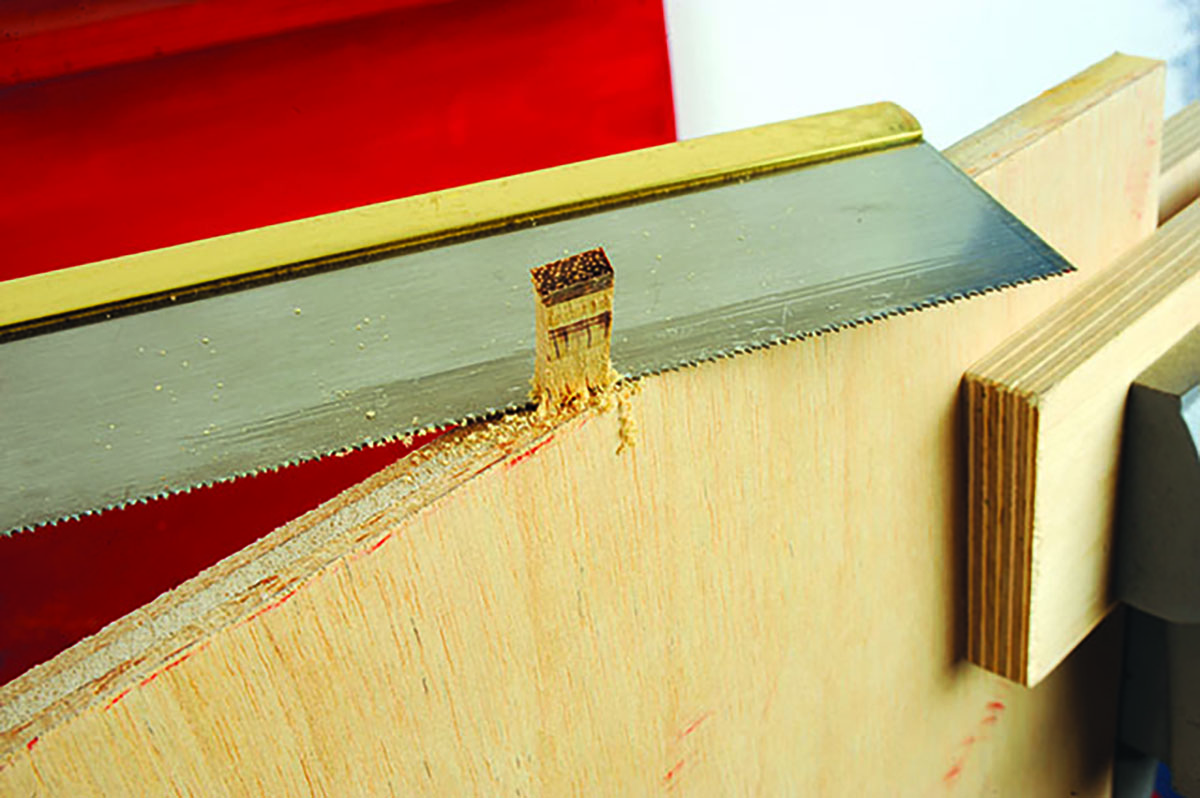
5. The next job is to cut the book ledge to the same width as the stand board. Make the length using a try square and then use a bench hook and a fine-tooth saw. This version has a kerf – saw cut – in the middle so workpieces are supported either side of the cut.
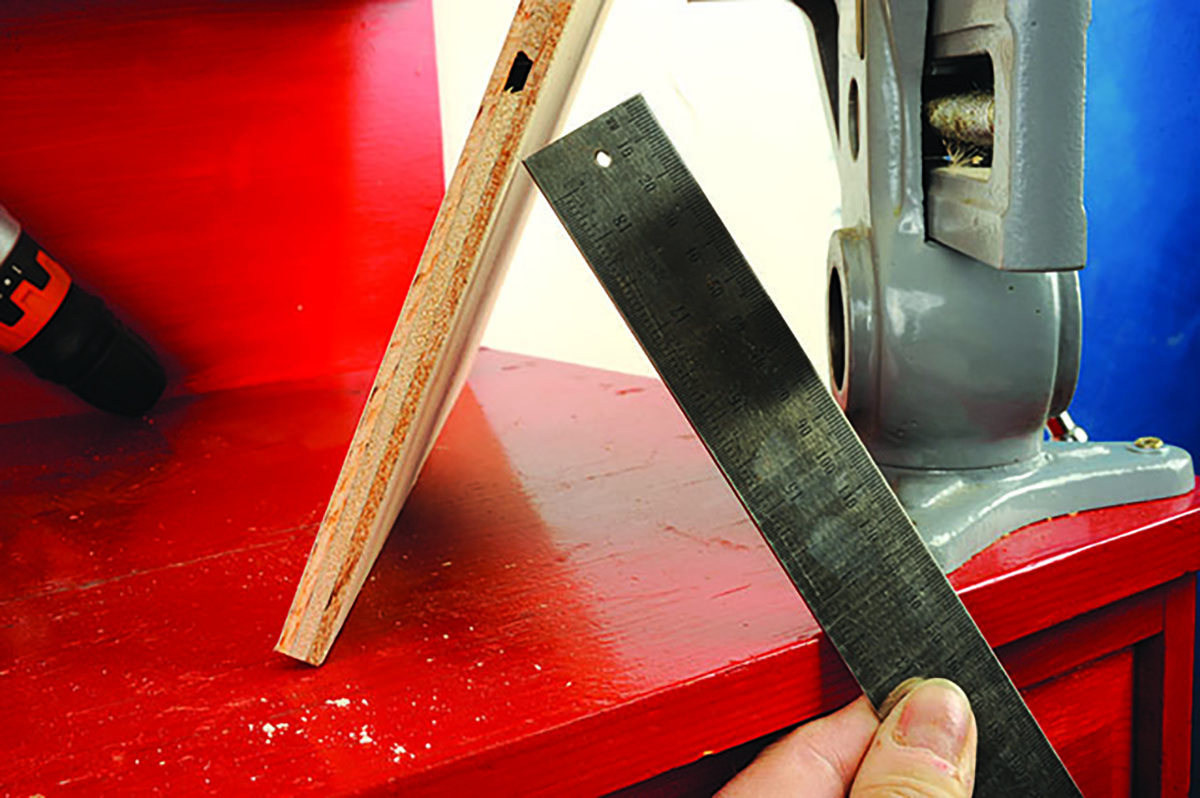
6. Lightly sand all edges of the ledge and then work out the size and position of the stand support. Hold a ruler in place to gain an idea of size.
7. The stand support can be shorter, which will save weight and look better. Cut the support to length after drawing a line with the try square.

8. Ply often has small gaps around the edges, so fill these with a matching woodfiller. There was a fairly large hole in my board, yours may have one too, use a narrow chisel to square it ready to put a wooden plug in.
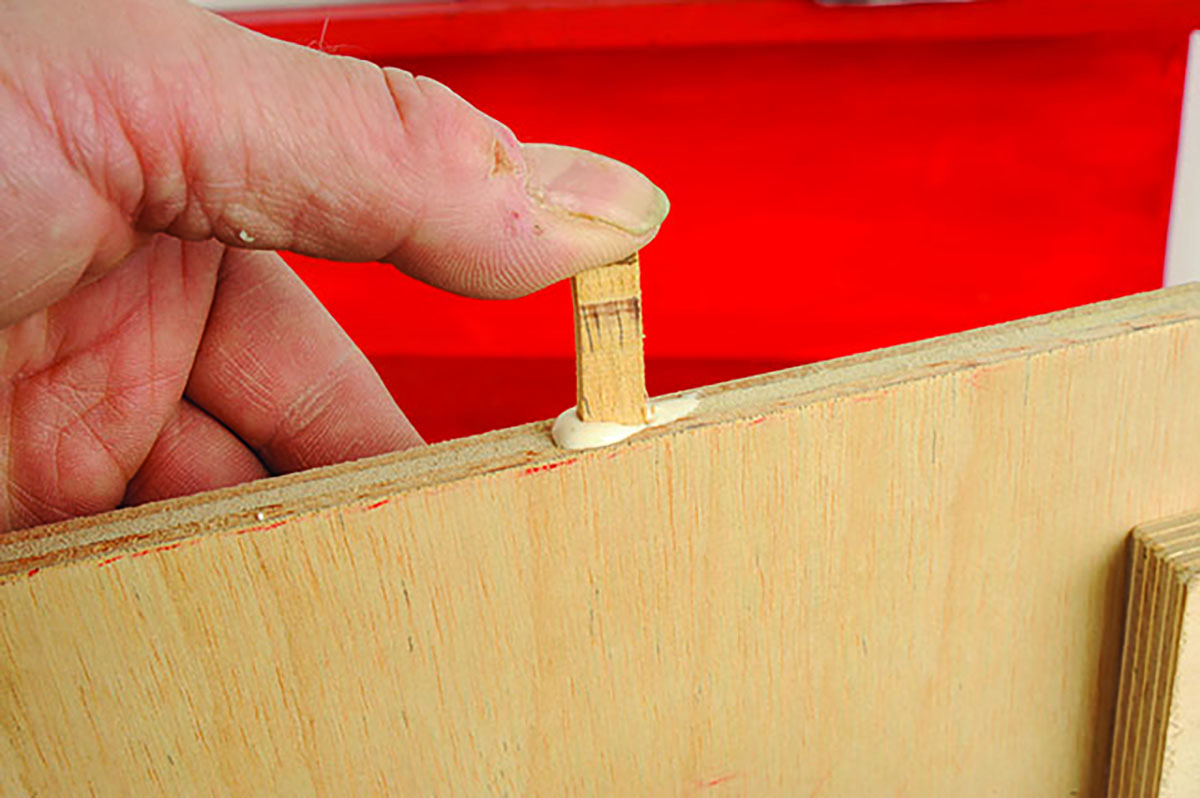
9. Then use a strip of wood cut from the core of a waste piece of ply and glue and press it into the hole. This will be much stronger than filler alone.
10. Finally, trim it flush with a fine tooth saw and then sand the edges to a finish.
Hinges
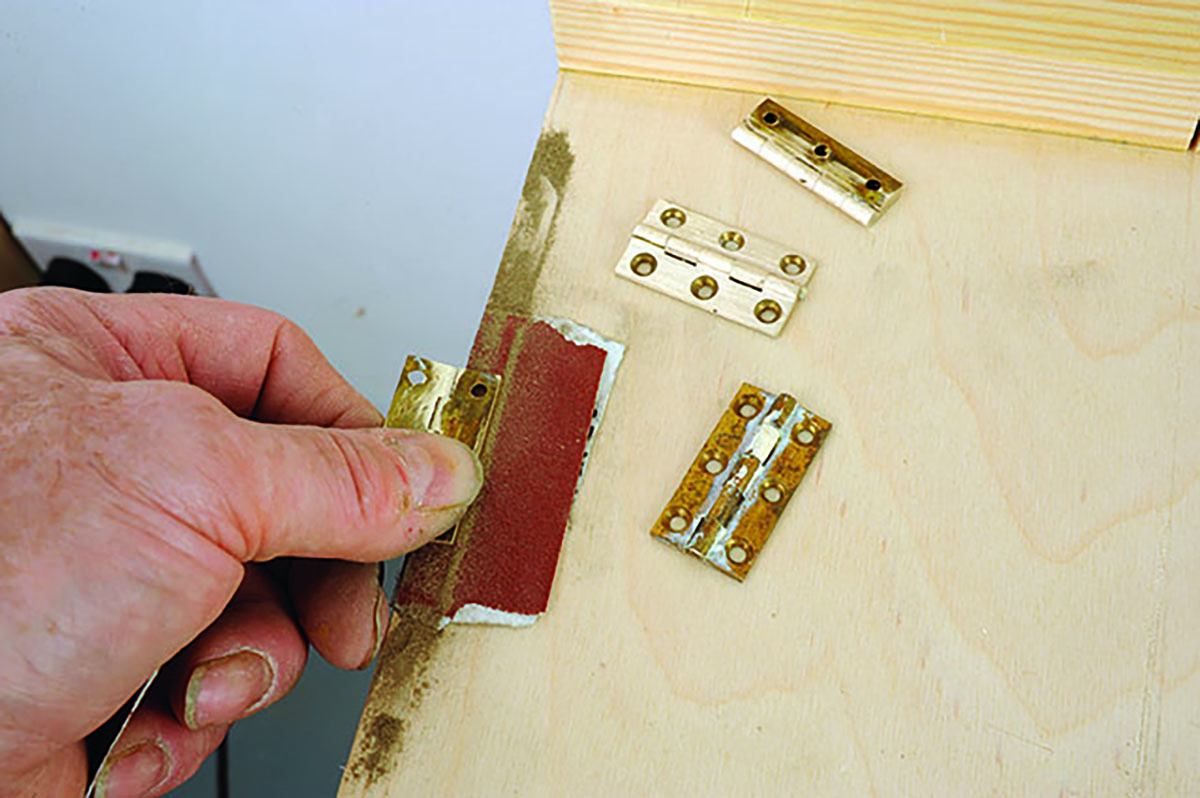
11. You can use new brass hinges, but I had four old ones in need of some cleaning up. Scrape off
any paint and then rub the knuckle edges and internal leaf faces on some medium abrasive until they are bright and smooth.
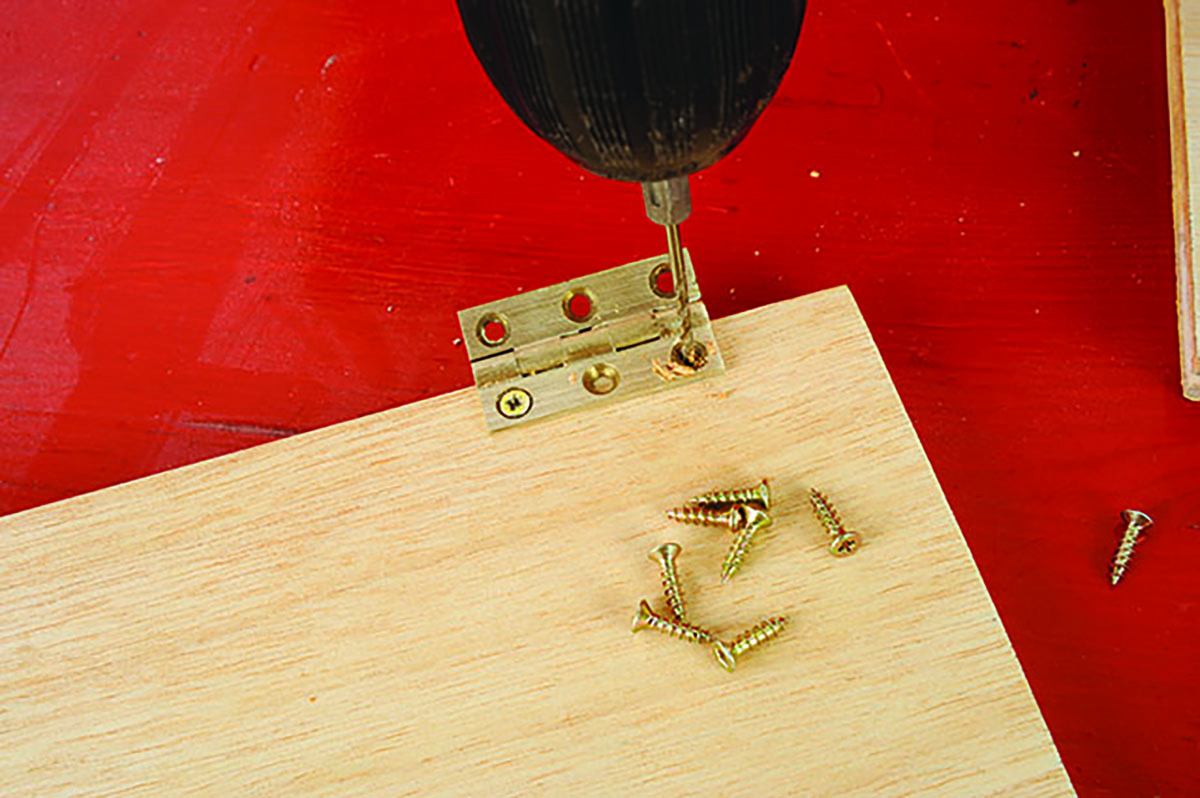
12. For this project I bought some special hinge screws – these have smaller heads than normal and sit flush in countersunk hinge holes. After putting in one screw, drill the other holes as the hinge is now fixed firmly and won’t slip around while drilling.
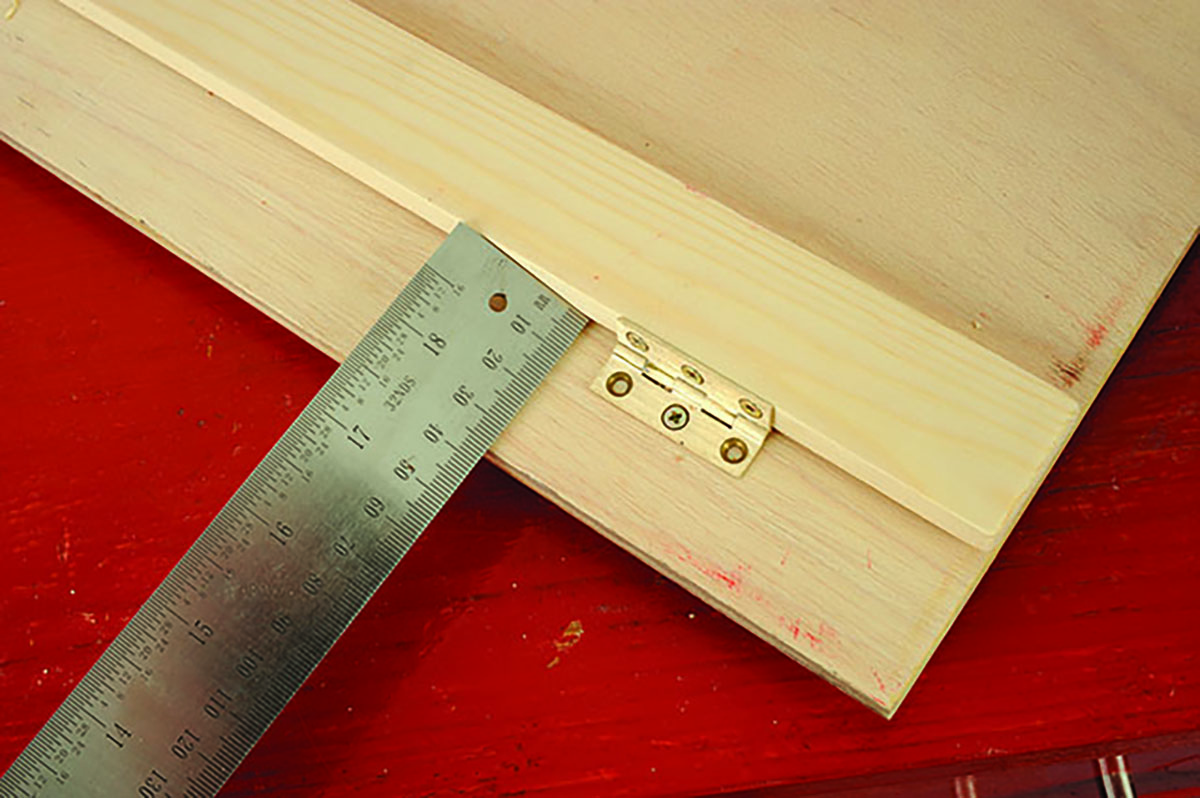
13. Fix the support in place with more screws. Set it up about 8mm from the bottom edge of the stand board when folded. The book ledge is hinged in the same way so the whole thing will go flat when not in use. Check the ledge height is parallel from end to end.
14. The book pages need to stay open so use some straight brass hooks, cut the ends off and file any roughness so they will push into holes drilled in the front edge of the ledge.
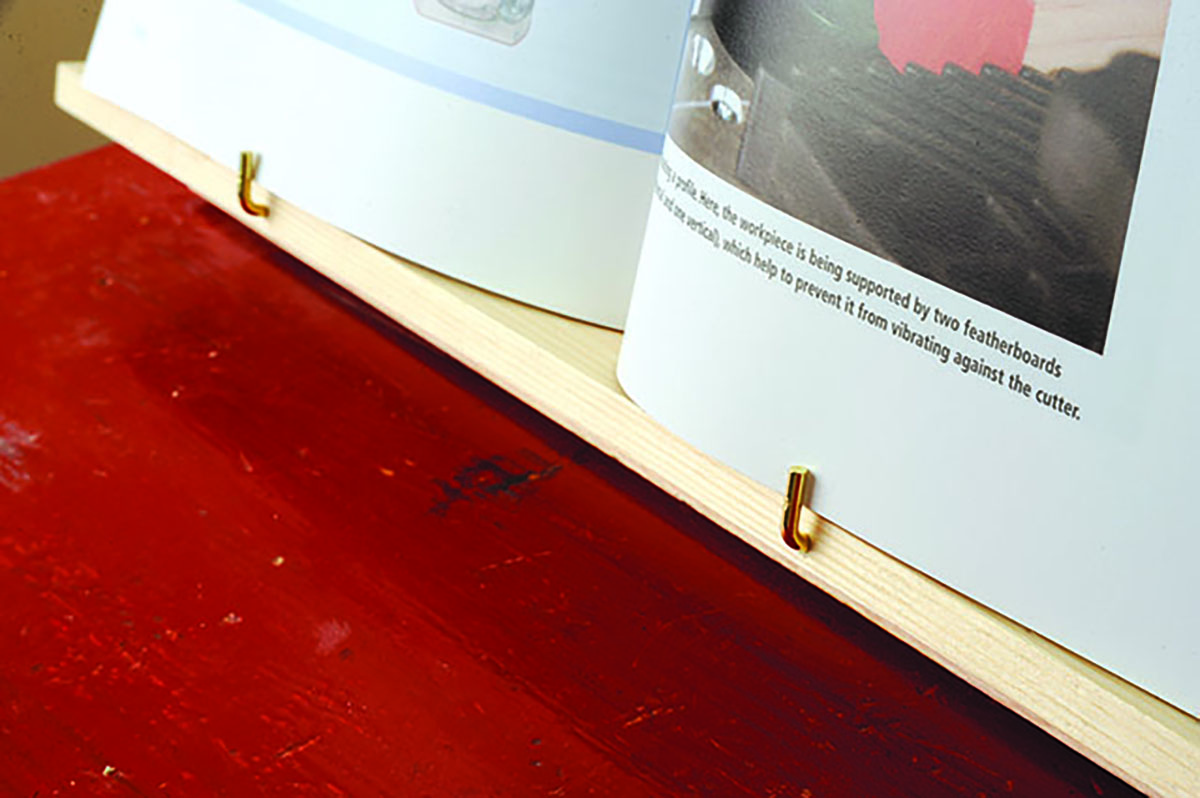
15. You could fit hooks that stand up more but this discreet device is enough to hold the pages open. When the stand is folded the hooks are turned sideways first.
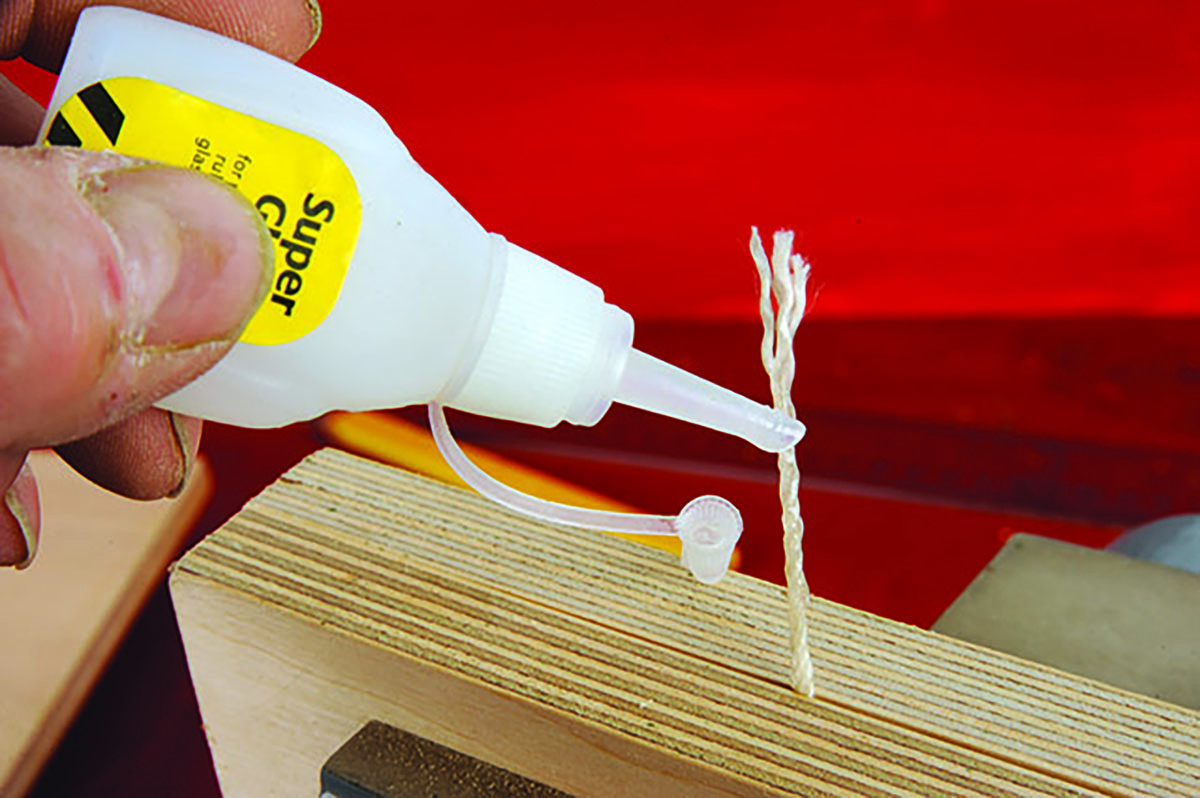
16. I mulled over the way I might stop the support from opening too far and settled on cord running through holes in both the stand board and the support. The cord may fray, so to prevent this set it rock hard with some superglue, trim the end off and then thread it through the holes drilled.
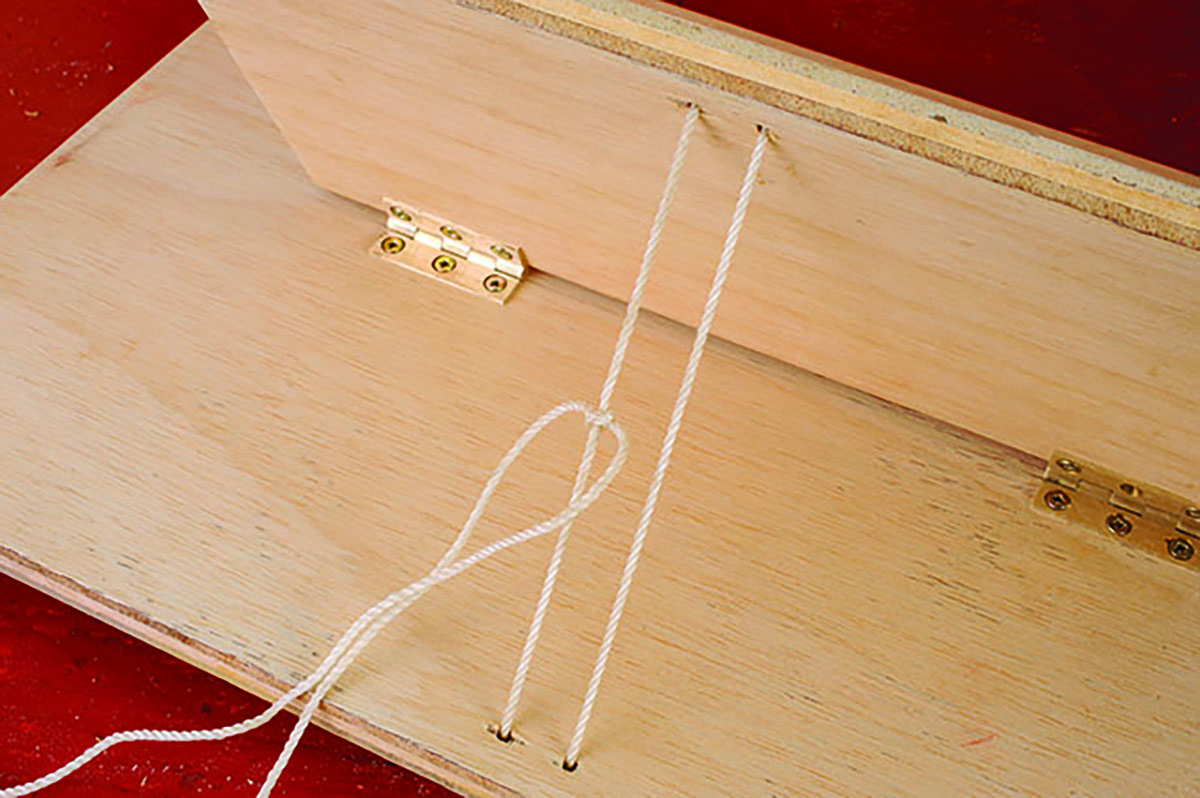
17. Once threaded, tie the cord with a reef knot and treat the ends again with superglue and trim off neatly. The beauty of using cord is that you can set the reading angle at your own preferred height.
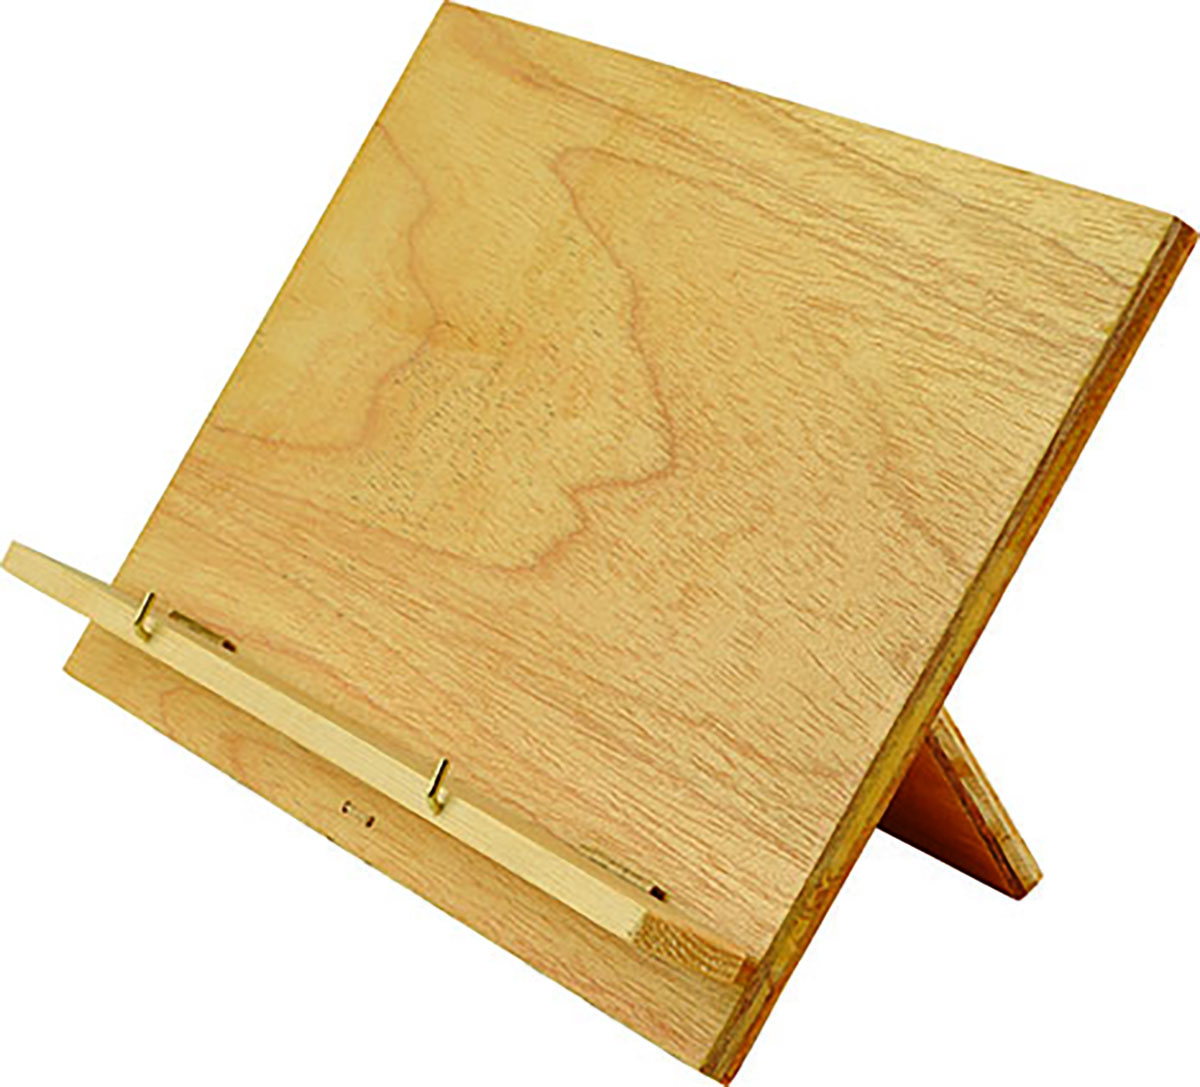
18. You end up with a nice neat book stand that looks like this…
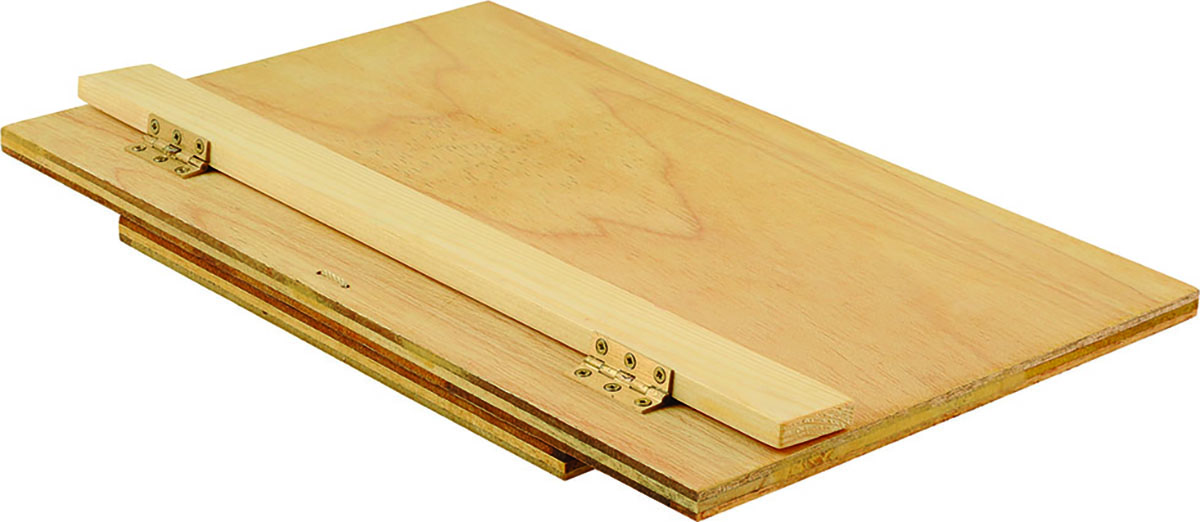
19. … or folded up, like this. You can carry it with you or pop it on the bookshelf, it’s always ready as
a reading aid!


