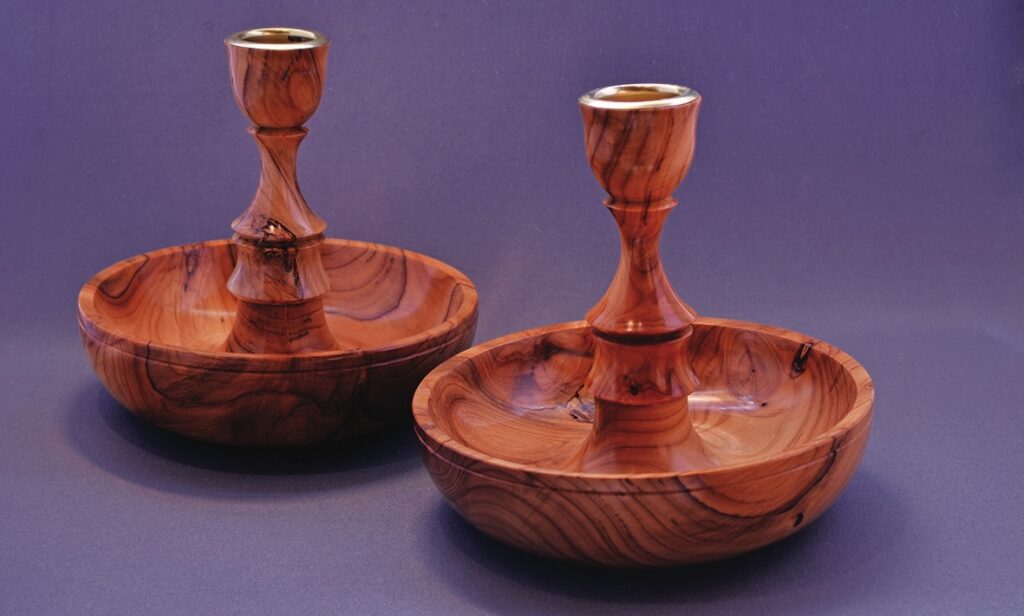
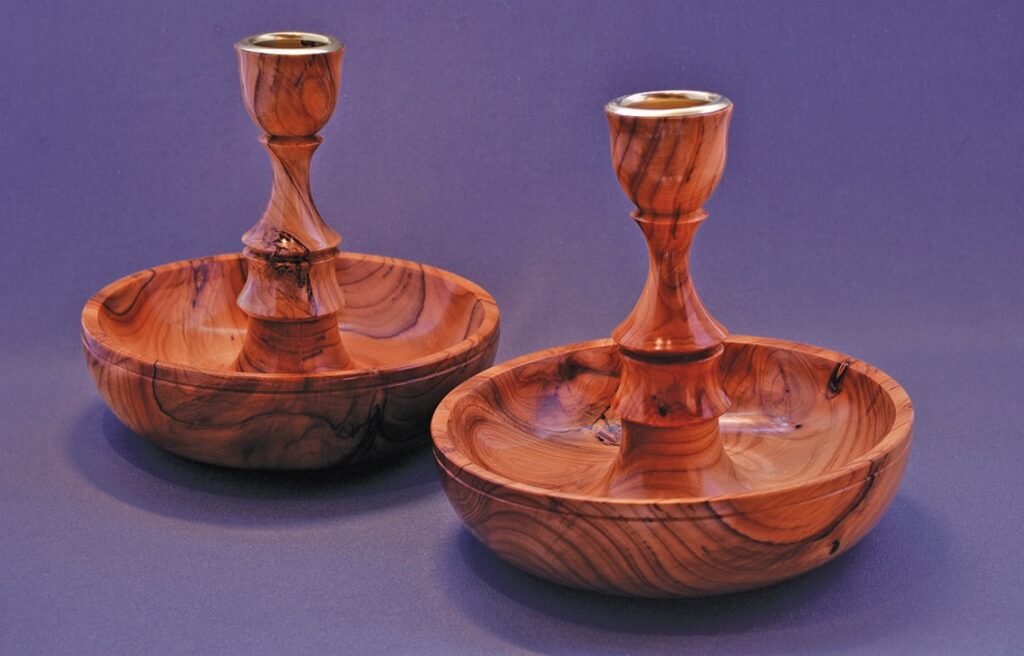
Stuart Thomas creates his interpretation of a traditional pair of travelling candlesticks
A wonderful project combining faceplate work, spindle turning, inserts and thread chasing, so providing a challenge to your woodturning skills. When complete, this is a great talking point for family and friends as there is a lot of history behind these objects. You can find much more on the web, but here is a brief outline from me.
Travelling candlesticks have been known since about 1735 through to around 1925. They were used by explorers, travellers and military officers, including during the American Civil War. So why a ‘Brighton Bun’? When screwed together for transporting in a neat, compact unit it resembled the now-forgotten English pastry of that name. These candlesticks were originally made of brass, bronze, copper and other metals, or in woods such as olivewood (Olea spp), yew (Taxus spp), elm (Ulmus spp) etc.
In this article I am making one in yew, from a locally felled tree and given me by my friend Dave, and using African blackwood (Dalbergia melanoxylon) for the inserts. This is not a project to be rushed. To ensure everything fits well many years later there is a need to minimise the risk of wood movement on some parts by using the technique called rough turning. You do not have to do this but, of course, things may move and not fit so well later. If you do use the rough turning method, it means you will need to rough turn some parts first allow extra thickness, about 10%, allow them to dry and move as they will and, once dry, re-turn them to final shape. I am using the rough-turn method for this article.
Allow yourself time to get all the parts right so it all fits together well. Making the Brighton Bun is not difficult, but you have to deal with things sequentially and be accurate. There is some thread chasing involved that you may need to practise. If you need to practise cutting threads choose very dense, close-grained hardwoods. John Berkeley has written many articles on this, or you could use threading jigs.
Although I have shown specific sizes and used timber to match those sizes, there is no reason why a Brighton Bun should be this specific size. You could use whatever you have available as long as you factor in the required shaping and sizing for the items so everything fits together and inside the bowls.
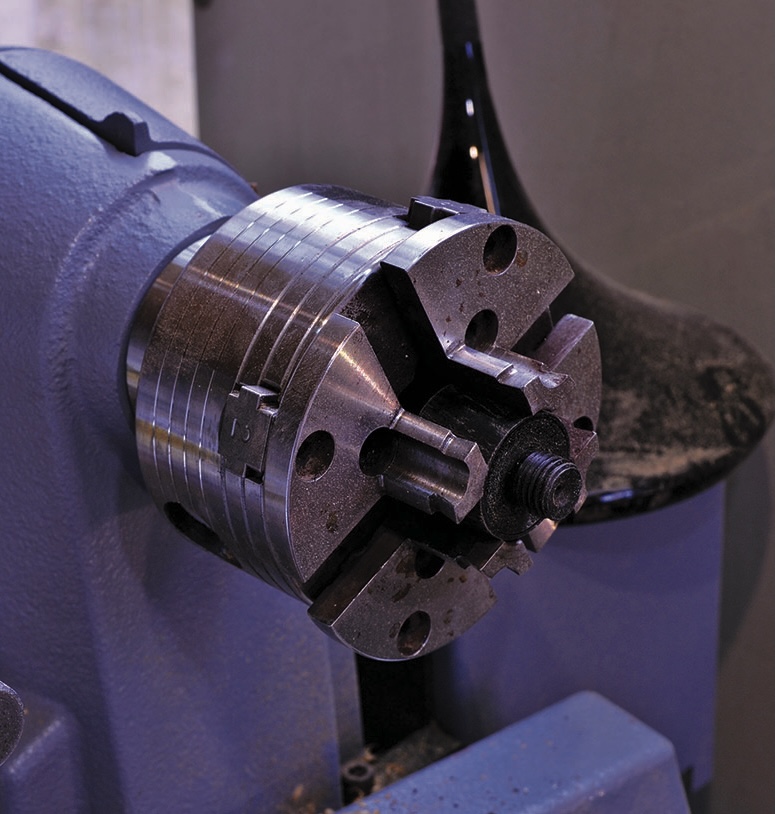
• 20mm spindle roughing gouge • 6mm bowl gouge • 10mm three-point tool • 16mm spindle gouge • 13mm skew chisel drill and a drill bit for your screw chuck • 19mm Forstner bit • 12.5mm Forstner bit (adjust sizes slightly if you need to and adjust your drawings accordingly) • Round nose scraper • Pair of 16 TPI (teeth per inch) thread chasers • Yew (Taxus baccata) wood for half bowls and stems • African blackwood (Dalbergia melanoxylon) for male and female inserts • Four-jaw chuck with screw-thread attachment • Jam chuck • Brass candlestick inserts • Abrasives • Cellulose sanding sealer • Buffing wheels: regular cotton wheels and domed ones
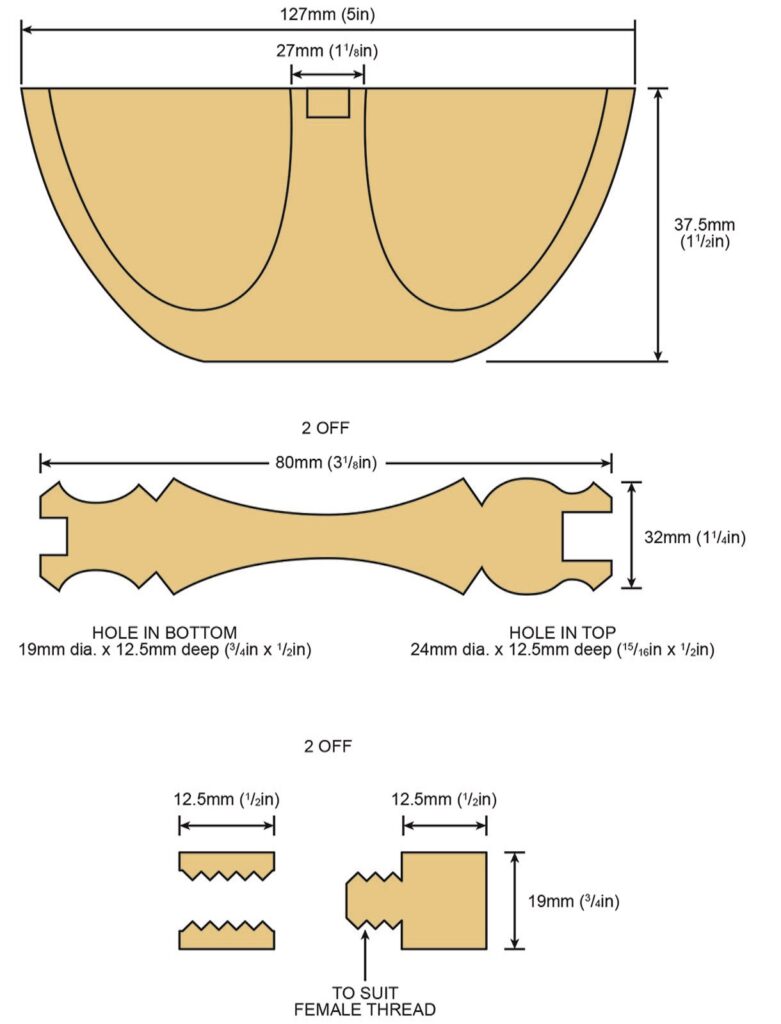
Drawing
Getting started
Part turning With all the boxes I turn and also other items like this pair of candlesticks, I always part-turn the blanks and leave them in the house to ensure the wood has properly dried out and settled. It may take a while but it’s better to have a little patience at this stage than find the wood has moved after you have completed the project and you cannot fit things together any more..
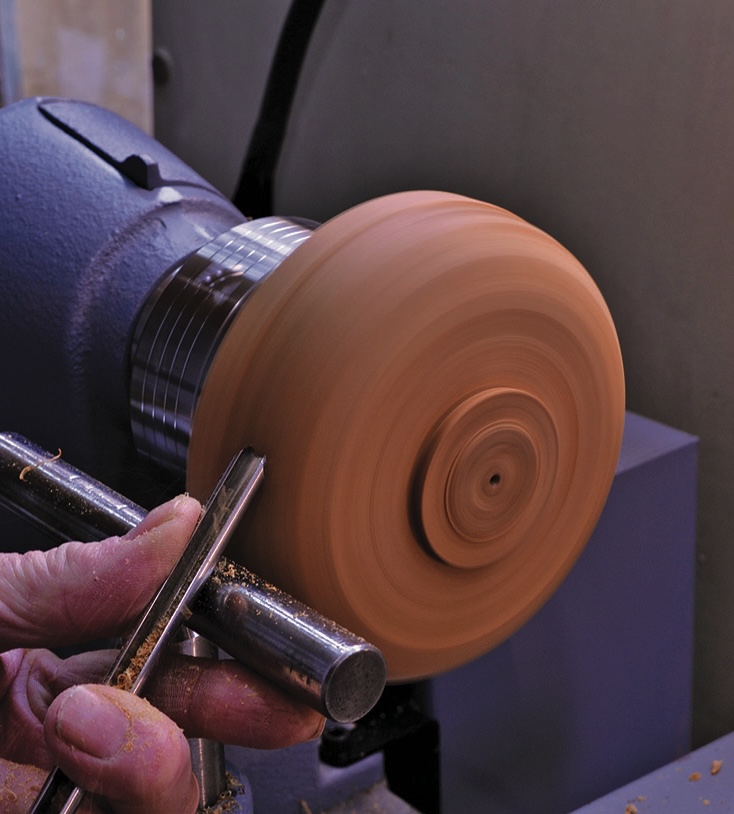
1. After preparing your bowl blanks (two are required – a top and a base) mount one on a screw chuck. Using a bowl gouge, rough shape the outside to the profile shown in the drawing. When you are happy with the shape, turn a spigot to fit your chuck jaws. Once the first one is done, mount the second blank and repeat the process
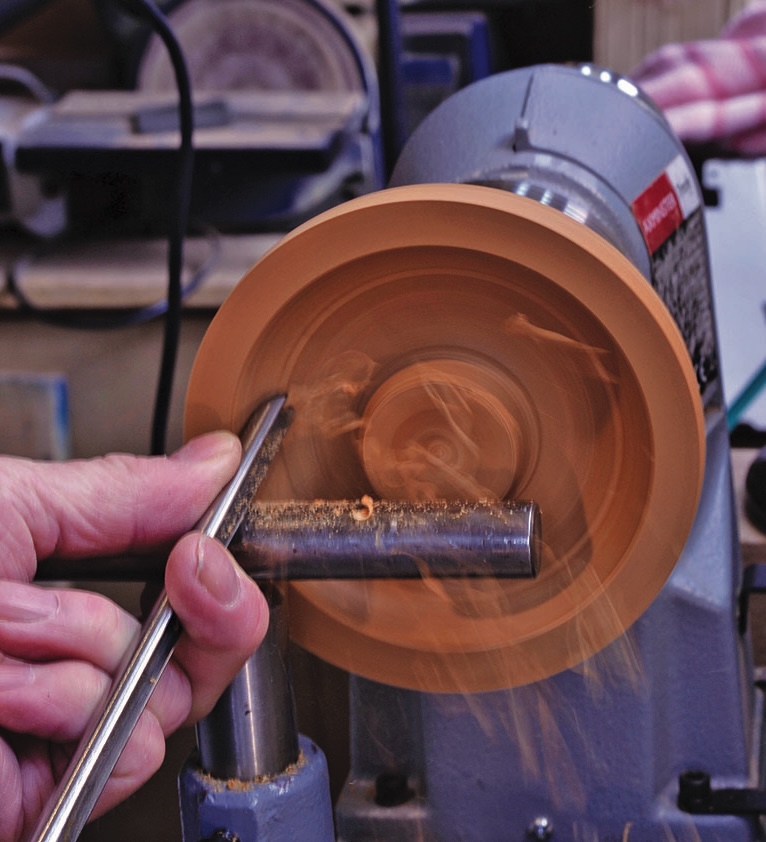
2. Hold one of the blanks in the chuck by the spigot you have cut. Now, as per the dimensioned drawing, hollow out the inner U-shaped section of the bowl. If you are rough-turning the piece, leave the walls thick at this stage due to the blank being only being part turned. (See note on part turning). Take great care not to hit the centre with the tool in full cut mode. It is easily done. When you get close to the raised centre section, rotate the gouge so that the wing of the tool touches the wood in scrape mode, which drastically reduces the risk of a catch should you touch the central raised section. Of course it is better not to touch the raised inner section. Once the first bowl section is rough turned, take the second blank and repeat the process, then set them aside to dry
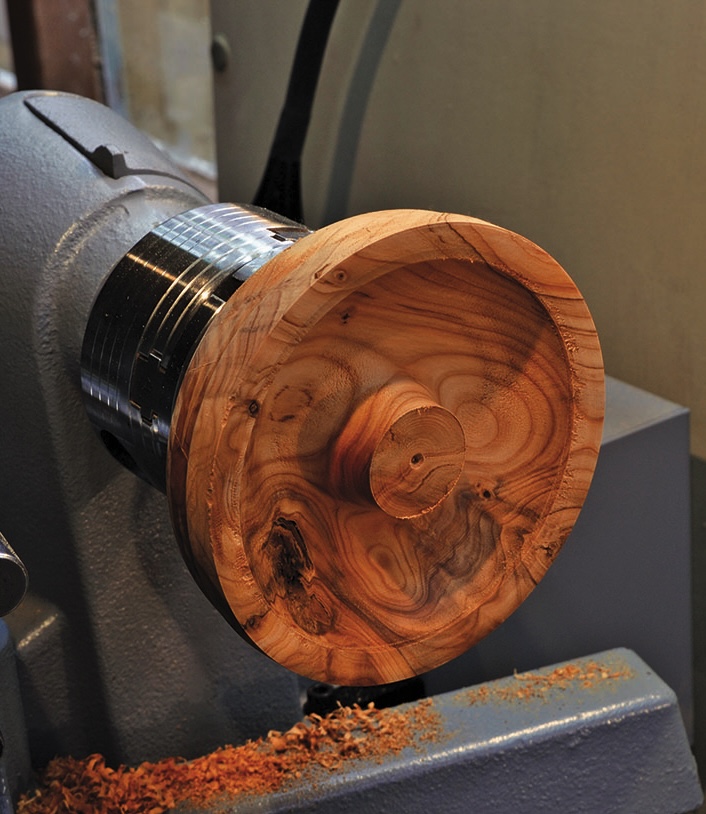
3. After the blanks have fully dried and settled, mount one on the chuck and start the final shaping. If the blank has moved a lot, you can remount it between centres and true up the spigot. prior to fitting it in the chuck so you have better concentricity before refining the shape. When refining the internal elements, leave the raised centre section no less than 35mm in diameter. Previous experience shows there is a big chance of splitting the wood if you take it down to finished size before drilling the hole for the insert
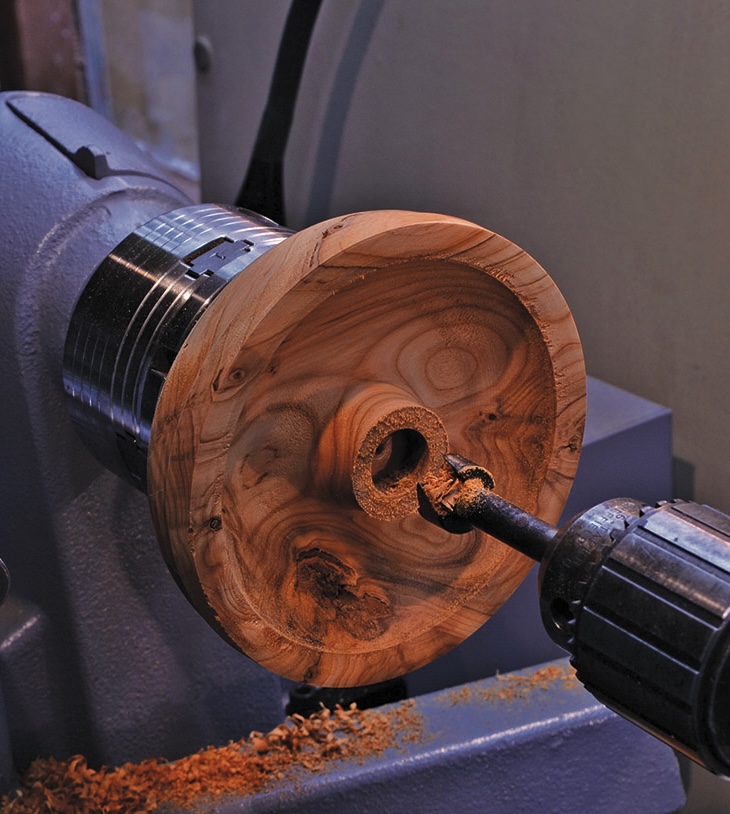
4. Drill a 19mm diameter hole, 12.5mm deep, with a Forstner bit to take the blackwood insert. This first half of the Bun will have a female thread, the second a male one
5. Having drilled the centre hole, continue to turn the inside of the bowl and also as much as you can of the outside
6. Complete the inside turning taking the centre diameter down to about 27mm. Aim for a wall thickness at the rim of just under 5mm, allowing the bottom of the bowl to thicken out a little. Remember to allow room for the candlestick stems. This first half can now be sanded, given a coat of sanding sealer and removed from the chuck. Repeat the whole process to make a second bowl
7. Now it is time to make the threaded inserts. To make the female insert use a piece of 25mm diameter blackwood and turn it between centres down to a cylinder. Drill a 12.5mm diameter hole to a depth of 16mm with a Forstner bit to give a good parallel hole to chase the 16TPI threads in. Now, turn the outside diameter of the insert to 19mm to fit the hole in one of the completed half bowls. Part off a section 12.5mm long. Make two of these. One will be fitted into one bowl while the other will be fitted into one of the candlestick stems
8. Make the two male inserts, again using a 25mm diameter blackwood section turned to a round, each of total length 25mm. Turn 12.5mm down to 19mm to fit the hole in the second bowl. The remaining 12.5mm needs to be threaded to fit the female insert in the first bowl. Repeat the process to make a male insert to fit the second candlestick stem. If you have no experience of threading you could use a tap and die on this dense timber instead
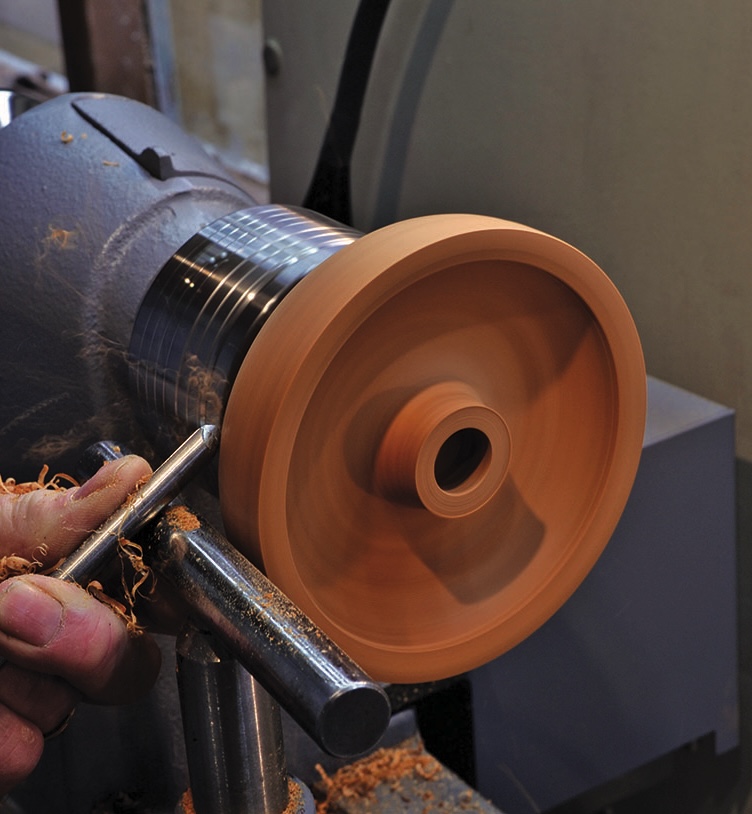
9. Put the turned and finished second bowl, with the male insert glued in place, back on the lathe. The first bowl, with the female insert, can now be screwed on to it so that the bottom can be finished
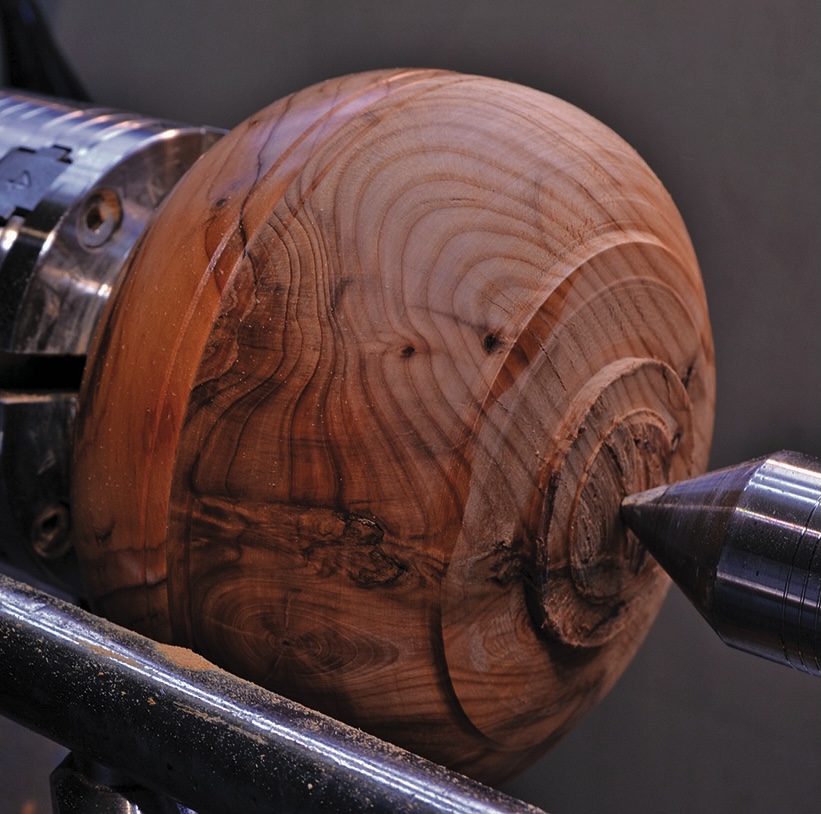
10. With both parts of the bowl screwed together it is a good idea to use the tailstock for extra security
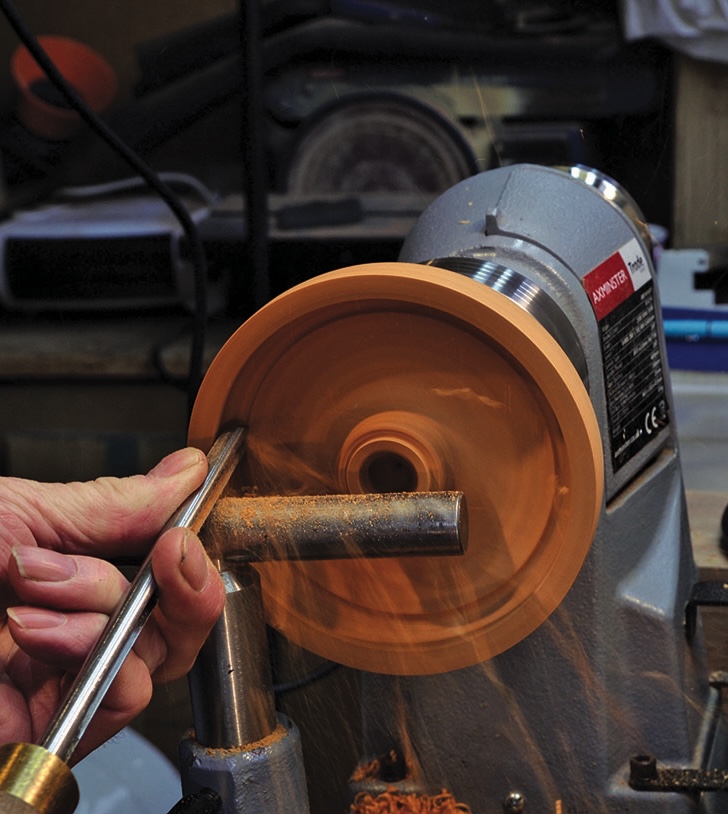
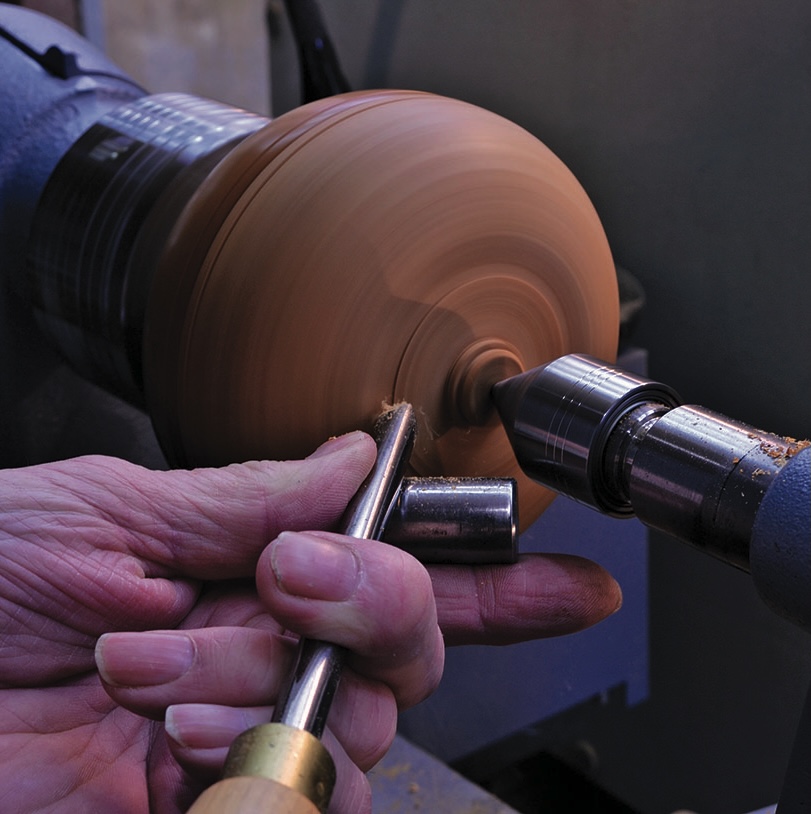
11. Making progress! Now, true up both halves of the bowl and start to remove the spigot, keeping the tailstock in place until the last moment…
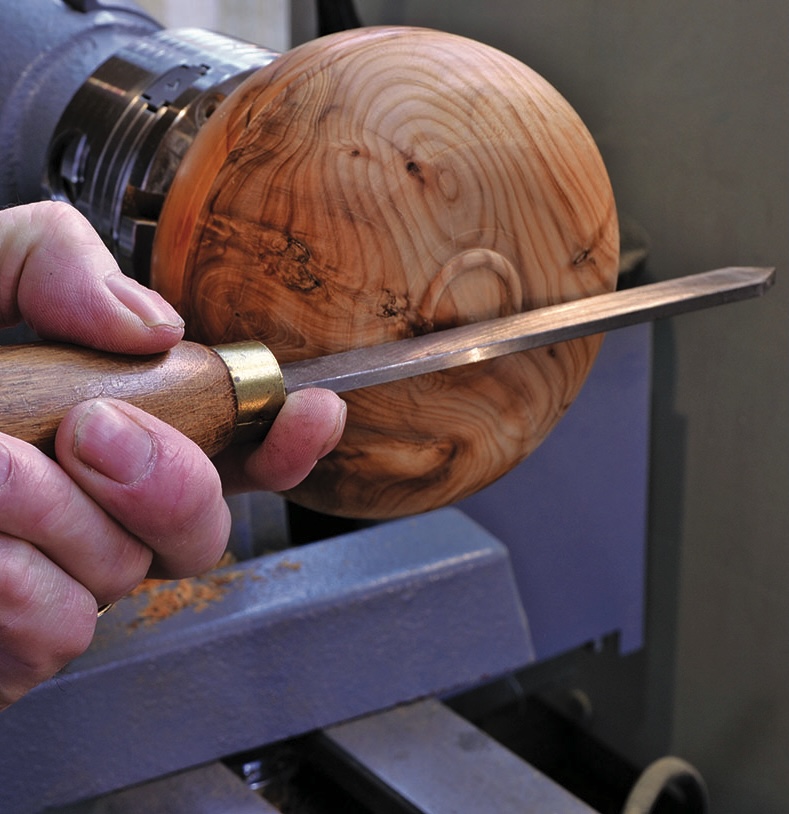
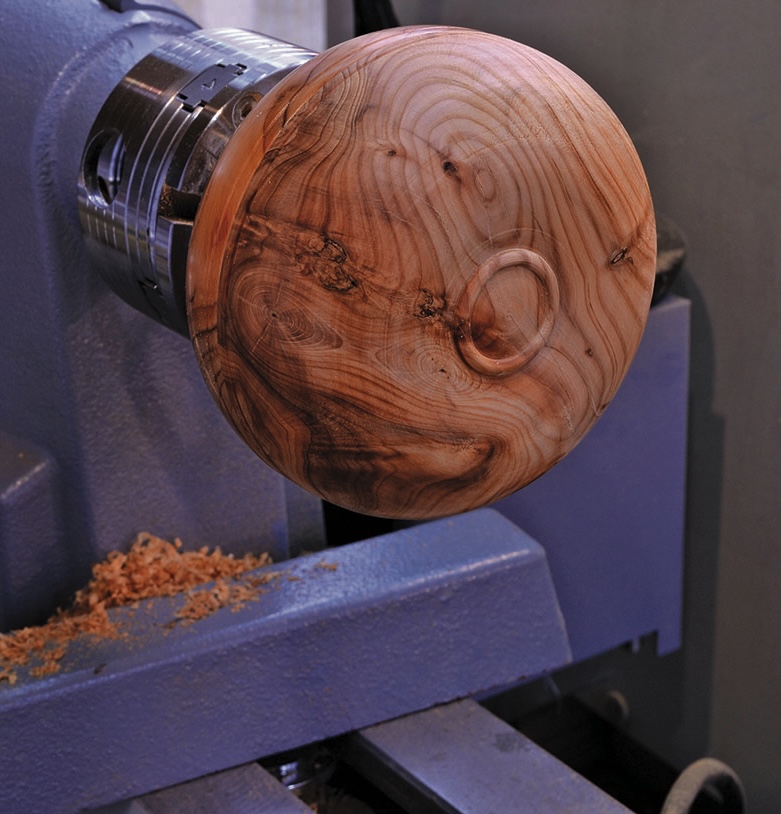
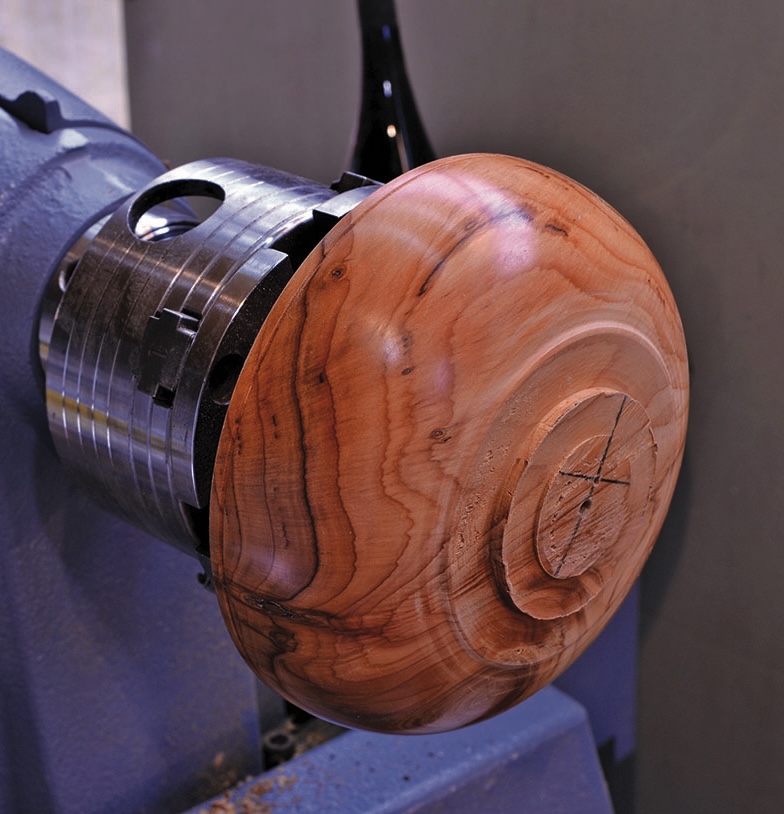
12. When you can, then turn the little bead as a bit of decoration. The first half of the bowl has now been finished. Note in the picture that the bottom has been undercut a little and the bead is not where the bowl will sit if this face is placed on a table. You could use the flat edge of a parting tool to check the undercut
13. Now work through the grits and sand this to a fine finish down to about 1200 grit. If you do not want as high a gloss look, 600 is fine. Once sanded, remove both halves from the chuck
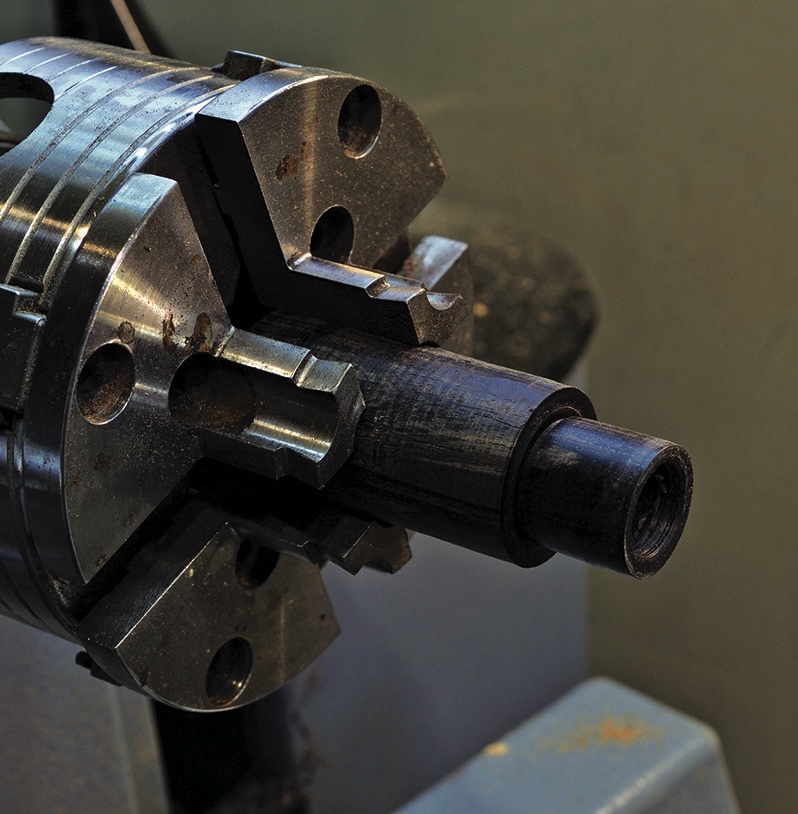
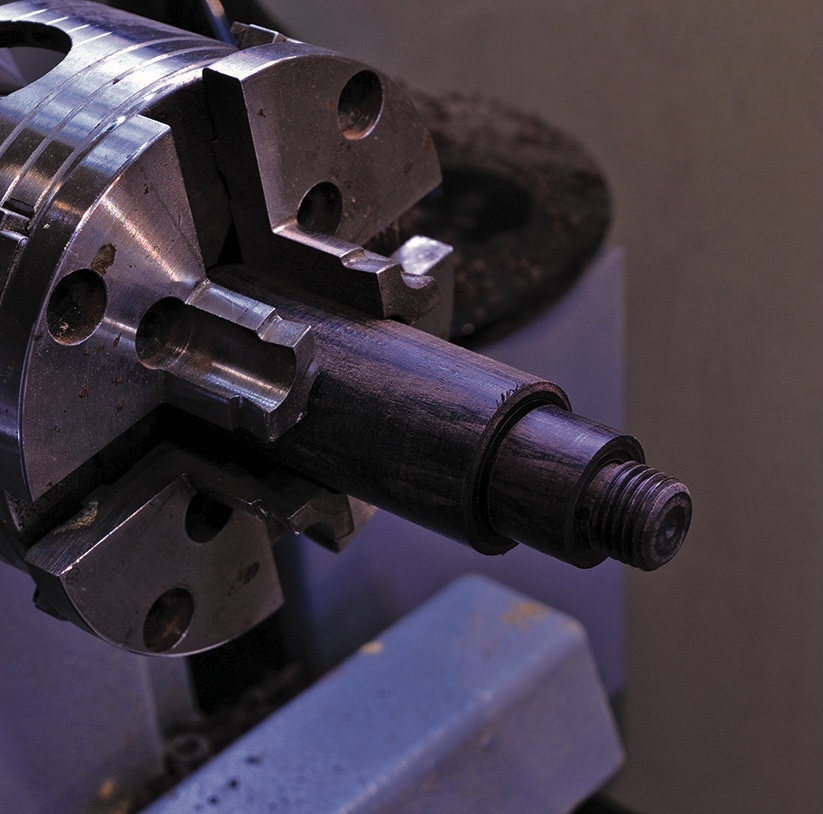
14. Using a piece of blackwood cylinder held in your chuck, create a jam chuck that has a thread to match the size of the female threaded section placed in the bowl earlier
15. Screw the female half of the bowl on to the blackwood jam chuck. Once secure, bring up the tailstock and finish it using the method used previously for the male threaded half of the bowl. Sand it to the same level as the previous one and the bowl is now complete and ready for polishing
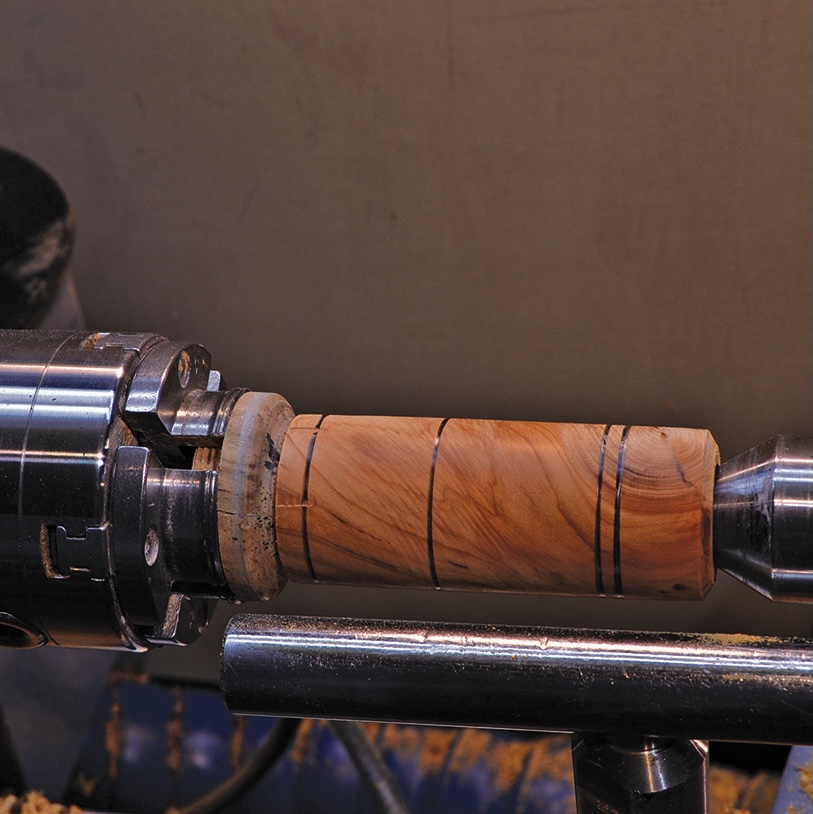
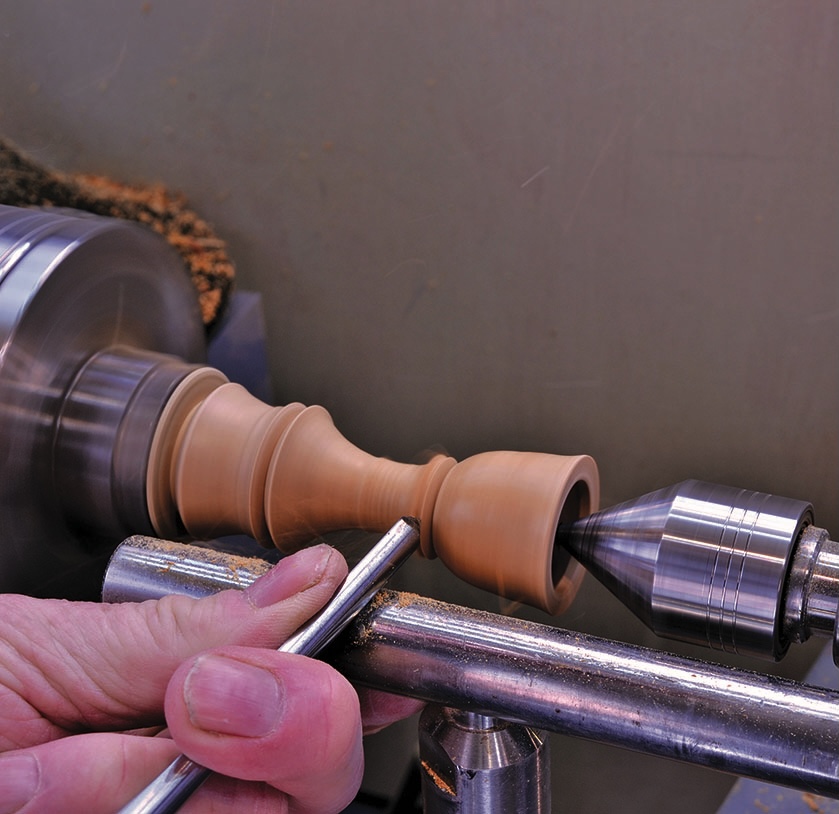
16. Time for the stems. Prepare a stem blank with a 19mm diameter hole drilled 12.5mm deep in the bottom and a 24mm diameter hole drilled 12.5mm in the top as shown on the plan. Hold the bottom of the stem in a jam chuck and the top in the live centre. If the hole is too deep for the live centre, put a loose insert in the hole while turning
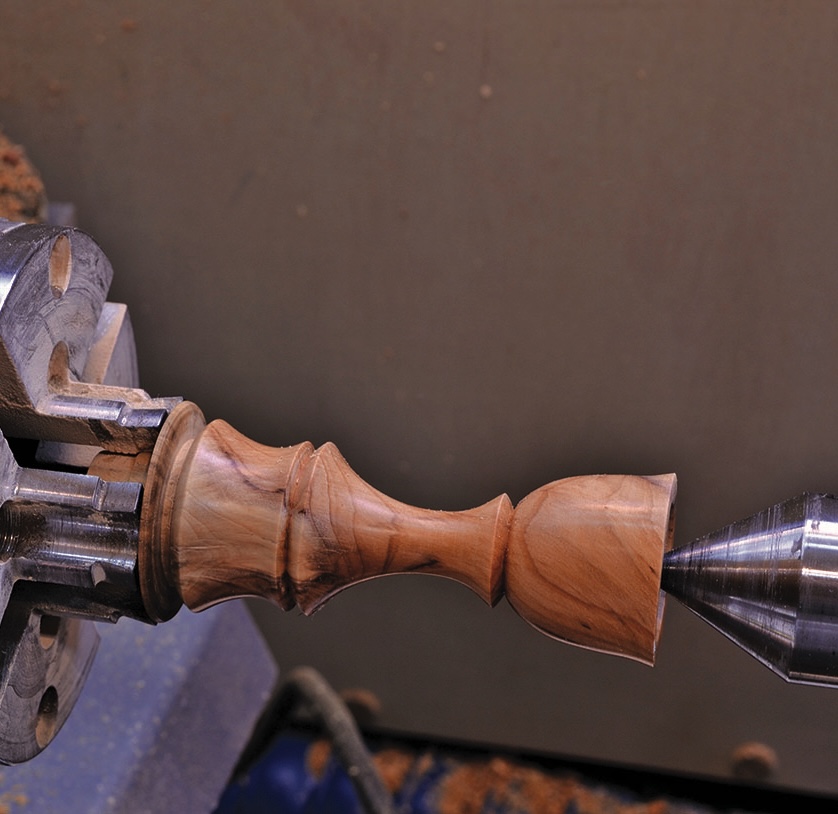
17. Turn the stem to a shape you are happy with but ensure there is sufficient contouring to fit around the centre of the bowl. Remember that there are holes in the top and bottom of the stem. (Not that I’ve ever gone through them of course!)
18. When the stems are completed and sanded, glue the cup inserts in the tops and the male and female inserts in the bottoms before polishing
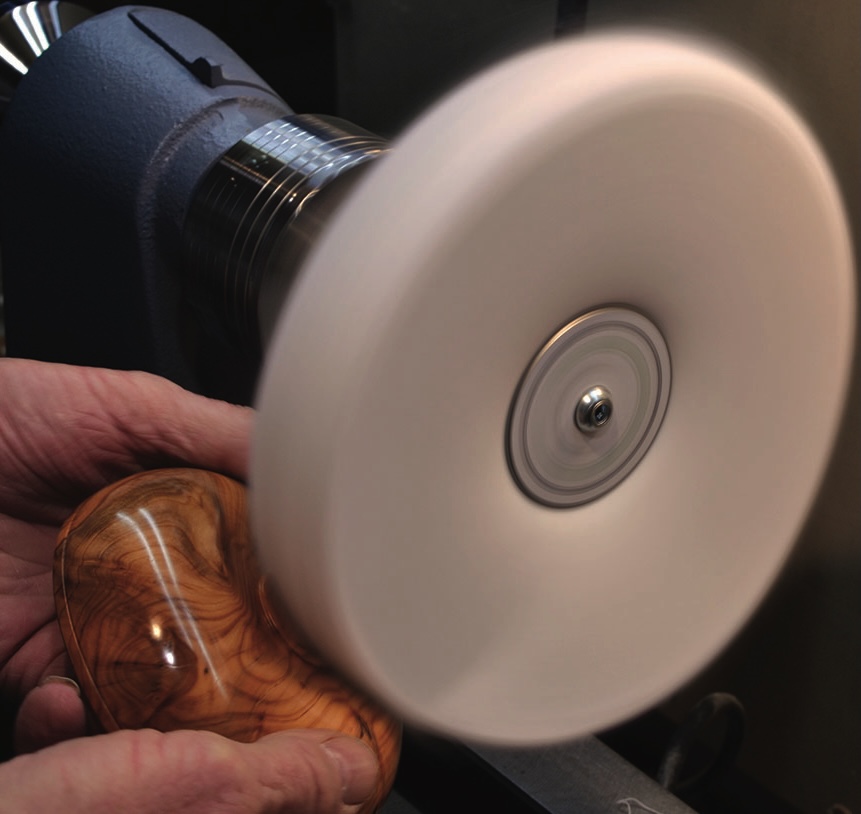
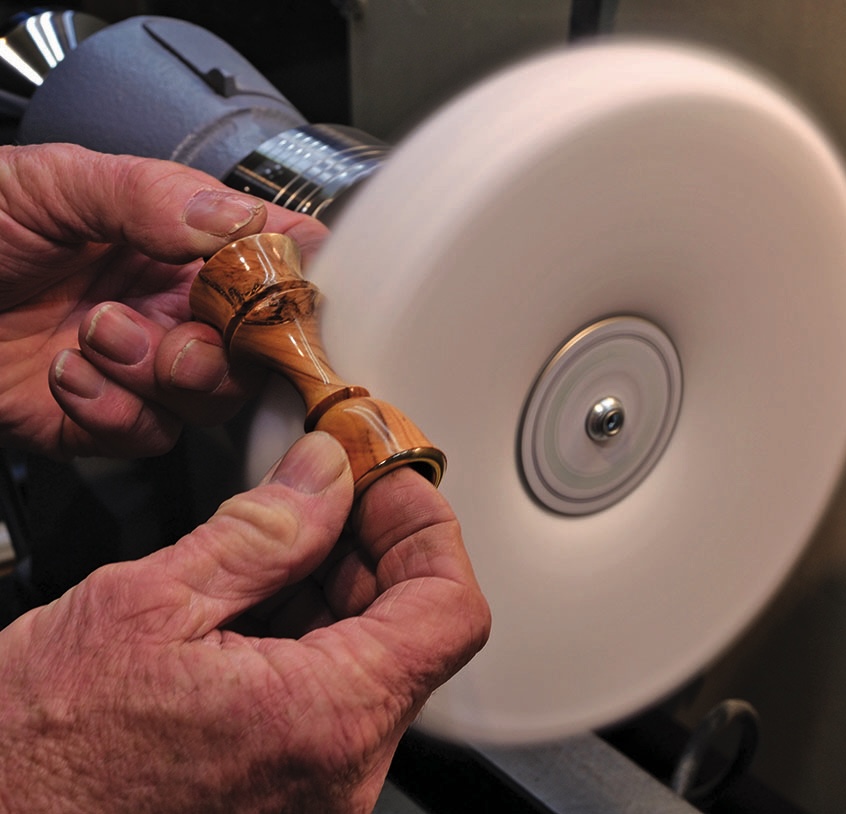
19. You’re nearly there. Having previously sanded the bowls to 1200 grit on the lathe and applied a coat of sanding sealer, use the polishing mops to put the final polish on the outside of the bowls. Take care positioning the items on the buffing wheel. Always trail the work and only gently touch the work to the wheel. You are refining a surface, not removing material. I used three buffing wheels. The first one was loaded with Tripoli, followed by the second loaded with white diamond and finally the third with carnauba wax. So, to remove imperfections gradually go down in abrasive size, and the last applies a high-gloss shine. Whether you buff or not is your choice. It certainly creates a lustrous high-class look
20. Now polish the stems using the same procedure as for the bowls. After this it is time to polish the inside of the bowl halves, this time using domed mops which fit into the curved inner surface better and are less likely to grab any outward projecting edges. Use the same three-mop sequence as before i.e. three mops and three compounds
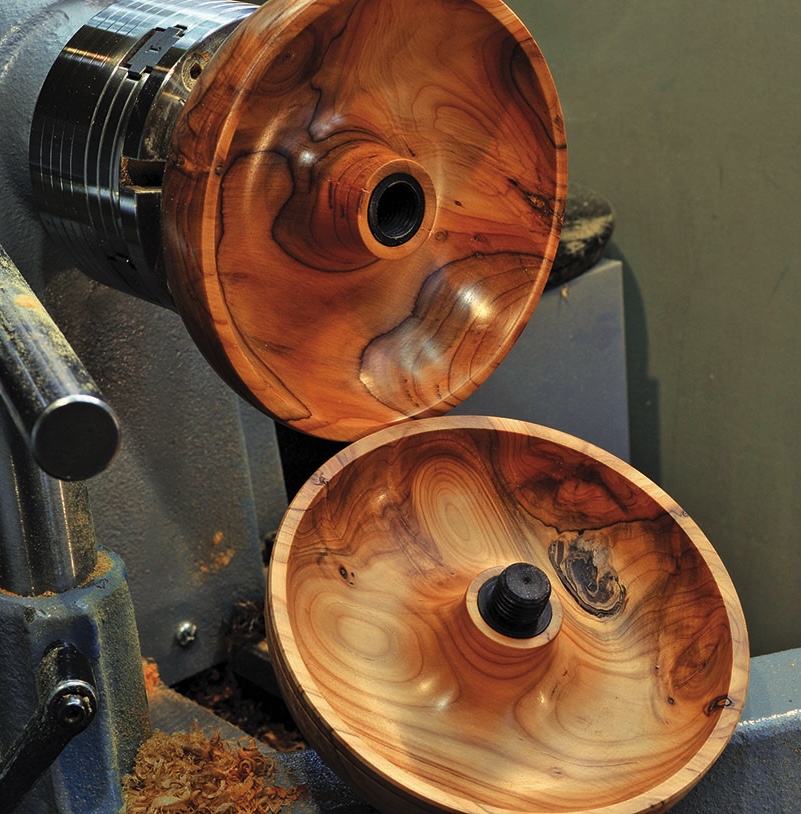
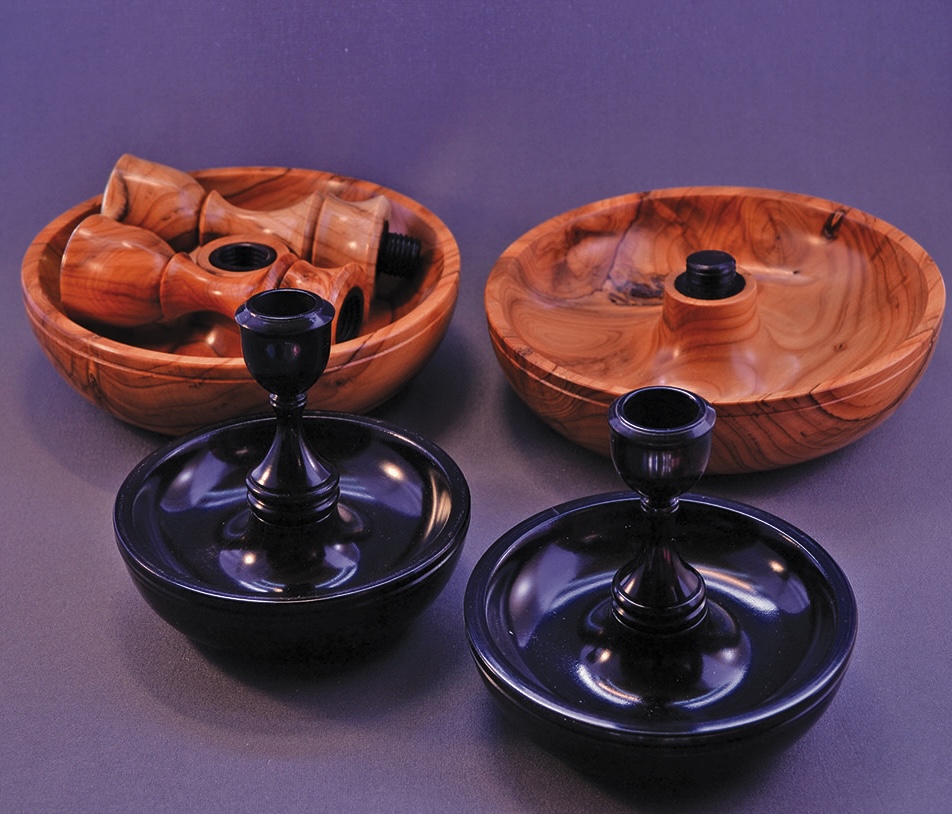
21. The completed Brighton Bun open and showing both halves with the stems screwed in place
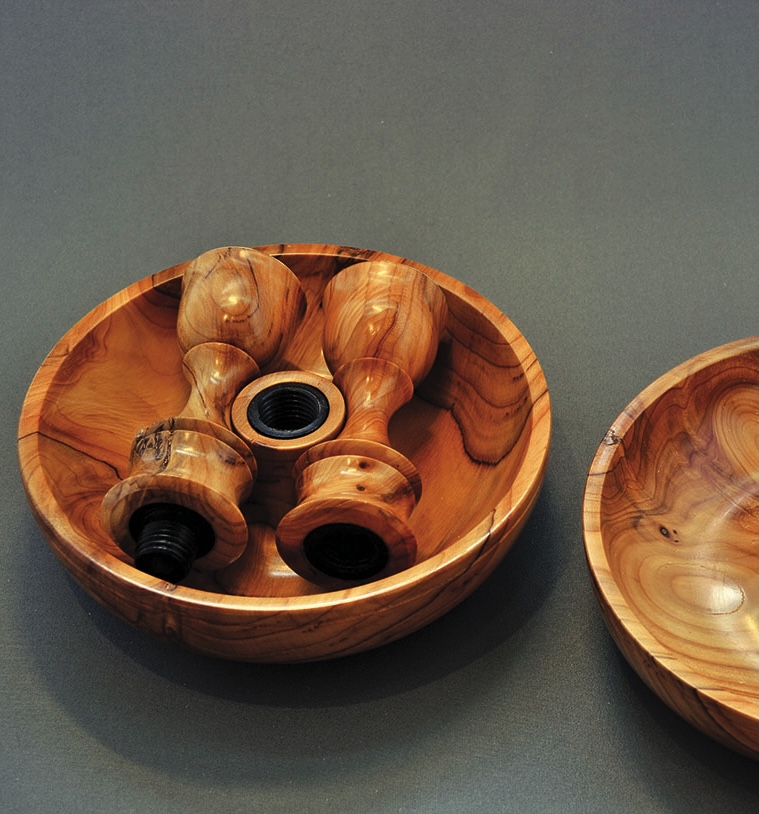
22. This is how the unscrewed pieces fit into the curved recess of one of the bowls
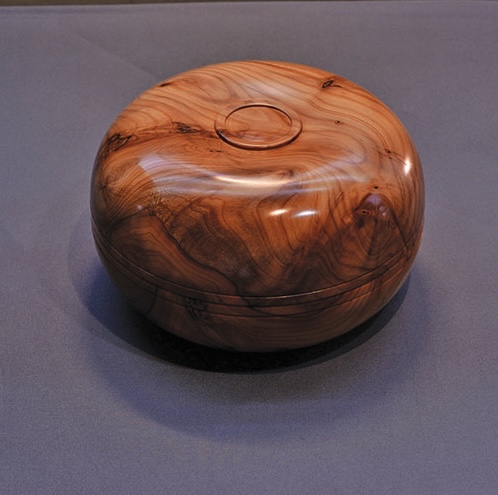
23. The completed Brighton Bun with both halves screwed together into the closed position and all parts contained inside
Different materials
24. I chose to use yew for the project, but other timber can be used too. Take a look at this image where blackwood has been used throughout and how it compares to the yew ones made. You can also change the visual elements by opting to use other timbers and adding colour and maybe gilt cream
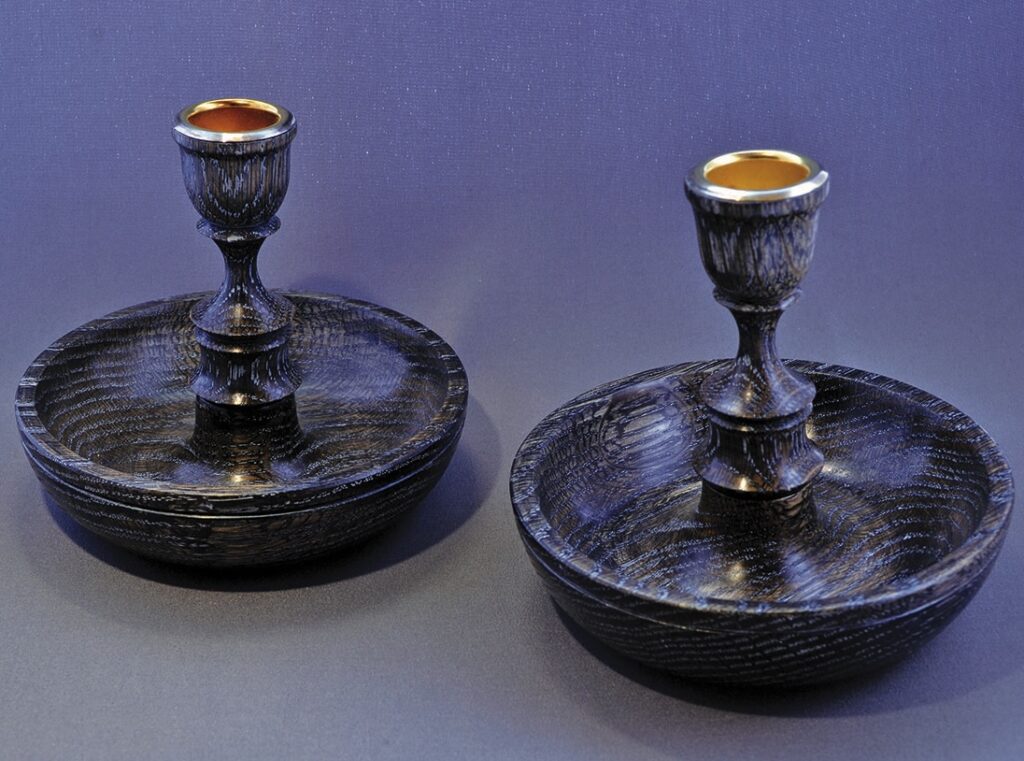
25. The other set on view is constructed of oak and blackwood, the timber was dyed and a liming paste/gilt cream was applied to fill the grain
To provide the best experiences, we use technologies like cookies to store and/or access device information. Consenting to these technologies will allow us to process data such as browsing behaviour or unique IDs on this site. Not consenting or withdrawing consent, may adversely affect certain features and functions.
Functional
Always active
The technical storage or access is strictly necessary for the legitimate purpose of enabling the use of a specific service explicitly requested by the subscriber or user, or for the sole purpose of carrying out the transmission of a communication over an electronic communications network.
Preferences
The technical storage or access is necessary for the legitimate purpose of storing preferences that are not requested by the subscriber or user.
Statistics
The technical storage or access that is used exclusively for statistical purposes.The technical storage or access that is used exclusively for anonymous statistical purposes. Without a subpoena, voluntary compliance on the part of your Internet Service Provider, or additional records from a third party, information stored or retrieved for this purpose alone cannot usually be used to identify you.
Marketing
The technical storage or access is required to create user profiles to send advertising, or to track the user on a website or across several websites for similar marketing purposes.