
Charles Mak’s handmade paper roll holders transform note-jotting chores into delightful acts of efficiency marked with sophistication
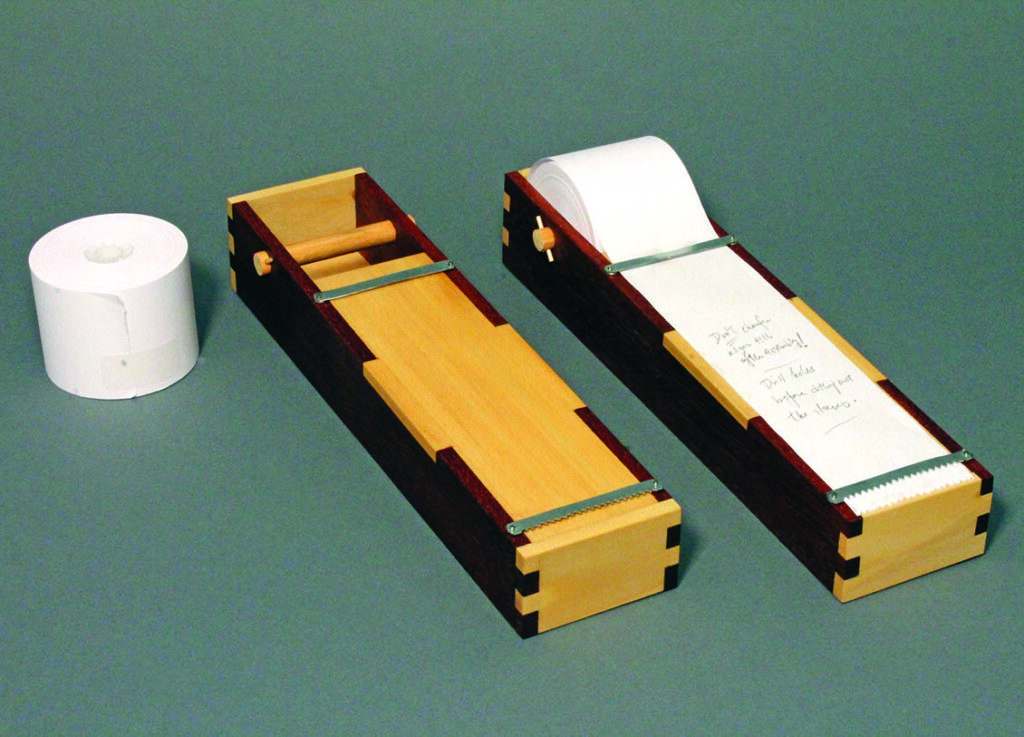
When I work on projects for a seminar or magazine article, I like to take notes to remind me of tips that are to be shared in the class or manuscript. The truth is that I am always making lists, but can rarely find my notepad! In a hurry – to jot thoughts that flash across my mind – I would simply use any piece of paper in sight, often to then lose that paper along with whatever good ideas that might have been on it.
I retrieved from storage a box of calculator rolls that my wife brought home more than a decade ago when her division was relocated. The rolls provided a good steady supply of paper, but, as I quickly found out, were inconvenient to use, both in tearing off and keeping the paper rolled. I needed a better notepad solution in the shop: a better dispenser, that is.
Designing the dispenser
After some thoughts, I came up with a few core features for the holder, and decided
on a minimalist and functional design:
• The roll of paper feeds out evenly
• The paper roll tears off at the end
• The holder can be used for table or wall mounting.
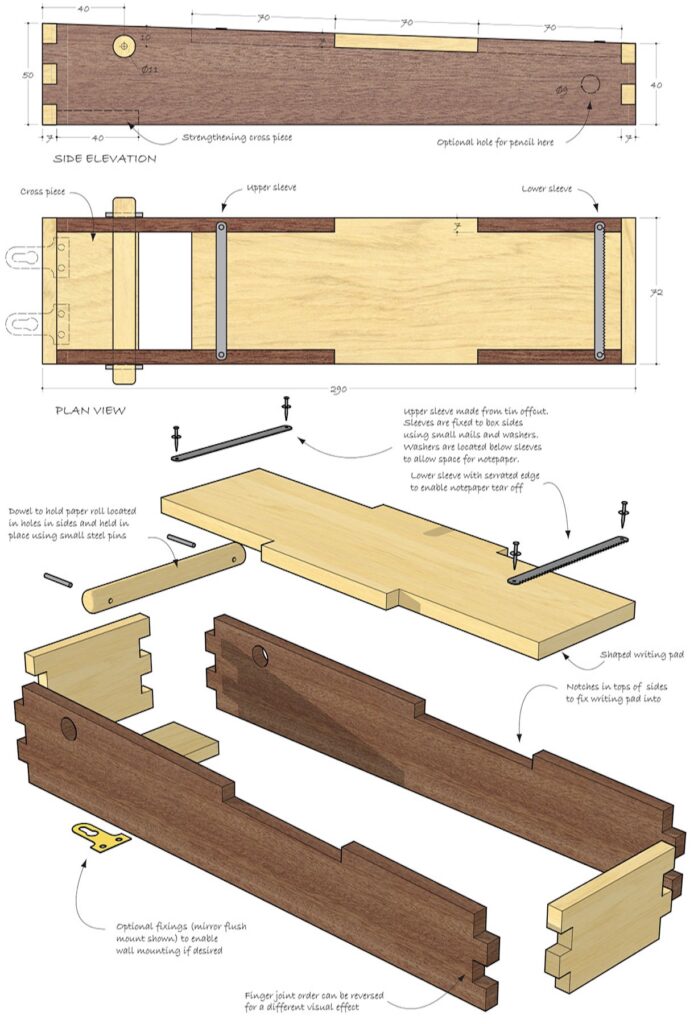
I included a joinery exercise in the build, by using hand-cut finger joints and notches. I made the box (inside) a hair wider than the roll and designed a slanted writing surface (see the drawing opposite for the suggested measurements).
Drawing
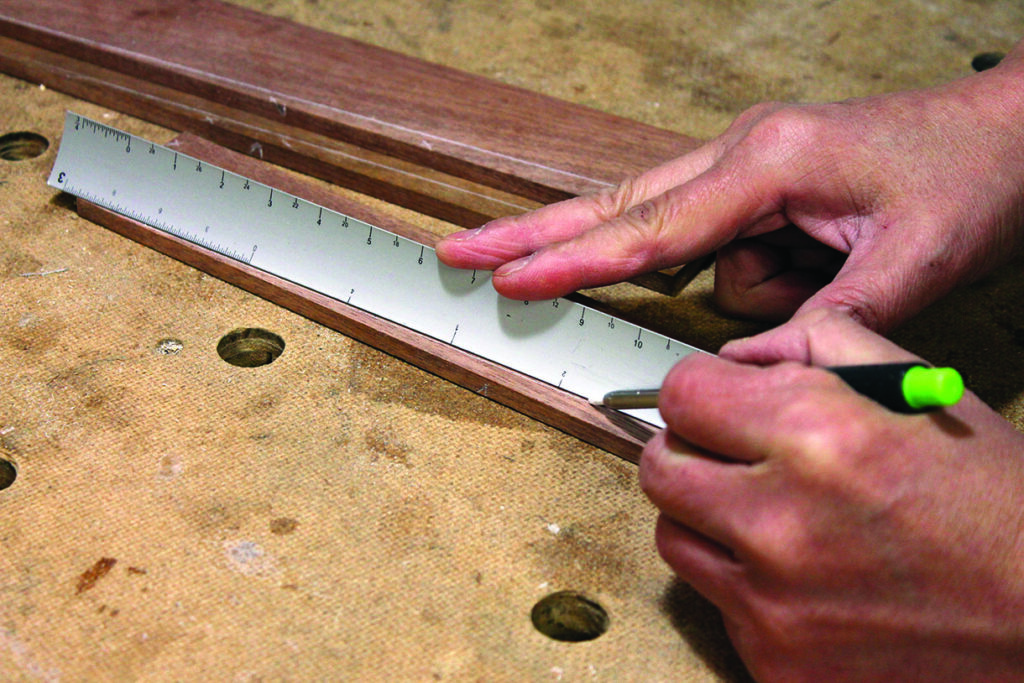
Marking out the sides
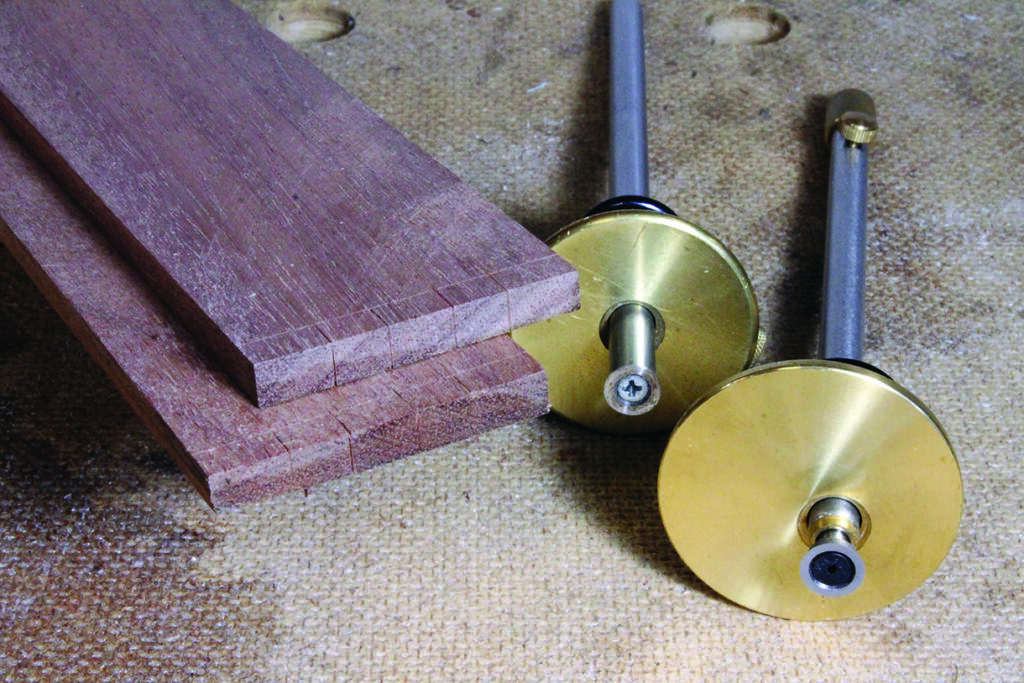
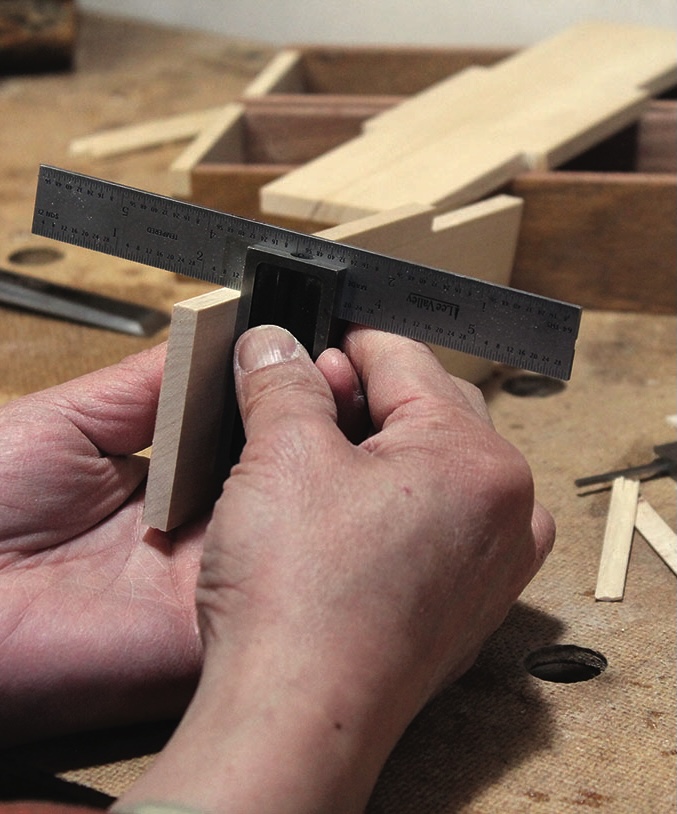
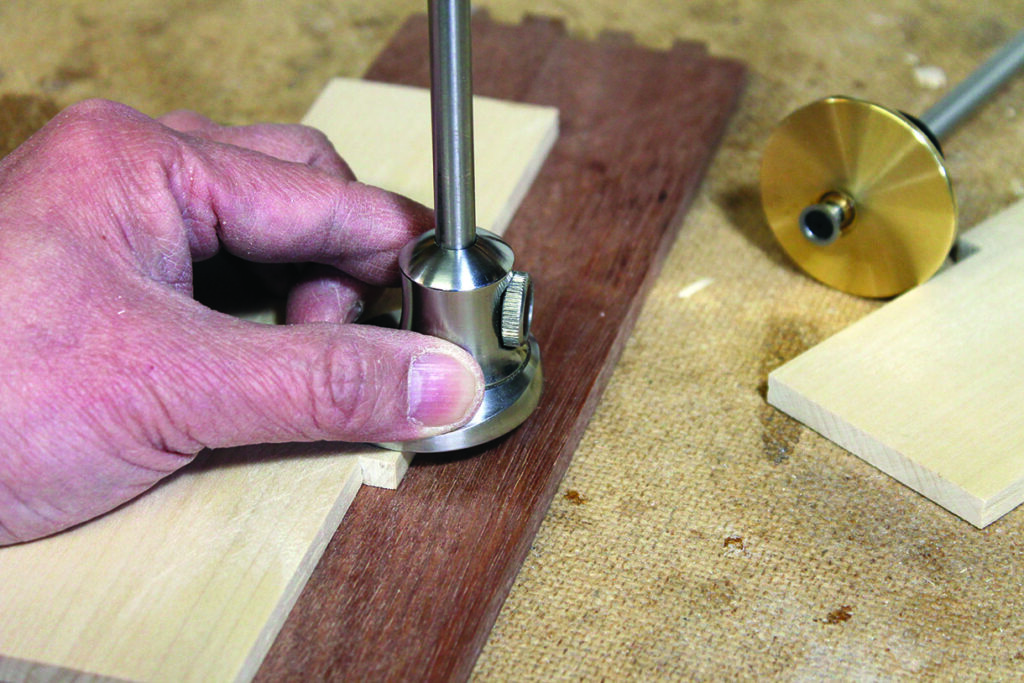
It would be a little uninspiring for the holder to be made from one single species of wood, so I picked sapele and poplar from the scrap bin. I checked against a wood movement guide to ensure that the notch design for housing the pad would not be an issue due to seasonal climate change. As I planned to also have one dispenser in the house, I prepared two sets of materials. After removing all the machine marks, I laid out the finger joints with a pair of marking gauges. The marking procedures are similar to laying out the dovetails. First, set one gauge to the thickness of the stock and scribe the baselines on all the boards. Then, determine the desired number of fingers for the joint and set the second gauge.
I chose to scribe the fingers on the sides first. The fingers for the top and bottom are marked after the sides are cut. Before sawing, also layout the cutline on the sides for the slanted surface.
Cutting the sides
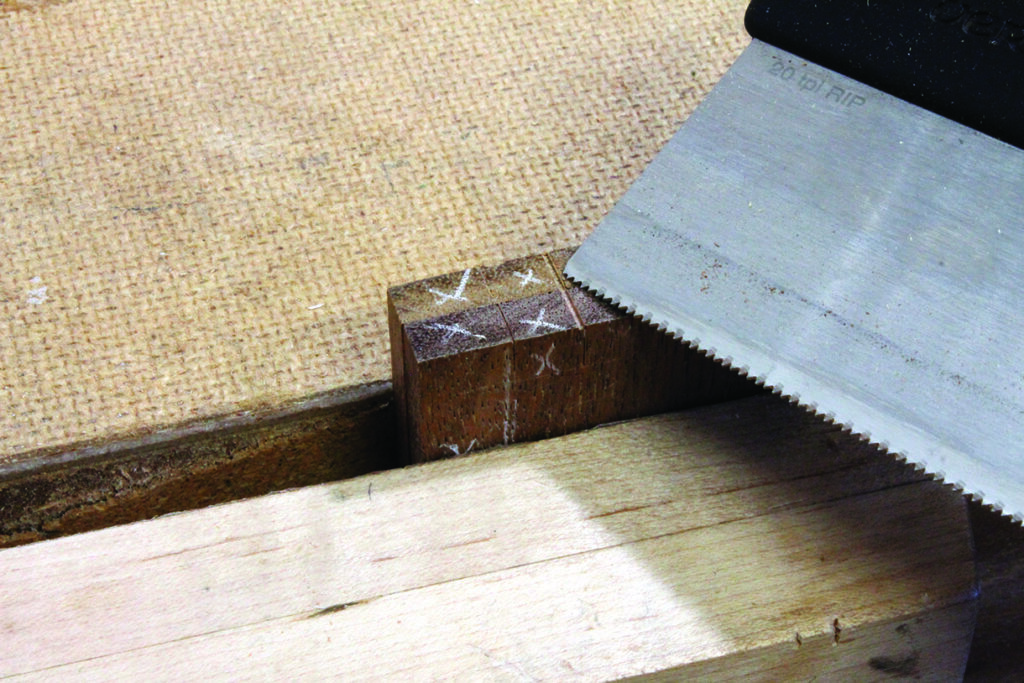
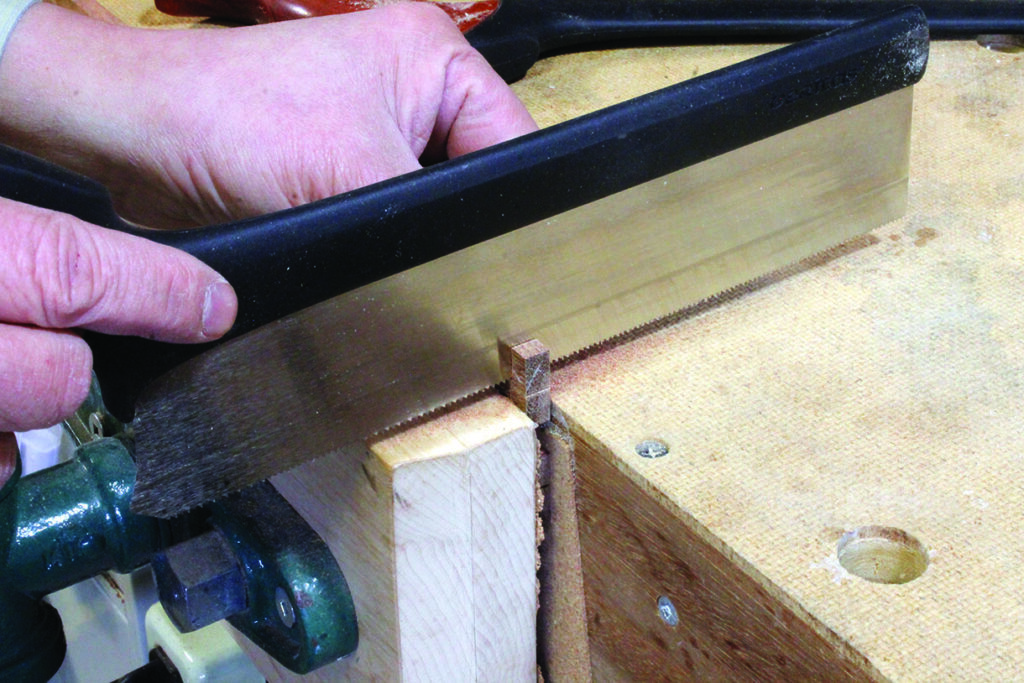
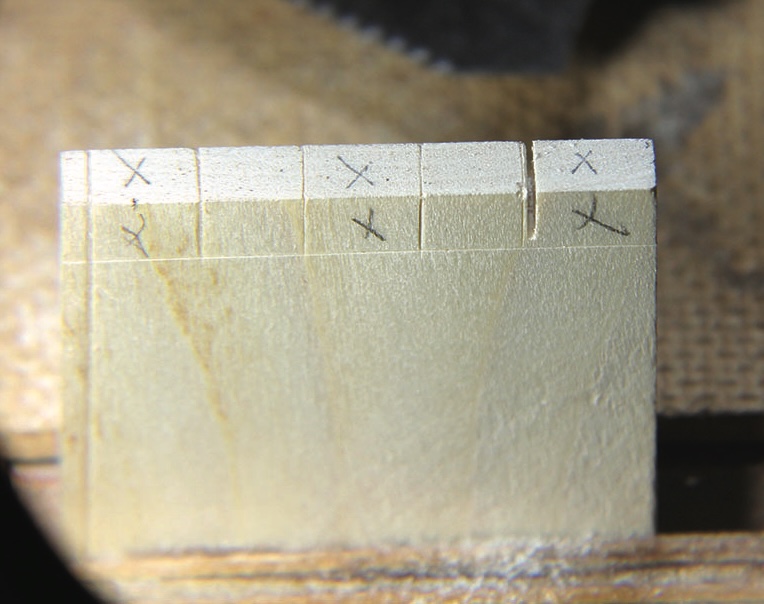
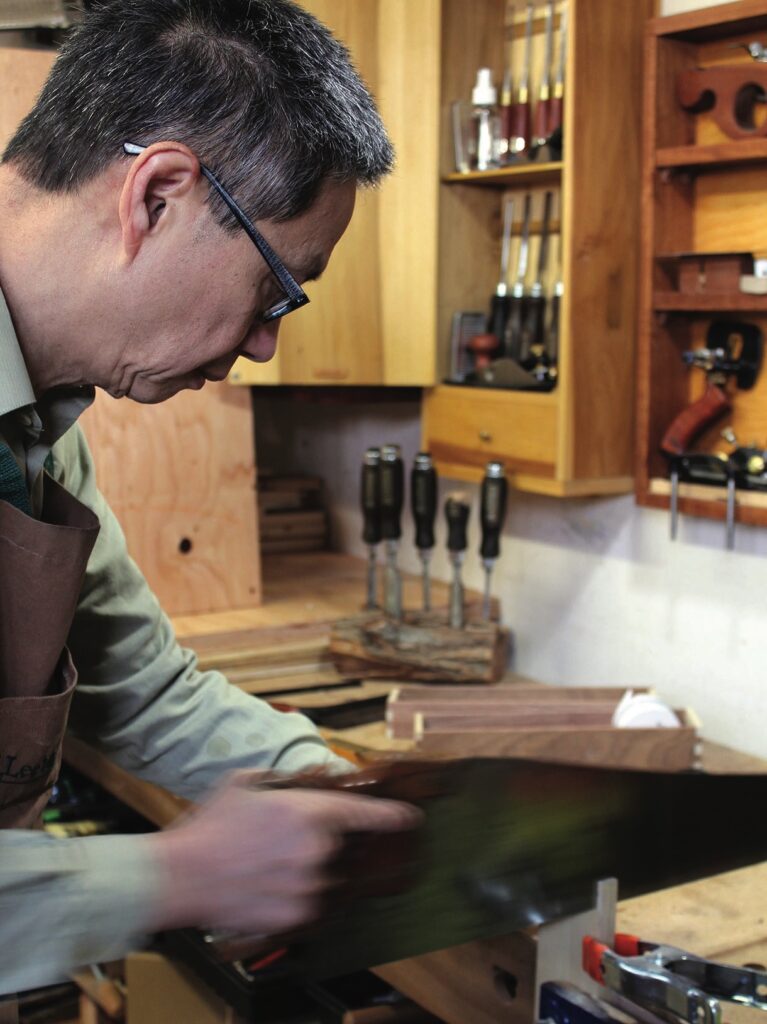
If you haven’t tried it, gang cutting is a more efficient way of sawing two identical pieces and the held-together members give a longer reference cutline on the top edges, too. After sawing and removing the waste off between the fingers, crosscut off the shoulders.
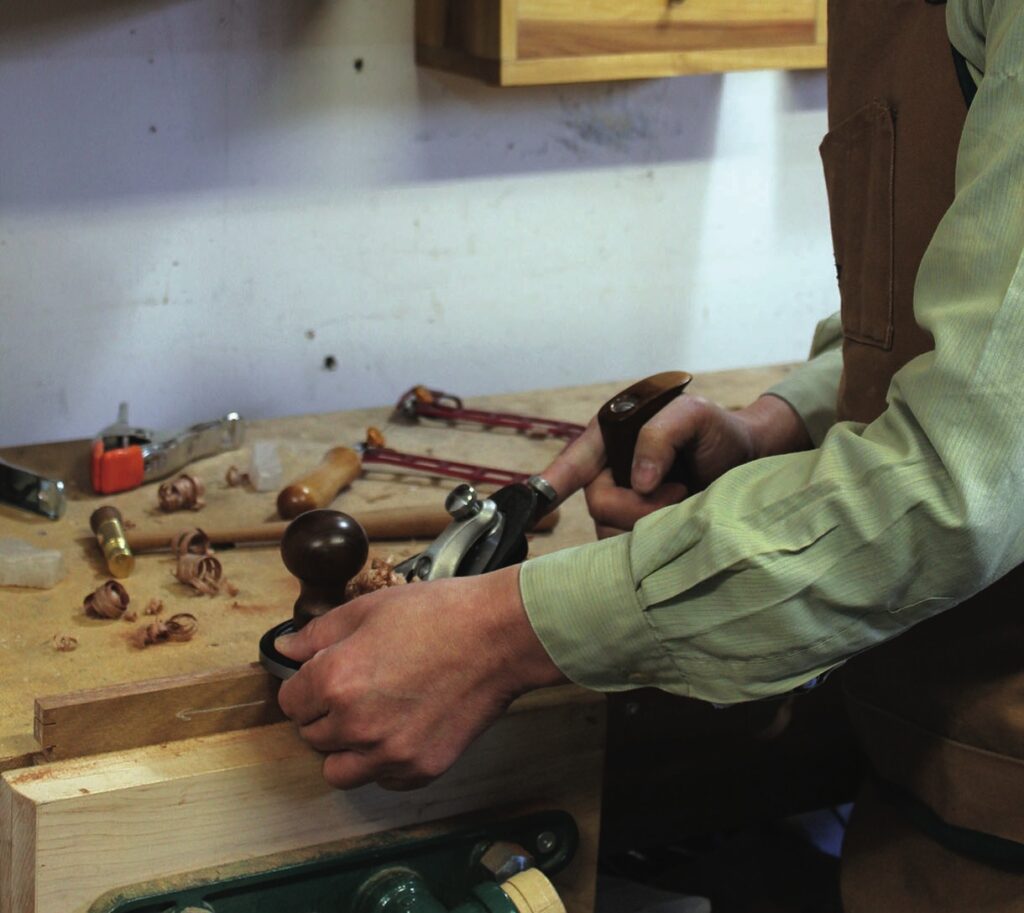
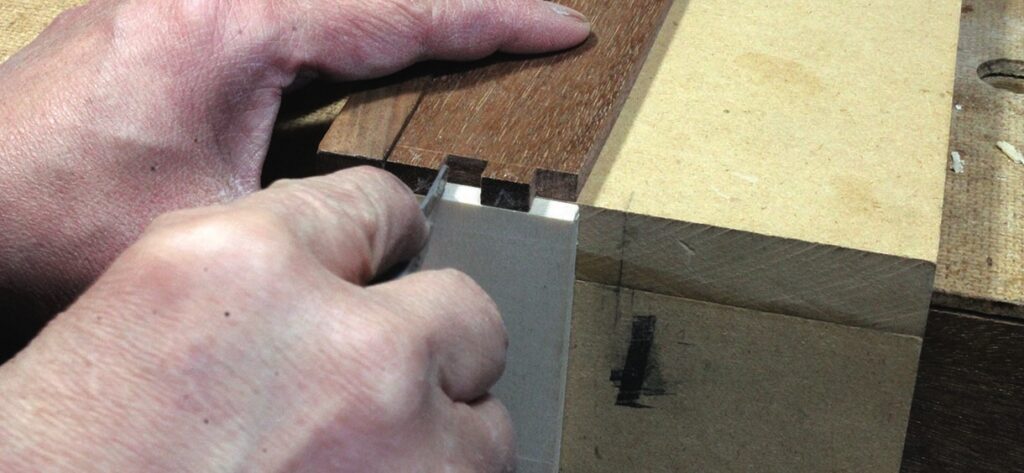
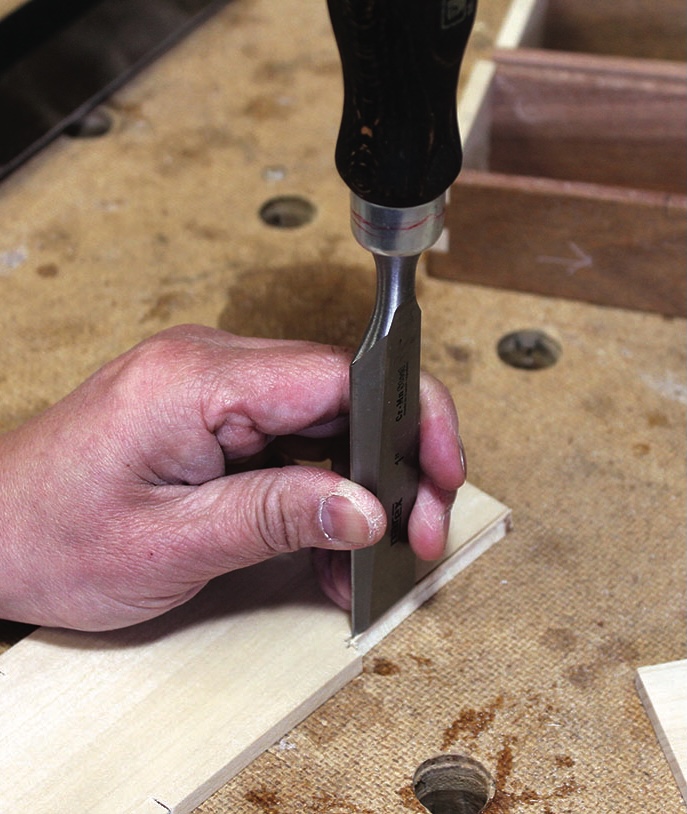
Guided by the gauge knife lines, clean up all the fingers and shoulders by chopping and paring. If you saw to the line, you should have little to chop or pare away. Whether you choose to chop or pare, always work from both sides of the workpiece to prevent going beyond the baselines. Careful chisel work here will be rewarded with a great-looking finger joint. To finish the sides, gang cut the slopes and plane the sides to identical width.
Marking and cutting the writing pad
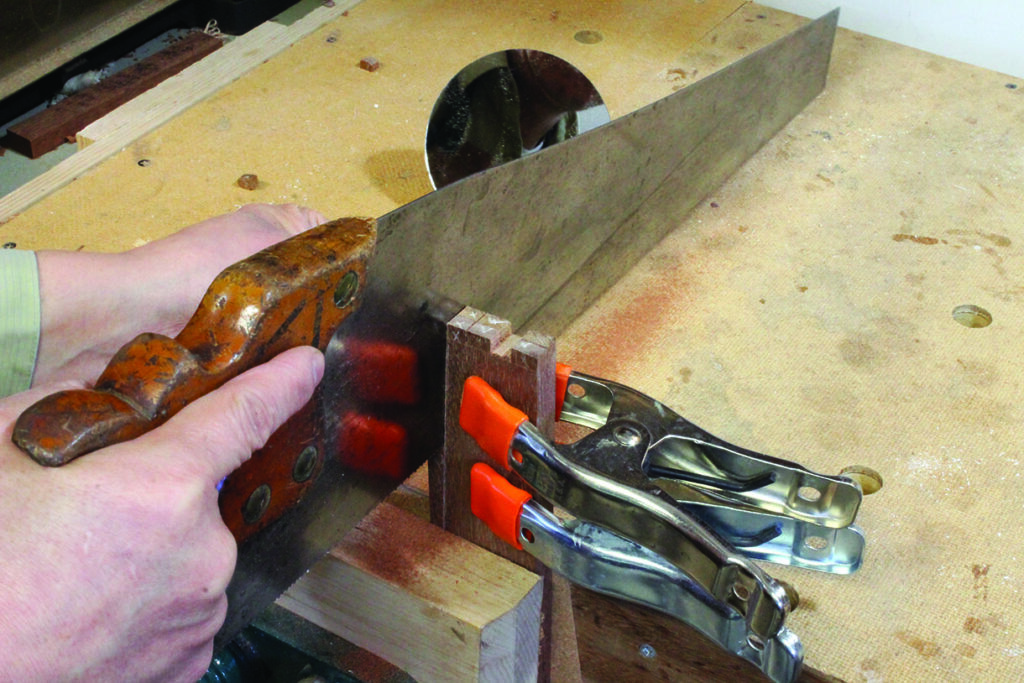
The last component to fit into the holder is the notched writing pad. You can choose a rectangular design and simply glue the pad to the case, but a notched pad design adds a slight complexity and challenge to the project. First, divide the pad into three sections in length and mark out the waste to be removed from the top and bottom sections. Then gang saw the pads to the scribed lines. Chop or pare the notch from both faces and check the work for squareness. Again, aim for precision and faultless fit.
Marking and notching out the sides
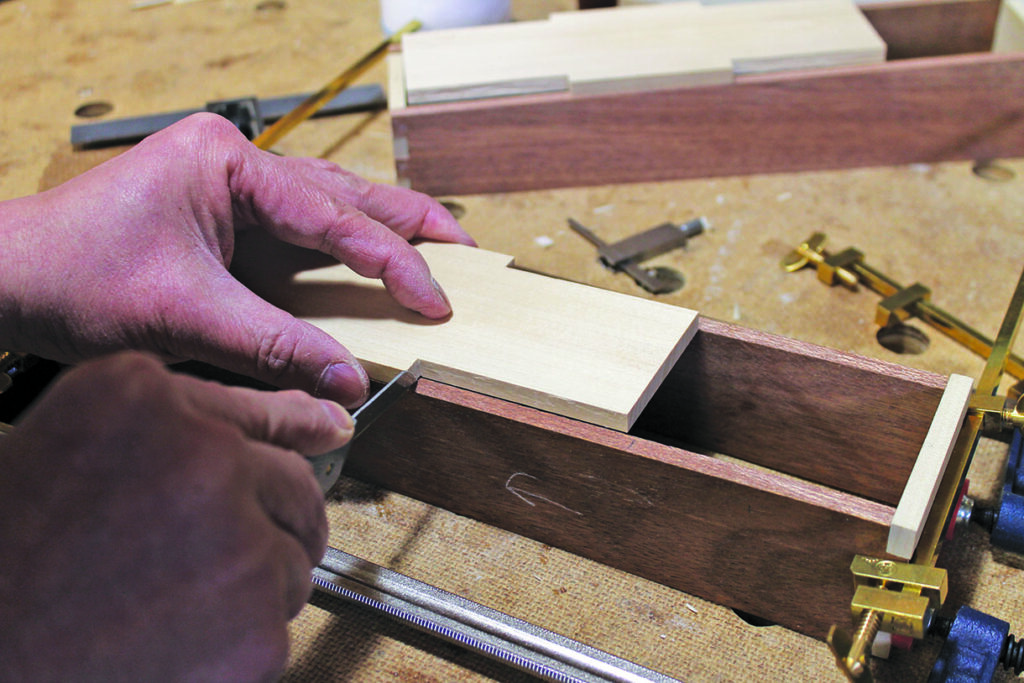
To mark the cutouts on the sides, dry-assemble the holder and scribe the notches on the edges of the sides from the pad. Pencil mark the waste sides clearly to avoid sawing on the wrong side of the scribed lines. Scribe the depth of the notch and cut out the notches individually with a saw and chisel. Dry-fit the assembly to make sure the joints are faultless. Finally, get the glue ready for assembly. I chose liquid hide glue for its low-setting characteristic, giving me enough time to work on squaring the holder.
Assembling the holder
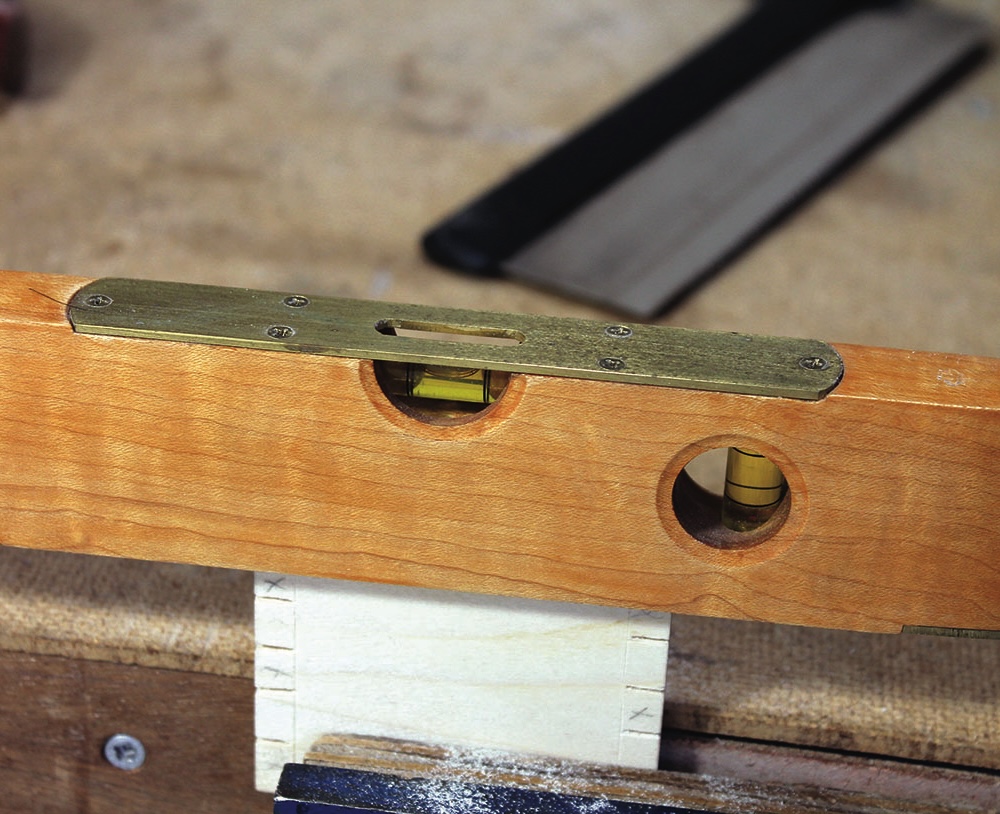
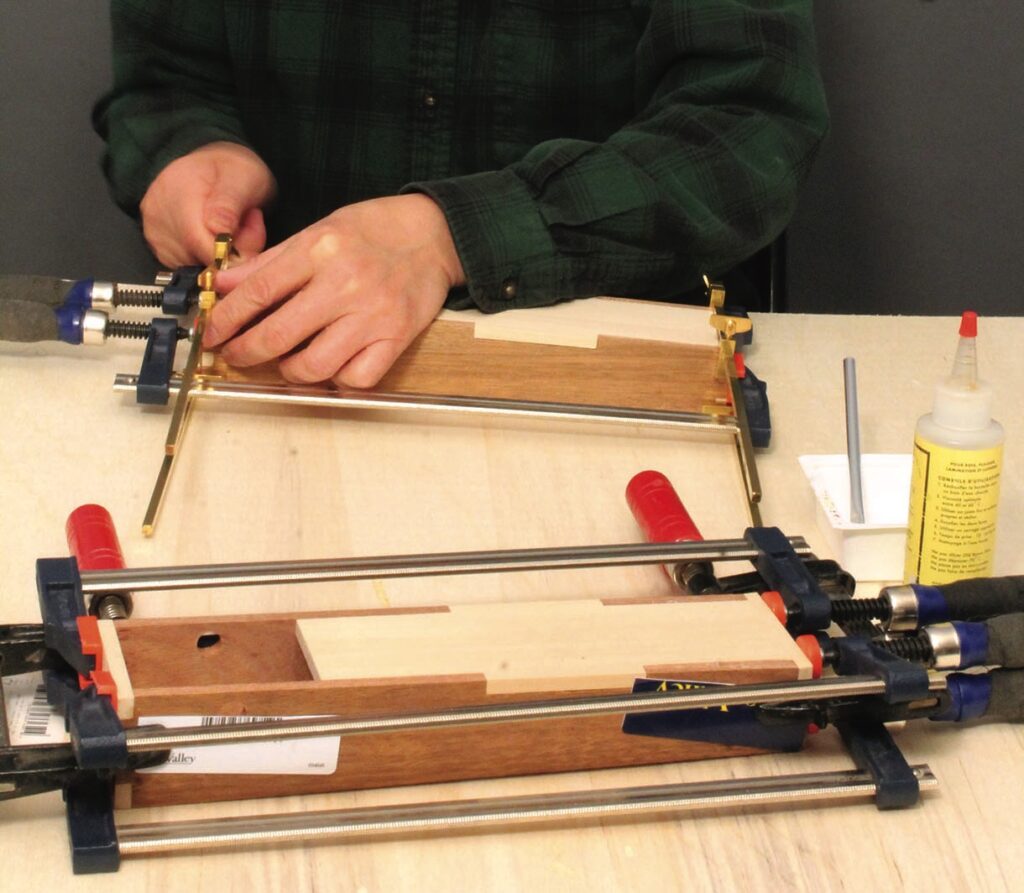
The assembly is done in two stages. First, complete the glue-up of the case, carefully checking its squareness. The pad is then glued in place, followed by the cross piece, which adds rigidity to the case as well as a base for any mounting hardware. Finally, plane or sand everything flush and smooth, and break the edges slightly. The holder is now ready for the finishing room.
Installing the sleeves
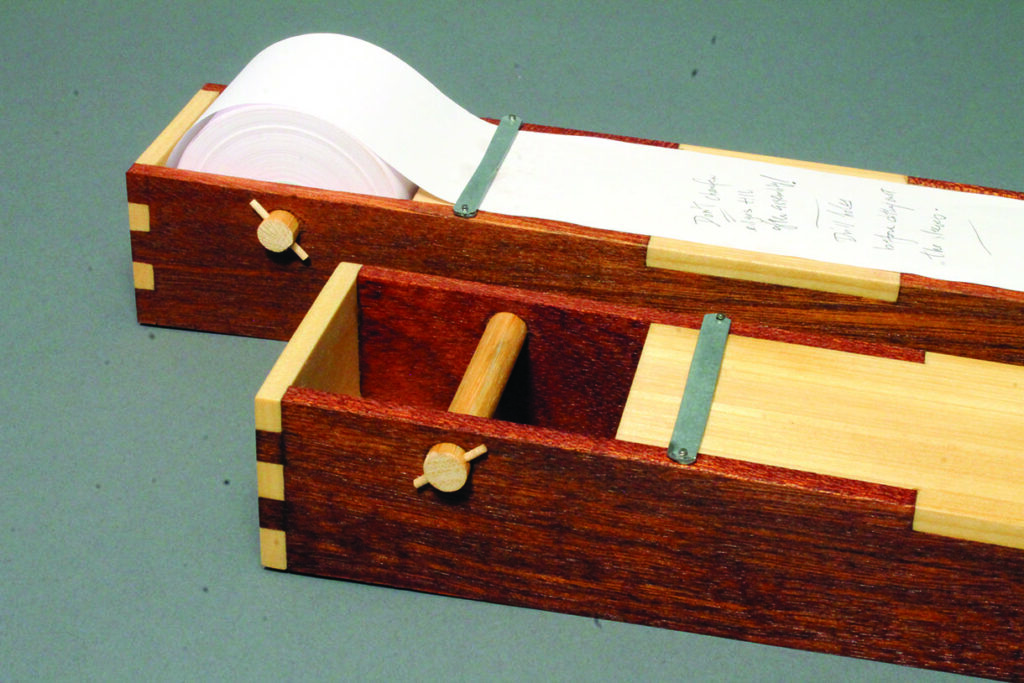
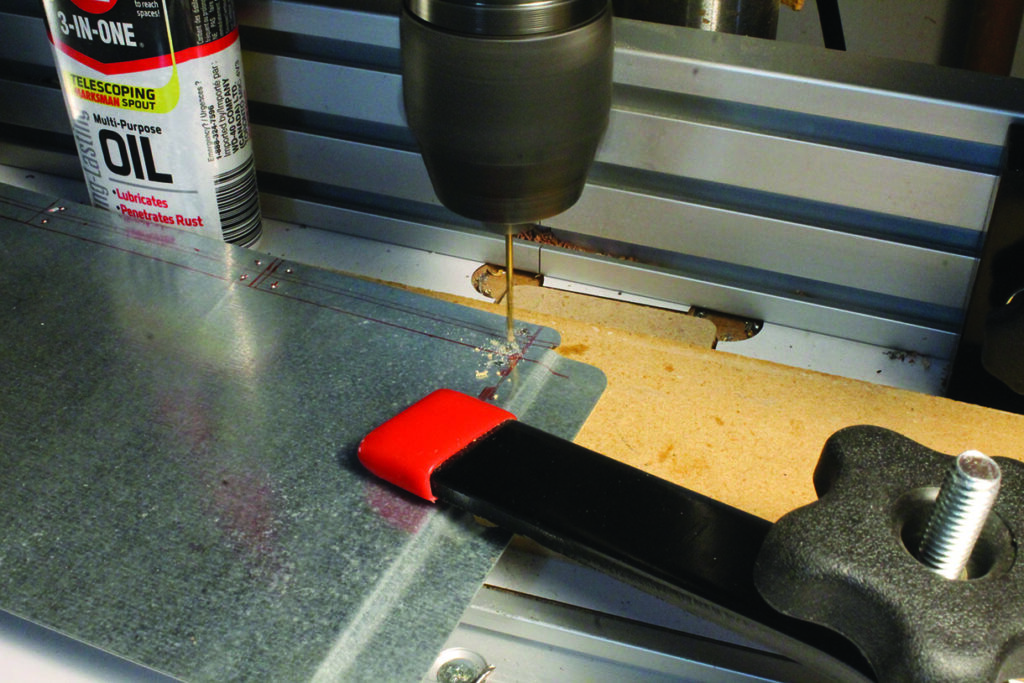
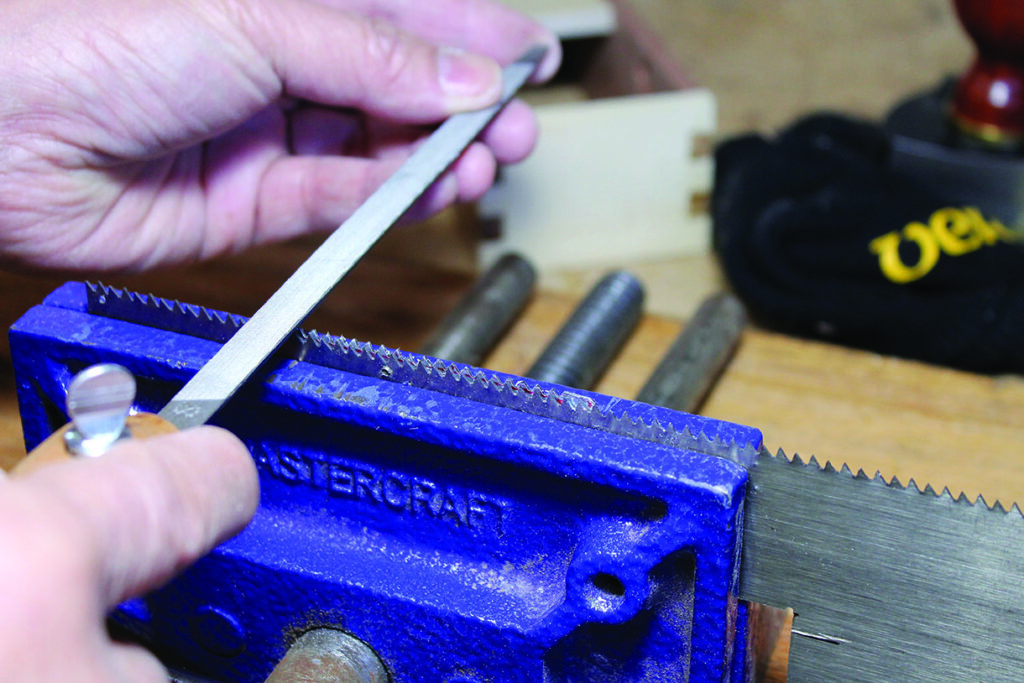
I made the sleeves out of tin scrap, using a file to cut teeth to produce the serrated sleeves (like sharpening a saw). After the finish was cured, I placed a small washer under each hole and nailed down the sleeves. The paper pulls through the upper sleeve and tears off under the lower sleeve. To replace the roll, simply unlock and slide the dowel out.
These functional dispensers make an interesting conversation piece in the shop or office. So, do you make endless lists and – are your notepads always handy? Mine now are!