
We’ve all struggled with a job and wished we had a better way of doing it – so what is the right tool for the job?
There is an old adage that you should always use the biggest tool for the job. There is some truth to this, anything too small or underequipped won’t cope and make the job harder and less precise as well. An example would be using the ubiquitous No.4 smoothing plane to try and level the edge of a long board when you actually need a No.5 jack plane or even larger. The bigger tool has a longer base so the chance of reducing undulations from end to end is much higher. The additional mass of the plane means that it will travel more smoothly with each stroke rather than the stuttering performance of a smaller lighter plane.
Tip:
Empty out all your tools, sort through them, discard any unusable ones and re-store the ones worth saving.
Hammers
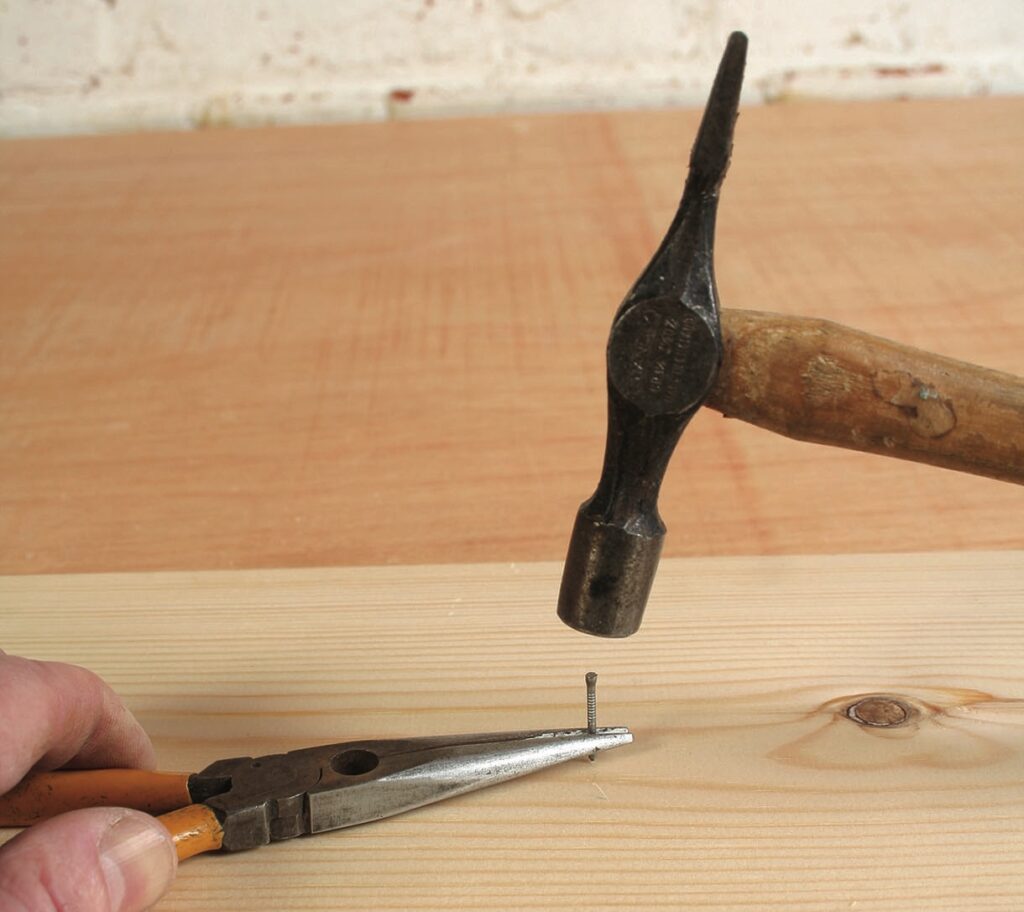
Using a small hammer on a big nail is unproductive, the head can’t give a big enough blow and can skate off the head of the nail, but using a big hammer on a small nail seems like overkill. However the heavier head can deliver more kinetic energy in fewer blows but then we worry about the risk to our fingers and thumb of course. A simple answer is to grip the shank of the nail with a pair of pliers so it is perpendicular and our fingers are not at risk. Once the nail is part embedded the pliers are taken away so the hammer can complete the job. The hammer should not be used to hit the nail head flush in the wood as it will dent the wood fibres. Instead use the correct size flat-head punch to set the nail in flush or deeper if filling is needed to blend with the wood.
Sawing
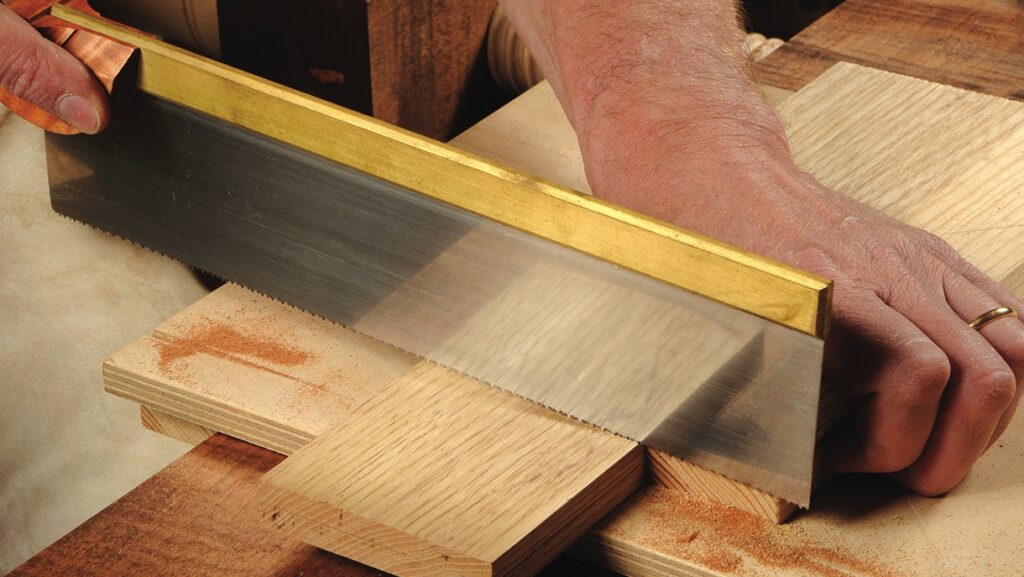
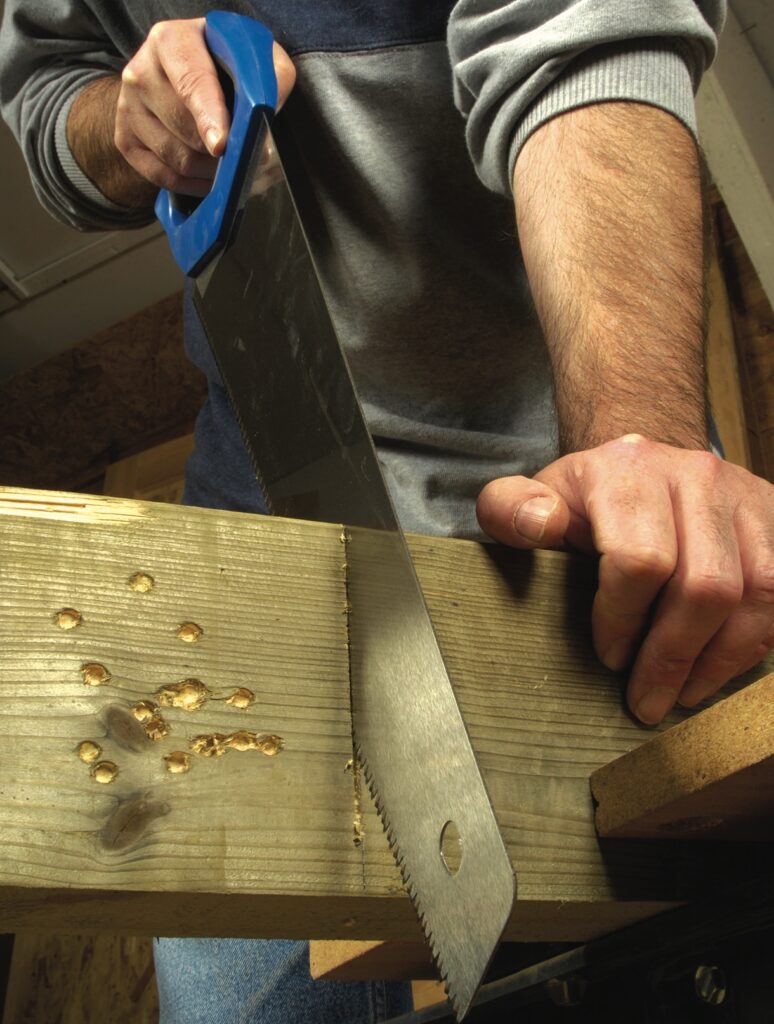
Sawing is a particularly good example, nowadays most big saws are hardpoint handsaws. They come in several different types for board cutting, sawing solid wood and a coarser grade still. They are relatively cheap and disposable because they cannot be resharpened. However, if you are going to do small cuts or joint work, a smaller hardpoint tenon saw won’t give very good results because it isn’t as precisely made as a traditional tenon saw which will have slightly different teeth and a narrower ‘kerf’ – the slot it cuts in the wood. For this sort of work you need to spend more money and buy a really decent saw and look after it so it stays sharp and undamaged.
Gouges and chisels
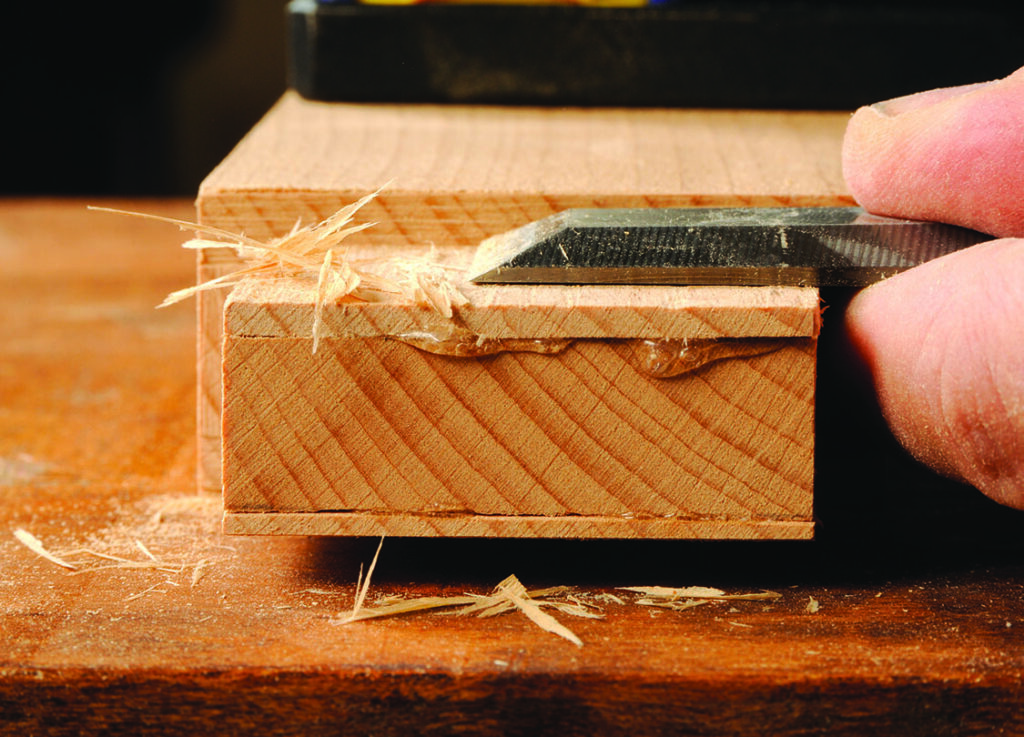
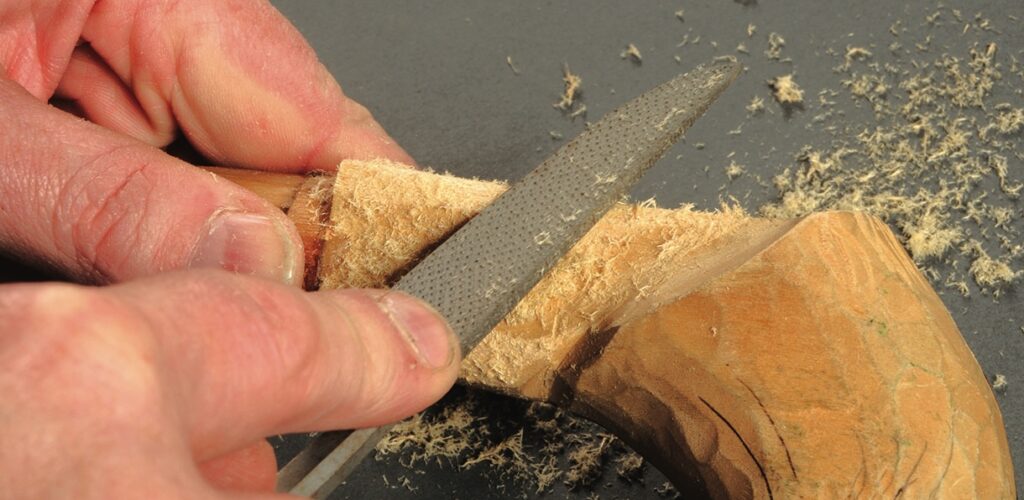
Gouges for carving or cabinetwork come in different patterns and radii, but you can’t have endless variants of the same tool unless you have an open-ended budget. You do need to identify the most useful sizes to keep in stock as it can be quite difficult working with a small radius in a big opening and impossible if a gouge is too flat a sweep for tighter curves. Chisels need to cover a reasonable spread of sizes, often very wide paring chisels are missed out of a small set but the longer the cutting edge the more precise and clean the result will be, examples such as the long side of mortises or adjusting the faces of tenons.
Marking and measuring
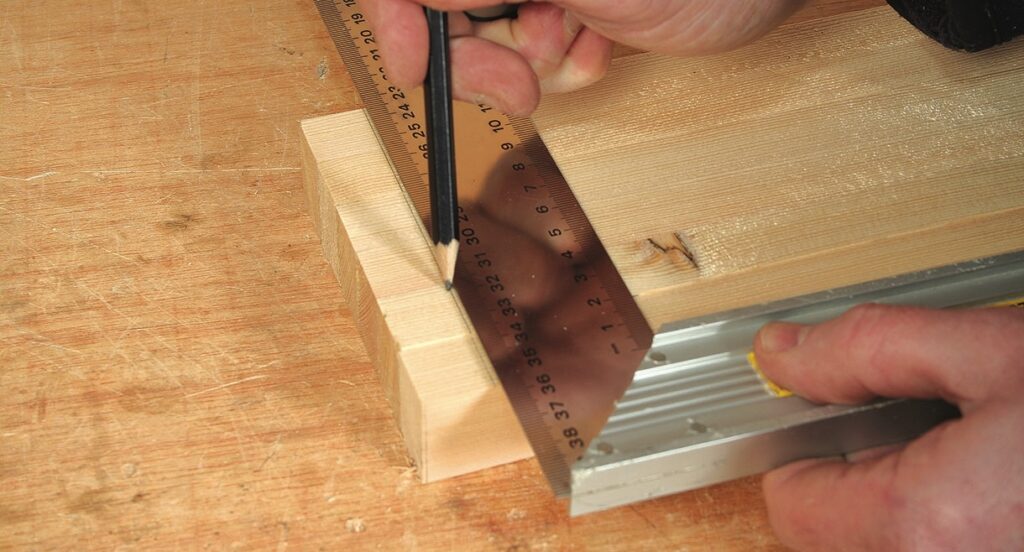
Marking and measuring present challenges as all good work depends on how well it has been laid out and marked in the first place. The average trysquare is frequently not square so you can’t expect marking of joints to be accurate. You can test this by marking a line across a piece of wood using a trysquare then flip the trysquare and mark again. So long as your pencil lines are fine you should be able to tell if there is any deviation. The best recommendation is to buy an engineer’s square as they are more precise than you will need and therefore reliable.
In all these examples a bit of thought is needed and maybe some expenditure to bring your toolkit up to standard but it does pay dividends!