Dan Schwank demonstrates his method for producing batches of accurate winding sticks
One of the first lessons an aspiring woodworker learns about wood is that it constantly moves. Rough sawn stock that was flat and straight when cut will shrink as it dries, and because the shrinkage is uneven, warpage will occur. This warpage shows up as cupping (across the board’s width), bowing (along the board’s length), and twisting. Both cupping and bowing are easy to see using a straightedge or by sighting down the length of the board. Twist, on the other hand, is difficult to see by eye.
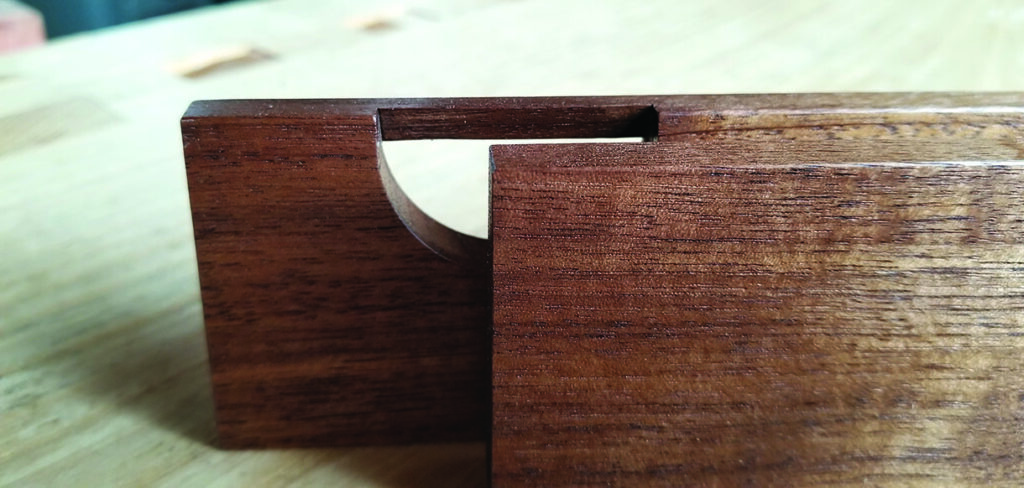
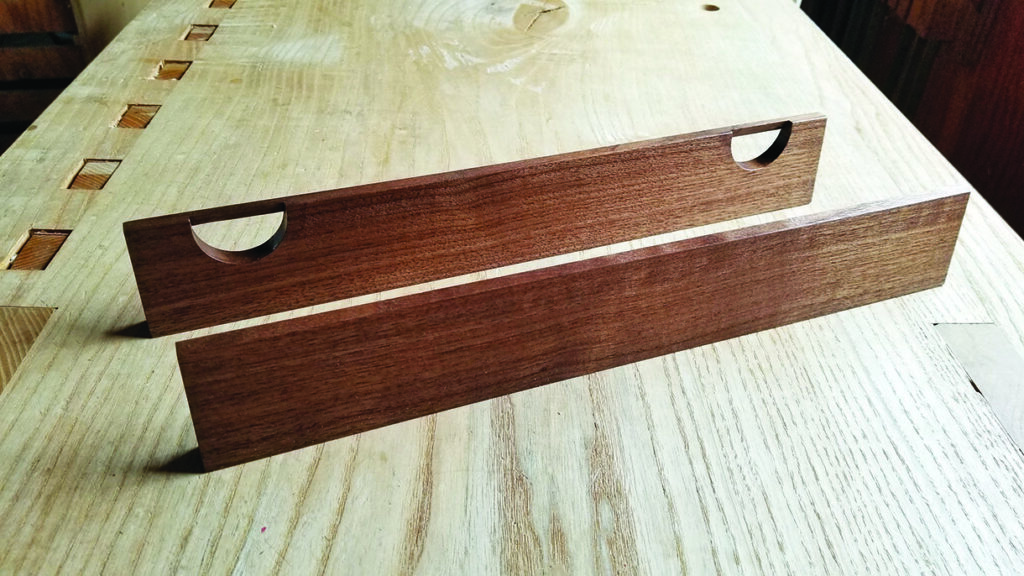
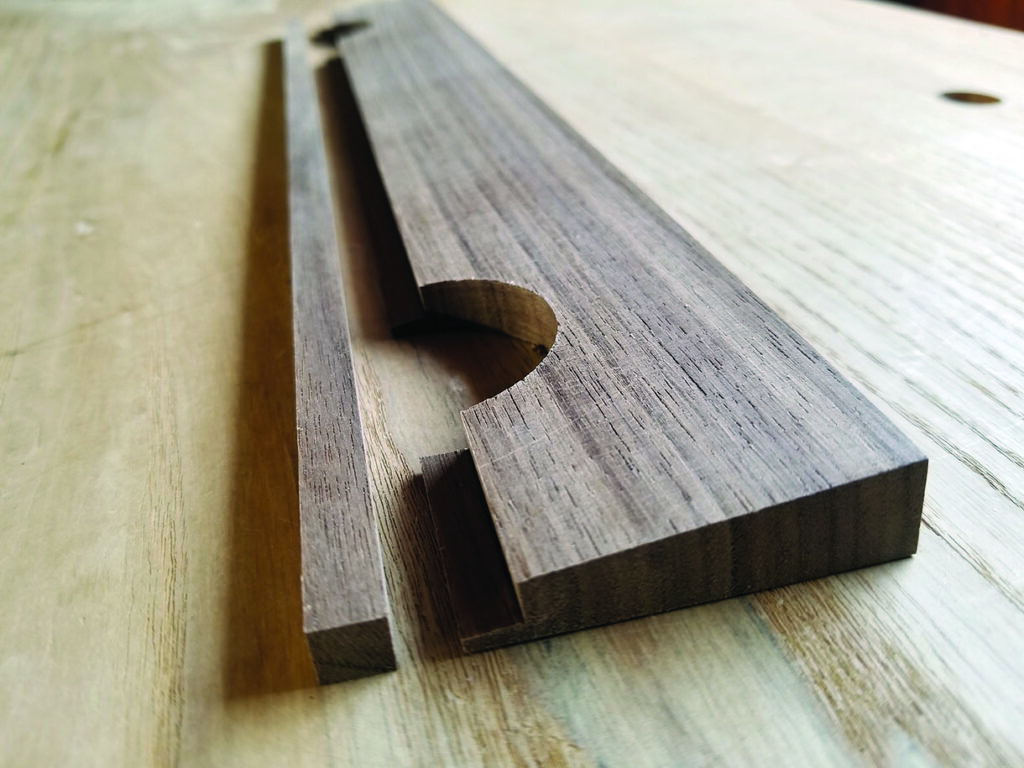
A pair of winding sticks makes it easy to see where any twist may be. By placing one stick at each end of a board, parallel to each other, and sighting across the tops of them, any twist becomes immediately apparent. One common design has inlaid pieces of a contrasting wood on one of the sticks, making it easier to compare the two to each other. The design shown in this article relies instead on two half-moon cutouts. When sighting down the sticks, the light seen under the piece of wood across the top of the cutouts (the bridge) becomes the contrasting visual reference. The strip of wood above the cutouts is also bevelled, which makes a nice shadow line to enhance the difference in colour. The design is not original to me, but I have developed a way to make these winding sticks as shown here.
Stock selection
Because the sticks rely on the light coming through the cutouts a dark stable wood is preferred for a better contrast. Black walnut is my wood of choice, but there are many other woods that would be suitable. Select straight grained and quartersawn 5/4 stock to ensure the best stability of the tool. Clean up the thickness leaving it as thick as possible. (This will be resawn to get a well-matched pair.) The stock should be 2½in wide and cut to ½in longer than the finished size. The length of the sticks can vary; 14 to 24 inches is about right, depending on the kind of work being done. Ripping the edge of the stock to get as parallel to the grain as possible is a good idea also.
The bridge is a separate piece of wood that is glued into a rabbet cut into one of the sticks. By marking the end of the stock for reference later, the best grain match can be obtained. A 5⁄16in strip is ripped off and set aside. In cross section, the finished sticks are 2in tall and taper from ½in at the base to ¼in at the top. Only one side is tapered. This is accomplished by resawing on a bandsaw with the table tilted, using a single point fence. Leave extra material for cleanup and flattening. After resawing, the sticks are stickered and allowed to acclimate for several weeks before proceeding.
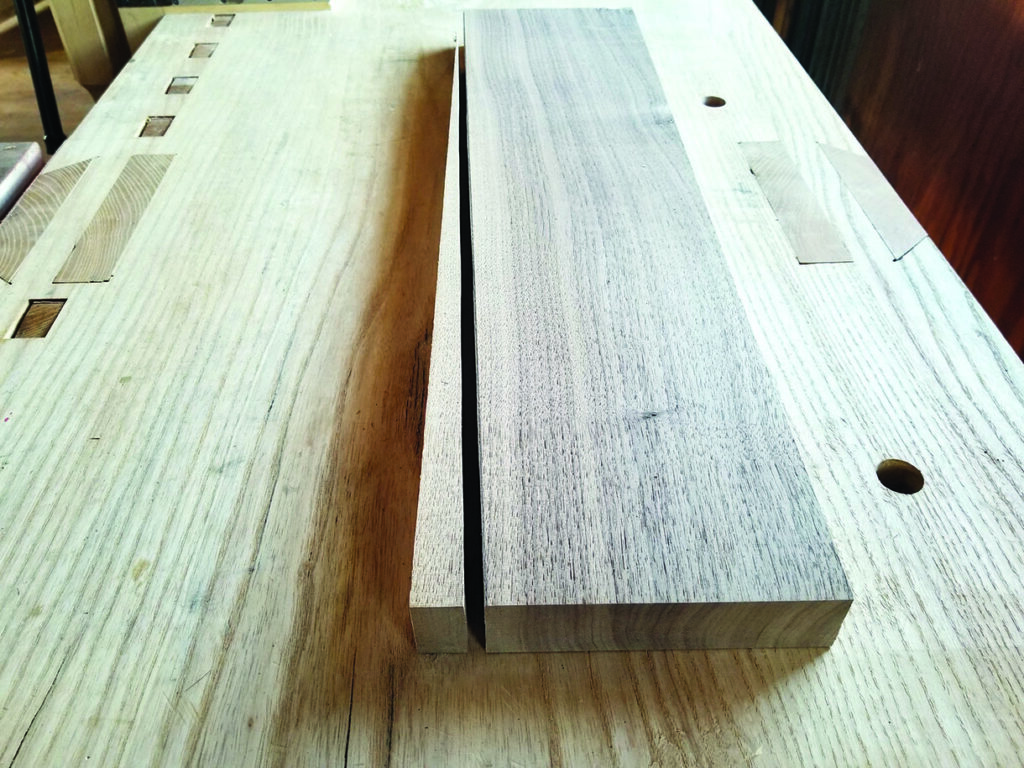
to width in line with the direction of the grain
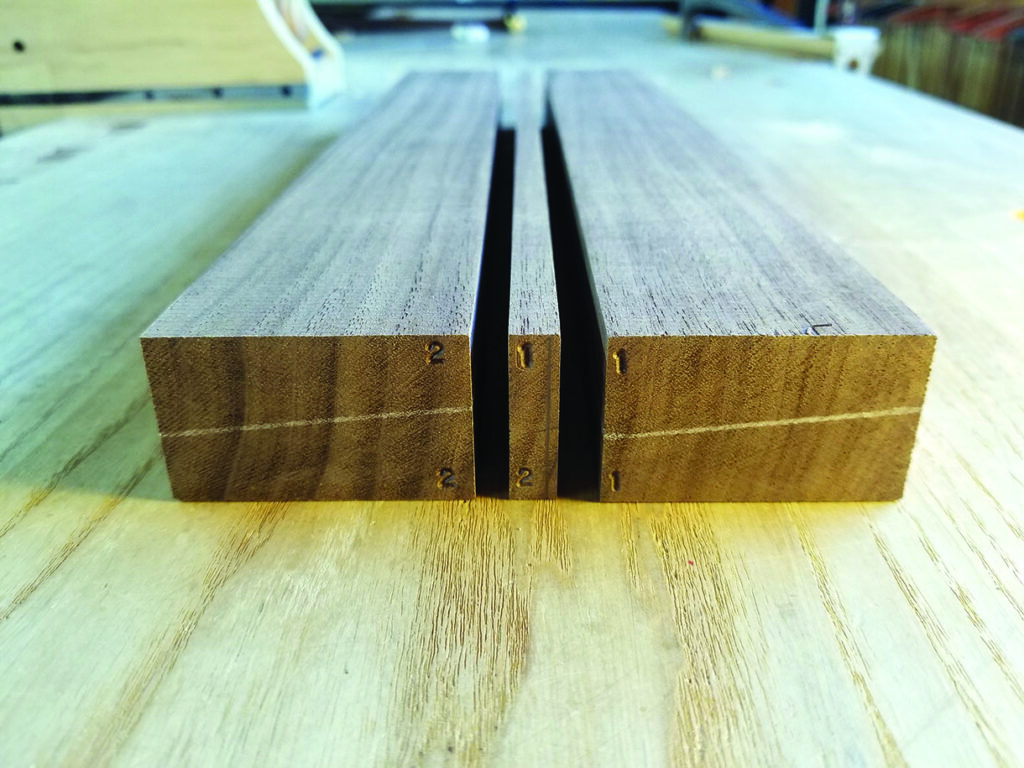
sequentially matching components
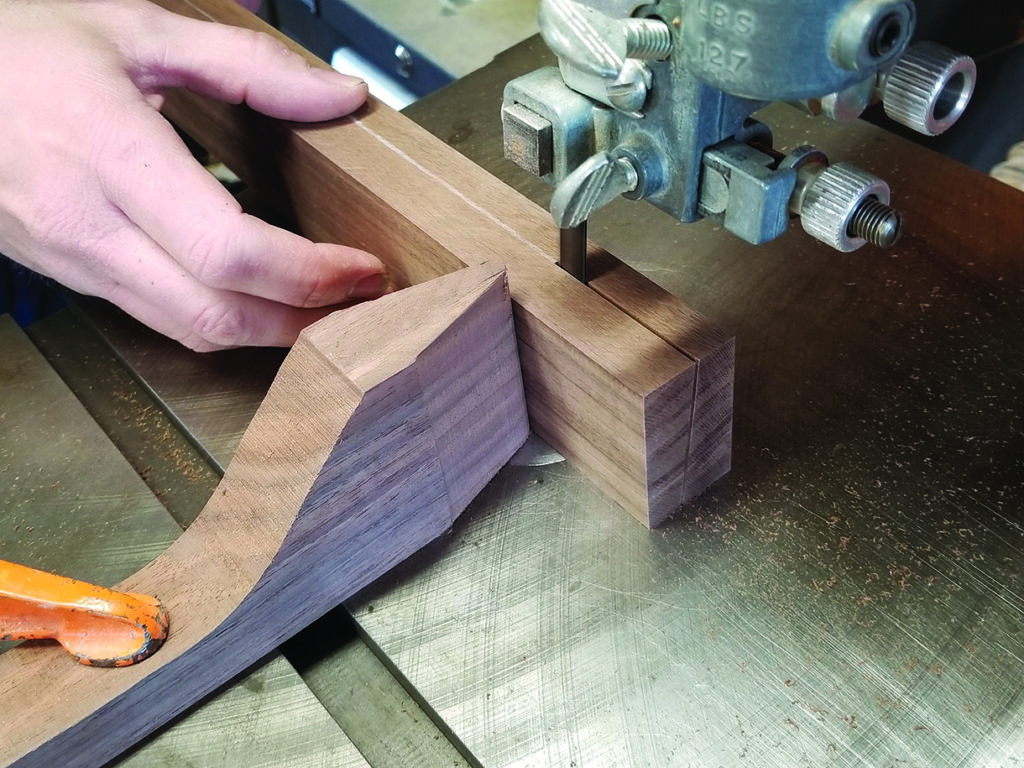
is less wasteful than using a tablesaw
Further preparation
The pieces likely have some bow after re-sawing which must now be addressed by flattening the original face with either a jointer or long hand plane such as a #7. Next, work the tapered side with the plane to remove the bandsaw marks. The taper angle is not important; just let the hand plane follow what the bandsaw established. Once both pieces are done, joint the bottom edges. A long grain shooting board is an essential tool for getting a nice square straight edge. I made one with a stop at both ends so it can be used in either direction, depending on the wood grain. Don’t do anything to the top edges yet; we will be doing that after the bridge is installed.
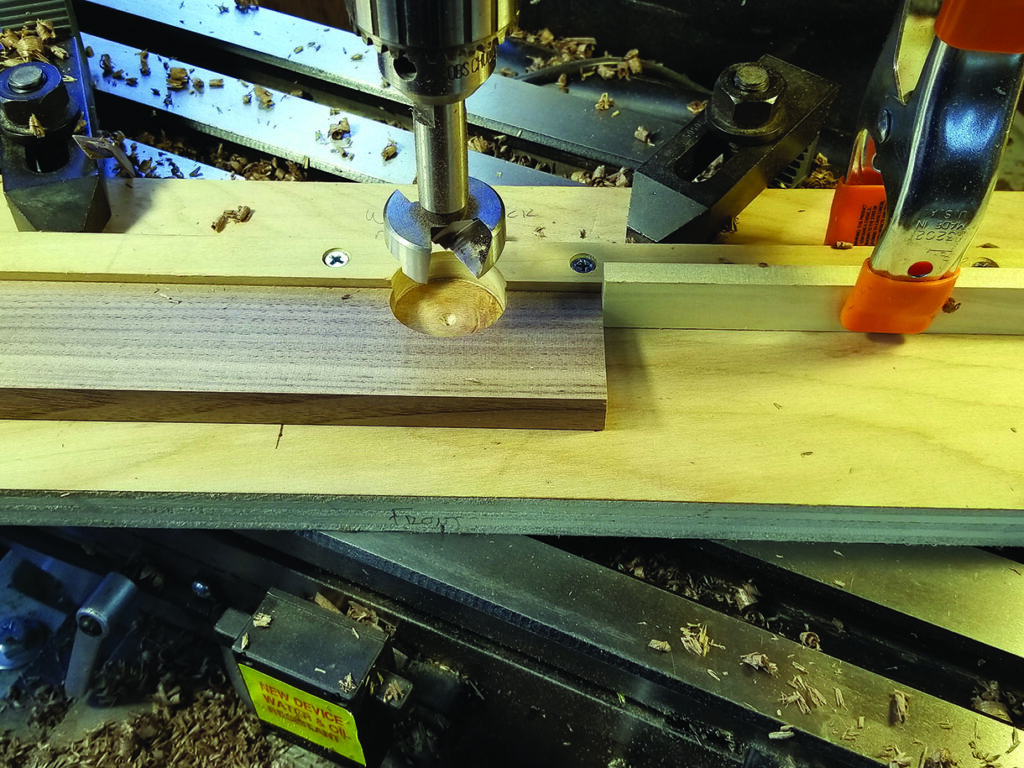
Using a 1½in diameter Forstner bit, the half-moons are drilled into one of the sticks. Locate the holes centre lines up from the bottom edge 1¾in, and in from the ends 2in. The bit will break out of the top of the stick, so a fixture is needed to secure the workpiece and limit tearout. The fixture has a fence for the bit to cut into, and a stop for locating clamped to the fence. This stop will be switched to the opposite side for drilling the second hole. Place the winding stick with the tapered face up, and drill just deep enough to break through the bottom.
After drilling, cut the rabbet. A tablesaw with a stack dado blade works well. The fence is set at 1¾in, the same distance as the centre line of the holes. Set the blade height to leave about 1⁄16in of material at the top. Be sure to keep the workpiece securely against the fence to maintain the position of the bridge in relation to the bottom of the winding stick.
Bridge building
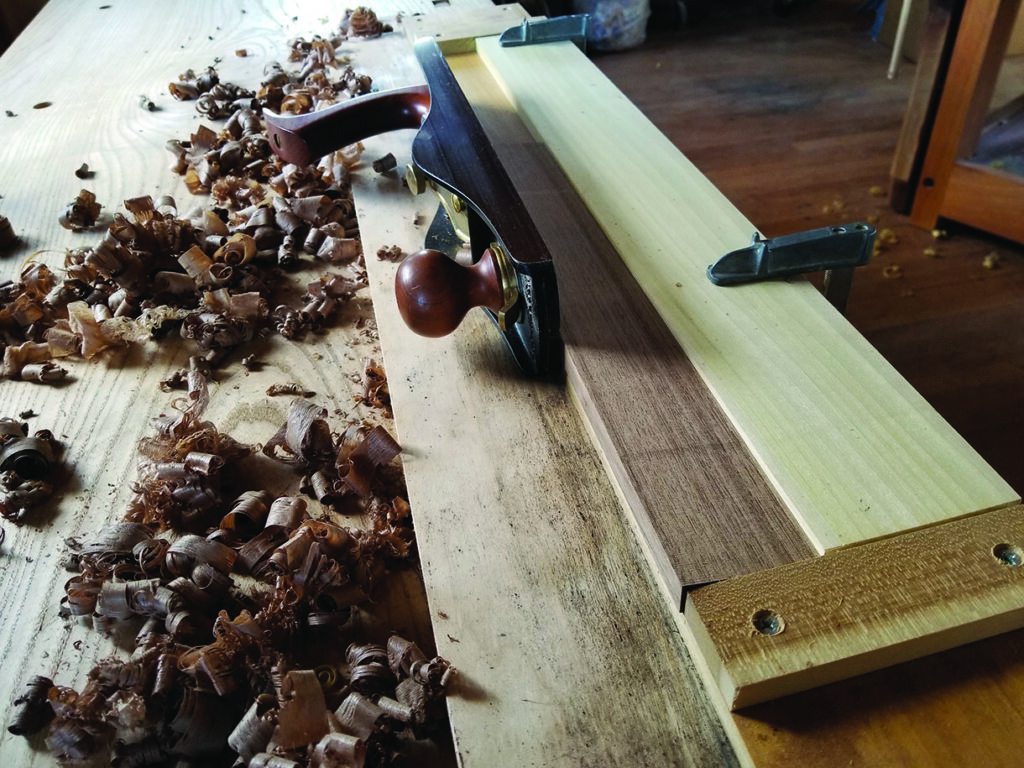
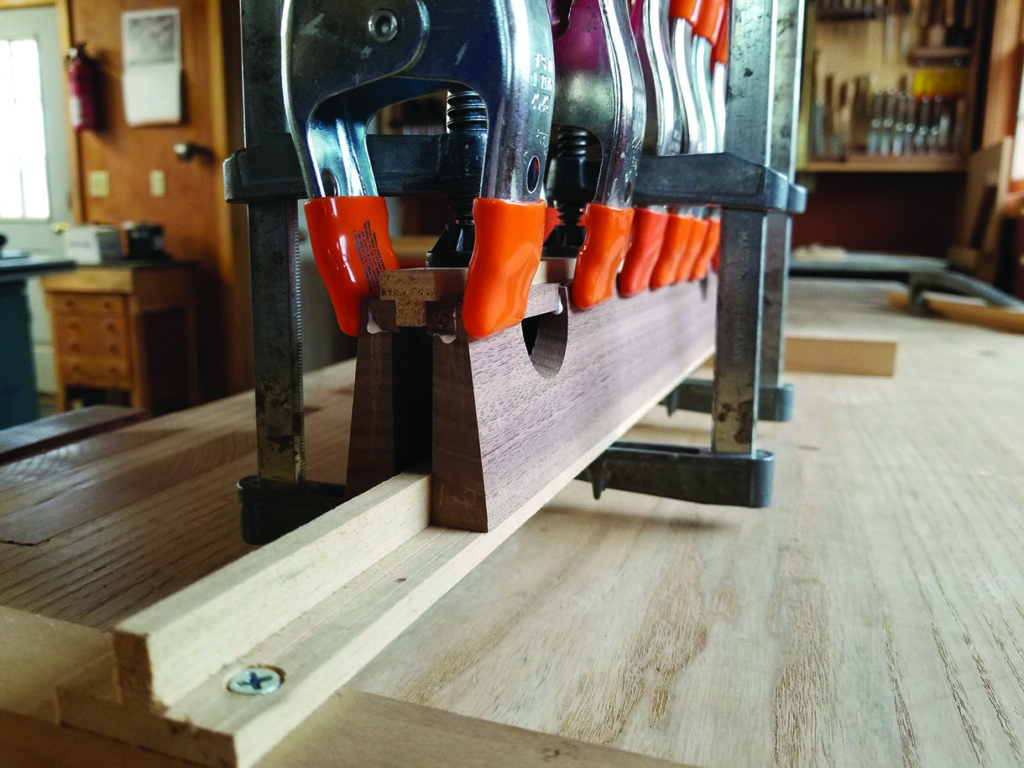
The 5⁄16in thick strip of wood set aside for the bridge now needs to be ripped to 5⁄16in width, leaving it square in cross section. This strip is then glued into the rabbet cut previously. Be sure to orient the grain for the best match, using the reference marks placed on the stock when the bridge was ripped off. The bridge is oversize and will project past the surfaces of the winding stick when put into the rabbet. This makes it easier to glue up and is easily planed flush later. Gluing in place is tricky because the bridge must be clamped in both directions to ensure no gap will be visible. I designed a fixture to both hold the bridge in place and distribute the clamping pressure more evenly. It consists of two T-shaped pieces of wood and is used to glue two bridges in at a time. The bottom T-shaped piece had a couple of cross pieces screwed to it to act as feet and keep it upright. These feet also allow room for the clamps underneath. Avoid getting glue in the area where the bridge is over the half-moon cutouts. Mark the bridge piece while holding it in place to indicate where glue should not be spread. Screw clamps are used for clamping vertically, and spring clamps take care of the horizontal clamping pressure. Use plenty of clamps and alternate them along the length of the stick. The ends of the bridge do not need to be exactly flush because the final length has not yet been cut; there is an extra ½in to come off yet.
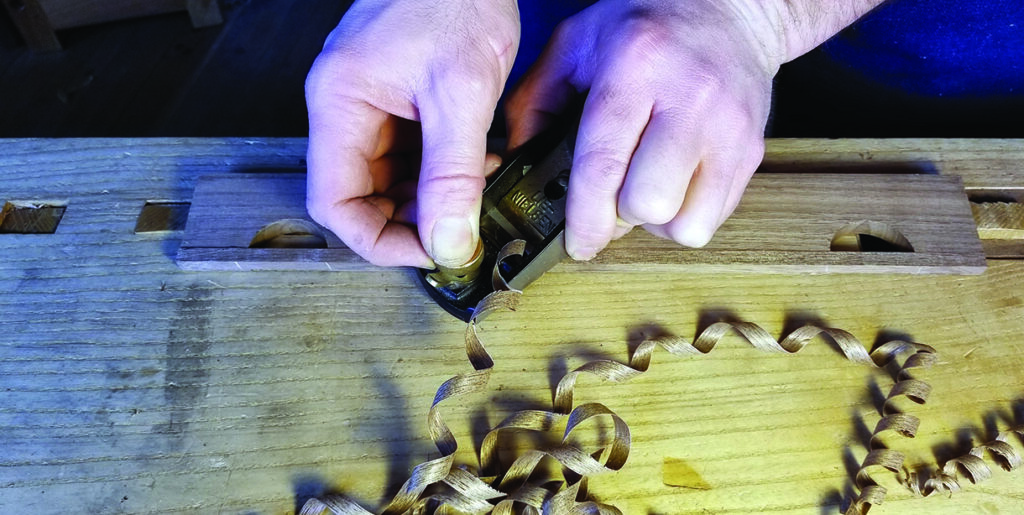
Once the glue is dry, remove the clamps. The bridge is now planed flush on the back side of the stick. Use a block plane set for a fairly heavy cut to remove the majority of the material, and switch to a smooth or jack plane to finish plane the entire face. The top edge should be planed using the long grain shooting board. Getting both sticks parallel is important for them to be accurate. In fact, the final width does not really matter as much as parallelism does. I use a dial calliper to measure the width along the length of both sticks and try to get them within .002in along the entire length.
Paring the slopes
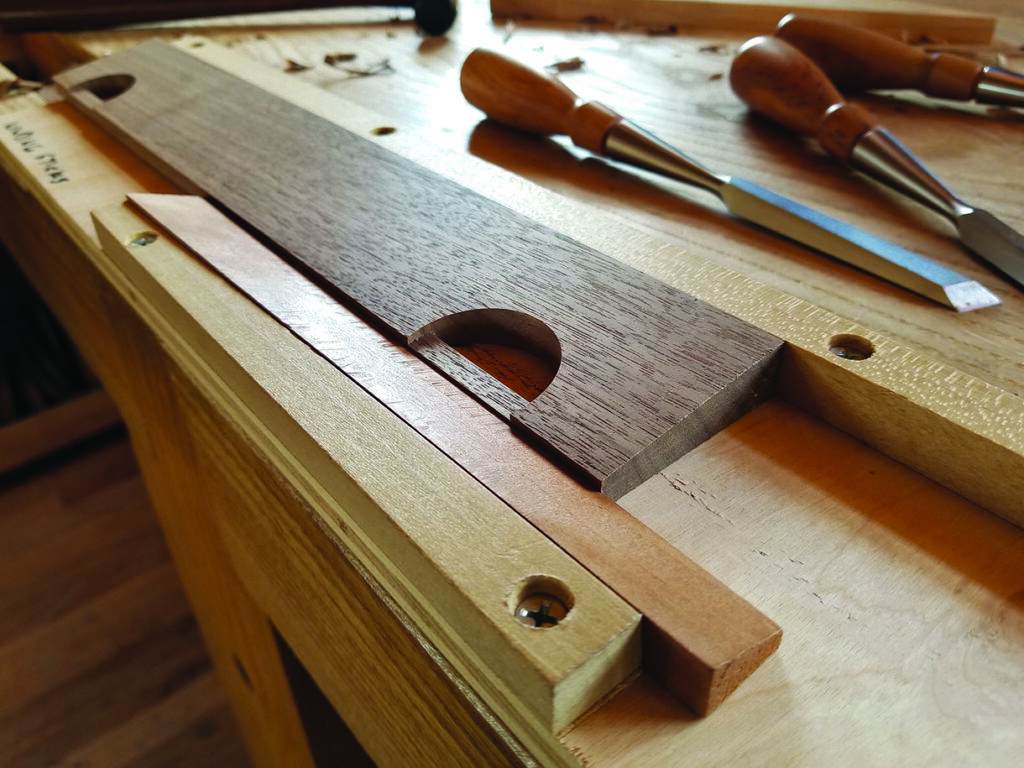
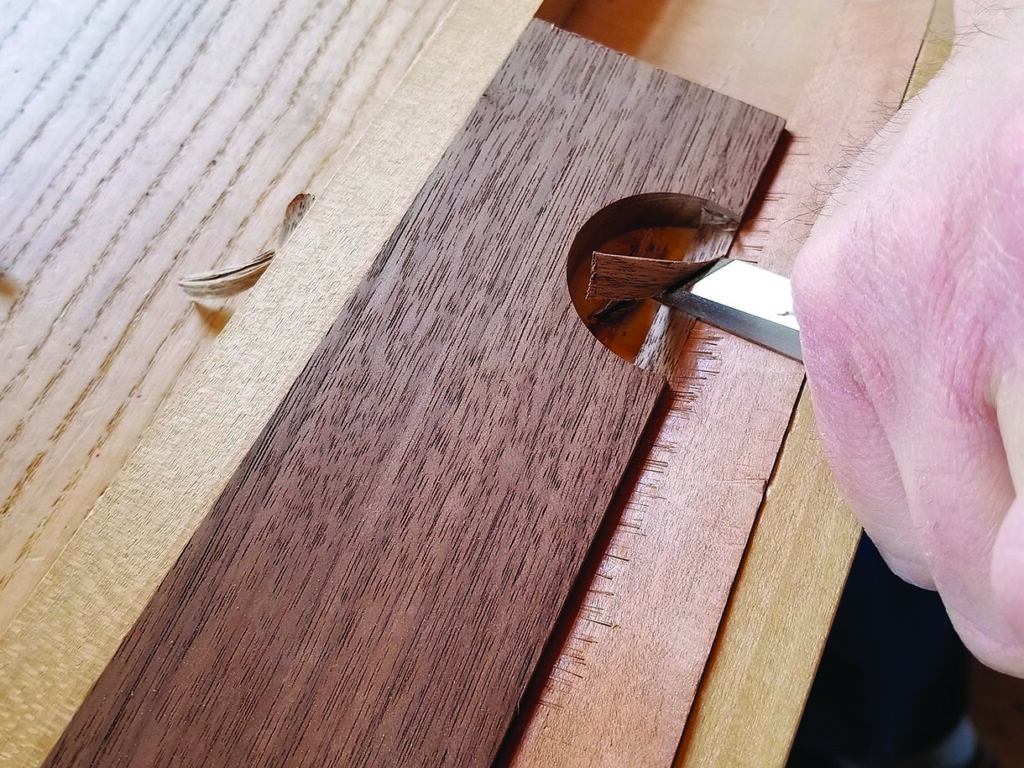
The bridges have a ramped surface above the cutouts to create a darker shadow line that is pared on with a chisel. Again, a fixture is used to both hold the stick in place and guide the chisel at a consistent slope. A piece of plywood with both a back and front fence is employed. The front fence is tapered and a wedge with a matching taper is placed between this fence and the stick. By tapping the wedge in place from the side, it will secure the stick in place. The top surface of the wedge is ramped at 20° down to a thickness of 3⁄16in at the front edge, which will be against the stick when in place. This ramped surface is the guide for the chisel when paring.
Begin by making two vertical cuts tangent to both sides of the circle cutout and perpendicular to the top of the stick, cutting down to the bridge. Pare the ramp in a series of cuts, being sure to check the grain direction beforehand. A skewed chisel will make this operation much easier to do with a better shearing action. Continue deepening the vertical cuts and paring until the bridge is flush with the wedge. Repeat on the second end.
The final task is to trim both winding sticks to their final length. Centre the half-moon cutouts when doing so. A few passes with a finely tuned block plane on the long edges and a bit of light sanding on the ends to break the edges will have them ready for finishing. I like to use Minwax Antique Oil Varnish, wiping on two coats and removing the excess with a clean cotton rag. Rubbing them down between coats with 0000 steel wool will leave a smooth, silky finish. Avoid using a high gloss finish or using wax since too much shine reduces the effectiveness when sighting down them in use.
In use, a light background is needed; a window works the best. Place the stick with the cutouts behind the solid one and sight across the top of it and under the bridge, comparing the amount of light visible on each side. You will be amazed at how accurately any deviation from flat in the workpiece will show up with this design. Many customers tell me it is much easier to focus on the light coming under the bridges than to try to see a contrasting colour between the two sticks as in the traditional design. I think you will too.