The Woodworkers Institute

We bring you the very best of woodworking!

“Make it with us”

Making a wooden scraper plane

Theo Cook explains how to make a plane to tame the most awkward grain 
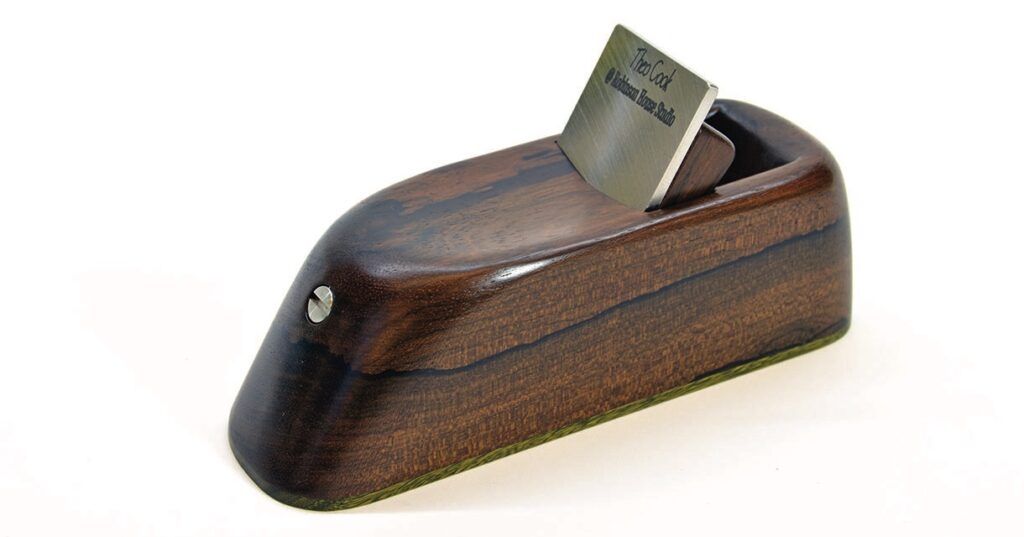
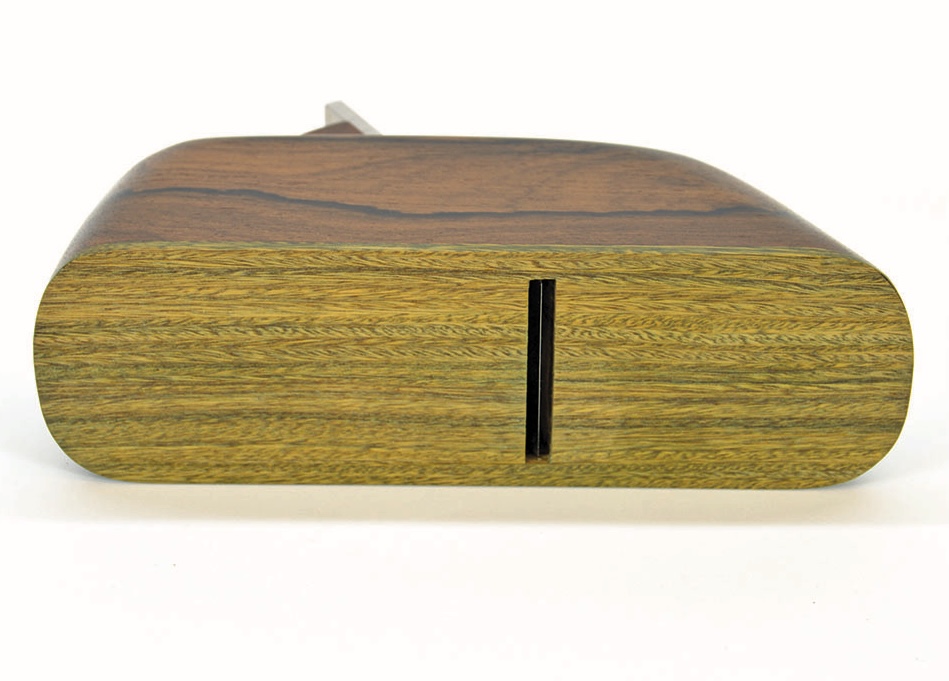
Wooden block plane with steel blade.
Wooden bookend with grain pattern
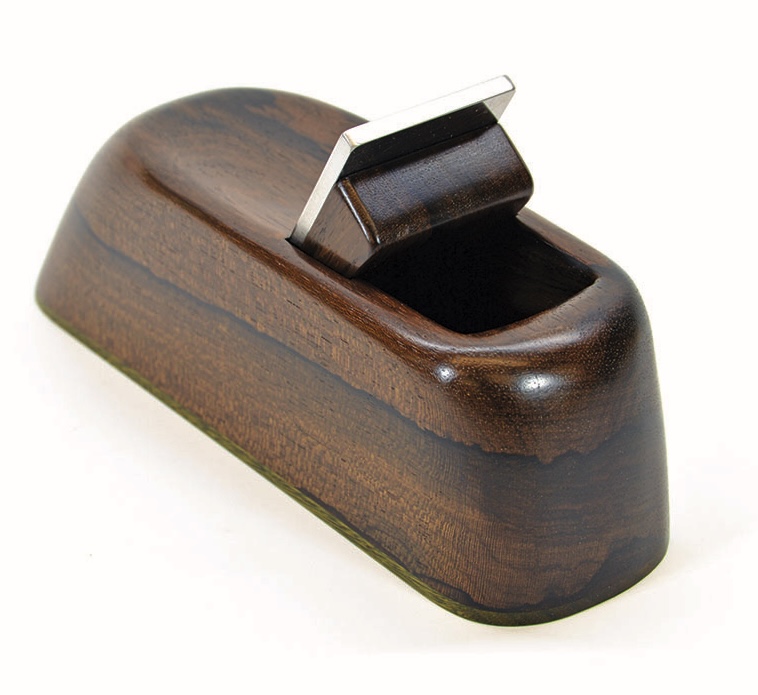
Woodworking hand plane with metal blade.

I made my first wooden plane while studying at the College of the Redwoods in California. This is where I came up with the idea of making a scraper plane and it has been the wooden plane I have used most over the last 10 years. After teaching at Robinson House Studio for a few years, this has also been one of the planes that the students have borrowed most. Now the students learn how to make their own plane as part of a year-long course, and we also teach it as a weekend course.

Materials needed

• Blade. I have these blades custom-made out of high-speed steel. Size is 95 x 42 x 4mm. Please email me if you would like to buy a blade, they cost £35: theotcook@gmail.com

• Wood for the sole. I would recommend lignum vitae. Finished size is 175 x 54 x 4mm.

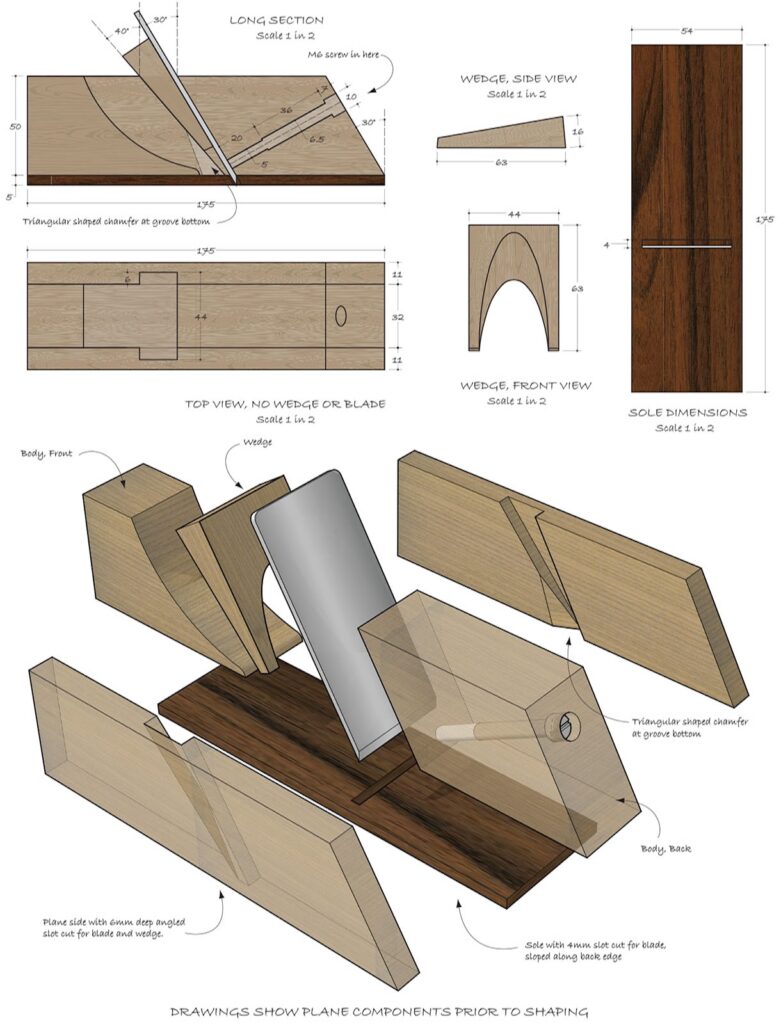
• Wood for the body of the plane and a small piece for the wedge. Finished size of the plane is 175 x 50 x 54mm but the plane body is made up of three bits of wood glued back together. This is to give the effect of looking like one piece of wood when you’ve finished. Begin with a larger piece of wood about 360 x 65 x 60mm. This can then be cut up and planed to the right dimensions (see technical drawing). If your wood
is too short you might not be able to plane it with a machine, that’s why I recommend starting with something longer. This also means you could make two planes – a gift for a friend perhaps.

• Cheese head screw. This is used to push the blade forward a tiny bit to achieve a bigger shaving. Screw size is 70 x 6mm. This screw will need to be cut to the correct length when your plane is finished. 

Drawing
Wooden hand plane component assembly diagrams.

Making the plane

With most of these steps use the pictures and the technical drawing to aid you along the way.
Rectangular wood block with blue and yellow markings.
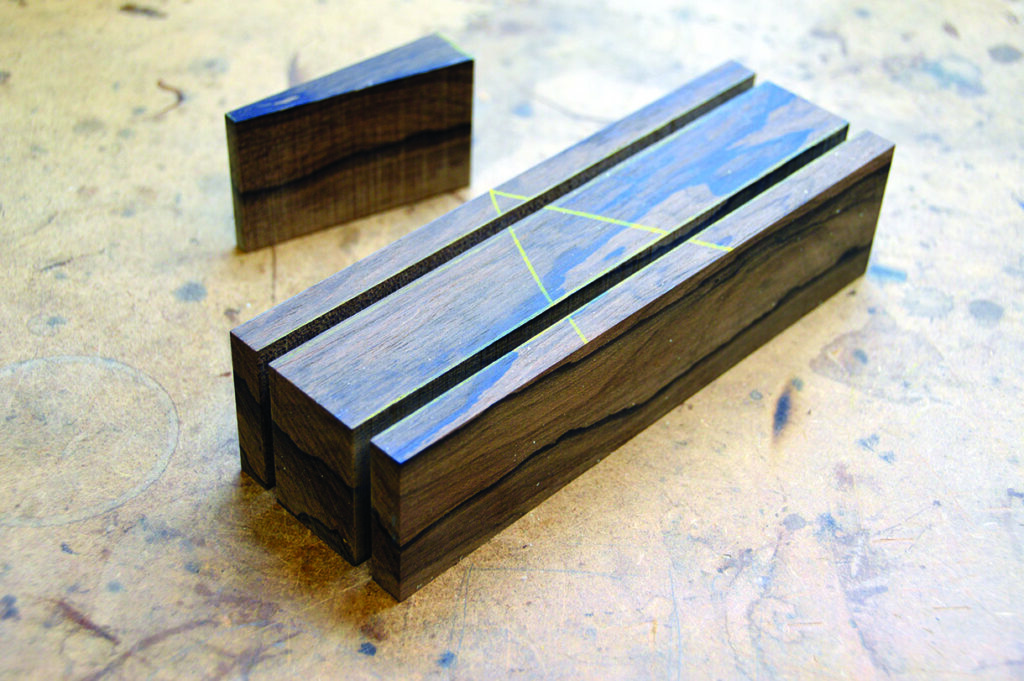
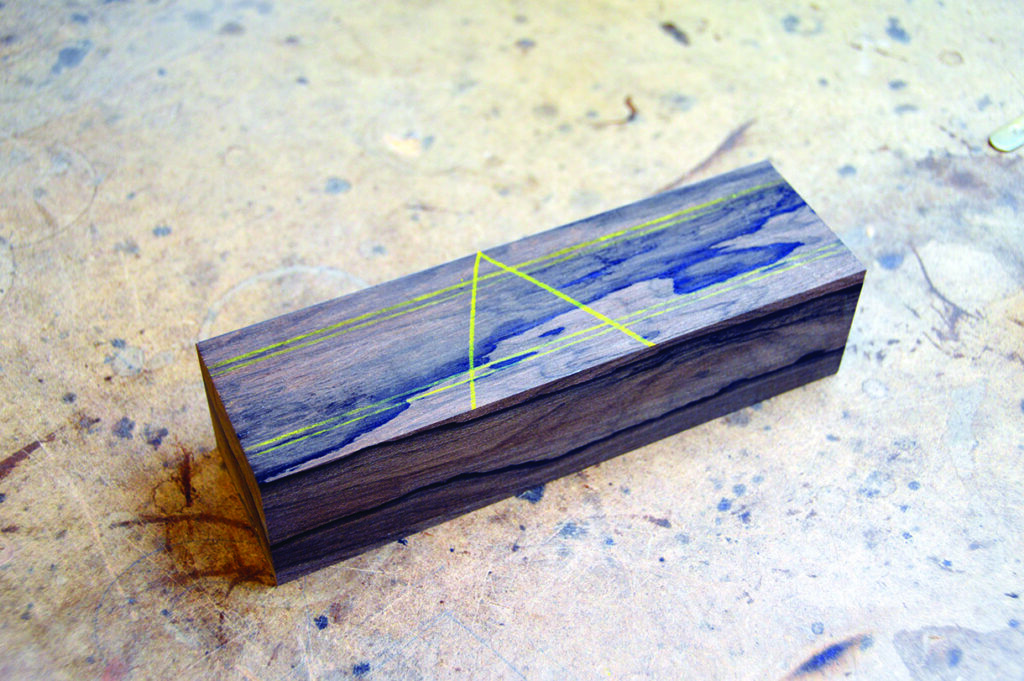
1. Plane your wood over size to start with. Then mark out where the saw cuts will go to cut your wood into three sections. I recommend drawing a V on the top of your wood. This helps to put them back in the right order when they are in three pieces
Wooden blocks on a workshop table
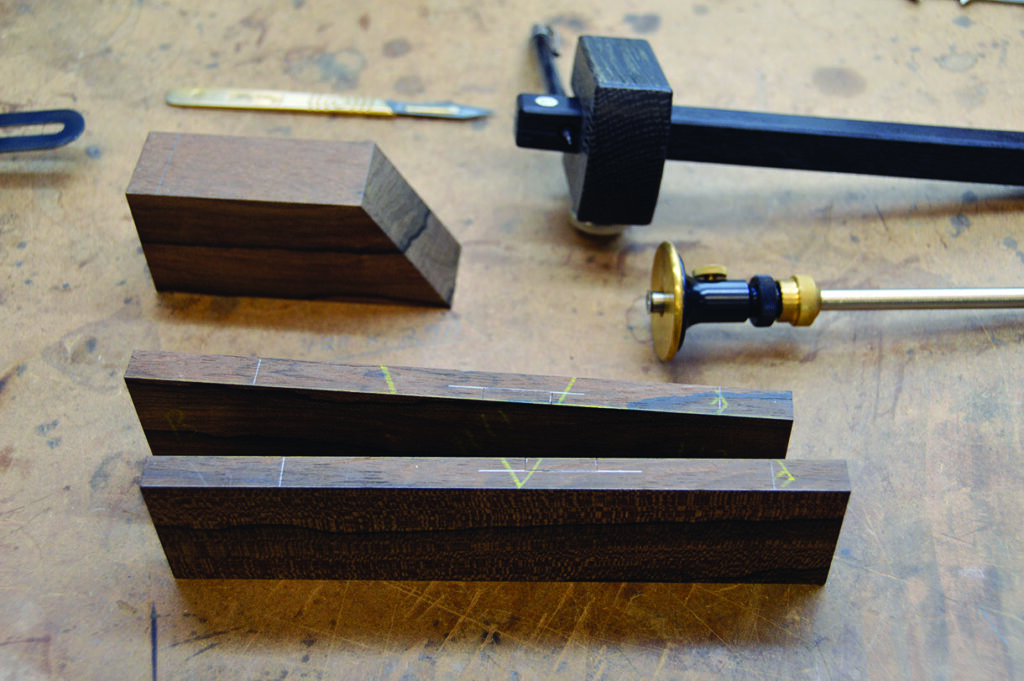
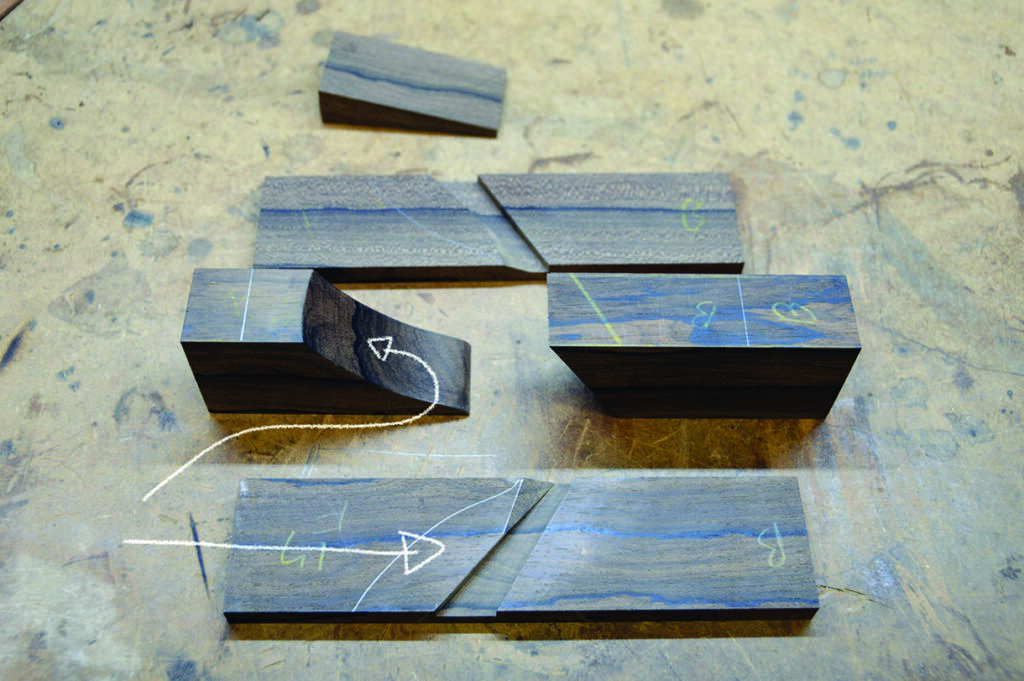
2. Bandsaw your wood into three pieces then plane them up. You should have two sides at 175 x 50 x 11mm and one main body at 175 x 50 x 32mm. Cut out the wedge, measuring 70 x 44 x 16mm. See the drawing for the profile. Also cut the wedge over length to start with; it can be cut down when it’s fitting well in the plane. The finished length is 63mm
Carved wooden blocks on workshop table
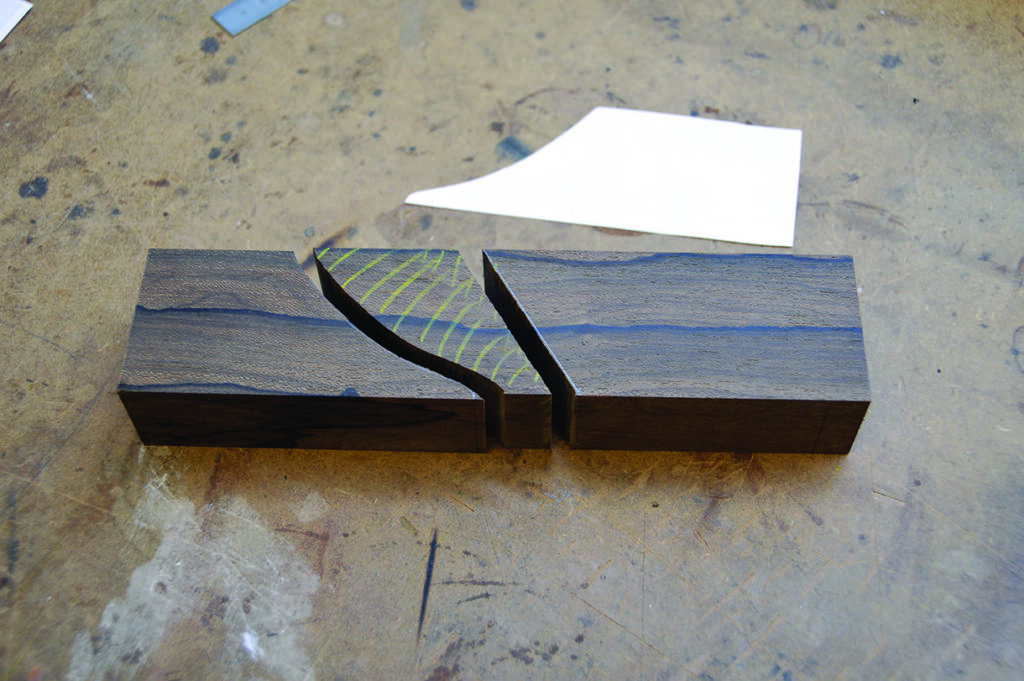
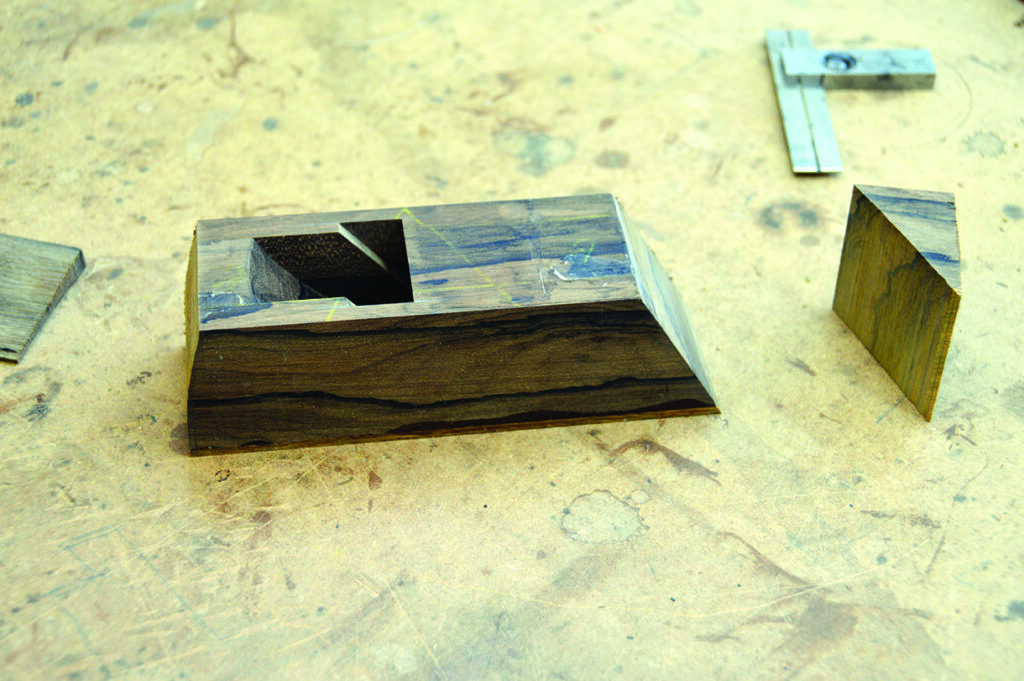
3. Mark out and cut the body into its two parts. I used a bandsaw but you could probably do this with a coping saw for the front body and a hand saw for the back
Woodworking tools on a workbench.
4. Sand the body front to the profile.
Wooden piece in woodworking bench vise
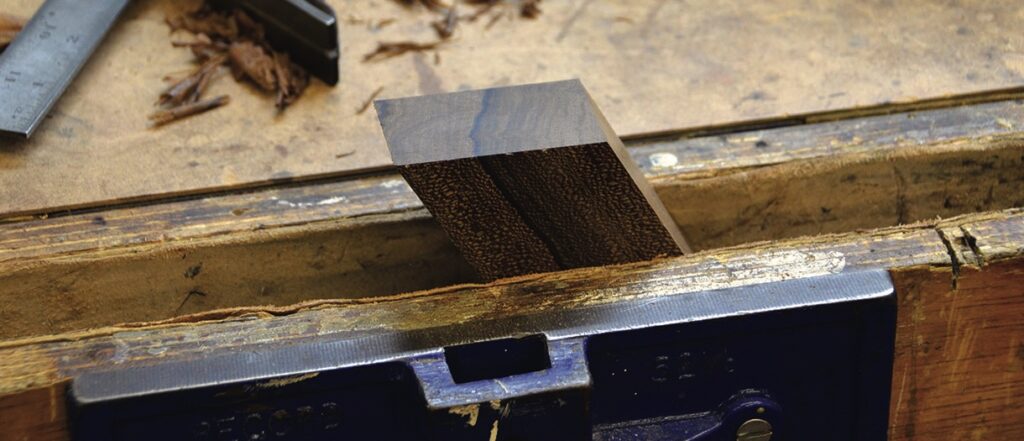
5. Plane the 30° angle on the body back, making sure it’s square as well
Person measuring wood for precise cutting
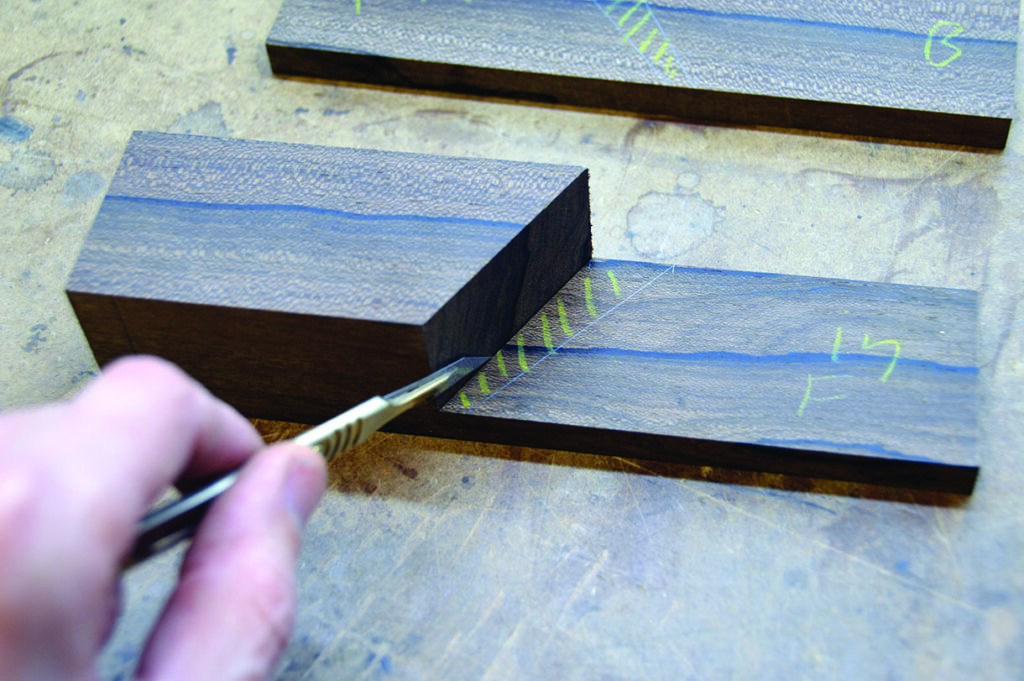
6. Using the body back as a guide, scalpel the inside of the sides and also scalpel the 40° angle
Woodworking tools and marked wood pieces on workbench.
7. Use a marking gauge set at 6mm to mark the depth of cut for the groove on the sides
Close-up of a unique wooden joint pattern.
8. I recommend using a router to cut out the waste. You could also set up the router to cut down to the 6mm as well
Close-up of woodworking joinery detailing.
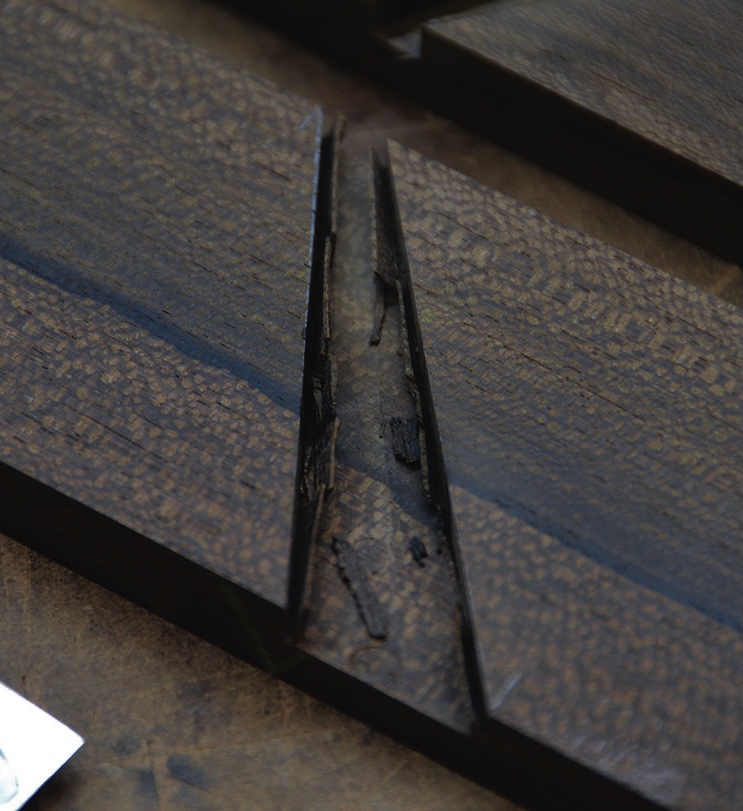
9. Chisel to the scalpel lines, then sand to clean the grooves up.
Detailed view of precision wood joinery.
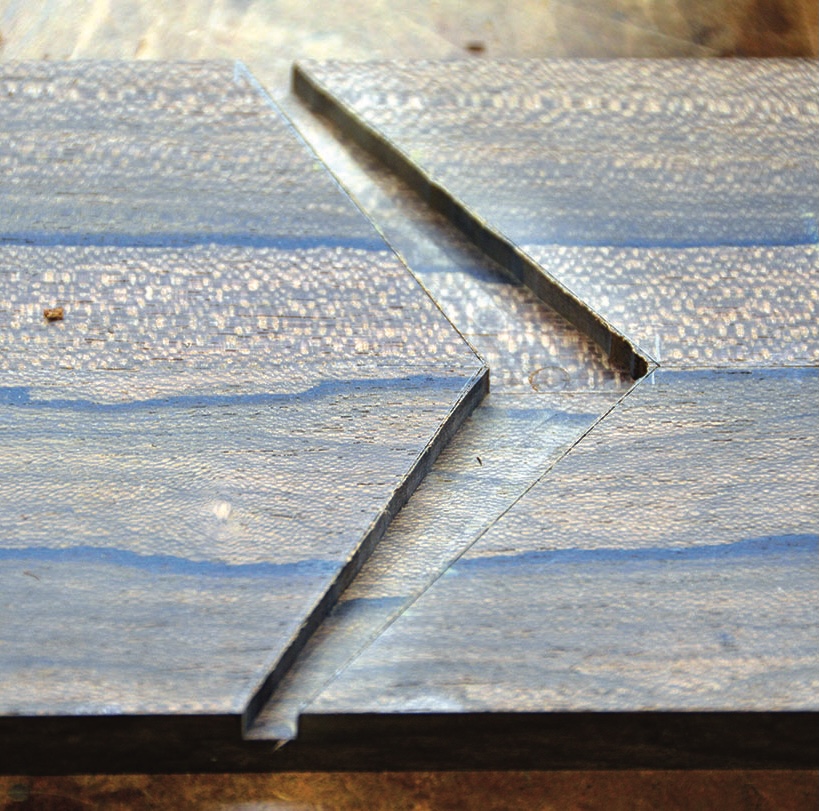
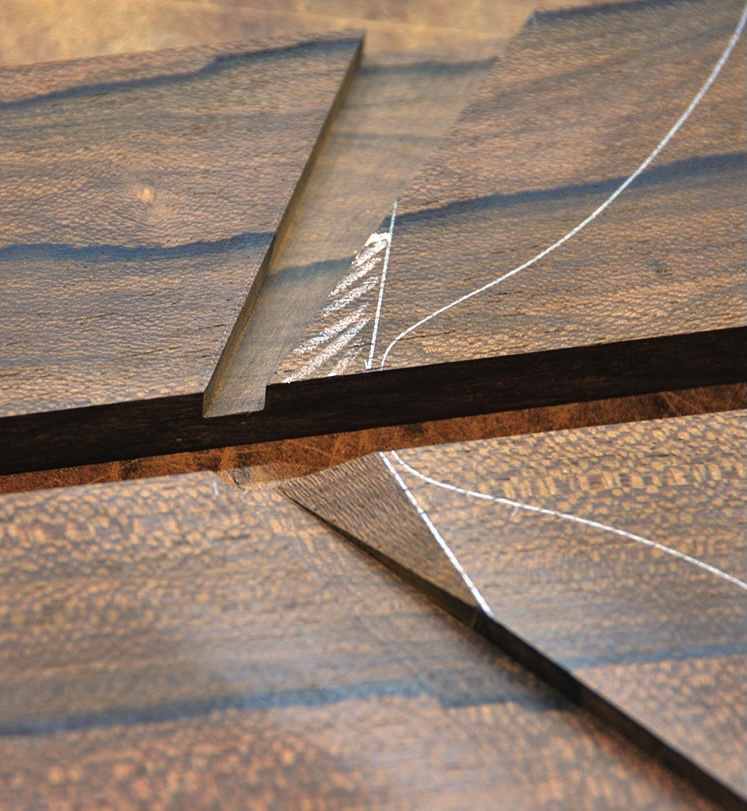
10. Mark out and chisel the small triangular-shaped chamfer at the bottom of the groove. This is removed to stop the wood shavings getting clogged inside
Wooden dovetail joint close-up on workbench.
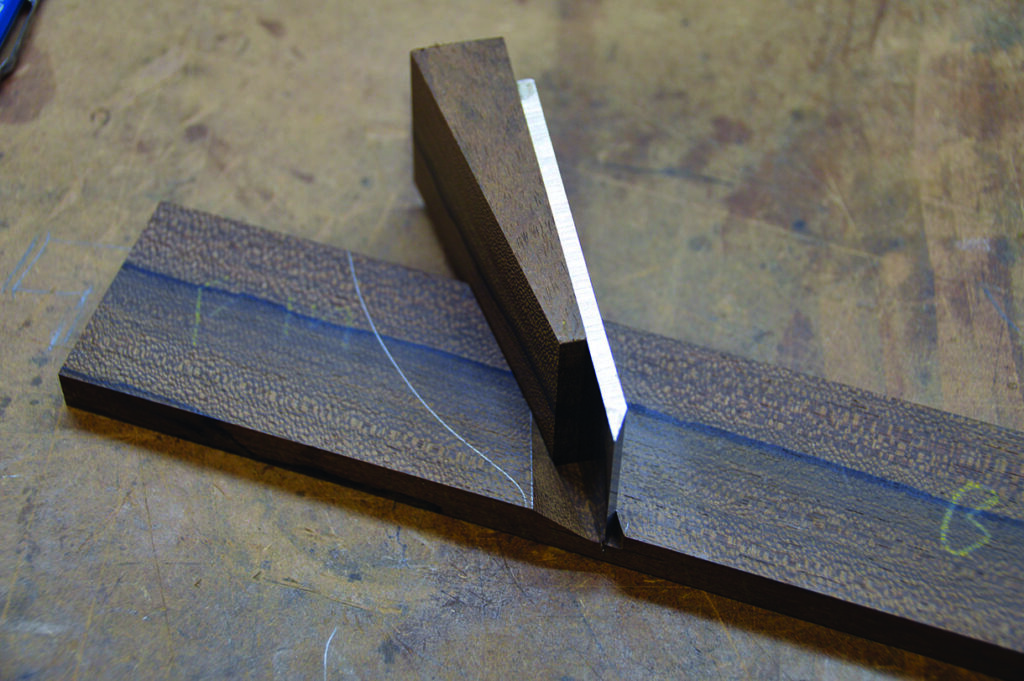
11. Plane the wedge to fit the grooves. Take your time with this step as the wedge needs to fit in the same amount on both sides. The wedge is also used to aid in gluing the plane together to keep everything in line
Wooden pieces with chalk markings on workbench.
12. Sand the internal parts of the plane
Woodwork project clamped on workbench.
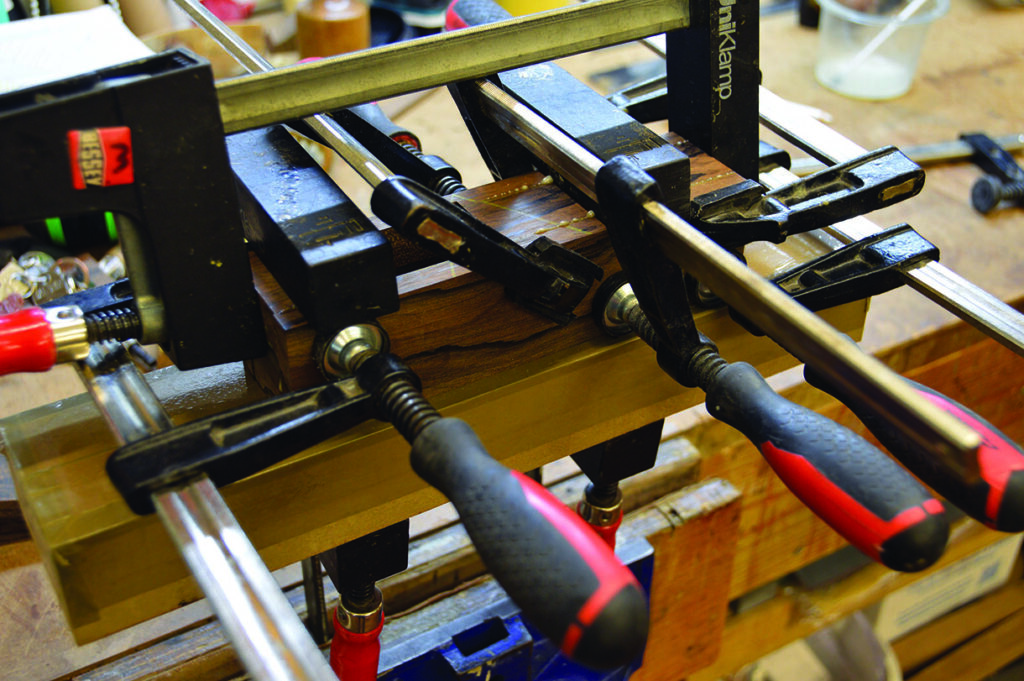
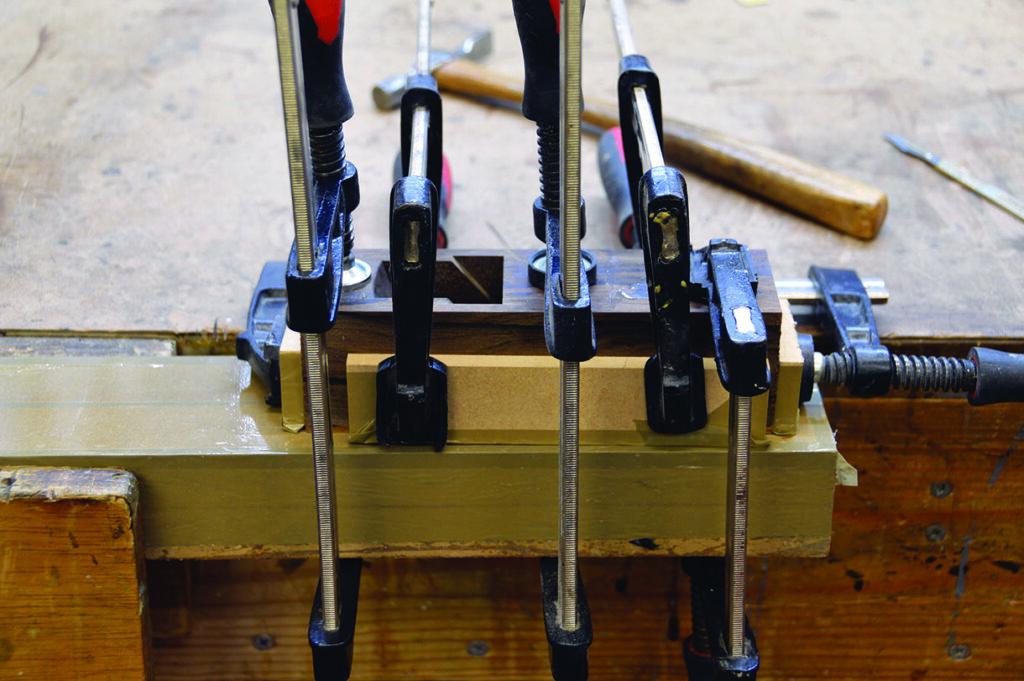
13. Make a flat block to clamp the plane down to make sure it doesn’t move about and to help keep it flat. This is when the wedge should be used with an additional bit of wood to stop the wedge coming out at the bottom, but make sure to remove the wedge when everything is clamped up. Test clamp this a few times to get the process down. Don’t forget to put packing tape on the flat block, otherwise the plane will be glued to the block. I would also recommend not putting glue right up to the inner edges of the front and back of the body, this will limit the amount of glue squeeze-out you get into the hole
Woodworking table with tools and materials.
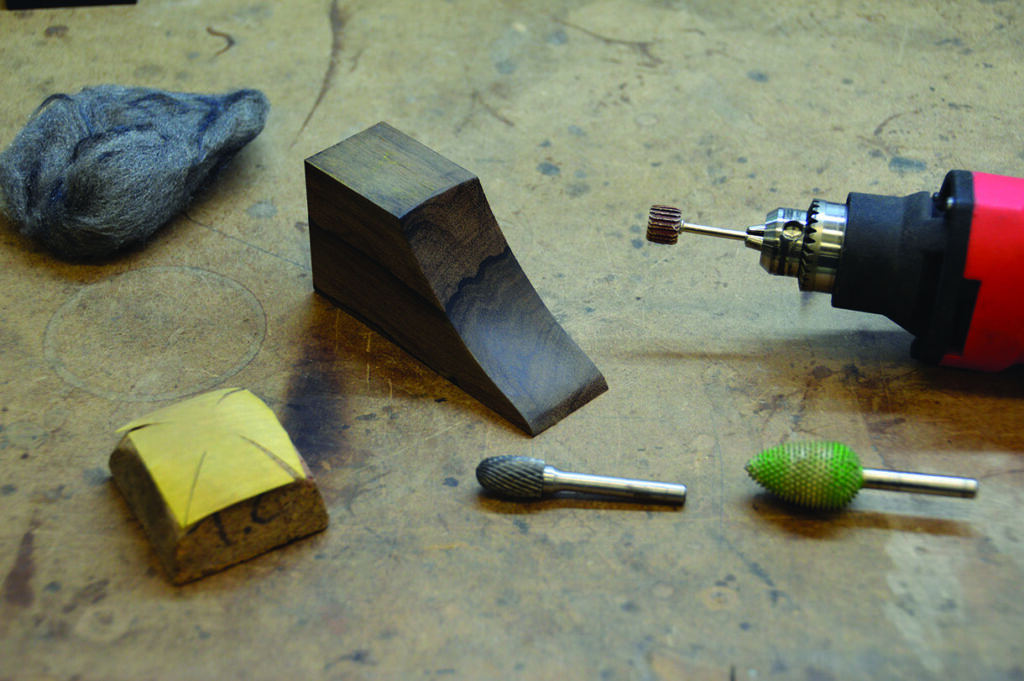
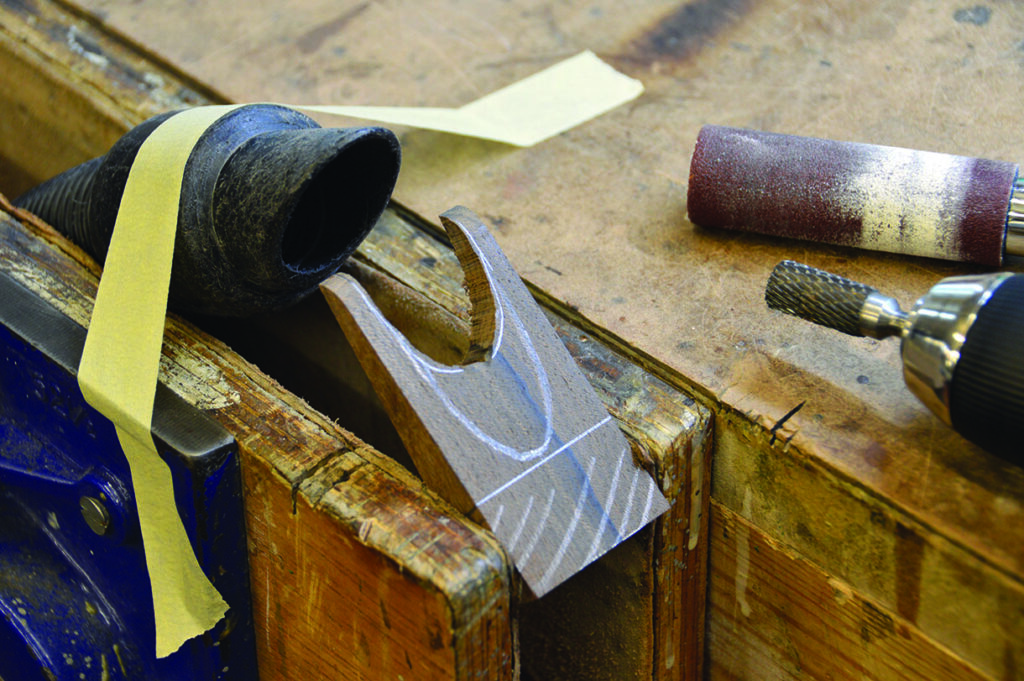
14. While you’re waiting for the glue to set you can start working on the wedge’s cutout. This is done to make it easier to clean out shavings. Then rough cut using a bandsaw or by hand with a copping saw. I used a die grinder or a rasp to get into the tricky part, then I cleaned it up with a small drum sander attached to a cordless drill. A lot of this could be done with carving chisels as well. Then sand it up to 240 grit
Wooden dovetail joint close-up in workshop setting.
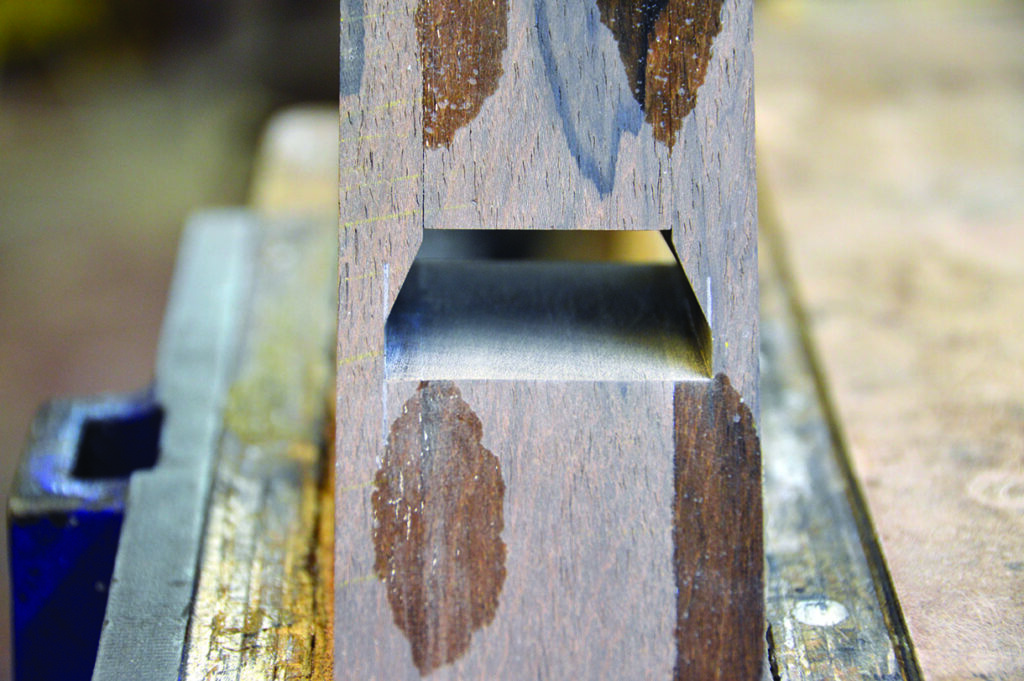
15. After the glue has set on the plane you can clean up the inner slope where the blade will sit. This can be done with a chisel or a flat tool with sandpaper stuck on it
Woodworking tool with handplane and steel square
16. If you haven’t done so already, cut the lignum for your sole. Cut the plane and the sole to the exact length. Also plane the sole to the exact width, this is a very important step to help with gluing the sole on. Plane the underside of the plane
Wood joint with mortise and tenon detail.
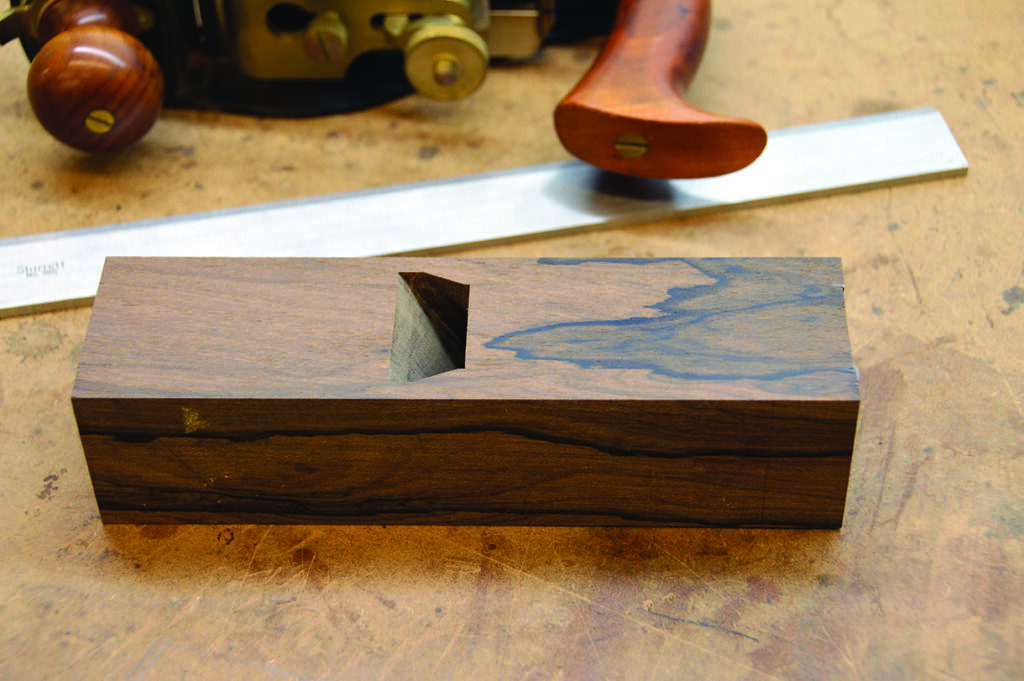
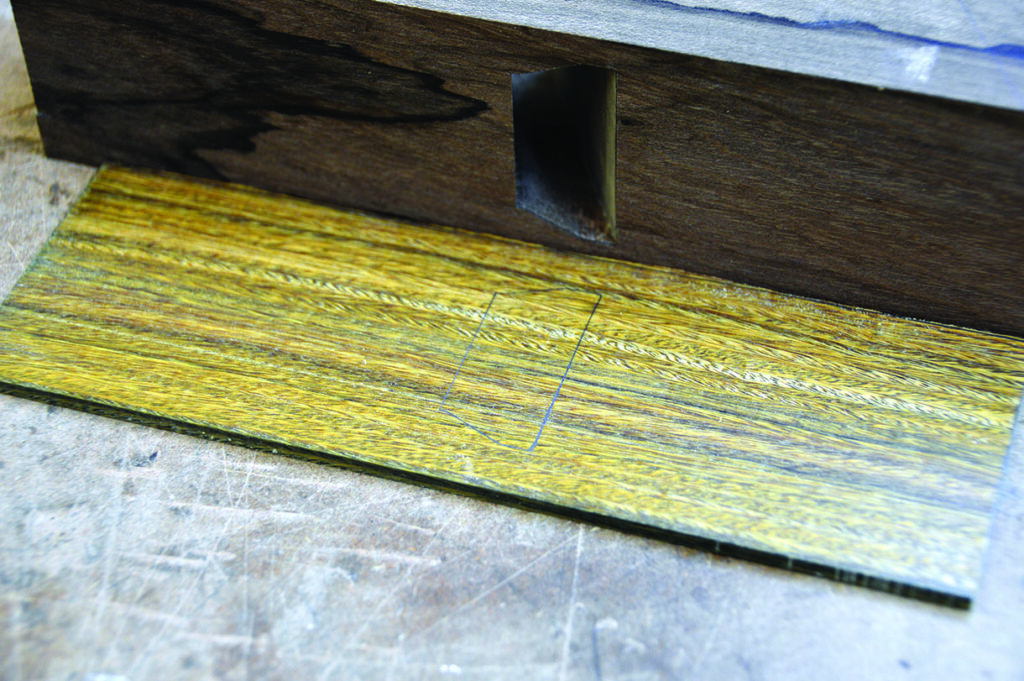
17. Place the plane on the sole and mark through the hole to show you where you need to cut the slot for the blade
Close-up of wood joint cutout on panel surface.
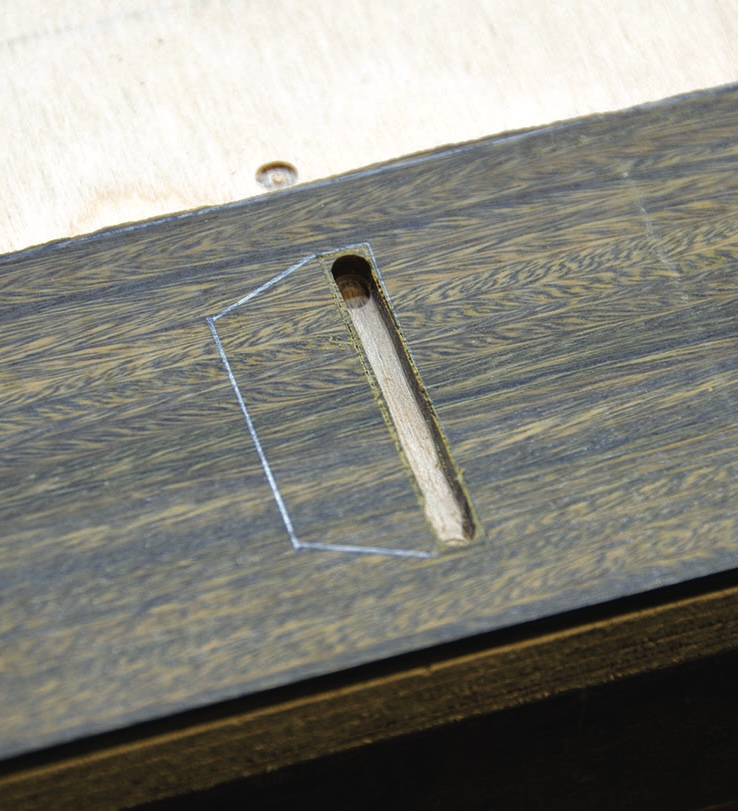
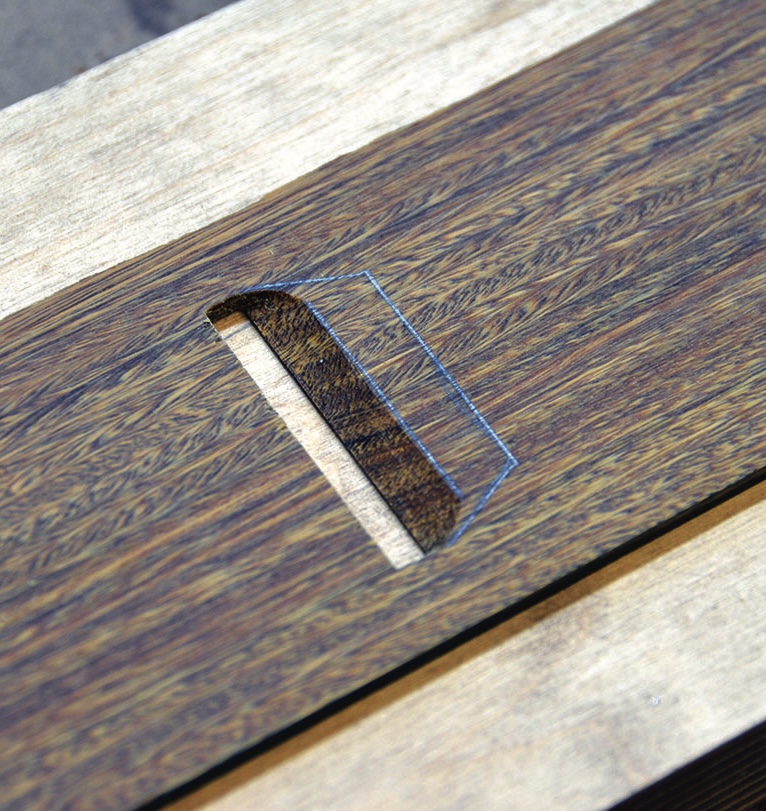
18. Mark out a 4mm slot with a scalpel, then use a router to cut through. Clean up the line with a chisel
Crafted wooden joint in close detail view.
19. Chisel a slope on the inside of the sole. Again, this is to prevent the shavings from getting stuck. Clean the sole with acetone. This will help the glue stick to the oily wood
Woodworking tools on a workbench.
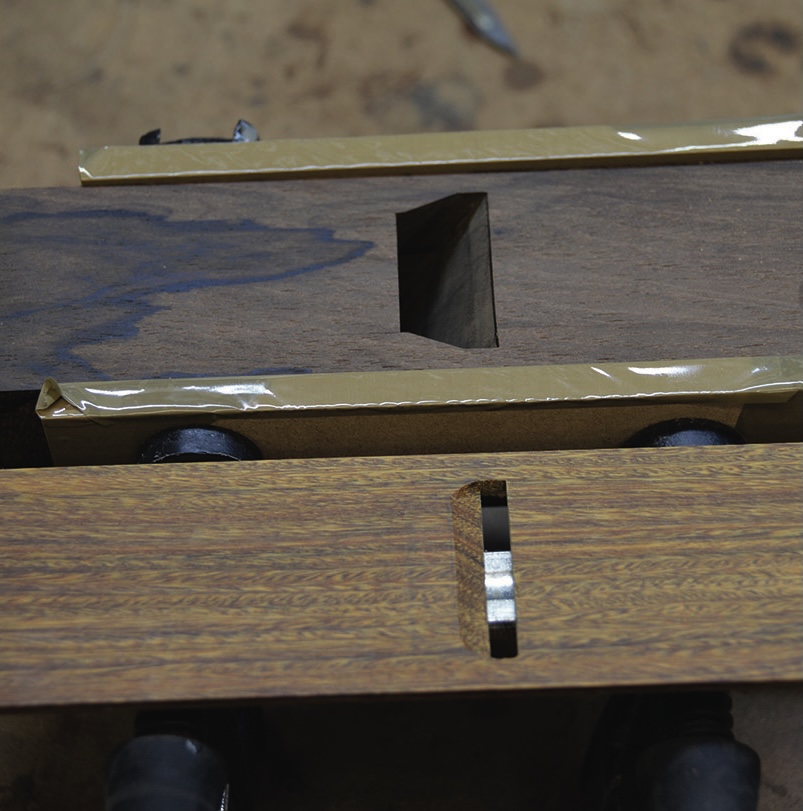
20. Dry clamp to the sole to make sure everything fits. Be sure to use a block underneath with packing tape on
Wood piece clamped on workbench for woodworking.
21. Glue on the sole. I used superglue as this sticks really well to lignum. Make sure you don’t put too much glue around where the hole is in the middle (the area you drew around earlier). The other advantage of using superglue is you don’t have to wait that long for it to dry. About 20 minutes should do. I used medium superglue
Wooden miter box on a workshop bench
22. After you take the clamps off you should clean up the mouth in the sole. This can be done with a file and a bit of sanding. Then mark the 30° angle at the back of the plane and cut off the excess bit of wood. Then mark out exactly where you need to drill for the adjustment screw
Drilling machine in a woodworking workshop.
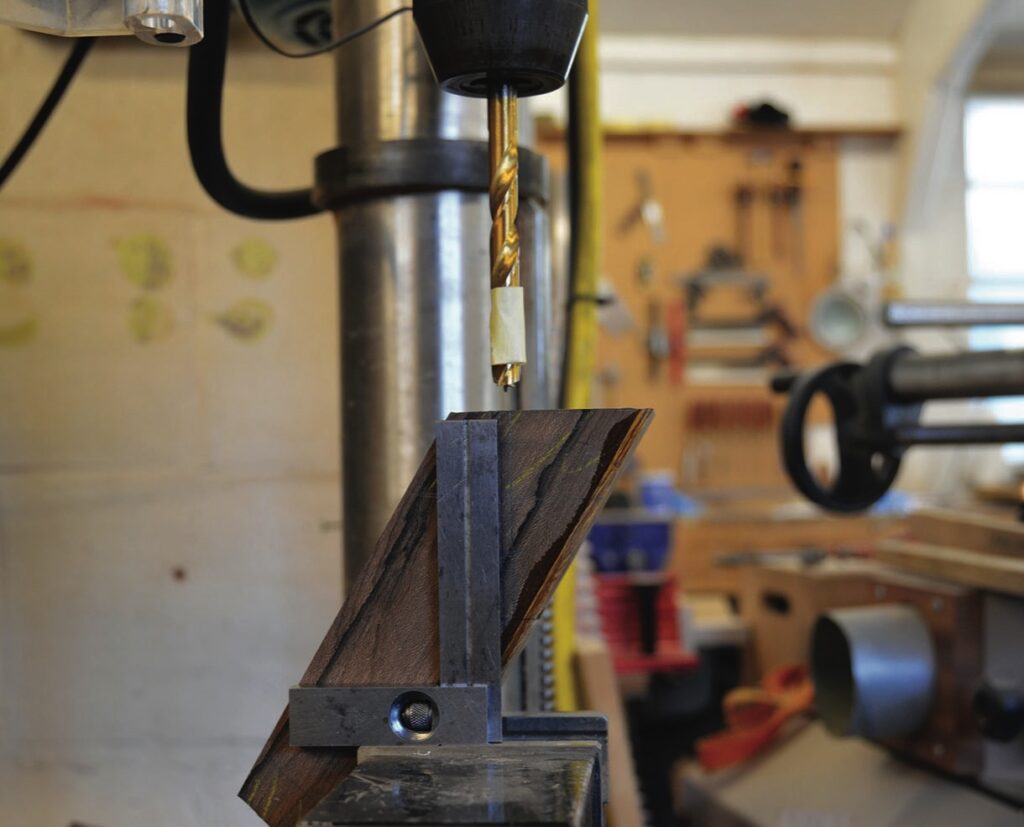
23. Select the drill bits you need and put a bit of tape on them as a depth gauge while drilling. Drill the 10 first, then 6.5, then 5. I would drill these holes using a pillar drill preferably. This could be done with a cordless drill but it needs to be quite accurate to avoid drilling through in the wrong place
Wood crafting tool and screws on a workbench.
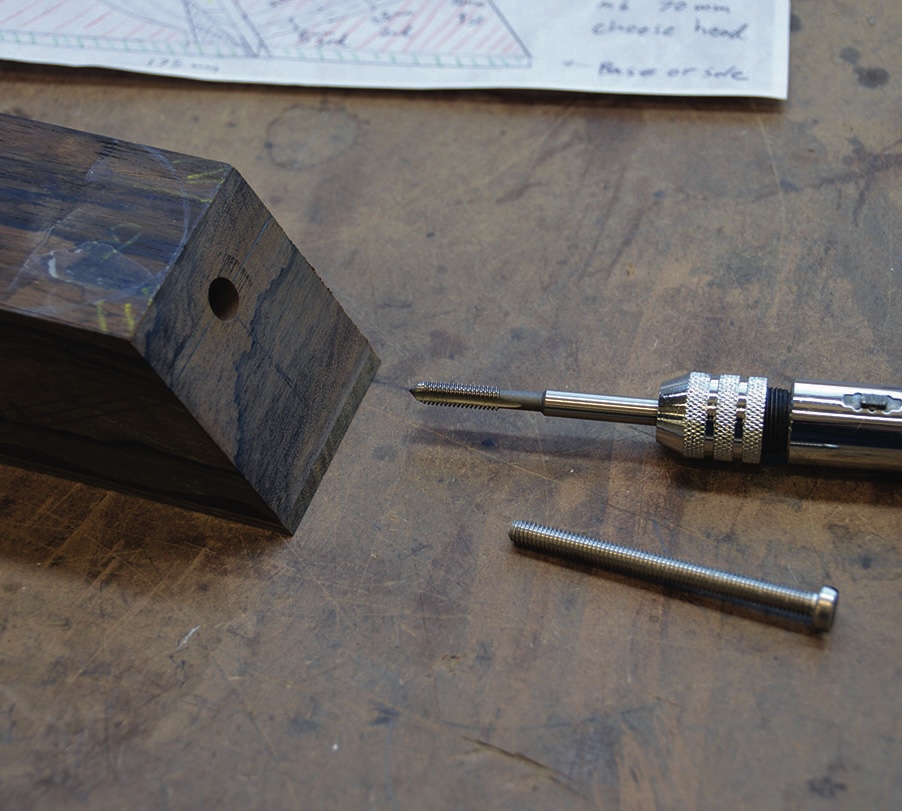
24. Use a M6 tap to cut the thread for the screw to go in the back of the plane. Test the screw and cut to the correct length if it needs to be cut down. The screw should only just touch the back of the blade. Sand and polish the end to clean it up
Wooden block sculpture on display surface
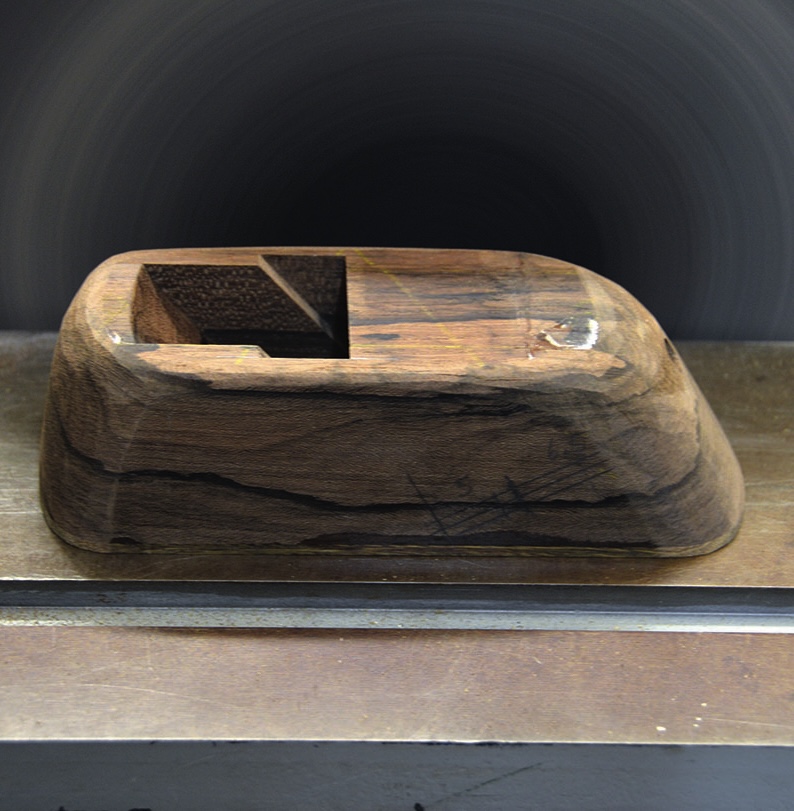
25. Now for the fun part (well it definitely is for me!) – the shaping of the plane. I used a disc sander for all the rough work. Next, use a die grinder to cut the hollows on the top and then use a spokeshave to clean up the outside of the plane. This will speed up the sanding process. Then on to hand sanding up to 240 grit. Bear in mind lignum dust could contaminate any paler coloured timbers when sanded together
Wooden tool on a workbench.
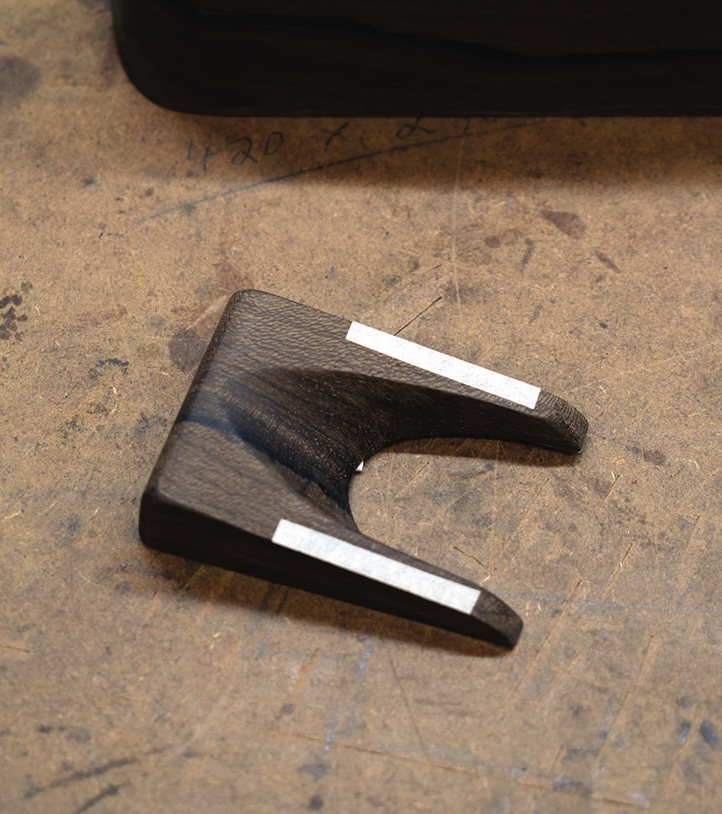
26. Before you put any finish on you need to mask off the areas that the wedge will fit because if you get any oil or wax on the wedge where it tightens it won’t work properly or come out
Osmo Polyx-Oil with brush on wooden table.
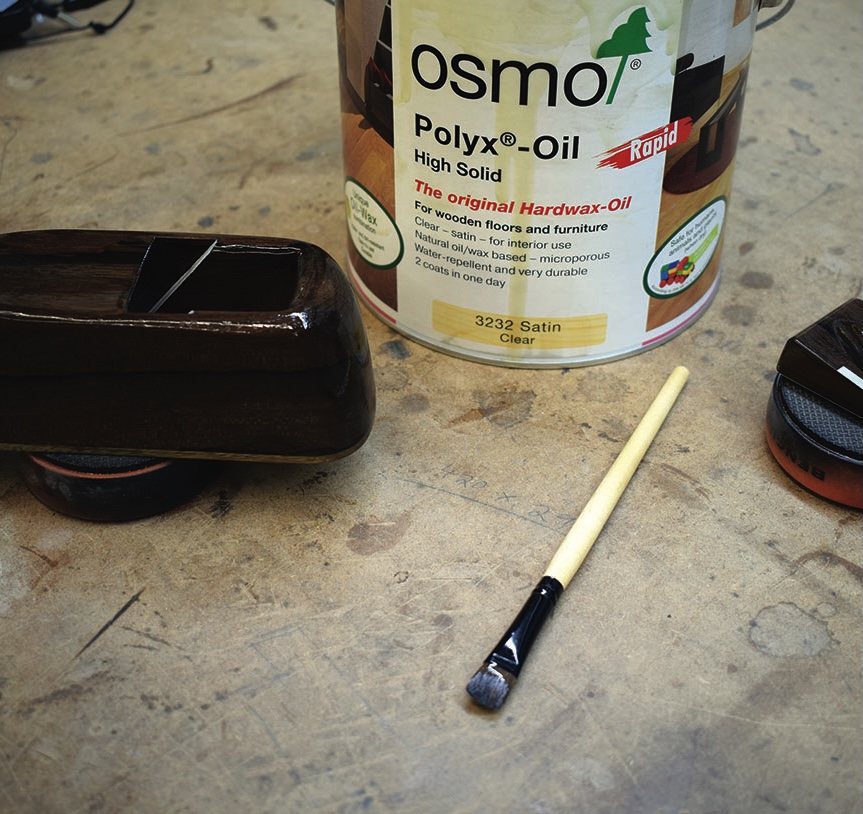
27. Time to oil or put some finish on. I used Osmo oil but you could use something else
Hand sharpening woodworking chisel on bench.
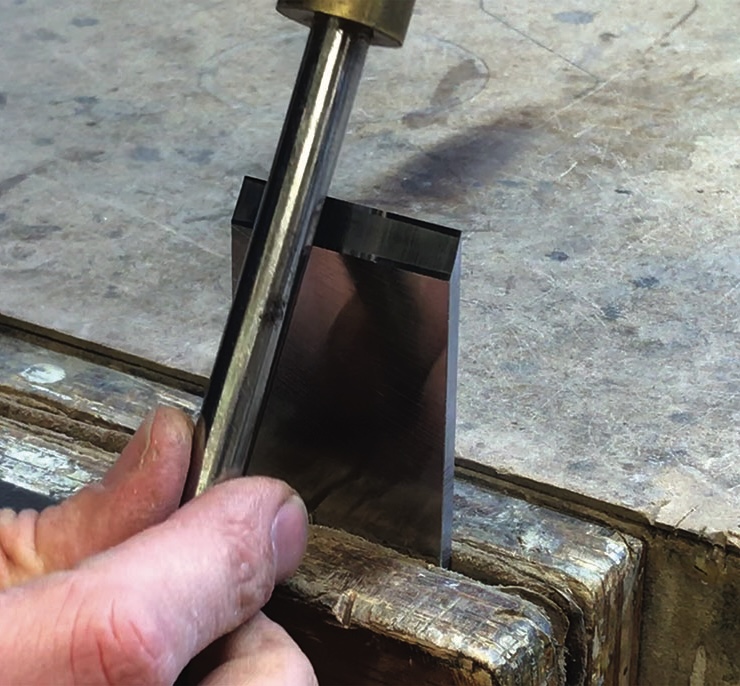
28. While you’re waiting for the finish to dry you can work on the blade. This should be sharpened at 30° and then the edge needs to be burnished over using a burnishing tool
Wooden hand plane on dark surface with white paper.
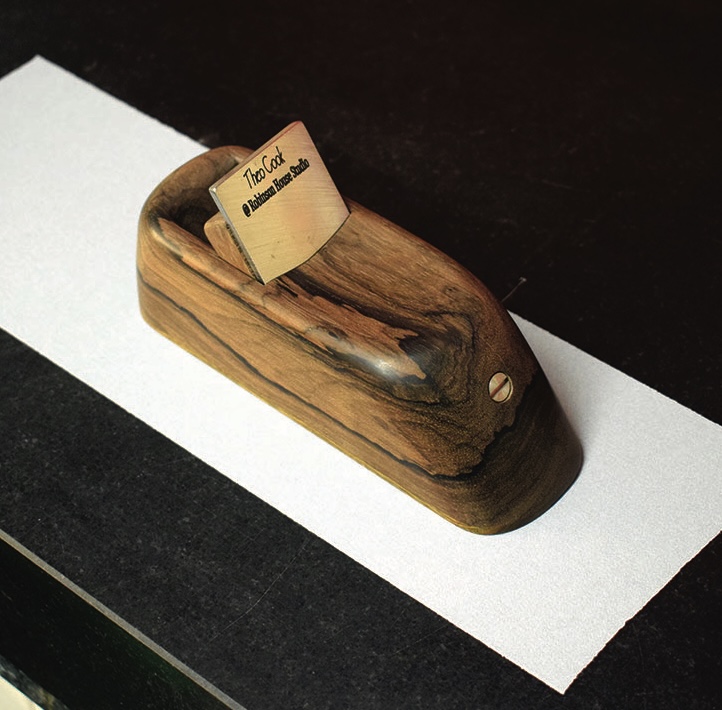
29. When the finish has dried you can flatten the sole by sanding it on a flat surface like a machine bed
Japanese wooden kanna block plane, side view
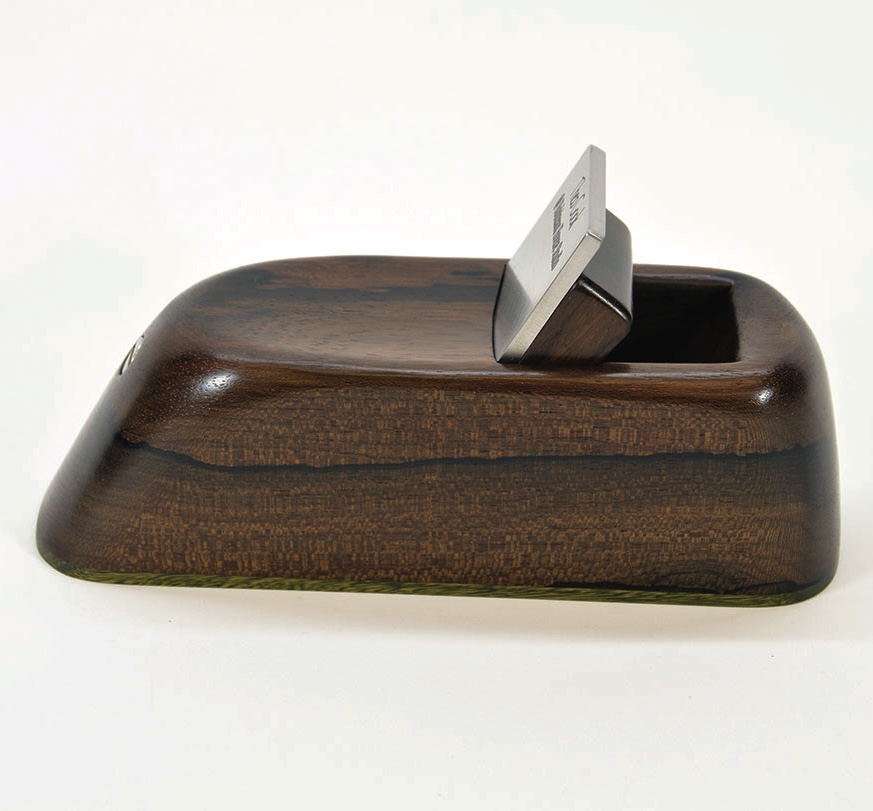
30. Now it’s time to set the blade in the plane. Make sure the adjustment screw is set back before you start. Place the plane on a flat bit of wood then put the blade in until it contacts the wood. Put the wedge in and give it a gentle tap with a hammer. A hammer can also be used for the lateral movement of the blade. The adjustment screw can be used to achieve a bigger shaving
Wood and gold metal block planes with steel blades.
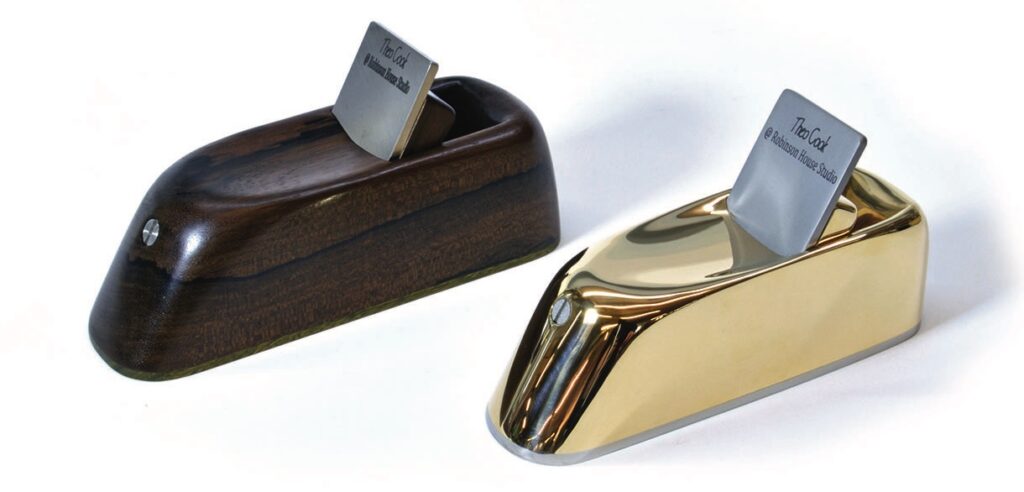
31. Making a bronze plane was a real challenge

I hope these steps will help you build a Theo Cook scraper plane of your own. I have enjoyed using mine so much over the years. I have even made a bronze plane, as you can see from the picture above. It was particularly challenging as I haven’t worked that much with bronze before.

Leave a Reply

Your email address will not be published. Required fields are marked *