Richard Findley looks at what is needed to turn for furniture
I trained as a joiner when I joined our family business in 1996 at the age of 16, although I’d worked there during school holidays for several years before. Woodworking is in my blood, going back at least five generations of Findleys, all of whom were cabinetmakers, chair-makers or joiners of one sort or another. I enjoyed all aspects of the work, but always had a fascination for furniture.
My joinery training gave me a solid foundation in cutting the various different types of joint and an understanding of how they are each used. The main difference between joinery and furniture joints is the scale and proportions of them. In joinery the joints tend to be large and bold, in furniture they are usually much finer and more precise but, by and large, they are the same joints.
My move into turning came after playing around with small-scale furniture and carving for some time and becoming frustrated with how long everything took to make. Turning gave me the opportunity to produce items in a far shorter time frame, but my fascination with furniture never waned. While many turners begin turning for relaxation or as a way to express themselves through their work, I always had one eye on how I could combine furniture and turning, which is probably the key reason I am where I am now – a production turner, rather than an artistic gallery turner.
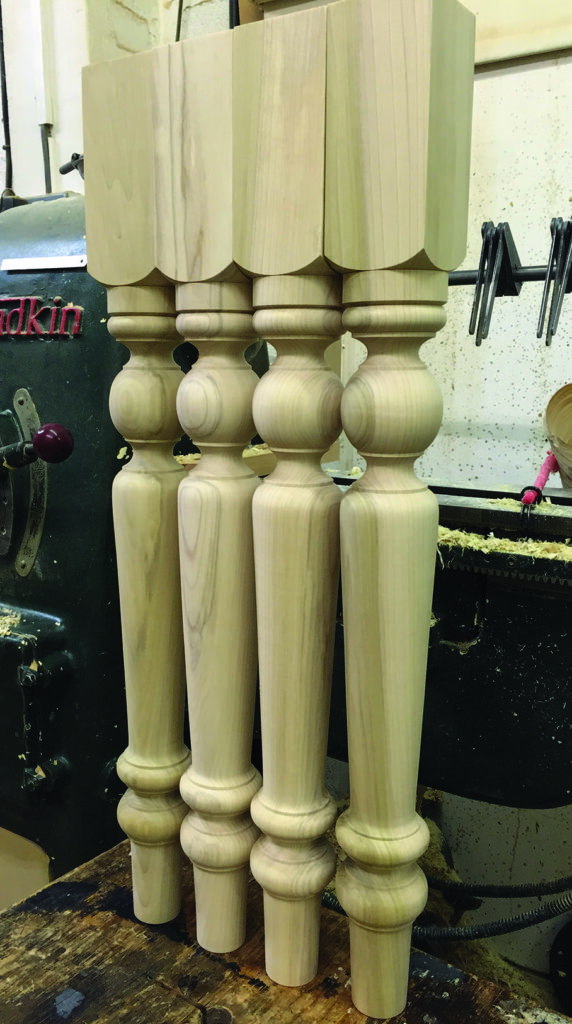
This series will focus on turning for furniture, meaning any item used either in the production of furniture, such as legs and drawer pulls, or as detail added to furniture, such as finials and applied decoration. I find most of this is spindle work, although not all of it, and varies in size from large table legs, 800mm long and 200mm in diameter, to tiny pulls just 20mm or less in each dimension. There are many challenges involved in this type of work which I will look at during this series, from how to turn matching sets of legs, to adding flutes and carved details; how to join sections to produce spindles far longer than your lathe and how to colour match and finish
parts for furniture restoration.
Getting the basics right
Much of what I make is quite simple. What I mean by that is that I use simple techniques and a basic set of tools to produce my work, although a combination of these techniques can add up to some quite complex end results. The key to it, in my opinion, is to get the basics right and build upon this.
Once you can turn clean and well- shaped beads and coves, the next step is to turn them repeatedly in set positions and to set sizes. With this as a base, further skills and techniques can be added to produce more complex items, but it all stems from getting the basics right and doing them well. To use a metaphor, I have often heard sports commentators announce that a team has performed badly because they failed to do the basics well. Turning is no different – master the basics and there’s nothing you can’t do.
Knowledge is power
Although it isn’t essential to be a furniture-maker or joiner to turn for furniture, I find that having a knowledge and understanding of how different items of furniture are made a great help in my work, enabling me to offer suggestions in design and application of turnings. The ability to discuss a customer’s ideas and requirements and put them to work in a final job is very rewarding, and showing that I have an understanding gives potential customers confidence in my abilities and that they will get what they are asking for.
My workshop set-up
At the time of writing, I have had my own workshop for nine years and, while it is relatively small for an industrial unit, I am aware that compared to many enthusiasts’ garden sheds or garages, it would be considered large. It is around 10m long and 3.6m wide with a ground floor being set up as a workshop and the upstairs as a packing area, a small spray booth for finishing and an office.
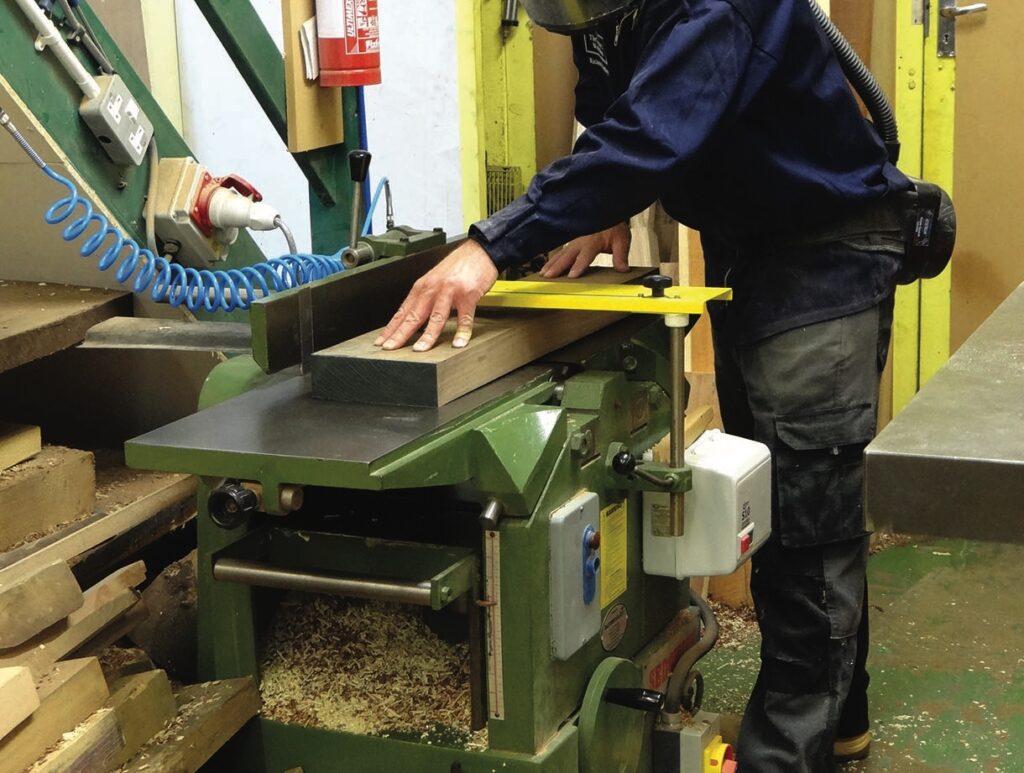
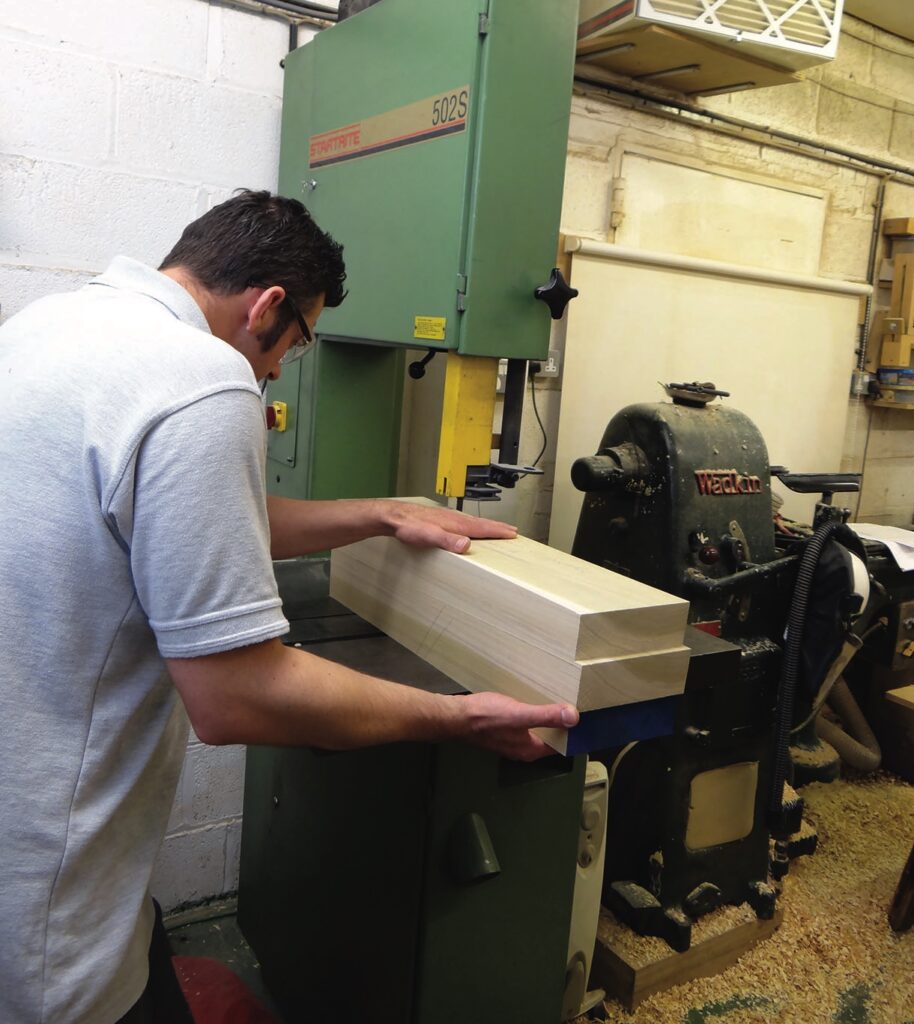
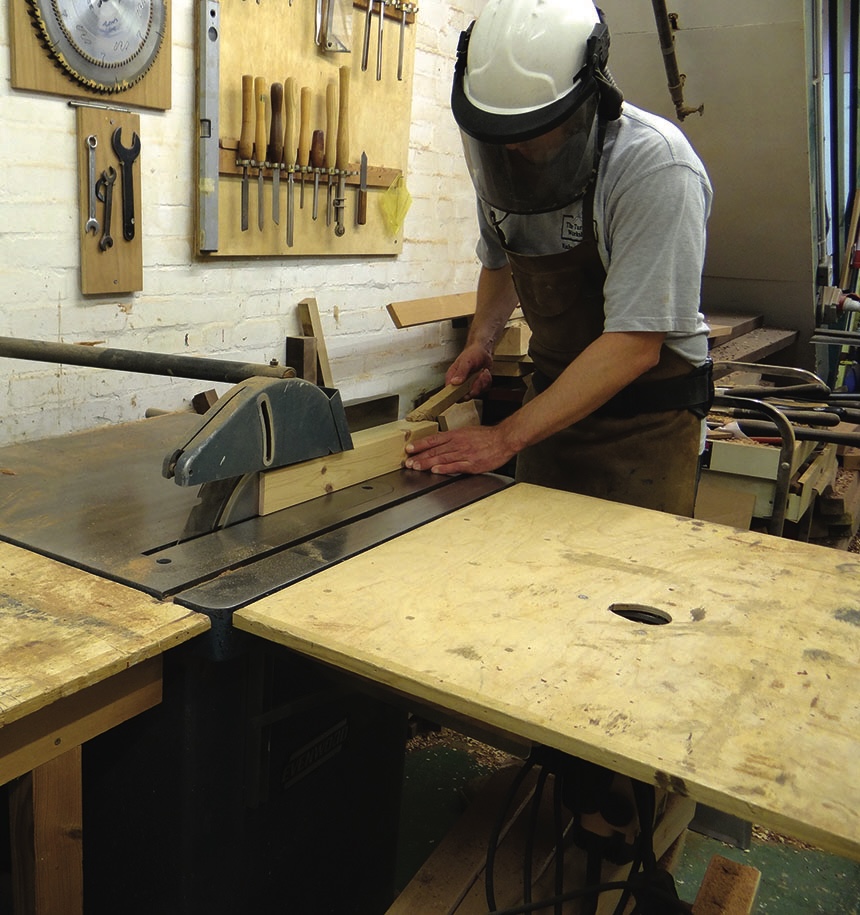
From the beginning, the workshop was always set up primarily for turning but with the ability to work boards of timber from their raw state to finished product, whether that is for turning, small-scale furniture or joinery. My plan was to be able to produce almost any kind of woodwork, just in case the turning side of the business either didn’t take off as planned, or it were to go quiet for any reason. It makes sense to be able to keep my options open. With this in mind I have a planer-thicknesser, bandsaw, lathe, saw bench (tablesaw), pillar drill and disc sander as well as assorted other hand and power tools. Much of this started out as new ‘trade’ or ‘light industrial’-rated machinery, but all has now been replaced with older, truly industrial machinery after continuous use over the years took its toll. I expect these machines to last for many, many years.
All of this machinery means I have complete control over the material at every stage and the ability to work it as I need to without having to rely on a third party to do any single part of the machining process. Call me a control freak, but that’s how I like it. That said, I know of at least one very highly respected production turner who only has an industrial bandsaw and a lathe, nothing else. Most of his timber is brought to him ready to turn by customers. For me, while I offer this to my customers, most are happier for me to supply the timber.
Timber
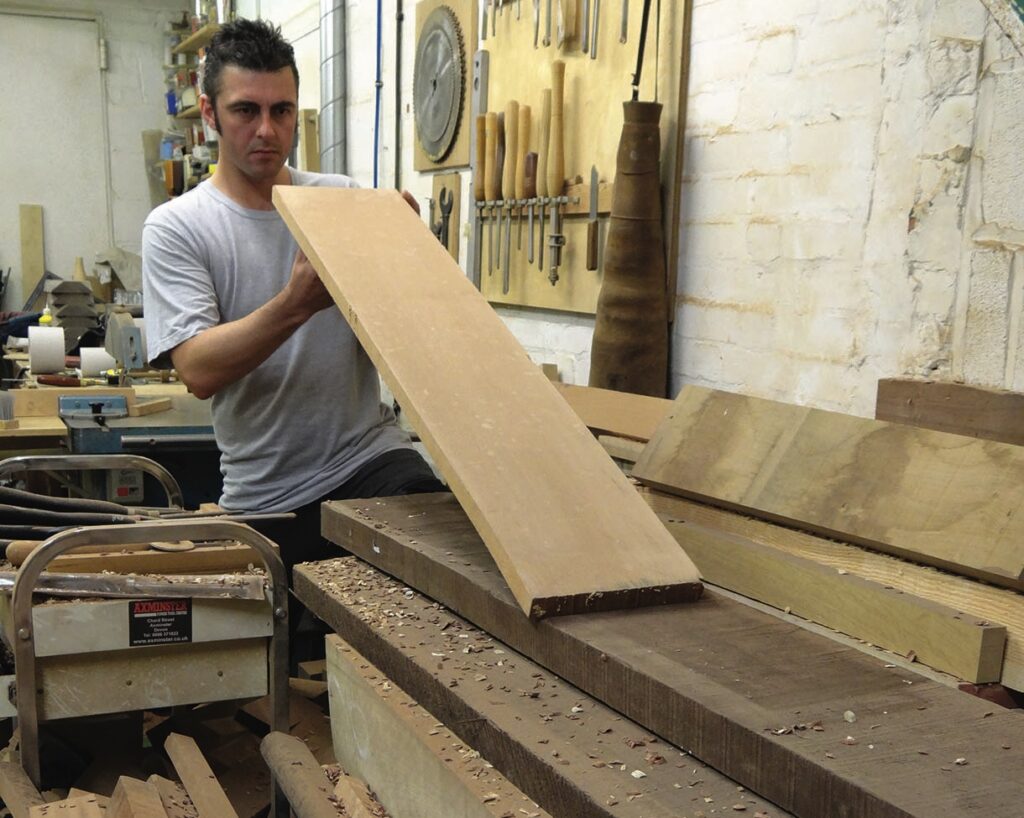
This naturally leads me on to the timber needed for furniture work. I have a stock of furniture-grade seasoned timber which has built up over the years as the need or opportunity has arisen. I have several local timber merchants who can supply me with timber, ranging from run-of-the-mill commercial timbers to more specialist hardwood that I can select myself for particular special jobs.
Most jobs use a reasonably standard range of commercial hardwoods from Europe and the US, including beech, American white oak, European oak, American ash, American black walnut and sapele from Africa. But sometimes a customer might want to use timber from the same batch for the turned parts as for the rest of the furniture, or want a specific timber to be used and I am, of course, happy to use their own timber or buy something more specialist if that’s what the specification calls for. I find exotics are rarely specified.
Lathe
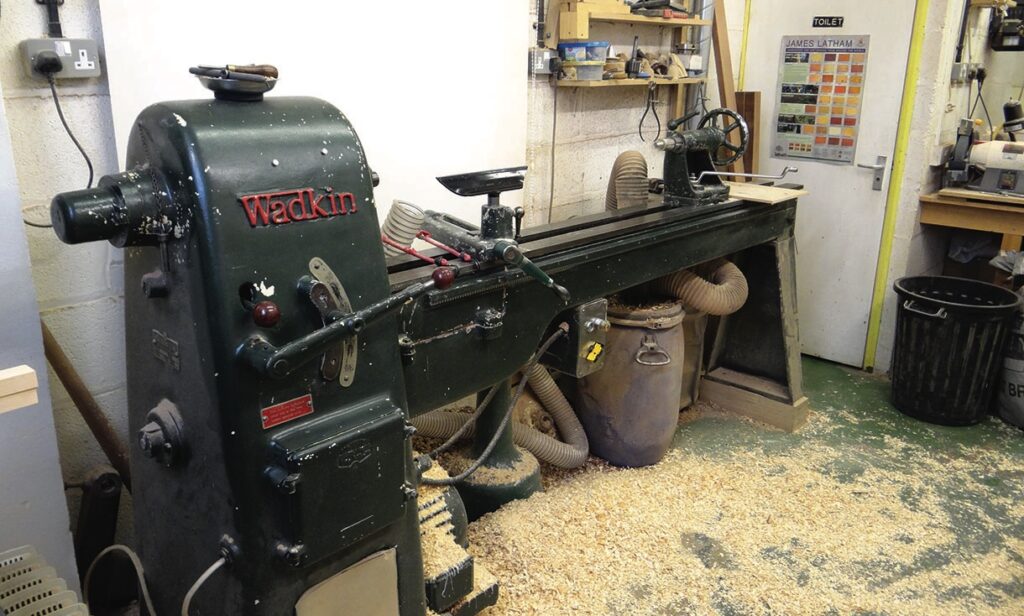
My lathe was the first of my machines to be upgraded from a modern ‘light industrial’-rated machine to an old industrial lathe. I use a Wadkin RS8, made in 1950 in my home city of Leicester. When I realised my previous lathe was not going to last the course I started looking around for an upgrade, but found a modern lathe with the sort of capacity I was looking for was going to set me back at least £6000 – money I just didn’t have. After speaking to a number of professional turner friends, it became apparent that a Wadkin might be the best option, being solidly made and having great capacity with a much more reasonable price tag.
I believe it was 2011 when I took delivery of the Wadkin, having paid £1450. It can turn 1700mm between centres, swing 400mm over the bed and 710mm with the gap-bed removed. If it weren’t positioned against a wall I could also turn up to 2400mm in diameter outboard. The best feature though is that it is made entirely
of cast iron and, weighing in at around ¾ of a ton, it is as solid as a rock.
Having said that, this lathe suits me and the type of furniture and production work that I make on a daily basis, but most lathes would be suitable for furniture work. A minimum of 1m between centres deals with most table legs, if you go to 1200mm then most stair spindles would be covered too. Swing over the bed is usually less critical, although as bowl turning is so popular, even small, modern lathes usually have a good capacity in this department. Variable speed is a ‘nice to have’ rather than a ‘must have’. The Wadkin has eight speeds which cover everything I need, so I’ve never yet felt the need to have it upgraded to electronic variable speed.
Turning tools
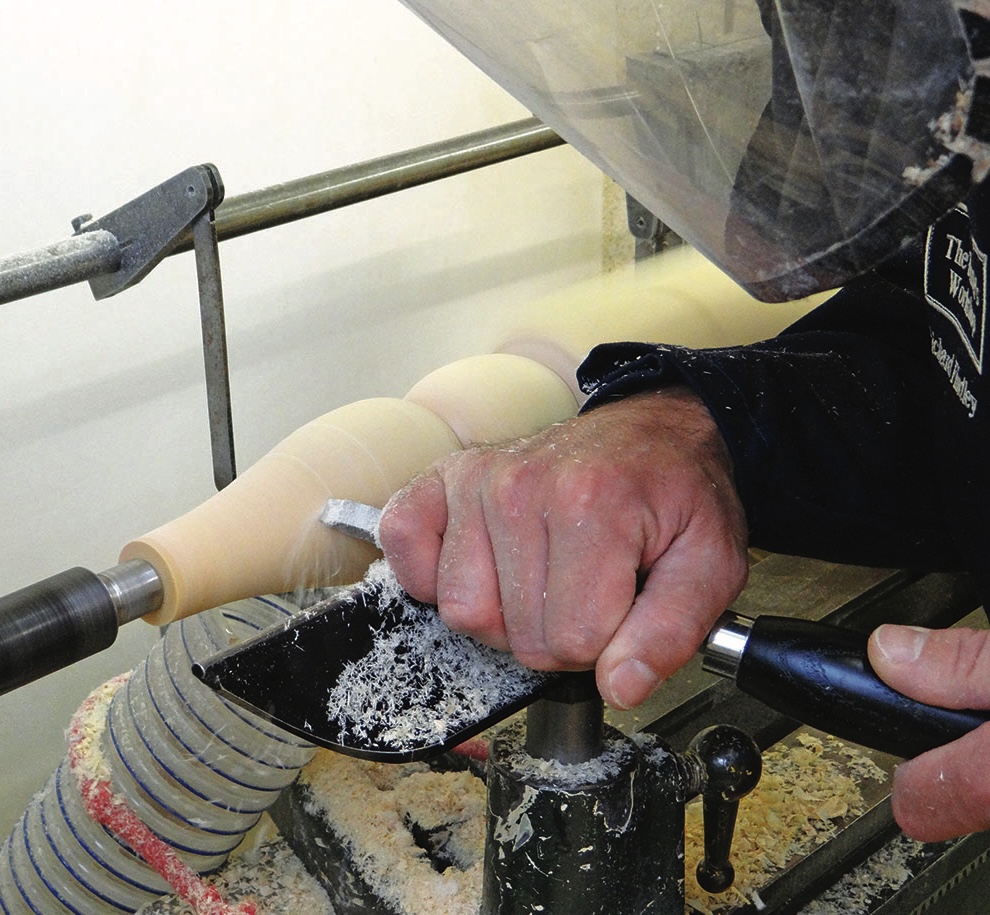
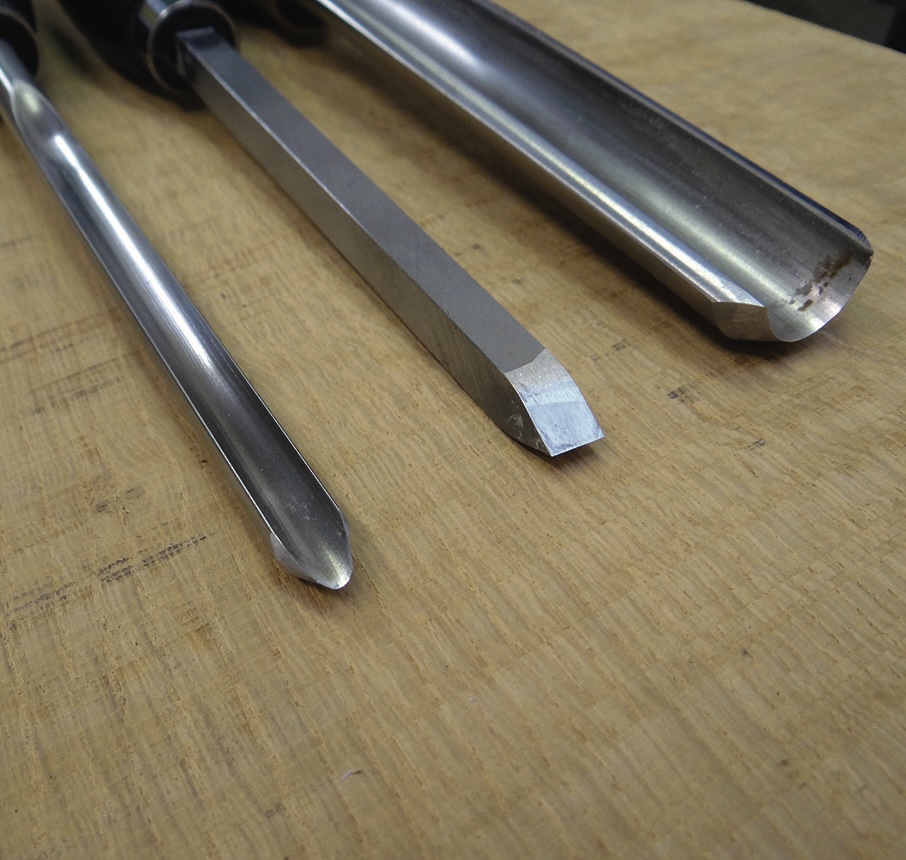
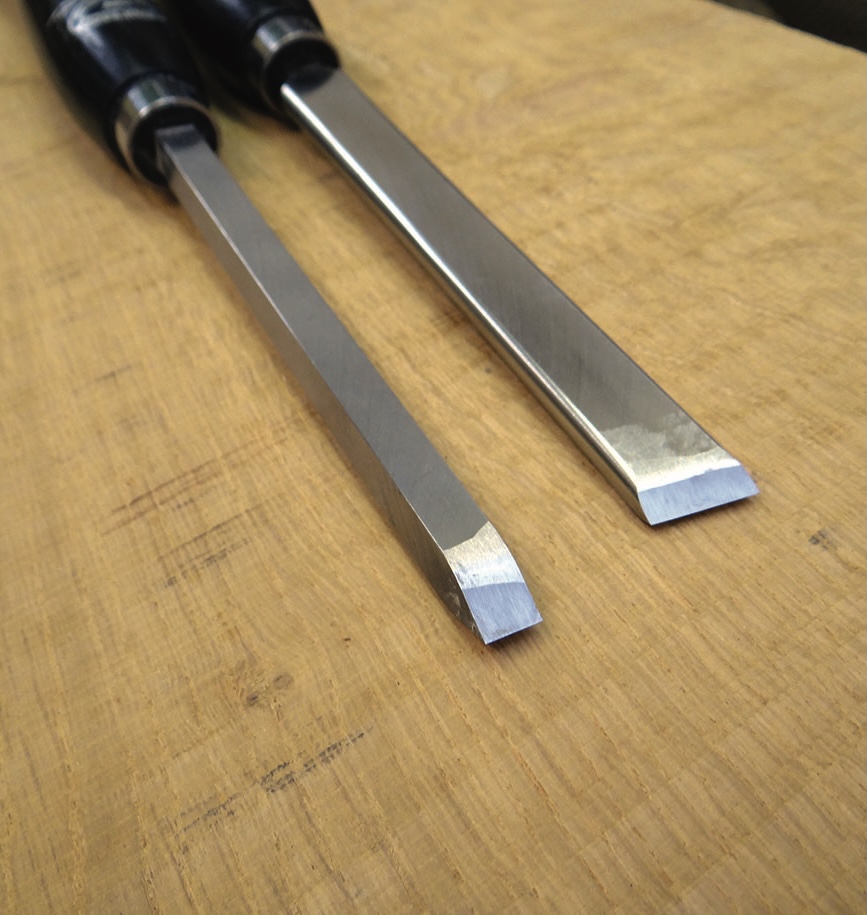
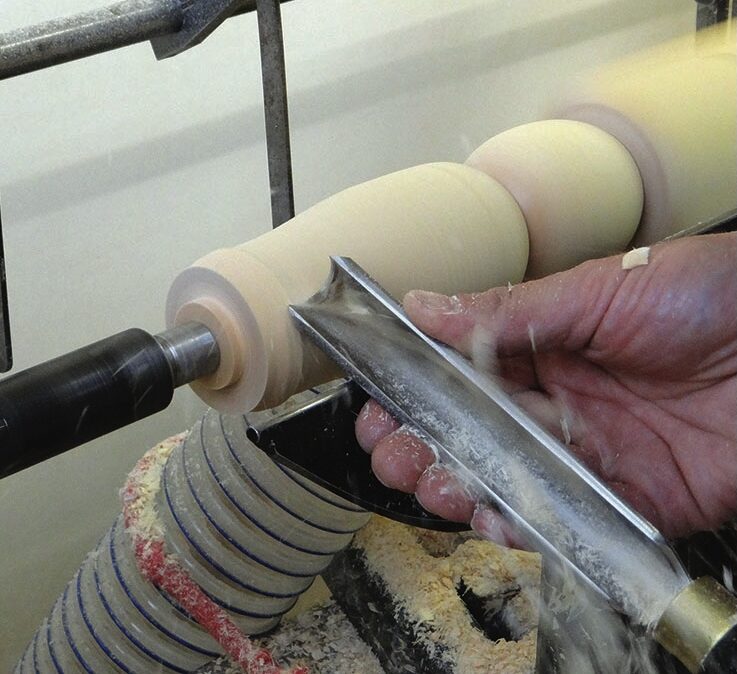
Like most turners, over the years I’ve collected various tools that look useful, or perhaps even ‘essential’, but my core kit for spindle turning consists of just three tools: a 32mm spindle roughing gouge, a 10mm spindle gouge and a 10mm beading and parting tool, which does the job of both a skew and a parting tool. I have various sizes of these tools, depending mostly on the size of the work on the lathe at the time, but these sizes are the ones I use most.
Of this shortlist of three, the only one that might cause some discussion would be the beading and parting tool. This is a traditional British tool which acts as a hybrid of the skew and parting tool, minimising the tools I need to hand while being incredibly versatile at the same time. The French use a bedan in the same way. This tool combination works for me but may not for others, so try out different tools and see what suits you best. This is particularly relevant to skew chisels, the choice of which is, I believe, a very personal one. It is quite telling that all of the top production turners (certainly in the UK) use a skew, but most of them use a different shaped tool to suit their own preference and style of turning.
Drive centres
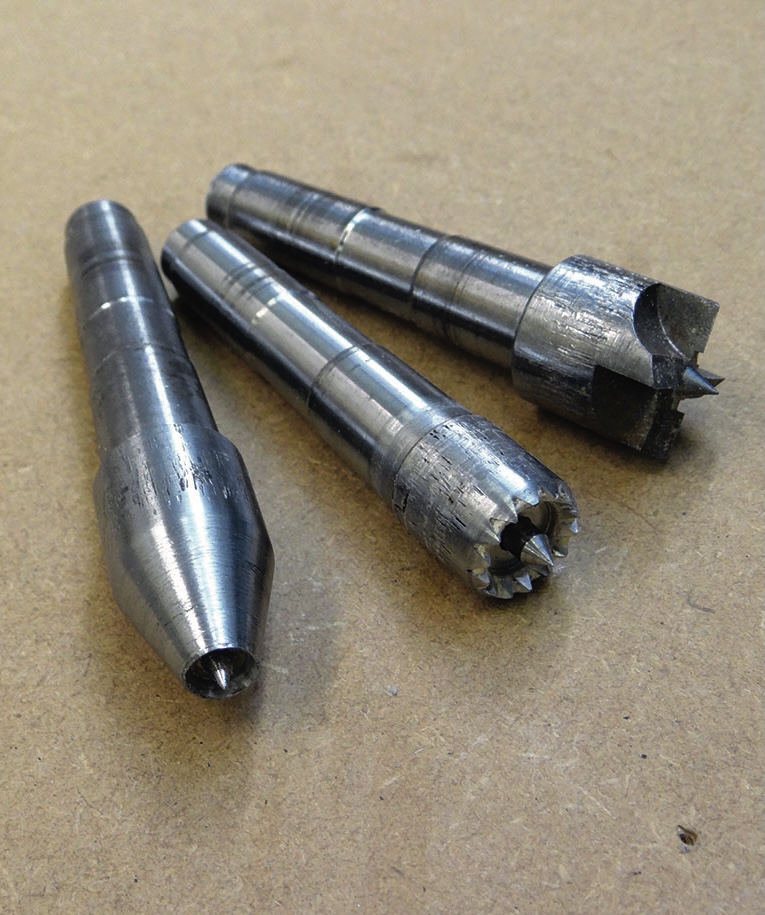
It is worth taking a look at the drive centres I use. They are looking rather worn now, due to my lathe having a solid headstock, so I have to remove them with grips rather than a knock-out bar as is usual on a modern lathe, but they still work well. I mostly use the Evolution drive centre from Axminster, which has an adjustable spring-loaded point and sharp teeth which bite into the wood to give a positive drive. For smaller work, below the 20mm diameter of the Evolution, I use a small, cone-shaped ring centre, also from Axminster. This works on the friction between centres rather than by teeth biting into the work and driving it, but works well for smaller jobs. Larger turnings that need a very positive drive get a four-prong drive driven into the end grain, which gives more grip than the Evolution but is more labour intensive to fit into a batch of work as it needs to be hammered into each blank with a mallet, rather than simply being fed into the lathe with only a centre punch mark like the other two drives.
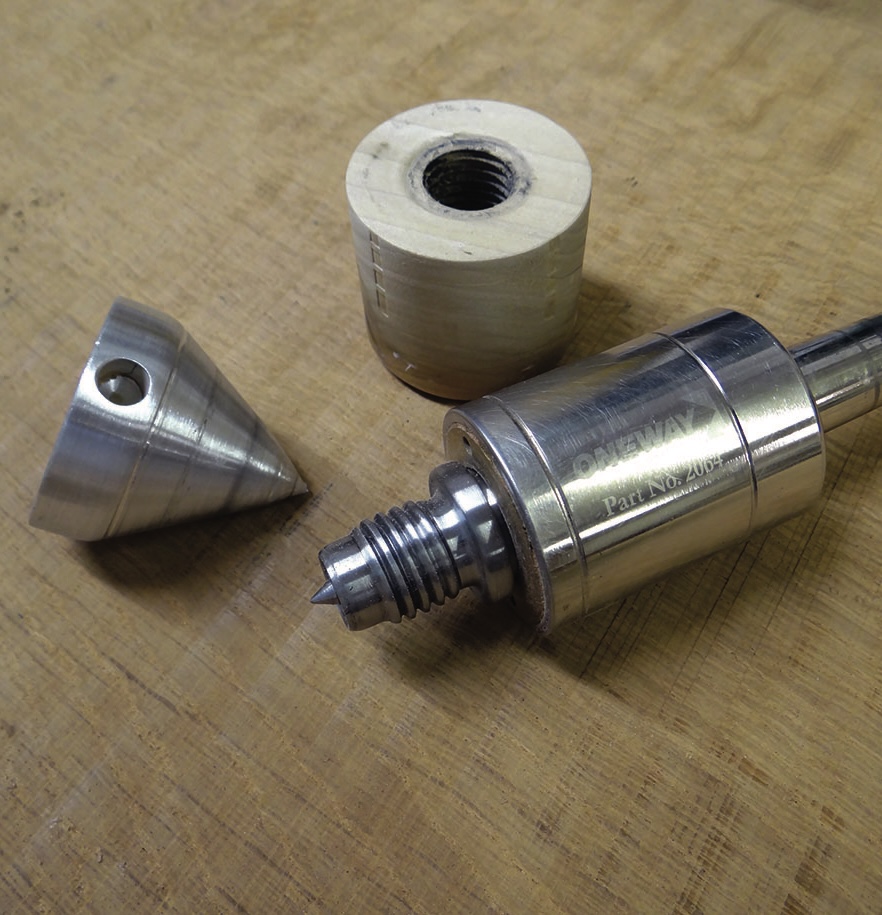
In the tailstock end I use a ring centre which has the option to have a 60° cone fitted, or to tap and screw on your own custom wooden drives, cones and cups for odd-shaped jobs such as spheres. While this isn’t a common occurrence, it is a useful feature that I have utilised from time to time.
Morse taper extension
A relatively new discovery for me, although one that many production turners have used for years, is a 2MT-2MT Morse taper extension. The purpose of this is to give you space to work close to the headstock. Many lathes, the Wadkin included, have quite bulky headstocks which can make access to work at the drive end difficult. By adding this £15 extension it makes turning small work or details at the drive end so simple. I wish I’d known about them years ago!
Measuring tools
When turning for furniture, I rarely make a single item, it’s nearly always a pair, or a set (very often several sets) of an item, so it goes almost without saying that accurate measuring and marking is an essential skill for this kind of work. I will go into this important part of the job in more detail next month, but while I’m discussing tools I thought it worth a mention.
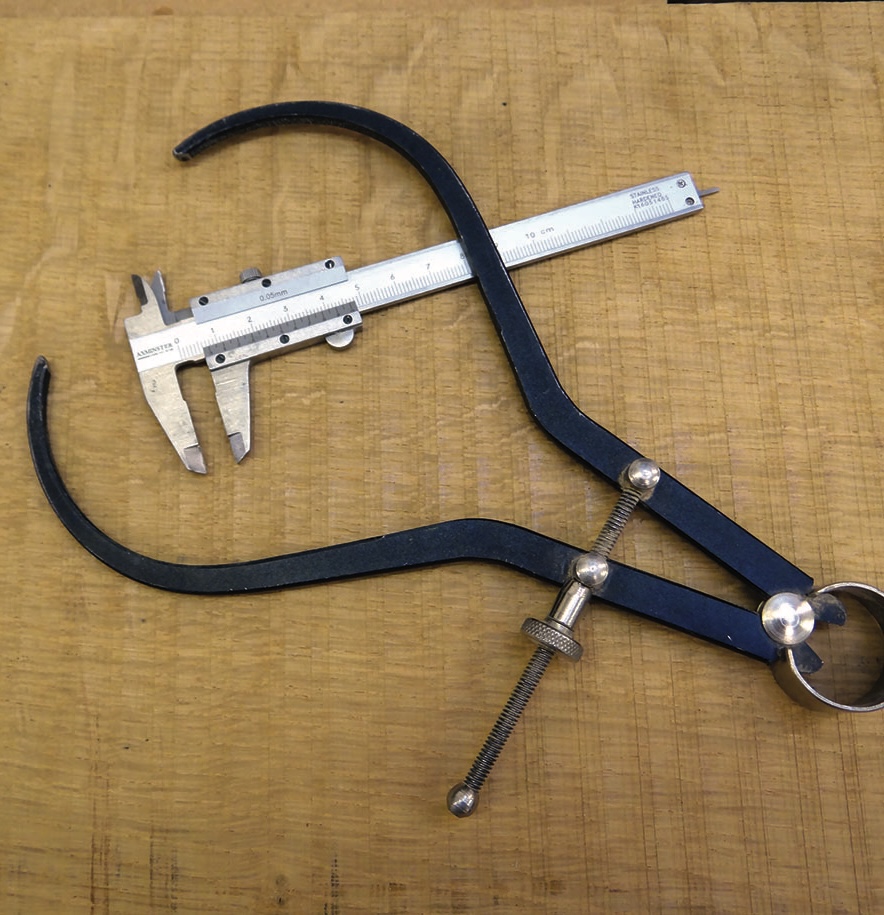
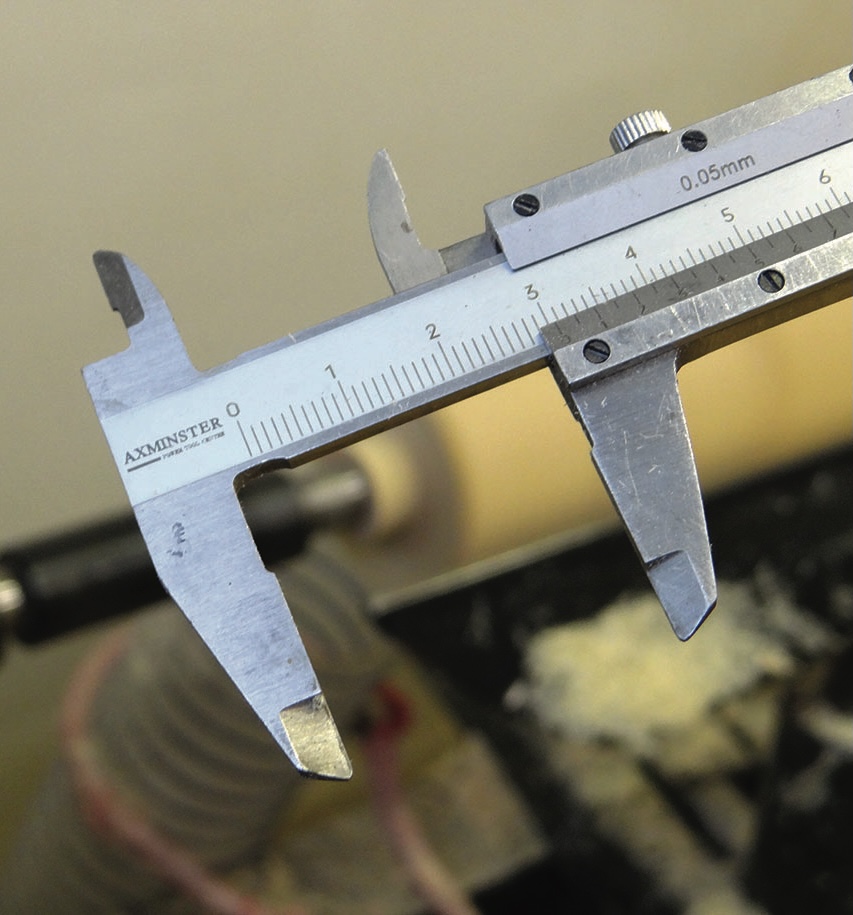
My most-used measuring tool is a set of Vernier callipers. These are easy to use, having a metric scale on them, and are very accurate – both important features of any tool. When diameters are above around 60mm, however, they become inaccurate because the measuring bar ‘bottoms out’, giving a false reading, in which case I use spring callipers. These are more fiddly to set as a ruler is needed and they do have a habit of opening in use, which means occasional size checks are usually necessary. It is quite possible to work just with several sets of callipers, but I also use a system which many readers may not be familiar with, known as duplicating fingers. My friend and mentor Gary Rance introduced me to these some years ago and I’ve been using them since. The set comprises a pair of wooden brackets that fit to the lathe bed and support a steel bar. From the bar are metal fittings that are locked with a set screw, from which a hinged ‘finger’ hangs. This finger is set to rest on the spinning wood at a required diameter and as the wood is turned away to the size, the finger simply drops, showing that the size has been reached. This means that the first of a set needs turning with callipers but after that the fingers can be set and no more measuring is required throughout the job.
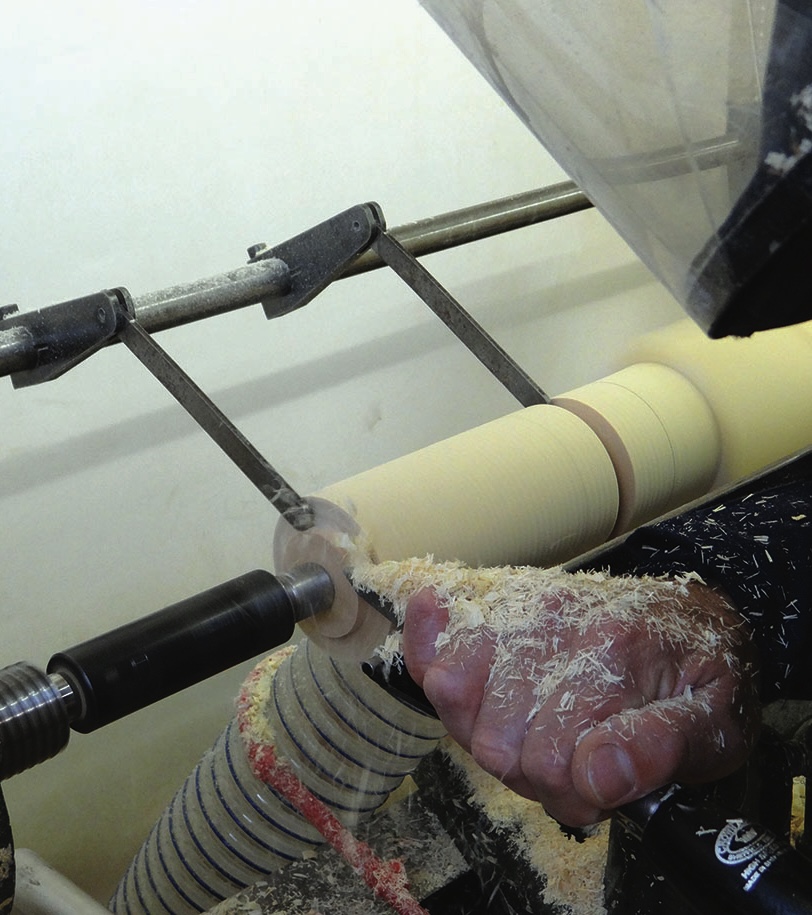
Currently there isn’t a manufacturer of the fingers and mine were made by a local engineer to Gary’s specification, but I know of a skilled engineer who is looking to produce these on a larger scale in the future.
Alongside my callipers, templates or story boards are a key tool in achieving good copies. These have all the necessary dimensions, detail positions and useful information marked on them and allow fast and simple marking out of the work prior to turning.
Sizing while tuning
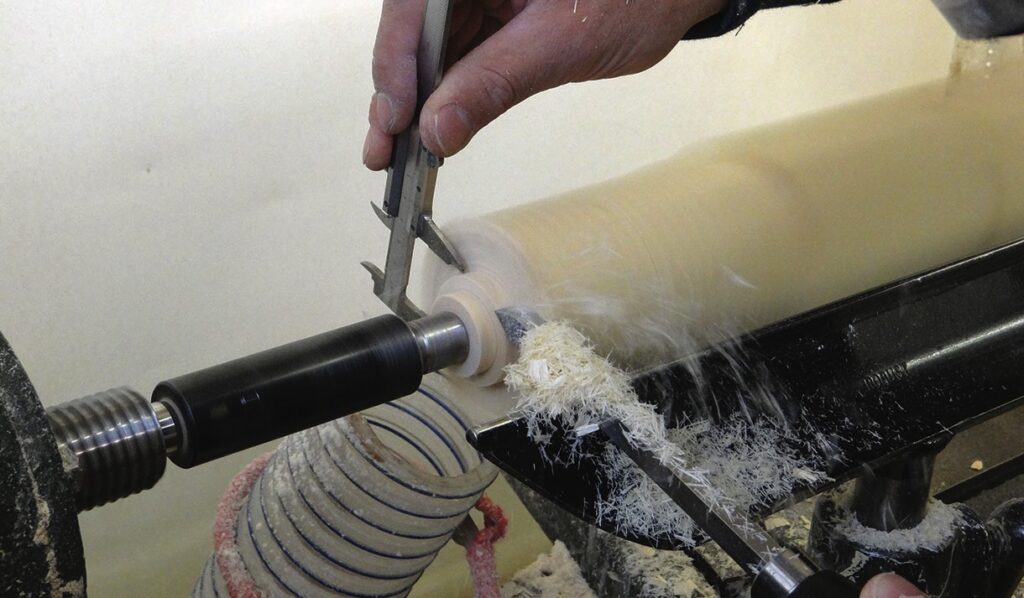
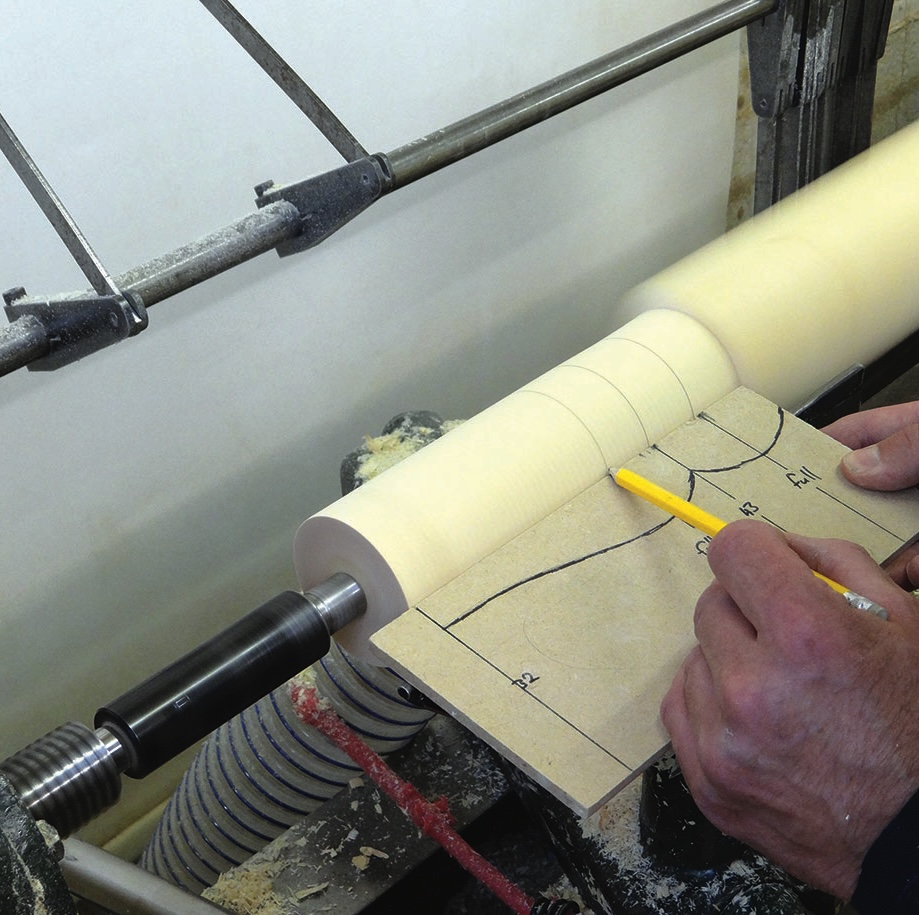
I use callipers by lightly rubbing them on the spinning timber at the rear of the work. When the diameter is reached they simply drop through. Some people are not comfortable with this and that is fine. If you don’t feel happy, stop the lathe before checking diameters, but it is quite safe as long as two main rules are followed. First, the tips of the callipers need rounding over with a file so there are no sharp points to dig into the wood. The second is to have a light touch. There is no need to push or force the callipers against the work – this is asking for trouble. They just need to sit very lightly against the wood.
Health & safety
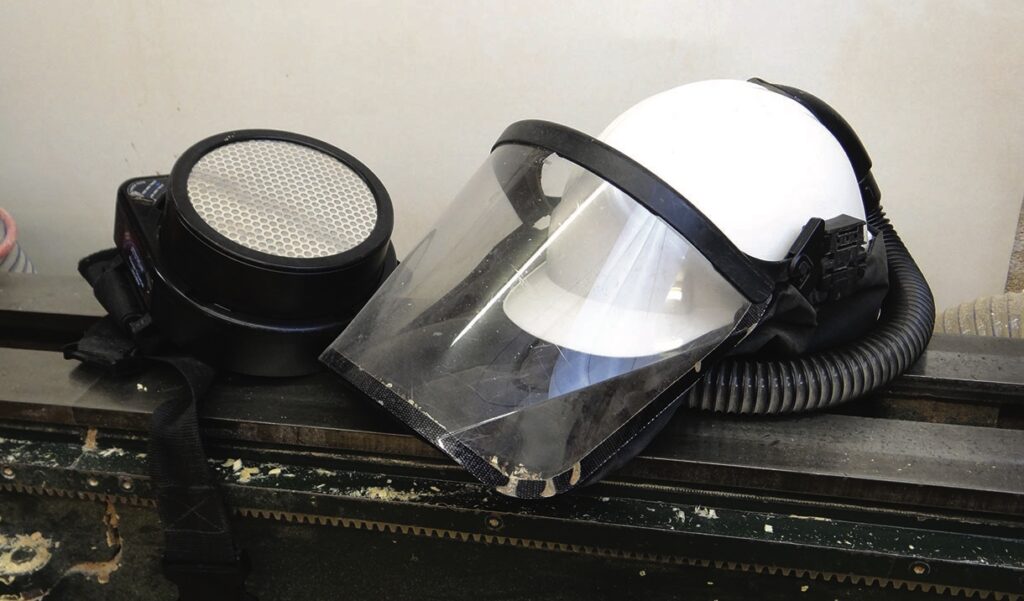
Having written about all of the machinery, tools and equipment needed in a workshop, it would be remiss of me to not talk about safety gear, or PPE and RPE (personal and respiratory protective equipment) as they are correctly known. While turning is a relatively safe process, it is a very dusty one and the way the turner stands at the lathe and uses the tools naturally means chips (and occasionally larger chunks of wood) can be thrown up towards your face. In the workshop while operating any of my machinery I wear an air-fed, full face shield, which protects me from the two main hazards: dust and flying chips. Where possible I have extraction fitted
to my machines and I also have an air filter constantly running in the workshop, which helps to clear the air of dust. I would recommend a face shield and highly rated dust mask as minimum protection for turners.