Gary Rogowski explains different techniques for using chisels effectively
Did Archimedes love the wedge as much as he did the lever? He should have, as the power of the wedge enables every tool in an artisan’s wood shop save the hammer and a few measuring tools. Think on it: saw blades, hand saws, planer and jointer knives, drill bits, even sandpaper with its random chunks of sharp-edged grit all share this triangular shape in one form or another. Plane irons, scrapers, marking gauges and, in its purest form, the chisel, all exhibit the particular power of the wedge to slice, to separate, to cut things in twain. Consider the wedge as chisel then. Faster and more accurate than sandpaper, a properly sharpened chisel is the first tool to grab when a nick of wood needs to be removed, a mortise chopped square, an edge chamfered or a shape faired.
Chisel types
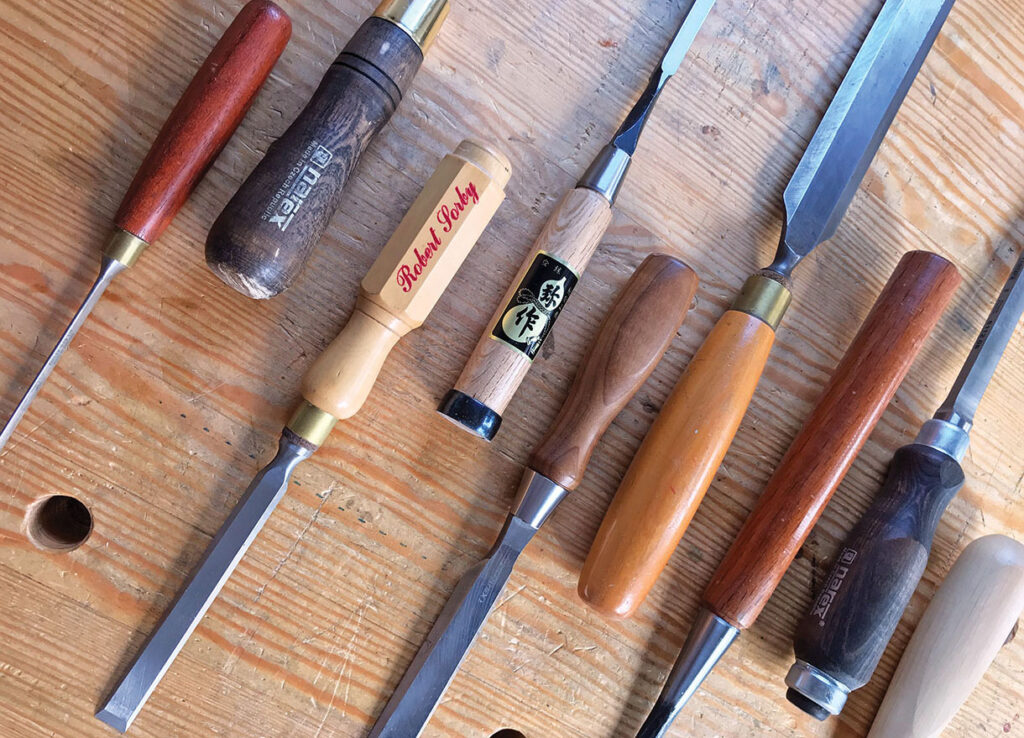
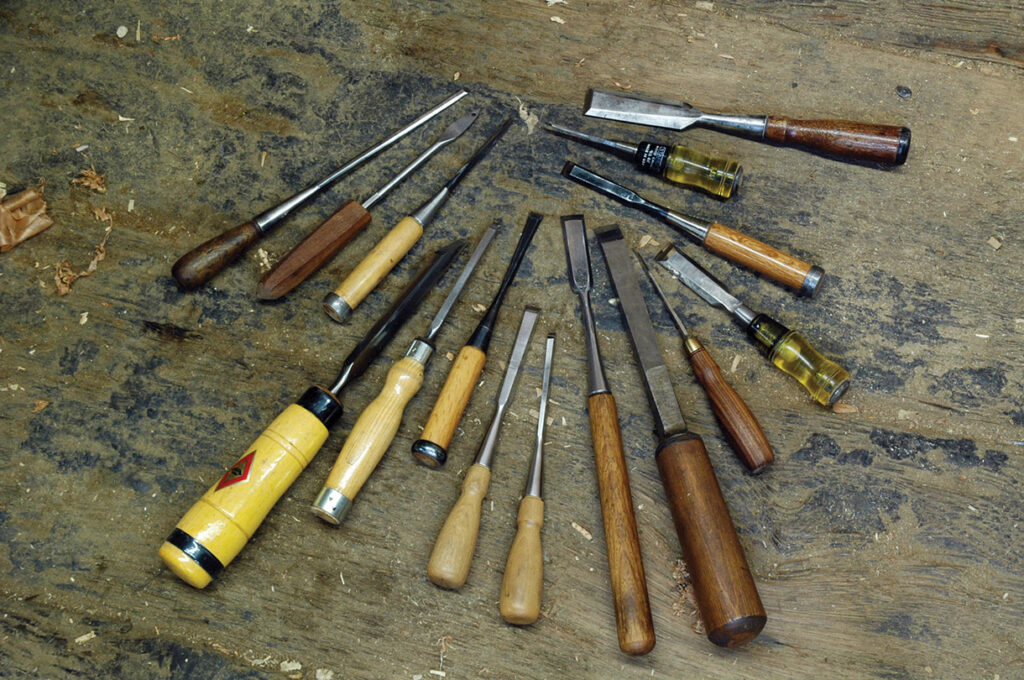
The chisel is our most basic hand tool in the shop. Consider the array of chisels available for us. From solid mortising chisels to delicate and thin paring ones, these tools can both chop and slice and, depending upon the wood, can do so with relative ease or pounded assurance.
Which to choose then? Any woodworker worth his or her salt knows that one set of chisels isn’t enough for all the jobs one might run into. One group of them, the mortising and firmer chisels are better for heavy chopping work while bevel-edged ones, bench chisels, can get into the tight corners of a dovetail joint.
Using the wedge
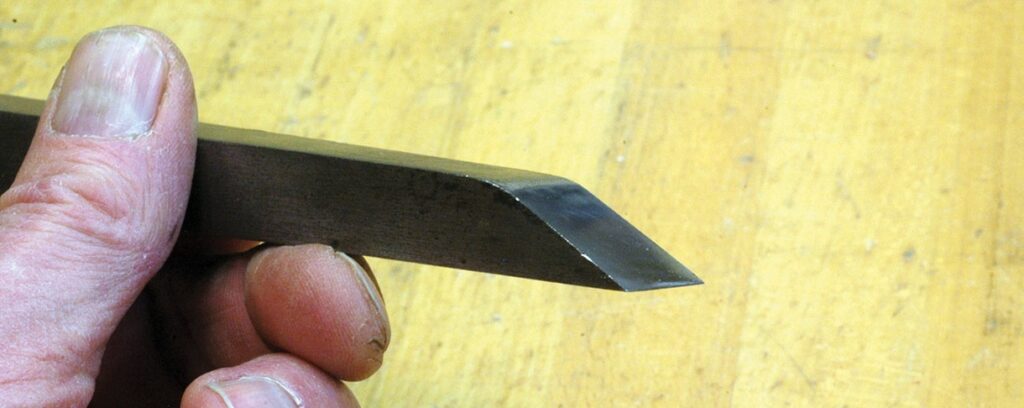
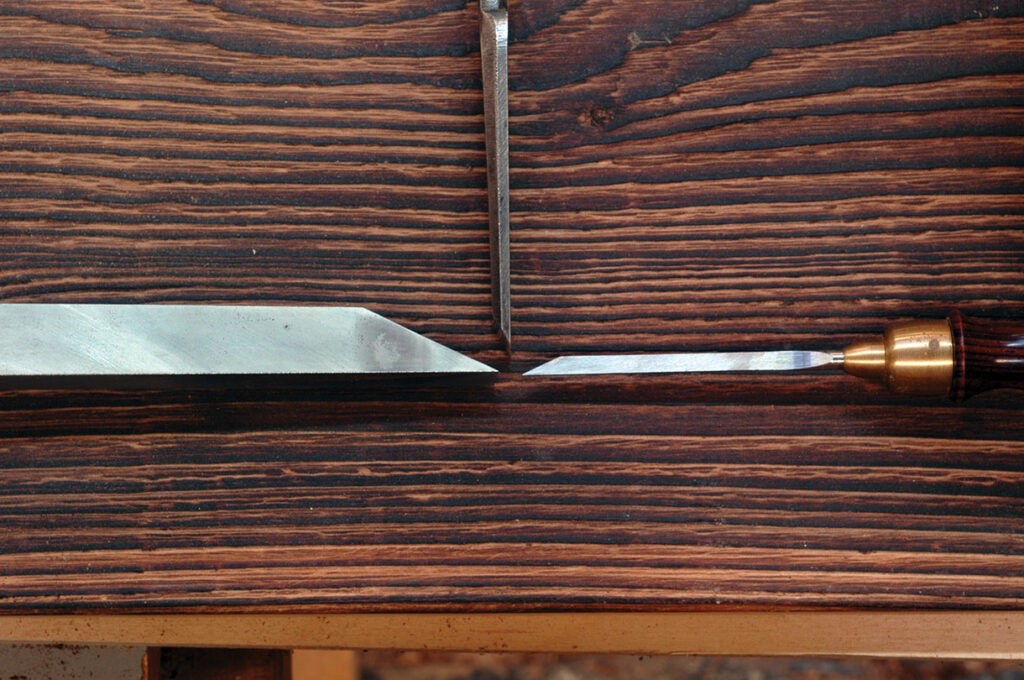
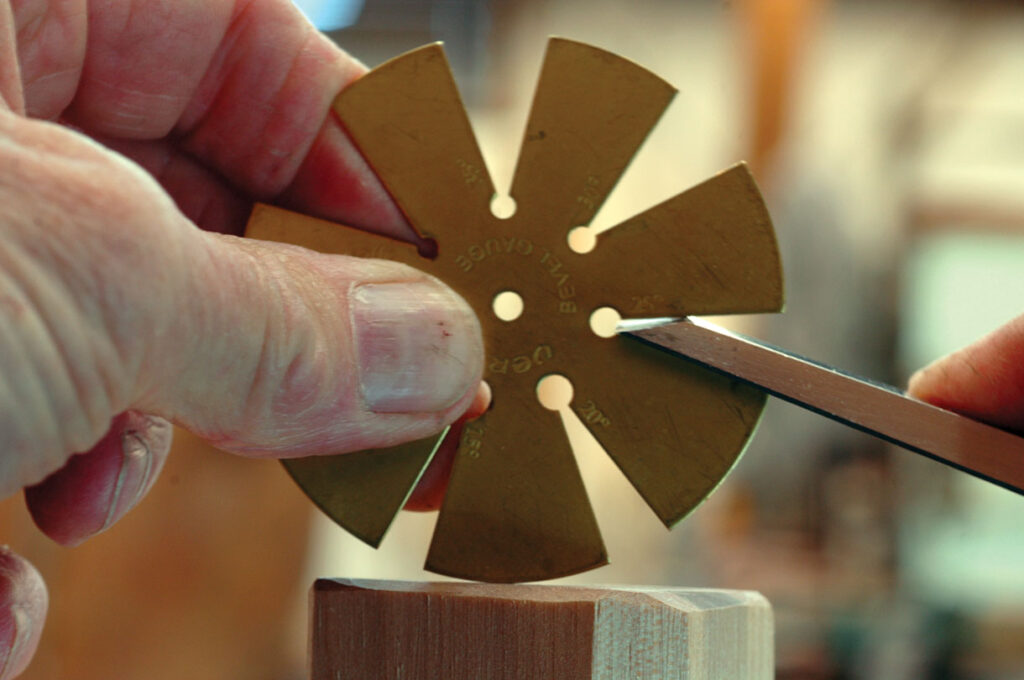
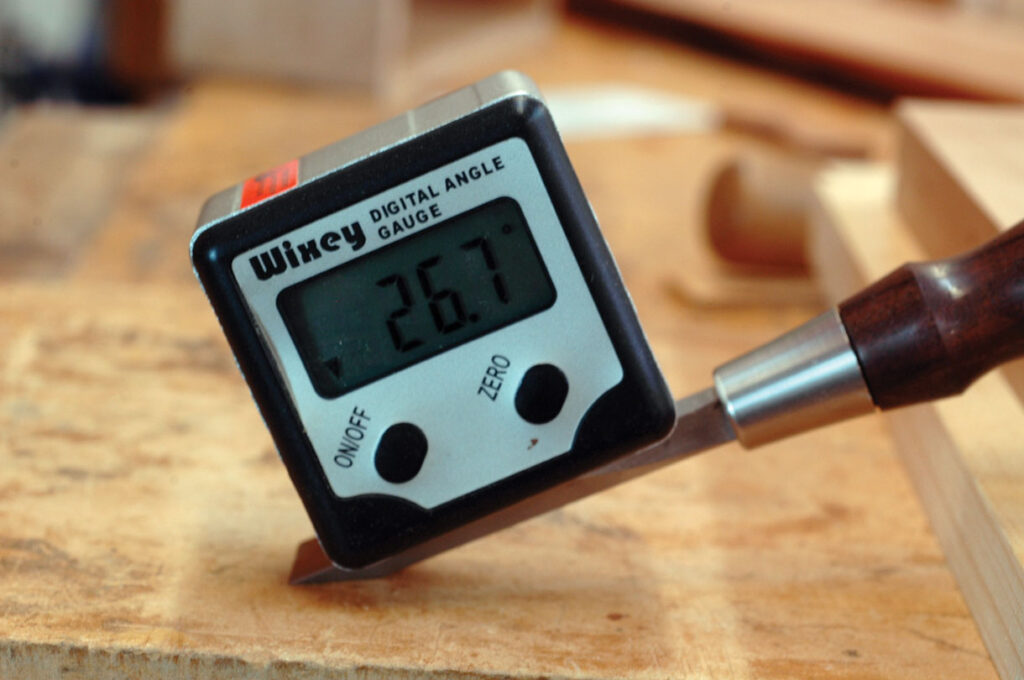
The wedge works with more force the longer it is, compared to its width. Its Mechanical Advantage = Length/Width. But tool steel needs to work within a fairly small range to be effective as a wedge and continue to hold its sharp edge. We sharpen then somewhere between a 25° and 30° angle. This gives us a good compromise between toughness and sharpness for an edge. The lower 25° angle will make the paring or slicing easier but would be too fragile for working in a hard wood like oak. While the 30° angle will allow the chisel edge to stand up longer to the punishment of chopping harder woods, it will perhaps be harder work pushing it through for a paring cut on end grain.
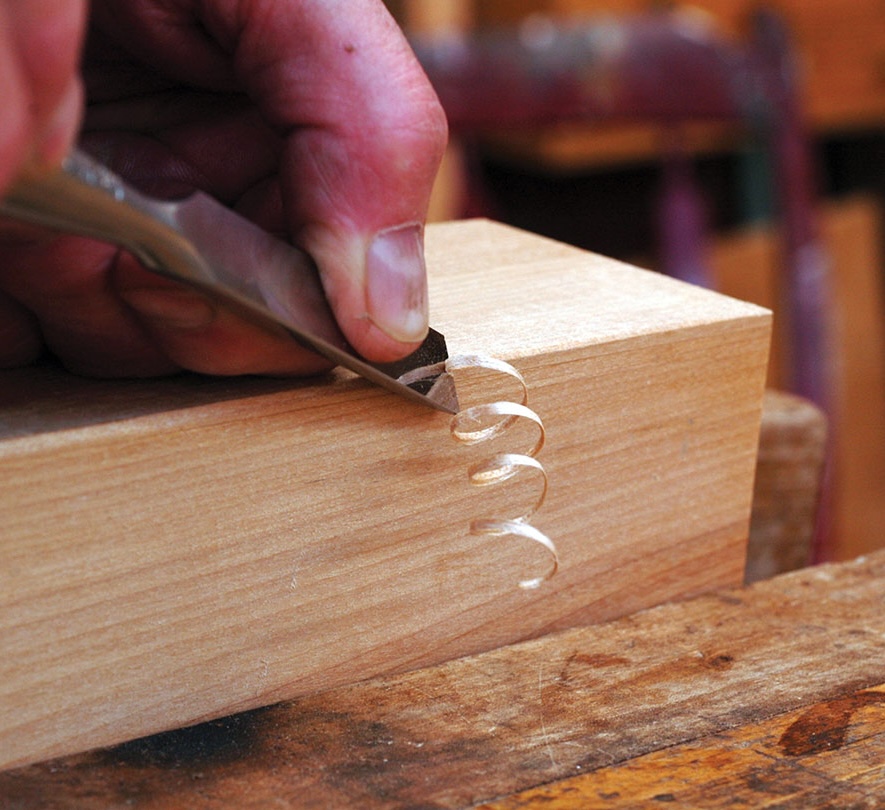
Some of the tasks I accomplish with my chisels include chamfering, cleaning, shaping, paring and chopping. If one understands how to use the wedge of a chisel shape to his advantage, so much of this hand work becomes simpler.
Chamfering
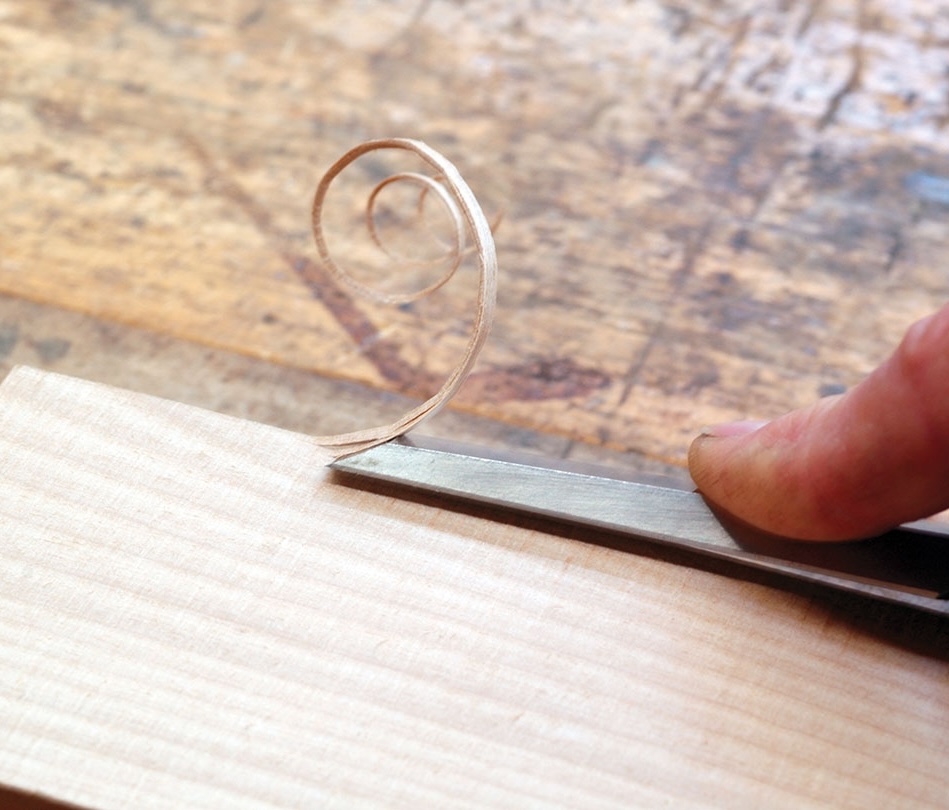
When chamfering, put the chisel bevel side down to get the chisel handle up off the work and out of your way. This also makes the wedge shape, which the chisel possesses, try to push the tool out of the cut. It’s simple then to put a little hand pressure on it to keep it in a cut when chamfering an edge. The reverse situation with the bevel side up can lead one into trouble if care is not taken. This is because the wedge now wants to push the chisel edge down and into the wood as the cut is made. The chisel will feed itself into the wood unless one is cautious in the depth of cut. This is especially true when using a bevel side up bullnose plane with the nose removed turning it into a chisel plane. These planes are notorious for trying to dive into a cut simply because of the wedge doing its natural job. Keep good hand pressure on the rear of the plane to prevent this.
Cleaning
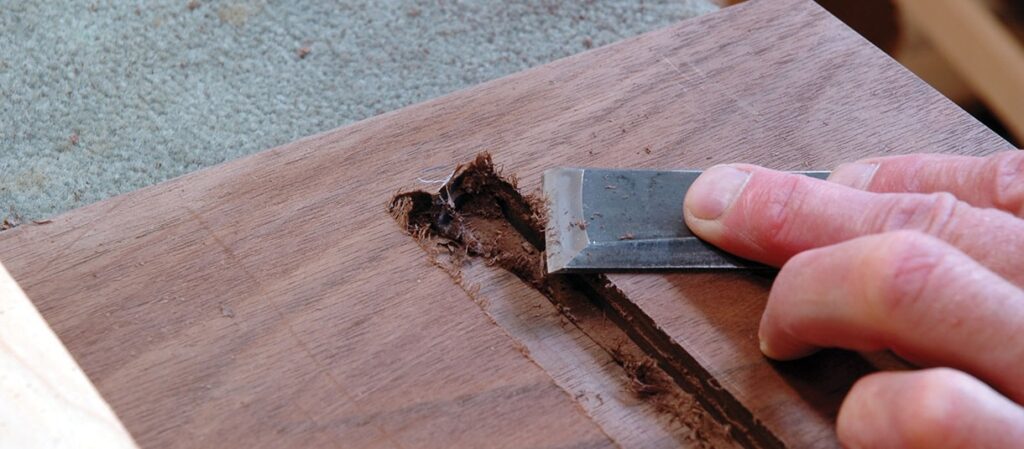
See how well the chisel works when cleaning the protruding fuzz off a router cut. By putting good pressure down on the handle, the chisel and bevel stay up on the surface of the wood and slice off just the offending fibres.
Paring
Paring work with a chisel is one of its best attributes as few other tools can do as clean and accurate a job. Remember to always pare towards the supported fibres in a paring cut. This way the long fibres will support the shorter fibres being cut. You can see how when I pare off the end grain with unsupported fibres I get bits or huge chunks of tear-out.
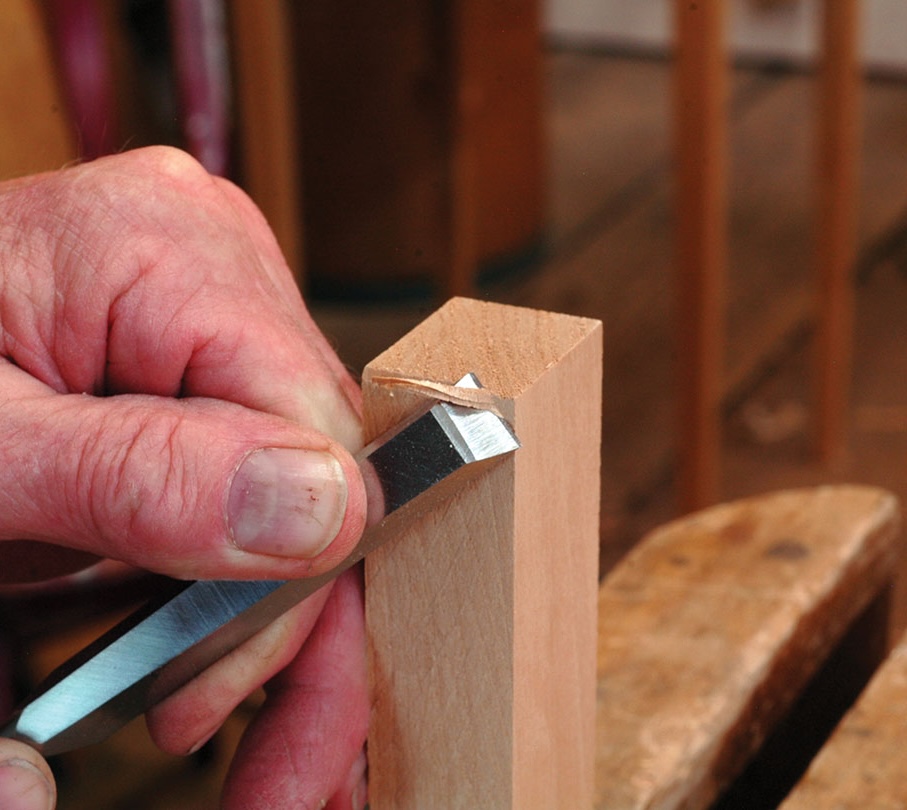
end grain when paring off at the end of a board
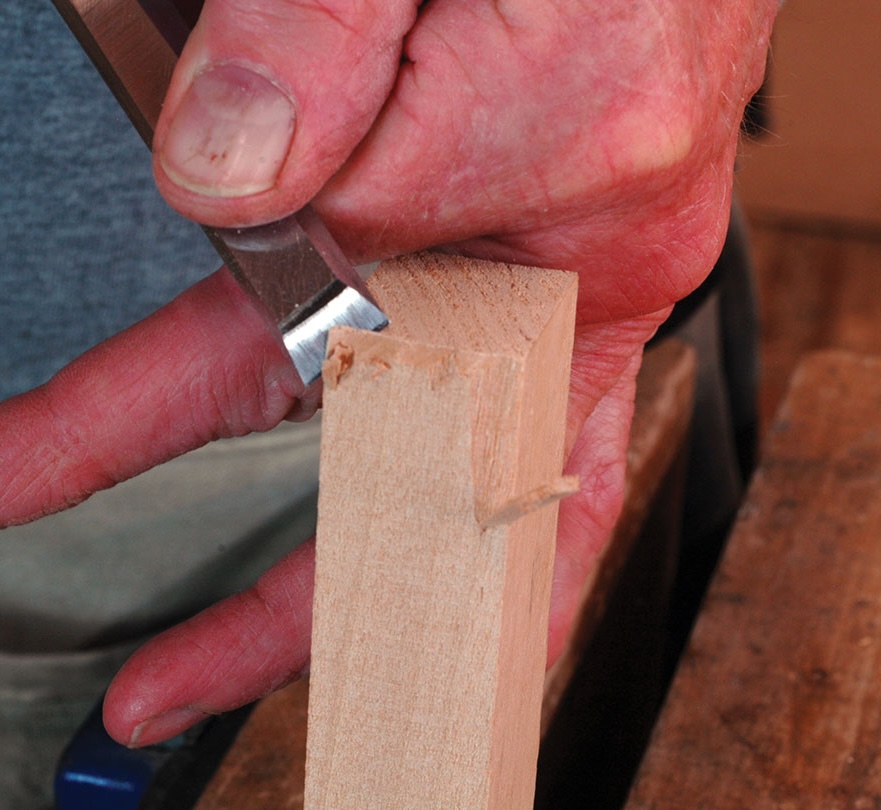
tear-out as the fibres being cut are unsupported
Shaping
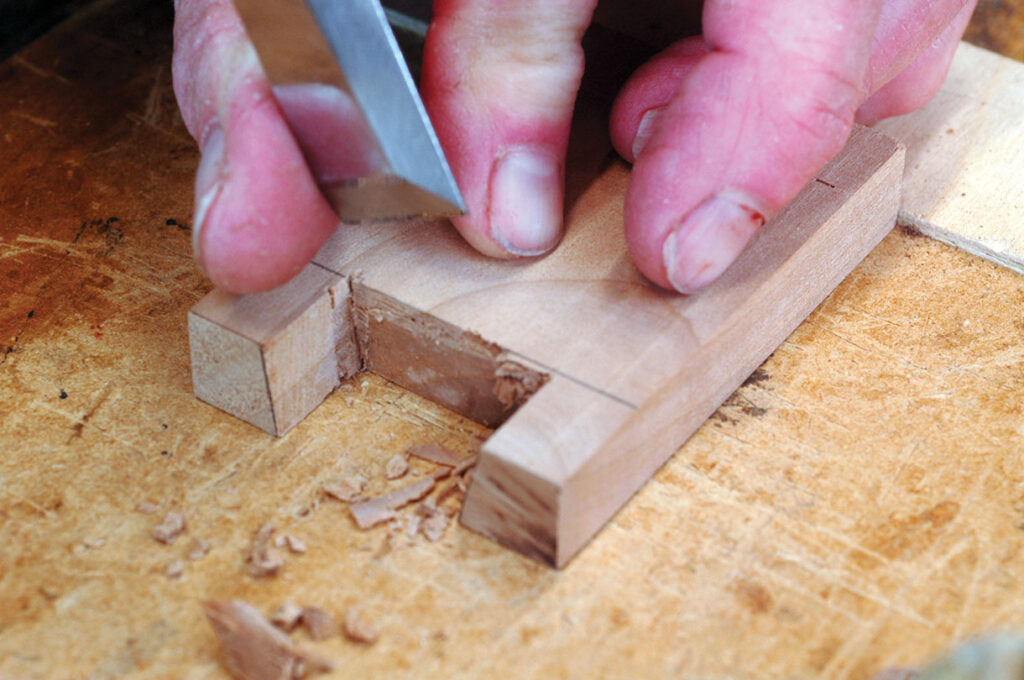
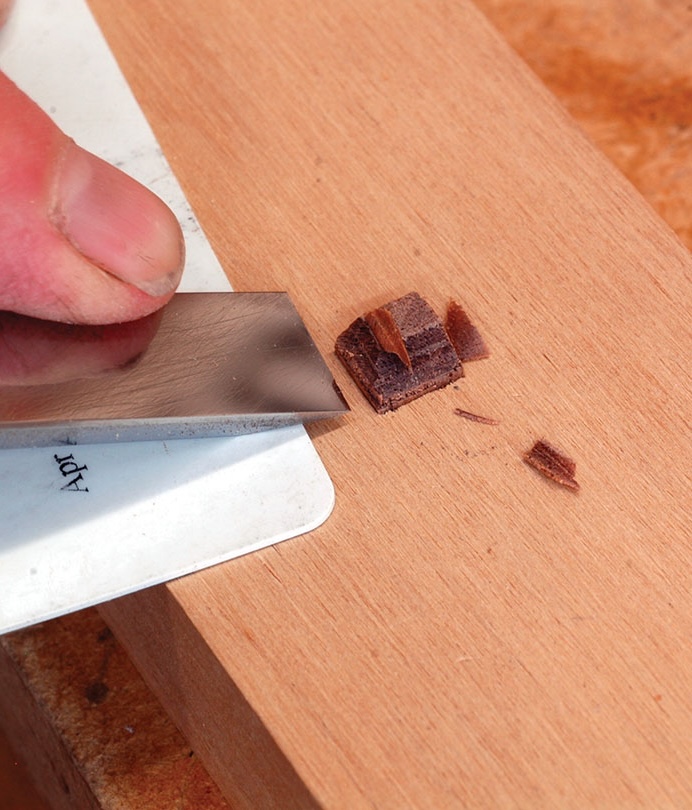
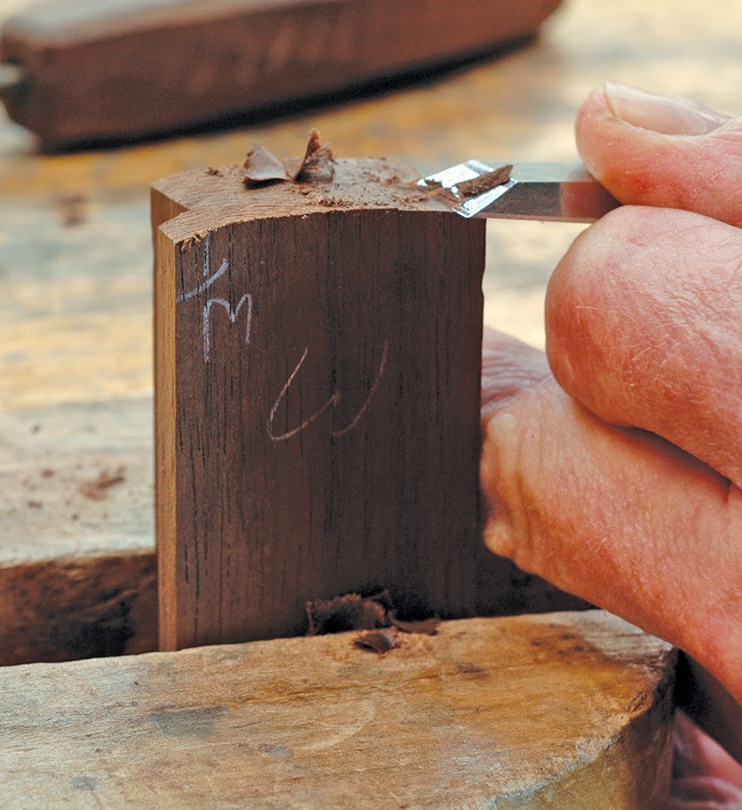
Shaping inlay is another job suited to a sharp paring chisel. Care again must be taken to pare into supporting fibres. Square plugs inlaid into a board with end grain showing must be pared up and off towards the end grain to support the cut. Long grain plugs that are inlaid into a board cannot be pared in this same fashion otherwise there would be tear-out. They must be carefully pared moving across the edges of the inlay. Notice how on the end grain of this stick, I work towards the high end of the cut. Those longer fibres help support the cut.
Chopping
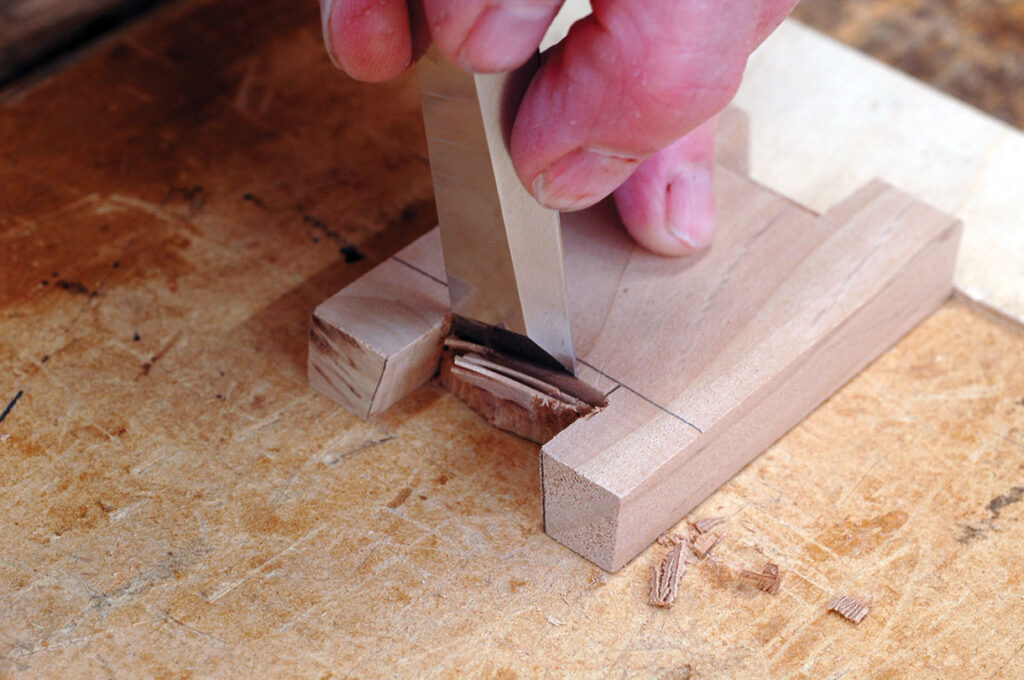
Chopping work really shows how the wedge can be used for or against your efforts. I used to chop with very light cuts right on a gauge line when cleaning up dovetails. This was to prevent too heavy a pass from moving my chisel off my line and into the precious good wood. But this was a slow method and prone to error. Now when I clean out a joint, I start by chopping well off the line and I can do so with impunity. If I set the chisel edge just close to the end of the wood, the wedge simply pushes away the waste. I can chop with no fear of going past a gauge line. Once the waste is mostly removed then I can set the chisel right on the gauge line. When I whack it then with my mallet it cuts straight and true. By understanding the force of the wedging action of the chisel, a worker can use it to his advantage in cutting.