The Woodworkers Institute

We bring you the very best of woodworking!

“Make it with us”

Brick illusion vase with textured finish

Pat Carroll shows how to make one of his distinctive signature pieces

Wooden woven vase on black stone base.

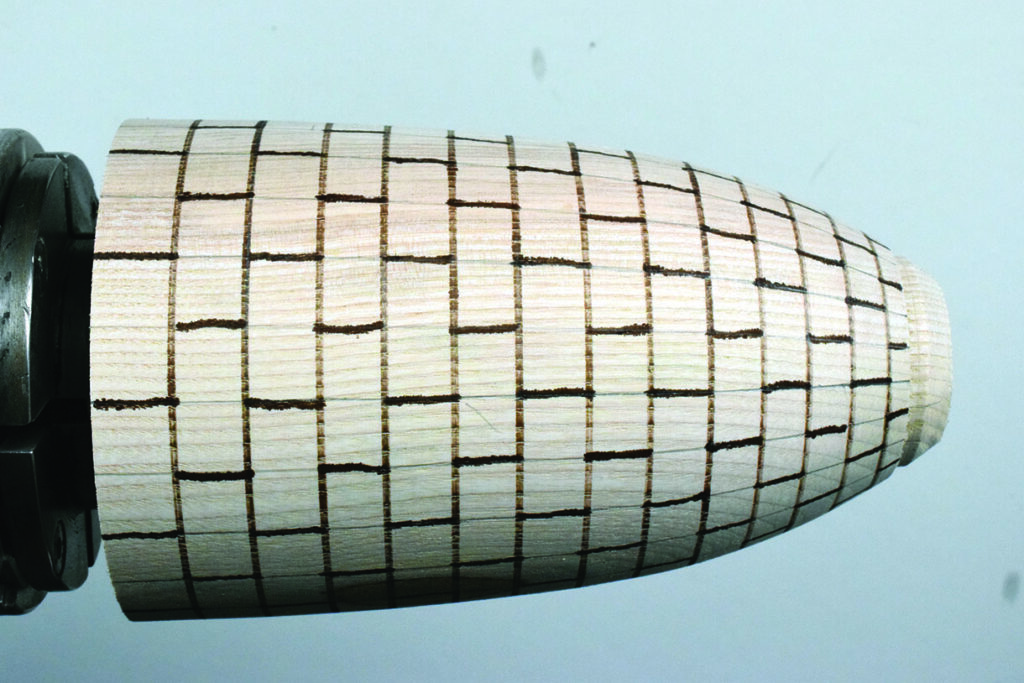
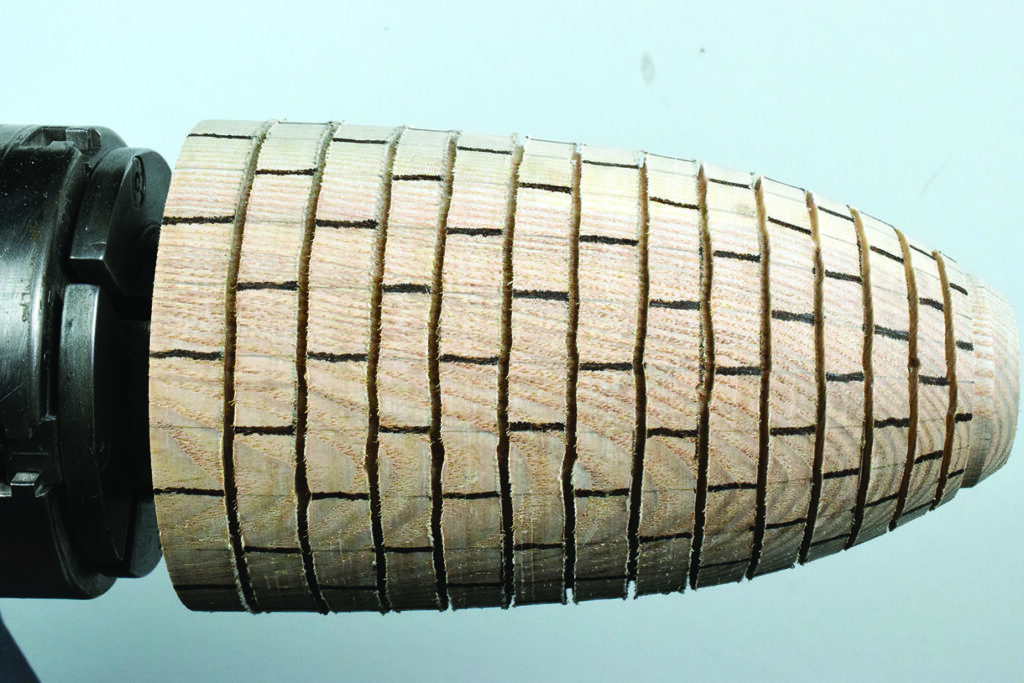
Brick or stone effect on turned work is not a new concept. Over the years many artists have created brick/block or stone effects on wood. Using many different methods, such as hand carving or rotary carving tools, the artist can achieve a wide variety of finishes. 

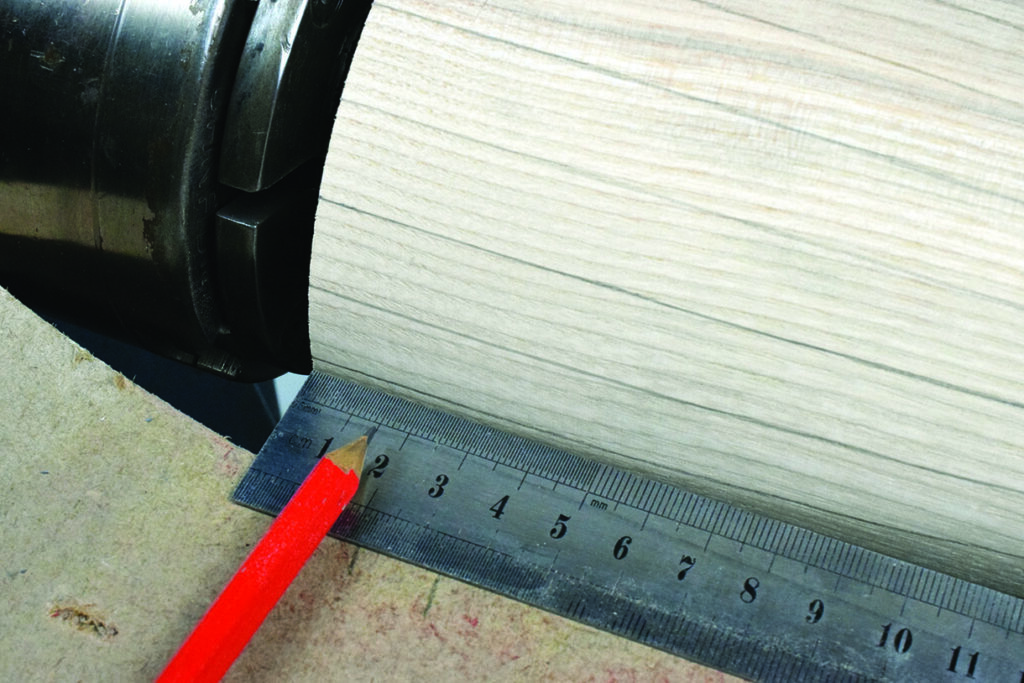
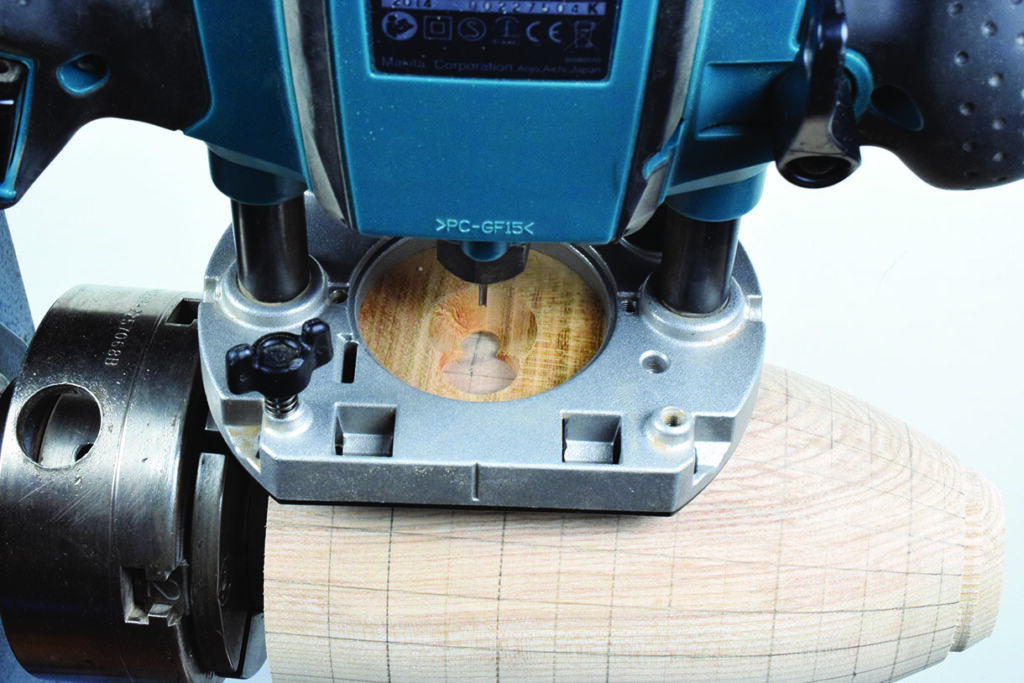
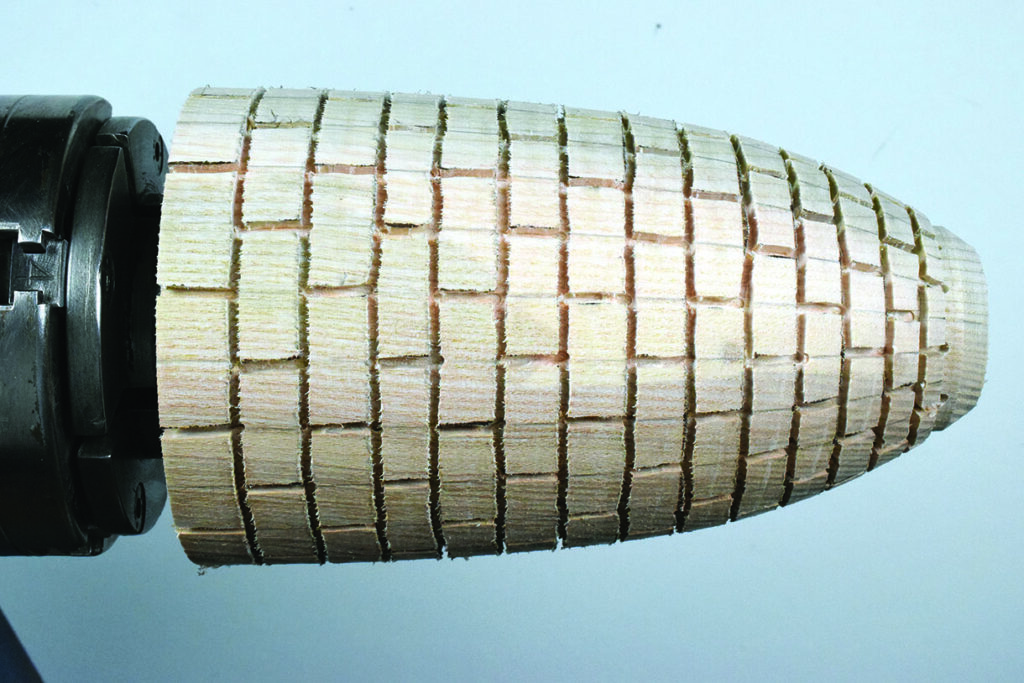
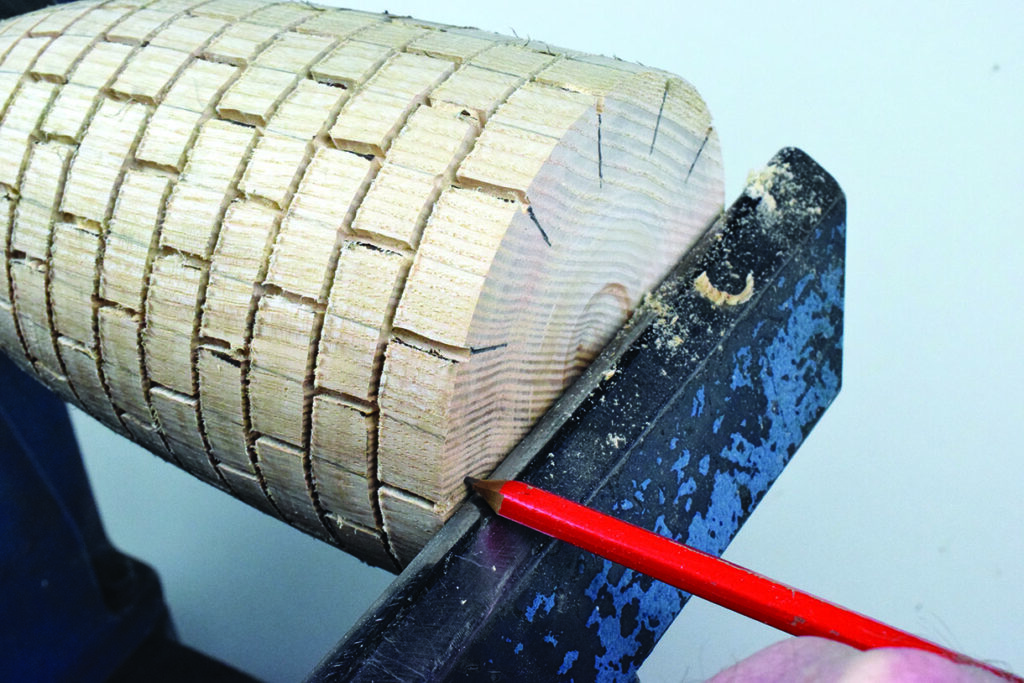
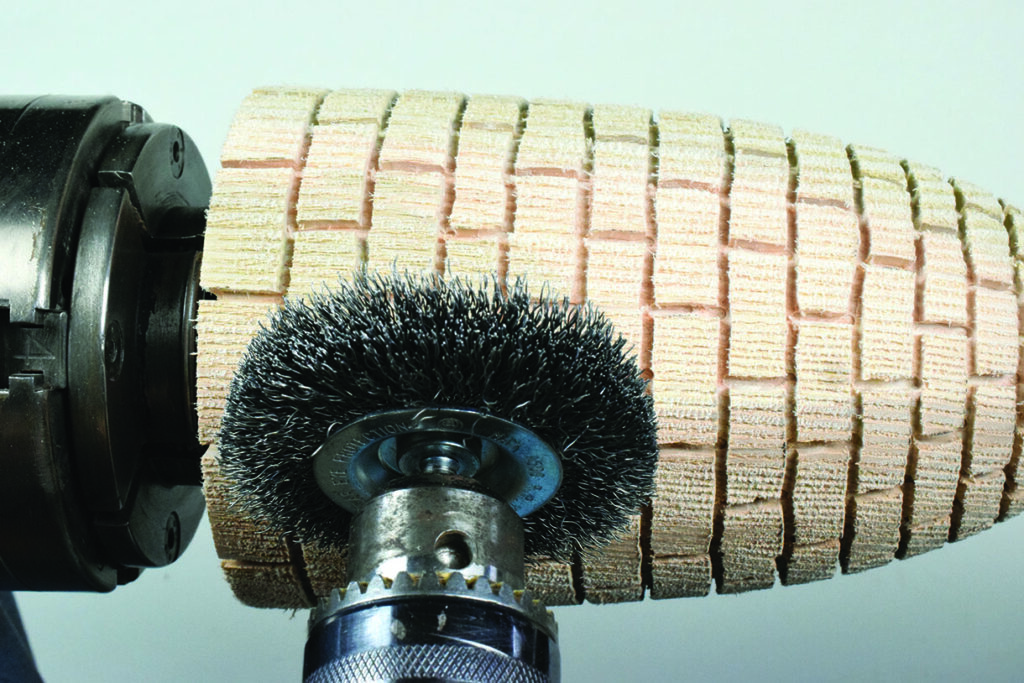
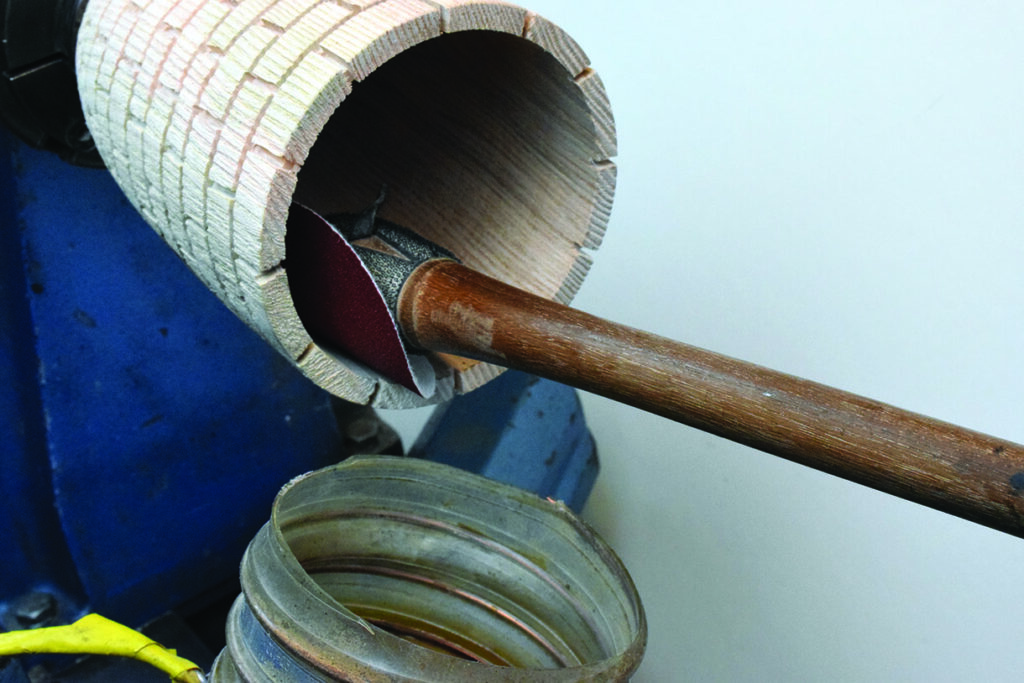
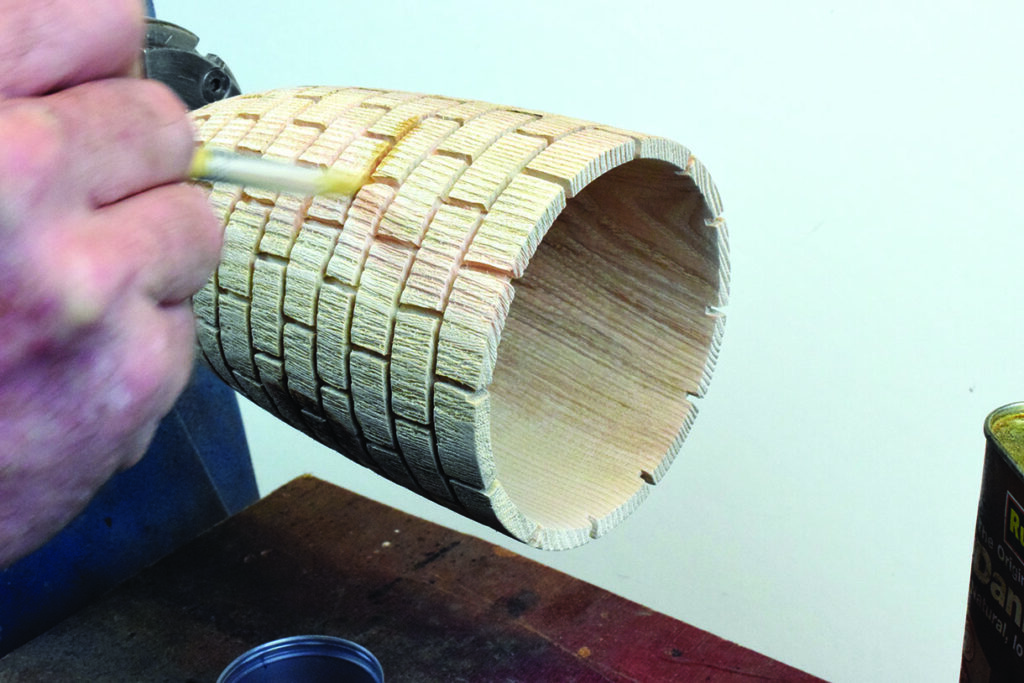
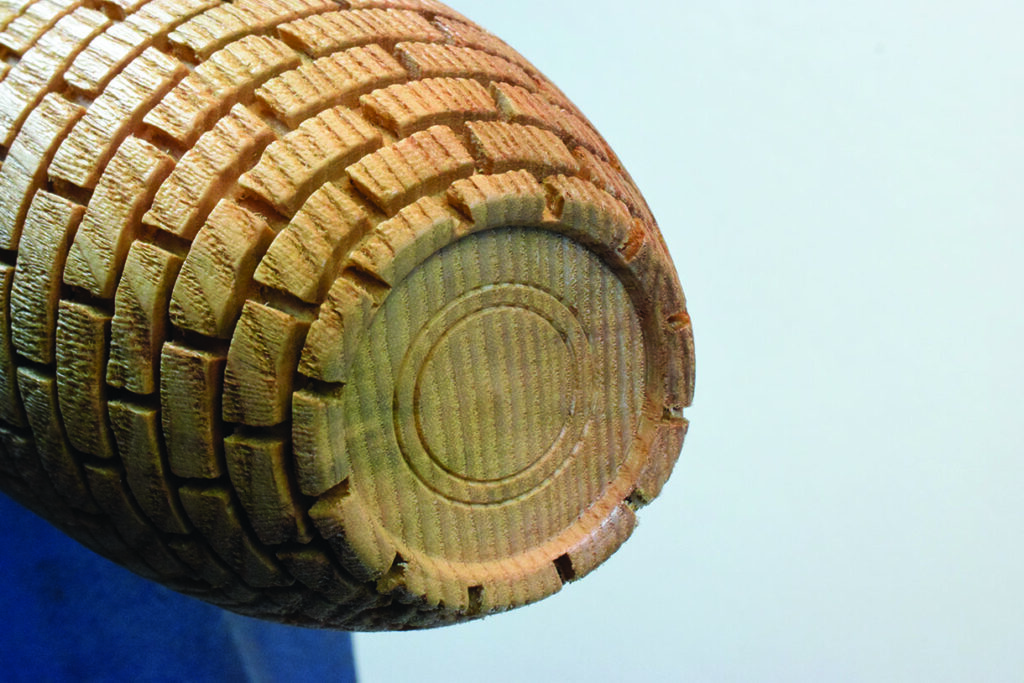
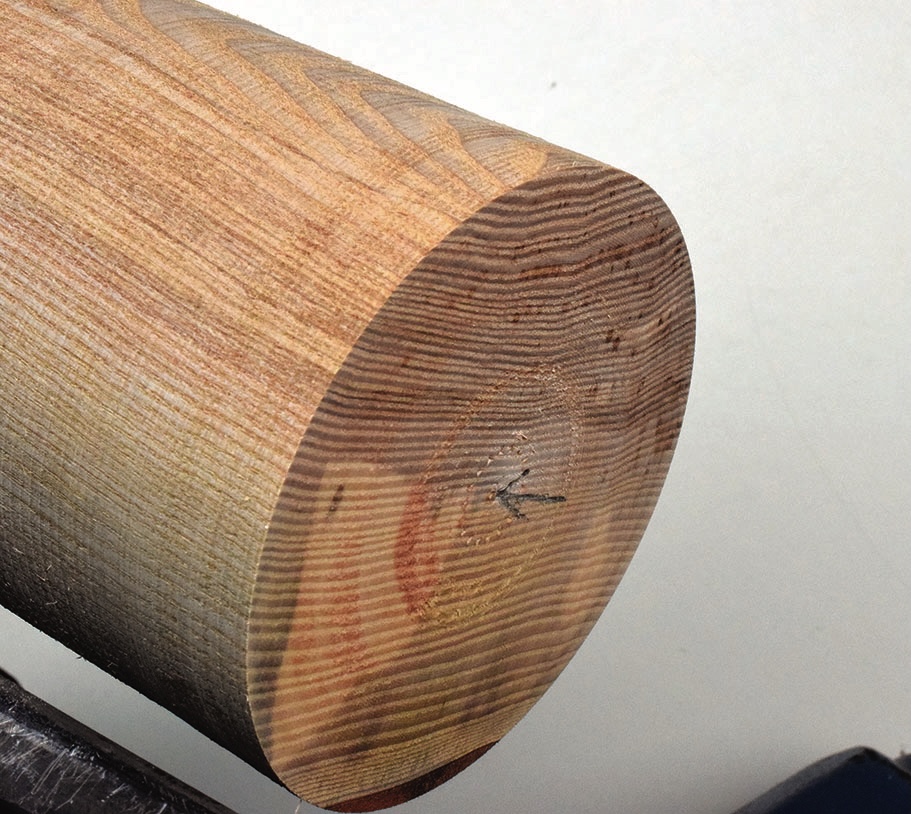
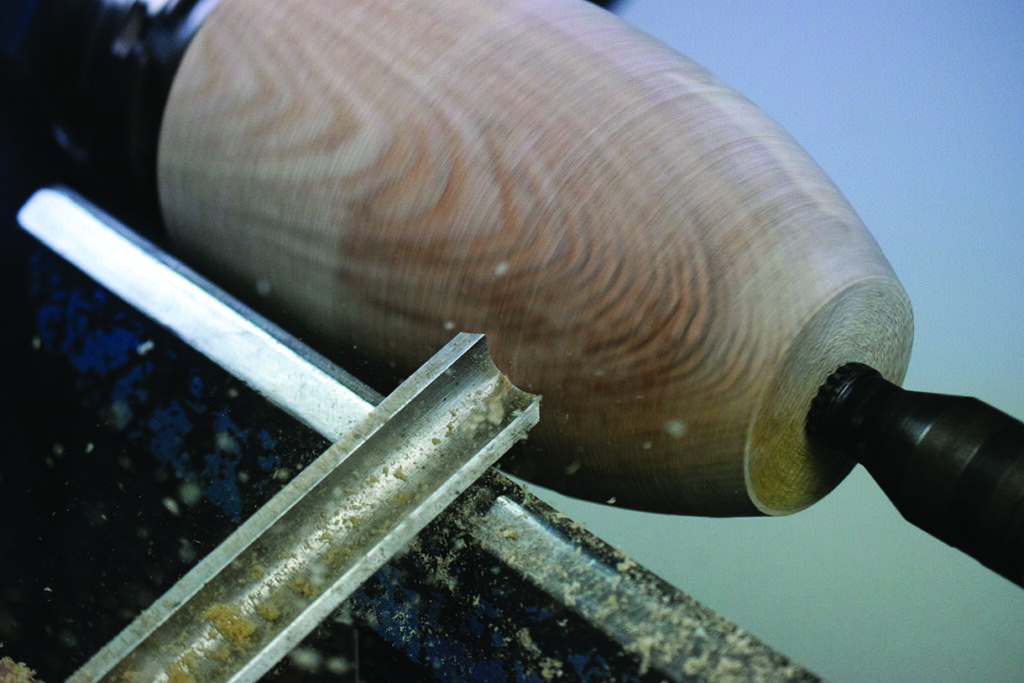
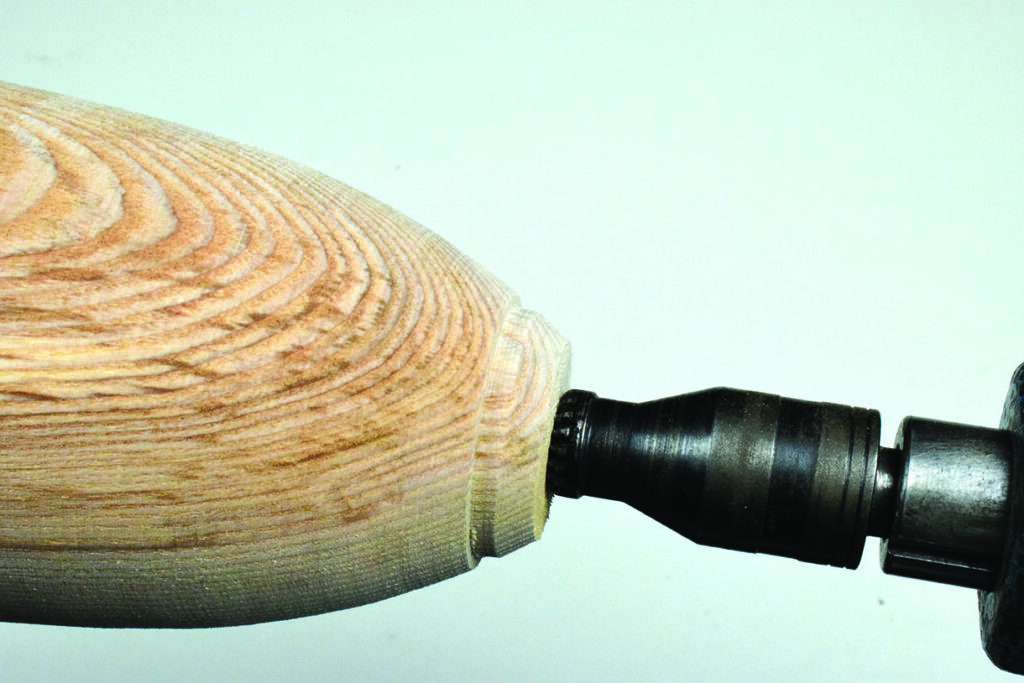
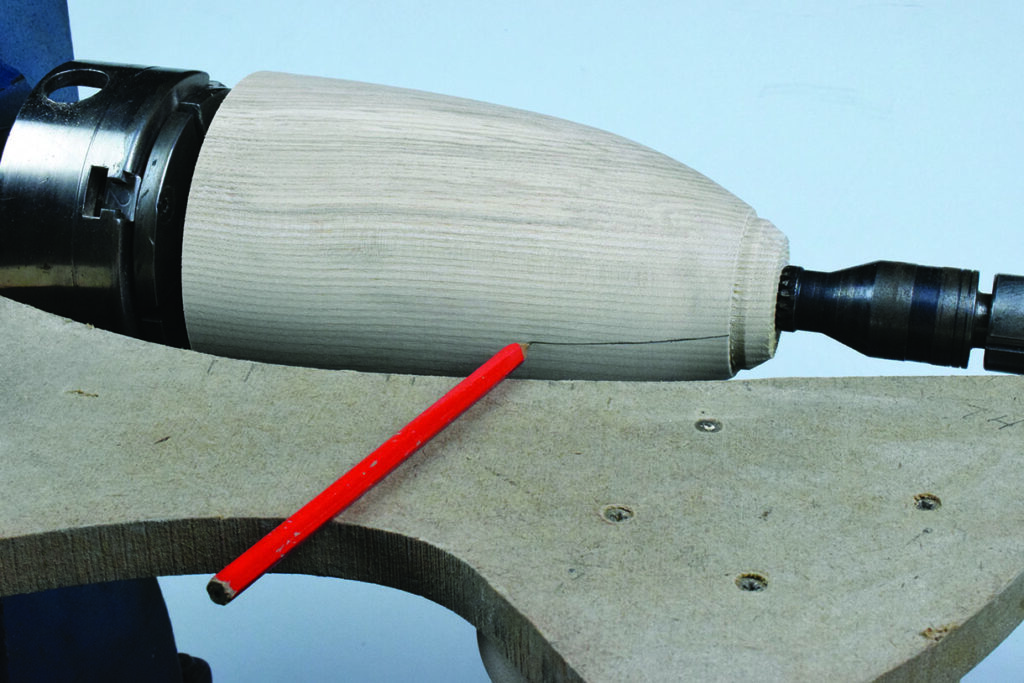
Pyrography is another method of creating the brick illusion: deep burning of lines to mimic the shapes of stone or cobble-type finishes. Using a router is the method I prefer to use as it offers two main options. First, a sled or table can keep the router in a specific position to cut out the brick lines exactly. I prefer to use the tool freehand to give a more rustic, non-uniformed look to the brick illusion. The use of a rotary wire brush adds further texture to the piece. Scale the size of the project to suit your turning skills and the lathe’s capabilities. For this project a piece of end grain ash, (Fraxinus spp), is used and mounted on a natural slate stone base. The base is sprayed black and a tint of copper gild cream is brushed on for effect. 

HANDY HINTS

1. Sharpen a little, a lot.

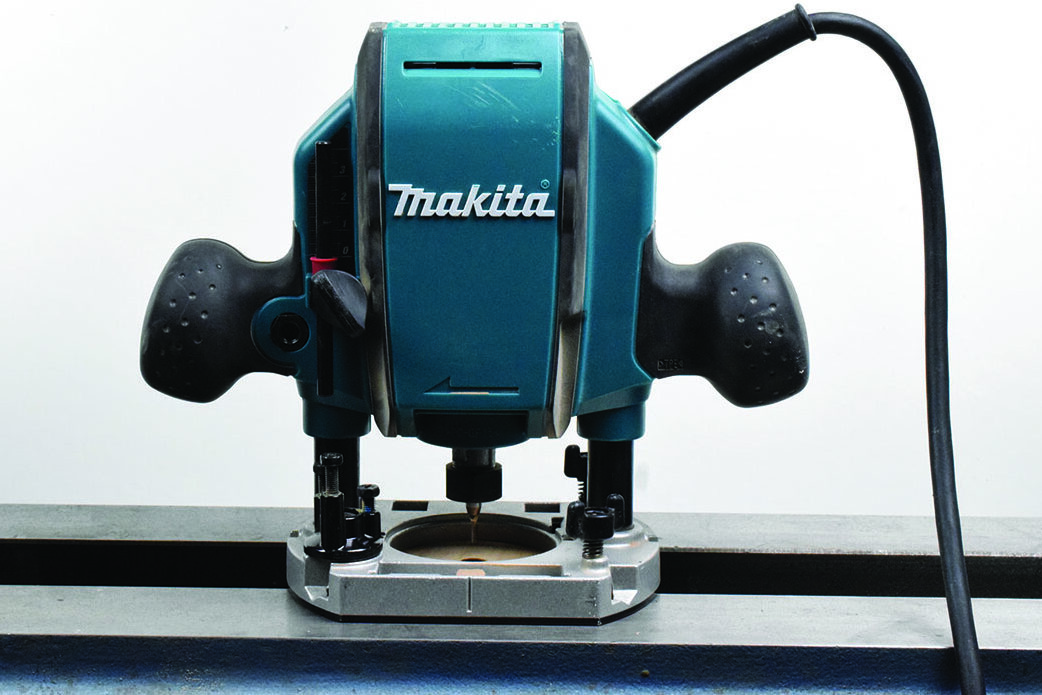
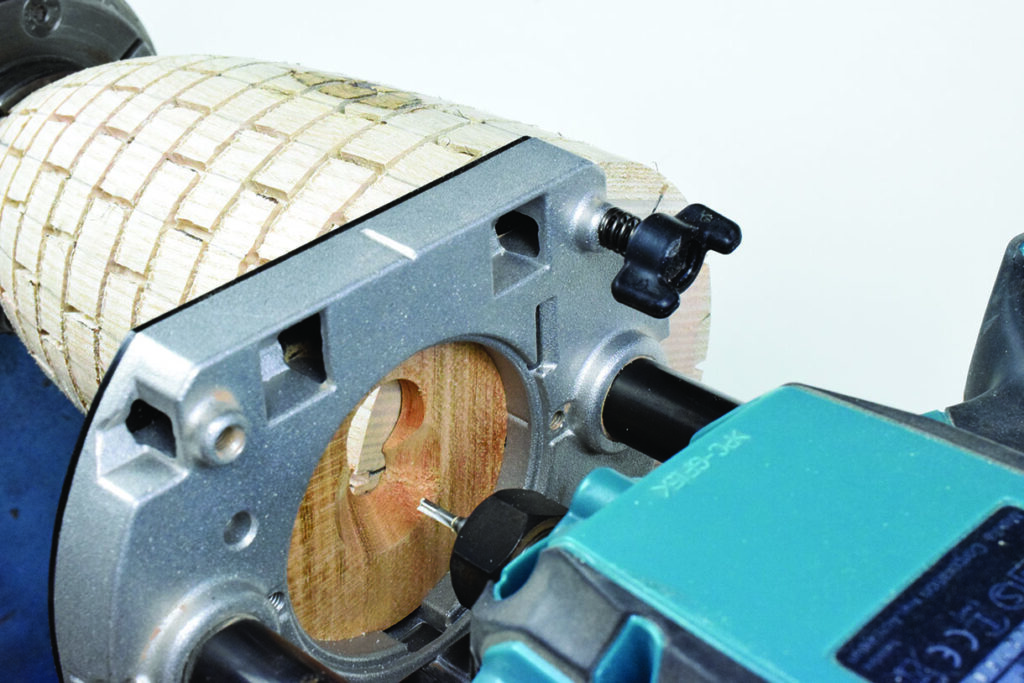
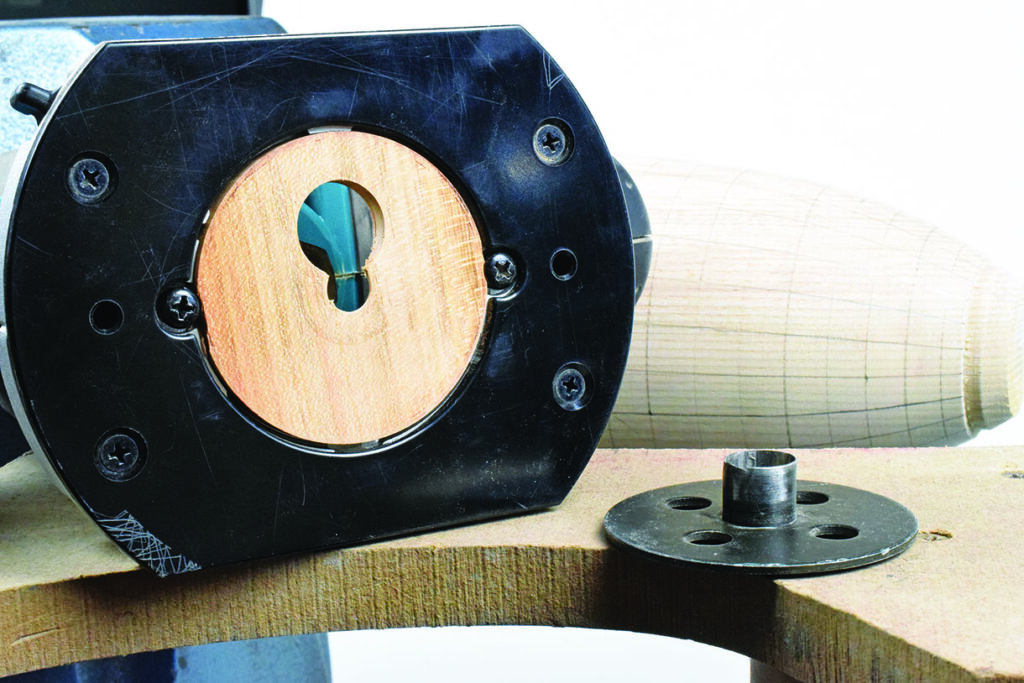
2. A wooden base plate was made for the router. A second hole was drilled for a visual aid. Clear Perspex in the correct thickness was unavailable. The base needs to be level and the insert supplied with the router (see image) was not suitable for the job in hand.  

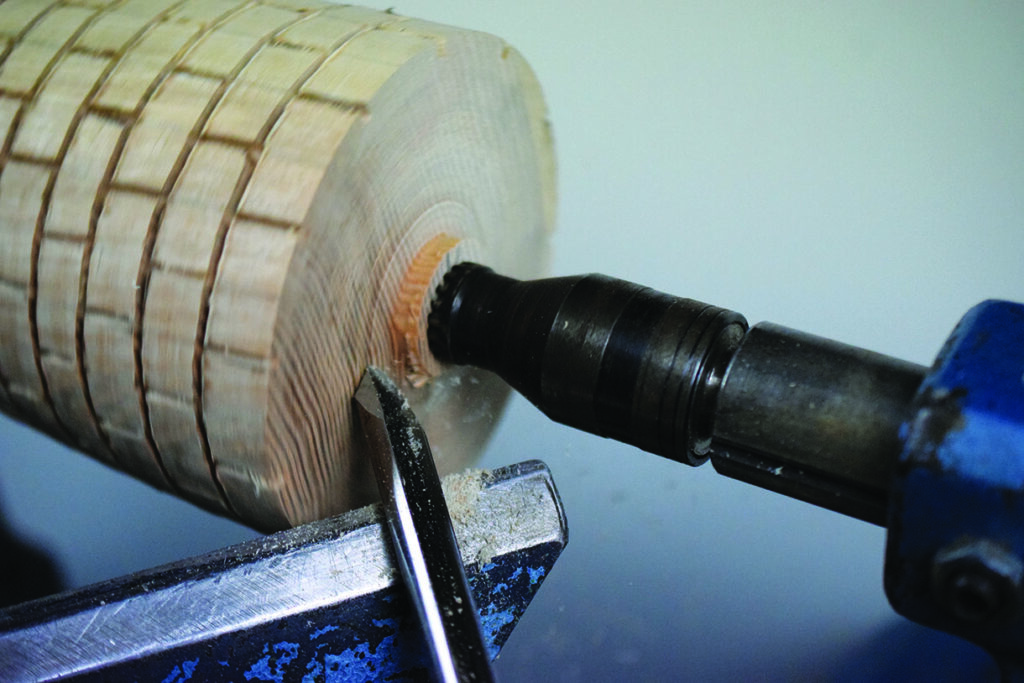
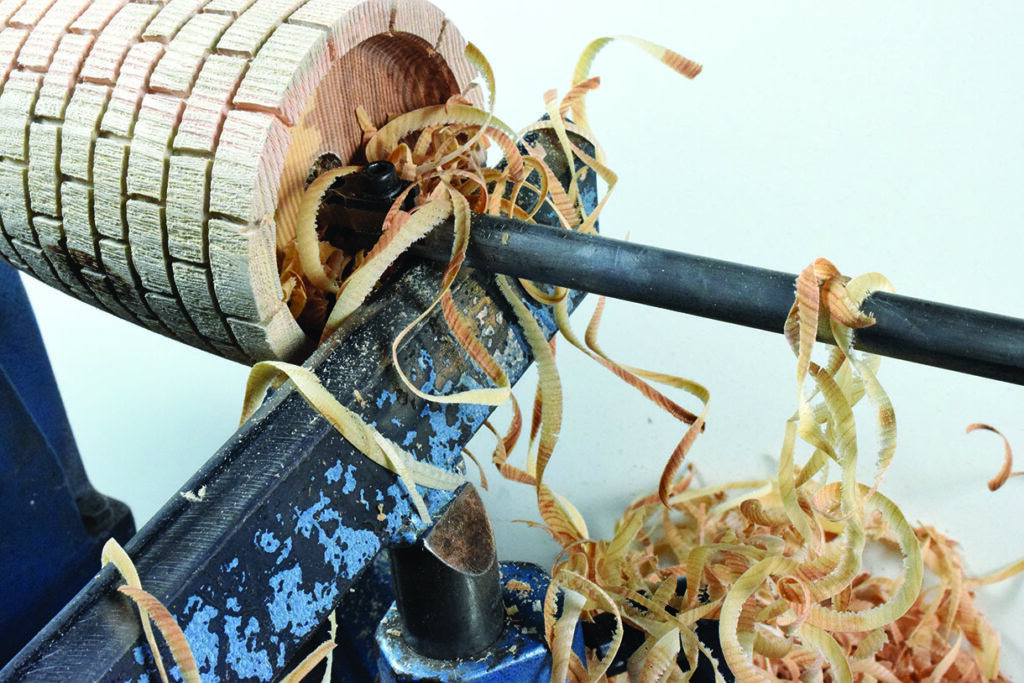
3. When using power tools on the lathe, it is advisable to unplug the lathe. Our instinct working on the lathe can often be to automatically turn on the power. Using corded tools can be dangerous with the lathe in operation. Ear protection is another important tool along with safety glasses and dust protection.
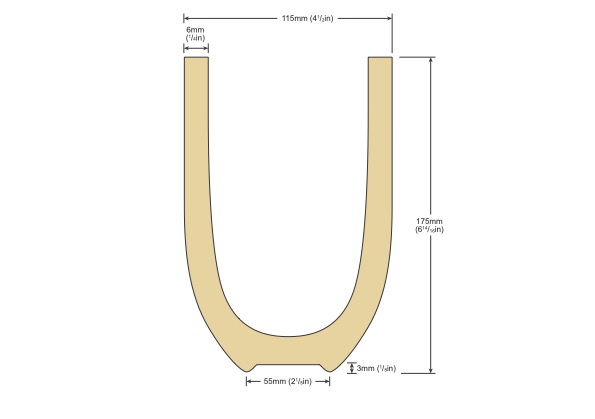
Woodworking tool with circle cutting attachment.
The wooden base plate

Plans and equipment

Woodturning tools and caliper on white background.

EQUIPMENT AND MATERIALS
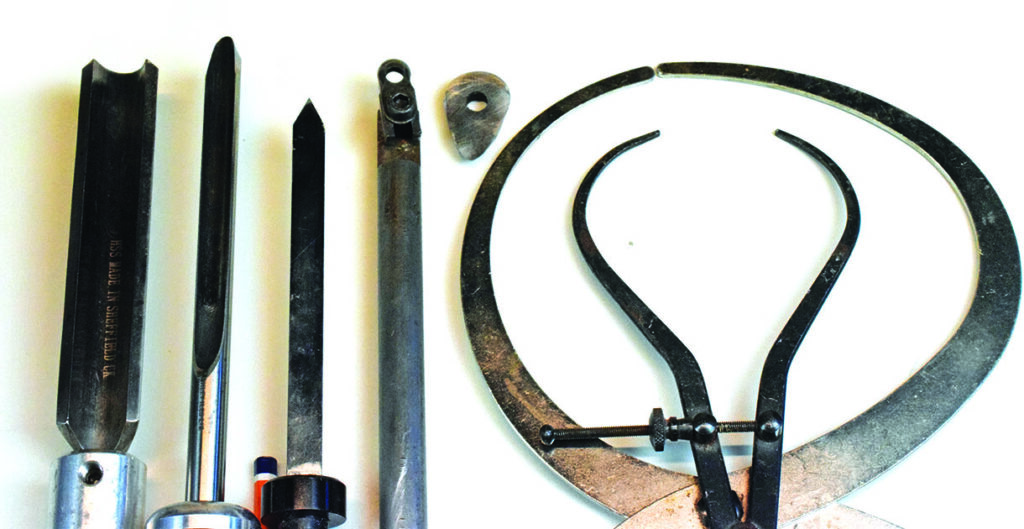
Tools
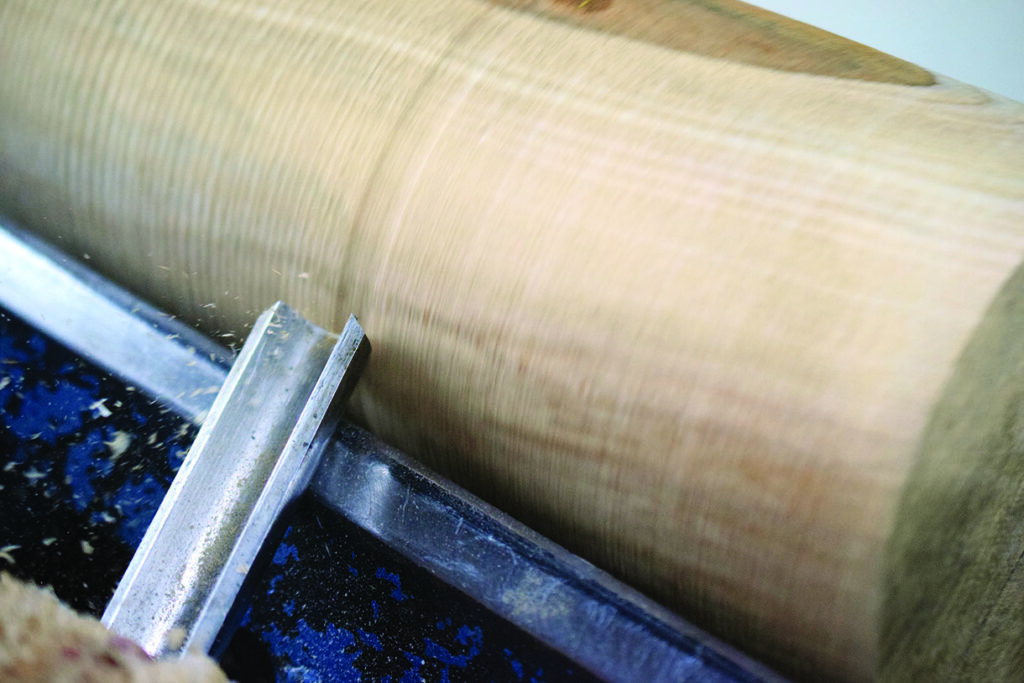
• 25mm spindle roughing gouge
• 13mm spindle gouge 
• 6mm parting tool
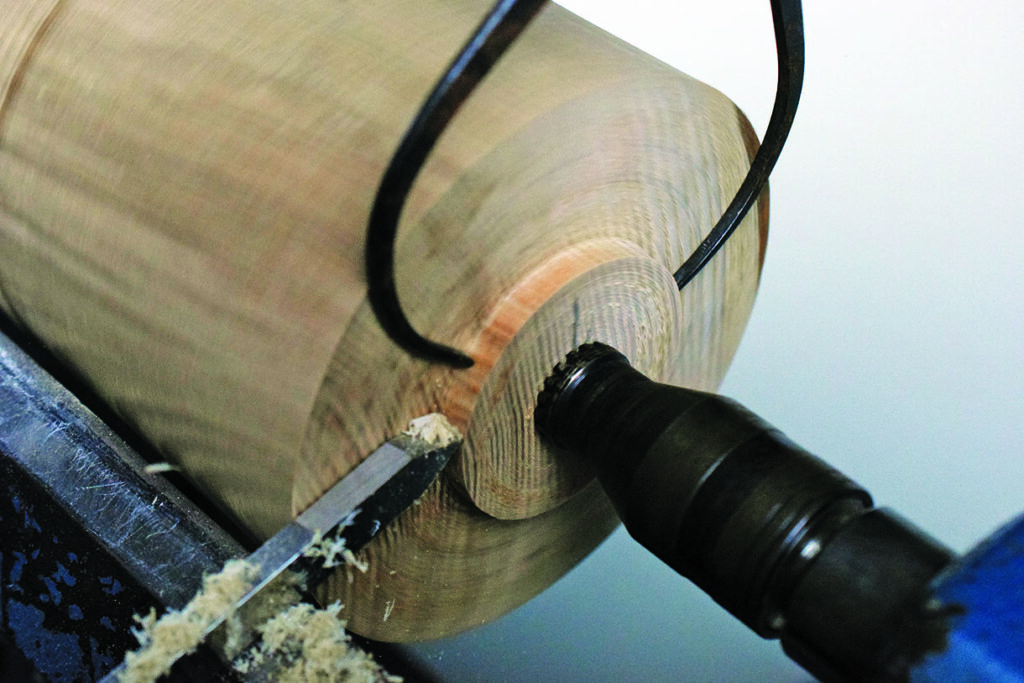
• Shielded hollowing tool
• Scraper tip for hollowing tool
• Callipers
• Router
• Dust extractor
• Rotary wire brush
• Electric drill
• Danish oil
• Paint brush
• Buffing brush
• Abrasives, from 120 grit to 400 grit
• Black spray paint

Materials
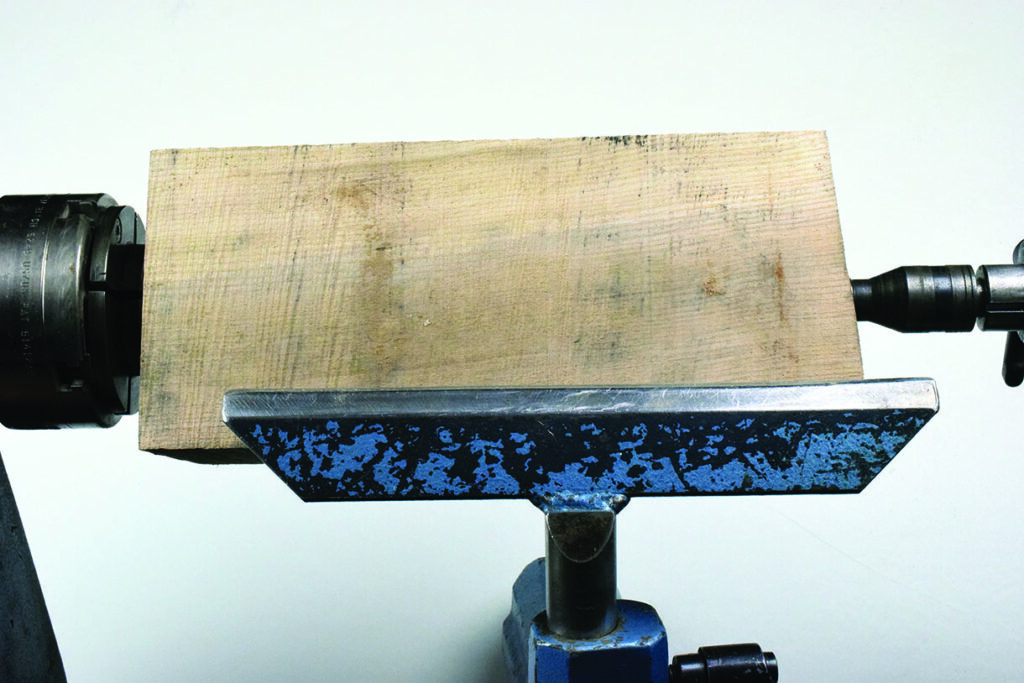
• Ash – 150 x 150 x 300mm
• Slate stone base 

U-shaped wood piece with dimensions diagram.
Wood block clamped in metal lathe.
1. Mount the blank between centres. Ensure to rotate 360° making sure all corners rotate clear of the toolrest
Woodturning tool carving spinning wooden piece
2. Using the 25mm spindle rouging gouge, bring the piece to a cylinder. Keep the toolrest as close to the work as possible. Check the wood at regular intervals for faults and defects which may not be obvious at the start
Woodturning process on a lathe producing shavings.
3. Form a tenon on the piece using a 6mm parting tool. For this project use 50mm parallel serrated jaws. It is important that the tenon is 90° to the base and a minimum of 8mm deep
Metal lathe chuck on industrial machine.
4. Measure the chuck size using callipers, dividers or a ruler. Callipers must have the corners rounded over if being used with the wood rotating
Close-up of a wooden log end grain texture.
5. Insert the piece in the chuck, using the tailstock to help align the piece correctly. Mark the centre into the wood from the drive centre. Bring up the tailstock for additional support
Woodturning with chisel on lathe, close-up view.
6. With a sharp spindle roughing gouge, begin to shape the vase. Continue shaping the vase until the required shape is achieved using light cuts to finish. Minimising tear-out makes finishing quicker and easier
Wooden object being sanded by power tool
7. Form a tenon on the base of the vase to fit the 50mm parallel serrated jaws
Woodturning tool shaping wooden piece on lathe
8. I used a homemade jig to mark out the parallel lines of the piece. The jig consists of a wooden post with a collar. When seated into the banjo, the platform is just below centre. The thickness of the pencil is compensated for, therefore the pencil line is exactly on centre. A useful tool for marking out various projects

HEALTH AND SAFETY

Unplug the lathe when using corded power tools to help avoid accidents or damage to tools and equipment. Wear ear defenders when using power tools and always wear
dust protection.

Woodturning with lathe and red pencil guide marks.
9. Using the index system on the lathe, mark out 24 sections along the full length of the piece. If the index system is not available, divide the piece using dividers or a flexible measuring tape
Red pencil and ruler measuring wood surface
10. Next, lay out the bricks. Measure the space between one section and this gives the depth of the radial line for the bricks. An extra millimetre is allowed on the top row of bricks for when the rim is further trued up. Continue this process to the bottom and note the sections will gradually get smaller
Wooden pattern with grid lines on a lathe.
11. Here’s the piece marked out in detail. Use a felt pen to mark each individual section; this helps avoid mistakenly routing out the wrong line
Makita woodworking router on table.
12. Use a plunge router with a 2.5mm bit for this project. As project sizes increase so may the need for the bit size to keep proportions correct
Wood router carving heart shape in wooden surface.
13. For routing the grooves, apply the spindle lock to the shaft of the lathe. For lathes with no spindle lock a wood vice or carver’s vice with the chuck attached
Wood lathe with detailed carving pattern
14. Cut the radial lines first. Depths will vary with each piece. Use 3mm for this project. It would be advisable to use a scrap piece of wood to get familiar with the technique. Unplug the lathe from the power supply
Sanded wooden piece on a lathe.
15. Cut the vertical lines, completing the routing process on the outside of the vase. Cutting from the smallest diameter to the largest works best in this process
Lathe shaping wood with precision tool
16. Remove the vase from its current chucking point and fit the foot securely into the chuck, tightening securely (use the centre point to help align correctly). Using a 13mm spindle gouge remove the tenon. The tailstock is only removed at the last few millimetres of wood. The extra millimetre of wood allowed in the first row of bricks is enough to true up the rim
Woodturning pattern with red pencil marking guidelines.
17. Using the toolrest on centre, mark out the rim for the brick lines to be continued around the rim
Close-up of a woodworking tool and cut wood.
18. Using the router, continue the brick theme by cutting the grooves on the rim. Cut at least 10mm towards the centre to ensure the grooves are far enough when the vase is hollowed
Sanding and polishing machine in close-up view.
19. Using the spindle lock to secure the piece, use a rotary wire brush in an electric drill to add the texture. Keeping the brush running parallel to the bed of the lathe helps stop radial lines been created on the work piece. Unplug the lathe when power is not required
Drill bit entering segmented wooden log end.
20. Using a drill in a Jacobs chuck or directly in the tailstock, drill the vase to the required depth
Wood lathe shavings and engraved cylinder close-up
21. Using a shielded hollowing tool, proceed with the hollowing. At 50mm intervals refine wall thickness and constantly check wall thickness with callipers. 6mm is the thickness at the rim, reduced to 5mm for the rest of the piece
Woodturning lathe with sanding attachment tool
22. For sanding, a piece of wood with hook and loop fastening attached is a handy tool for deep sanding. Use hook and loop fastened backed discs from 120 to 400 grit to finish the piece. Note, a dust extraction pipe has been used and a dust mask
Person applying finish to segmented wooden vase
23. Next, apply a liberal coat of Danish oil with a fine brush to get into the joints. The piece should receive the minimum of three coats of oil. Buff with a buffing brush between coats to get into all the grooves
Close-up of carved wooden cylinder end.
24. Using a scrap piece of wood, make a jam chuck to reverse the piece to finish the foot. Cut defining lines into the bottom with the tip of the parting tool. Spray the slate stone black and add a tint of copper gild cream for effect

Leave a Reply

Your email address will not be published. Required fields are marked *