Kurt Hertzog puts a gloss on things
Finishing is an incredibly open-ended topic so even the six planned columns will be a primer rather than a treatise on the subject. There are many books and videos available specifically on the topic along with topic specialists who have made it their careers. Like any topic with a number of experts, they all have their own opinions and often there is some disagreement. I’ll do my best to navigate through these differing views. This mini-series is intended to expand your horizons and provide the information you need to be successful with a variety of finishes. I’ll focus on the commonly available products that don’t require extensive facilities or expensive equipment to process. Most professional-level products and specialised applicators are beyond our scope. Bear in mind that certain products that we’ll discuss have different names in different geographic markets as well as the varying regulation of some chemicals. I’ll do my best to flag these instances but be aware that your local products and regulations can differ.
Finishing good practice
• Don’t rush preparation for finishing. Proper prep is key to success
• Be certain your substrate has no contamination
• The saying about cleanliness is accurate
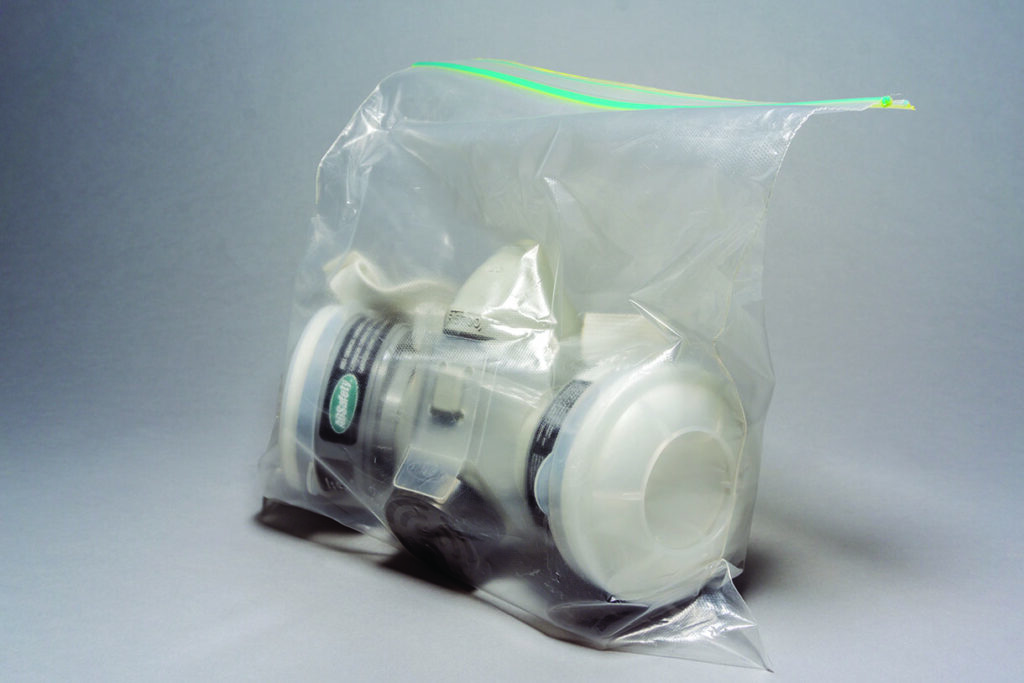
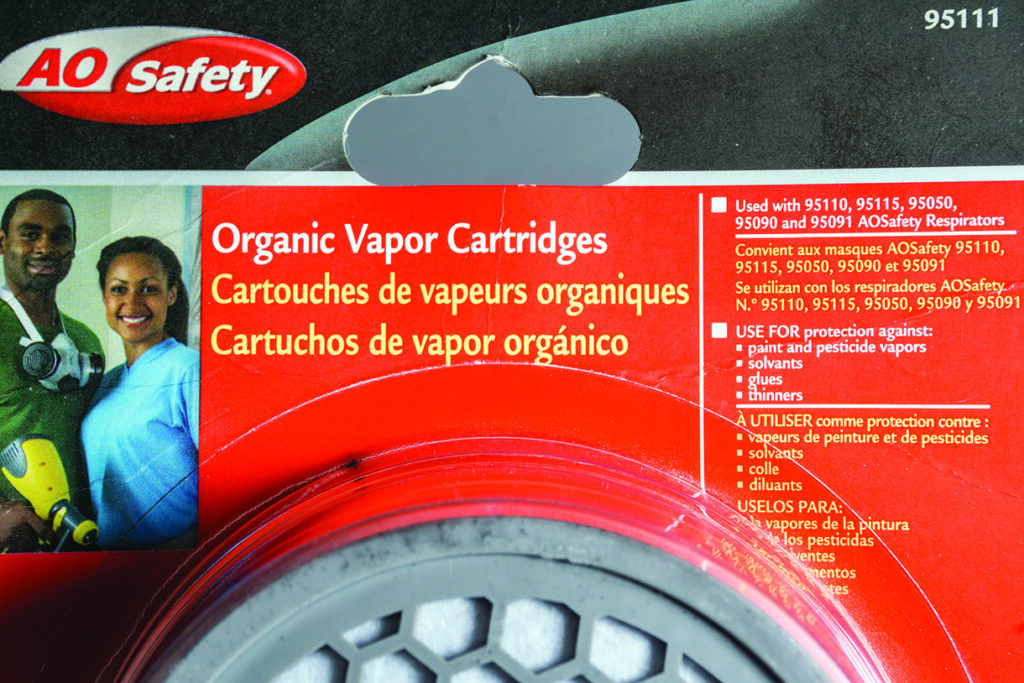
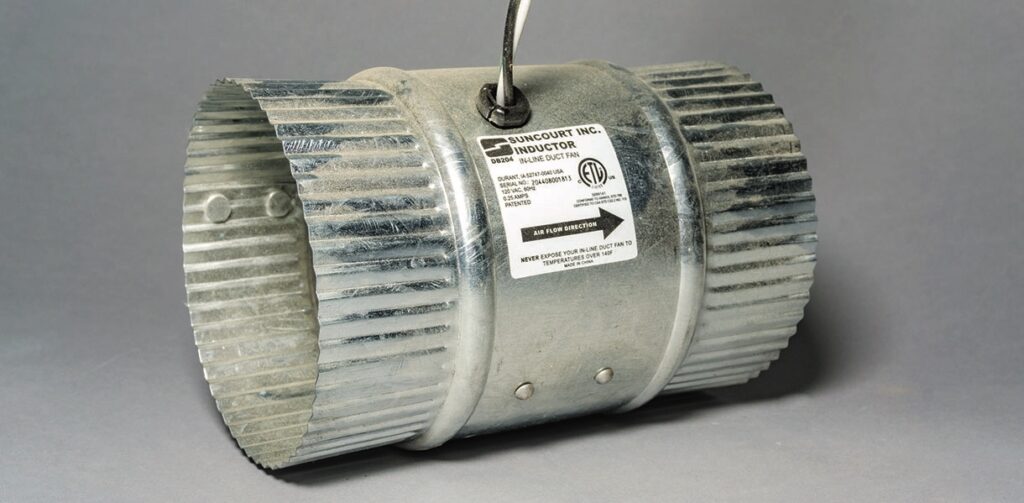
• Proper ventilation and PPE for application and curing is essential
• When in doubt, test the finish on a sample of the same material
• Remember the wet paint sign? Don’t rush the curing time
• Sharp corners, deep ‘V’s, undercuts and so on, can be troublesome
• Equilibrium of wood and finish will improve results
Safety
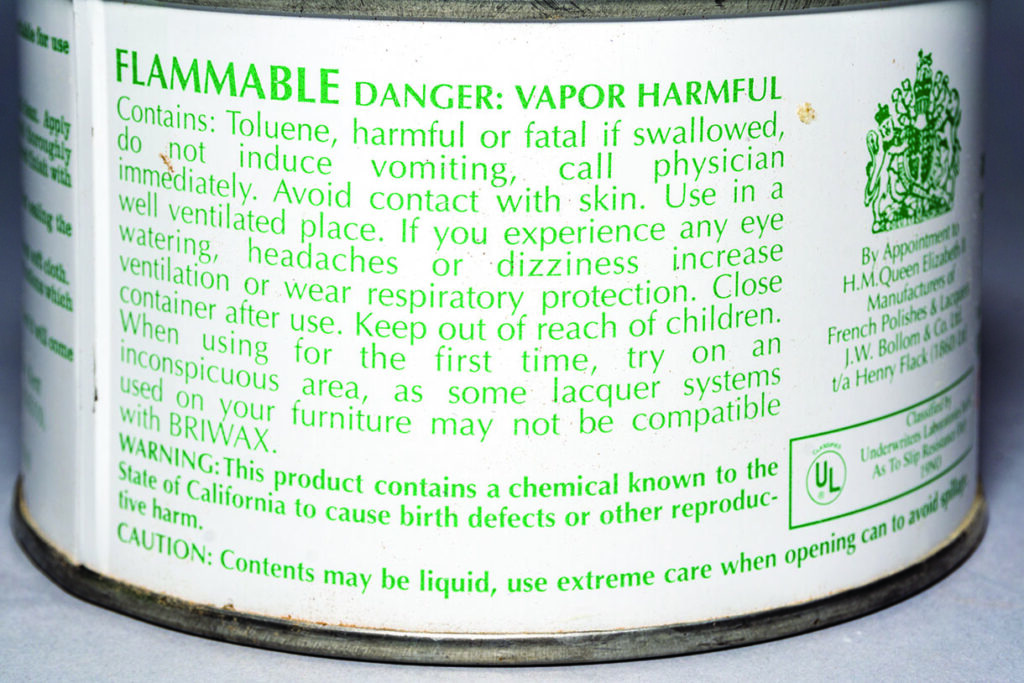
Please make sure you read, understand, and follow the manufacturer’s safety and use instructions on their product container or packaging. These are specifically written to provide a safe environment for that product use, recommended PPE, safe applicator and waste disposal and suggested techniques to achieve best results. The few minutes it takes to read these instructions is time well spent. I highly recommend you read and heed these for each and every chemical you plan to use.
Your PPE needed for contact and breathing safety is paramount. This is especially important as many chemicals can cause problems through cumulative improperly protected exposure. Turnings with any potential to enter food service require special attention to finishes. The regulations, governing laws and testing standards for ‘food safe’ finishes vary throughout the world. Be certain you know what these are in your location or final market. You’ll need to comply to the letter if you are involved with finishing turnings that may ever enter food service.
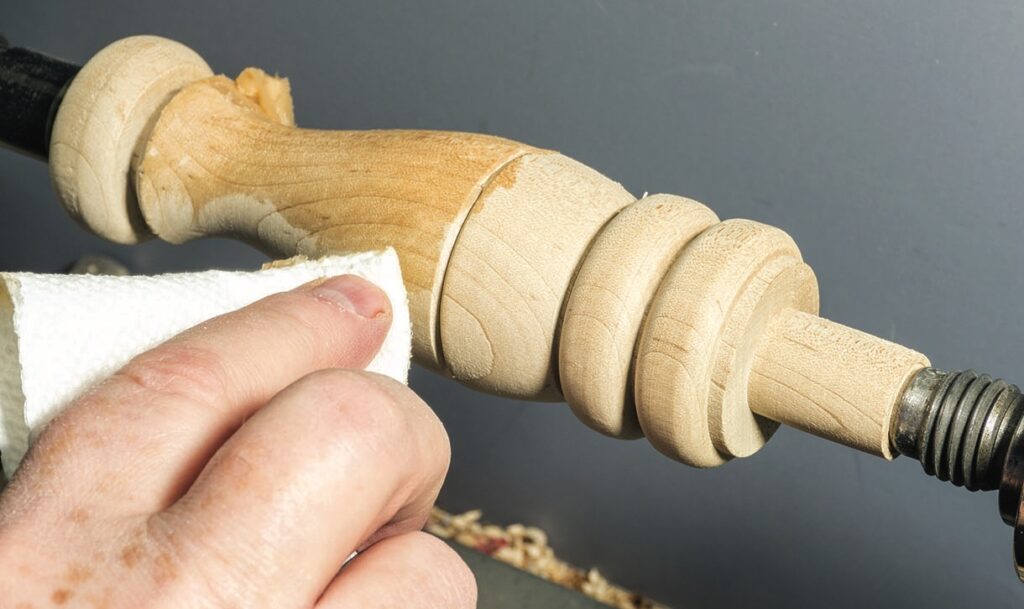
Safety reminder
Never use cloth near rotating machinery. If you feel you must use cloth for application, use it only on non-powered work.
Why use a finish?
This may seem like a pretty silly question. Doesn’t everyone apply a finish? Is your turning ever completed without an applied finish? Let’s look at what is to be gained by applying a finish. The three most common needs that a finish serves are protection, stabilisation, and appearance. Protection is basically keeping things clean and helping to ward off the dings and dents. Wood with a finish will limit the amount of dirt and handling discoloration. Depending on the finish applied, it can provide some protection to marring, dings, and dents.
You’ll sometimes hear that a finish stabilises your turning by preventing moisture absorption and sealing in any colour by preventing oxidation. These are true, but are really minimal. Wood will take up and give off moisture forever. A finish that completely covers the turning will slow moisture transfer but not completely stop it. Unless your finish provides UV protection, colours will fade with time and loss is accelerated with sunlight or other UV exposure. In reality, applying a finish will help prevent mechanical damage and dirtying of the wood. Decorative or not, it can spiff up the looks. Asking more than that of your finish is a reach.
Selecting a finish
Most of the time your finish will be selected based on your experience. If you’ve done it before and have been successful, that tends to make you repeat it. There is a lot to be said for building on your past experience. What about your first time or trying something new? This is the case with new turners. They don’t have a preferred finish and don’t have much past knowledge to go on. Simpler is usually better when just beginning.
Often, turning friends or club members will lend a hand to newcomers to get them started. Many times, the selection of a finish is based on the requirements for application. This can range in everything from brushes to HVLP spraying equipment and a dust free location to a specially equipped, environmentally controlled finishing booth. In a perfect world, finishes would be selected for the protection you desire and the appearance that you want your final turning to exhibit. More often the finish is selected based on the effort and cost required versus the results provided. Understanding the different families, the options for application and the final results possible will help you make a good selection. I suggest you select your finish on end use. A platter to be displayed on top of the china cabinet can have a beautiful finish that doesn’t provide any mechanical protection. It will not be handled and needs only an occasional dusting. A pen will need the toughest most durable finish you can apply. It will suffer an extreme amount of ‘abuse’ during its lifetime. Be certain your selected finish falls within your skill and facility levels.

Top tip
In the absence of a dedicated finishing room, apply finishes at the beginning of the day in the workshop before the likelihood of airborne dust.
Characteristics of a finish
When you think about the characteristics of any finish, you’ll see that none really excel at everything. Some of these are cost (product itself, applicators, any special facilities, waste disposal), durability, repairability, ease of application, rubbing ability, and the final look. Like the proverbial free lunch, the finish that does everything extremely well doesn’t exist. You are going to have to select your finish with the best balance of the characteristics that are important to you.
Families of finishes
Depending on where you learn about finishes, you’ll hear a variety of terms regarding the different types. Often terms like hard finish, soft finish, waxes, two part, films, and more will creep in. The experts in the finishing arena tend to agree on categorising finishes into one of three categories based on the way each cures. These categories are: evaporative; reactive and coalescing. There are many finishes that fall nicely into these categories. It is easy to understand these once you think about what really happens after application. The evaporative family cures by having the solvent carrier flash off. When that happens, the finish material that was in solution simply remains behind. Most of the time, these are reversible. When that particular solvent is reapplied, the finish material will soften and can go back into solution. The reactive finishes also have a solvent carrier. The reactive finishes aren’t reversible. It is a one-way trip. Once the thinner or solvent has flashed off, the resins have cross-linked during curing process. Adding the solvent to the crosslinked finish doesn’t break down these bonds. The last family is coalescing. These are water-borne finishes that pack together as the water evaporates. The finish is comprised of droplets of reactively cured finish that stick to each other once the carrier has evaporated. Within these categories are the two types of finishes: films and penetrating. Both are pretty self-explanatory: films are ‘painted on’ and penetrating are ‘wick in’.
Classifications
Putting the more commonly recognised finishes into types and curing category will help with selection. Shellacs, lacquers and waxes are film types that cure through evaporation. The oils and oil/varnish blends are penetrating finishes that are reactive curing. Varnish, linseed and tung oil, two-part polyurethane, epoxy, and catalysed lacquers are films that cure reactively. For those who use cyanoacrylate or epoxy adhesives for a finish, they also fall into the reactive curing category. The water-based finishes are films that cure through coalescence. We’ll touch on coalescing finishes in another article. For now, we’ll focus on the evaporative and reactive finishes. They make up the bulk of the finishes that the average woodturner will be using.
Preparation for finishing
Woodturners rarely put the same amount of time and attention into preparation for finishing that woodworkers do. The typical woodworking project will budget a third of the project time for prep for and actual finishing. Woodturners are usually in a hurry and scrimp on prep for finishing. Big mistake! Any flaws that are present prior to finishing will only be amplified under the finish unless you are painting. Proper sanding, cleaning, preparing the finish and applicators, and the application does take time. Sanding in particular is often short changed. On the assumption you’ve prepared your work area and the piece to be finished is sanded and cleaned, let’s launch into some finishes.
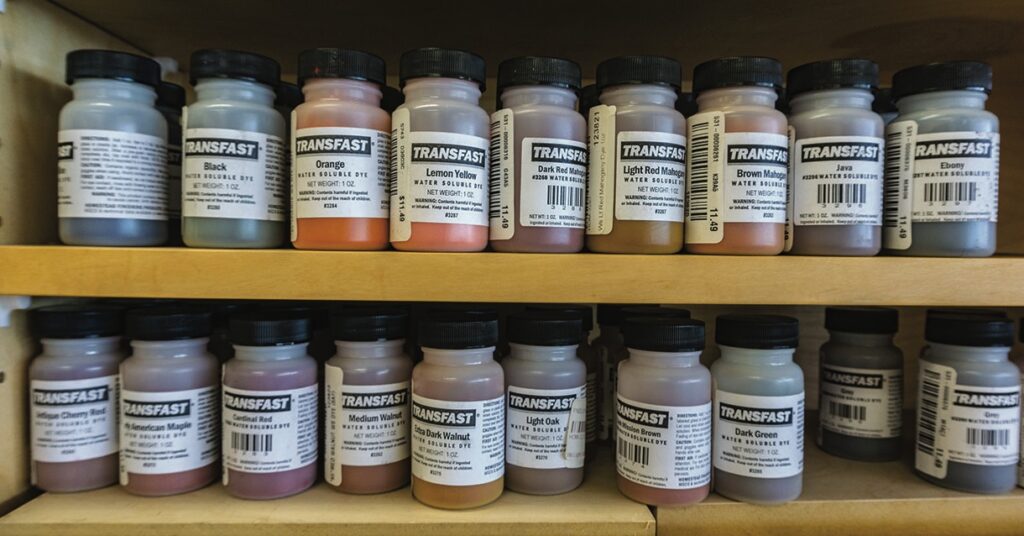
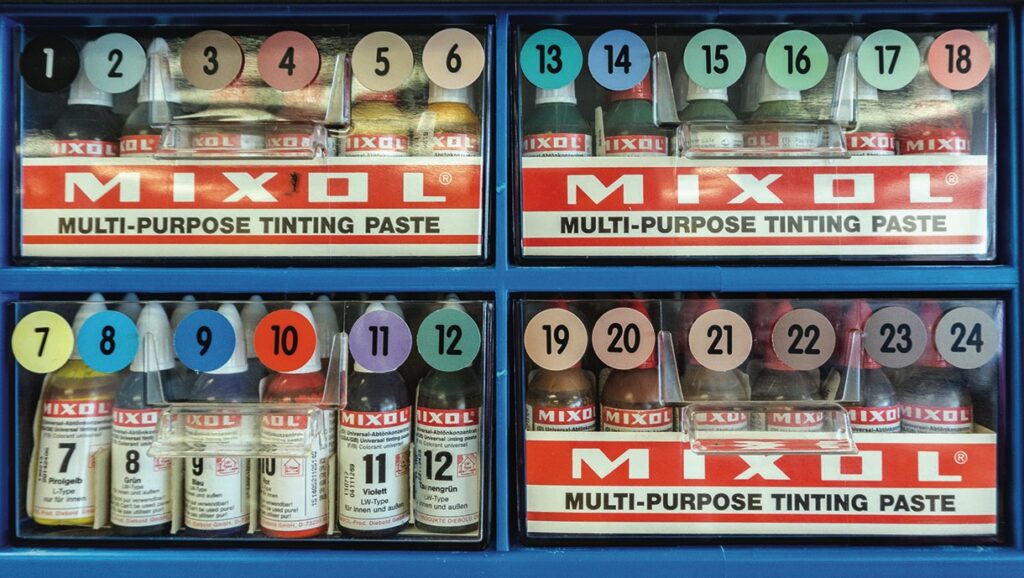
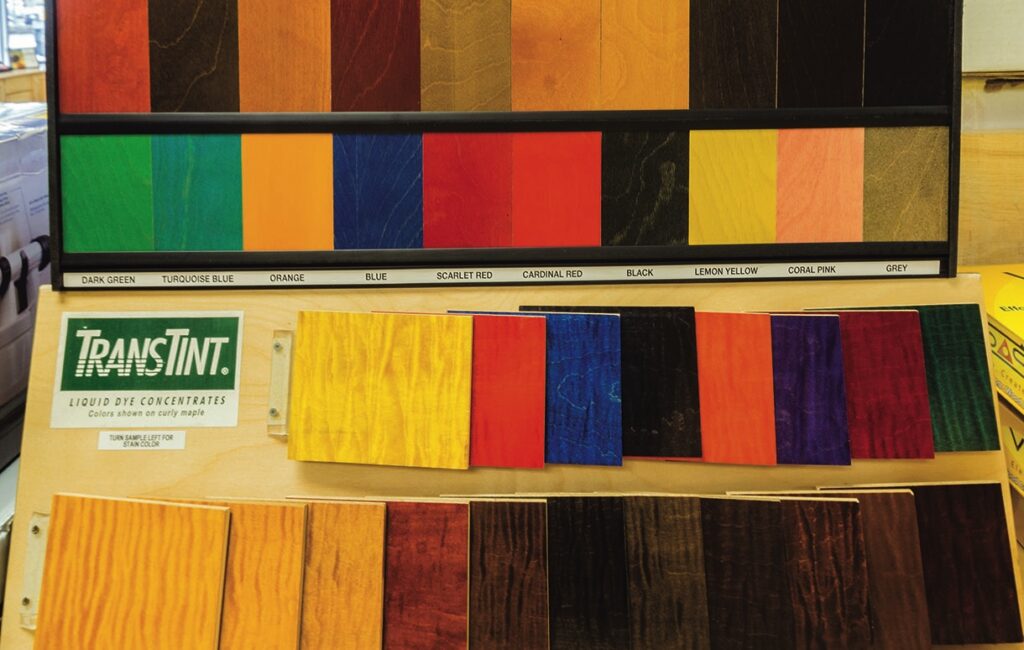
Sealing and colouring
There are any number of ways to colour your wood before or during the finishing process. Nearly all of them need to be done before you seal things up. Staining, dyeing, and chemical fuming are all processes that you can perform before finishing to alter the colour of the base wood. These processes have their own preparation and concerns. Remember that you have an infinite palette with dyes since they can be mixed as desired. A colour wheel is a modest and very helpful tool. Depending on your turning, the species, and the grain orientation with respect to the final shape, you’ll need to contend with variations based on grain absorption. End grain will wick in dyes or stain far deeper and in greater quantity than face grain. The transition from end grain to face grain can present problems with variation as well. If you want to avoid the variation in colour intensity that can happen, you may need to use a sanding sealer on the end grain. This will fill the ‘straws’ somewhat and make the absorption more in line with the face grain. There are many commercially available sanding sealers that you can choose from. My sanding sealer of choice is simply a nitro-celulose lacquer that has been thinned at least one to one with lacquer thinner, sometimes thinned even more if needed. This can be wiped on by hand with a cloth or with a brush. Once cured, it can be sanded, cleaned, and it is ready for finish. Another grain filler is plain wood adhesive, such as Titebond, that has been thinned with water. Once thinned enough, it can be painted into end grain acting as a sanding sealer. With any sealer, there is a fine line between getting sufficient and too much. A test piece of the same species is a wise idea if the project is important. Whether dyeing, staining, or just plain sealing, be certain that process has been completely cured and cleaned prior to proceeding with any other finish. We’ll spend more time on colouring wood as a topic for the future.
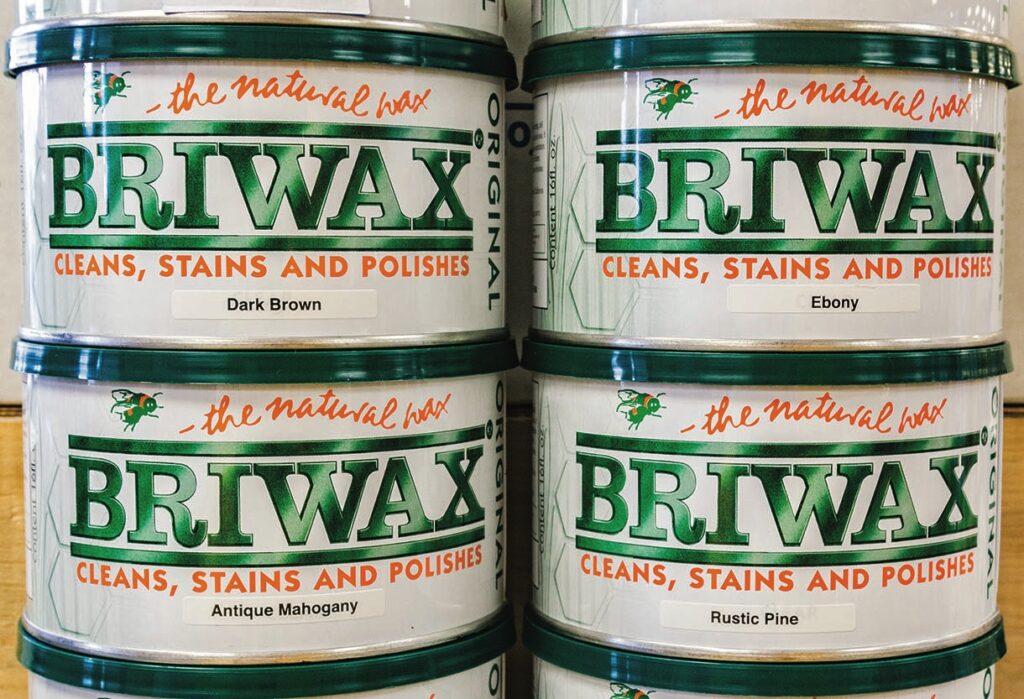
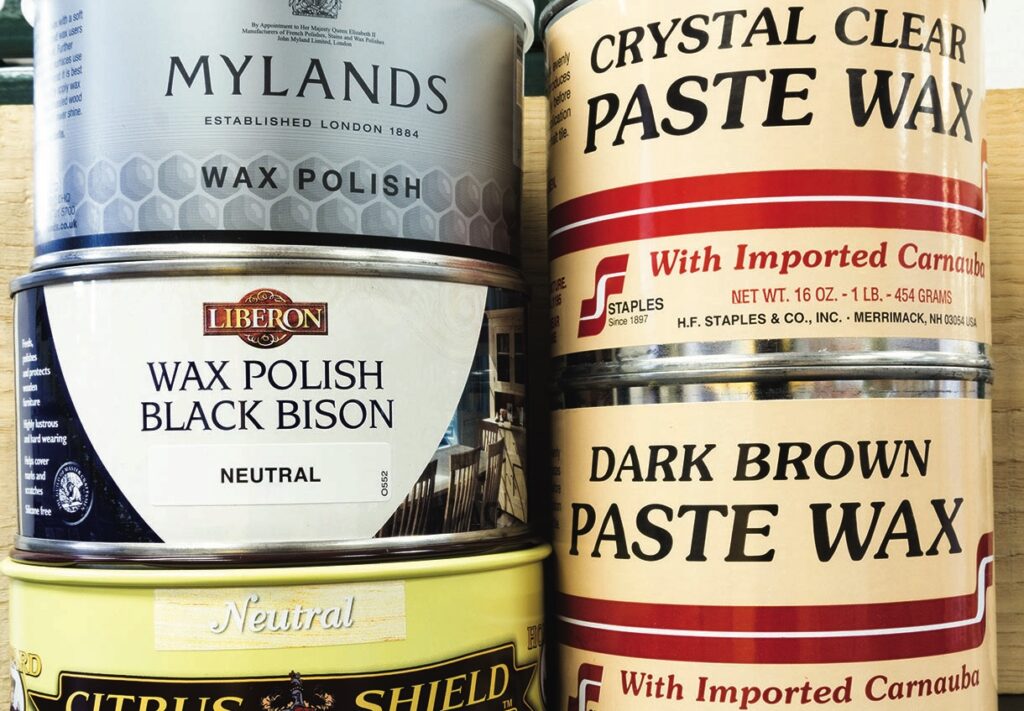
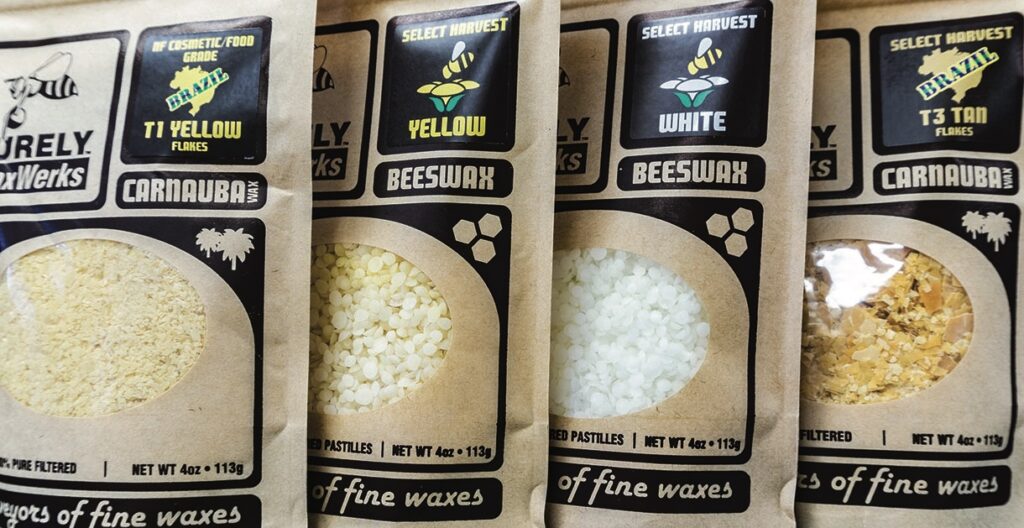
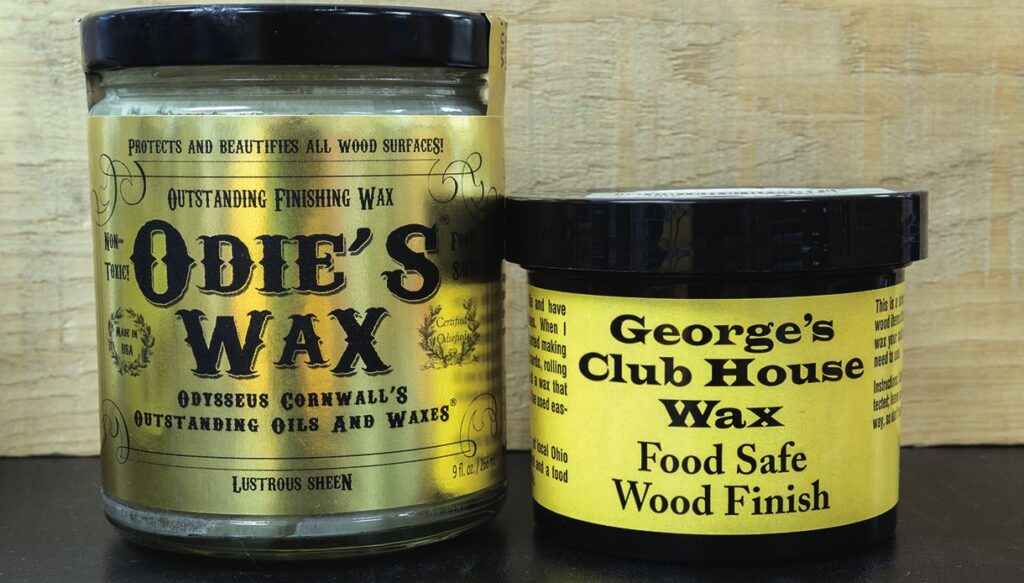
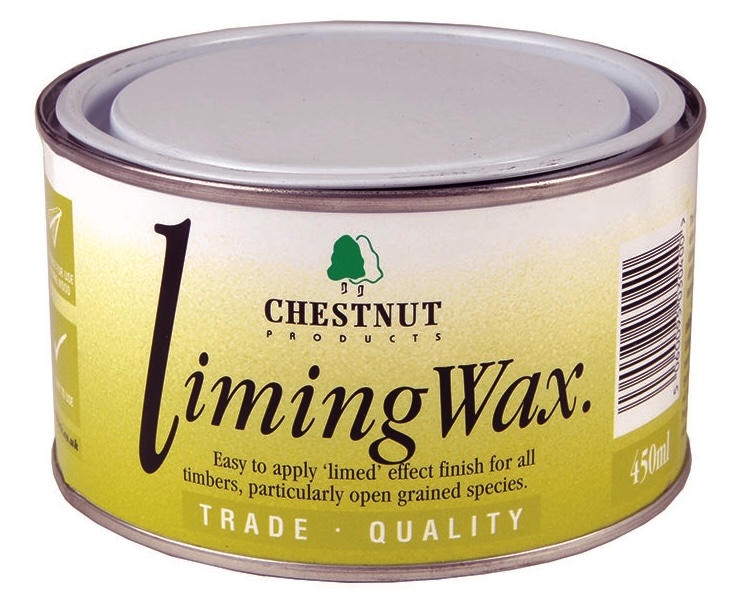
Waxes
Your choice of waxes will let you fill pores with colour such as liming wax or just plain wax over the top of the wood, previously coloured or not. Clear waxes work superbly over lacquer or shellac finishes. There are many waxes sold in the woodturning retailer and they all work well. Bear in mind that waxes, regardless of the number of coats, provide sealing and looks but virtually no mechanical protection. This is not bad but just be aware of that fact. In addition to the waxes available in the woodworking arena, you can also select nearly any of the car waxes available. These will also help seal and enhance the look of your turning. Being of the evaporative family, once the distillate flashes off, the wax is left behind. Wax is a film that will sit on the surface of your turning and can be thickened by repeated application. Read the use and safety instructions on whatever product you choose. Most are applied with a soft cloth being wiped on and wiped off. You can
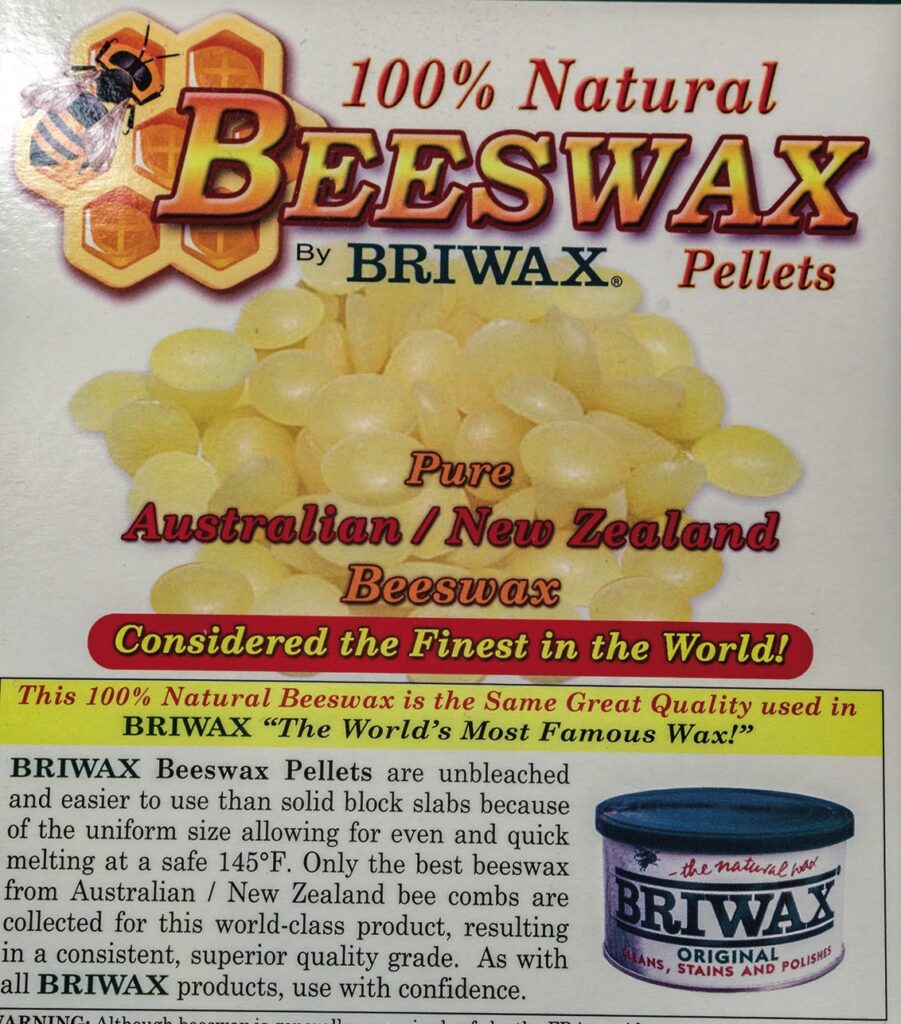
also make your own waxes such as the beeswax concoction that Richard Raffan favours. Read up on it if you wish to make it and be certain you follow all of the necessary safety precautions when making it. Don’t overlook the hard waxes available in stick and pellet form such as carnuba wax. These can be applied by friction and then buffed or combined with a solvent to make a paste for application.

Did you know?
• Waxes are the easiest finish to apply but they really only provide looks. The protection for the wood is minimal compared to other finishes.
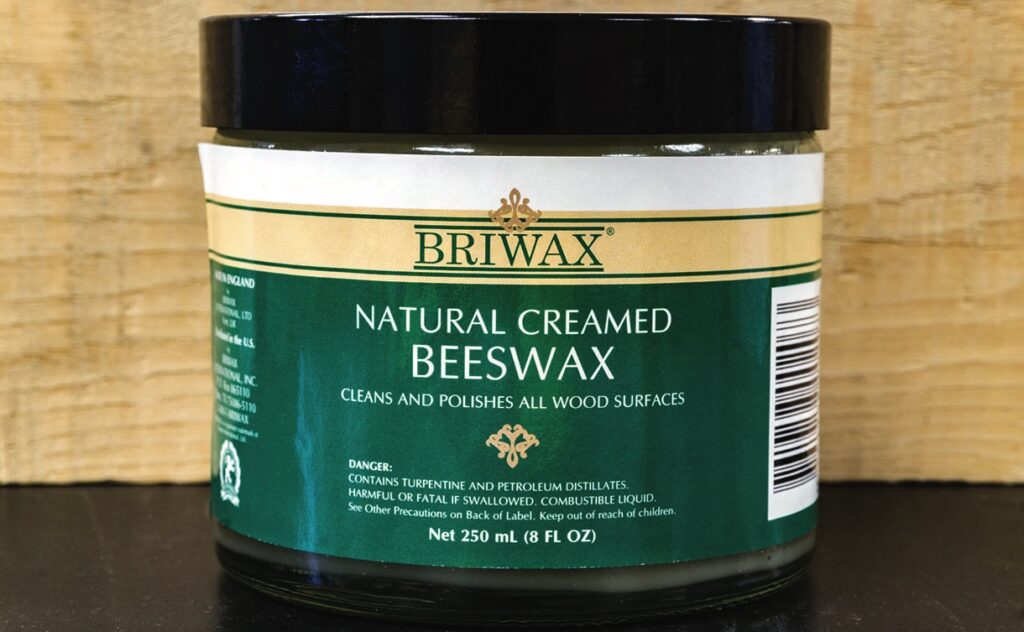
• The distillate used in some waxes can damage other finishes. Before using a wax over another finish,
do a test in a non-visible area.
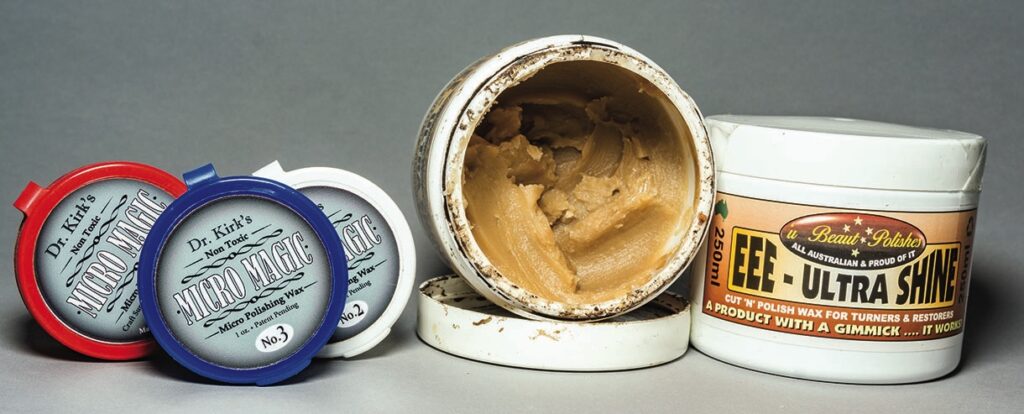
Waxes with abrasives
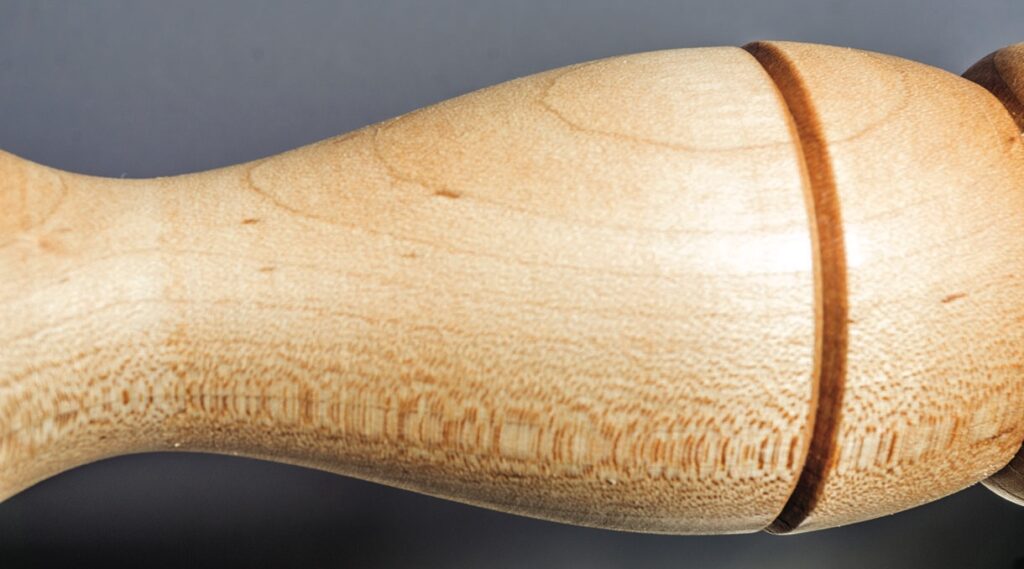
There are several wax products available that contain fine abrasives. These work quite nicely on many species of woods, particularly dense woods. The wax acts as a lubricant while the very fine abrasive contained does a final sanding while the turning is being waxed as well. The abrasives are very fine. Since waxes lend themselves to being used on turnings with infrequent handling, the fine sanding and high gloss from the wax produces an eye-catching finish.
Waxes over other finishes
Waxes can be applied as a finish by themselves. Waxes can also be applied over the top of nearly any other finish. The beauty of wax over the top is that you can take advantage of the properties of the other finish and then add the sheen of the wax. The other finish may be providing colour or mechanical protection. Combined with the wax, you now have the gloss and the protection. I often use Renaissance Wax over pieces with other finishes to help minimise fingerprints. Be certain you let the other finish completely cure prior to adding the wax.
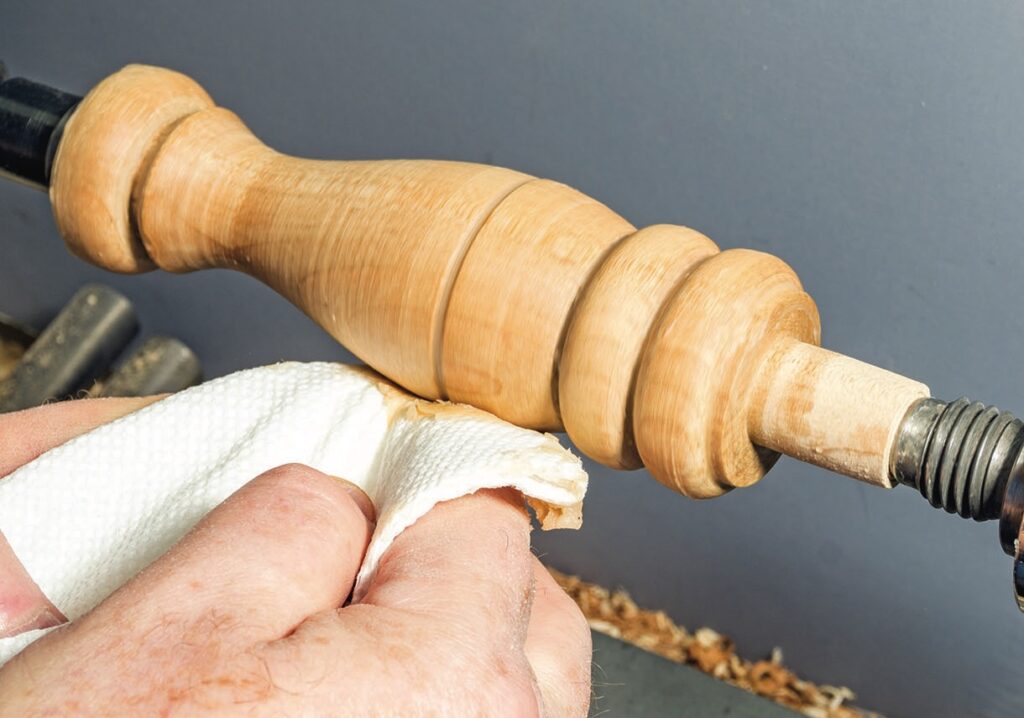
Application of wax
Most waxes can be applied with a cloth. Be certain the work is safely on the bench. If mounted, the lathe must be off. Rotate the work by hand. For any powered application or rubbing, always use paper towels. The directions vary based on the consistency of the wax. Nearly all paste waxes, whether woodworking or automotive, do well being applied with a soft cloth. Depending on the turning, you may wish to rub it on and rub it off by hand. Larger turnings can use a powered muff. Follow the manufacturer’s instructions on whether slow speed hand application is recommended or applied to the turning while rotating under power. The waxes with abrasive work well when applied to a rotating turning. Any excess of wax applied is simply wiped off. Good practice is to use less wax rather than more. Additional wax can be added as can additional coats. Too much wax in any one application is wasteful and messy.