Israel Martin makes a jewellery box using secret mitre dovetails and maple edge inlays
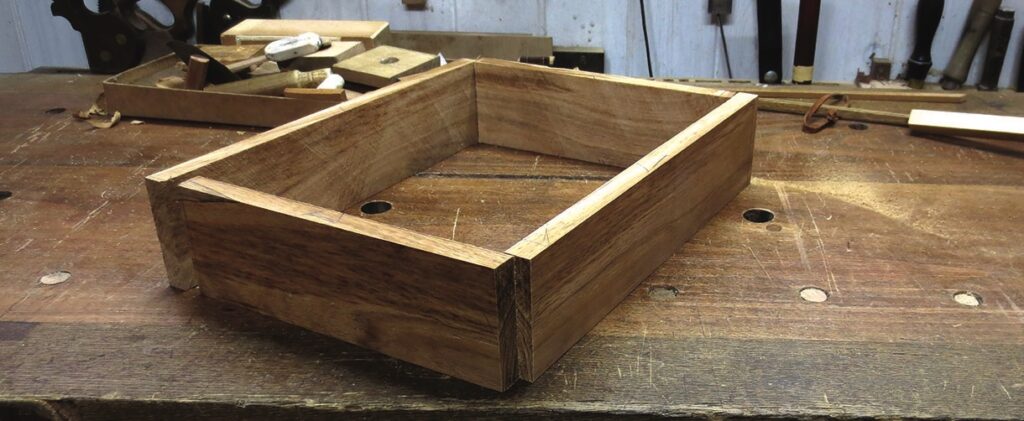
When I’m fortunate to get hold of a piece of timber with strong characterful grain for a project like this, my first reaction is to use mitres at the corners to allow the grain to run unbroken around the box. This project was no different but I decided to incorporate some secret mitre dovetails as well. There are times when it’s hard to justify the time it takes to cut any sort of dovetail, nevermind secret ones, but as with all things, the more you do the quicker you get.
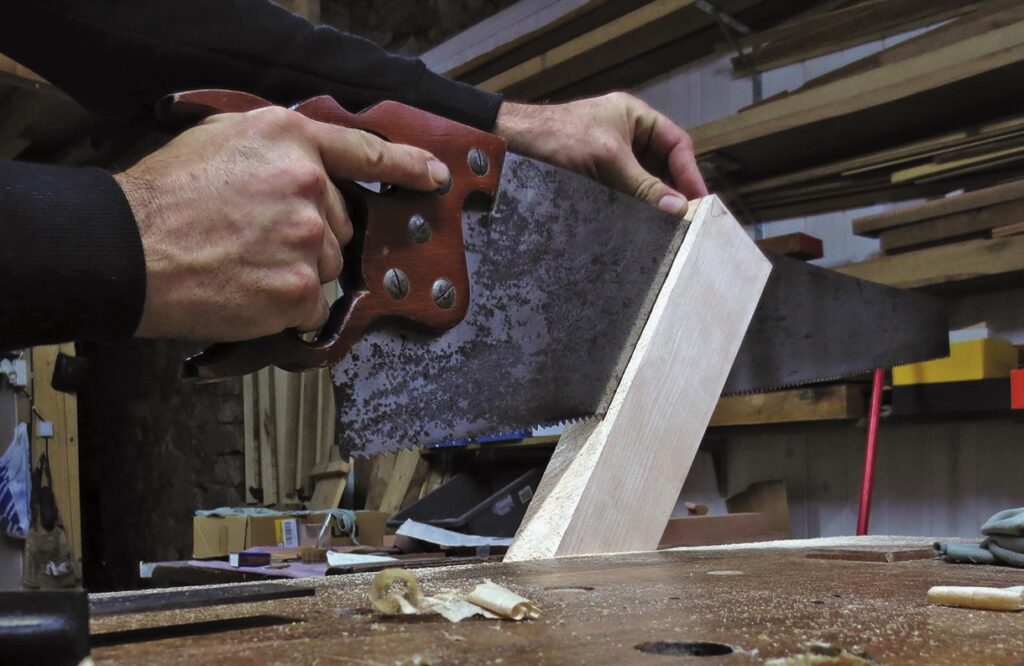
The most important thing is to ensure you start with very acurately prepared stock. This means having consistent thicknesses througout and sides that are square from every face. The second most important thing is make sure your layout lines are equally as precise. With this as your starting point the rest is not too complicated, start with the dovetails then tackle the mitres.
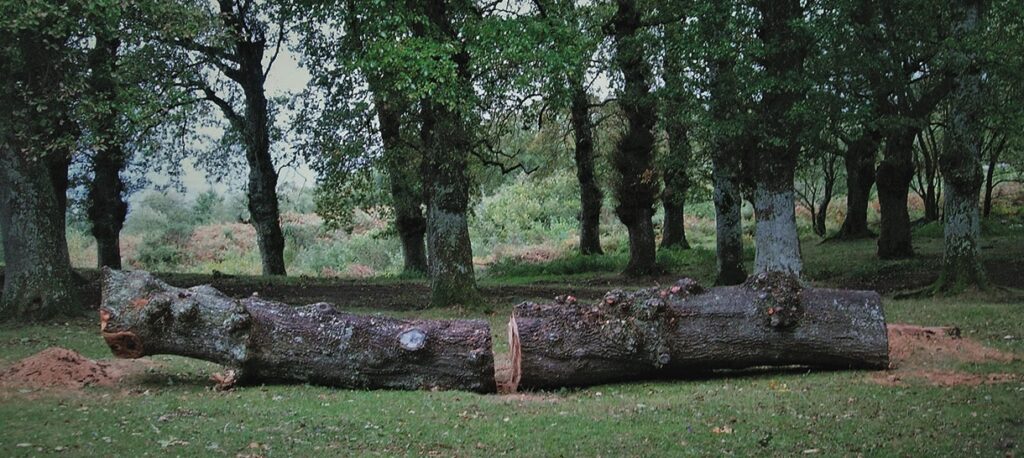
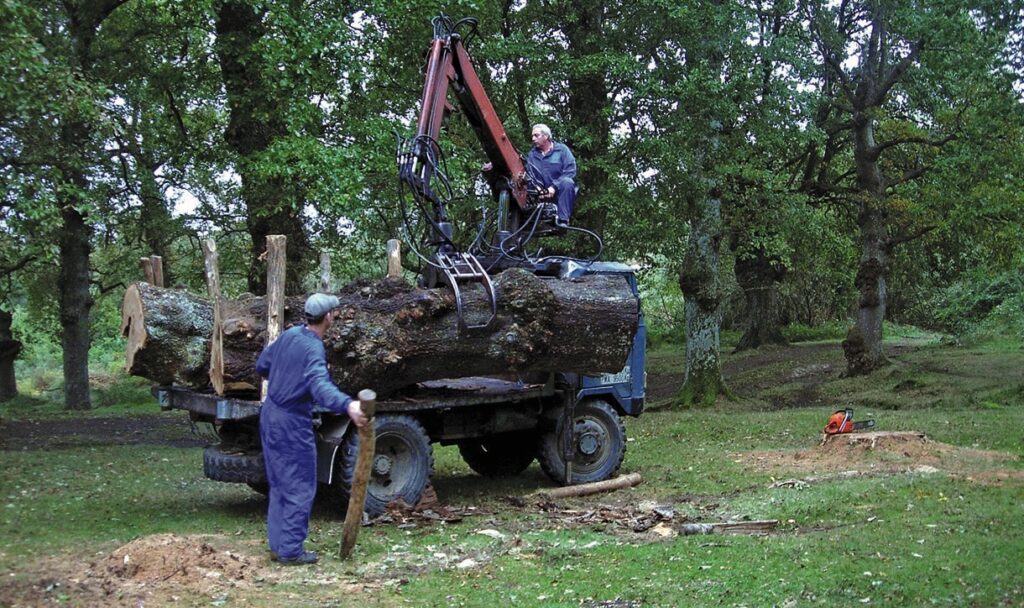
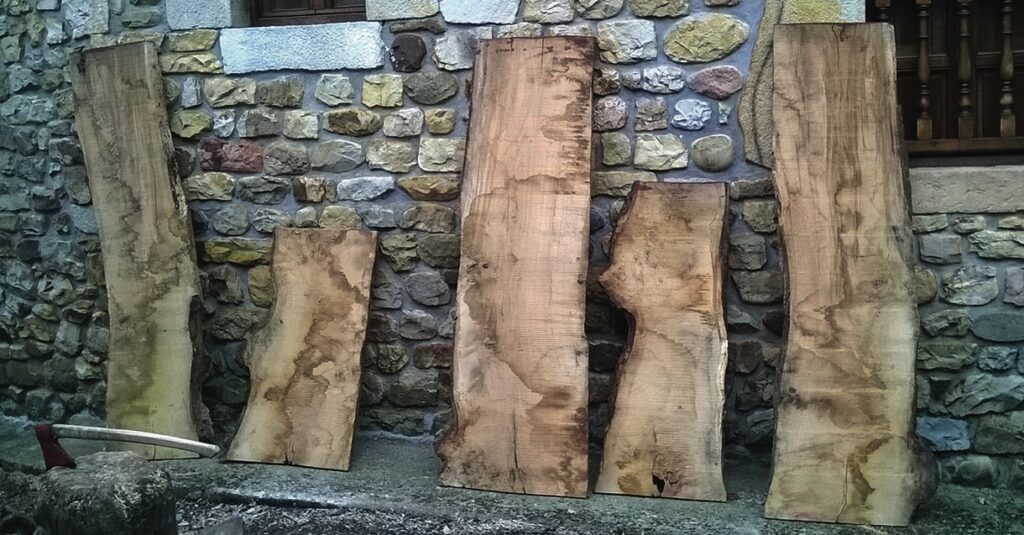
Using local wood
For this box I used timber from an old dead oak that was cut down about four or five years ago. I took it to the saw mill and got 4cm-thick boards and after four years of air drying I started working them. The first time I hand planed them I noticed that it was much easier than other oaks I’ve used. I’m not aware of any studies comparing air-dried wood vs kiln-dried wood, but after years of testing both, I find air-dried wood to be more hand tool friendly than kiln-dried wood.
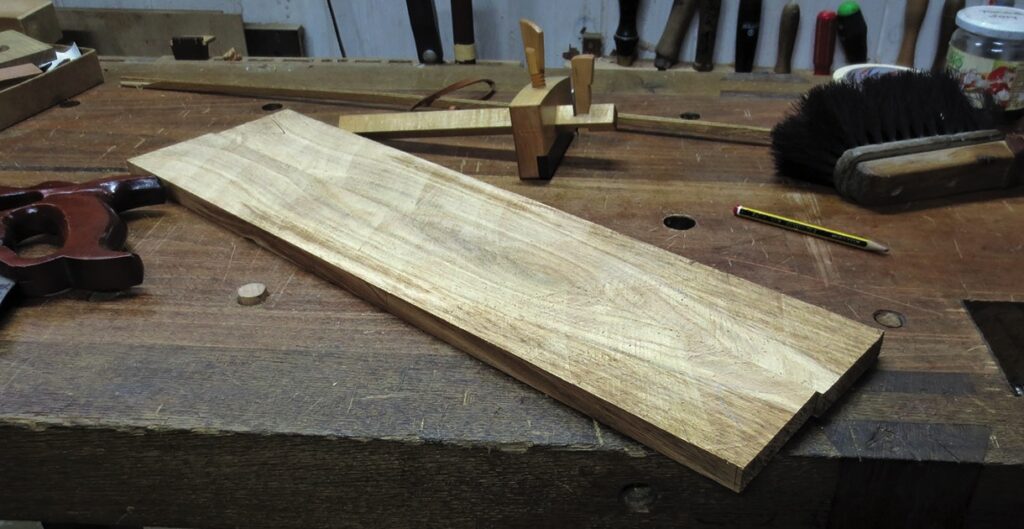
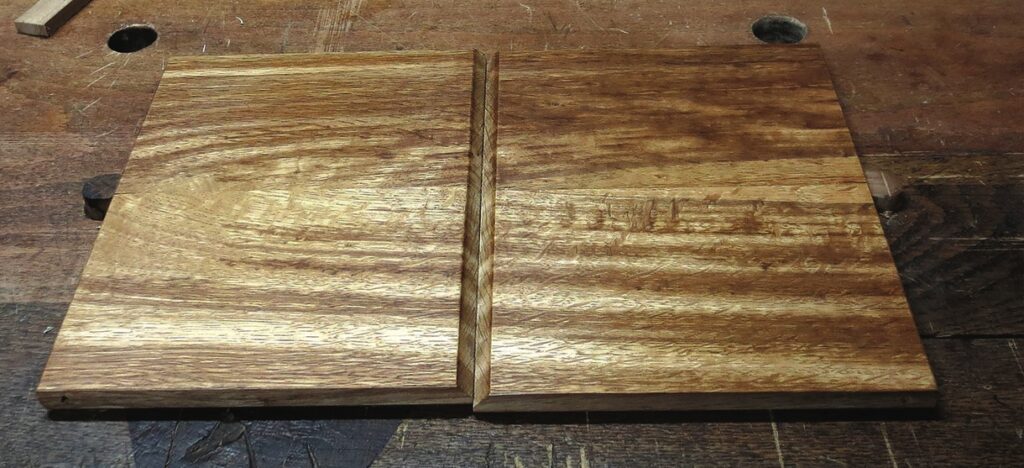
Getting continuous grain boards
Start with the wood selection and prepare the boards to get four continuous grain pieces. There is a simple way to get a nice, continuous grain pattern, as shown here: divide the board in two by sawing it in half, then cut the two boards in two parts again.
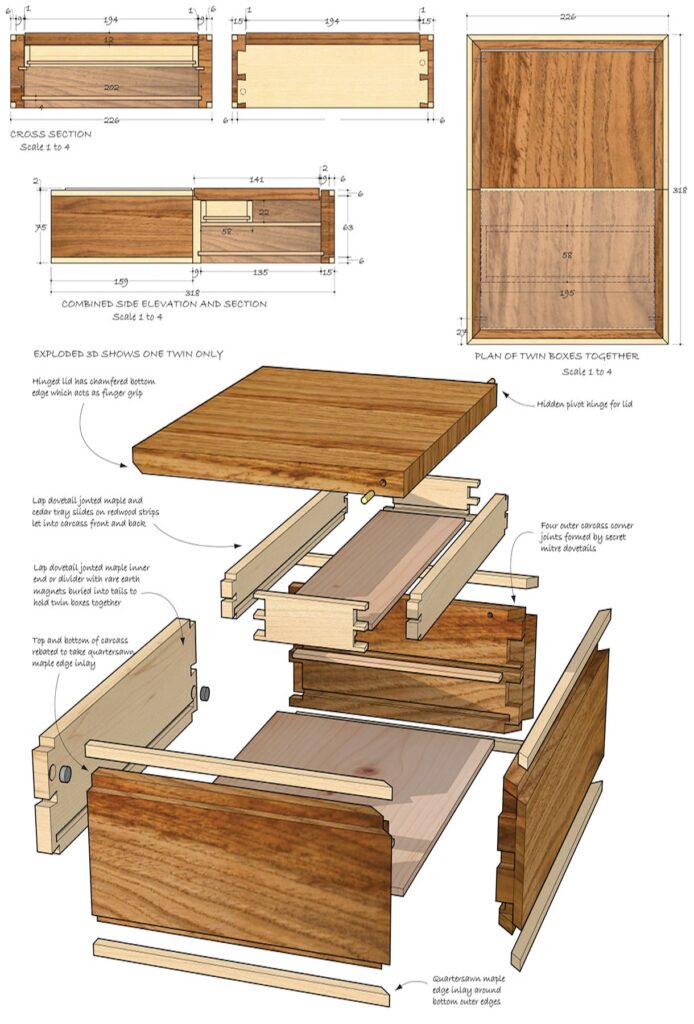
Dimension drawings
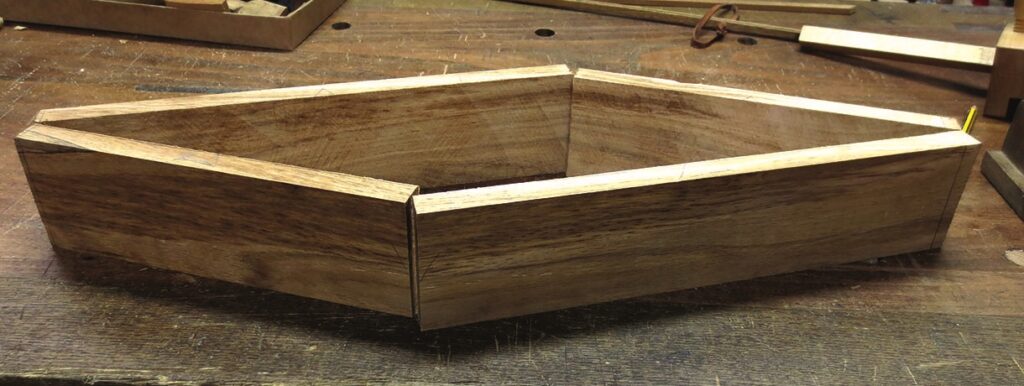
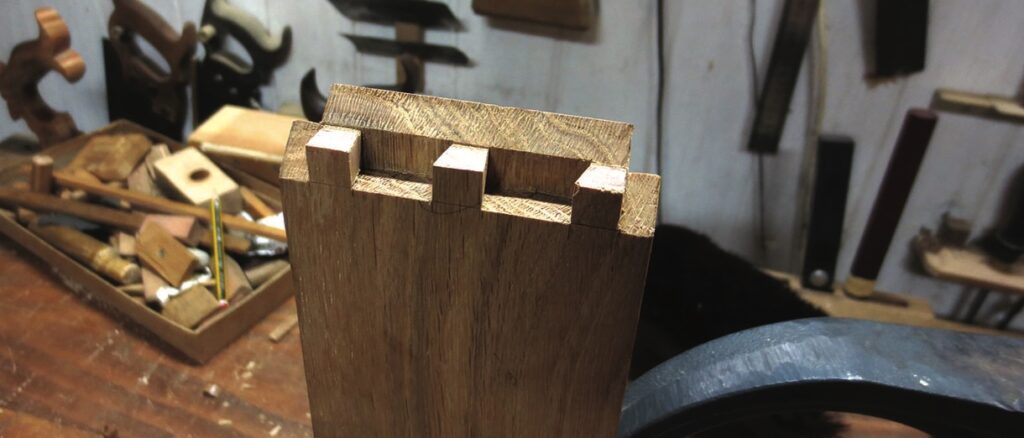
Secret mitre dovetails
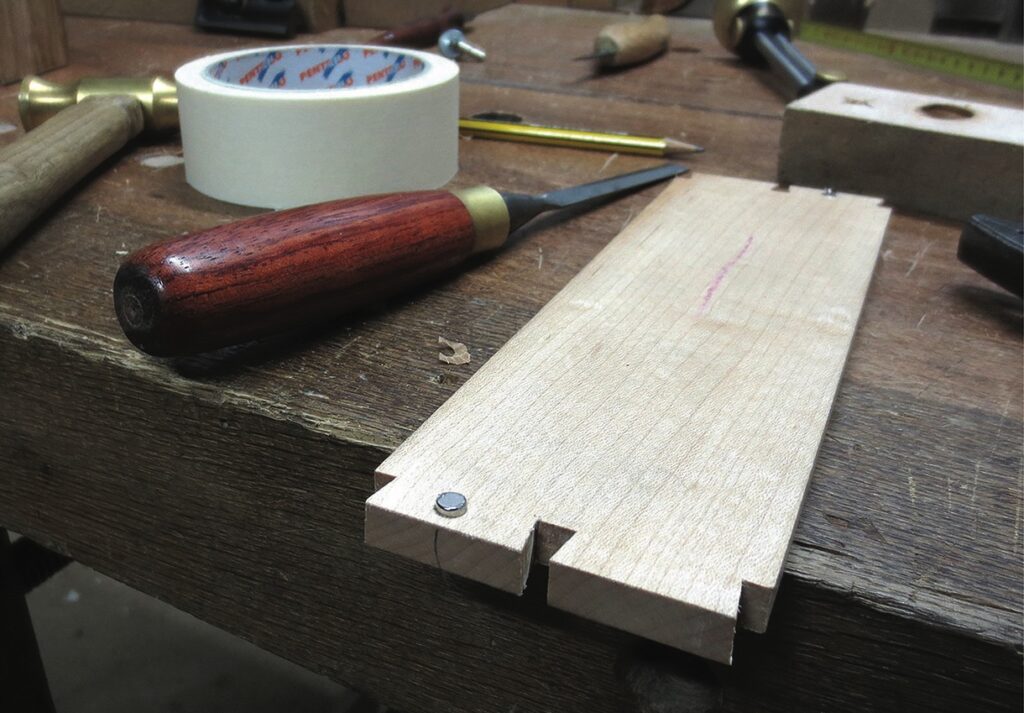
When I cut dovetails my preferred method is to start by cutting the tails and then use them to mark out for the pins. This process is reversed when it comes to secret mitred dovetails. After these are completed, I start forming the mitres with my No. 62 plane, stopping just short of the knife line. Then carefully from one side and then the other, I chisel to the line. It is important to check the mitres as you are working on them as it is almost impossible to close even the slightest gap through clamping. When the mitres are done you can turn your attention to producing rebates for the maple detail line and grooves on the inside faces for the tray runners and the bottom of the boxes. The bottom is made from quartersawn red cedar, which is difficult to leave a mirror finish on given its soft grain and the silica in its cells.
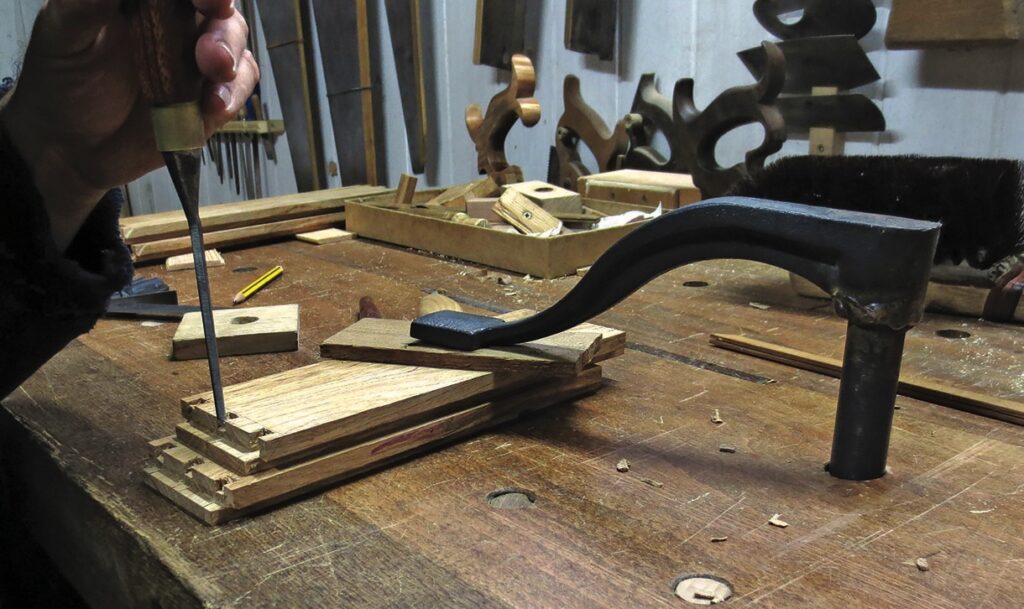
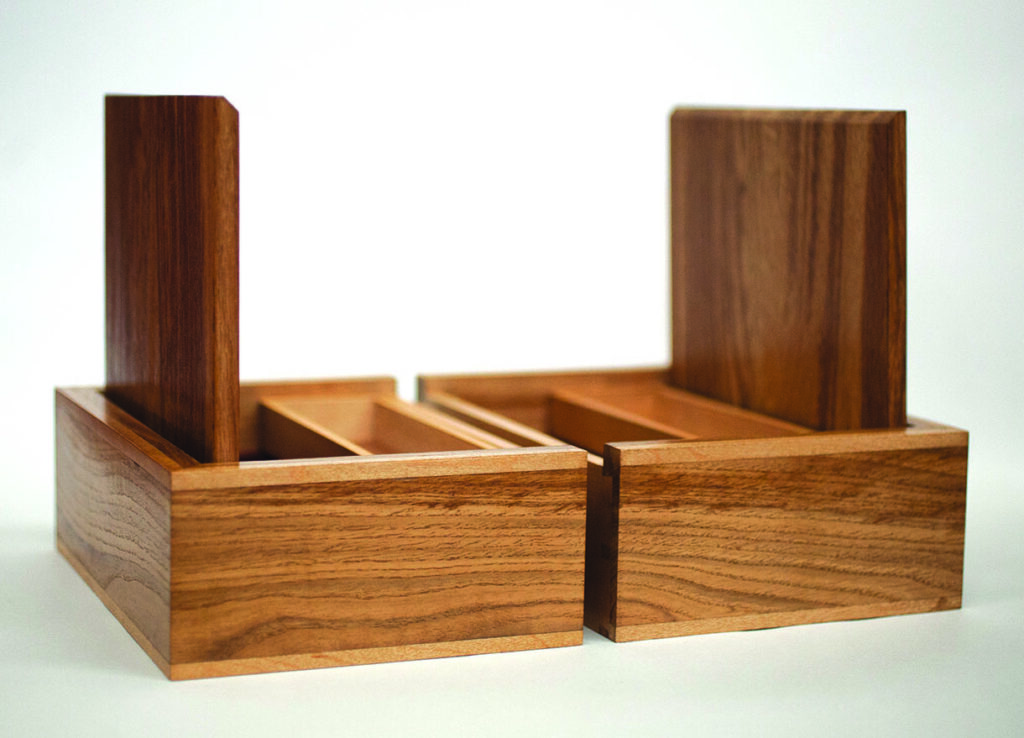
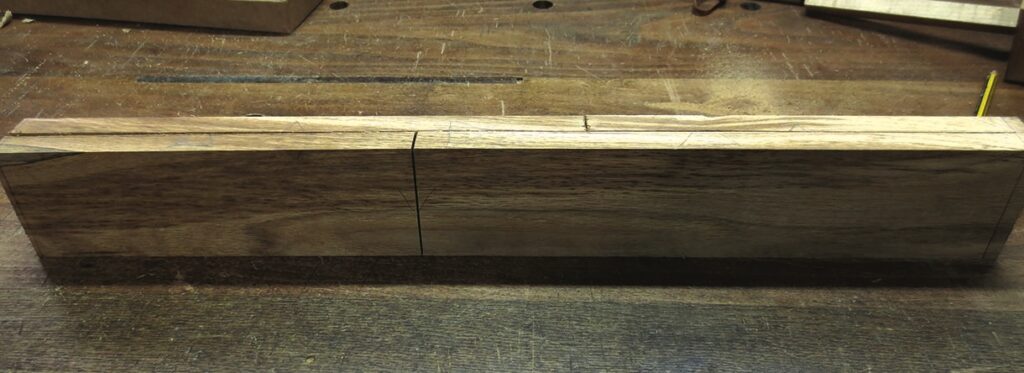
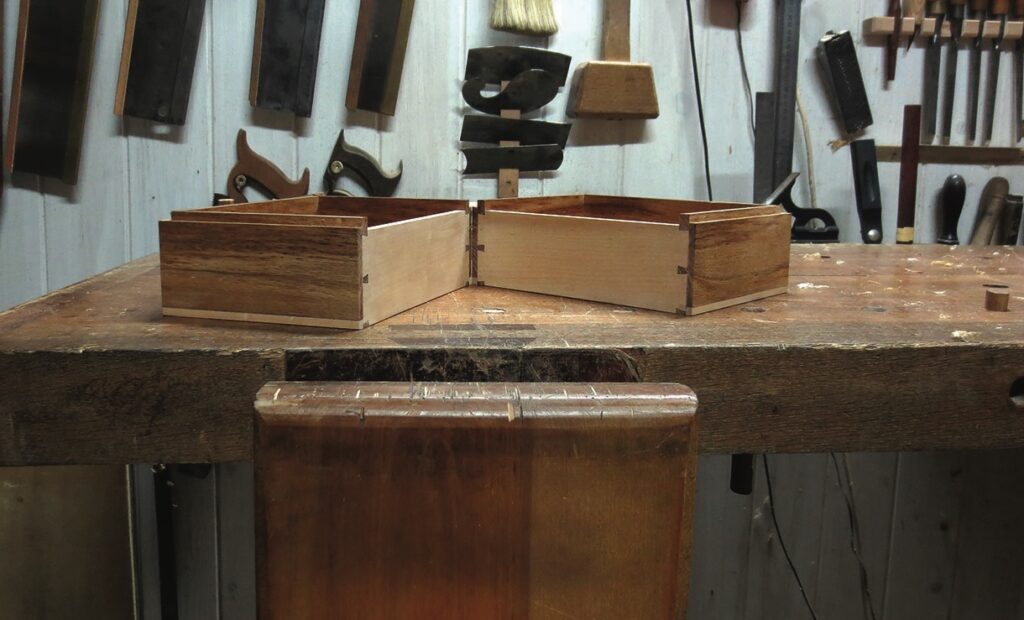
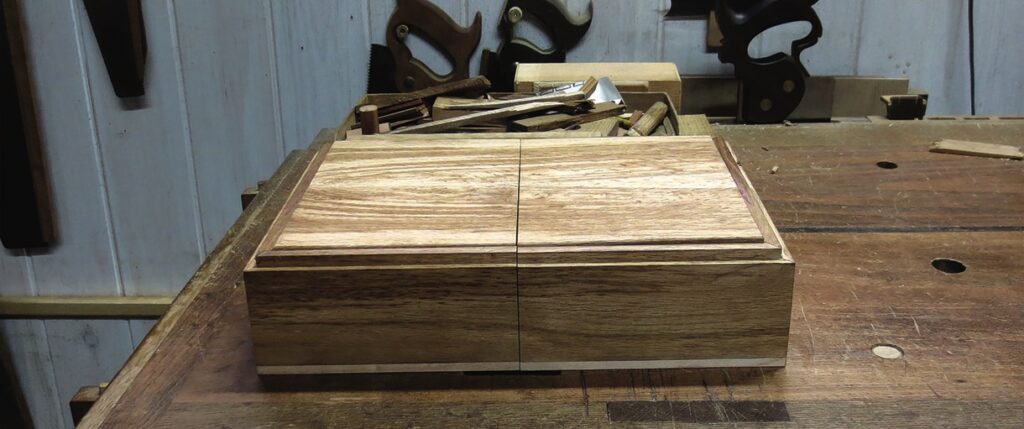
Making two boxes from one
Given that I wanted to make something different, I decided to cut the box in two equal parts so I could have two boxes that look like one box when they are together. I used half-blind dovetails on the mating sides of the boxes and added four rare earth magnets behind the tailpieces in order to hold them together. This part has to be done carefully so that the grain continues the same; you don’t want to remove a lot of wood as that will affect the flow.
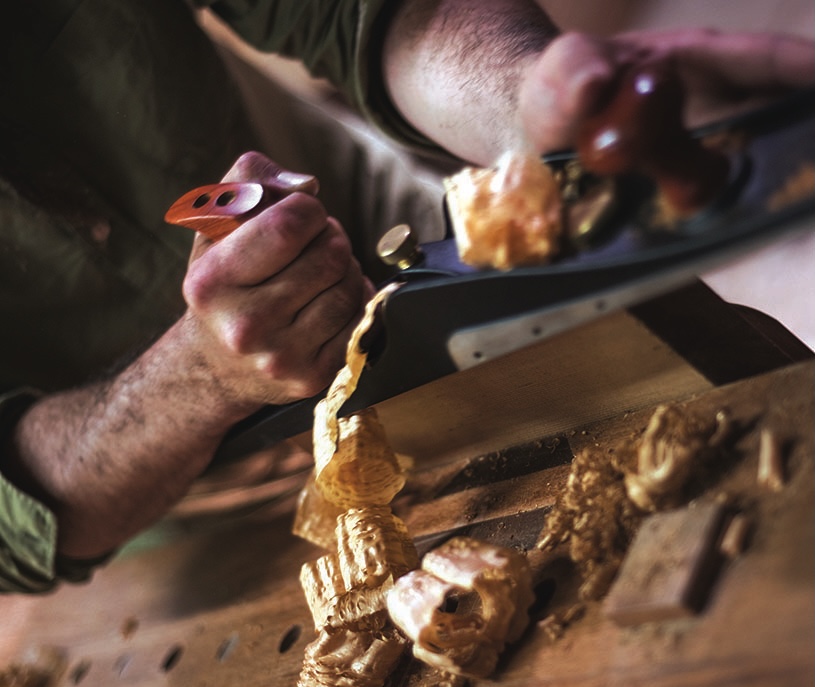
Planing difficult soft grain woods
I normally use quartersawn red cedar for most of the bottoms of my drawers or boxes, however, I have always failed to get a mirror finish in red cedar using only hand planes. Red cedar contains silica in its cells, so hand planing it makes the iron dull in a few strokes. Instead, I use a bevel-up plane, with an A2 steel blade and plane the wood normally, then before the last strokes I sharpen the blade to a very nice edge with a 10,000 grit stone to achieve that mirror finish. Very little ‘dangerous’ dust is made while planing compared to using sandpaper, which is the most common way to deal with red cedar.
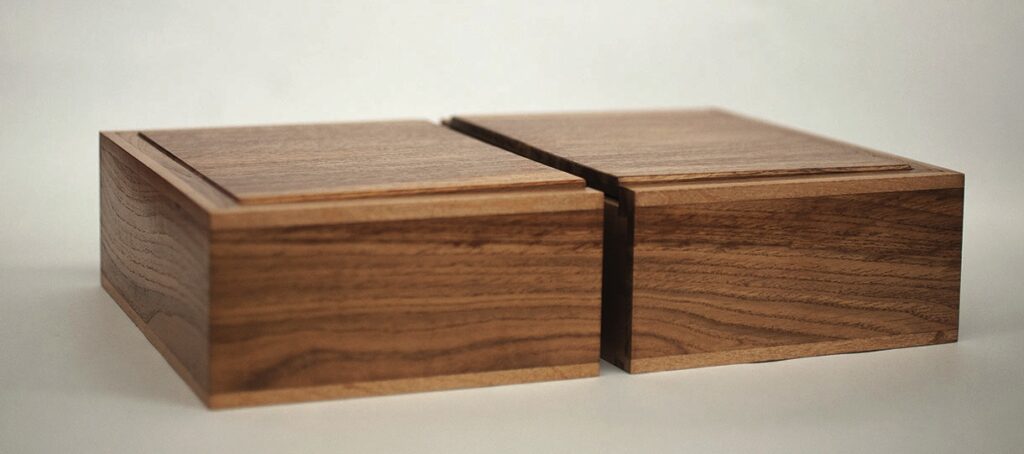
Making the lids
The pivot hinges for the two lids are hidden. As you can see, the grain of the lid flows with the grain of the sides. This means that, with the wood movements, the lid could be stacked in the box. For this reason you have to know how your wood will behave when the box is finished, in this case given that the moisture in my shop is very high, I made them very tight, so they will shrink a little bit in their new home and therefore leave a small gap between the sides and the lid.
Cutting the lid in two parts with a continuous grain pattern was done in exactly the same way as dividing the sides in two. The box is made so that it has to be separated in order to open it. Chamfers are cut along the bottom edge of the lids to make them easier to open when the boxes are apart. The lids were given a coat of shellac before fixing to the box as access to all areas afterwards would not be possible.
Adding interest to your piece
In order to add interest to the piece, I added quartersawn maple edge inlays to all the box edges (top and bottom). I made all the strips with two sides exactly at 90º to be able to glue them to the sides. Once they are glued in to the box I hand planed them to get a nice smooth surface, being careful not to touch the lid which was already finished with shellac. These pieces also allow me to hide the brass pins that will act as the lid pivot hinges.
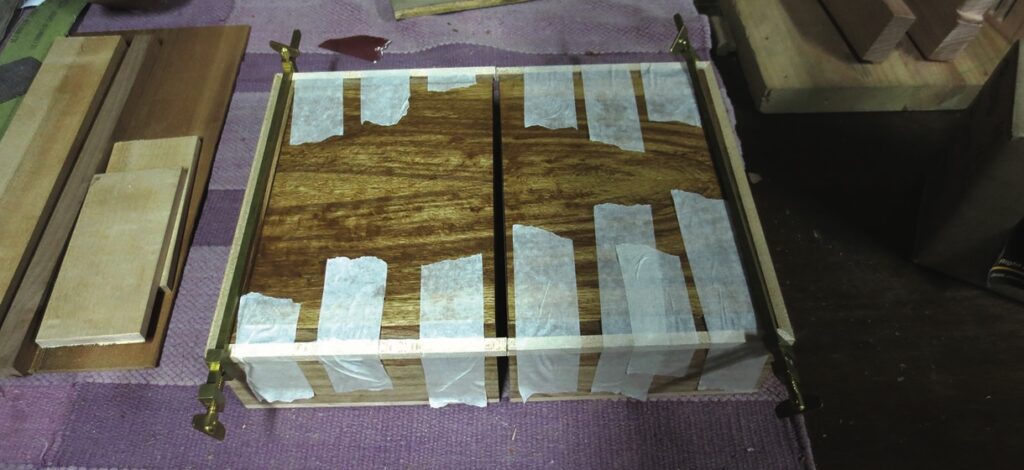
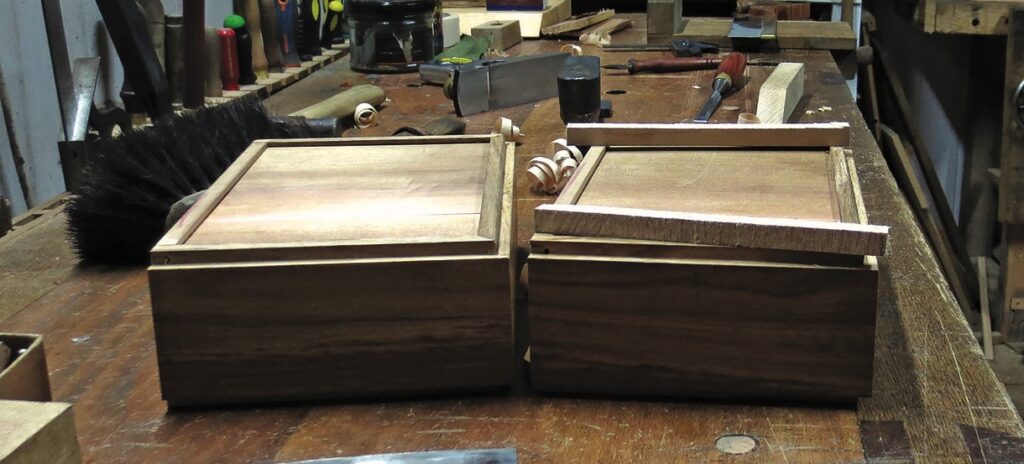
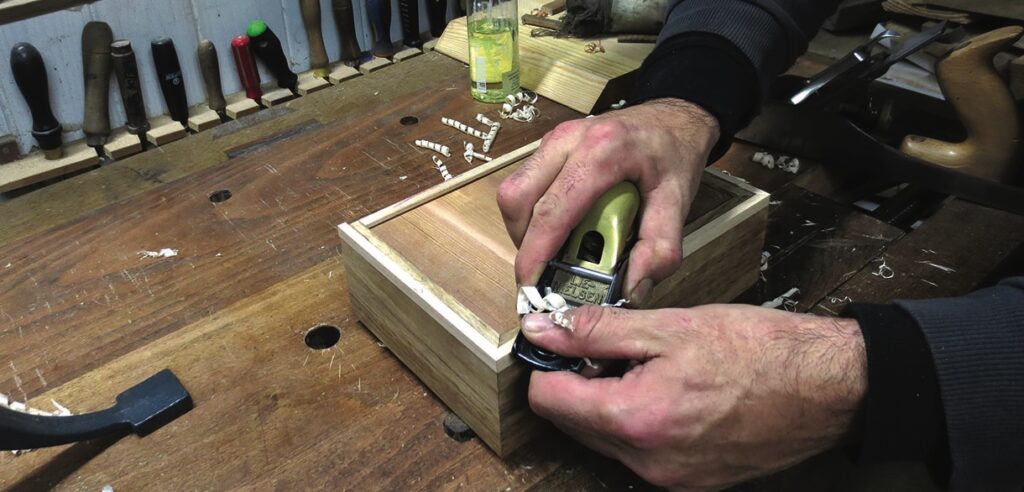
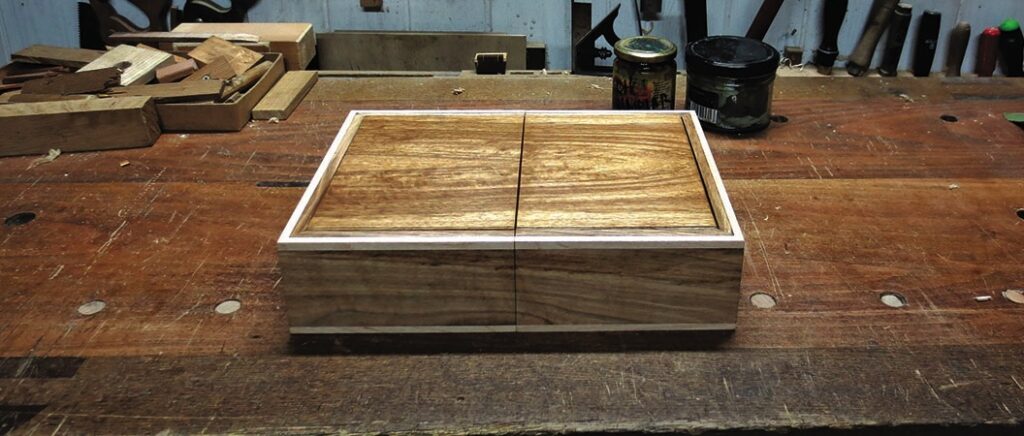
Photo Credits
PHOTOGRAPHS BY JAN LENNON