One of the skills that has rather got lost is planing accurately by hand, we show you how to do it
In this article we show how to flatten the face of a board by hand. You can do the edge planing later, but the board faces need to be dealt with first of all.
Flattening
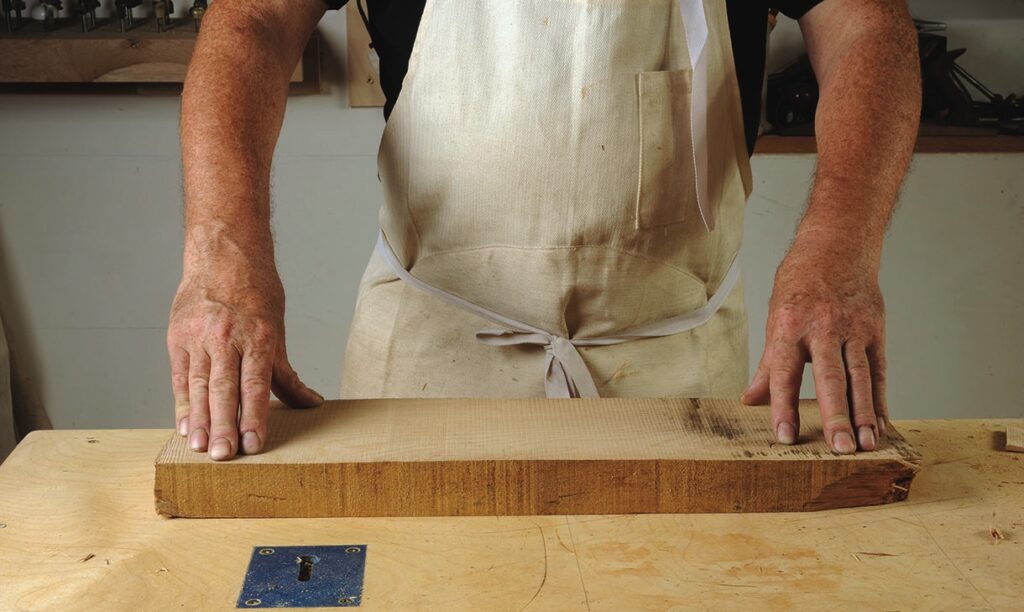
Flatting a board can seem very off-putting, but you just need to understand the process. First of all choose a flat level surface, like a good solid workbench. If the top is flat and level it can be used to help assess how level the planed board actually is.
Next you need some means of clamping the board on the bench top. Bench dogs are ideal, but you could pin several thin battens to the bench arranged so they hold the board. If the board rocks then place a slim wedge under the high corner to steady the board.
Working with the grain
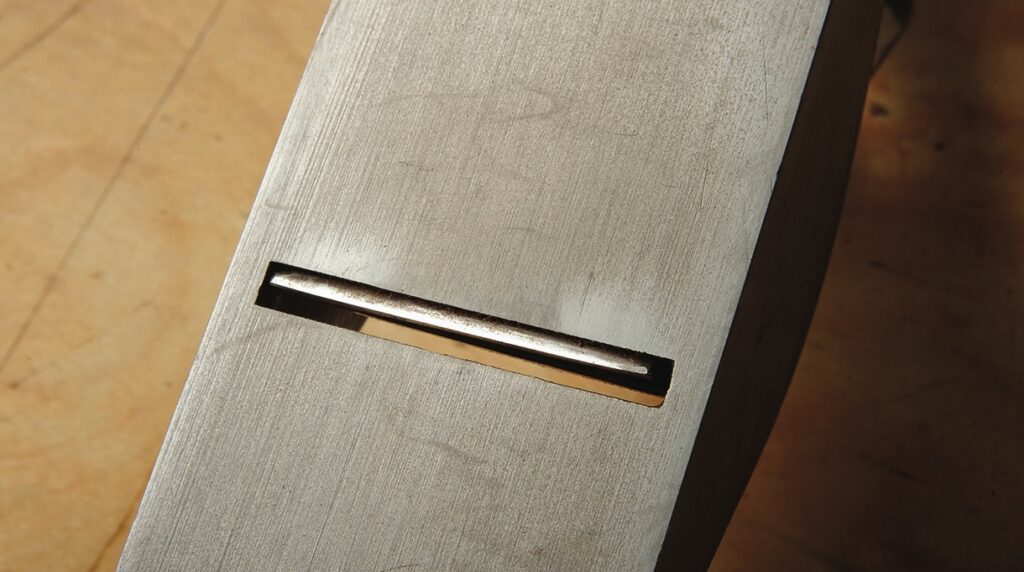
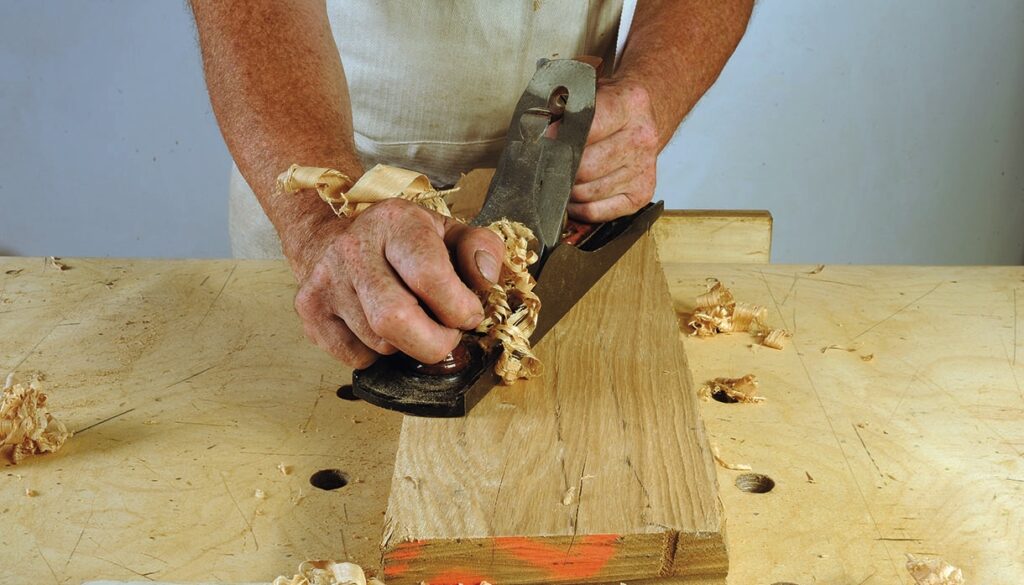
It’s a misconception that a handplane, in this case a No.5 jack plane, is always used ‘with the grain’. In fact, if you need to level a sawn board and end up with a smooth face, you need to work perpendicular to the grain. To do this you need a sharp blade with a slight camber so it can’t keep digging in and getting stuck.
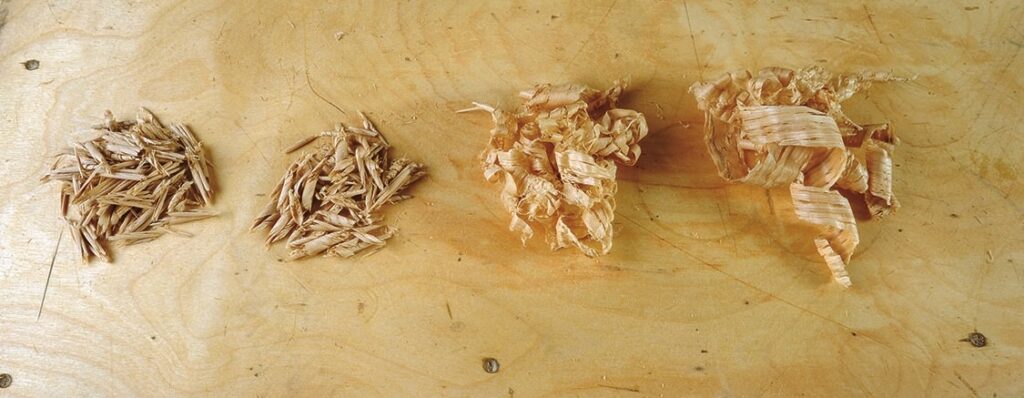
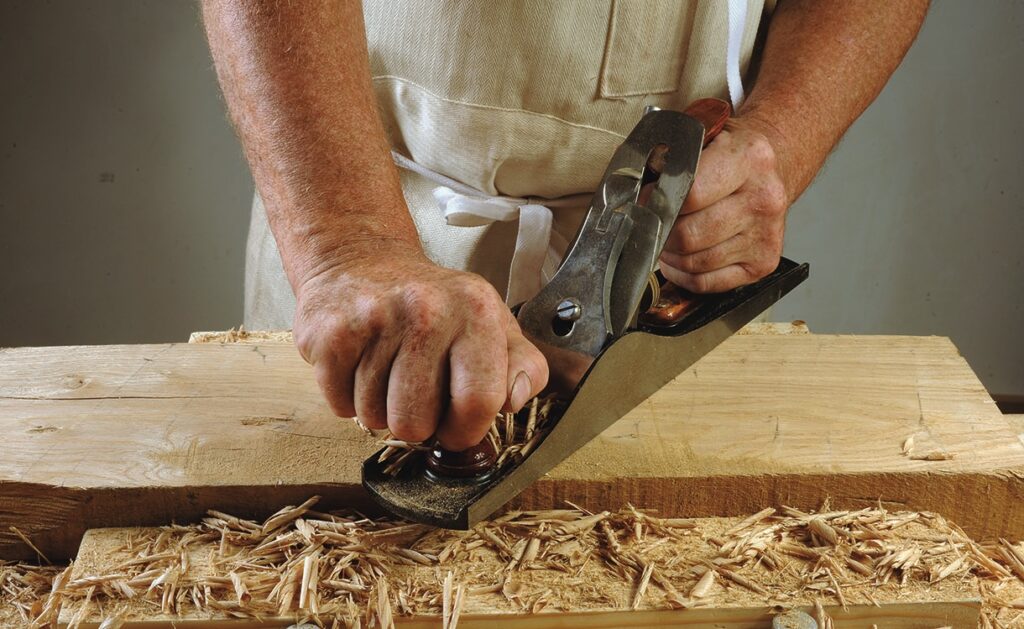
With the blade set so most or all of the blade projects, proceed to plane cross grain working along the length of the board. After a while the shavings will become more even in quantity as the sawn roughness disappears. Keep repeating this process until the entire surface is becoming reasonably even in appearance. Turn the board around partway through the process to help even it up.

Now change to diagonal strokes of the plane, unlike working cross-wise the shavings become longer slices but working at an angle to the grain is still relatively easy to do. Again turn the board around to even up the cuts made by the plane. Every now and then sight along the board to see how level it is and remove any obvious high points.
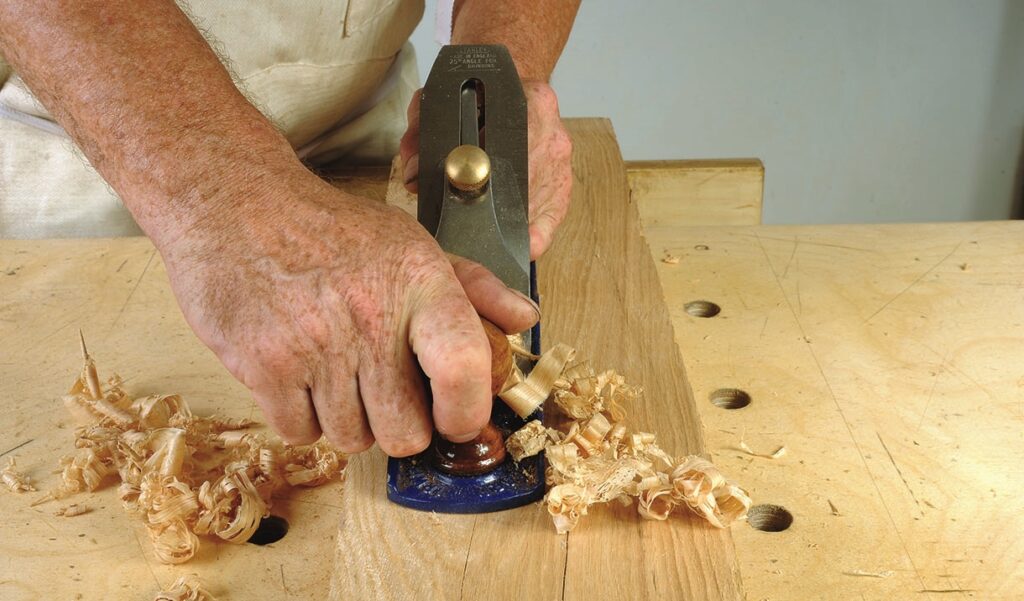
Now change to diagonal planing working with the grain. If it is a large board and the blade has lost its keenness you may need to quickly hone the edge before continuing. Adjust the blade projection as necessary for even smooth cutting as it may not need to be out quite so far. The cambered blade will create slight scoop shapes which will be corrected.
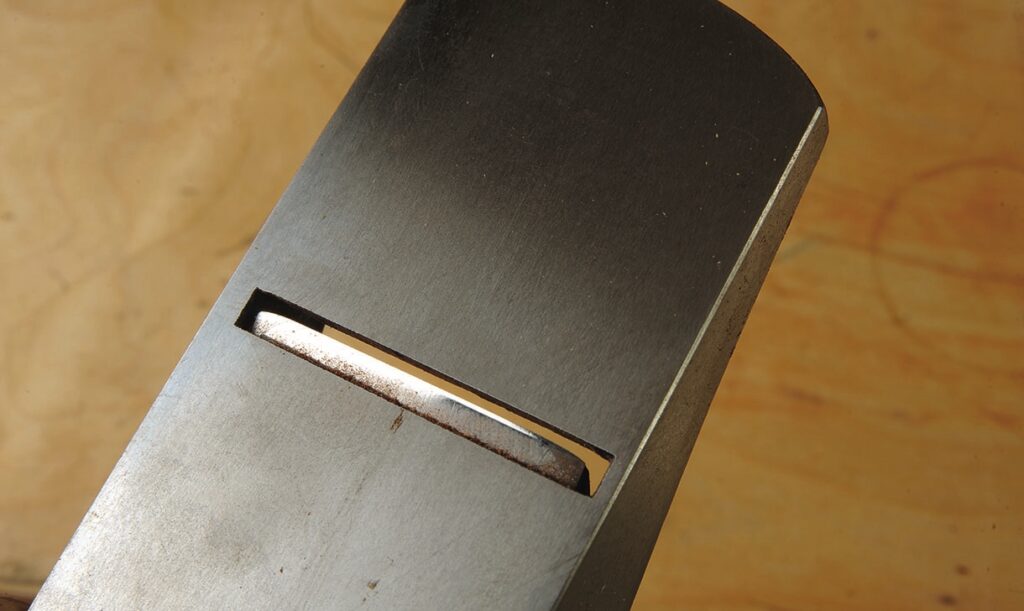
Finally, swap the No.5 Jack for a shorter No.4 smoother; this will ride more easily over the slightly uneven surface. Its blade is sharpened straight across, but the corners are curved upwards slightly on the sharpening stone so it can’t dig-in and create score lines in the board. You must sight along the board to check the surface is level and not twisted. You can use two identical sticks with ends painted white and called winding sticks; sighting along them will show any wind or twist in the surface.