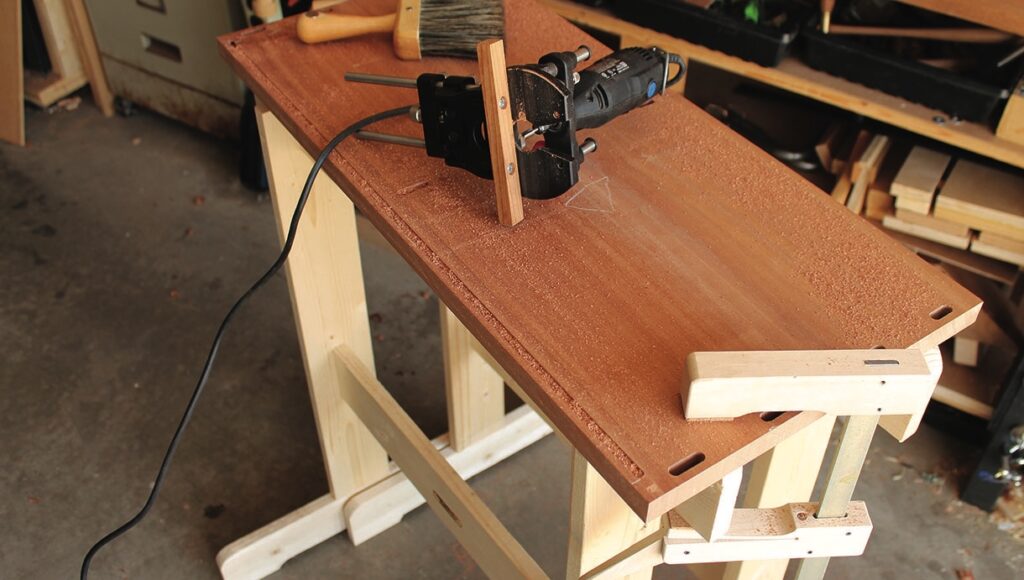
Charles Mak hand cut the wedged variant of a classic joint to build a pair of sturdy and versatile sawhorses
My first pair of sawhorses – which I still have somewhere (disassembled) in the storage shed – is made of short and long 2 x 4 studs held together in sawhorse brackets. Due to its large footprint, it rarely sees any action, mostly replaced by a sleeker foldable work stand. I set out to build a new pair that is sturdy, lightweight and easy to store. The new ’shop companions will be multi-functional, serving, for instance, as a temporary lumber rack, an outfeed stand, a portable work support and much more.
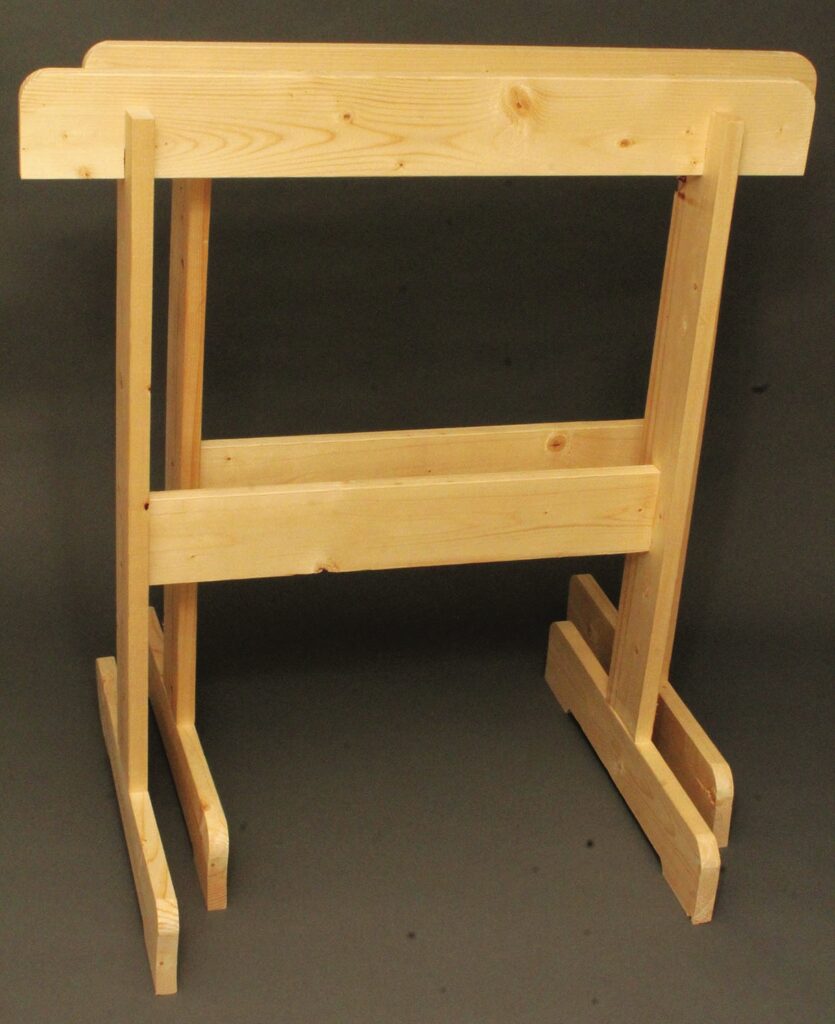
Among all the designs I have looked into, the built-to-last Krenov-style sawhorses most fit the bill. The Krenov design stands out in its simplicity, durability and aesthetic appeal. Its structural design allowed me to use spruce, an economical soft timber, instead of hardwood. To make a pair of sawhorses in spruce, I spent no more than £12, with some material left over for a utility project.
Most Krenov-inspired sawhorses I have seen were made by their owners using a combination of machine and power tools. There is nothing wrong with that, but I would love to build a copy closer to Krenov’s in spirit – using hand tools. I also chose the same joinery as his – mortise-and-tenon joint and saddle joint. If you have £12, a basic set of hand tools and some shop time, join me and handcraft a shop fixture that will serve you well for years to come.
The Krenov sawhorses
This style of sawhorse is used extensively in Krenov’s furniture programme at the College of the Redwoods. Students are encouraged to add their own flair to the original design when they build their copies.
I custom-sized the sawhorses to the same height as my foldable work stand. For the stretchers, I chose a double wedged tenon joint, not just for strength and appearance, but also for the satisfaction that I would derive from executing it by hand. Lastly, I curved the top corners of the top rails and bases for a nicer feel.
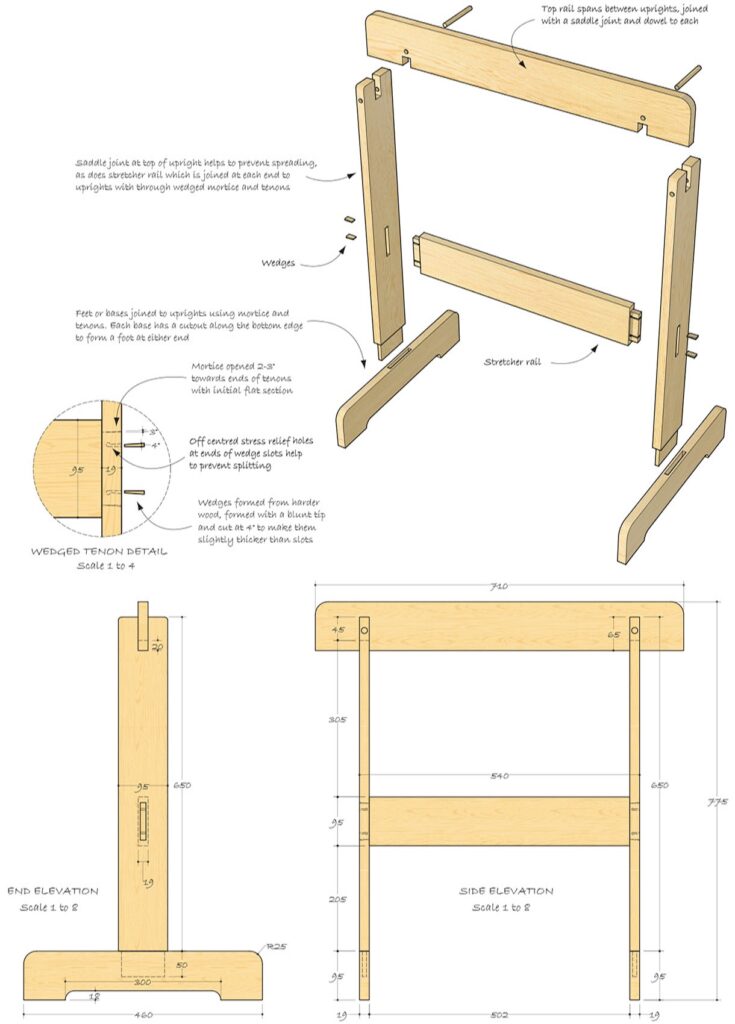
Dimension plans
Top tips
Planning the methods of work
’Shop productivity is not just for those who do woodworking for a living. We often get better results when we learn to work with productive methods, such as gang-cutting the tail boards. In this project as in others,
I followed some fine woodworking practices.
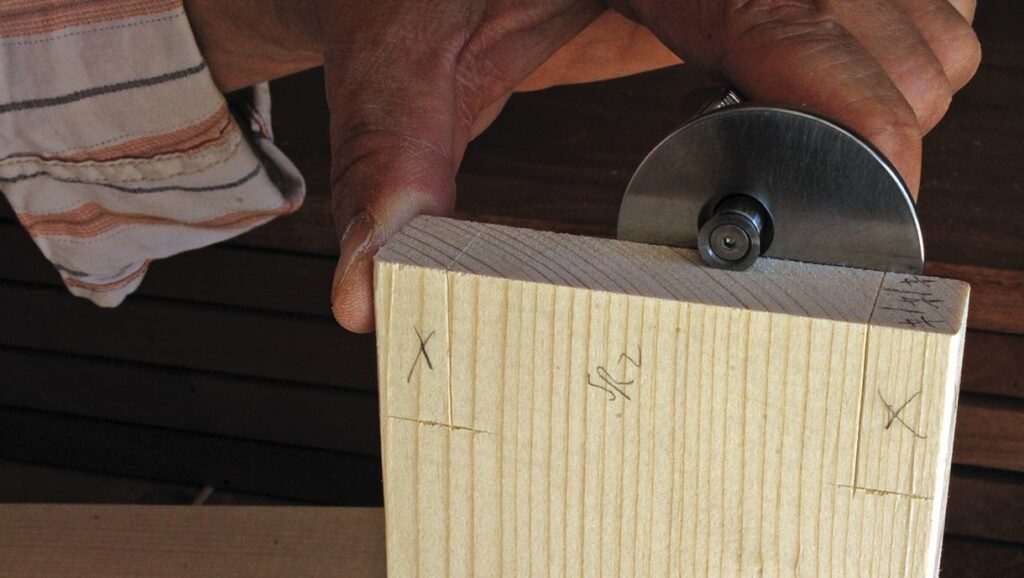
First, I set all the mortise-and-tenon joints identical in width and thickness, allowing me to use the same set of tools and settings to cut those joints. I also use multiple marking gauges for layout work to avoid resetting
the gauges for different measurements. When marking the identical members such as the bases, I gang-scribe them together, ensuring all the joints are cut identically.
Finally, open time, or the lack of it, is a common cause for glue-up stress. Gluing up the whole assembly in one go – involving three different types of joints – will not be my method of choice. I break down the assembly into sub-assemblies to guarantee a successful glue-up.
Laying out the stock
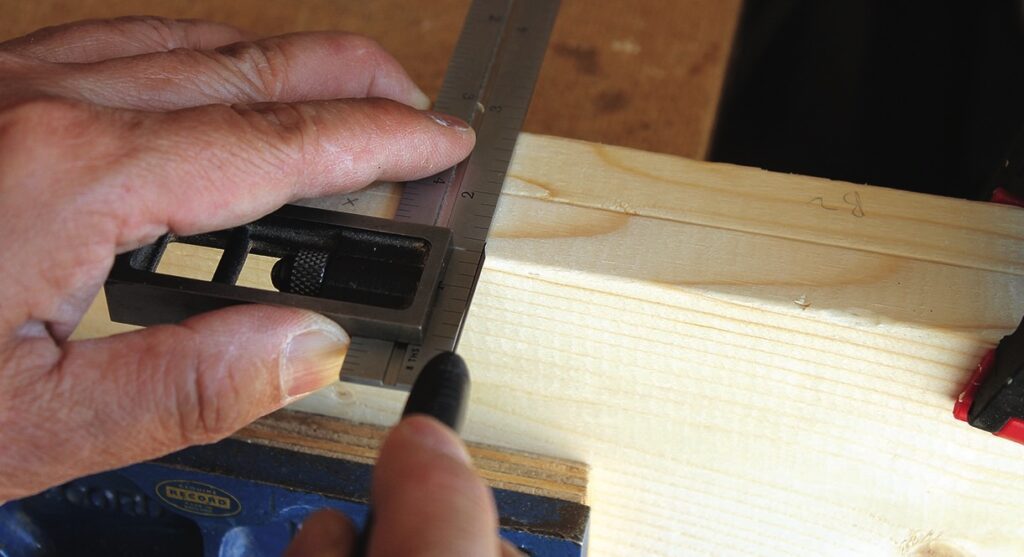
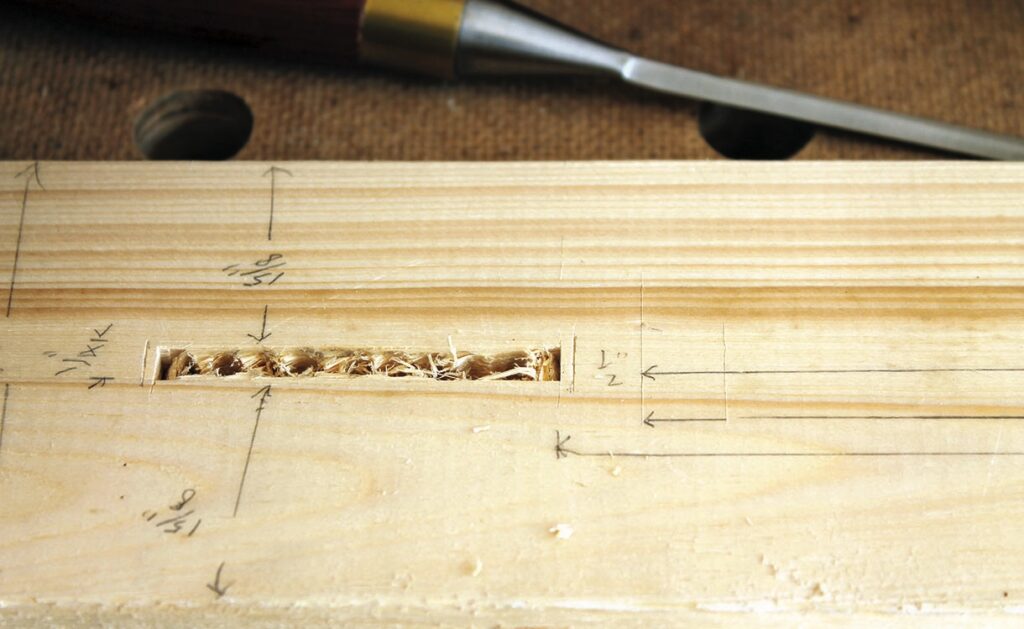
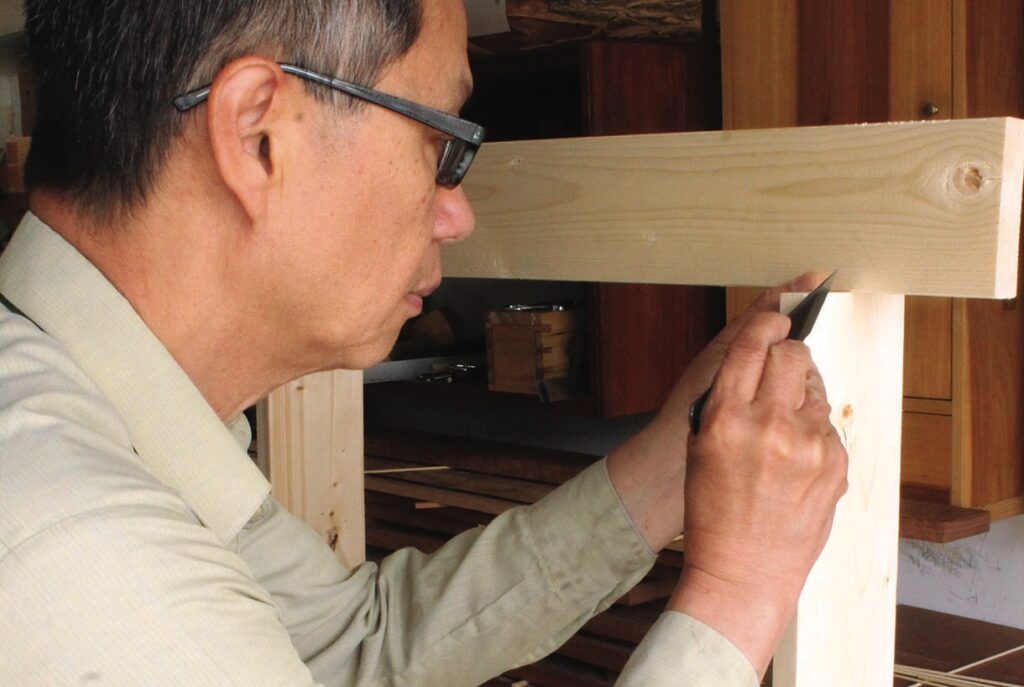
Start by cutting all the stock to size, with the stretchers being cut slightly over length for the protruded tenons. Mark out the blind mortise-and-tenon joints, following the ‘one-third’ rule of thumb. That is, a mortise or tenon should be about one-third as thick as the stock into which it is cut. This also means setting the tenon and mortise to the same width of the mortising chisel you will use for chopping.
For the double-wedged mortise-and-tenon joint, first mark out the tenons on the stretchers. Then transfer the tenon width and thickness to the uprights to mark the mortises. In the last step, extend each end of the mortise by about 3mm on the outside face of the uprights for the expansion slots.
The saddle joints are marked later after the sawhorse frame is cut and cramped together for the dry-fit.
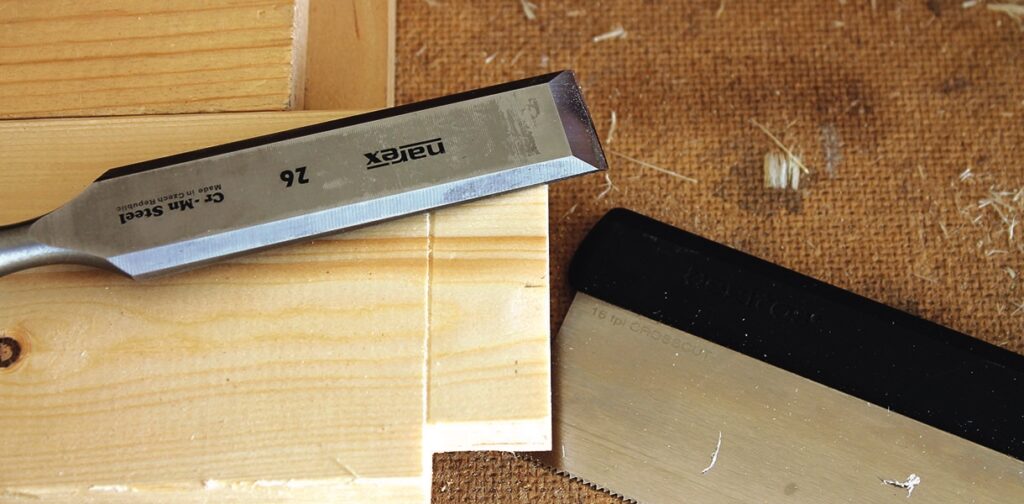
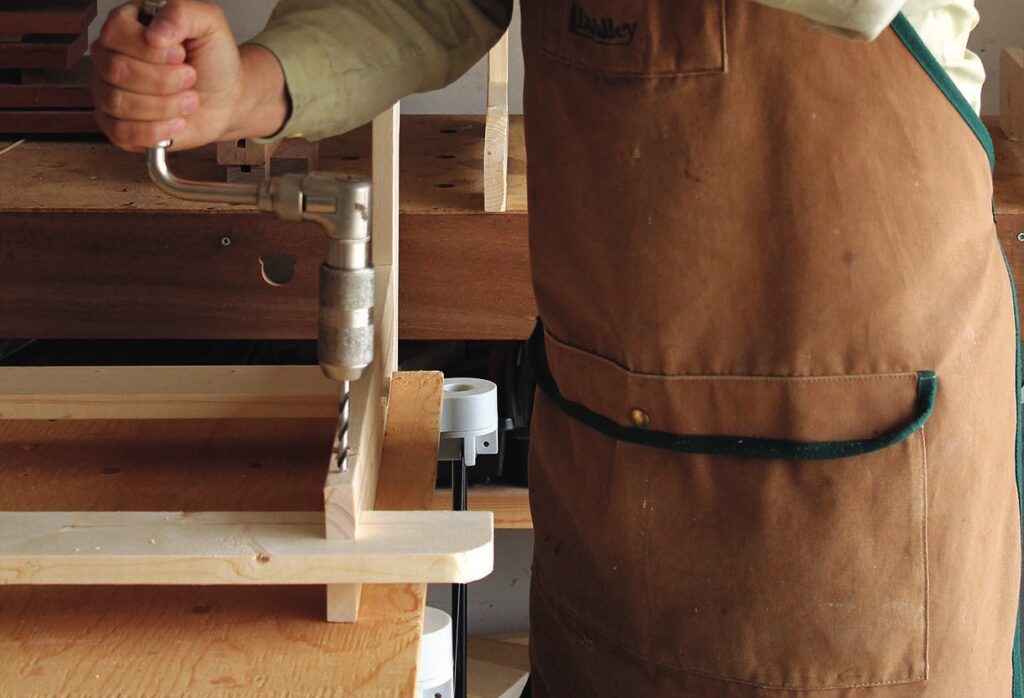
Cutting the mortises
Start with the blind mortises which are more forgiving, because if you overcut them, you can simply size the tenons to match the oversized mortises. The fix is invisible.
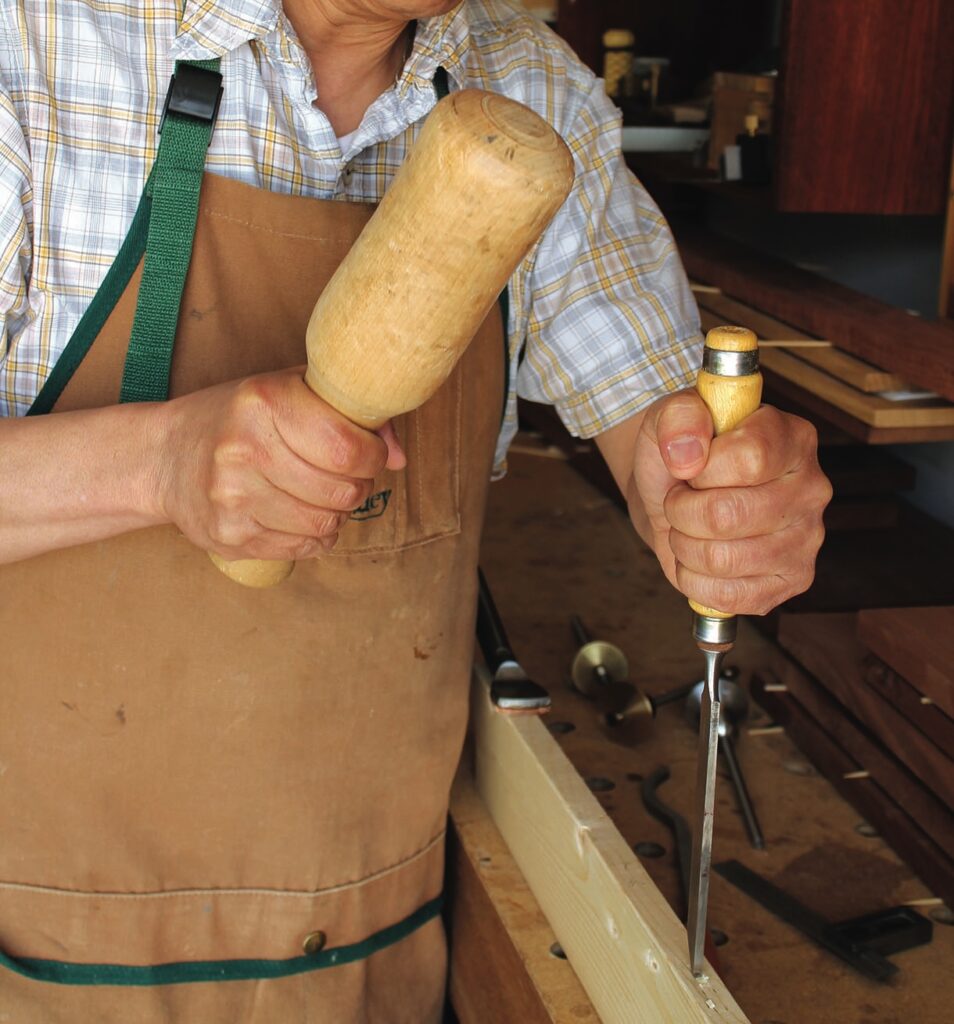
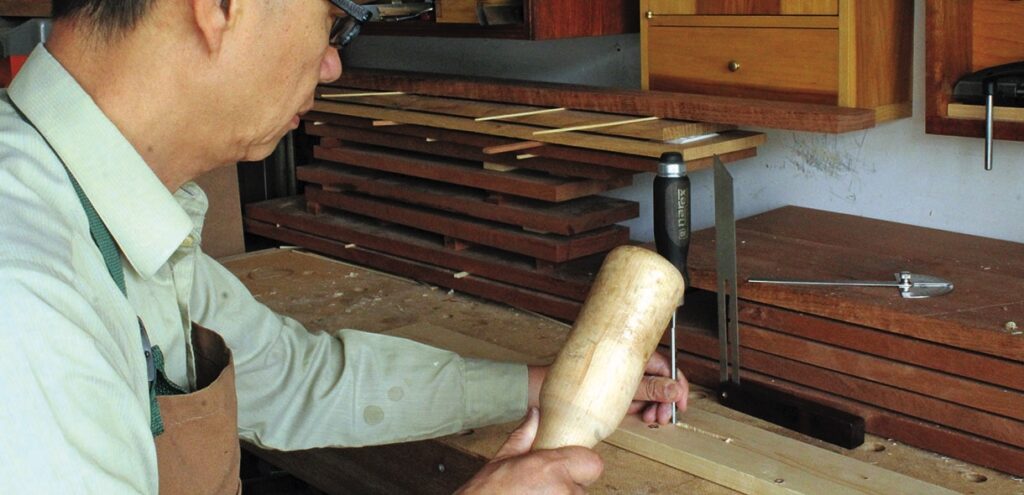
Now, chop the blind mortises with a mortising chisel. My usual approach is to define the ends first and then chop between the ends. The mortises are chopped slightly deeper to have a glue reservoir.
Mortises can also be cut using a bench chisel (see my article, ‘The modified Gottshall joinery exercise’ in F&C 263, for details). Under the bench chisel approach, begin with boring out the bulk waste inside the scribed lines. Then chop out the waste between the ends and complete the blind mortise by paring down the sides.
For the through mortises in the uprights, chop them in the same way, but from both faces, taking care not to bruise the ends or chop outside the lines. Always check the mortises for squareness when done.
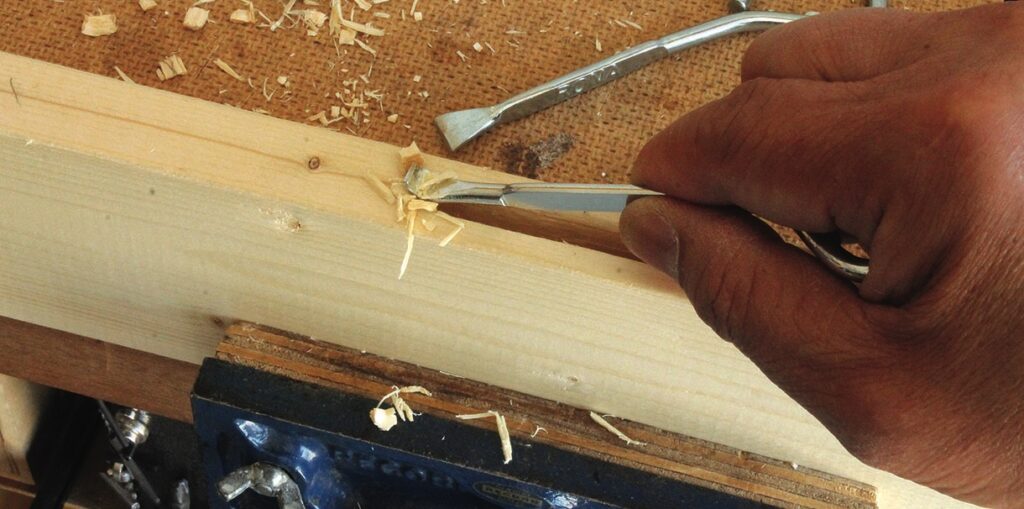
Lastly, on the outside face, chop back to the extended scribed line at each end to cut out the expansion slots. It is important to leave the bottom section of the expansion slots square. The square sections keep the tenons square to the mortises when the stretchers and uprights are put together.
Cutting the tenons
Before you cut any tenons, check the tenon layouts against the actual mortises to determine how close you should saw to the scribed lines on the tenons. The tenons are cut to the same thickness as the width of the mortises.
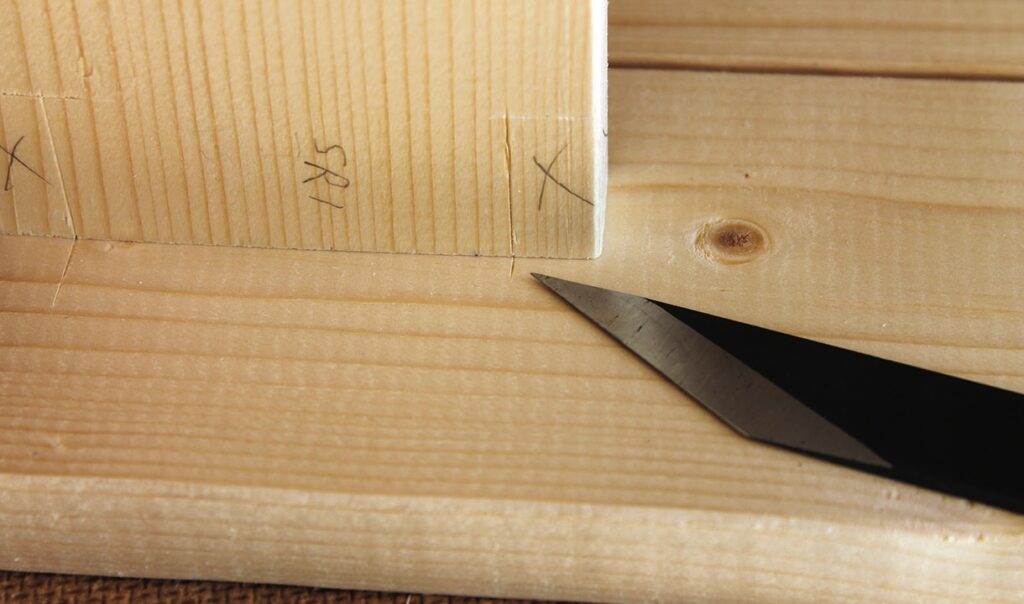
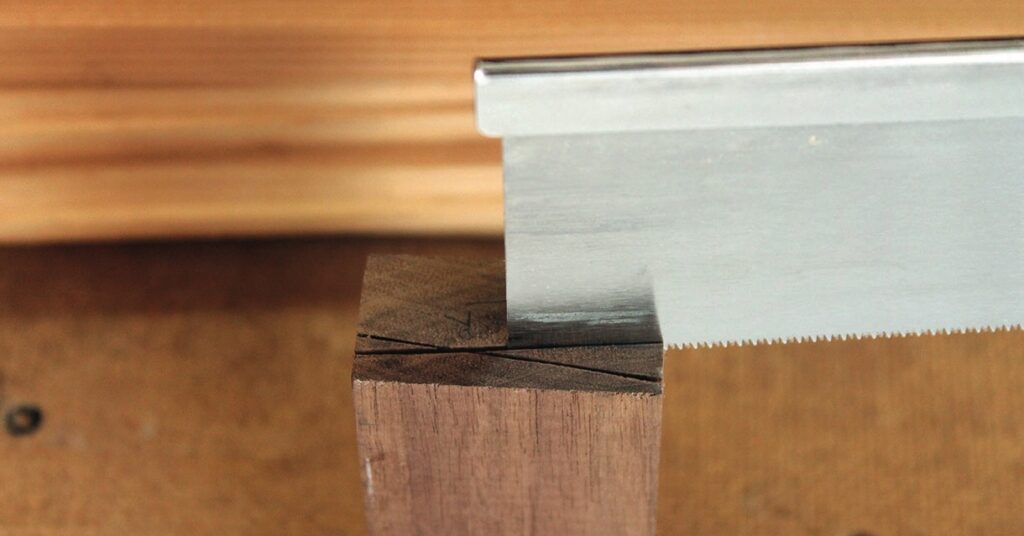
To cut the tenons on the uprights, first pare a knife wall on the shoulder line on both faces and then saw the shoulders. After sawing the cheeks close to the lines, re-mark the tenons and saw the widths. Lastly, fine-tune the joints and slightly chamfer the top of the tenons for ease of insertion.
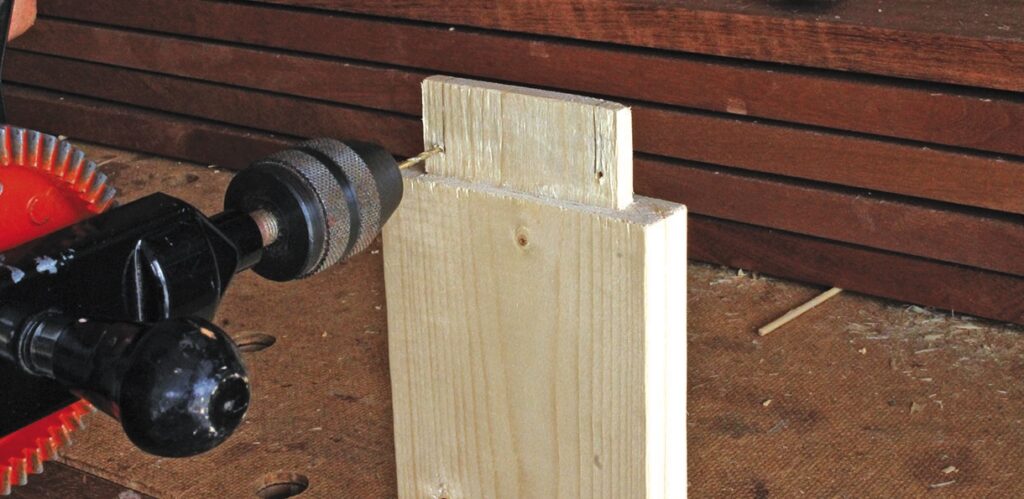
Repeat the same steps to cut the tenons on the stretchers. Then, drill stress relief holes on the stretcher tenons and saw wedge slots in the tenons. Some prefer to drive the wedges into the expansion slots outside the tenon, without cutting any wedge slots. But I find joints wedged in that manner end up less appealing in appearance.
Cutting the wedges
Don’t overlook the details of a proper wedge (see wedged tenon detail on drawing above). First, choose a harder wood to make the wedges so they can withstand the pounding. I used walnut to contrast with the light-coloured spruce. The size of the wedge matters. The wedge should be as wide as the tenon, and long and thick enough to allow it to force the tenon to flare into the expansion slot upon tapping. Now, make enough wedges and pare the sharp ends blunt.
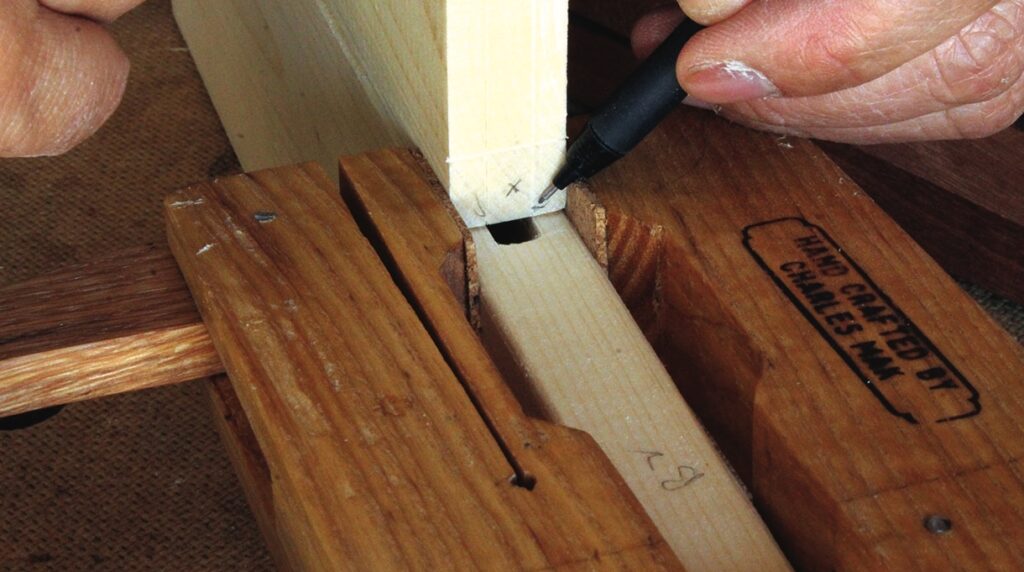
Cutting the saddle joints
The notched top rails are seated in corresponding notches in the uprights. Some sawhorse makers screw the rails to the uprights, but I prefer to use dowels which can be drilled out if the rails get worn and need to be replaced. In the first step, dry-fit the sawhorse with cramps and position the rail in place on the uprights to mark out the notches. Then cut out the saddle joints by sawing the two outside edges of each notch and chiselling out the waste.
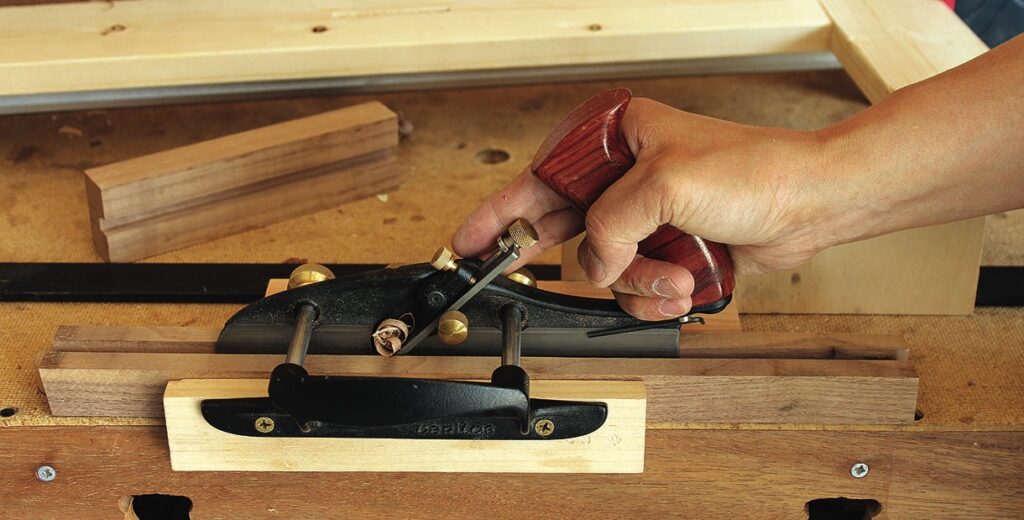
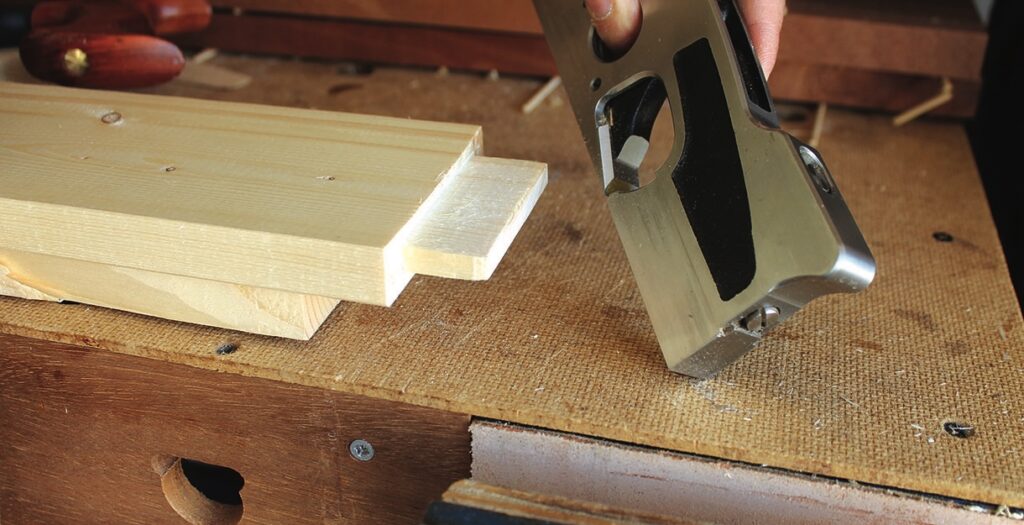
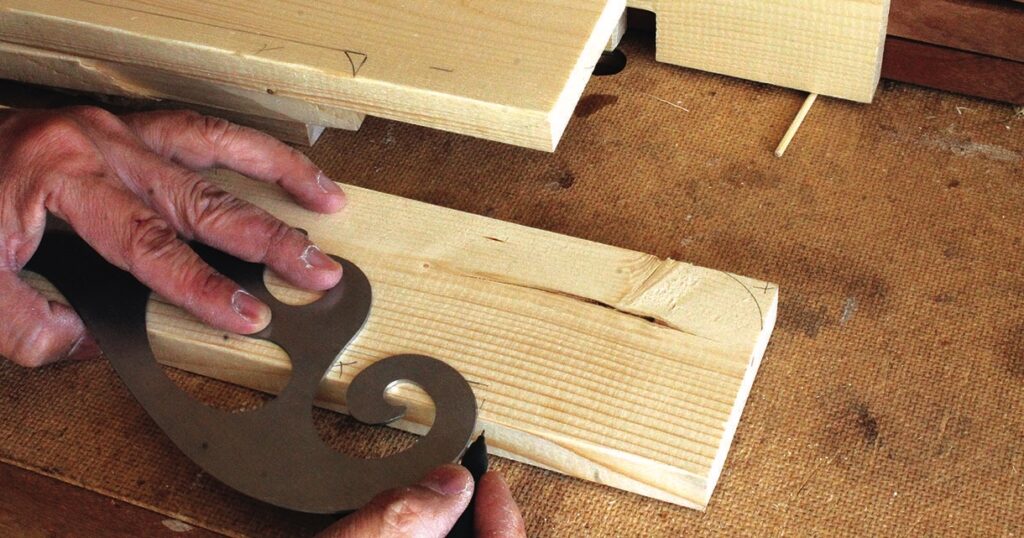
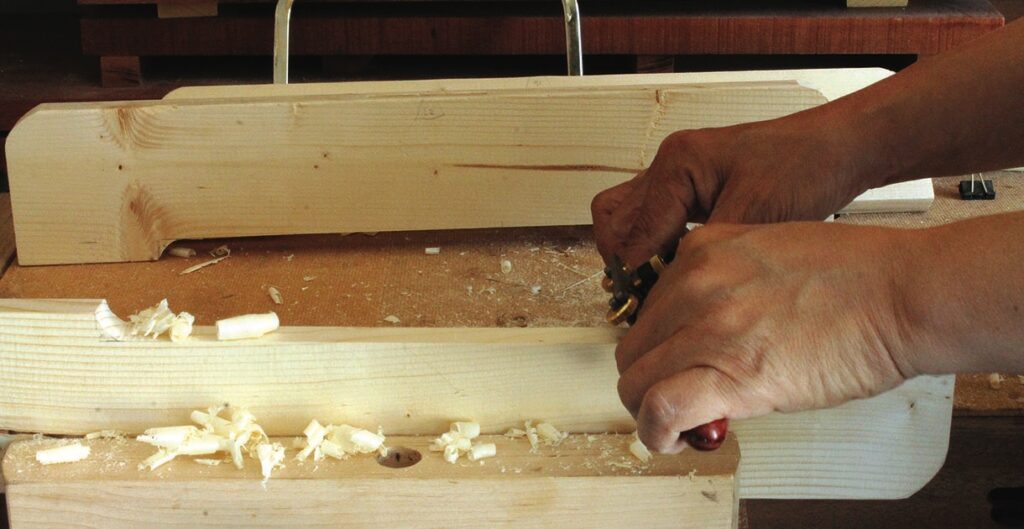
Shaping the rails and bases
’Shop floors are seldom evenly flat. To keep the sawhorses stable, saw a cut-out on the bottoms of the bases. Then shape the bases and top rails to suit your taste; round corners were my choice. Finally, break all the sharp edges and you are ready to do the final
dry-fit.
Assembling the sawhorses
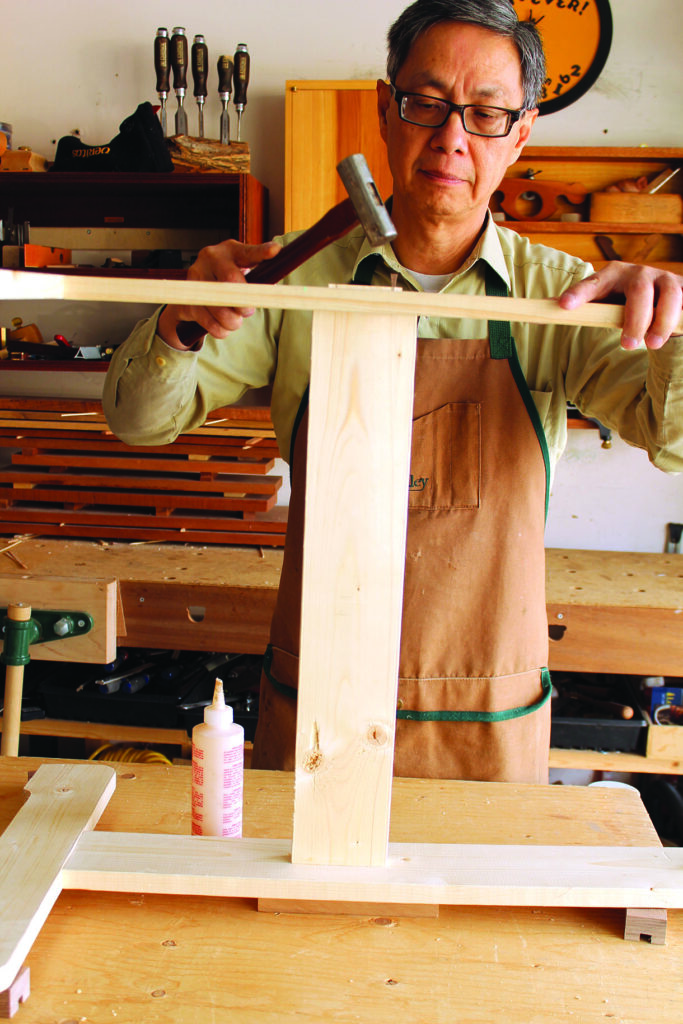
For a stress-free glue-up, complete the assembly in several stages, giving yourself plenty of time to take care of each smaller glue-up. In the first stage, glue and cramp the uprights to the bases and let the glue dry. Next, glue and cramp the stretchers into the uprights and, after the glue dries, drive the wedges home.
When hammering the wedges, follow the sound advice of Tage Frid and pound evenly on each wedge so they look nicely spaced. In the final stage, after the wedged tenons are planed flush, drill and dowel the top rails in place.
Because of their light weight, you can nest the sawhorses together and stow them on the floor or up on a table surface, without ever breaking your back. Every time you catch a glimpse of the wedged joint, it will remind you of this satisfying joinery work.
Krenov, master of the handmade, encouraged his students to have total emotional and personal involvement in their work. What better way to invest in that philosophy than to make a pair of his sawhorses – all by hand!
References
Frid, Tage. ‘Mortise and tenon’. Fine Woodworking Vol. 1,
No. 3. Summer 1976.
Jones, Derek. ‘Hang loose – the alternative approach to hand sawing’. Furniture & Cabinetmaking Issue 252. Winter 2016.