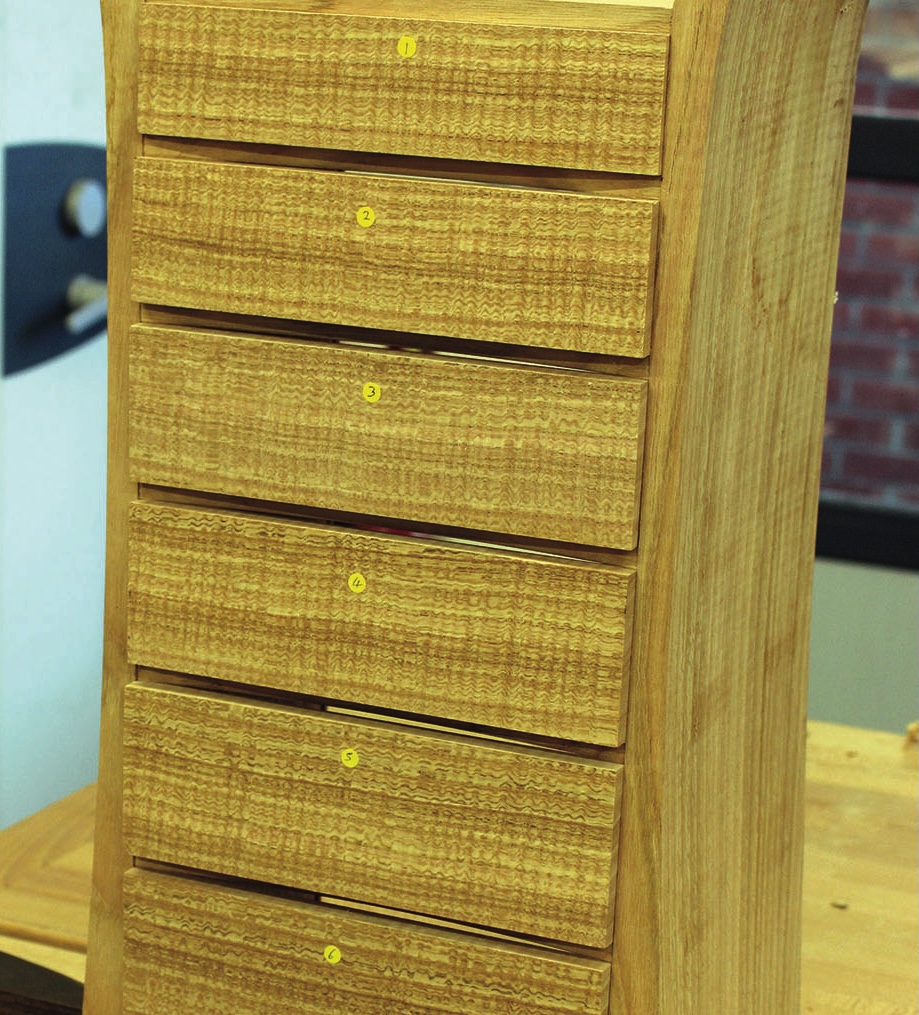
David Barron makes good use of a chestnut board with this small project

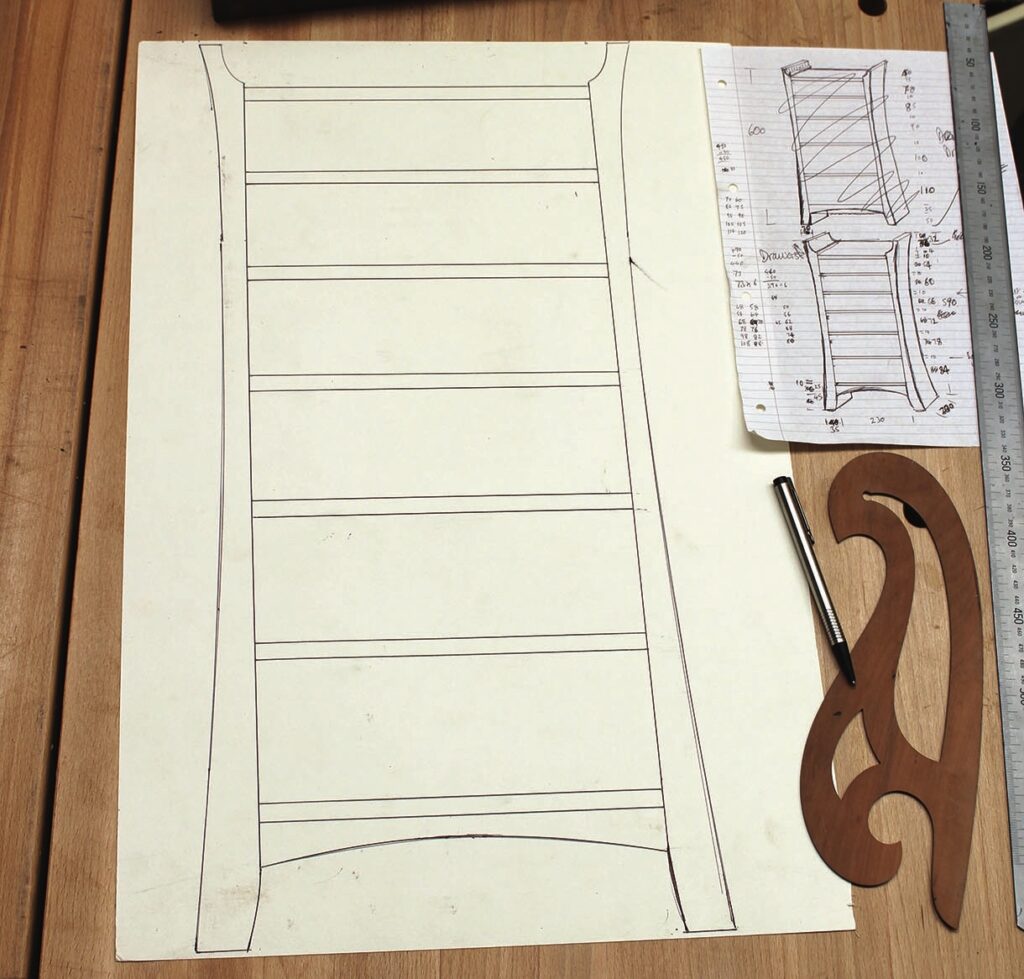
I don’t usually make a full-size drawing of my projects but I felt it was essential with this piece. It has lots going on with the shape and I needed to make sure the graduated drawers were in proportion. I’d had a board of quartersawn chestnut in stock for a few years and this seemed the ideal project. The board was purchased part-seasoned from Yandles. It measured 1800 x 250 x 76mm thick and I managed to use most of it on this small project, which was quite a surprise.
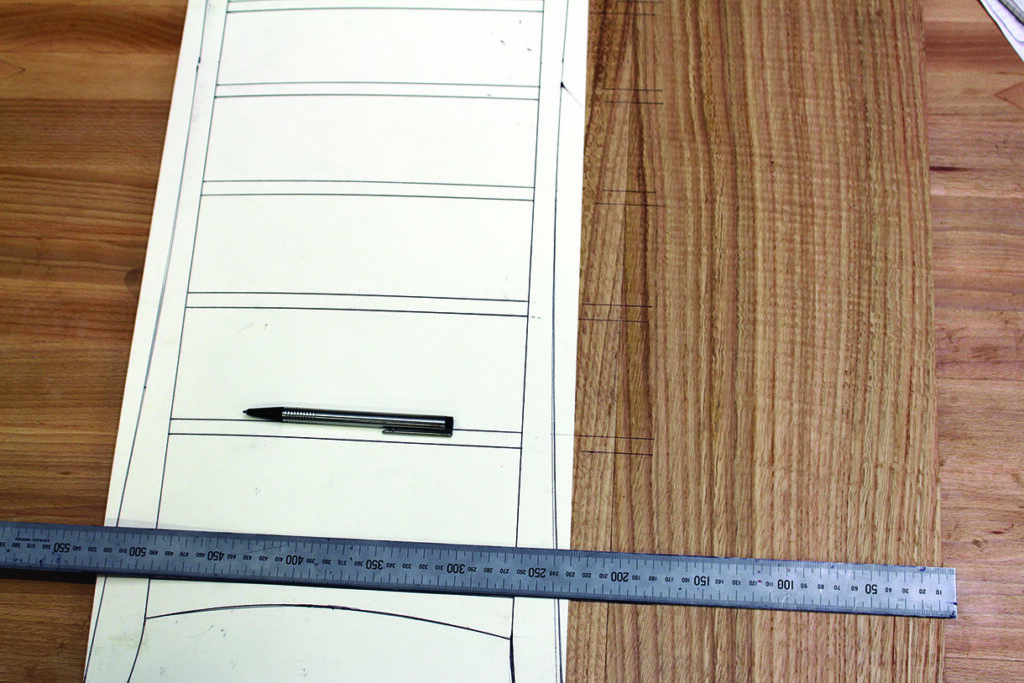
Used a full size drawing

Drawing

Cutting and marking
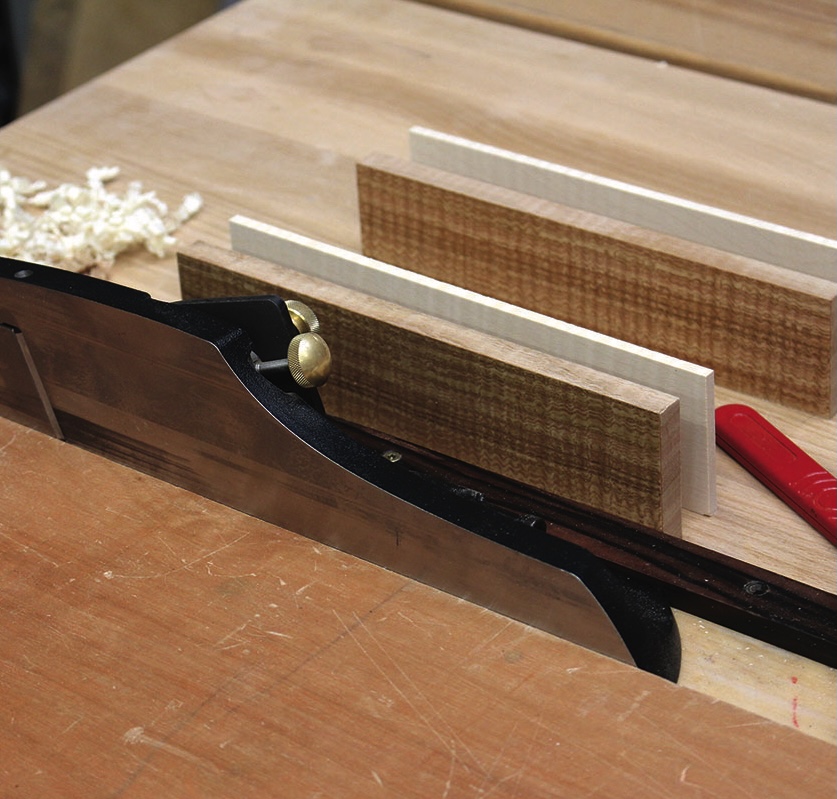
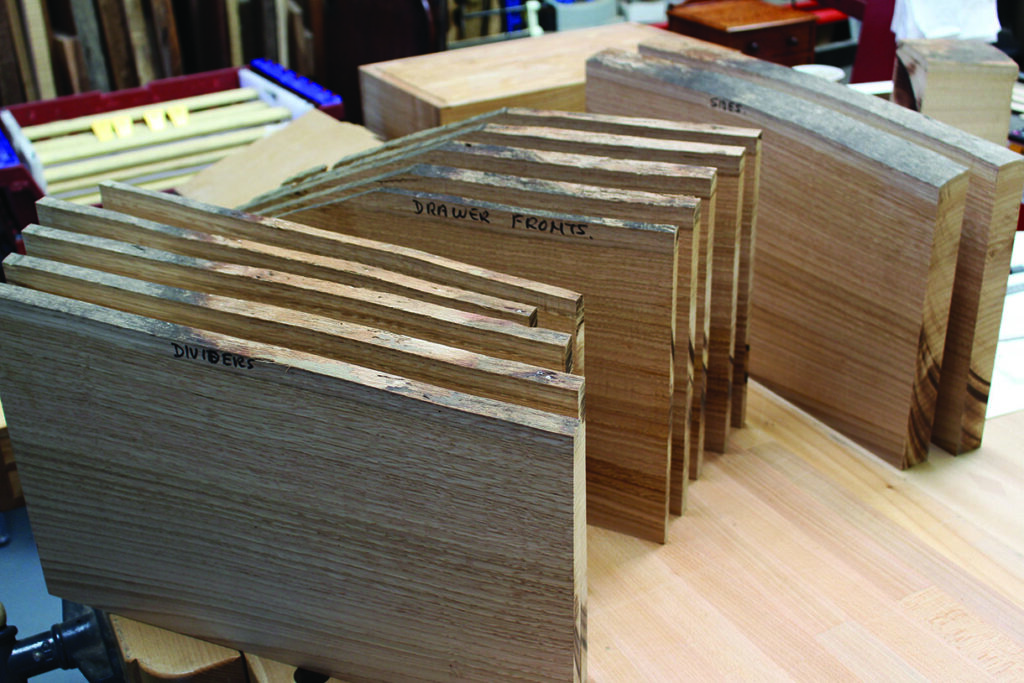
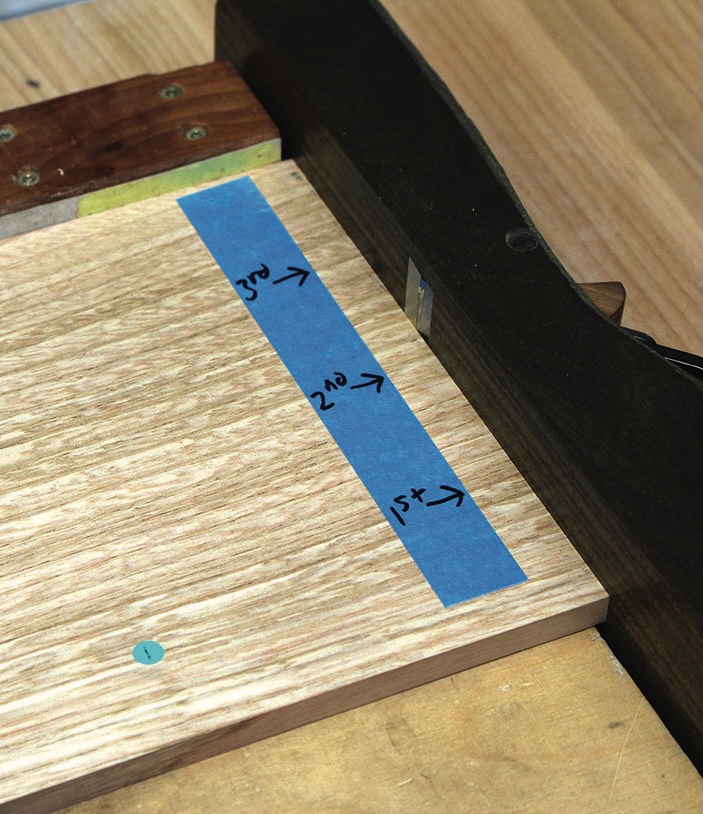
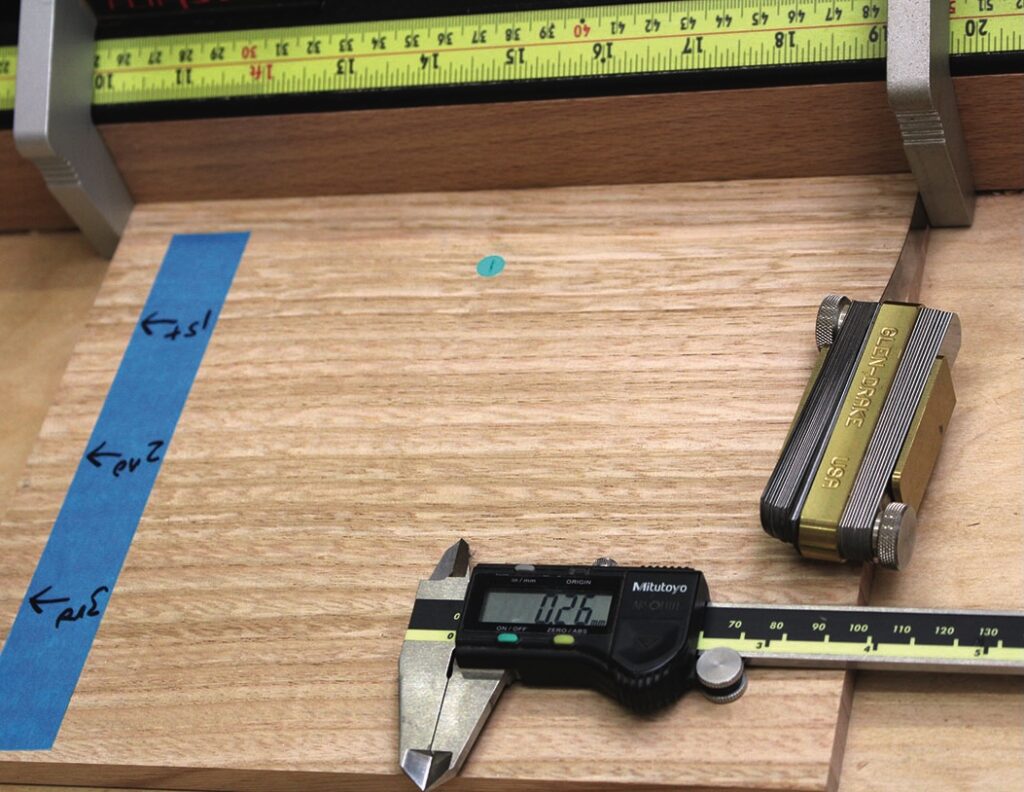
Having worked out all the dimensions required, I bandsawed the parts 20% oversize and allowed them to settle for a few days. The air-dried timber held no tension so there was very little movement; this was helped by the fact it was quartersawn. With the sides planed to size and cut square, I marked all the positions from the template and cut all the grooves for the dividers and back panel on the router table. All the dividers were then cut to identical size and squared before I created a slight taper on the shooting board. I took three progressive stopped shavings and then finished with one through shaving. This was done on both sides of each divider, making sure of course that the shavings were started at the front to create a taper that widened towards the rear. The taper was then checked with two stops set to the rear edge and this confirmed a taper of 0.26mm (0.13mm on each side), this would be very difficult to achieve with a tablesaw.
With all the dividers gently tapered I marked the baselines for the tenons with a wheel marker. The tenons were then cut on the router table just shy of the scribe line and cleaned back with a (sharp) chisel. I have found this gives a much cleaner finish than just relying on the router and I like to undercut the shoulders a fraction to make sure they are pulled up perfectly tight with no gaps. All this takes a little extra time but it makes sure that tapers are maintained in the glued-up carcass.
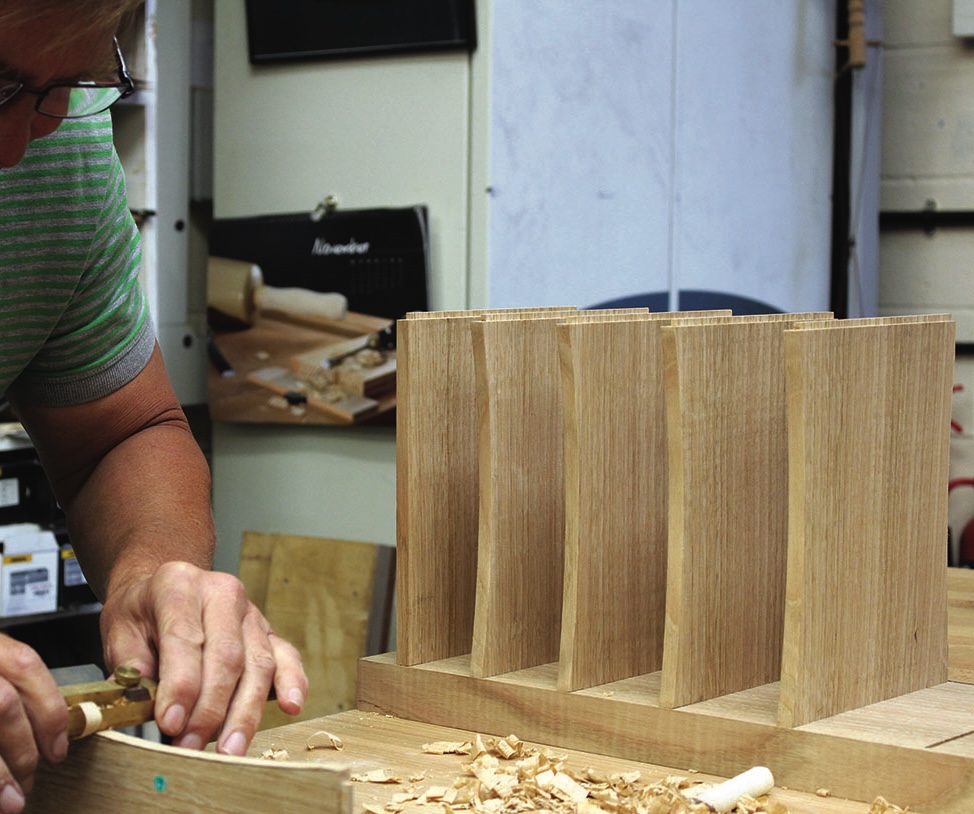
I then cut the finger access for the dividers on the bandsaw and cleaned up with a flat-soled spokeshave, which is ideal for smoothing out a gentle concave. I also cut a shallower curve on the back to allow air to escape when the drawers were closed.

Shaping and gluing
After doing a dry fit, to confirm the fit of all parts, it was time to shape the sides. To aid stability on the bandsaw I stuck both sides together with a small amount of double-sided tape (the small inside curves were cut individually before sticking together). The more accurately these cuts are made the closer the two parts will be to each other and the less cleaning up will be necessary. Even with care it still took quite some time, with both curved and flat-soled spokeshaves, to create nice, even and identical curves.
Prior to gluing up I re-attached both the offcuts with a small amount of double-sided tape which meant that the clamps were square to the work, applying even pressure. I took the precaution of rough sanding the bandsawn offcuts so that the smooth sides of the cabinet weren’t damaged. I also took a few progressive shavings from the underside of each divider to create a slight taper in the height increasing from front to back. This is not essential but I’ve found it aids with fitting the drawer sides.


Fitting the drawers
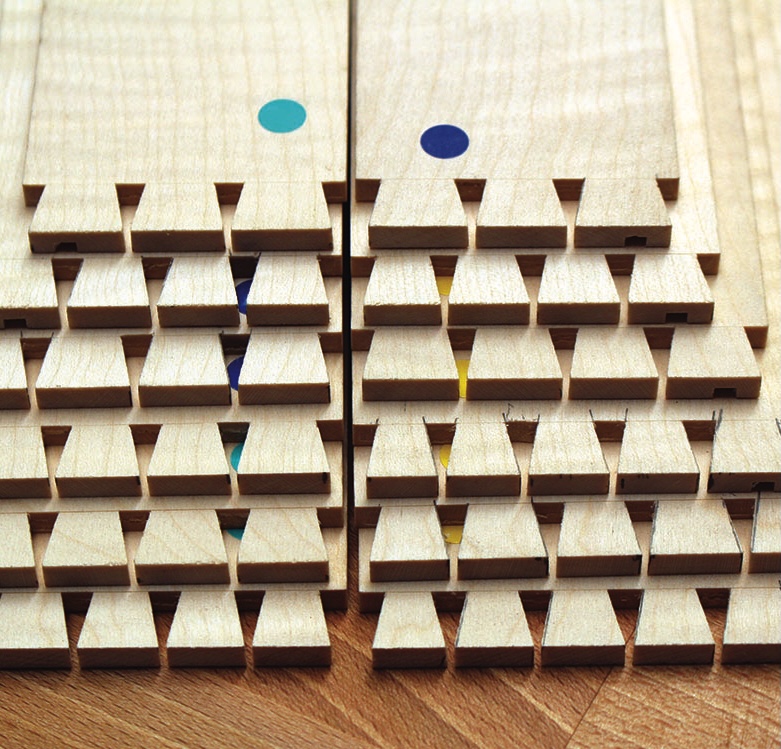
With the carcass glued up I could start fitting the drawers. First the fronts were shot to a very tight fit in the front openings. With this done, the tapers in both height and width could be checked at the back of the cabinet – all was well. The rear of each drawer is knifed from the front and trimmed back to the knife lines on the shooting board. Each of the sides was marked with its position and orientation with coloured dots before being shot to a tight but smooth running fit.
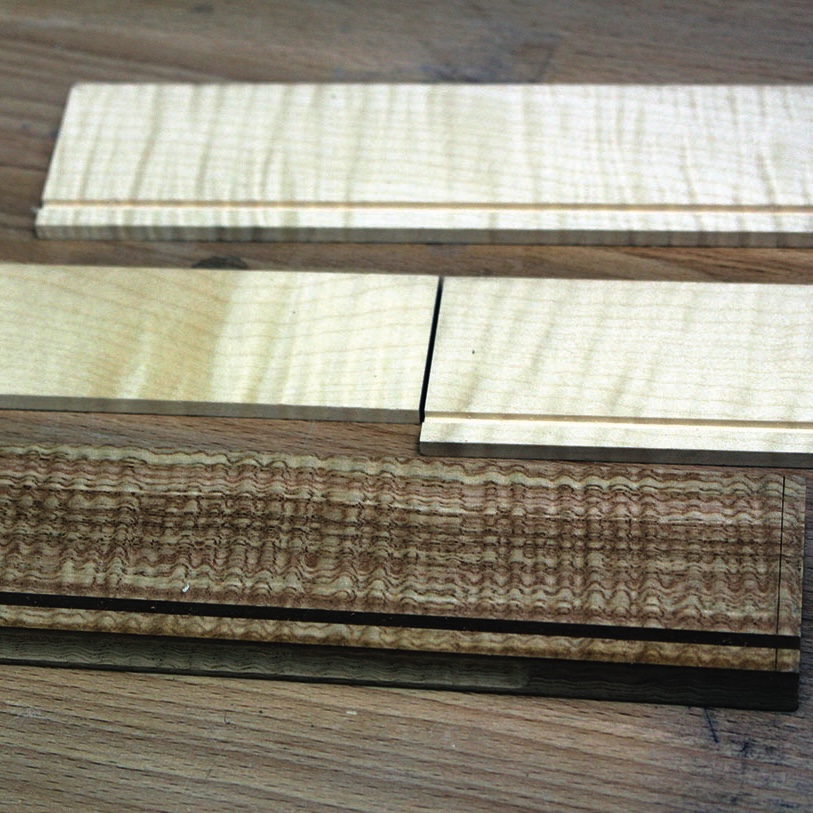
With all the drawer parts fitted it was time to cut the grooves on the router table. The back of each drawer had to be cut level with the top of the groove to allow the drawer bottom to slide in. By using the top edge of all parts against the router table fence the rear pieces could be grooved on both sides before being cut off and cleaned up to a perfect fit.
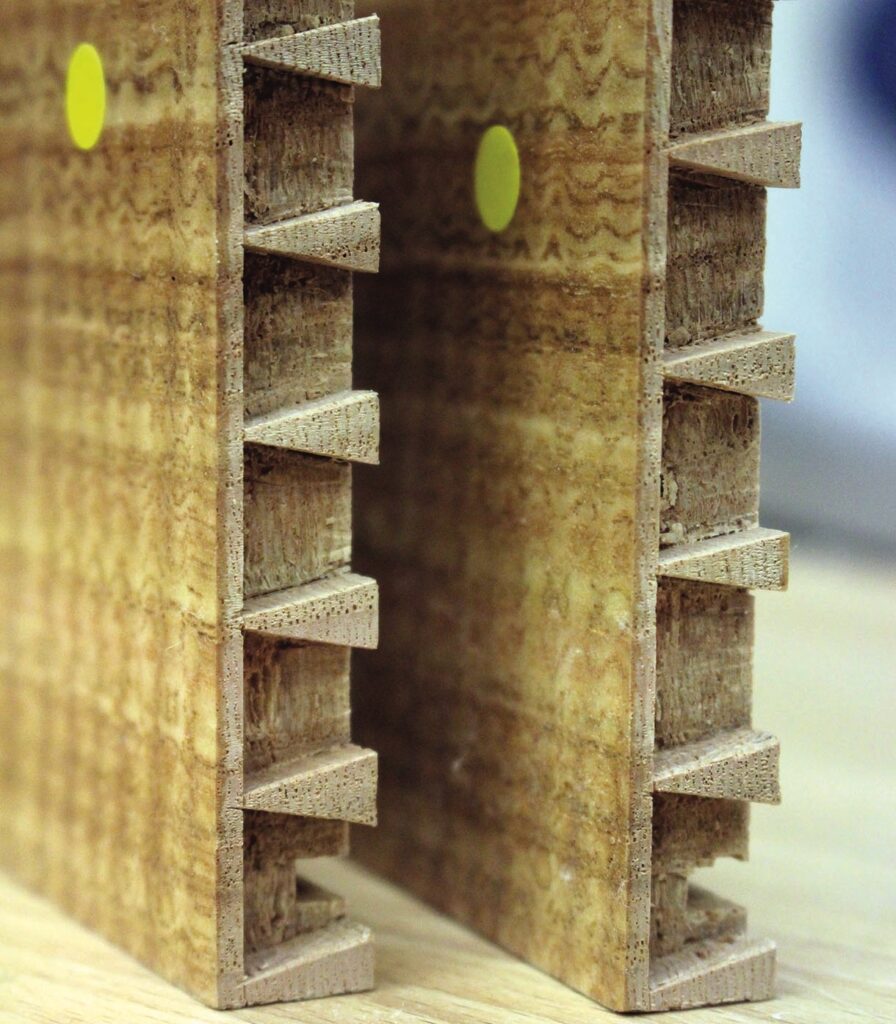
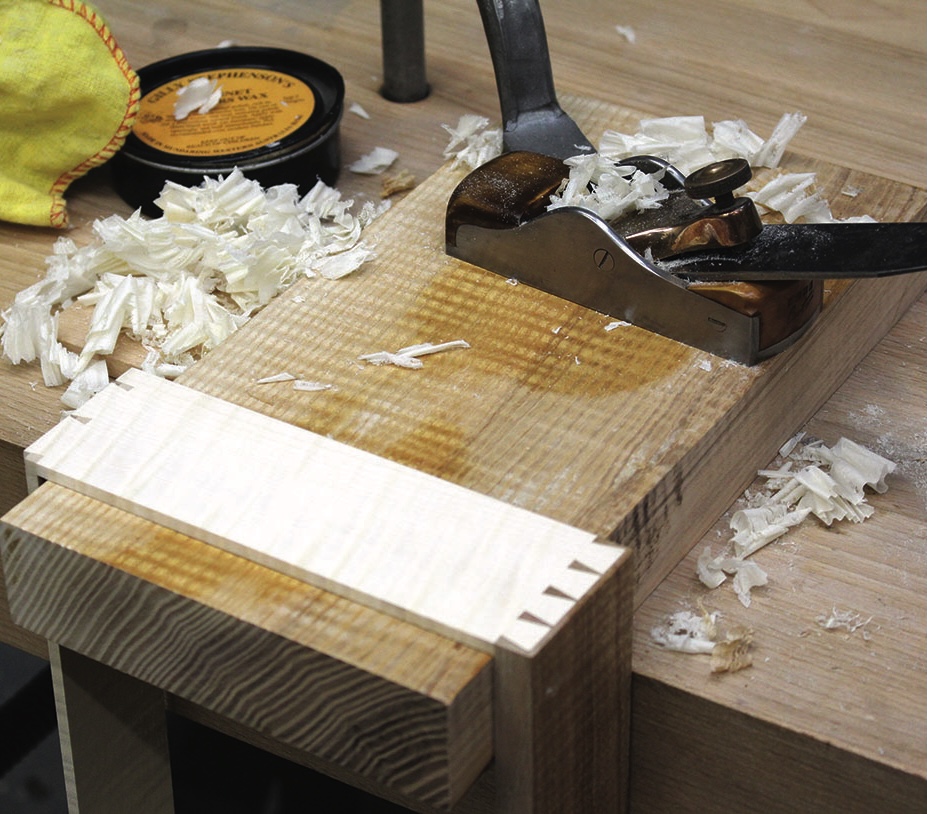
Now it was time to cut the dovetails, all 96 of them! Clean, accurate square tails are the key to a good fit and this type of close accurate work is my favourite part. I had decided on half-blind dovetails, something I don’t cut very often and the pins proved quite a challenge in this coarse timber, especially with a thin lap. Tradition has it that the lap should be 1/3 to ¼ of the timber thickness but on finer work I prefer to work to 1/5, which in this case was just 2.5mm thick.
I cut the through dovetails on the rear with a 3mm protrusion and used this later to adjust the drawer position. While it is usual to make the stops against the drawer front, the amount of movement in the sides of this small piece was going to be minimal and not worth allowing for.
The final fitting of the drawers needs to be done carefully to ensure a smooth running piston fit, which is aided by the tiny tapers that were built into the carcass. Each drawer is fitted into its opening from the back and the wood is carefully planed until the fit is running smoother but without wobble. Waxing the sides and running them in and out helps identify the high spots which show up as shiny. Alan Peters gave an excellent and detailed description of this in an article he wrote for Fine Woodworking many years ago.
With each drawer fitted, the cedar of Lebanon base could be slid into place and re-checked before being secured with a slotted screw to the rear. The rear panel was fitted in a similar fashion and again secured with a single central screw to allow for wood movement.
I had experimented with various finishes on scrap pieces and decided against an oil finish as it accentuated the colour differences in the wood. I wanted something that gave a mild finish that didn’t clash visually with the shape of the chest and so settled on three coats of heavy cut shellac, cut back with 600 grit and gently waxed.