The Woodworkers Institute

We bring you the very best of woodworking!

“Make it with us”

Making a steambending box

Michael T Collins looks at making a steam bending box

Man working with woodworking equipment in workshop

Several years ago a friend of mine approached me saying that he wanted my help to make a Shaker rocking chair. After looking through several reference books, it was clear that in order to get the shape needed for the back legs and the splats we were going to have to bend the wood, a technique I wasn’t terribly familiar with.

There are several methods to bend wood. Previously, we soaked wood in warm water as an effective way of bending wood; heat and glue lamination are another option. But the quickest is to combine heat and moisture. I introduce you to the steam box.

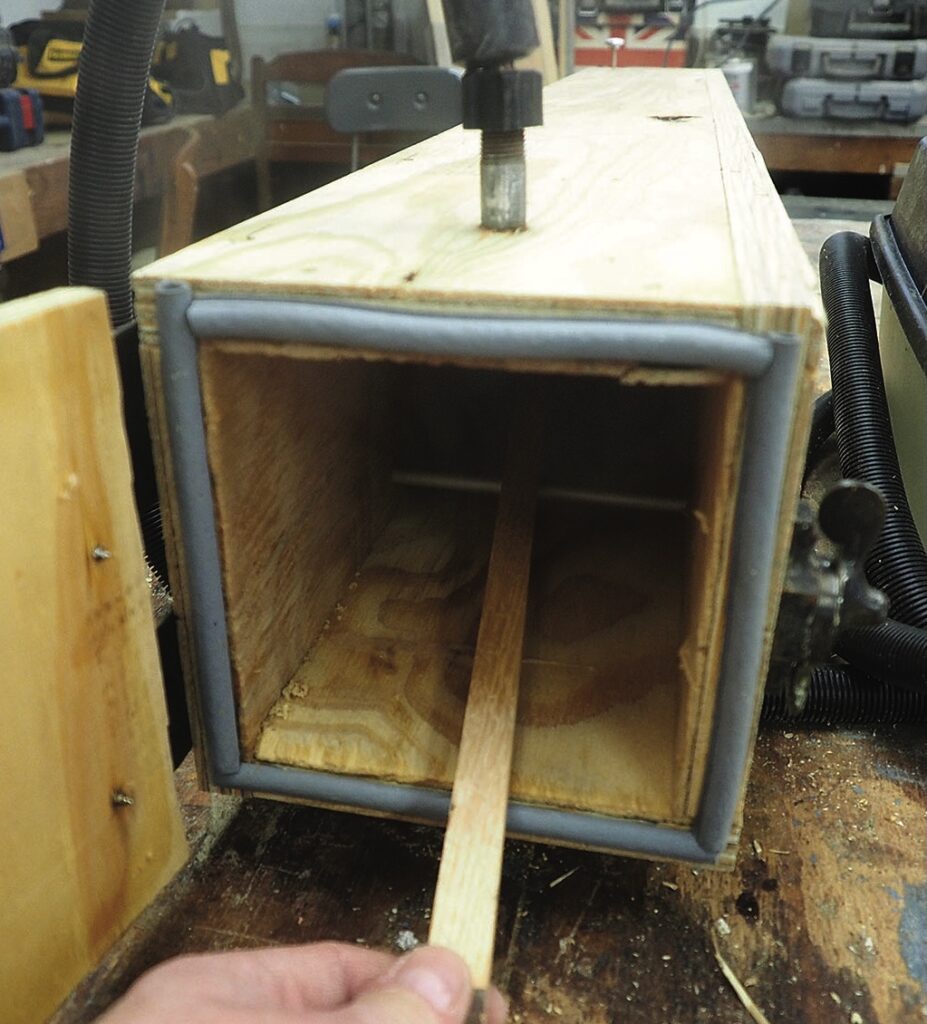
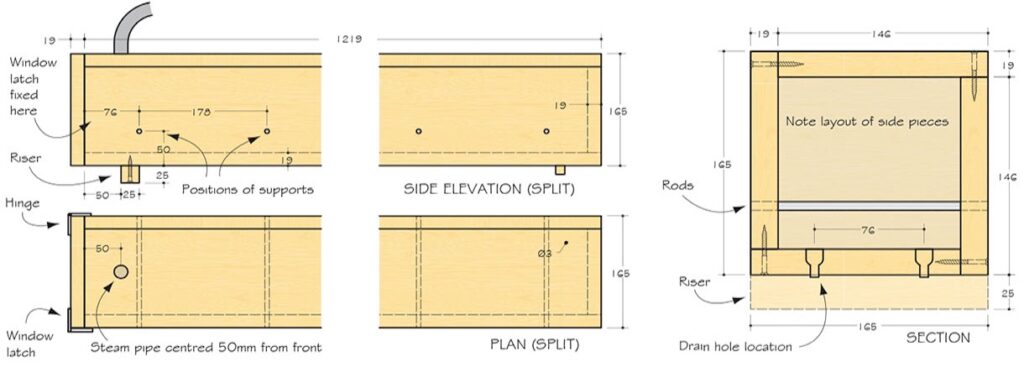
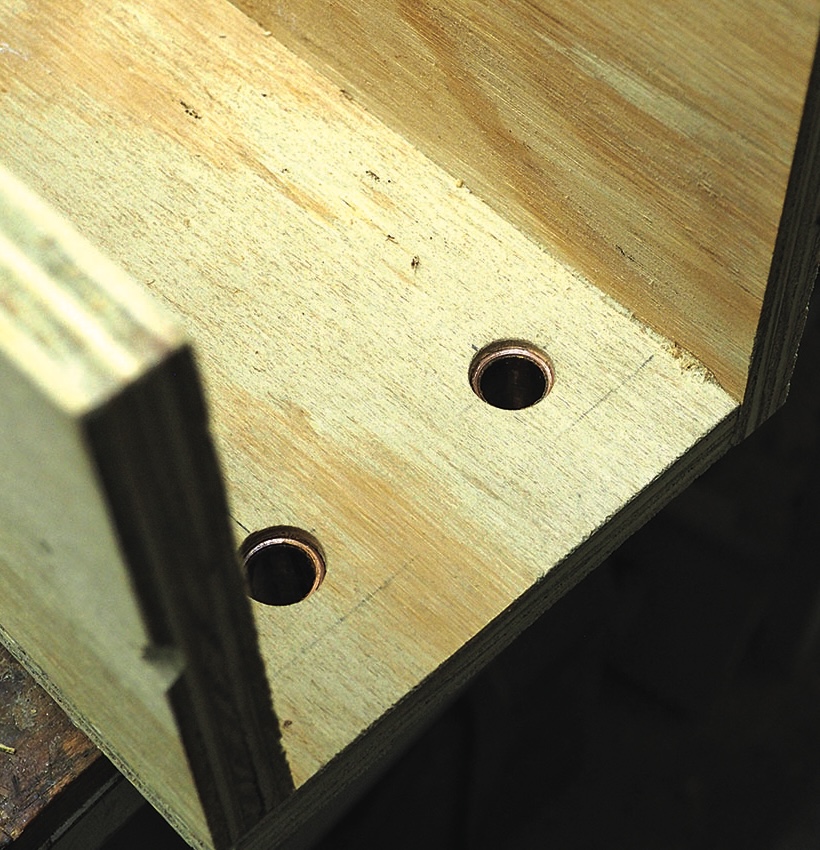
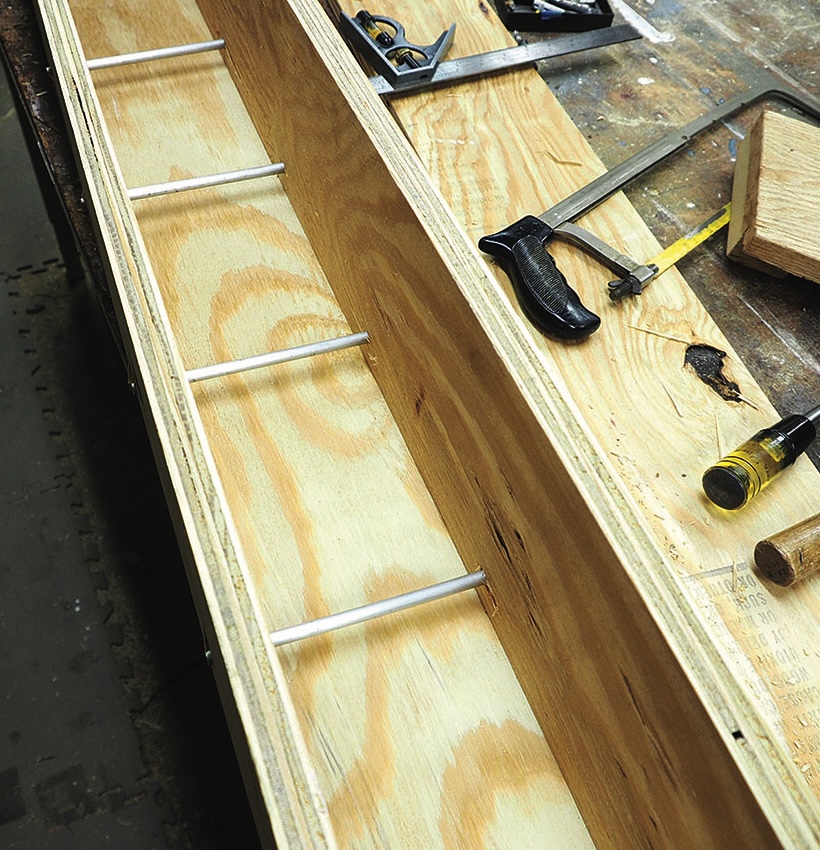
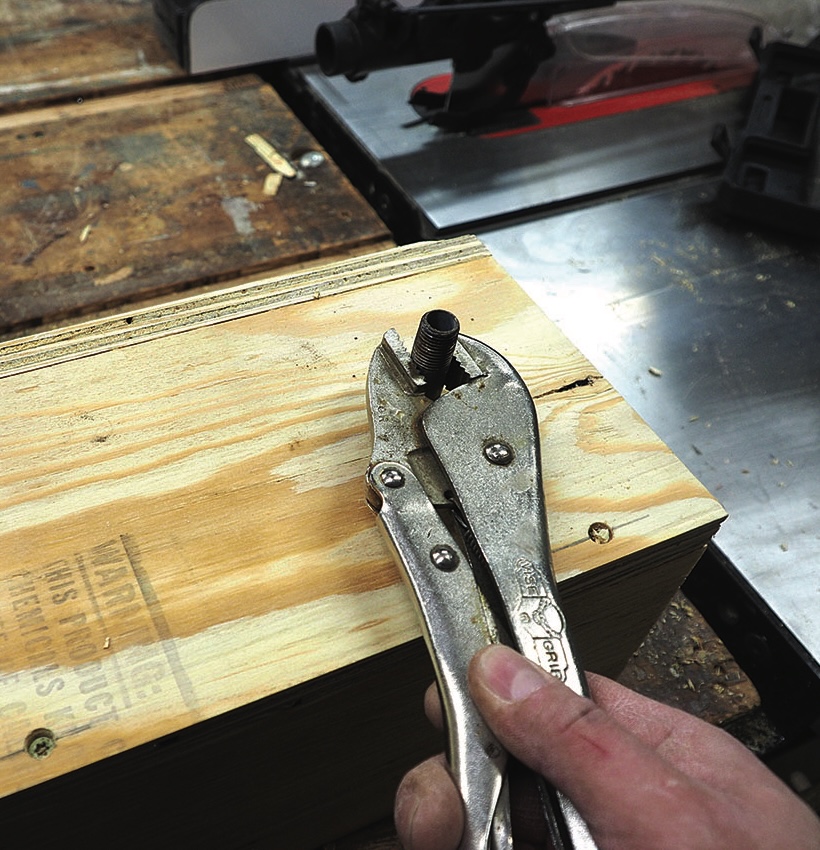
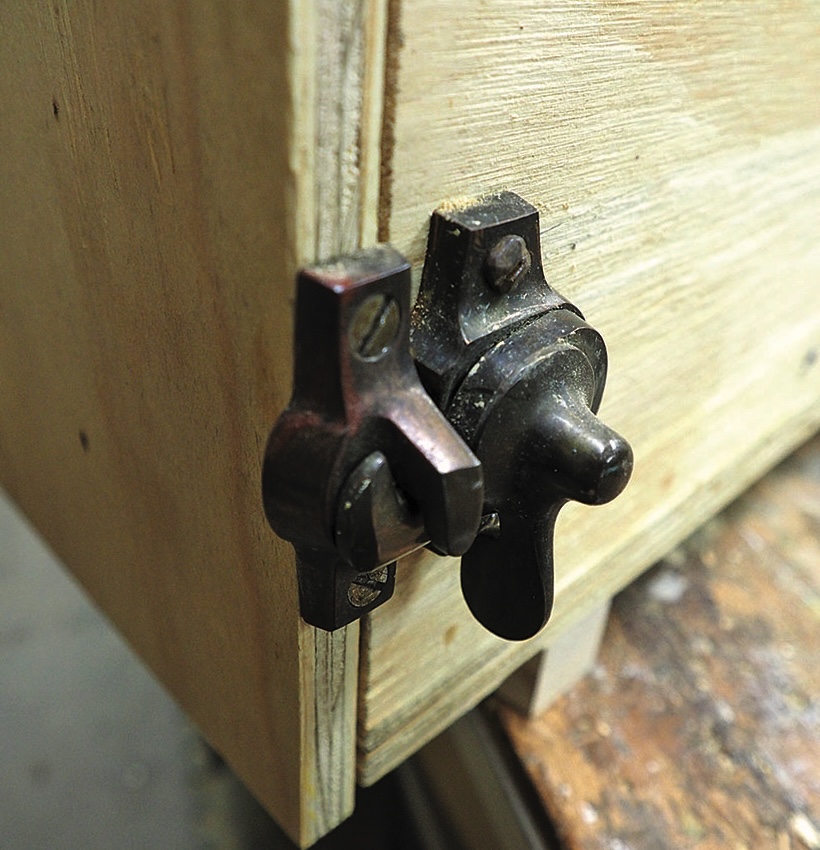
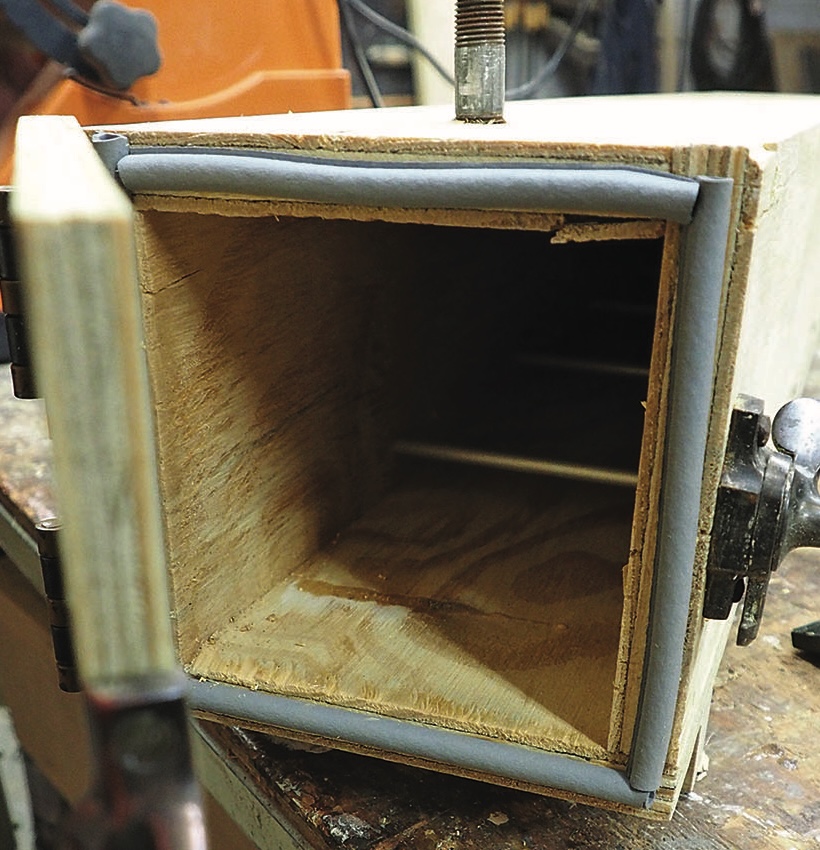
A steam box should be just small enough to accommodate the largest work piece you need to bend – if it is too big it is going to need a greater volume of steam to raise the temperature to the point where the wood becomes pliable. It also needs to be fairly airtight, but not so tight that steam cannot escape. Steam under pressure is an explosion waiting to happen. The best way to achieve this is with small drain holes, which allow the moisture to escape. 

For this project you can use any material that can stand up to high temperatures and humidity. I’m using 20mm exterior grade ply. You could also use pine (Pinus spp.) boards. Pine works well for the box construction, producing a sturdy long-lasting box. 


Warning!

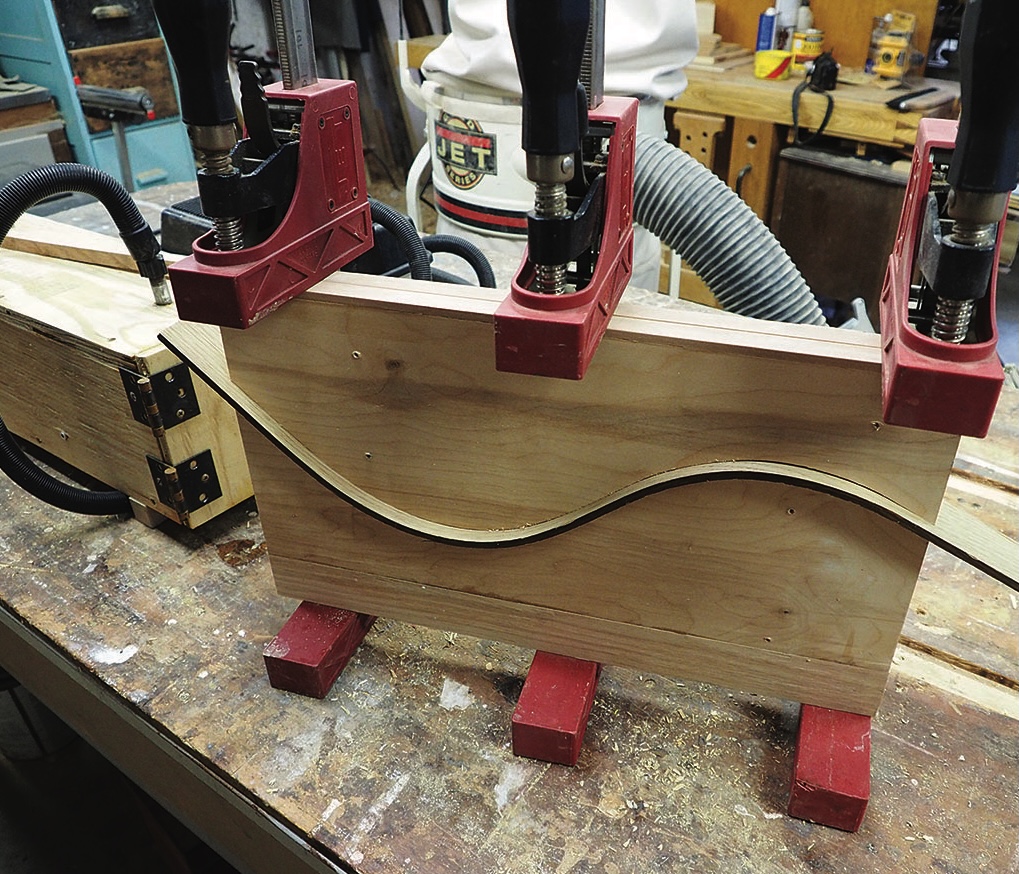
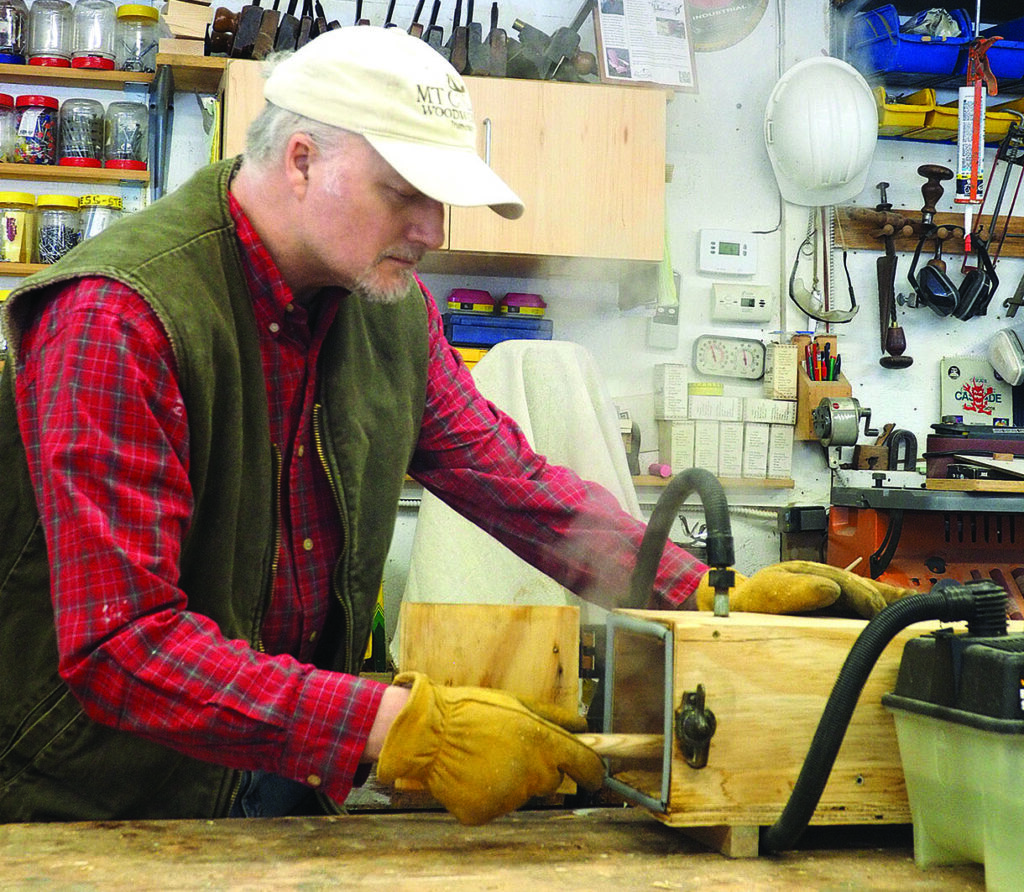
Wear thick leather gloves (steam is very hot and will scald on contact with skin!). Carefully remove the wood and place in a bending form. Never leave the steamer unattended.
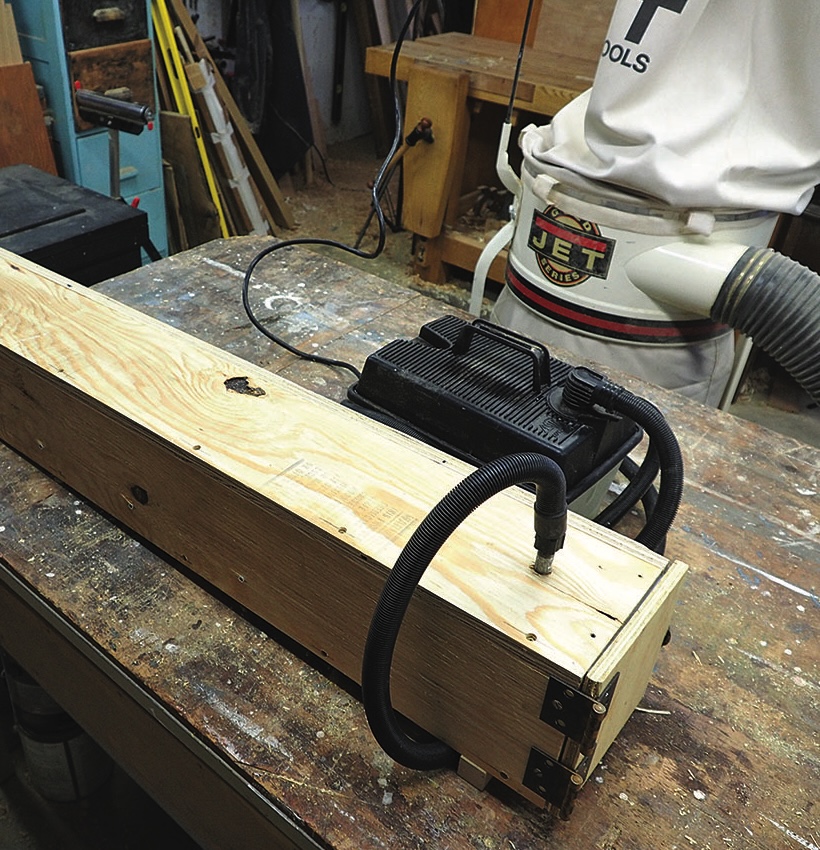

Construction

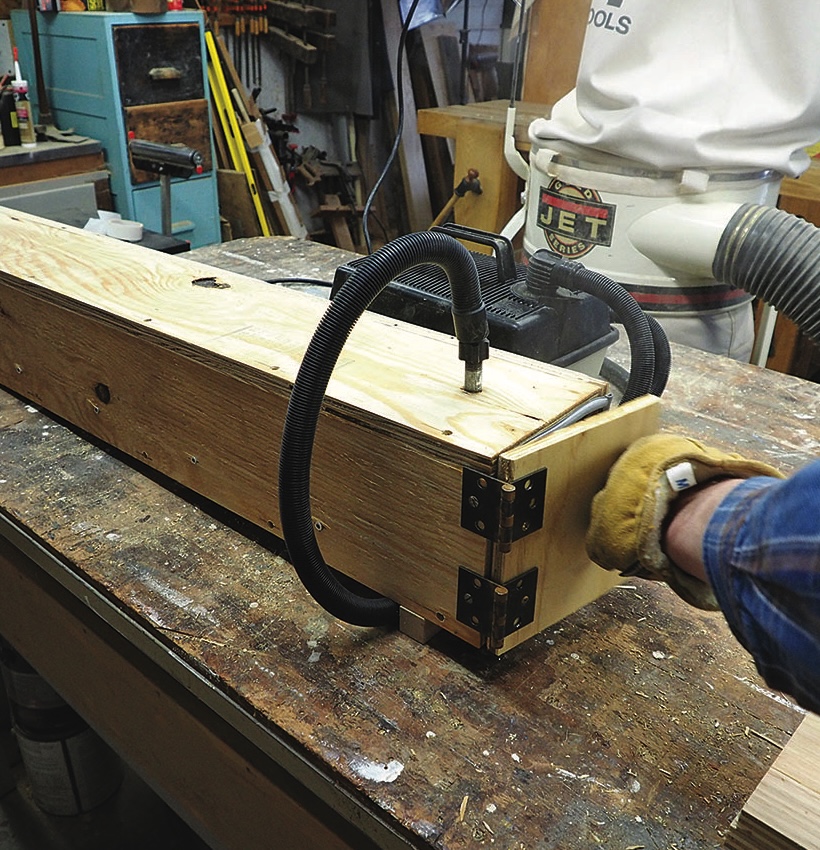
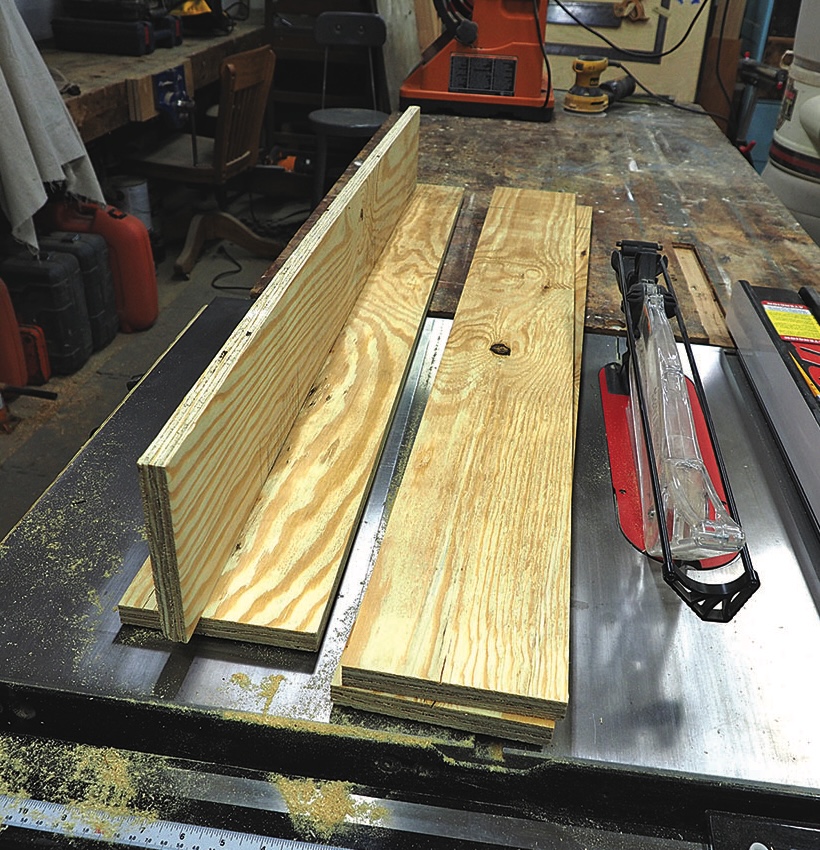
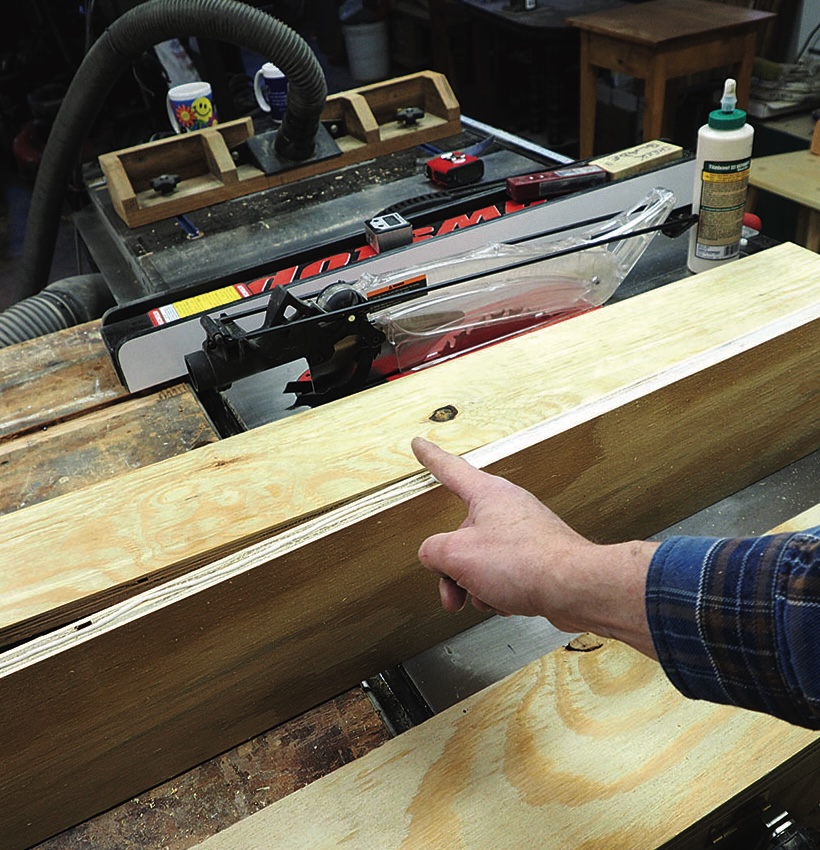
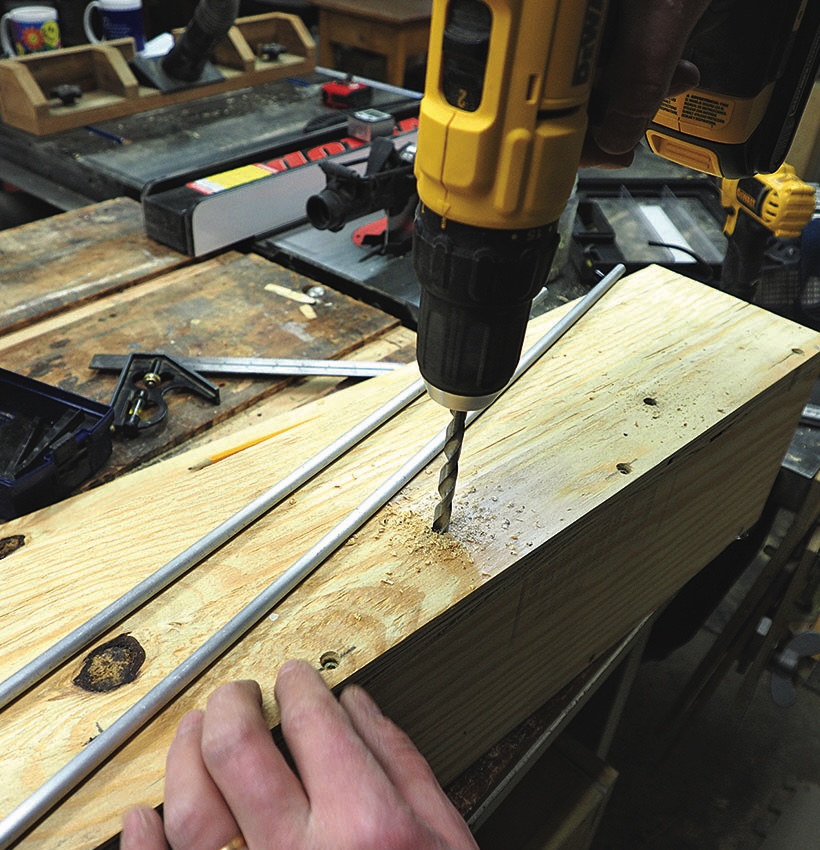
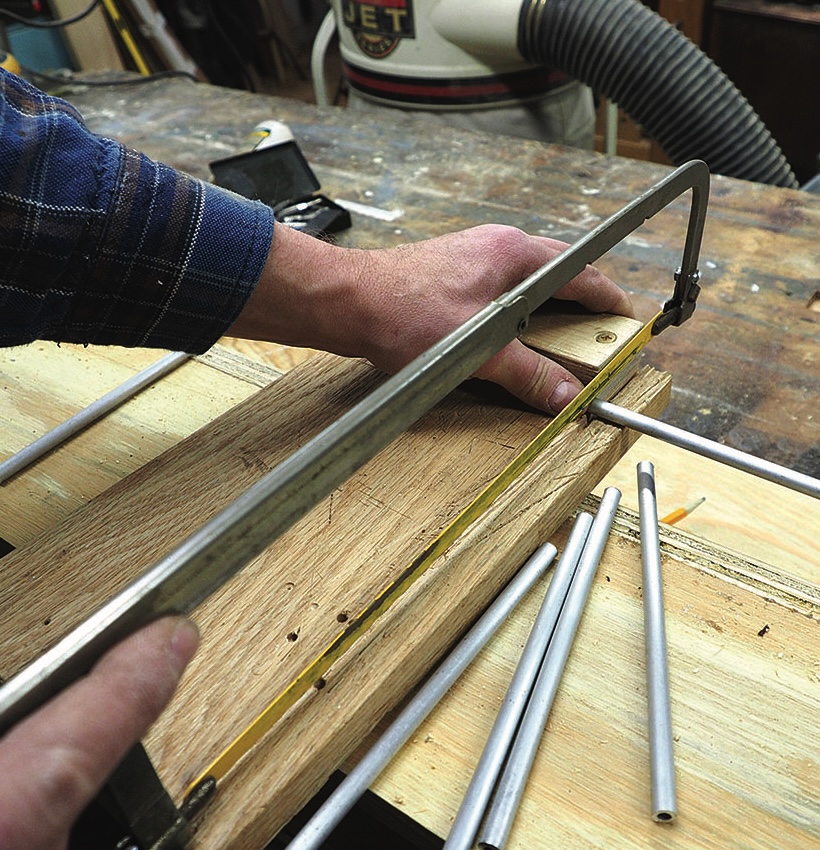
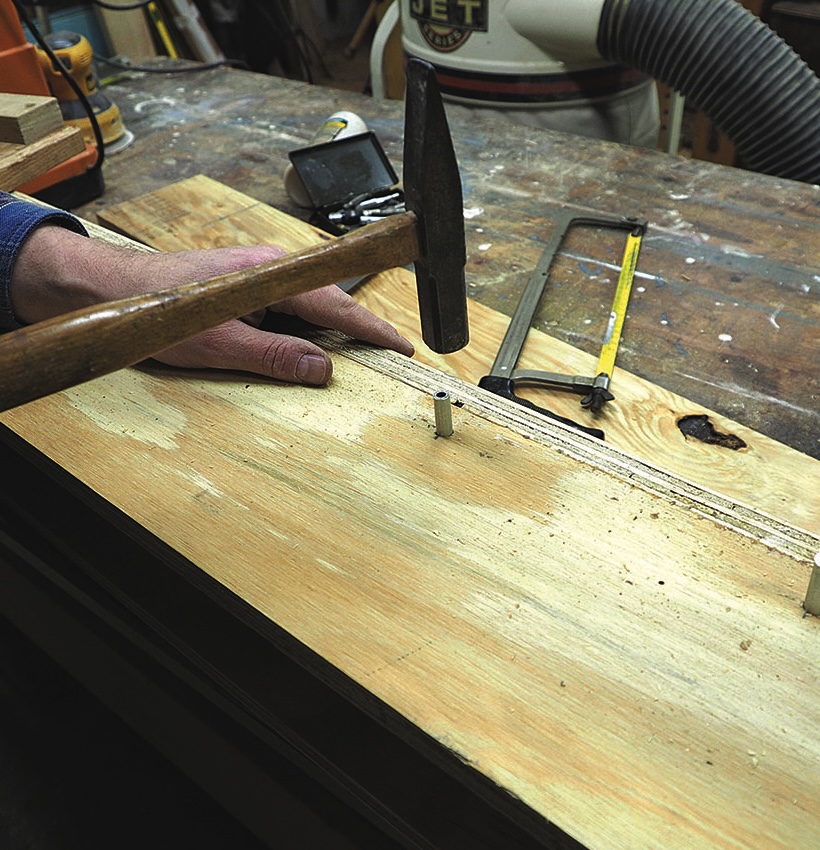
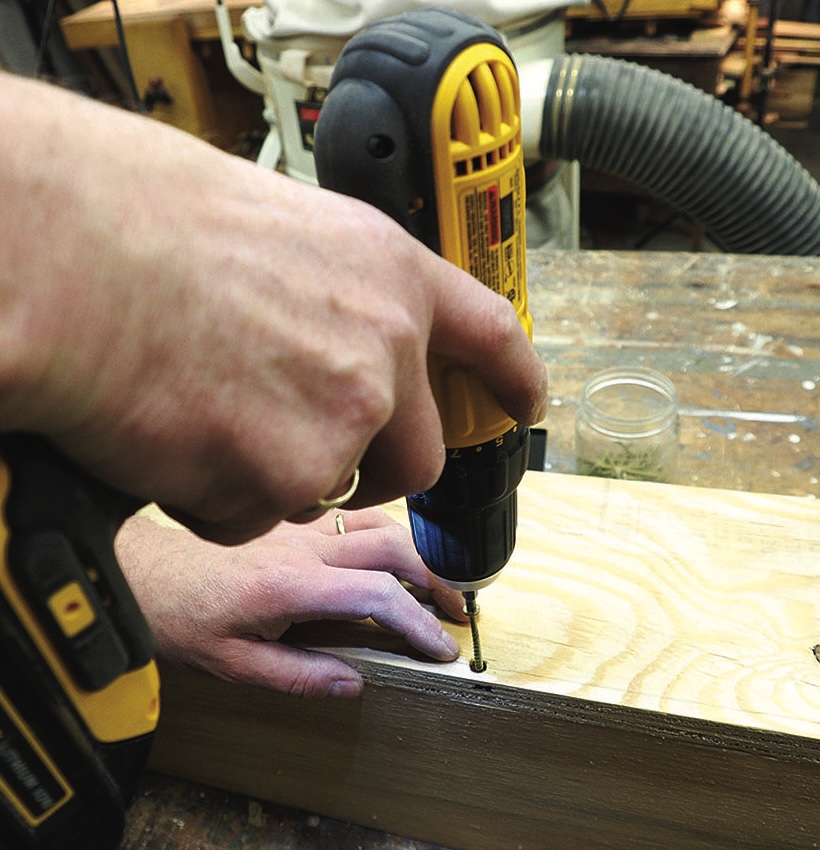
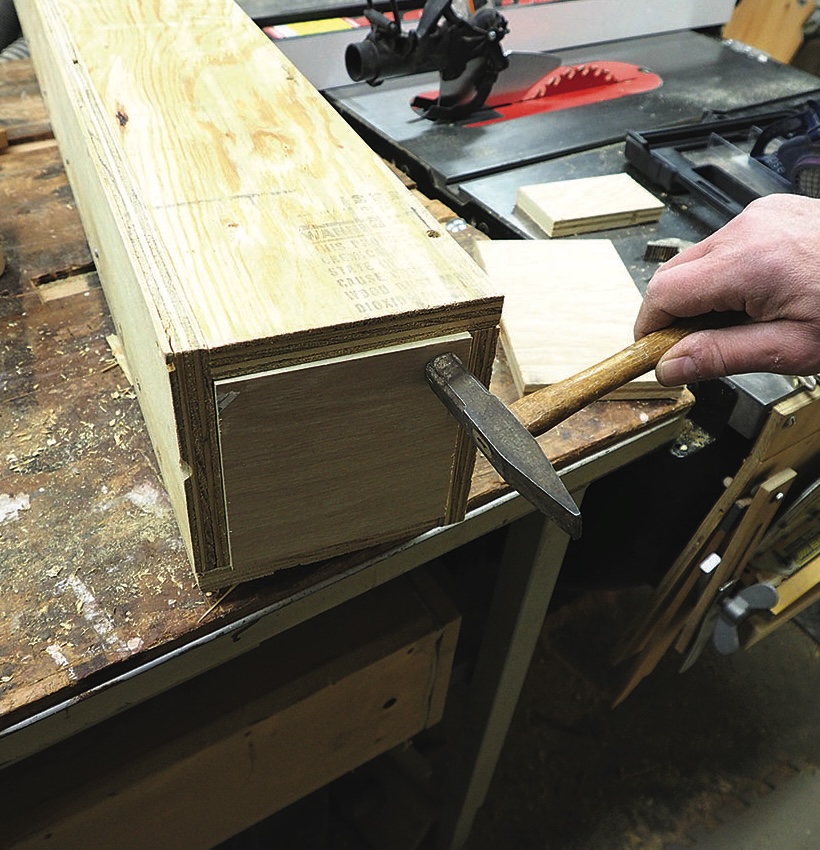
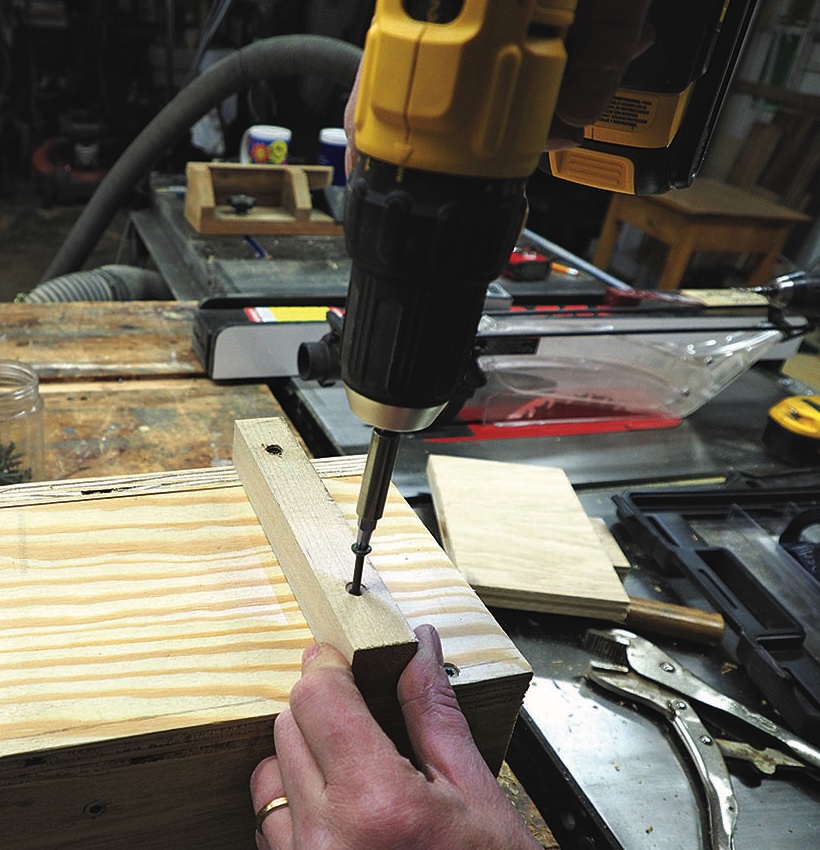
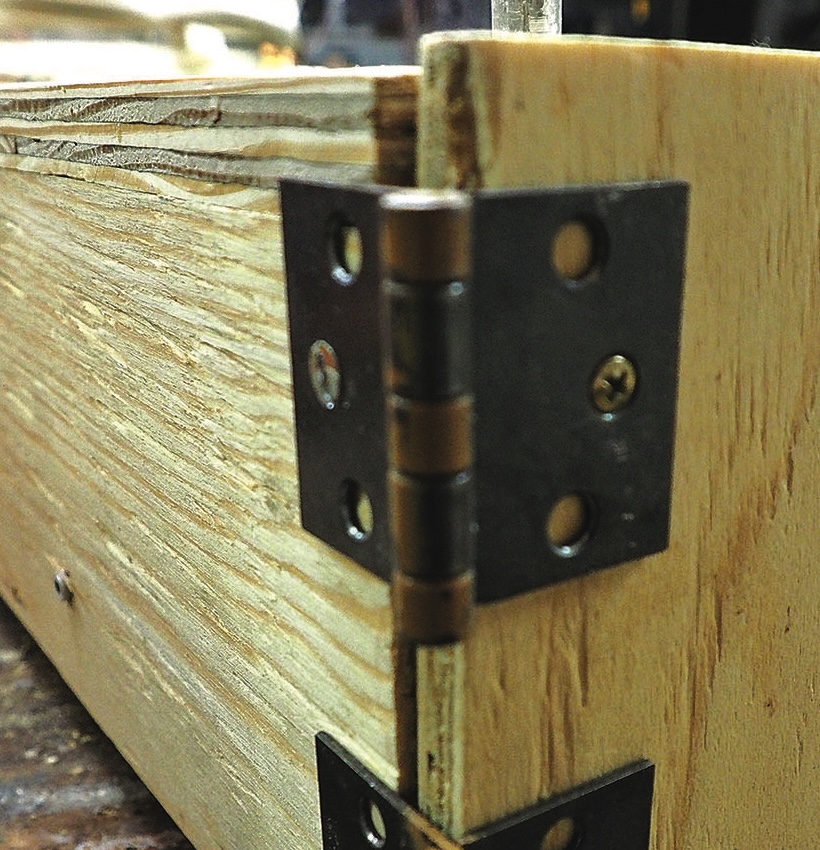
Creating a steam bending box is simple and consists of butt joints, glue and screws.
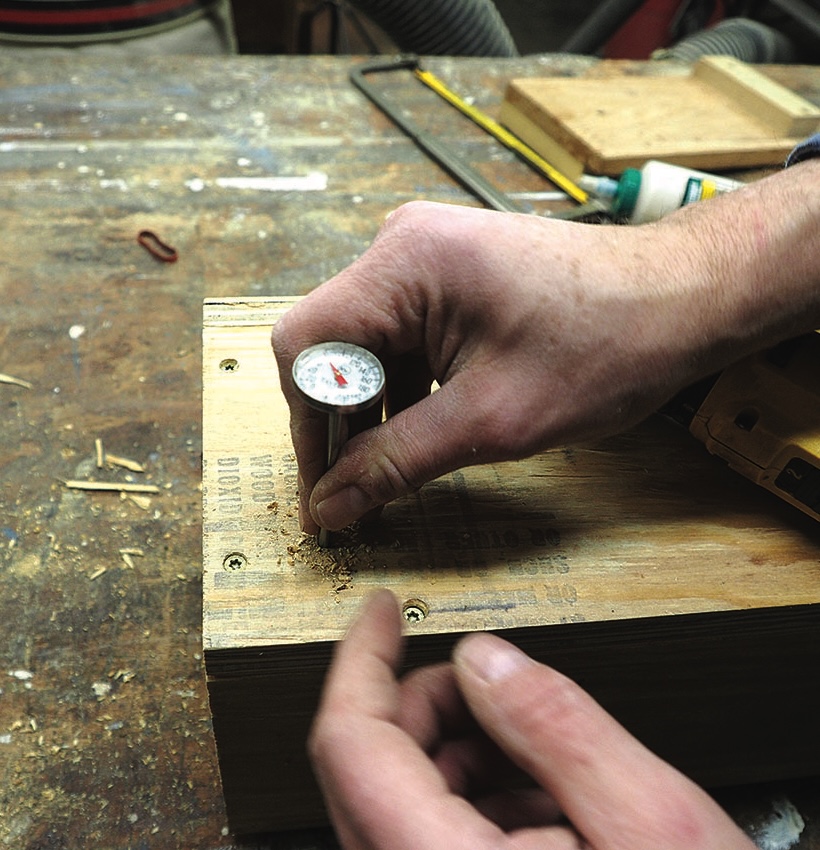
Woodworking chest design plans with measurements and labels.
Wood planks on table saw in workshop.
1. Cut the 4×8 sheet of ply into four equal widths approximately 145mm each, this will give an internal dimension of approximately 125 x 125mm and accommodate lengths up to 1195mm
Person pointing at wooden board on table saw.
2. Glue and screw three pieces together as per the diagram, to produce the base and sides of the box
Close-up of drilled plywood with holes
3. Next, drill the two drain holes 32mm from the end and 38mm from the sides and insert two copper fittings – these serve to guide the dripping condensate
Person using drill on wooden plank in workshop.
4. Position the support locations every 180mm (this was because I only had enough dowelling for seven supports!). However, you decide on the positioning, adjust the spacing and quantity of supports accordingly. Drill the holes (slightly under-sized)
Person cutting aluminium rod with hacksaw
5. Cut the supports to size and file off any burrs
Hammering metal dowel into wooden board.
6. Hammer the supports home so they form a tight seal
Wooden box and tools on a workbench
7. Here are the supports in place to carry the steamed components
Person using electric screwdriver on wooden board.
8. Glue and screw the top into place. Drill and counter sink first
Person assembling wooden box with hammer.
9. An end cap can either be glued onto the end or, as I did, inserted into the end, giving a cleaner finish
Using pliers to fix wood plank in workshop.
10. Drill the steam feed hole and insert a double-ended male fitting
Person using drill on wooden board
11. Secure a 25 x 25 x 180mm riser block of wood about 50mm from the front of the box
Close-up of a hinge on wooden corner joint.
12. Add a door (made of 12mm ply) with a couple of hinges
Old latch on wooden door corner
13. Position a window latch so that it tightly seals the door 
Open wooden box with clamps and sealant.
14. Add a rubber draught seal between the end of the box and the door
Person using chisel on wooden block
15. Drill a 3mm hole at the end with the drain holes and 38mm from the side for the meat thermometer – this will give a reading farthest away from the steam’s entry point

Priming the steamer

Workshop with dust extractor and wooden equipment.
16. Attach the steamer, fill up and let it come to the boil. Check the thermometer to see that it reaches 215°F before putting the wood in. Place a bucket under the drain holes. If you make this out of pine, the smell and the sap steaming away is quite aromatic. As a guide, it takes about 1 hour of steaming at 215°F for every 25mm of thickness, but wood will vary with species 

Preparing wood to steam

The best wood to bend has continuous grain running the length of the piece. This is generally achieved with wood that has been riven or split along the grain. Wood that is sawn will need support when bending as the fibres are likely to have been cut through and bending may cause the wood to splinter and break. Soft wood such as pine is easier to bend than hardwood.

Preparing to bend

Wooden box clamp in a workshop setting.
17. Once the steamer has reached the desired temperature – load the wood. While it is most desirable to have air-flow around all pieces, this is not always possible and you may have to move the pieces inside the box around. Treat steam bending like baking something in the oven, you may need to move things around and increase the cooking time, check to see if it needs more ‘cooking’. Take out a piece and test its pliability
Dust collection system in woodworking workshop.
18. Once the wood has ‘cooked’ enough, remove it from the steamer and immediately place in the bending form
Wood glueing with clamps on a workbench
19. Leave the wood in the form until it has fully dried out. Remove the wood from the form. Don’t be surprised if the wood tries to spring back to its original shape. It is a good idea to design the form to over bend the piece so the wood relaxes to the shape you desire. There you have it; a cost-effective way to bending wood

Leave a Reply

Your email address will not be published. Required fields are marked *