There are times when you can get in a bit of a spin trying to rout in ever-decreasing circles. What you need is an inboard trammel
The standard attachments that come with a router usually include a trammel point that fixes on a fence rod if the rods are detachable. This is OK if you want to machine a circle larger than the router base. Quite often we may want to create a much smaller circle, which poses a problem. One solution is to buy a ready-made template to use with a guidebush, but you are governed by the specific sizes provided and it costs money. So long as the required size isn’t too small, you can create the size you want by making up an inboard trammel, which is a sub-base with a pin as a rotation point.
Making an inboard trammel
1. First cut a square of 6mm MDF the same size or larger than your router base. Now mark where the mounting holes in the base are and drill and countersink to take small machine screws. If no obvious mounting holes are present you may need to unscrew the baseplate and use the baseplate mounting holes to fit the trammel baseplate.
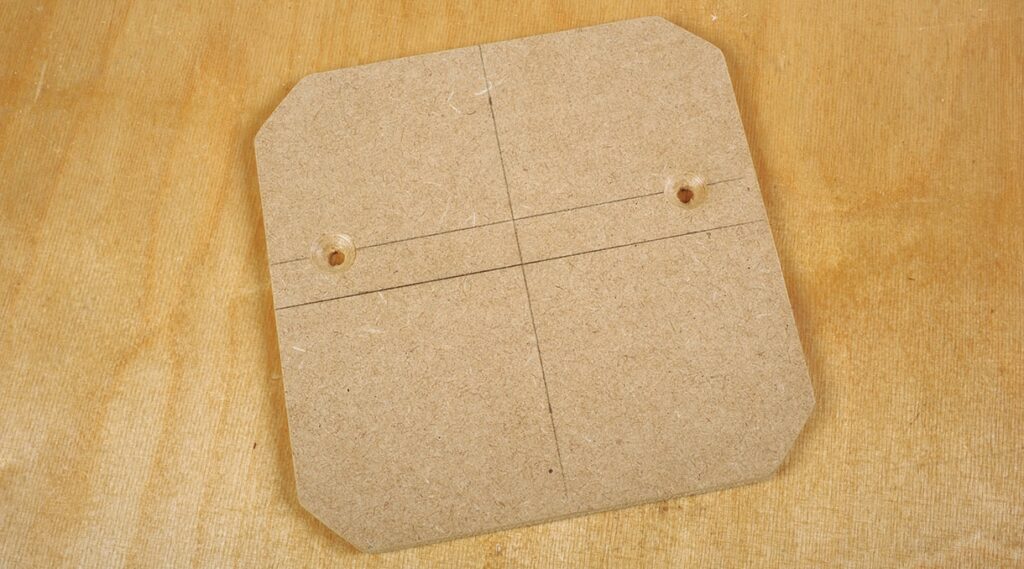
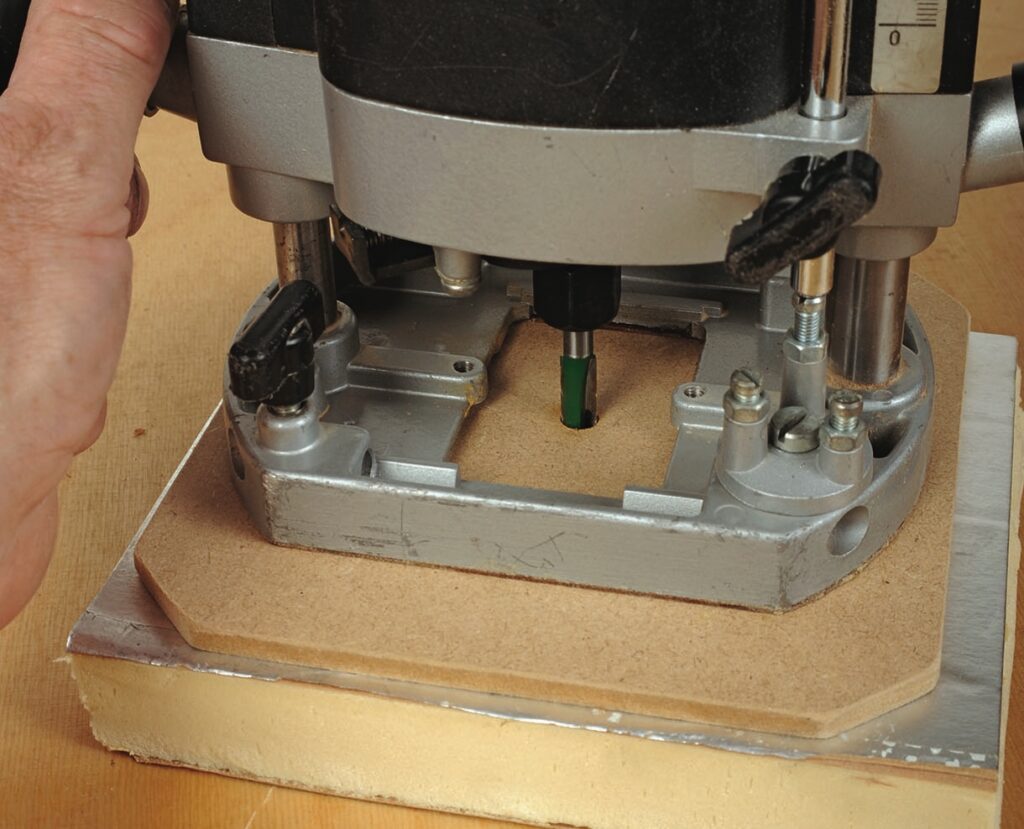
2. Mount the MDF sub-base after installing a standard 6.35mm straight bit and then power on and plunge cut through the MDF while supporting the router safely perhaps using the vice gap on the workbench.
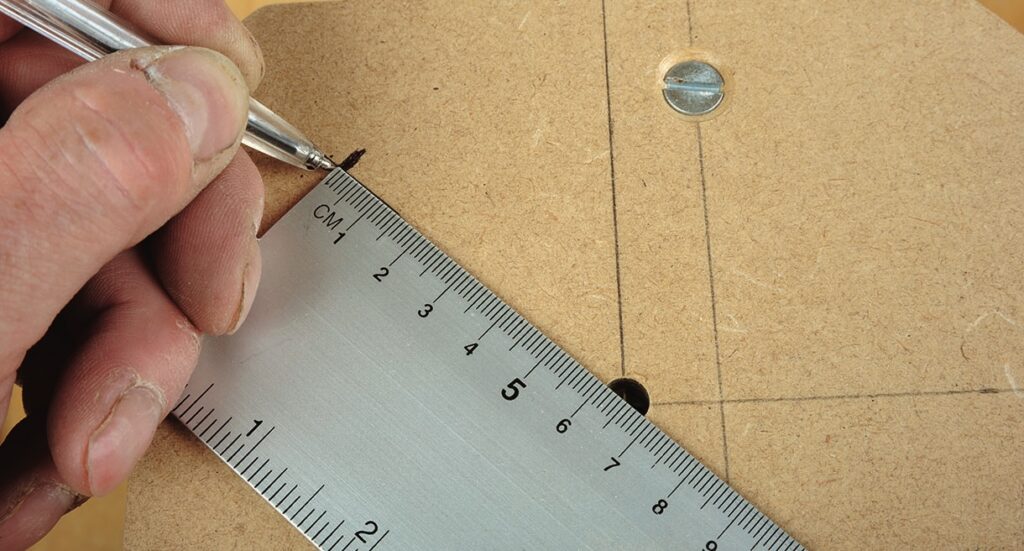
3. Unplunge the cutter, switch off and unplug the machine. Invert it and mark the required diameter from the edge of the hole to the centre of the intended pin mark.
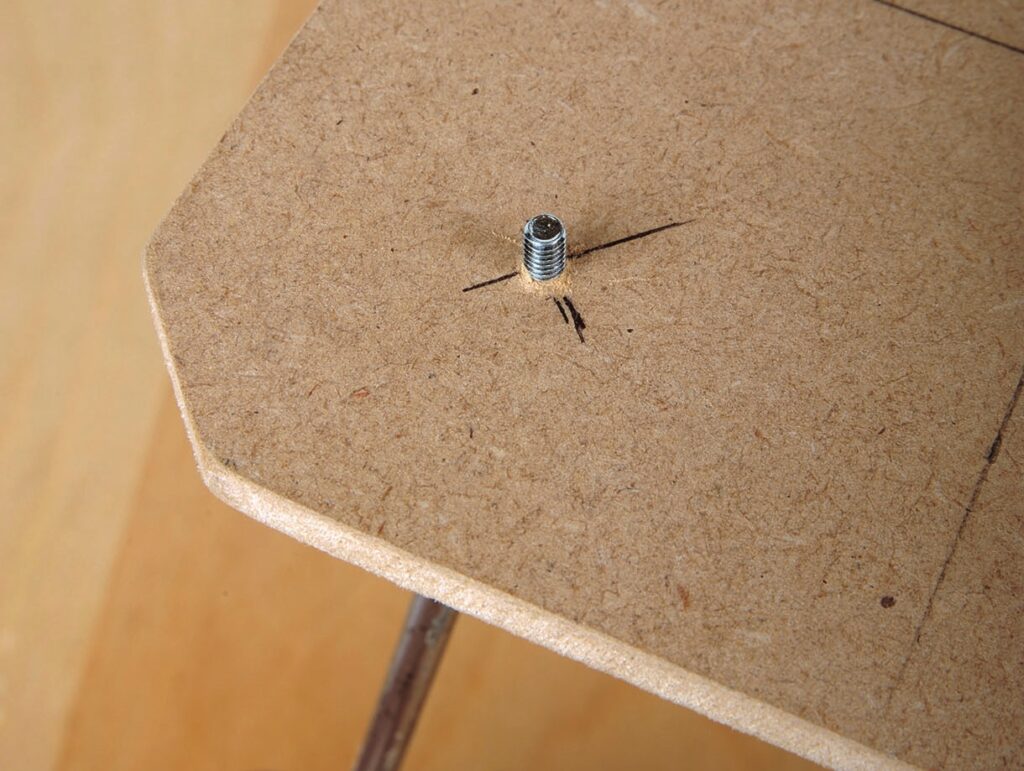
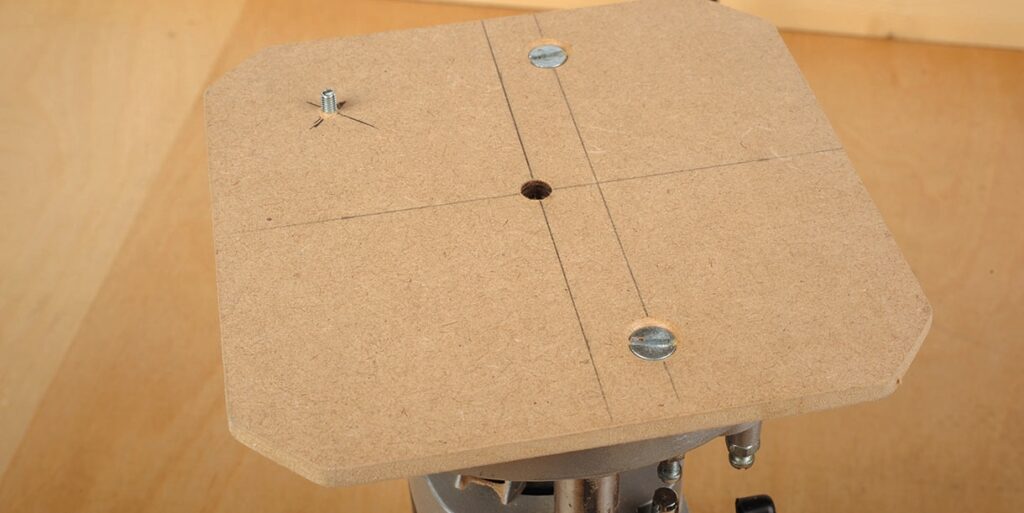
4. Remove the sub base and find a very small diameter machine screw, cut off the head and drill a small pilot hole where you made the mark. Insert the machine screw and wind it in with pliers.
5. Refit the trammel base and you are ready to make some cuts.
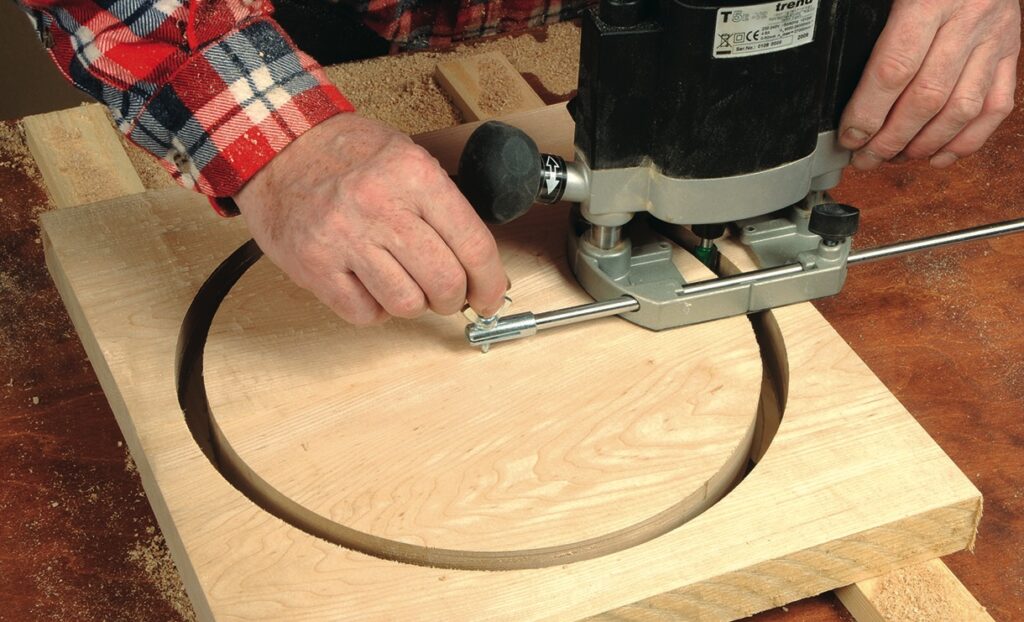
Using the inboard trammel
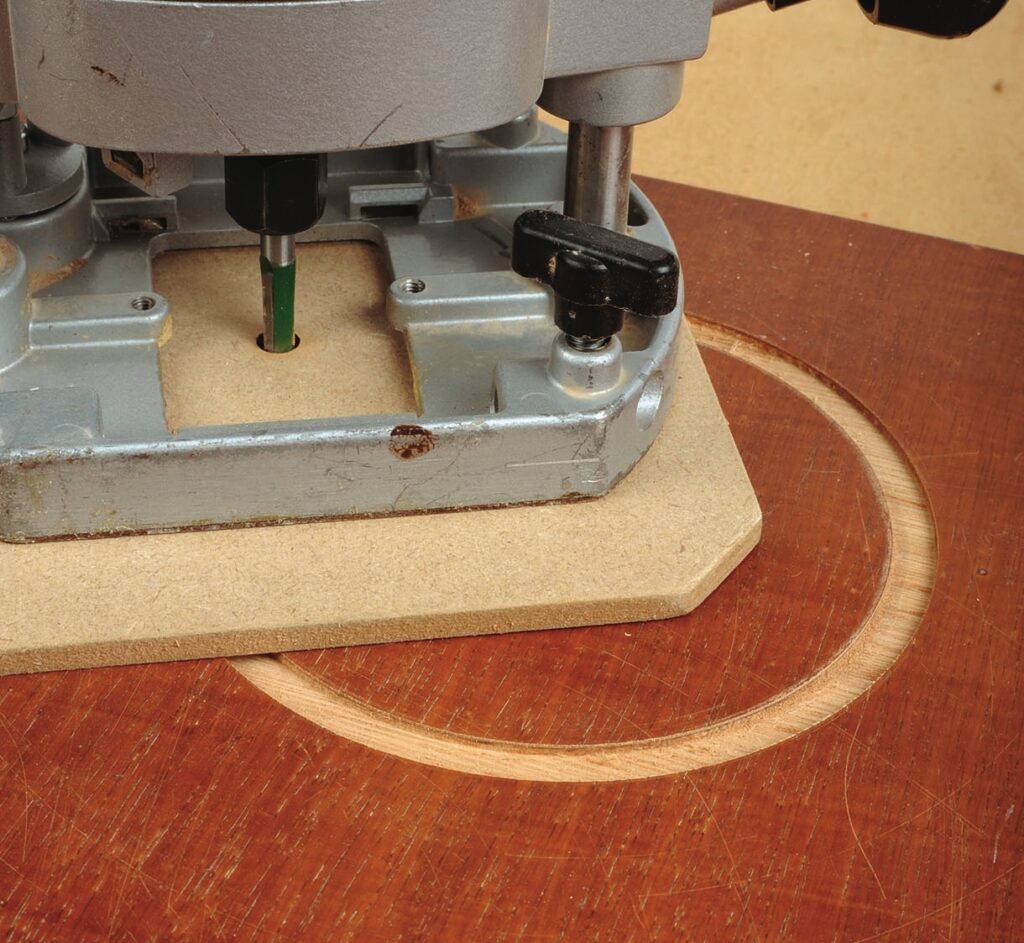
In theory, the pin should give the required diameter but do test cuts to be sure. Drill a hole for the pin to sit in, plunge and rotate the router to complete a circle or arc ,depending on what you need to do. If the cutter needs to go right through use several passes to depth, contra rotate the router between passes to unwind the mains cable and extraction if fitted. Place a suitable sacrificial surface underneath and use double-sided carpet tape to hold the centre waste piece in place.
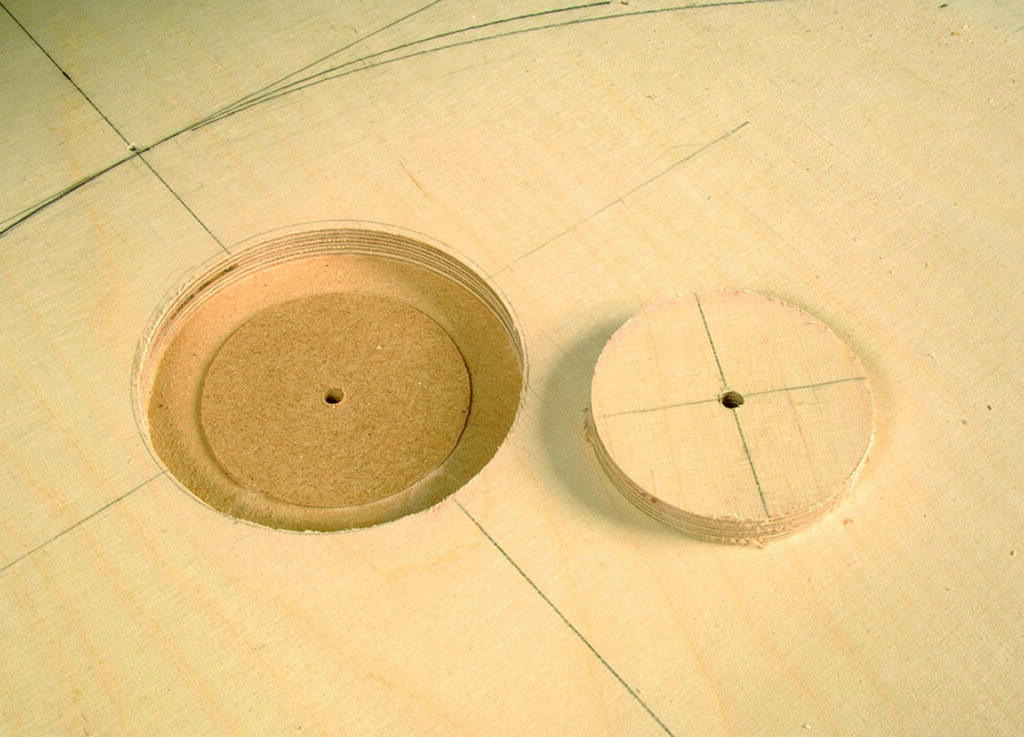
Although this device creates cutouts it also produces circular pieces in the process that can also be useful. It is important that both parts of the workpiece stay in place though, as the cutter can damage the edges if something moves out of place.