Kurt Hertzog looks at reactive finishes such as epoxies, cyanoacrylates, oils, varnishes, and oil/varnish blends

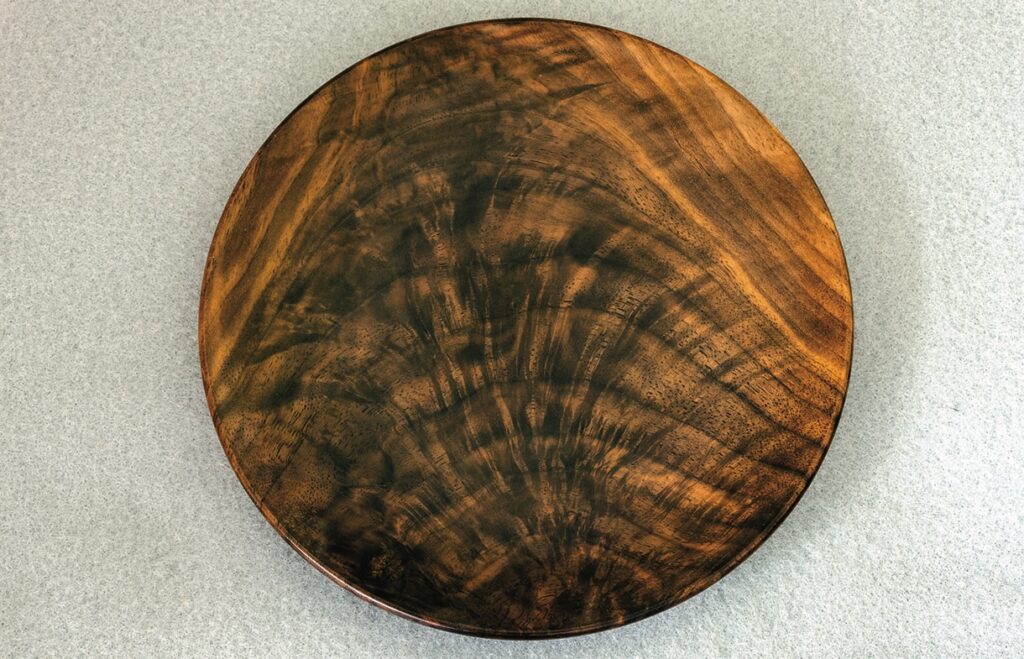
In previous articles, we’ve had the chance to explore the preparation for finishing and some of the build finishes in the evaporative family. Whether waxes, shellacs, or lacquers, they are not the penetrative types. Their main functionality is to be deposited on the wood surface, have the volatiles flash off, and leave a film of the solids that were in solution on the surface. There was little or no intention of penetration of the wood. Of course you had the opportunity to colour the turning before or during those finishes. Most don’t have a tendency to darken the wood like oil penetration will.
To reiterate, the absolutely most important point you must remember about finishing is that your finish will only enhance underlying flaws. Time spent sanding and cleaning to ready for finish is time well spent. Regardless of your finishing talents, the end result will never be better than the prep.
This time we take a look at the reactive finishes. These include epoxies, cyanoacrylates, oils, varnishes, and oil/varnish blends.
Safety
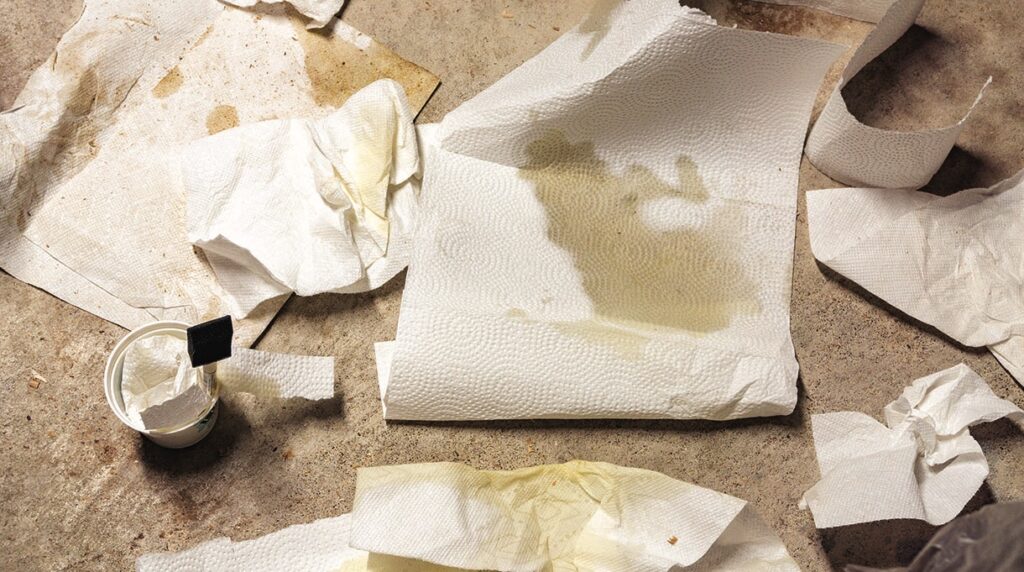
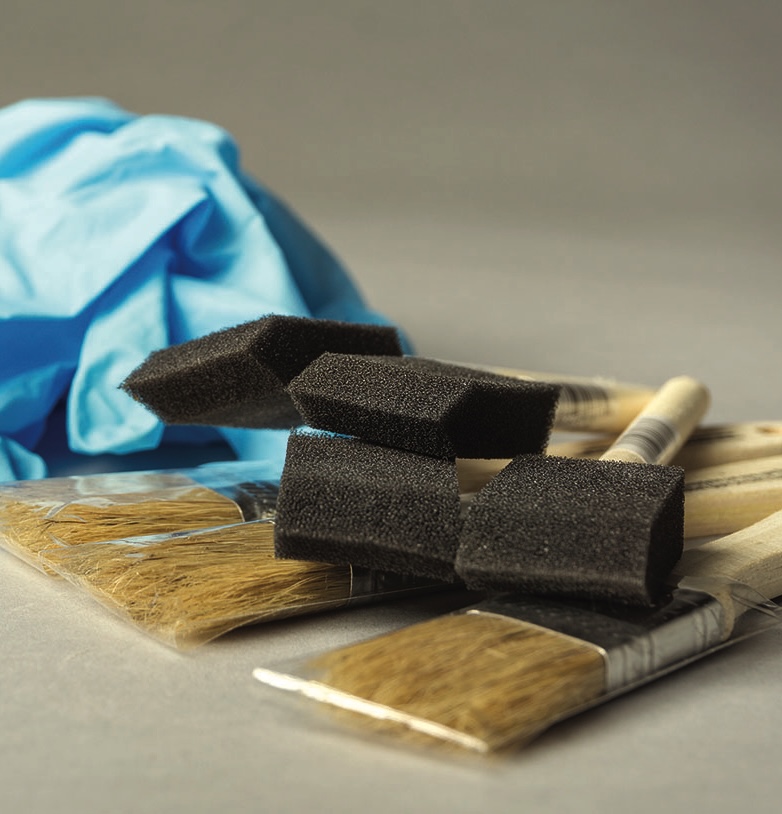
All of the safety concerns covered in past issues on finishing continue to apply to reactive finishes. Of particular importance is safe disposal of applicators and clothes. Reactive finishes can exotherm – that is, give off heat as they cure – and that means that application materials may spontaneous combust if not correctly stored. This, of course, presents a very serious safety problem. Wise disposal dictates that you place any applicators in a fire-safe area to complete their curing process. Spread them out to help them cure quickly without overheating. Once cured, hard and cold, you can dispose of them per your local protocols.
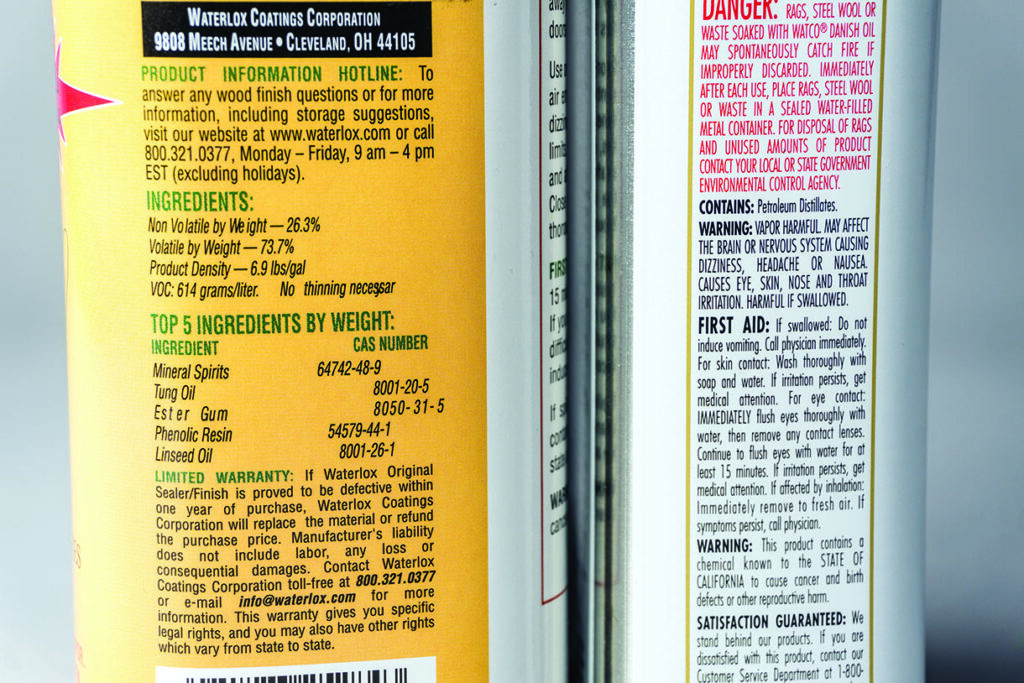
With all manufactured finishes, each state or country has its own laws pertaining to what information needs to be included on labelling of finishes. In the US the Occupational Safety & Health Administration (OSHA) is the governing body and requires that Material Safety Date Sheets (MSDS) are also available for products. In the UK the Heath & Safety Executive requires that Safety Data Sheets are required for each product and that these are needed in order for people who are required to comply with the Control of Substances Hazardous to Health (COSHH) legislation.
Epoxy and cyanoacrylate as finishes
You may think of these as adhesives but they also can be used as a finish. Both epoxies and cyanoacrylates will create a very durable and protective finish if applied properly. They are build type finishes so you can create the thickness you wish using repetitive applications. They are tough by nature but can become extremely tough when you build the finish to provide some depth. Both families are in the reactive finishes category because they react with a catalyst that drives the process to completion. It is sometimes believed that using these as finishes limits you to small turnings. They do excel at smaller work but can be used on larger work. Don’t be frightened away based on not knowing. Both can be used on larger work with proper technique.
Terminology
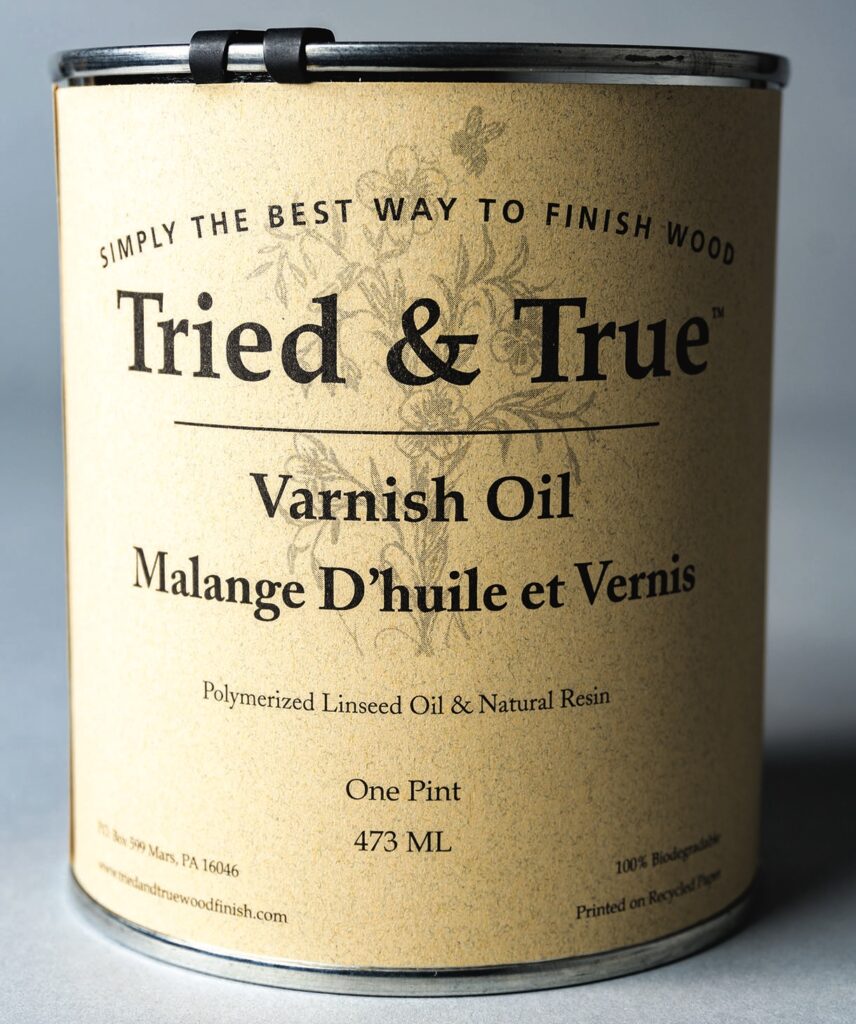
Oil, oil finish, varnish, oil varnish, Danish oils and more are terms you’ll hear. It is very easy to get all of these muddled in your mind. Let’s try to define things very simply. Let me call oils a finish component as a raw material. If you use oil as a finish, whether as is or doctored up, then we’ll call it an oil finish. Therefore, oil can be a constituent of an oil finish, part of a varnish, or an oil/varnish combination. Varnish is a finish defined as containing some kind of resin such as amber, rosin, kauri gum, balsam, or even shellac. There are a multitude of other resins that can be used. Modern varnishes now use more synthetic resins such as polyurethane rather than the original natural resins. Any resin dissolved in oil is an oil varnish. If the resin is dissolved in alcohol or the like alone, it is a spirit varnish. Bottom line, oils penetrate the wood and can polymerise to provide the finish. Oils with varnish resin not only penetrate but also create a film on the surface. Varnish using only distillates creates a film finish on the surface with minimal or no penetration. Danish oil, along with a variety of trade names from different manufacturers, is simply a thin oil and varnish mixture.
Top tips:
• Oil finishes applied in wet or humid conditions will tend to cure gummy and soft. Wait for appropriate weather or change your finish.
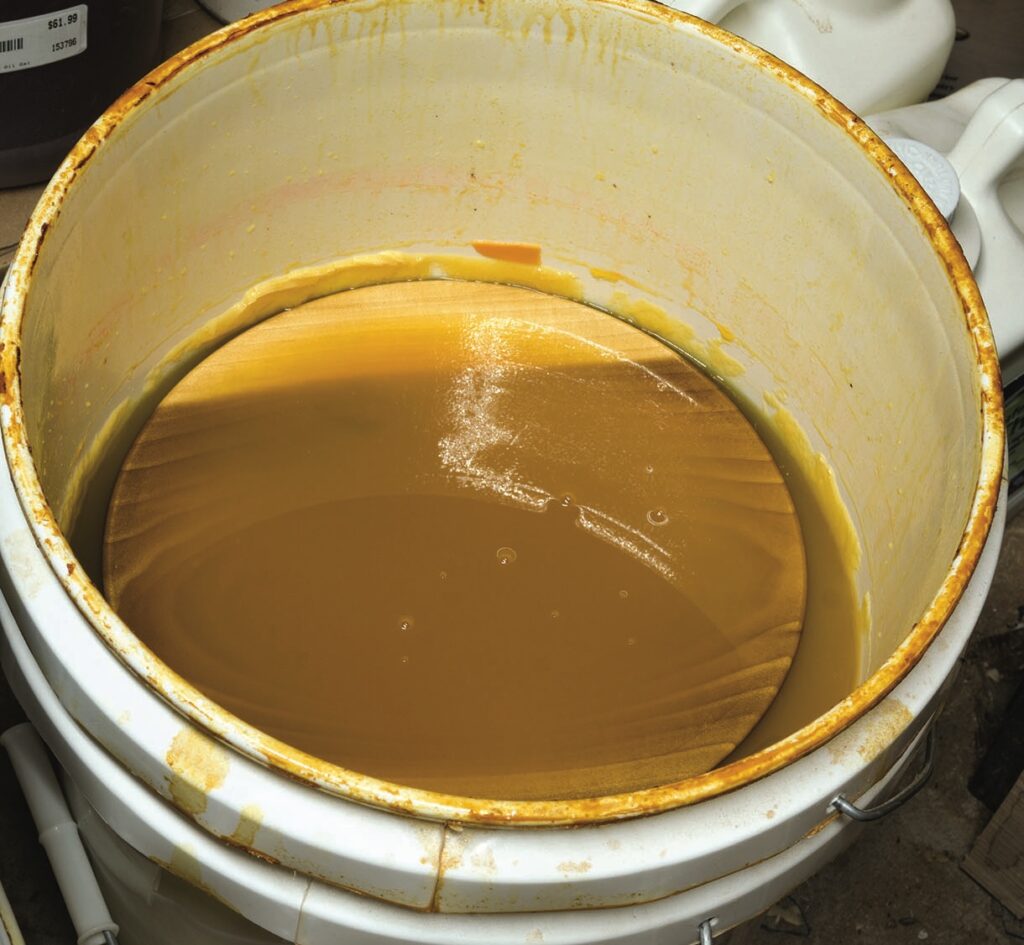
• One very effective way to apply oils for penetration is to bury the turning in a bucket of finish. The longer it soaks, the better the penetration.
• Oil finishes are far less susceptible to problems with dust. Because they penetrate and the surface skin is very thin, dust isn’t an issue.
Oils
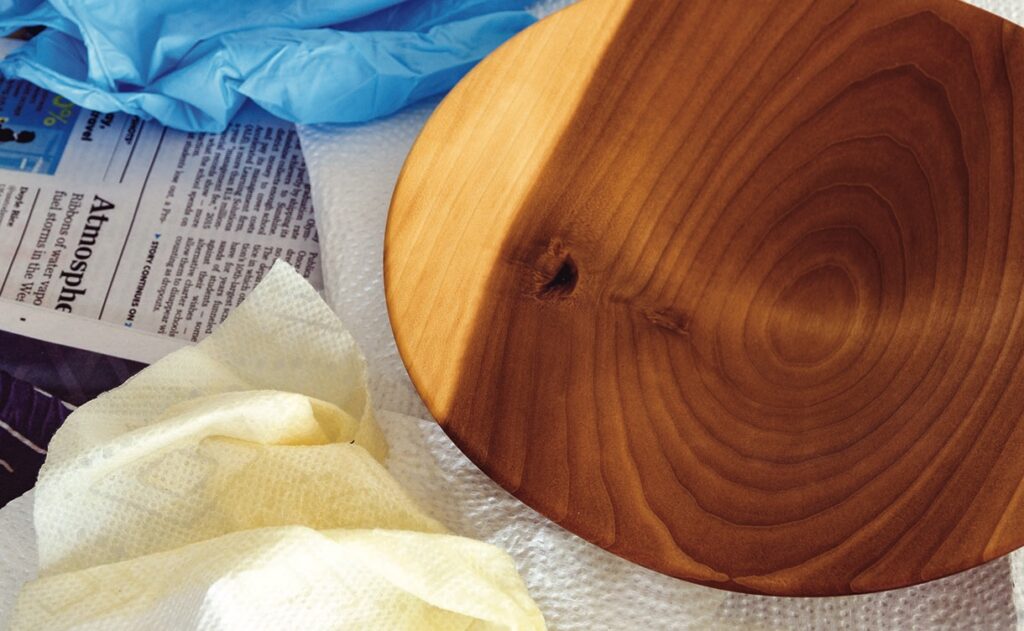
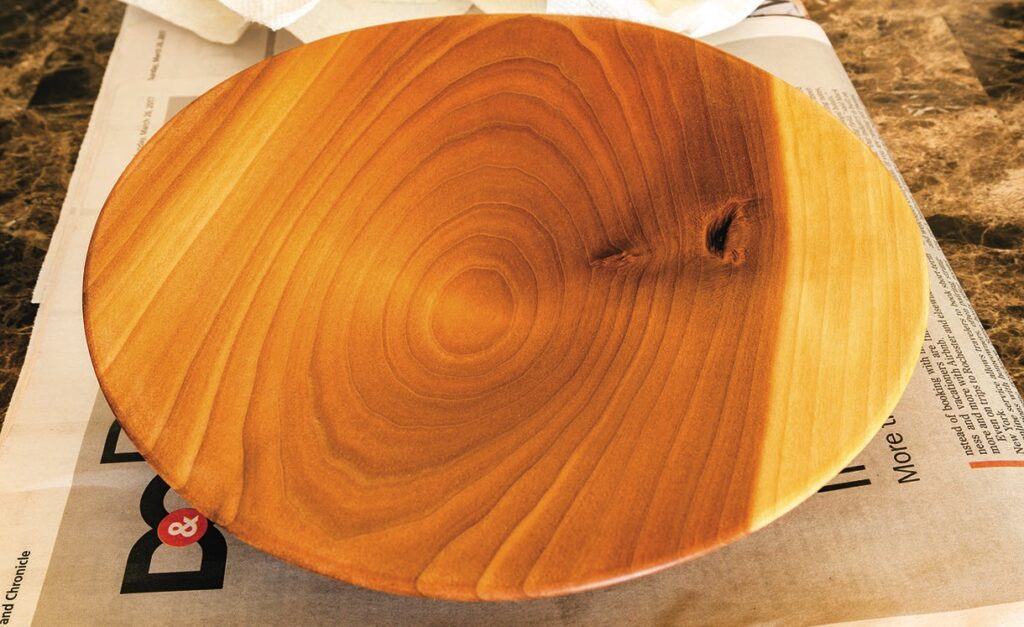
There are a number of plain oils that aren’t marketed as finishes but can be used in finishing. Among the non-drying oils, mineral, raw linseed, soybean, sunflower, peanut, olive and safflower are the most common. They are simply wiped on, allowed to penetrate, and then wiped off. This can be repeated but be aware that the oil never really dries or cures like the drying oils do. These offer no real protection from a mechanical standpoint but you can use them to deepen the colours and provide a seal of sorts. The polymerising oils that find a home in the wood finishing arena are tung and walnut. Raw linseed and soybean oil will polymerise with the addition of dryers. The addition of dryers changes linseed into the more commonly known and used boiled linseed oil and the soybean into an oil that cures.
Not many people use plain oils as a finish but you can. Most often, the woodturner will use an oil finish that is a blend of one of the curing oils, thinner(s), and any magic sprinkles the manufacturer uses to distinguish its products.
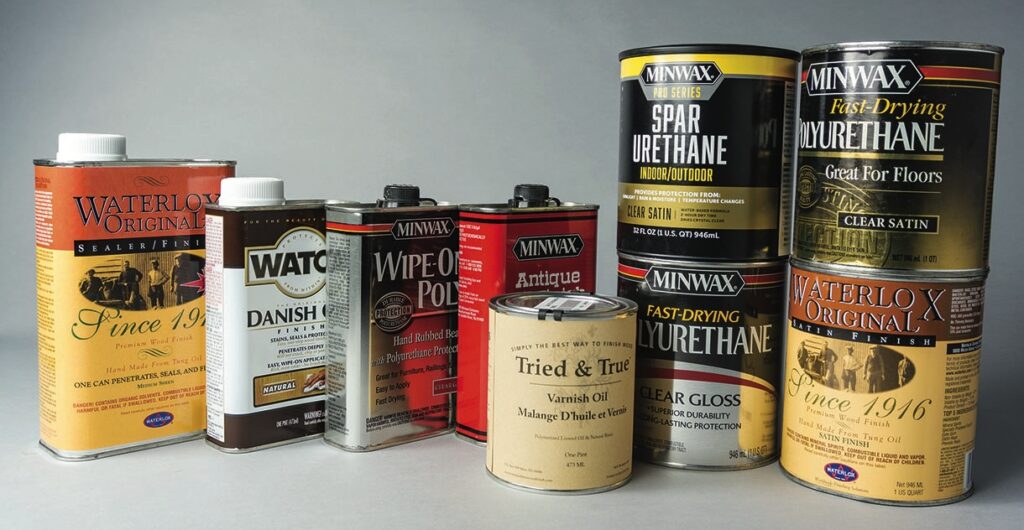
Oil finish contents
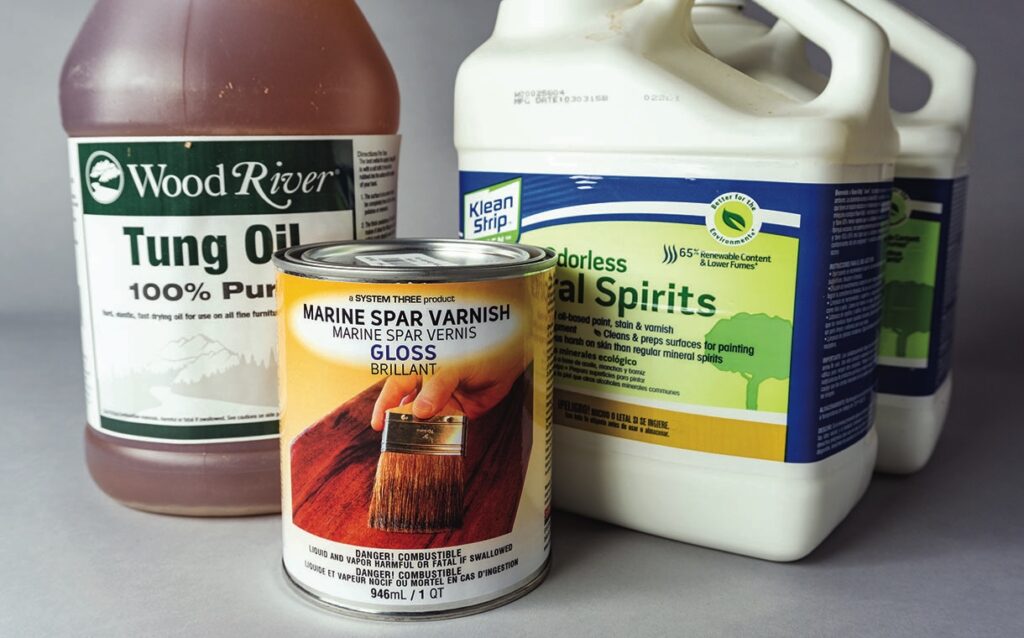
Oil finishes vary a bit from manufacturer to manufacturer with each trying to make theirs a bit special with their own magic sprinkles in the chemistry. Fundamentally, oil finishes are an oil that usually chosen for cost and a dilution with thinners. The higher priced oil finishes will contain tung oil or a tung oil blend to help reduce cost. The lower cost oil finishes will use the non-curing soybean oil with added dryers to make them cure. The mid-priced oil finishes will usually use boiled linseed oil for the oil in the mixture. Thinners can be pretty much any distillate such as mineral spirits, turpentine, kerosene, or naptha. A mix of one part oil to two parts thinner is the basic Danish oil. A Danish oil mix with added varnish forms a film. If the varnish added is polyurethane, it becomes a wipe on poly.

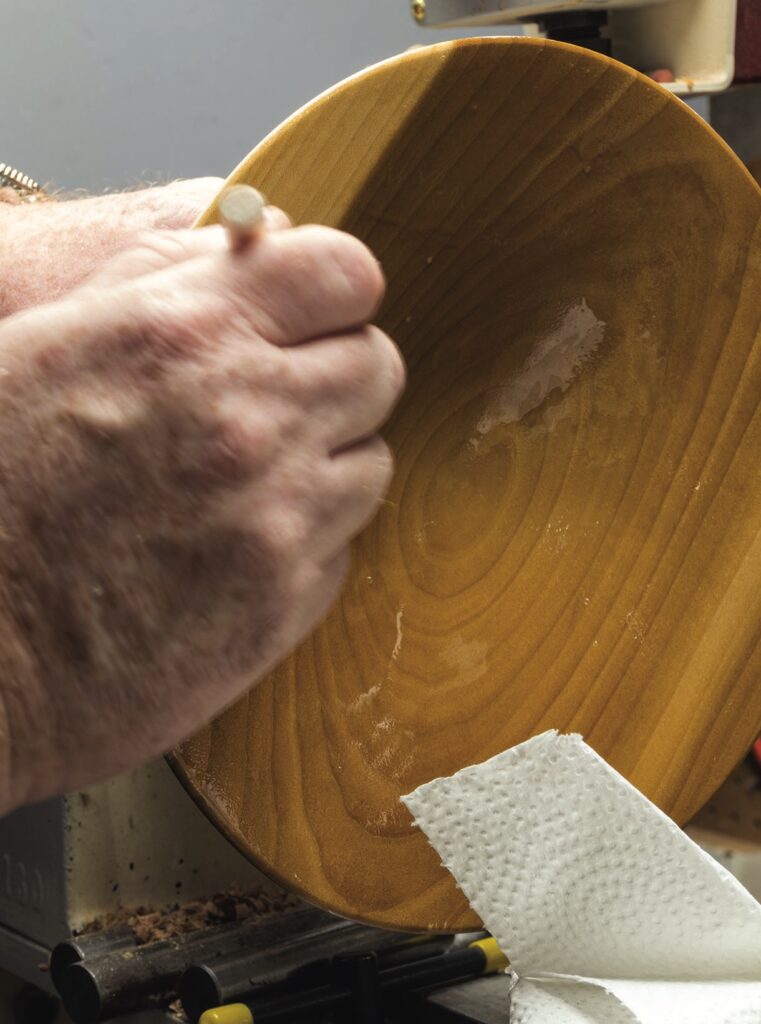
Using oil finishes
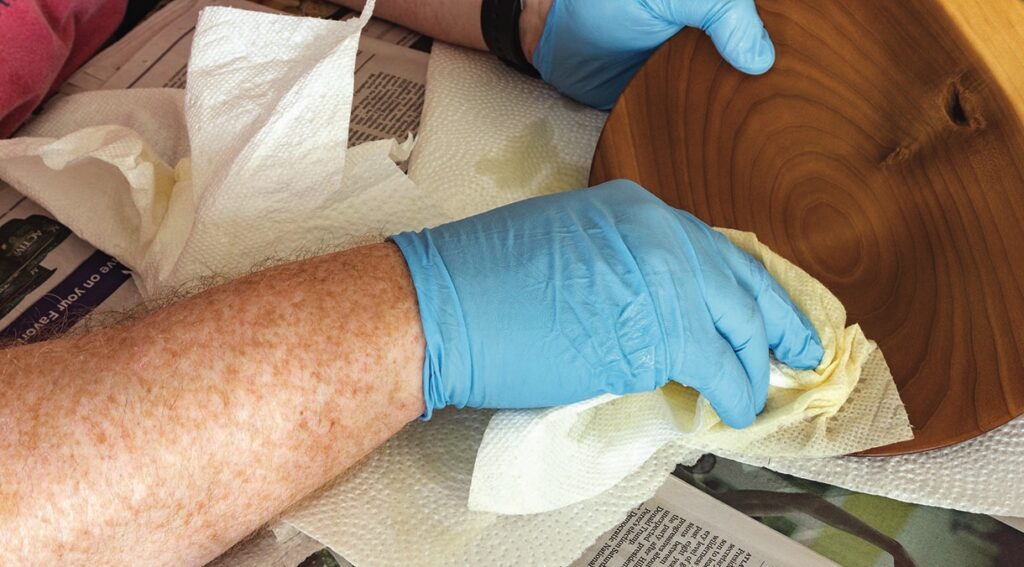
Understanding how oil finishes work may help you be more successful in using them as a finish for your turnings. Oil finishes do two things very well with proper application. They are small molecules that will soak into the pores of the wood. With a bit of time, they polymerise into larger molecules with exposure to air. The key to both of those happening is applying the finish under proper conditions. Avoiding too cold, 60ºF and below, and too hot, 85ºF and above, will let the thinner evaporate properly so best polymerisation occurs. Getting outside that temperature window will compromise the results. The other problem with the curing of oils is wet weather. Much like cold temperatures, high humidity from raining or just damp conditions will impact the evaporation process and cause problems with the polymerisation process. I use one of two methods for oil application. First and easiest is to submerge the turning into a container of finish. Being completely covered and allowed to soak, it will absorb as much oil finish as it can. You can leave the turning submerged as long as you wish. An hour is about the minimum. The other method is the typical described method on the product can. Apply the oil, liberally flooding the surface, and keep the surface wetted for 30 minutes. A foam brush, regular paintbrush, or even a chip brush can be used to apply the finish. After the 30 minutes, wipe dry and repeat the process with the surface wetting soak time being 15 minutes. At completion, wipe dry and let the finish cure for a minimum of 10 hours. The bucket-soaked piece is removed, dried, and left to cure in the same manner. Remember the temperature and humidity conditions for best results. Other methods of using oil finishes are to flood the wood for 10 minutes using a brush or foam applicator, then wipe dry. This is repeated many times with occasional wet sanding with fine grit paper using the oil as the lubricant. The slurry created can fill the tiny pores of the wood creating an even smoother surface. The more repetitions, the better the results. Another method of applying oil finishes is using the French polish process. I have no personal experience with this but the results are stunning. The oil finish is inserted into a polishing rubber – a ball of wadding wrapped in a clean white cotton cloth – and applied in the same manner as French polish. I always apply my finishes, oil or varnish, without any lathe power. I often use the lathe as my work holding device and rotate the work with the handwheel but I haven’t found the need to run the lathe.
Making your own oil finish
You can select your favourite oil finish from the many varieties that are offered. There are many fine products out there that can be bought from your woodturning or home improvement retailer. If you already have one or find one that suits you, I recommend you make it your regular oil finish. By using and mastering one, you may be farther ahead than trying to excel with a batch of different ones. I do use store-bought finishes, however I’ve learned how to mix my own. In my opinion, there are a couple of downsides to store-bought oil finishes. First, after opening and then storing these finishes they tend to skin over and harden. Depending on the quantity you buy, you may find that your larger container might be a false economy if you can only use some portion of the volume before it becomes unusable. The other downside is the cost. You might, of course, opt to make your own finish or modify others. Making your own can, depending on what you want to make, be quite simple to do. I find the advantage of mixing my own is I’ll have the quantity I need and have it fresh when I need it. If you want to make your own, whether to economise or mix it as needed, here is the recipe. One part oil, usually boiled linseed oil, mixed with two parts mineral spirits. If you want a higher level oil, use tung oil instead of BLO. Want to make an oil varnish or wiping varnish? Add a quart of high quality spar varnish to three
gallons of oil/thinner volume. I make my own in three gallon mix and add a quart of a quality spar varnish. I keep it in a covered five-gallon plastic bucket. It works great for total immersion. The prepped turning goes
in and is kept submerged with a plastic bag full of glass marbles. I let them soak overnight, wipe dry, let dry, and repeat until I get where I want it to be.
Having said all that, if you make your own ‘finishing’ mix then you are responsible for that mix and how it is used. Also, if you choose to modify a ready-made finish and it is not done in accordance with any labelling and recommendation from the manufacturer then you are potentially negating any warranty or compliance aspects with relevant safety standards and such like. So do be cautious about undertaking such tasks and, as mentioned before, it is done at your own risk.
Top tips:
• Reactive finishes will skin over and harden in the can. Use Bloxygen to displace the air in the container, invert the can when storing, or use collapsing storage containers if your storage times are excessive.
• Buy your finishing products from a source with rapid product turnover. Even unopened cans can begin the degradation process.
• Virtually every manufacturer of reactive finishes cautions about applying in wet weather or extreme hot or cold temperatures. Heed their advice.
Varnishes
As noted above, there are two types of varnishes. One is simply a varnish that has the resin dissolved in an alcohol or other distillate. Called a spirit varnish, this finish is very often used on stringed instruments. Violins are famous for using spirit varnishes, creating a finish that sometimes last hundreds of years. They say that the finish is the key to how the instrument sounds. Most of us won’t be finishing violins or other stringed instruments but spirit varnish is a valuable addition to your finishing repertoire. It is an evaporative finish with the solvent flashing off very quickly. Thin layers brushed on work best. You can’t count on it flowing out because it will dry that quickly.
Other varnishes have a certain amount of oil in the product. The percentage of oil does vary based on their formulation and their product type. There are so many formulations that it will be difficult to cover them all. Because they count on both the oil penetration and the hard film build to provide the finish, they vary the mixture, additives, and application technique. For the best directions, check the packaging for the recommended application. Most varnishes, especially polyurethane, want a thin coat that is allowed to dry. While a bristle brush can be used, I find that the foam brushes work well. Brush on a coat liberally to be certain to get good coverage in all areas. I then use the foam brush to work the wet coat, picking up any excess to leave a thin coat to cure. The oil will penetrate and polymerise and the varnish will cure as a film on the surface. This will take hours. Don’t rush things. To get a good surface cure, you’ll need to wait two or more hours depending on the ambient conditions. Once that coat has cured, scuff sand it with 220 grit sandpaper to provide tooth for the next coat. The varnish will not cut into the previous coat chemically like shellac or lacquer. After you have roughed the surface and cleaned it of any debris, apply your second coat in the same manner as the first. Get good coverage but make it a thin coat once you’ve spread it all. How many coats? Two will work but the number of coats is your choice. If you are turning for the craft fair, you may not be interested in spending excessive time on perfecting the mirror finish.
Spar varnish isn’t often used for woodturnings unless they are for outdoor or marine applications. Spar varnish is usually marked as marine and outdoor use. As such, it contains UV protection. Applying spar varnish is best done with a bristle brush, much like painting with paint. Apply and brush out leaving a uniform coat that will flow out. Once coated, let it cure for a minimum of 12 hours. Longer is better but 12 will suffice. If you wish, you can cut it with 10% mineral spirits to lower the viscosity. Repeat the process for as many coats as your application needs for weather protection. As indicated earlier, I apply all of my finishes without lathe power if I am using the lathe as a work holding device.
Conclusions
Turners are notorious for wanting things done quickly. Finishing is a skill that can only enhance your turnings. If your price point or product dictates quick and presentable, you have several choices. If fine finishes for your masterpiece is your goal, you have some choices. Yet to come are the coalescing finishes, controlling sheen, buffing, polishing, and final thoughts.