The Woodworkers Institute

We bring you the very best of woodworking!

“Make it with us”

Japanese sunrise dovetails

Robinson House Studio’s Theo Cook demonstrates how you can bring a little ray of sunshine into your decorative joints
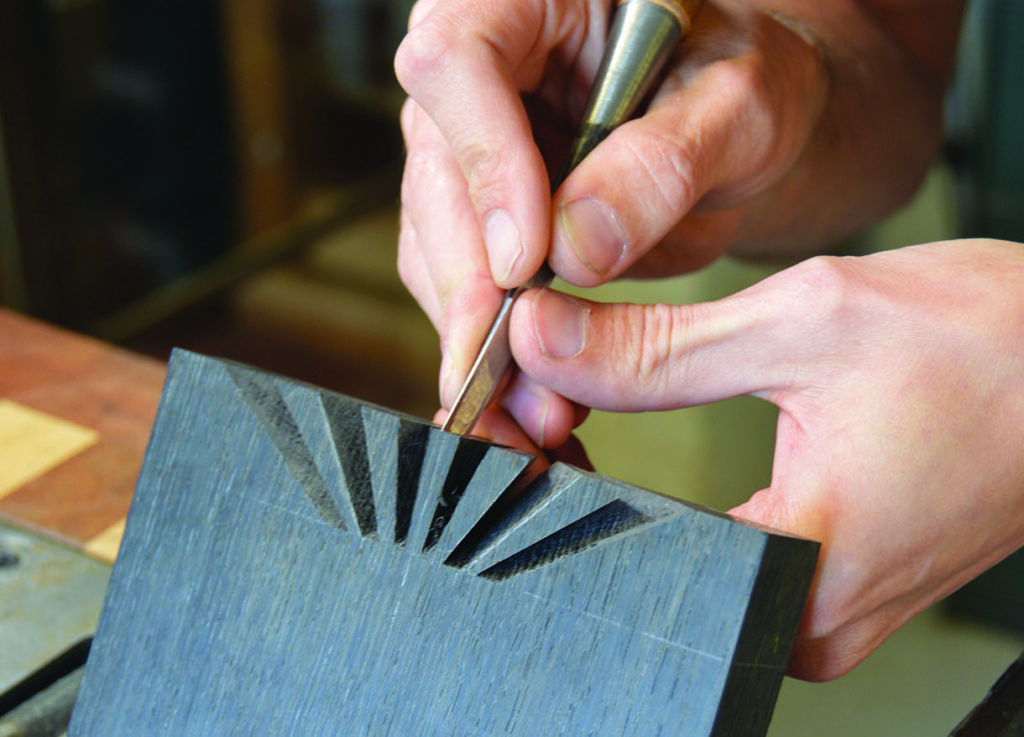
Craftsman chiselling wood with precision.

Sometimes we come across an item the making of which is impossible to explain through the use of words and pictures alone. Typically these stories are more about inspiration than instruction and any attempt to describe blow-by-blow how it was made detracts from the experience. Theo Cook’s Japanese sunrise dovetails are a perfect case in point. In theory I think we can all surmise how the joint goes together and if you ask Theo, who is in fact a man of very few words, he might even be able to lull you into a state of confidence and have you believe you could. Five minutes in, however, and you’d probably wish you hadn’t started. So rather than waste too much valuable ink in an attempt to get you all up to speed, we’ve decided instead to keep it simple and just let the work tell the story.
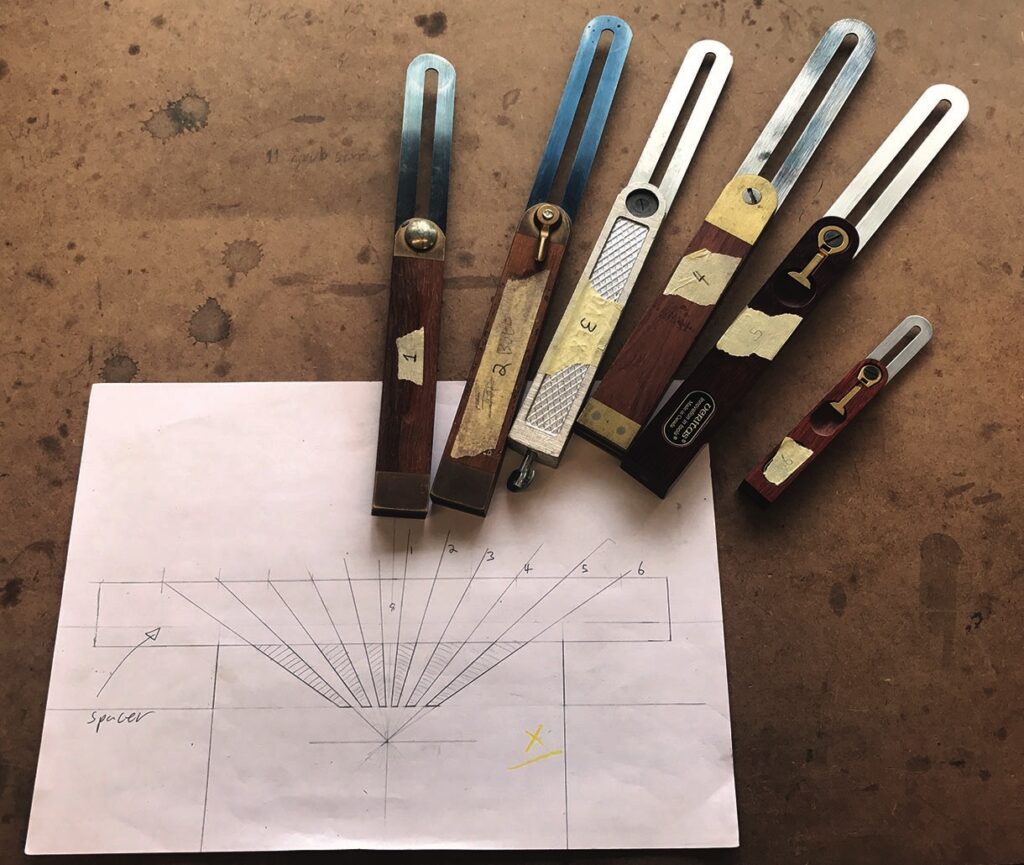
Bevel gauges on wooden table with drawing.
1. With traditional dovetails it’s relatively easy to talk about the corresponding parts as they have names that we can all relate to like pin, tail and socket. This joint is a little different and requires instead a number of sliding bevel gauges to lay out a range of progressive angles. In this case six gauges are required
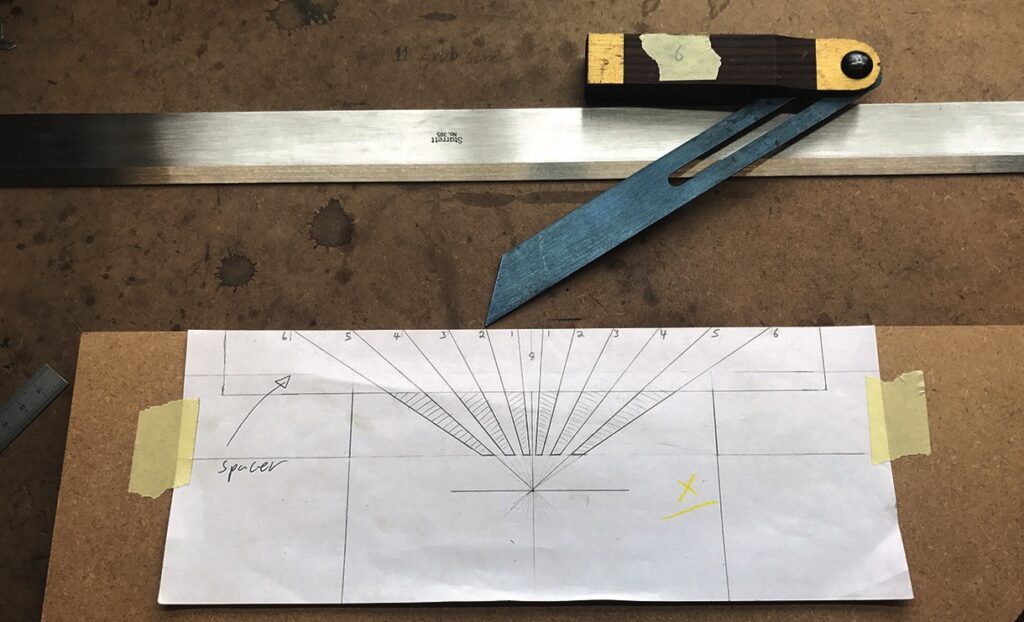
Bevel gauge with angle chart drawing on table.
2. The joint is marked out from a centre point outside the stock thickness of the board on one side and for reasons of accuracy extended beyond the thickness of the board on the other. The longer the lines the more accurate the angle
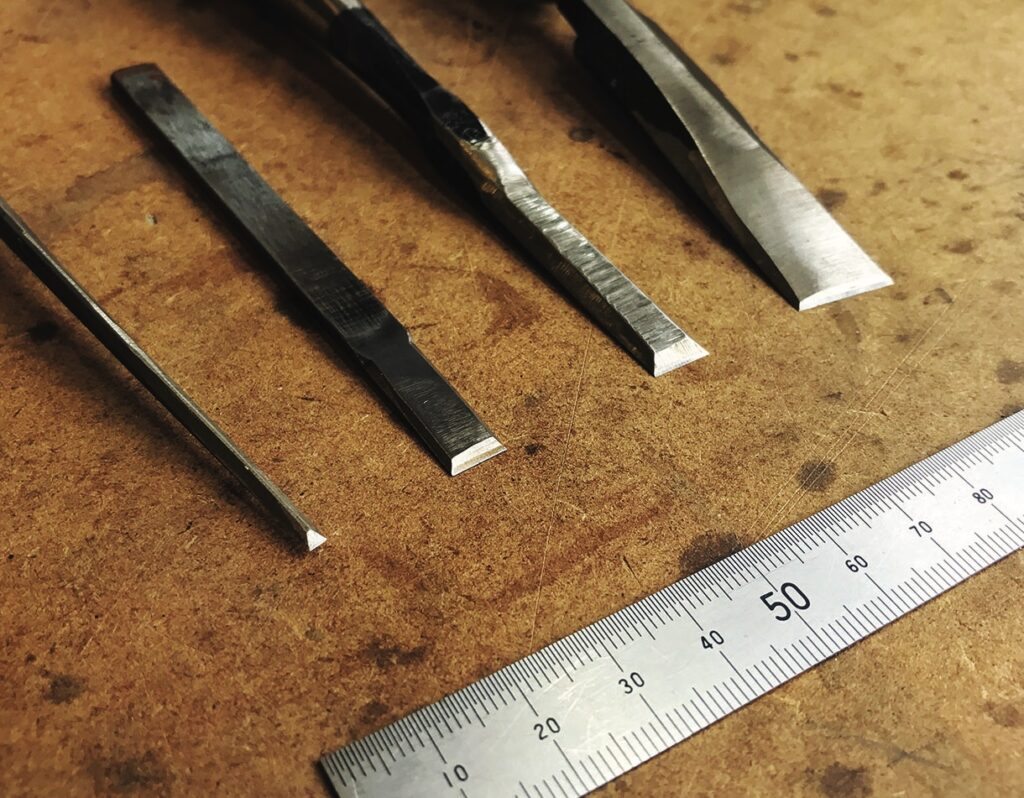
Woodworking chisels and ruler on wooden surface.
3. A selection of the chisels that were adapted to make them fit in the narrow gaps of the joint
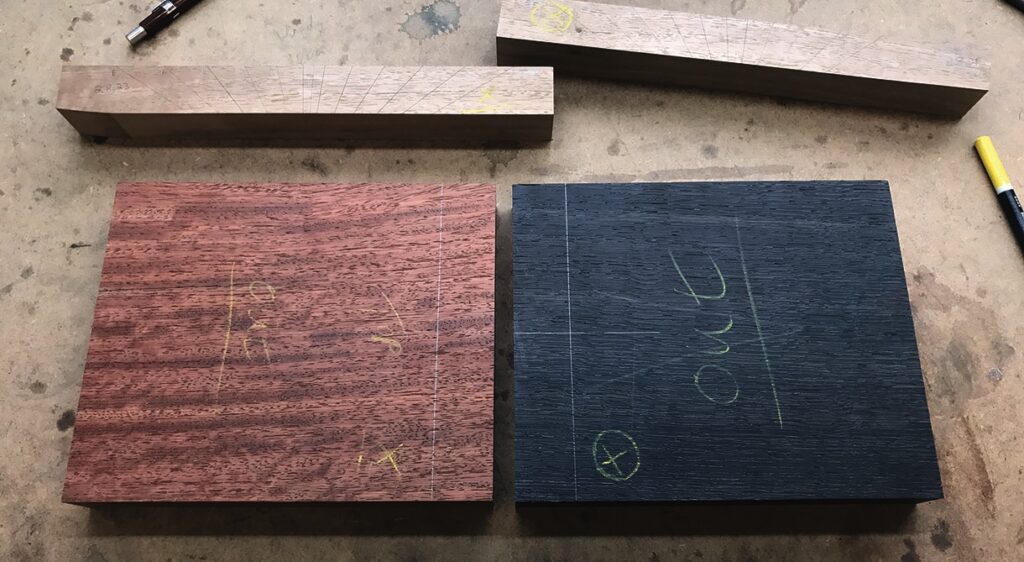
Wood pieces marked for woodworking project
4. To stand any chance of marking the cut lines out accurately, the blanks have to be planed up perfectly square. The timber is Burmese padauk, 50-year-old pre-war stock, and bog oak, which is a great deal older
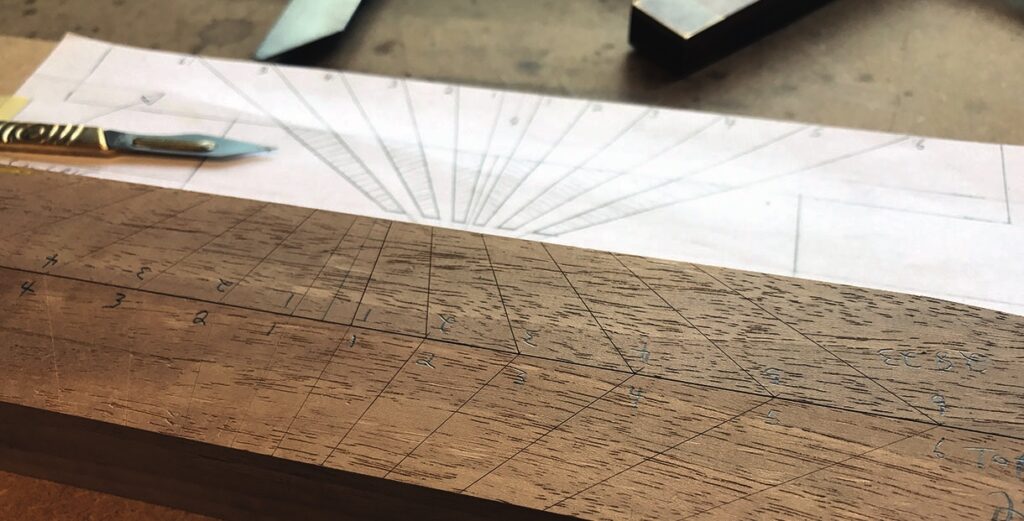
Woodwork project plan with measurements and scalpel.
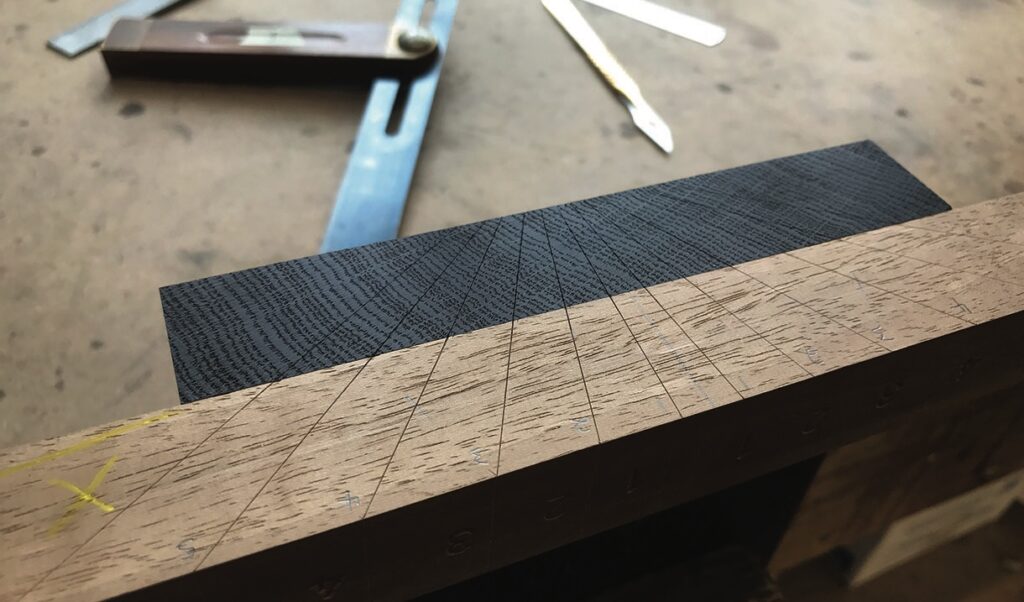
5. You’ll need two sets of templates laid out with scalpel lines, one for each side of the joint, to transfer the angles to each piece
Closeup of precision woodwork project with measured lines.
6. Once generated, the templates are more accurate than relying on bevel gauges as they can easily lose their setting
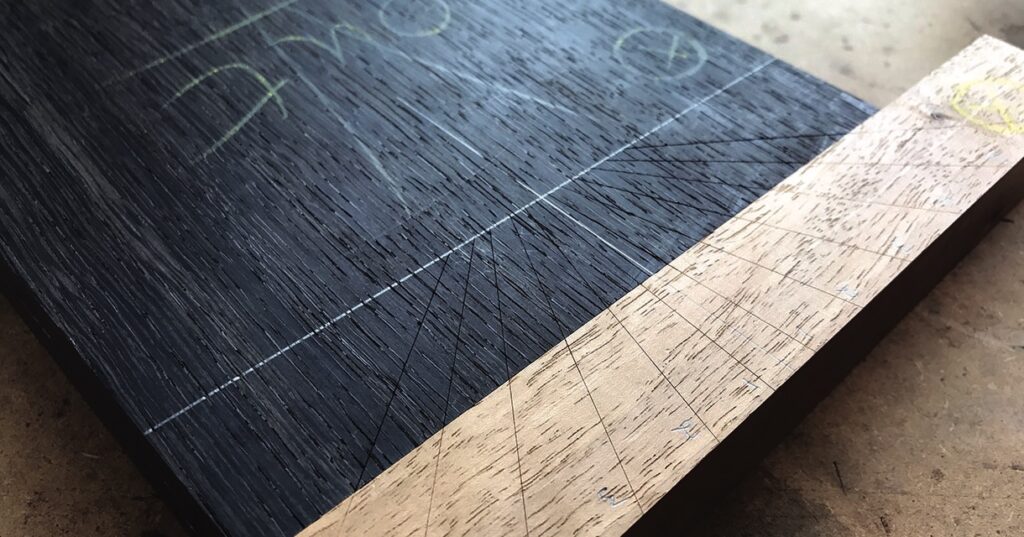
Woodworking tools and wood piece with marked lines.
7. The templates are used to transfer the scalpel lines onto the ends of the boards as well as the two faces
Hand holding dark wood block with green markings.
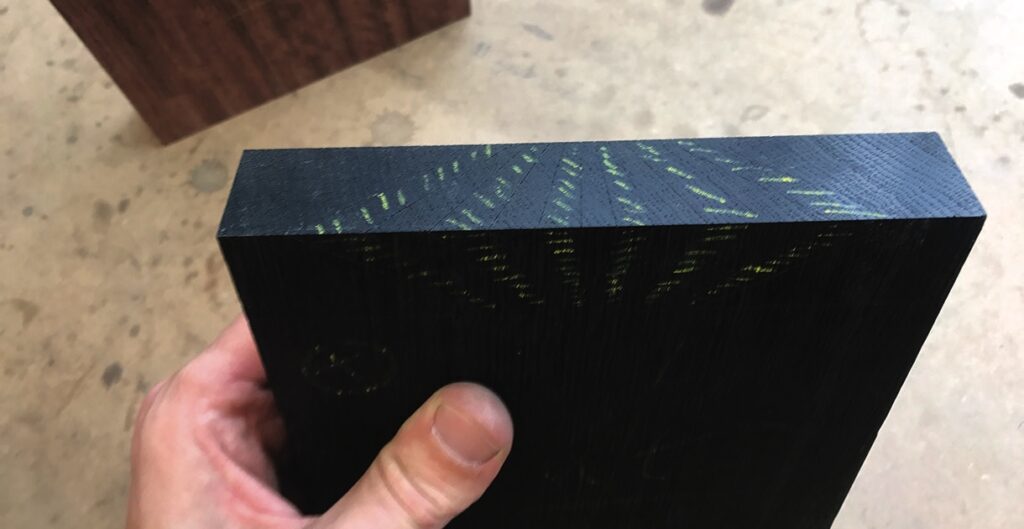
8. With so much time invested in the layout stage, it makes sense to mark the waste areas
Saw cutting wood with marked lines in workshop.
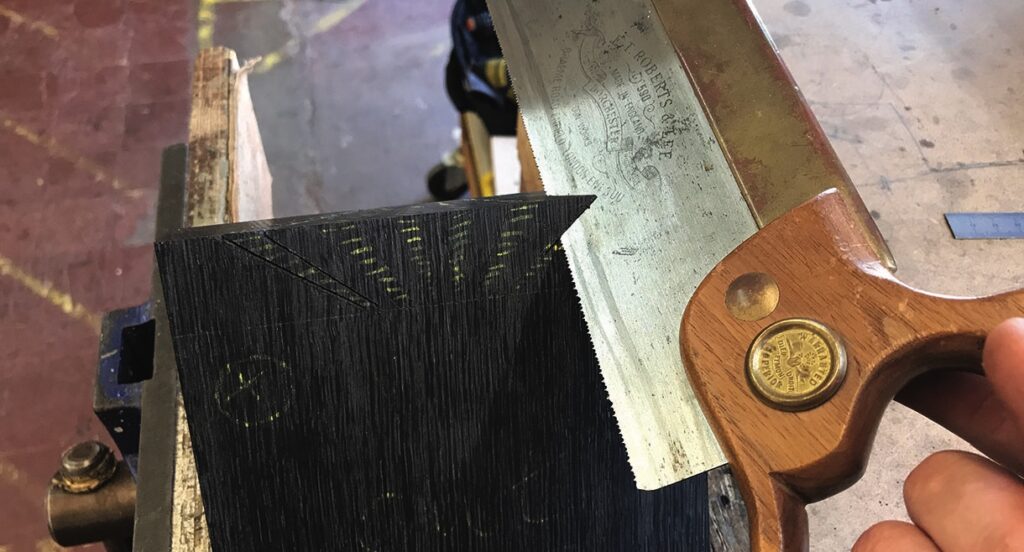
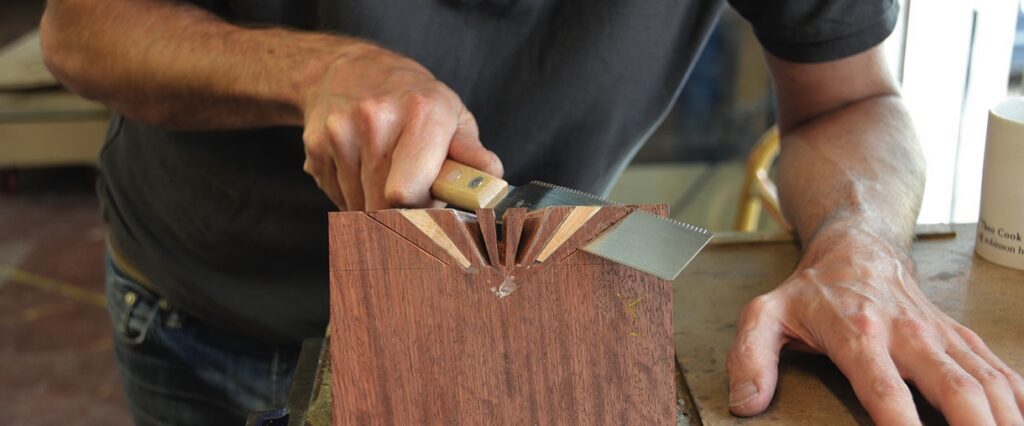
9. The same rules apply to sawing regular dovetails – close to the line but not on it
Close-up of black wooden joint detail
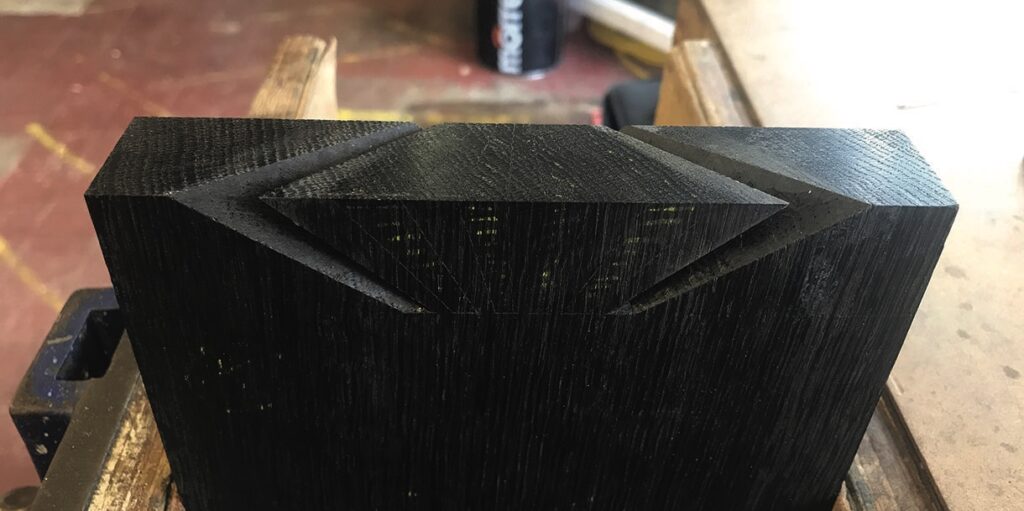
10. The first two cuts after they have been cleaned up
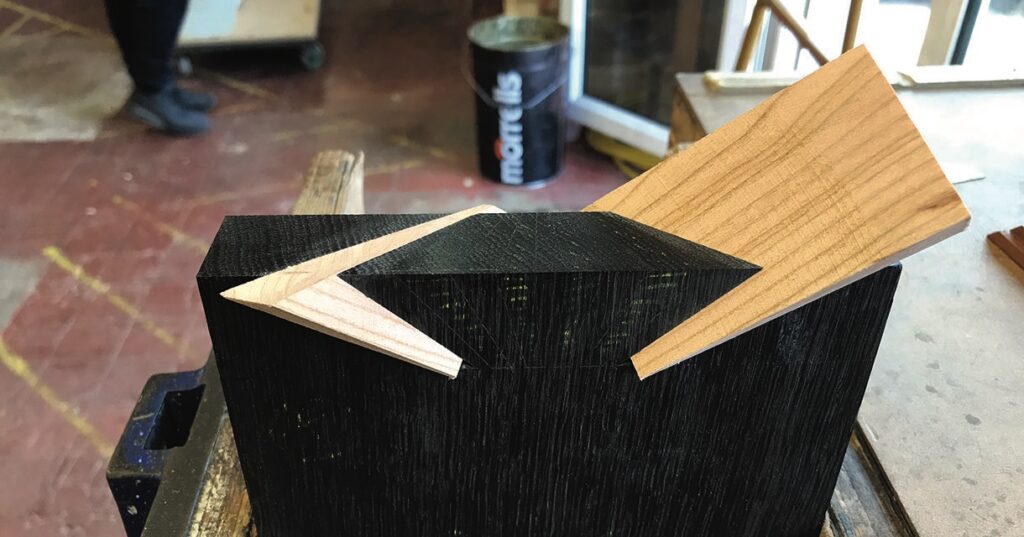
Chevron-shaped wooden joint on black block
11. Spacers are required to fit into the first cuts to support the material while cutting the next section of the joint
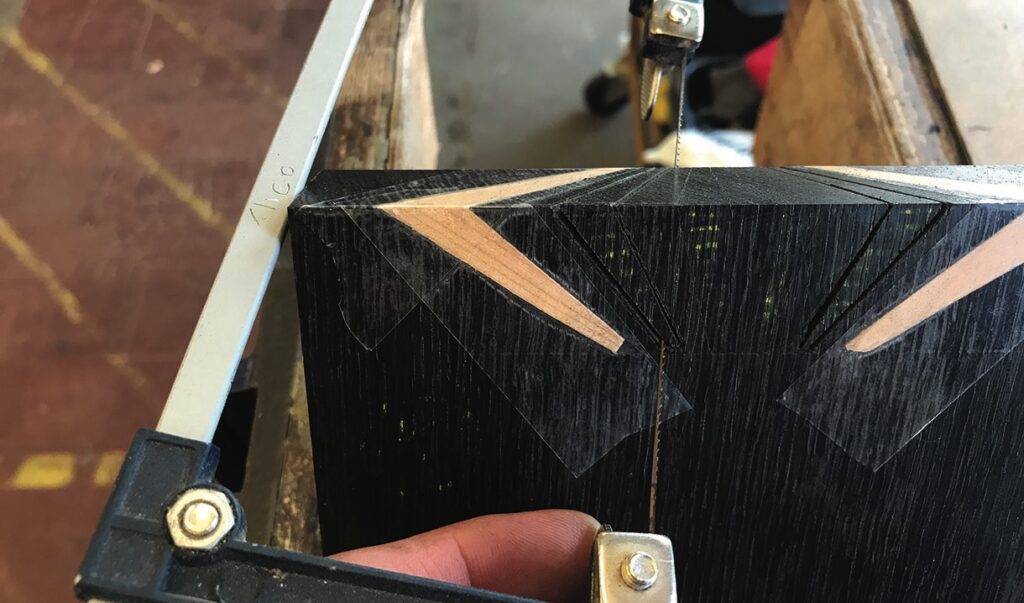
Sawing through a black material block with precision.
12. Securing the spacers in place with clear tape helps support the material. A jeweller’s saw is used to trim close to the baseline of the opening
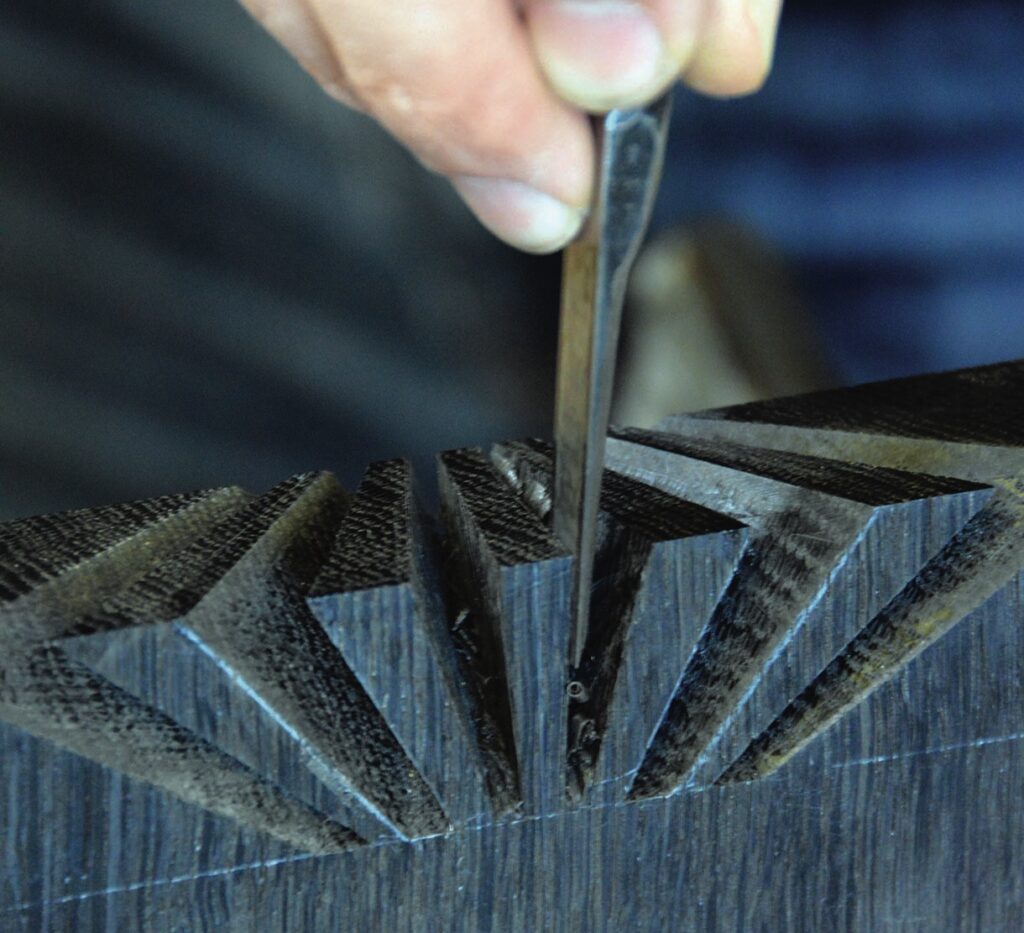
Craftsman carving intricate wood pattern with chisel.
13. A re-ground chisel is used to pare the waste down to the baseline
Handcrafted wooden joinery in progress
14. Spacers are needed on this half as well, even if you start cutting from the middle out
Person sawing wood for dovetail joint construction.
15. A small Japanese saw can give you a clearer sight line for the cut
Precision wood joinery with interlocking pieces
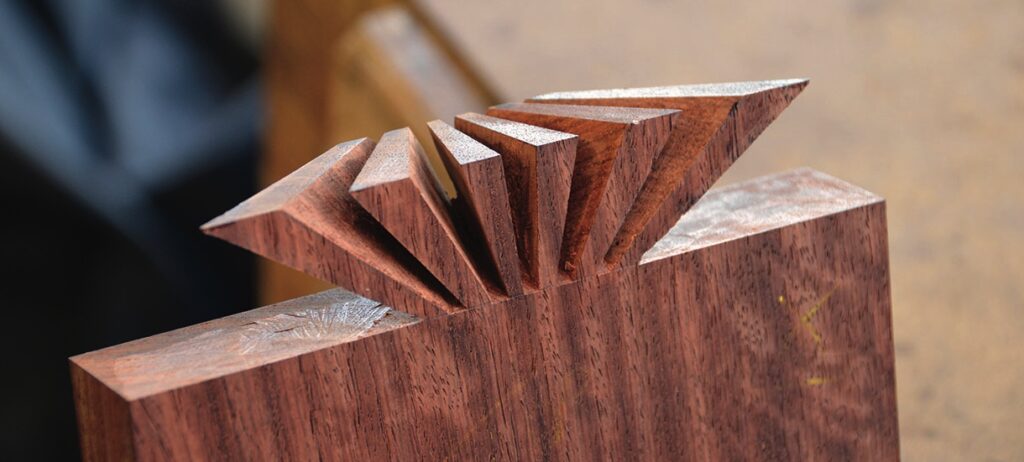
16. All the waste removed down to the baselines on both sides. The fins are extremely fragile at this point
Carving dovetail joint in wood with chisel.
17. Some undercutting is required on the back of each part to enable the joint to fit together
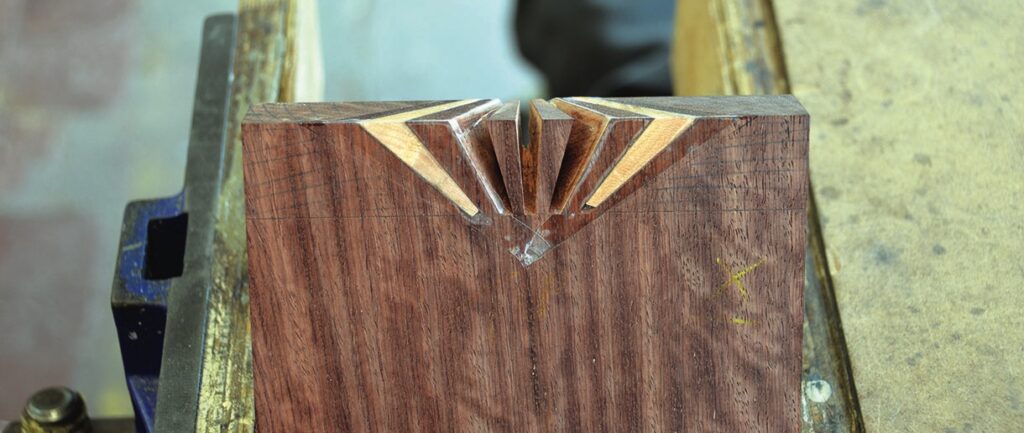
Decorative fan-shaped wood joinery craftwork
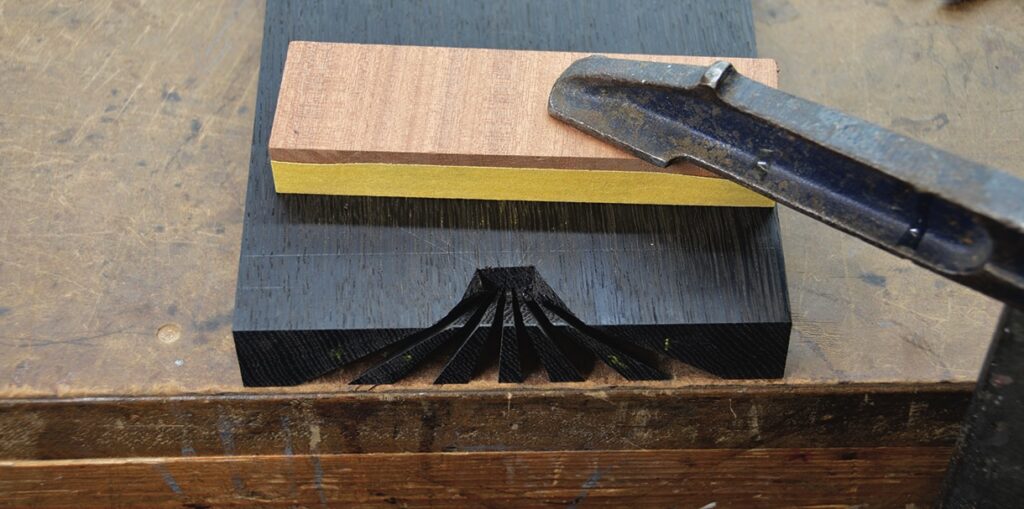
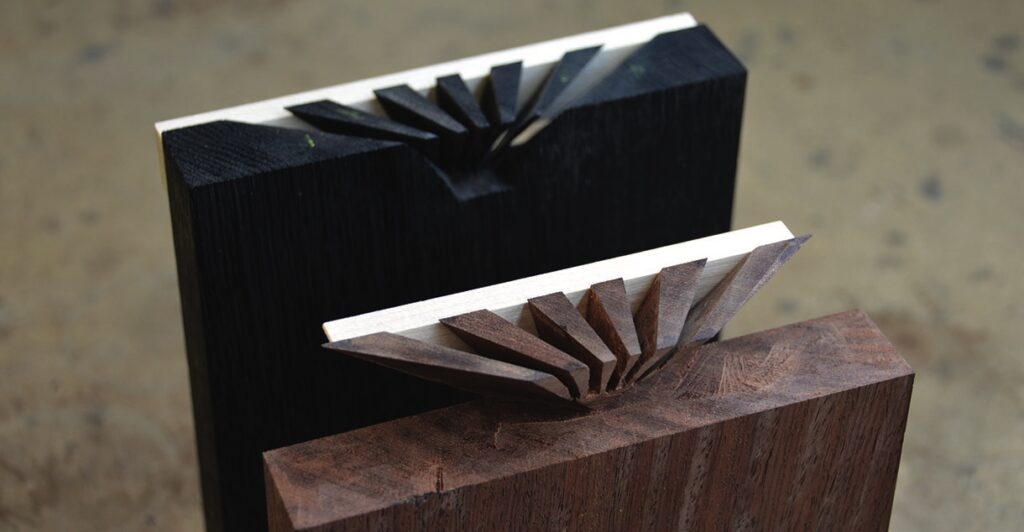
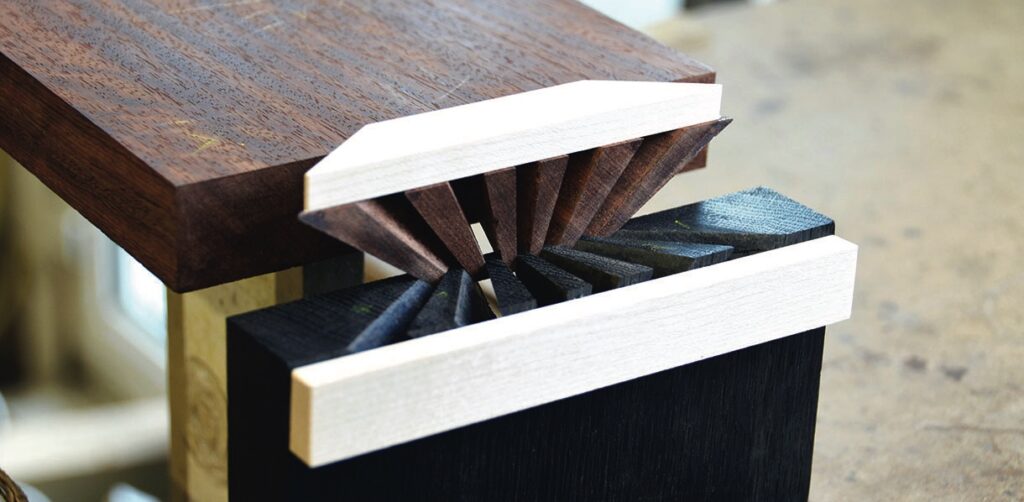
18. A temporary support was glued onto the show side of the fins on both parts while I carried out the last few adjustments. They double up as clamping blocks when it’s time to glue-up
Intricate wooden joint in furniture construction.
19. A partial test fit is all you can do without risking damaging the fins
Woodworking clamps securing wooden piece on workbench.
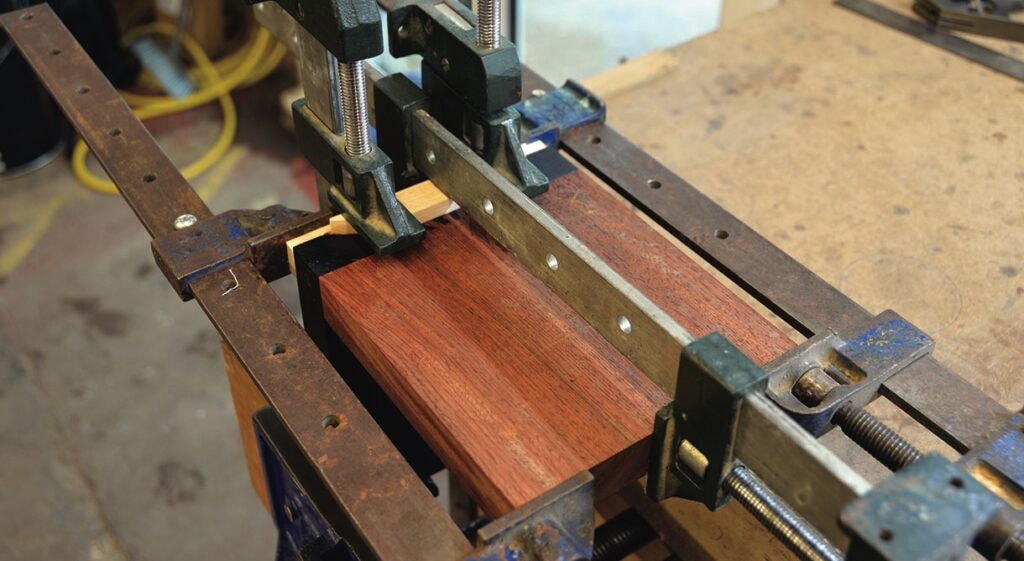
20. Gradual, even clamping pressure is applied in both directions to pull the joint together
Wooden box with decorative geometric inlay pattern
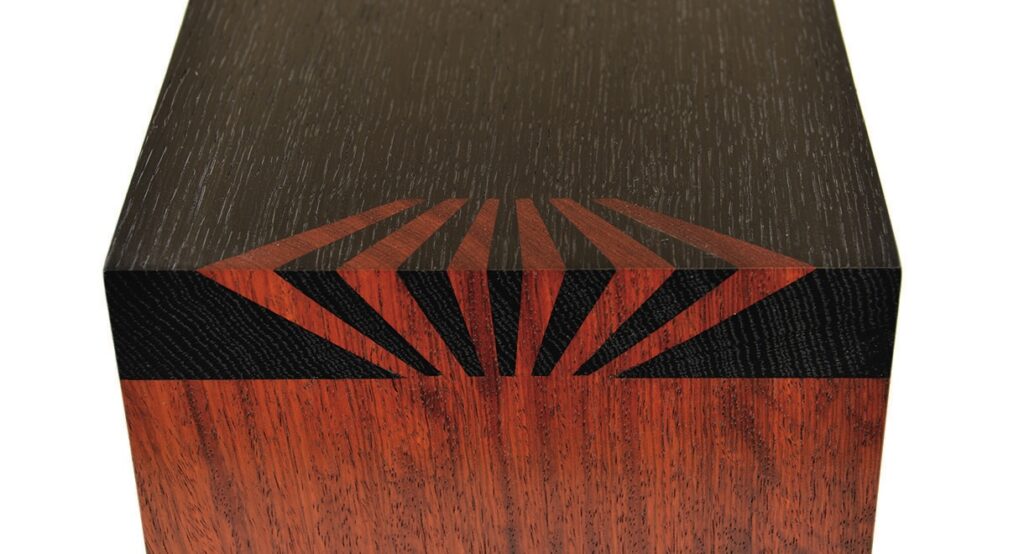
21. Clamps removed and support blocks planed away

Leave a Reply

Your email address will not be published. Required fields are marked *