Molly Winton continues her exploration of how to make your mark on turned work
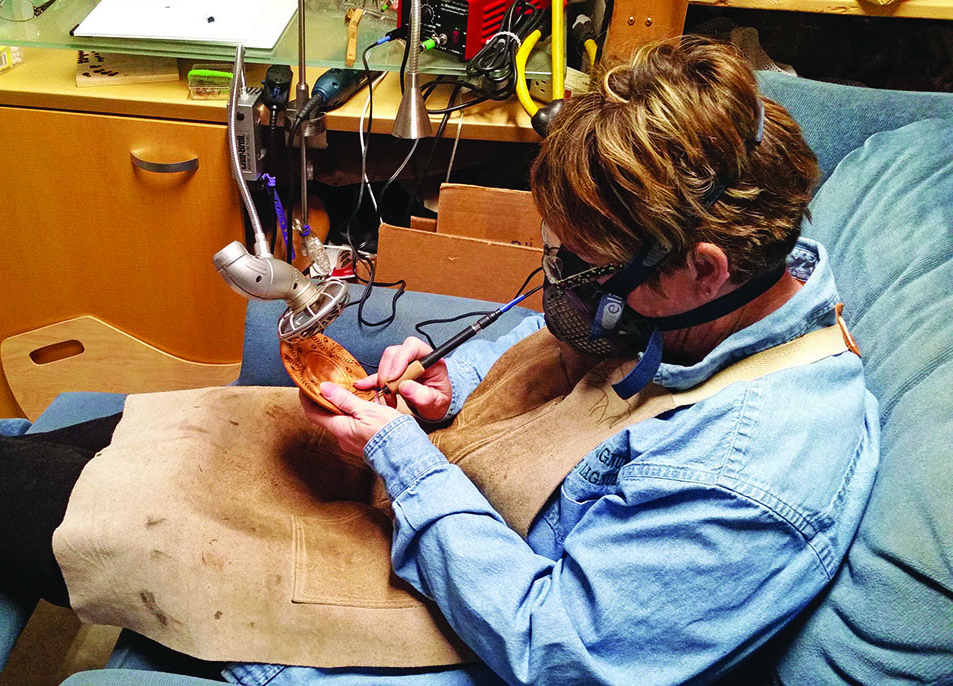
The previous article provided a foundation and introductory information to get you started on the journey of embellishing your work through the use of a woodburner. In this article commercially manufactured woodburning pens will be used to embellish a project. I’ll be sharing some helpful tips and tricks with you along the way to help you achieve crisp, clear lines and textures.
Commercially manufactured pens
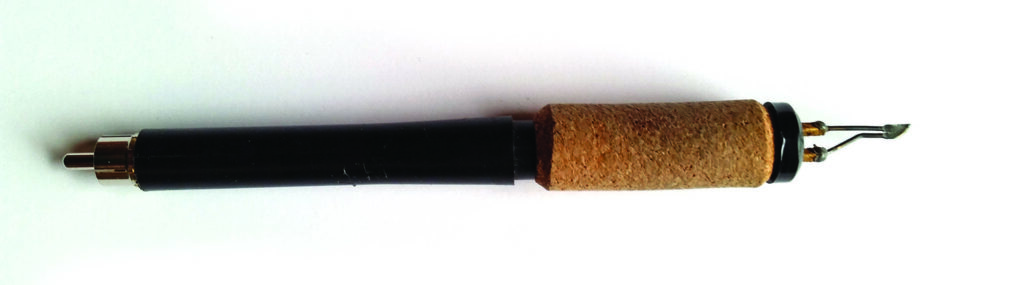
There are a host of pen tips/nibs available on the commercial market. Fixed-tip pens have the tip and pen body as a single fused unit, while some manufacturers also produce interchangeable tip pen bodies, where individual tips can be interchanged using only the one pen body.
Buying fixed-tip pens can be fairly pricey if a variety of tips are desired. A more economical approach can be to purchase an interchangeable tip pen and multiple individual tips. When deciding upon which interchangeable tip pen to buy, evaluate their features. Ideally where the nib is attached to the pen body, it is recommended to choose a pen that secures the tips with set screws. The tip/nib is heated from the electrical current flowing up one leg of the nib, through the tip and then down through the second leg. If this current is broken, the tip will not heat. If the tip is secured only through a friction fit, plugging and unplugging the tips over time can loosen the connection, resulting in an intermittent electrical connection or failure altogether. There is nothing more frustrating than burning along and the tip goes cold.
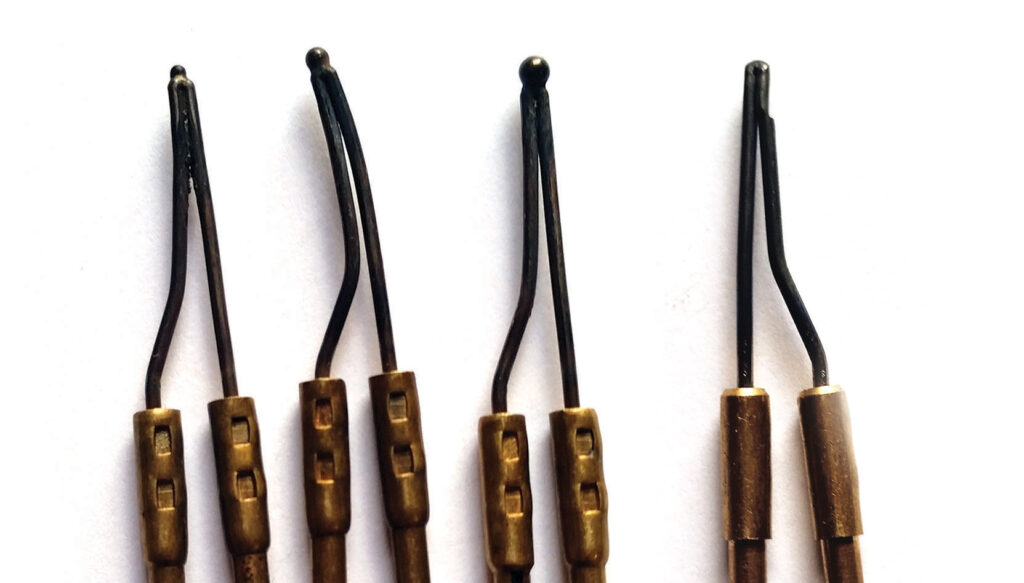
I am aware of three manufacturers that make interchangeable tip pens with set screws: Razertip, Peter Child and Burnmaster. The design of Burnmaster’s pen (hollow terminals with set screws) allows it to be used with every tip manufacturer known to the author, including tips made by Burnmaster, Detail Master, Razertip, Colwood and home-made brands/tips. Colwood’s tips are specifically designed to be used with their interchangeable tip pens (friction fit), but they are still able to be used in the Burnmaster pen. Razertip and Peter Child pens have set screws, however they attach tips to the side of a lead, rather than into a terminal. Bare wires are able to be attached easily, however thicker tip legs and the design of the Colwood tips are challenging at best to be secured by this design.

They are excellent for texturing
Vocabulary
• Ghosting: minor carbon staining that can occasionally occur next to the burned line of a design.
• Fixed-tip pen: the tip of the pen is permanently connected to the pen body. The tip cannot be removed.
• Interchangeable tip pen: a pen body designed to interchange various tips and brands whether commercially made, or hand-made.
• Terminal: metal tube with a set screw, located at the head of an interchangeable tip pen, in which legs of a tip/nib can be inserted and secured with the screw.
• Tip/nib: names often used interchangeably. The portion of the woodburning pen used to burn or draw on the wood surface.
Sharpening your skew
Ensure the cutting edge is razor sharp by sharpening it prior to use on a diamond hone. Ideally this is done when first purchased and not yet heated. If the tip has already been used, it can still be sharpened on the hone. Once sharpened, maintain the edge using a leather strop, do not use the diamond hone again. Returning to the diamond hone removes unnecessary amounts of steel, weakening and shortening the tip’s life.
When carbon builds up on the cutting/burning edge, or the edge becomes somewhat dull, strop the edge using a leather strop and sharpening compound. Rest the blade on its side, and slightly roll it up onto the cutting edge. Draw it across the leather a few times. Do this on both sides of the blade. Notice how the used cutting edge is dark in the photo from built up carbon.
The pictured shiny edge shows how the skew should look following stropping. Notice how the carbon has been removed. Not only does it remove the carbon, but it sharpens the edge as well.

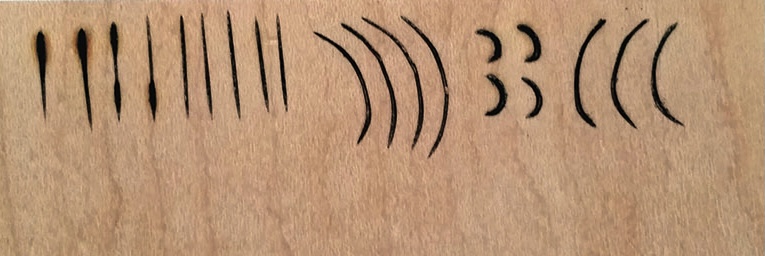
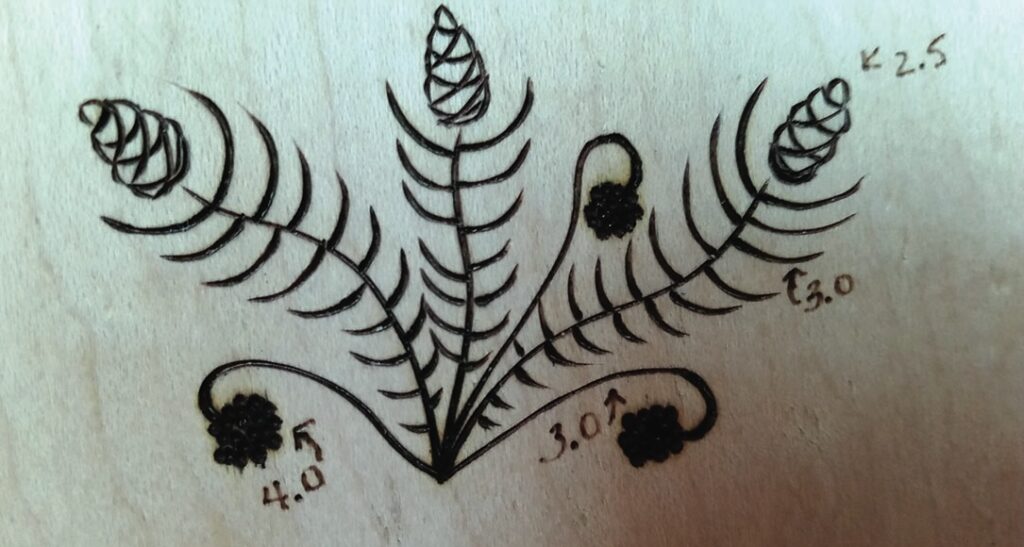
Put your skew through its paces
After sharpening the skew, use a sample board to practise drawing lines and curves. Draw the skew through the wood slowly, with a steady pace. Blotches at the beginning or end of the line indicate a slight hesitation as the line is begun or ended, causing an over-burn. To avoid such an error, keep the pen moving as you enter and exit the line. Imagine a touch-and-go aeroplane as it takes off and lands on a runway. The woodburning pen does not respond like a ballpoint pen or pencil. Remind yourself to slow down and keep a steady pace. Experiment with your temperature. Start on a low temperature setting and then adjust up or down according to the width/boldness of your line. If your lines are heavy and scorched, turn the heat down. If you barely see a line, adjust your heat up in small increments until you achieve the tone you want. Once you experience success on a practice board, it’s time to move on to a project.
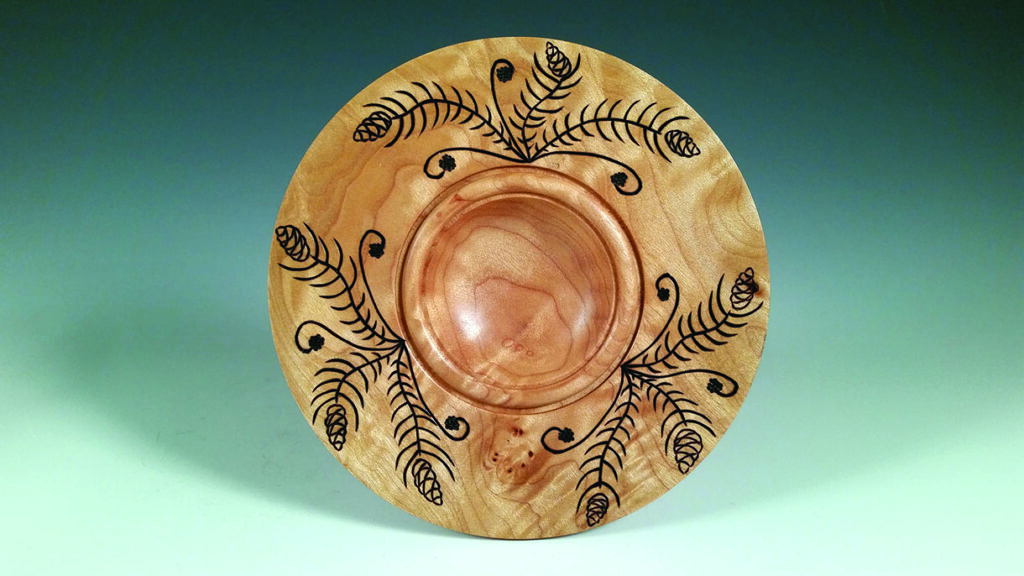
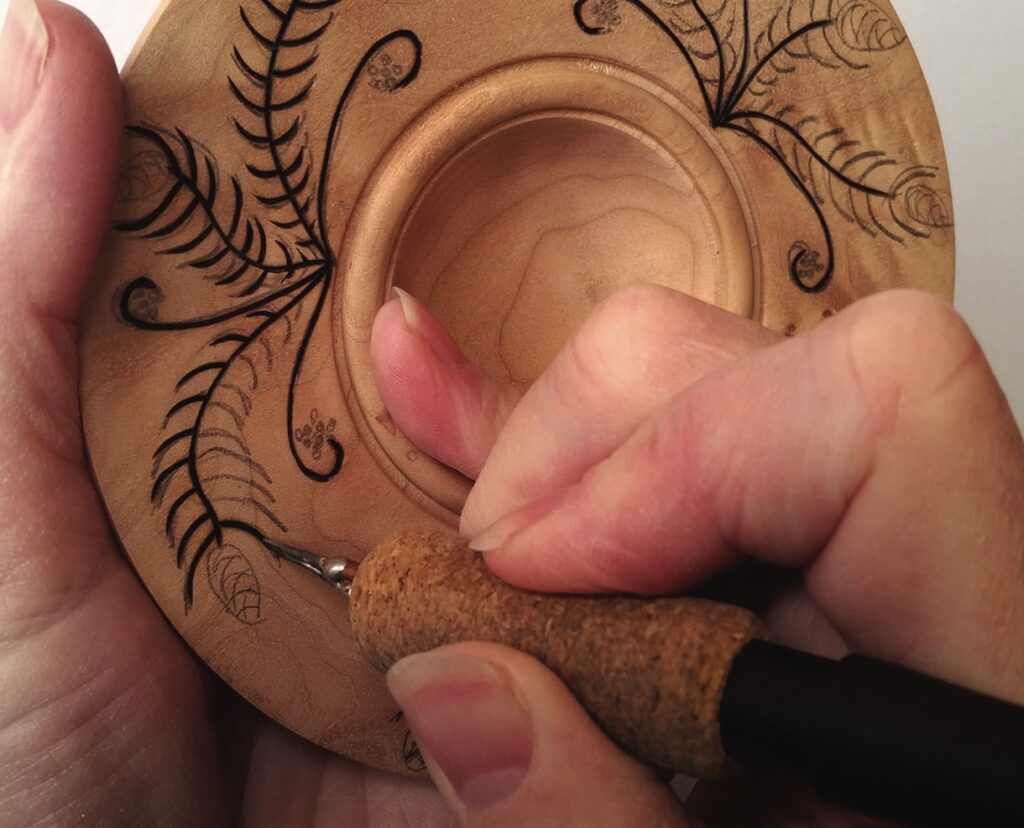
Project design
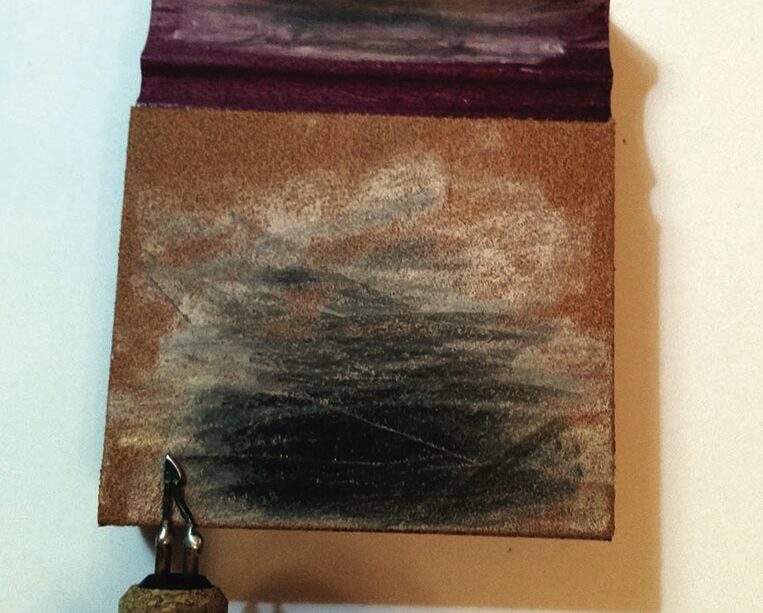
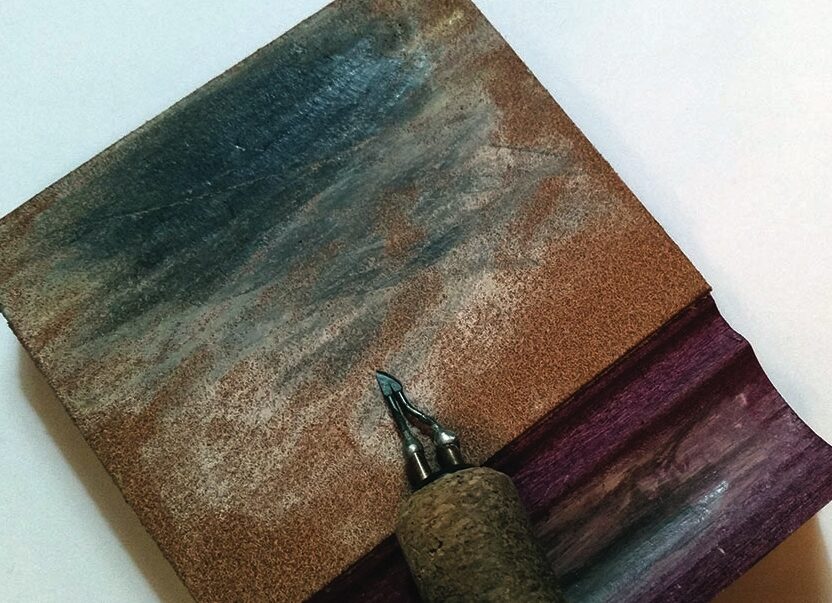
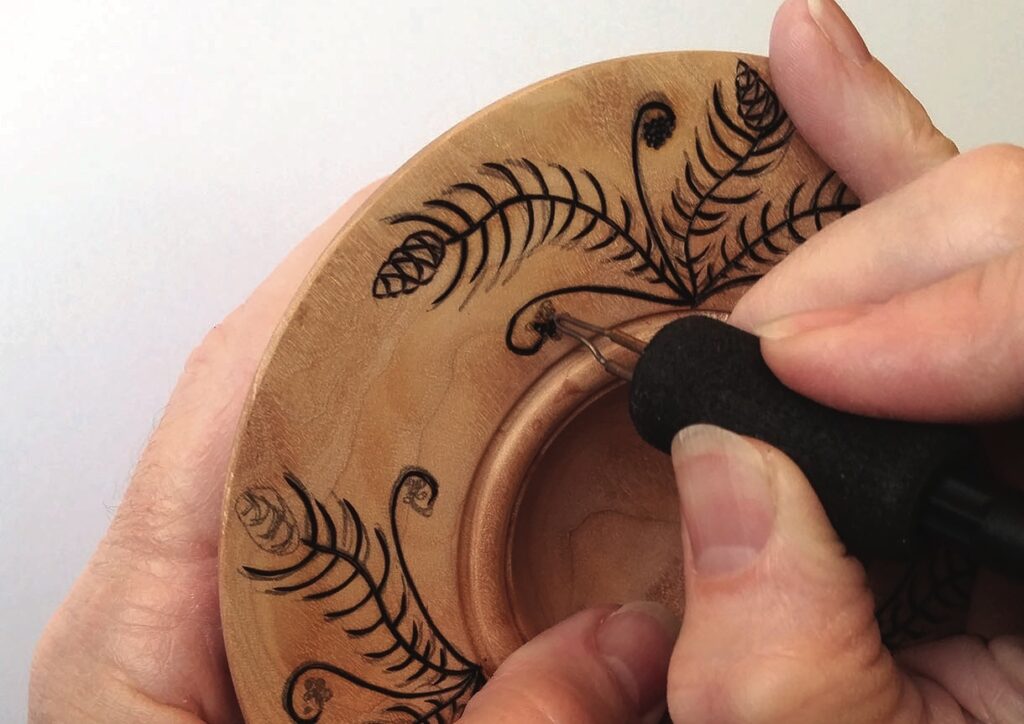
This project will provide an opportunity to use both the skew and ball tip/writing nib to burn a design on a decorative bowl.
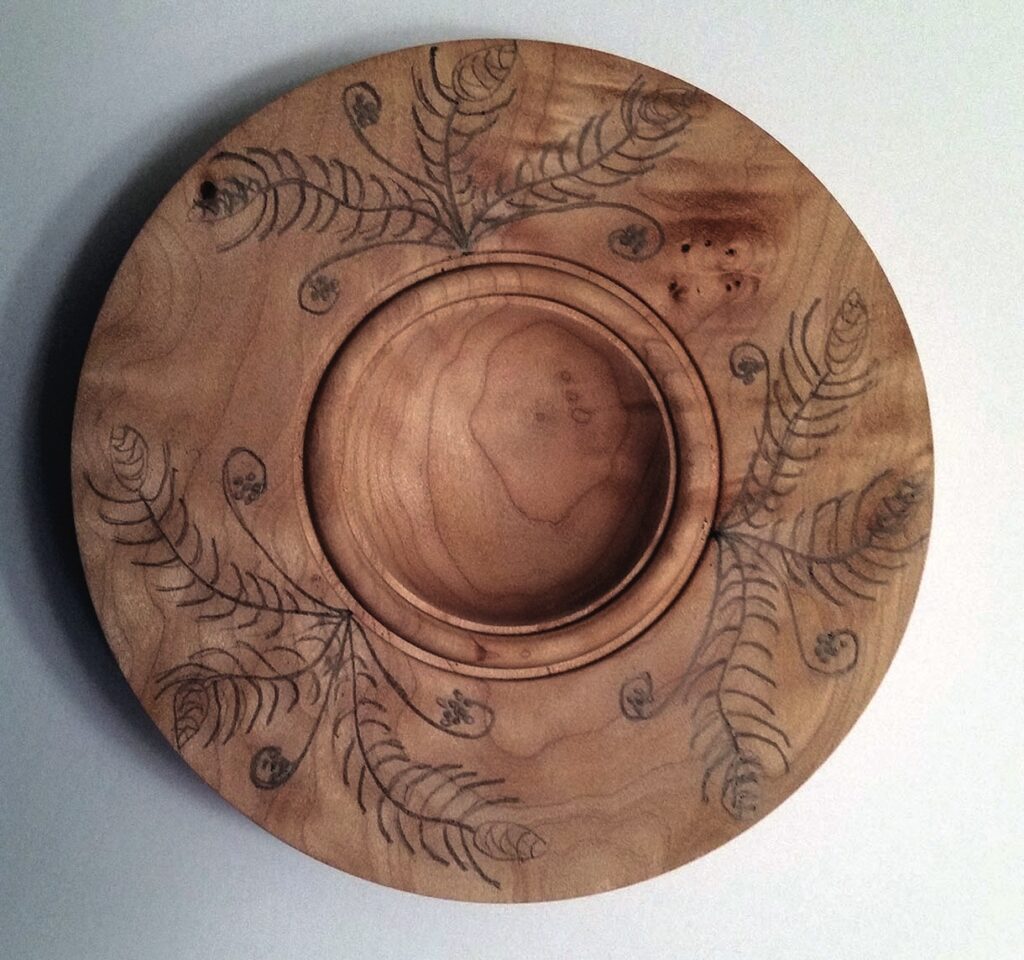
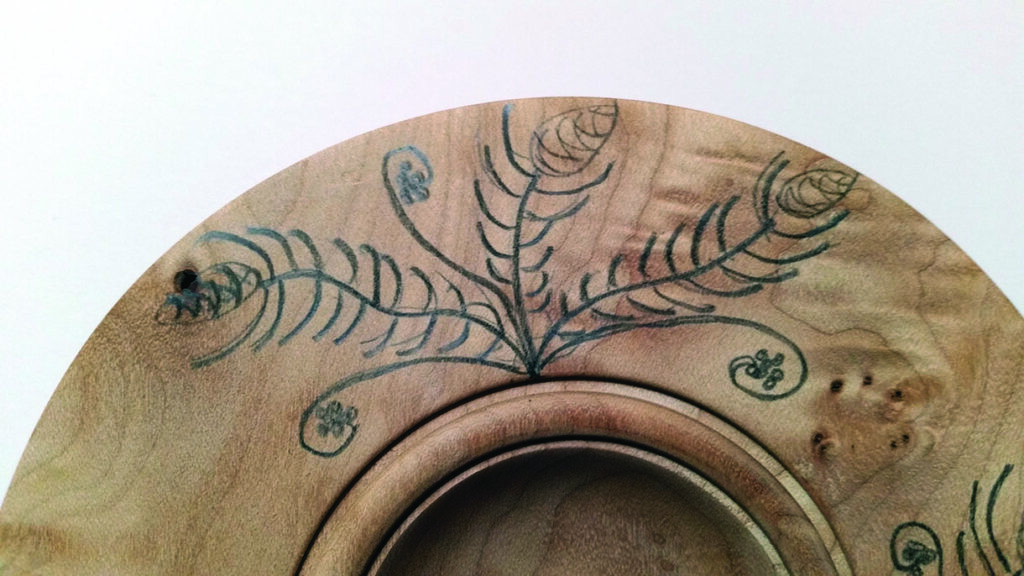
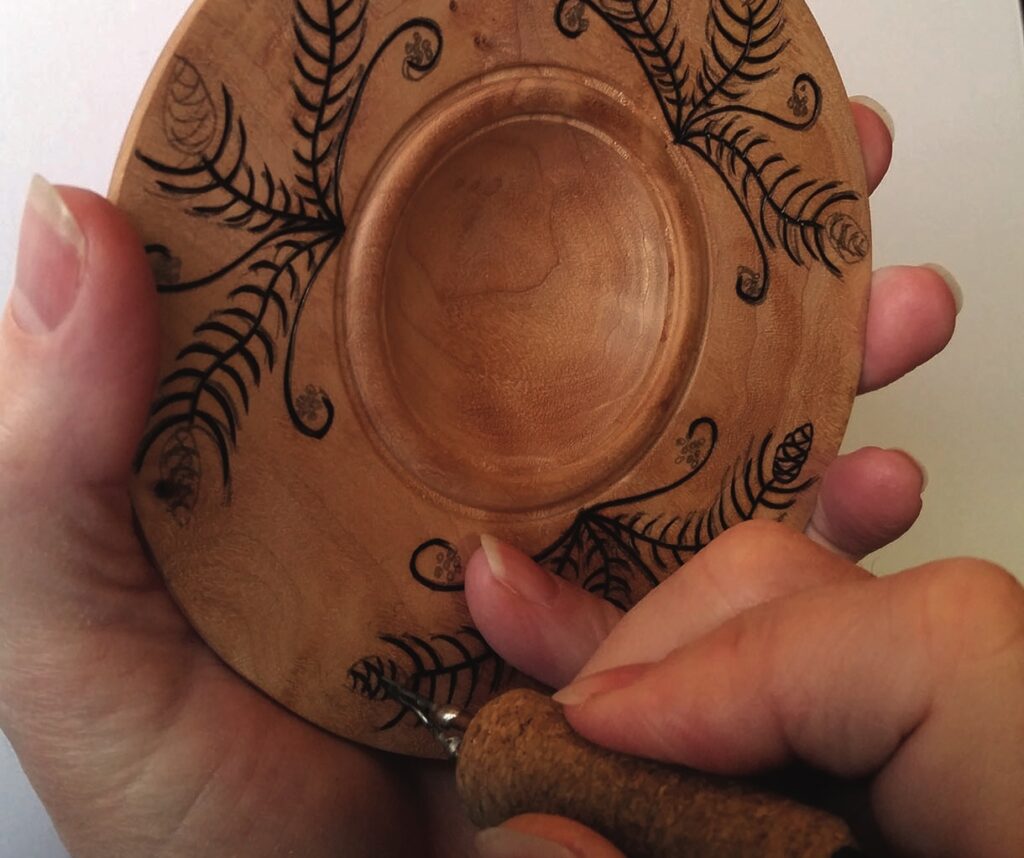
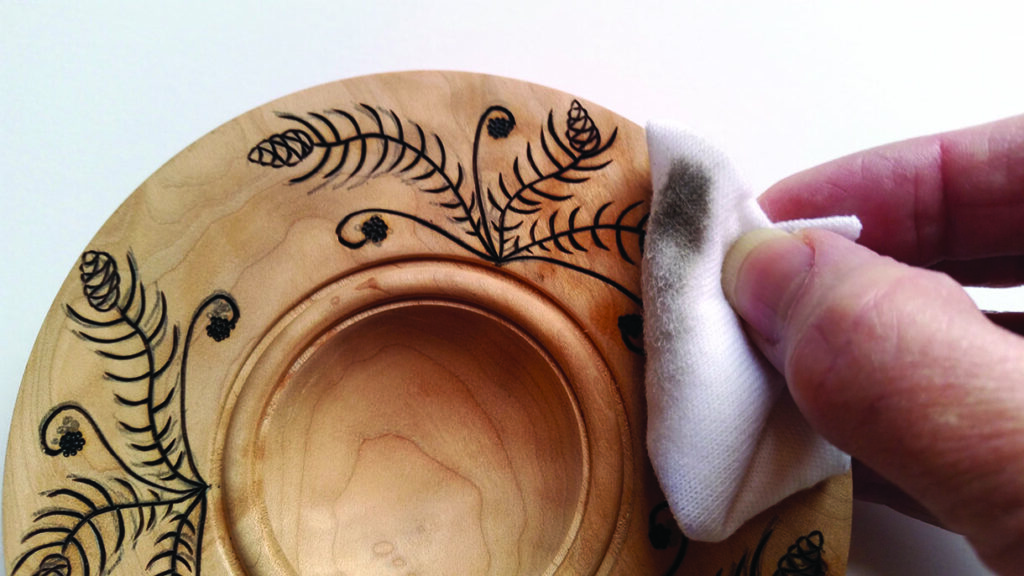
If the surface of your project is even slightly rough, the carbon and graphite will embed into the fine ridges and make an unsightly mess, almost impossible to remove. Apply a finish of your choice. I’ve used three coats of satin wipe-on poly, because I like a delicate sheen, rather than a high gloss. You can use whatever finish you prefer. I have not found any finish incompatible with burned wood