Oh crumbs! The Editor nearly ‘did his crust’ when we told him to ‘use his loaf’ and earn some daily bread – it is grist to the mill after all.
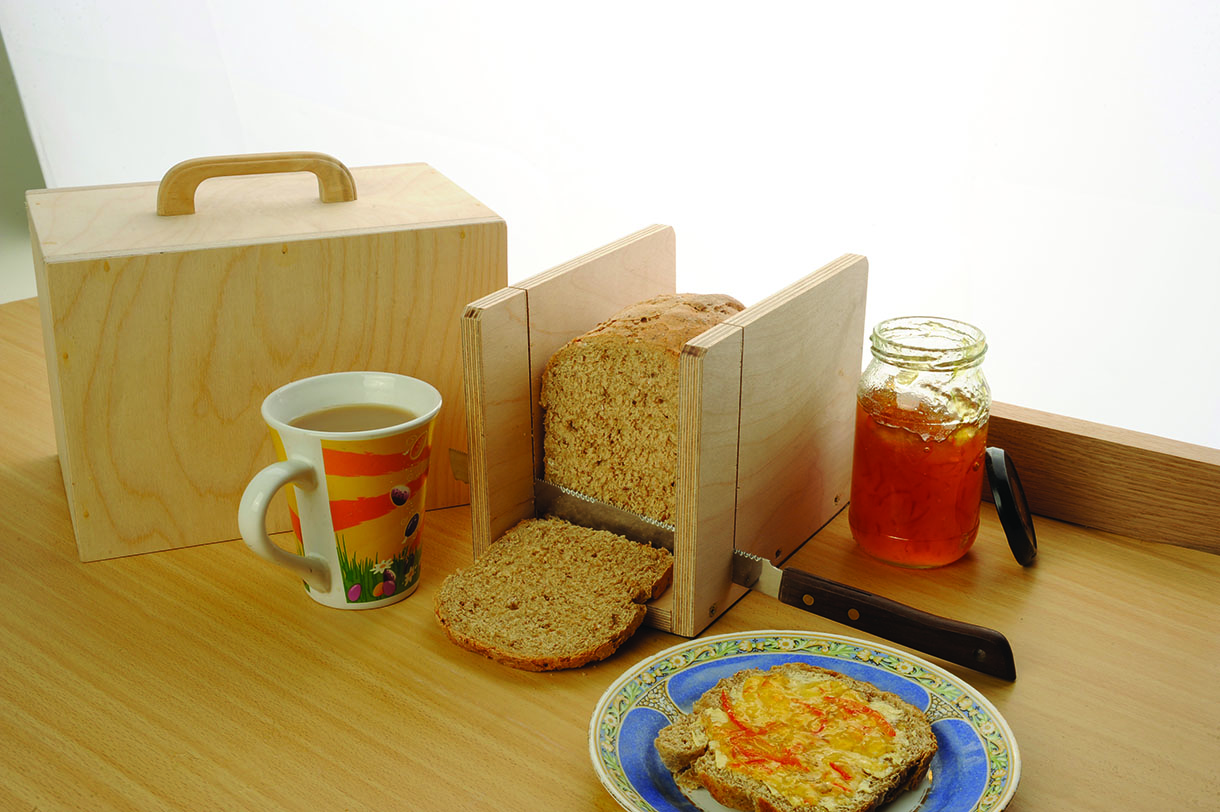
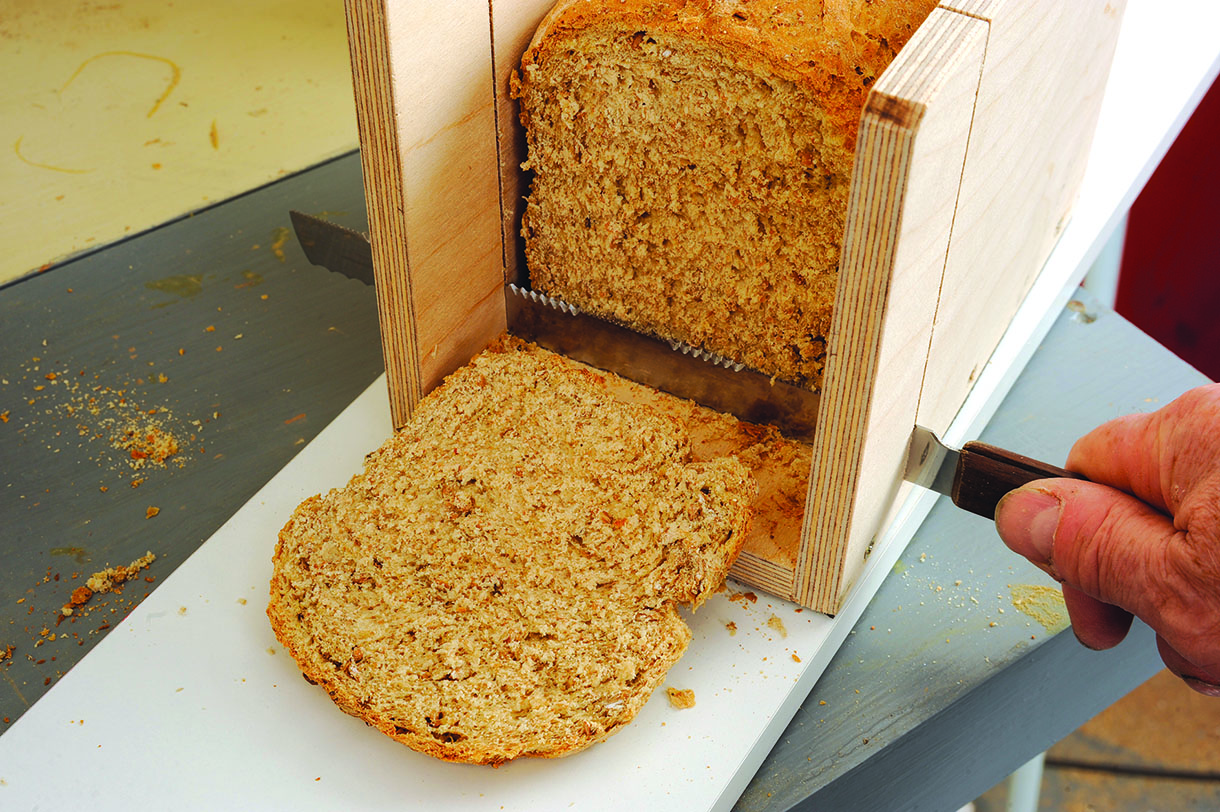
At home I make all our bread the traditional way. It tastes, smells and feels far better than a supermarket loaf. The problem arises when trying to cut even slices, without it crumbling. First you need a proper bread knife with coarse teeth, then you need to hold the bread in a way that keeps it firmly together. Here is my simple-to-use solution.
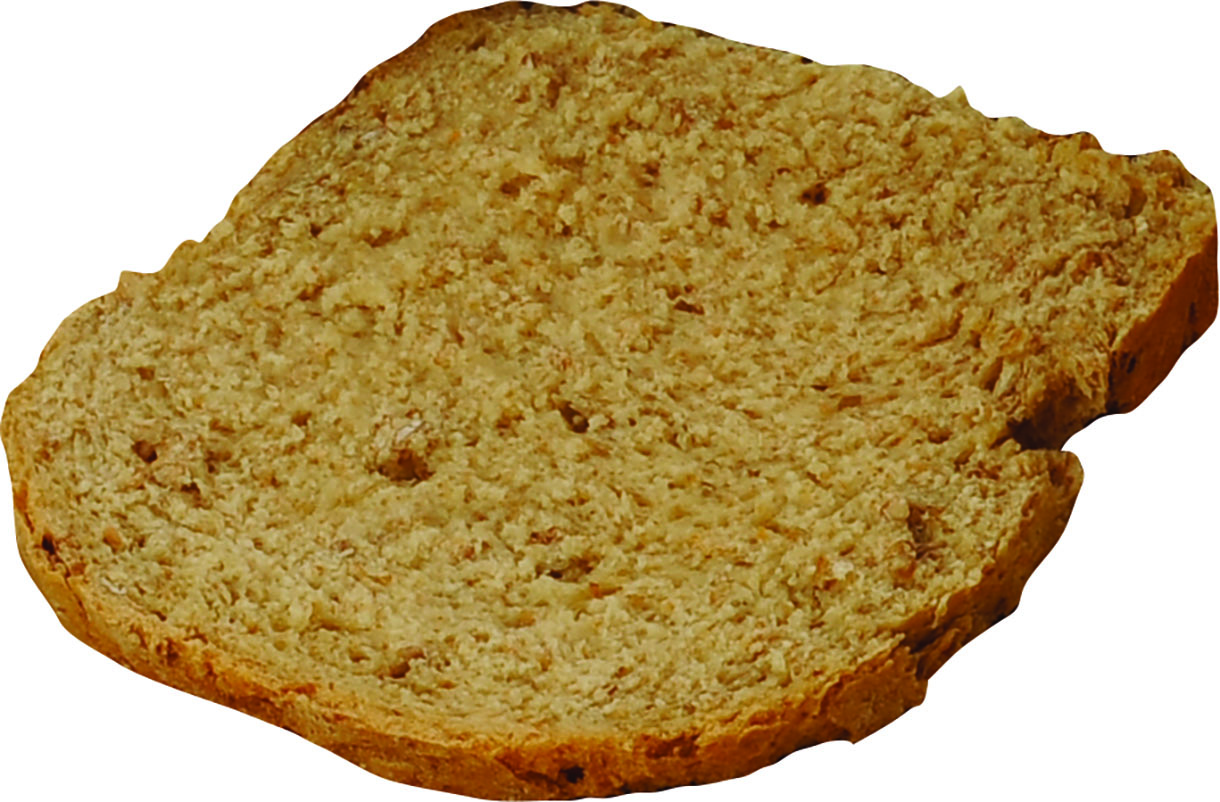
Bread slice
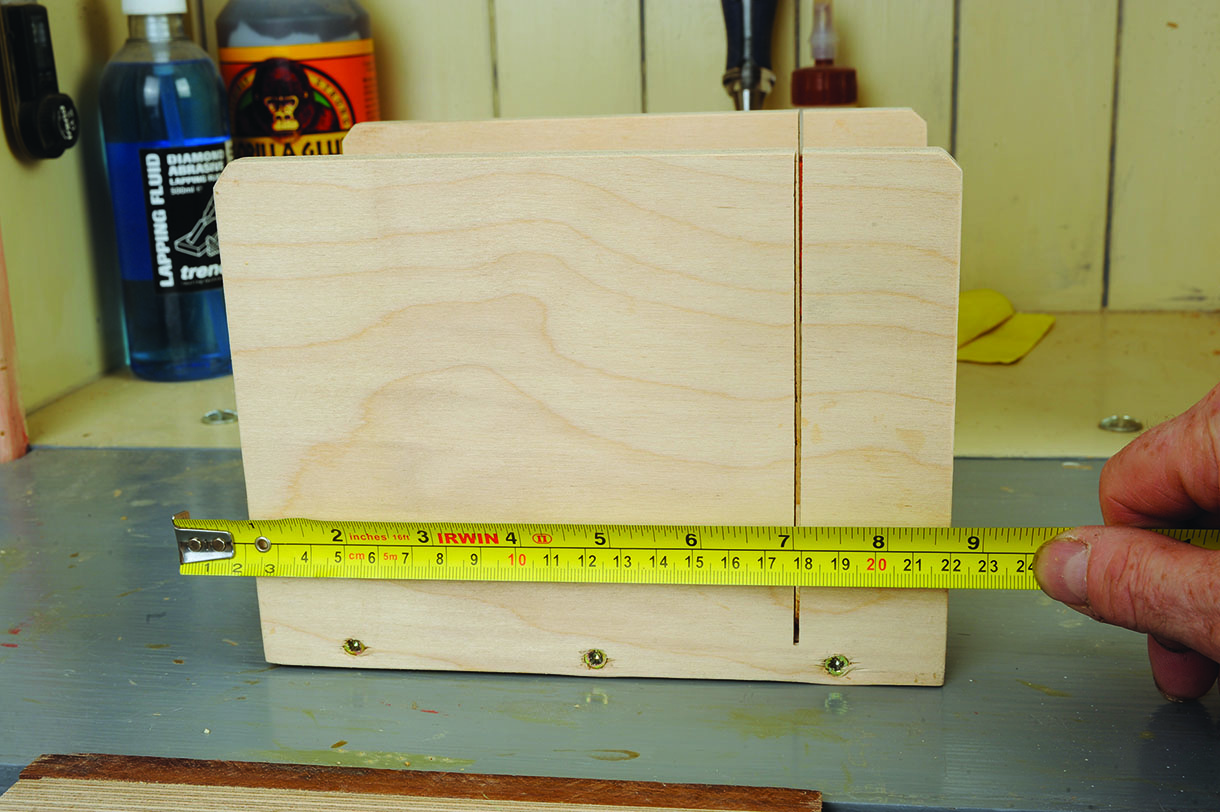
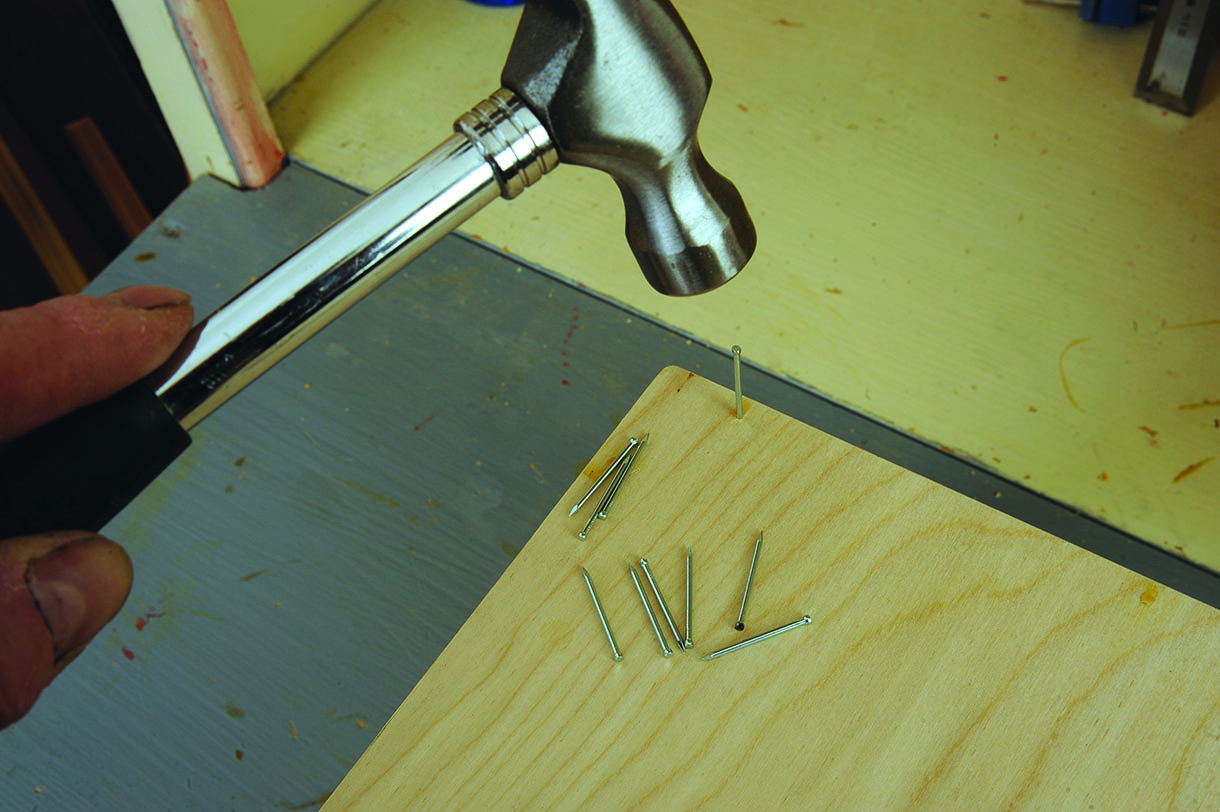
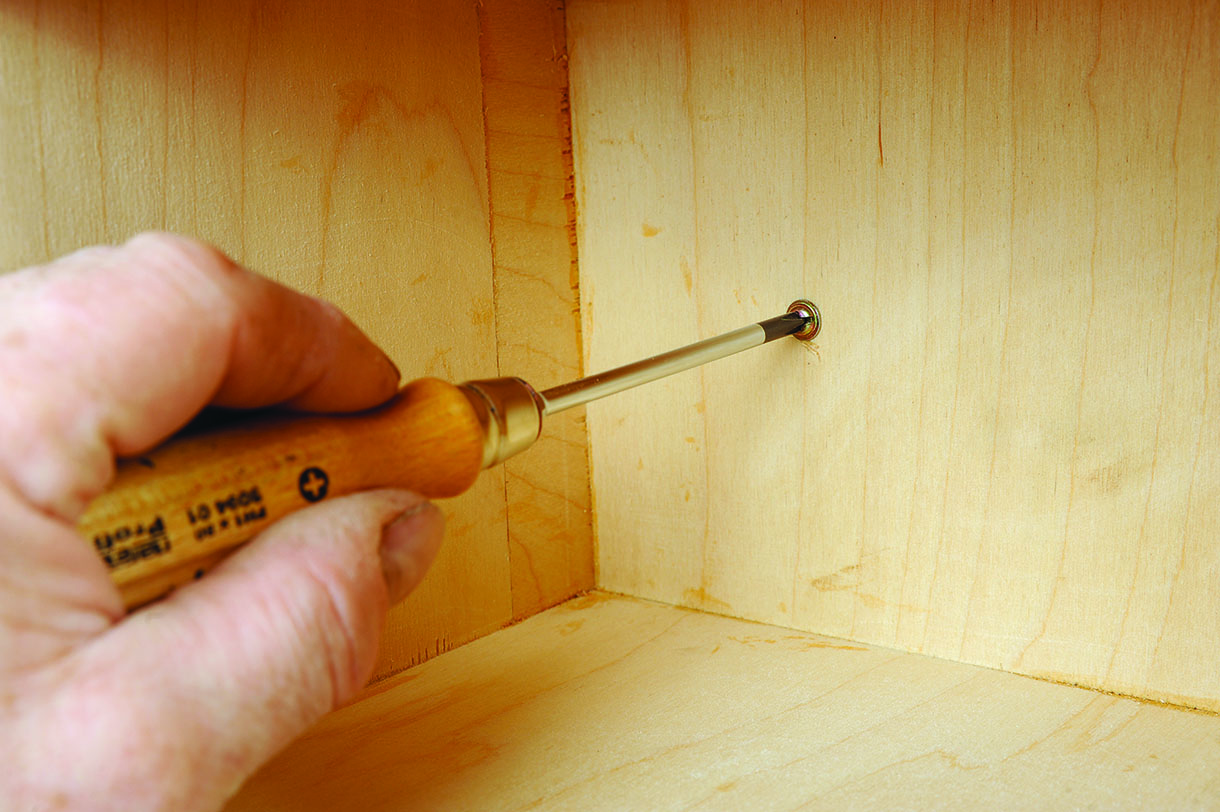
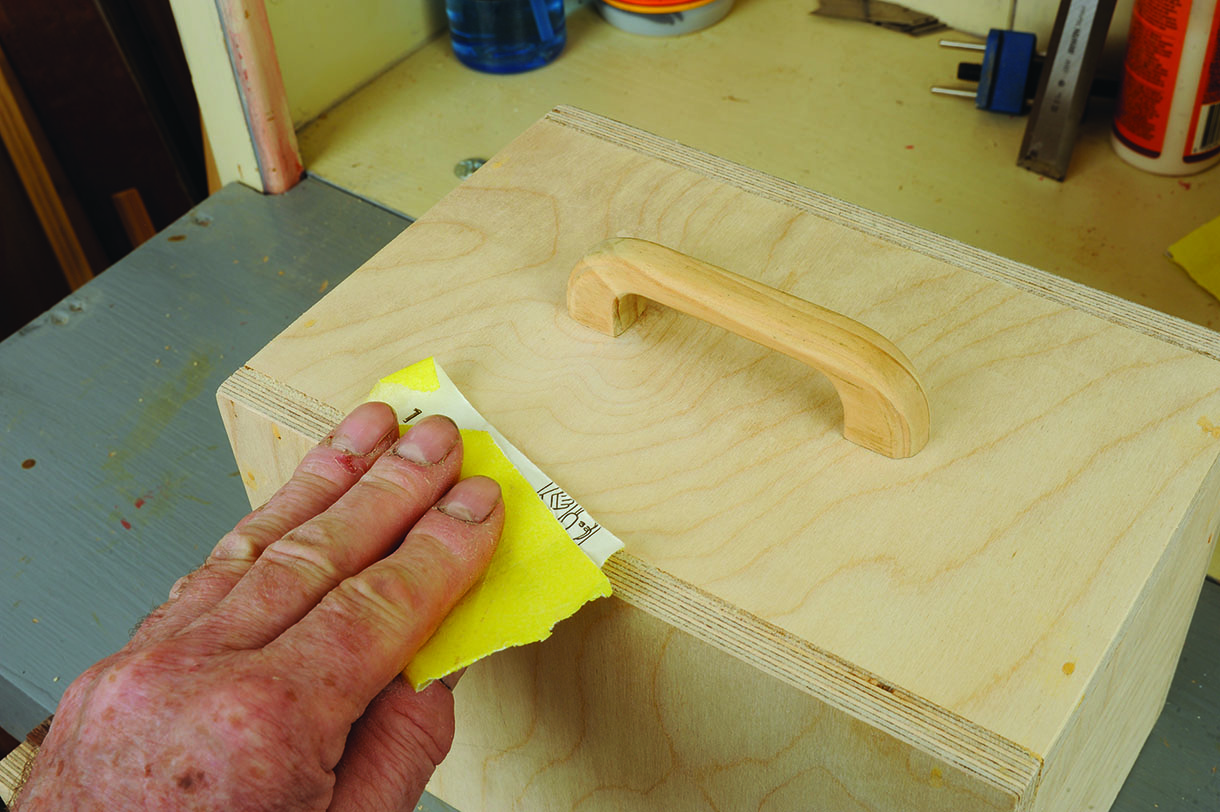
Bread Keeper
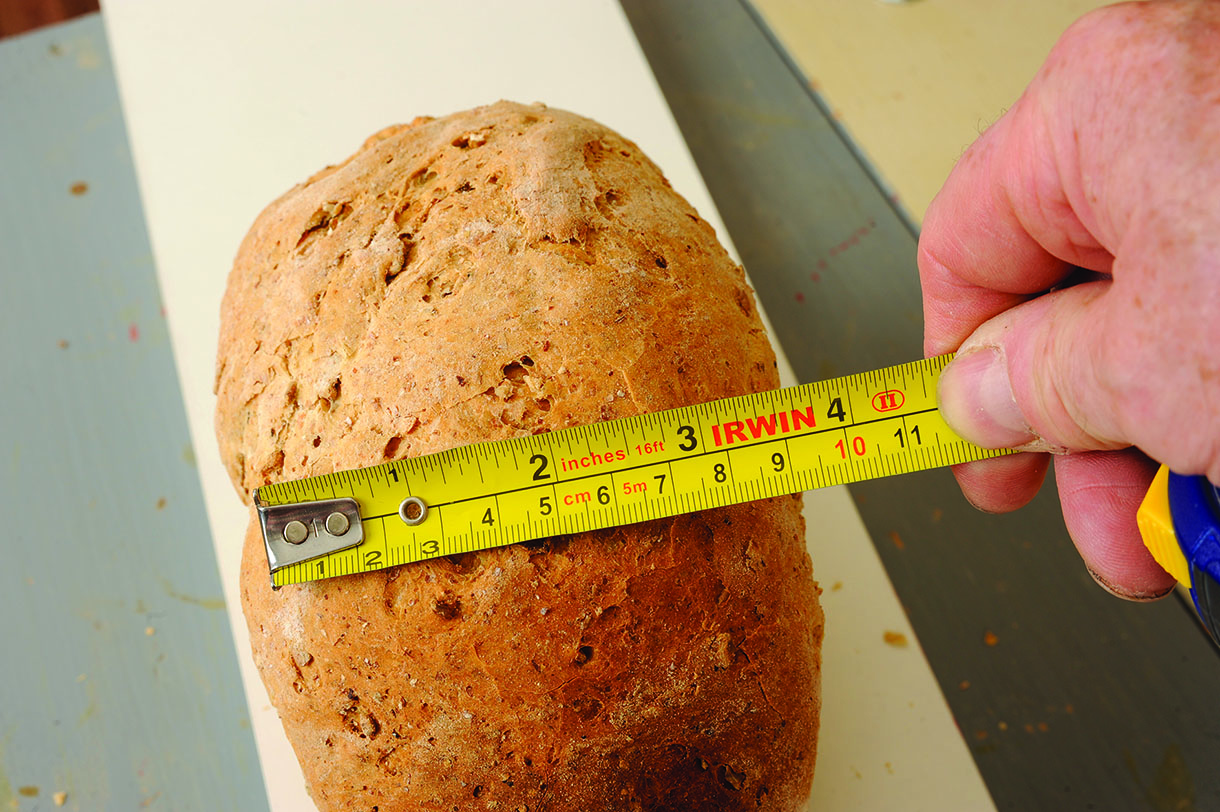
The editor’s harvest loaf
To make 2 x 500 gram loaves
- 1000g flour – 500g of granary-type flour and 500g of strong white flour
- 2 tablespoons dried yeast granules
- 2 tablespoons cooking oil
- 3 teaspoons table salt
- 2 teaspoons granulated sugar
- 750ml warm water
1. Pour the sugar in 300ml warm water (not hot, as it ‘kills’ yeast activity) and stir until dissolved. Add the yeast and whisk until frothy. Leave in a warm place to rise to a soft-foam ‘head’ – 15–20mins. Add the remaining 350ml of warm water and re-whisk the mixture.
2. Put the flour combination in a very large mixing bowl, add the oil and the salt and fermented yeast mixture. Stir using a wooden spoon until combined then with clean hands, mix thoroughly by hand to create a dough ball. Then pick the dough off your hands!
3. Put the bowl in a warm place for one hour, covered with a tea towel. Remove the dough from the bowl, place it on a lightly floured surface and knead thoroughly.
4. Cut in two equal pieces, place in very lightly oiled bread baking tins. Put in a warm place and cover with a tea towel until the dough rises above tin level.
5. Place in an oven preheated to 220°C or gas mark equivalent. Leave for 25–30mins before taking out using oven gloves as they will be extremely hot, remove from the tins and place on a wire grid for at least an hour as cooking will continue until cool.
6. Now place in your new bread slice, cut and proceed to savour the taste of your very own fresh bread!
Further reading
PHOTOGRAPHS BY GMC/ANTHONY BAILEY