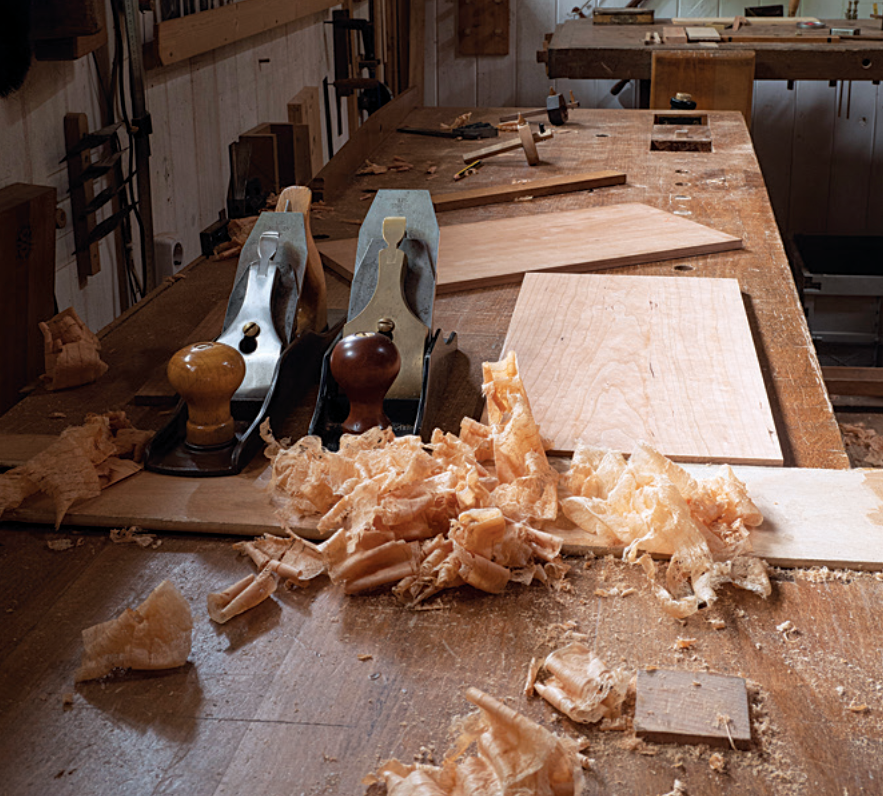
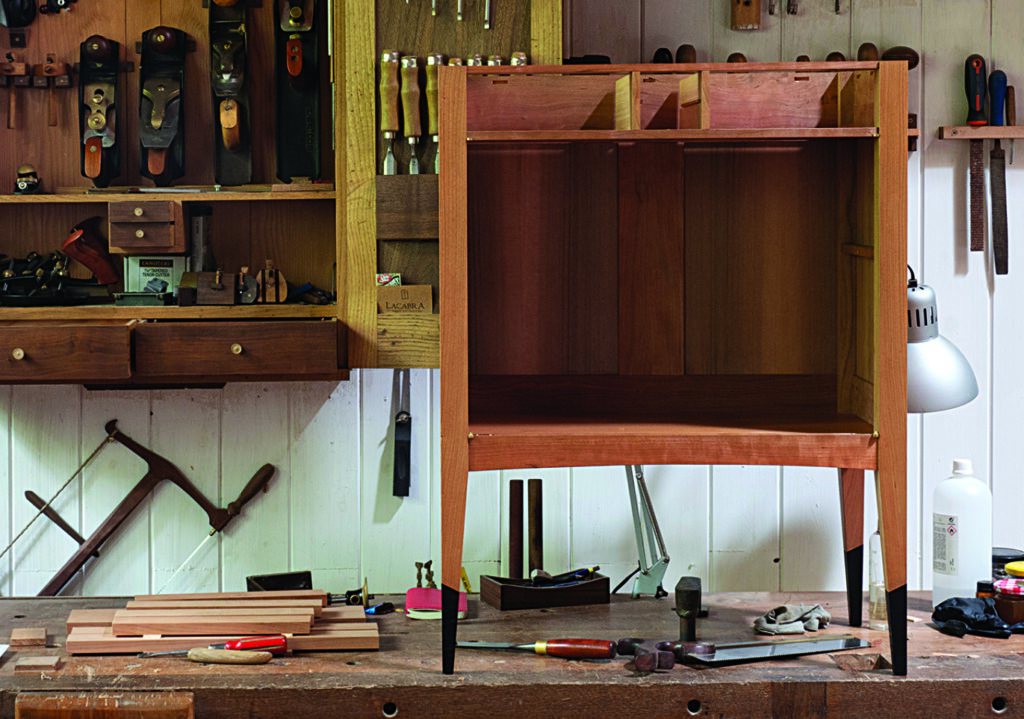
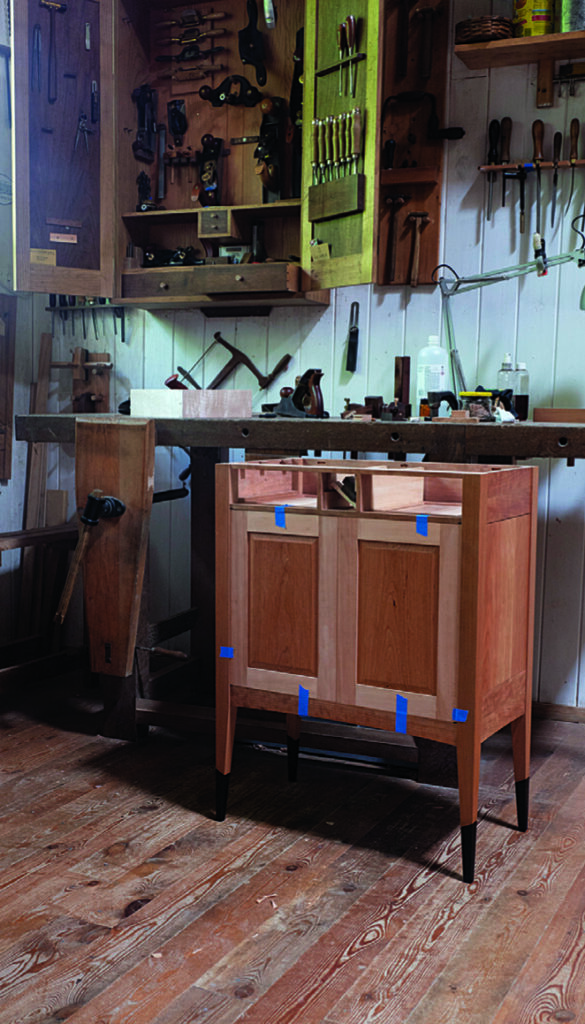
Israel Martin describes the process of making a side cabinet with drawers using hands tools

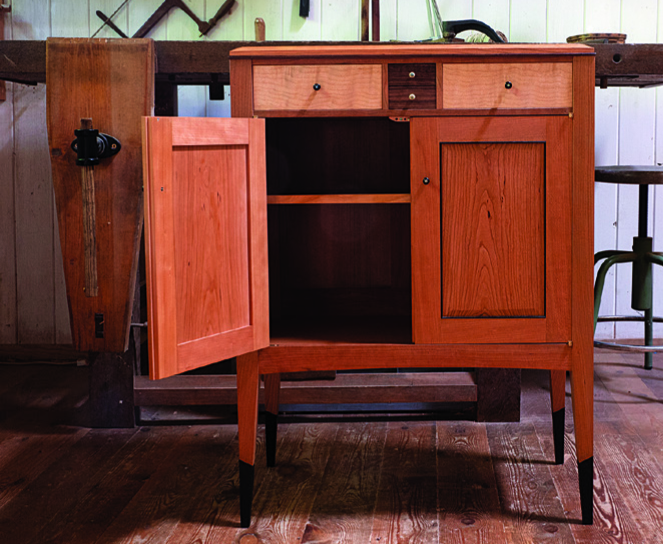
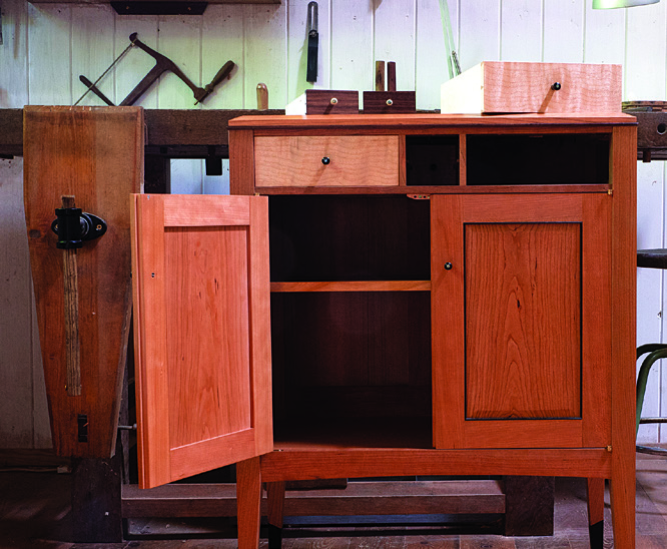
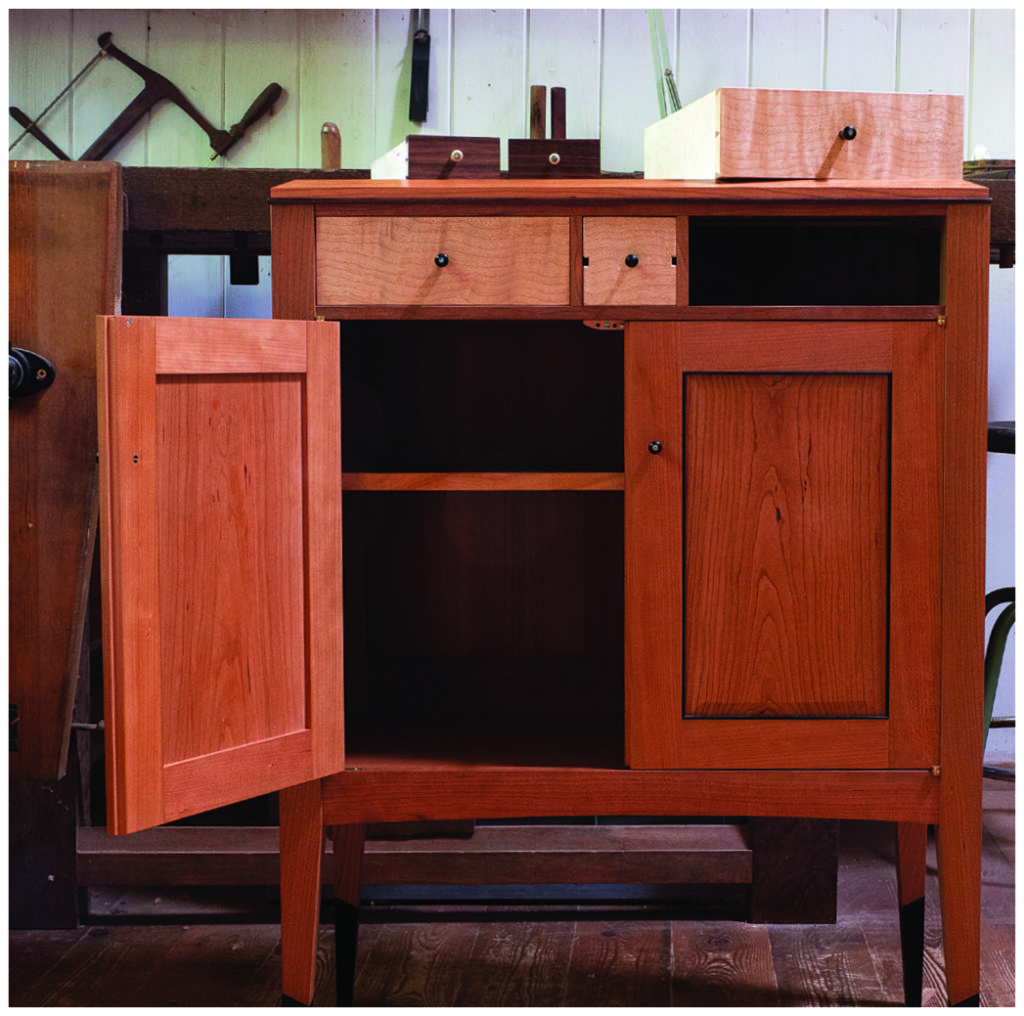
I recently received a commission to make a piece for a house in Madrid. Given that my shop is in a very humid area and Madrid’s climate is the opposite, I decided to use a frame and panel construction, which in my opinion is far more stable than carcass construction. Originally I designed the piece with the drawers covered by the doors, but I changed my mind and decided to show the drawers and make the doors a bit smaller.
The frame structure is mainly joined with mitred mortises and tenons. The side panels are made in cherry and the back ones are in red cedar. There are four drawers on the top and, to complete the piece, I added ebony feet, ebony mouldings on the doors and a small walnut moulding between the top and the carcass. I also decided to add a surprise for the client: a hidden drawer behind the central ones.


Frame and panel structure
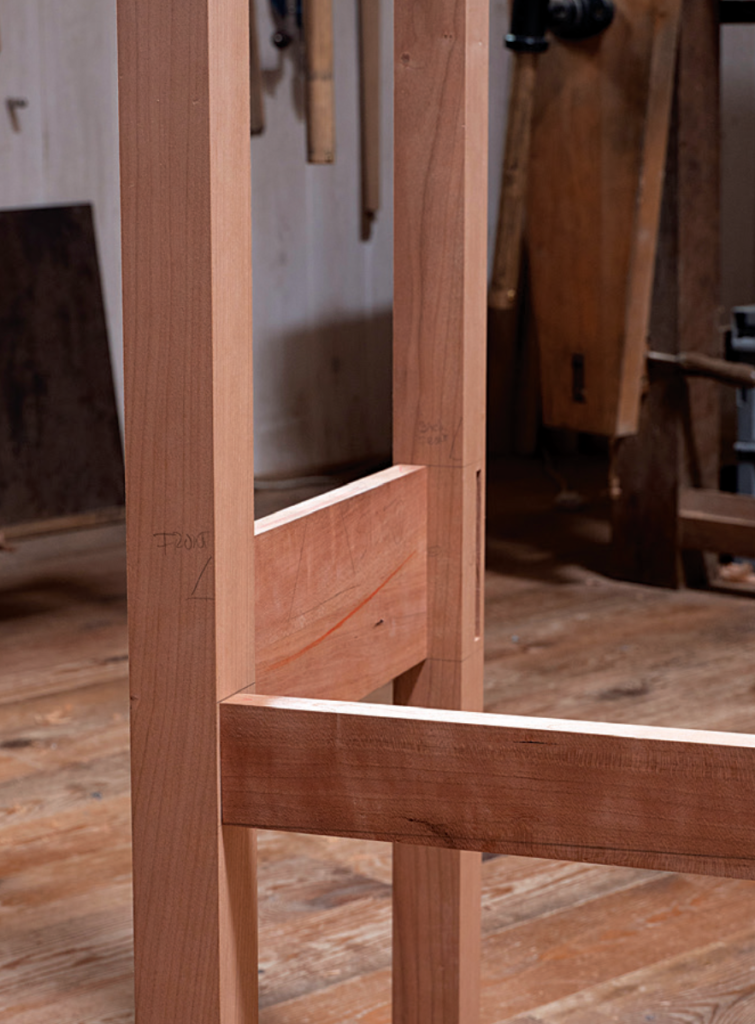
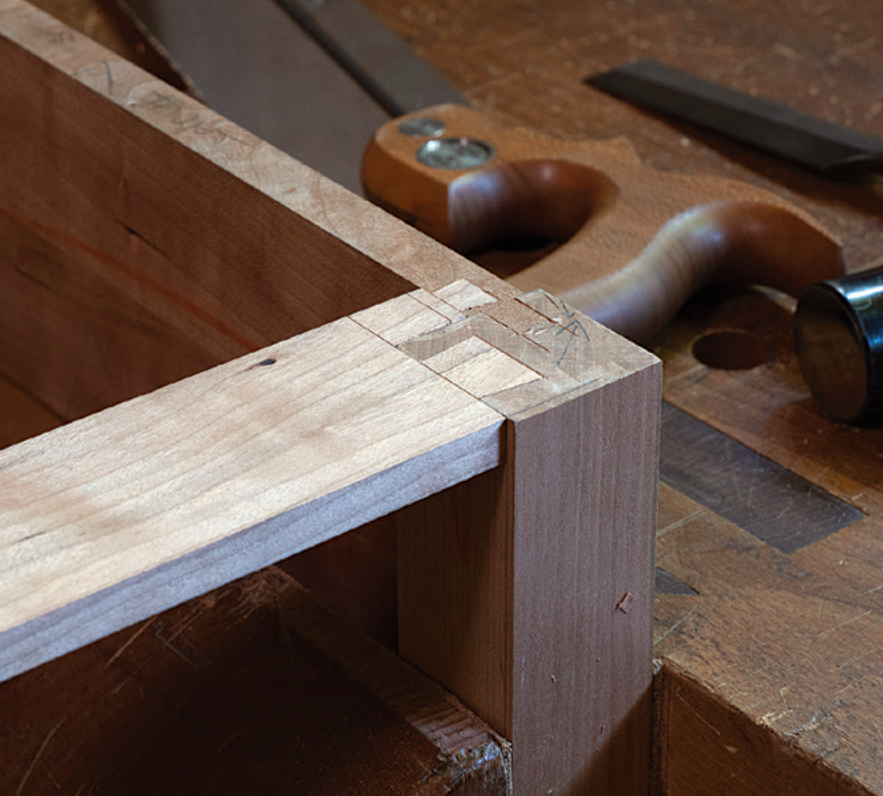
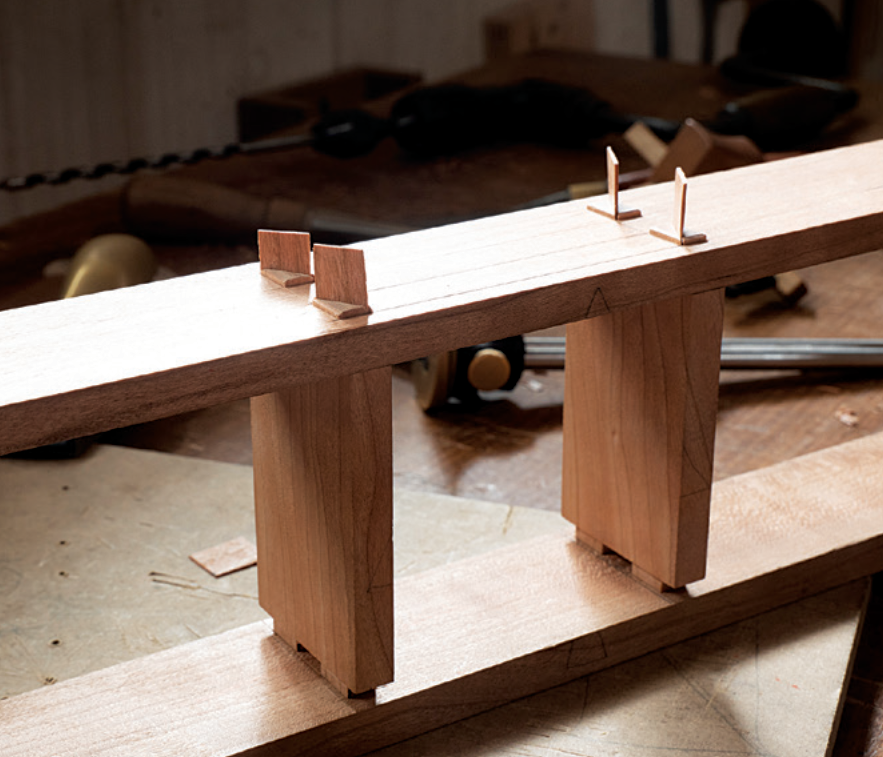
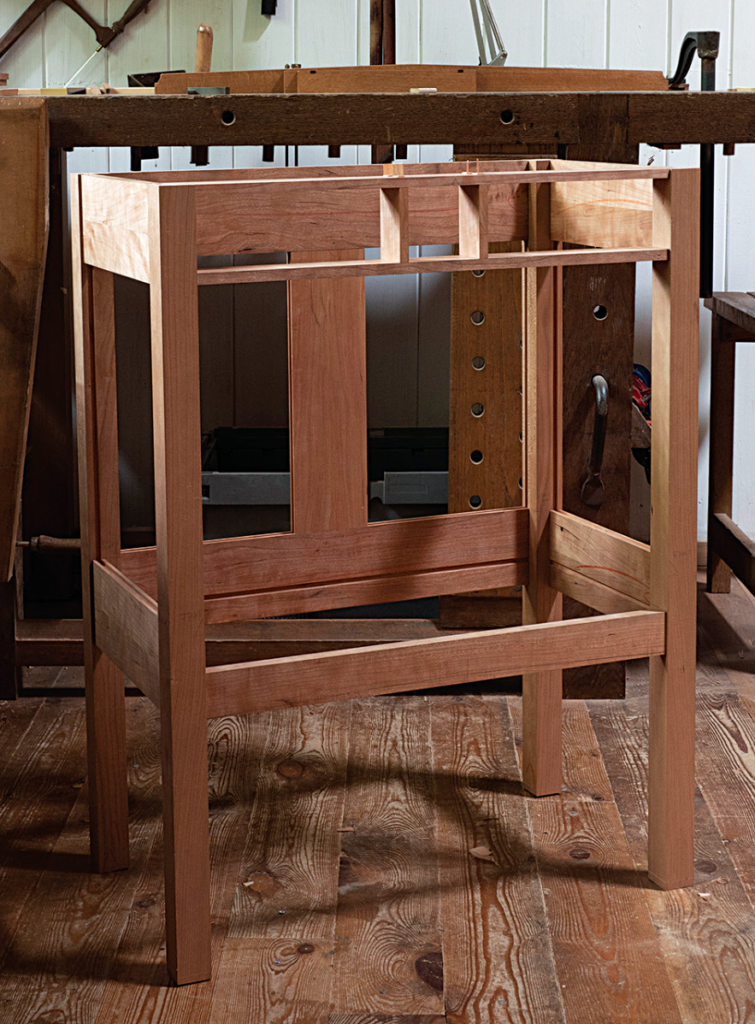
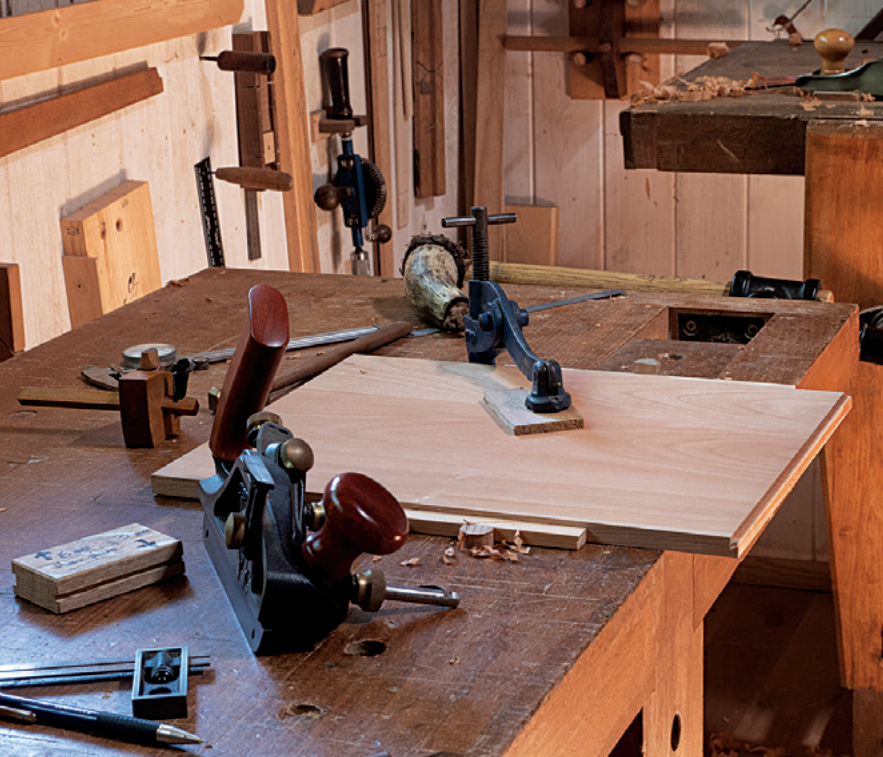
I built the frame structure in cherry, using mitred mortise and tenons to join the legs with the side and back aprons. The front lower apron was also joined with mortise and tenons while the drawer divider was joined with twin mortise and tenons and the top drawer blade was done with a sideboard end joint, one dovetail joins the leg and the other the side apron.
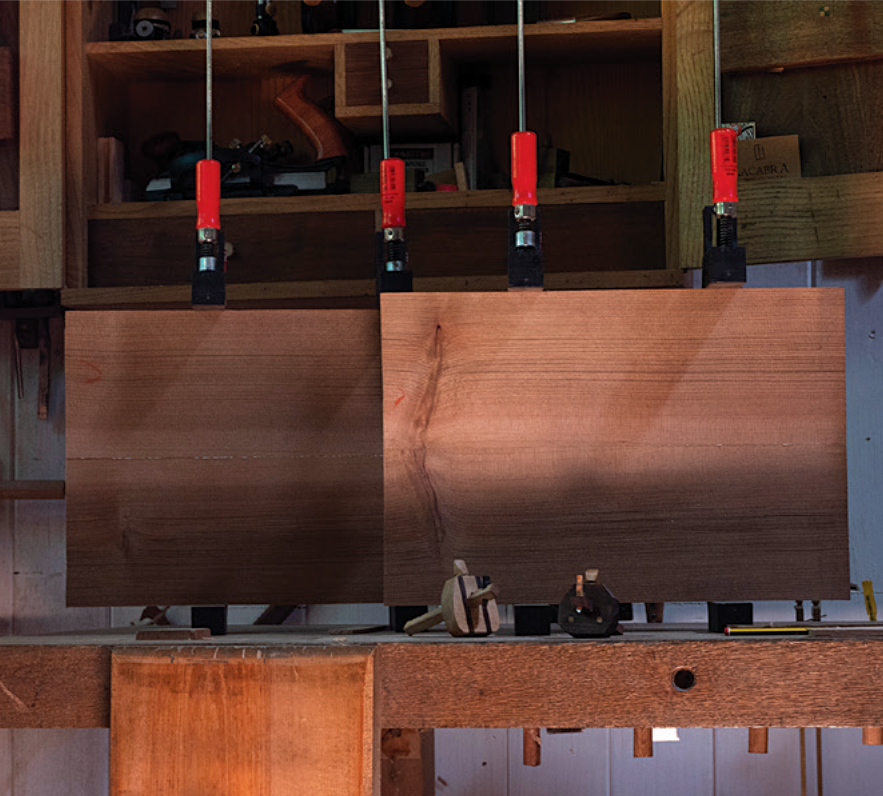
To make the divisions for the drawers I also used twin wedged mortises. The side panels were made in cherry and rebated on all four sides. For the back panels I used bookmatched quartersawn red cedar which I divided in two so that it will deal better with wood movements. I also used quartersawn red cedar for the lower and middle shelves. The lower shelf goes inside a groove made in the lower aprons, and is only glued into the front apron to allow wood movement. Red cedar is normally my choice for wider panels because of its stability.
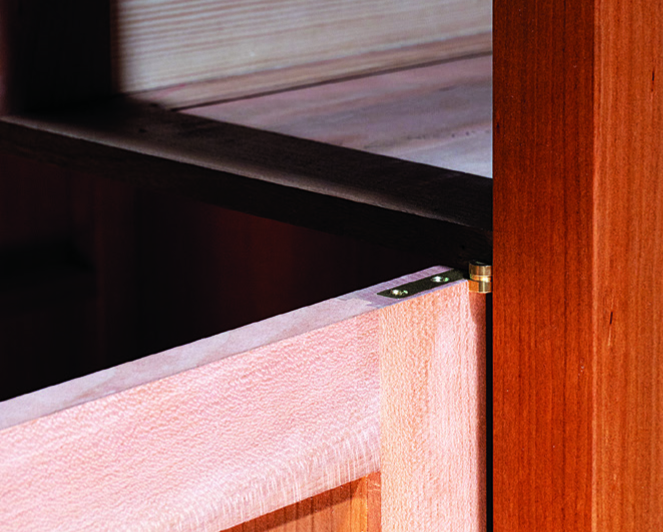
Once the structure was done I shaped the legs, just beneath the lower apron joint, and I added ebony feet and the knife hinges before gluing everything together. I added two more simple details: a walnut bead moulding between the top and the structure and a chamfer on the top, so when you look at it standing in front of it, the top looks a bit thicker than it really is.
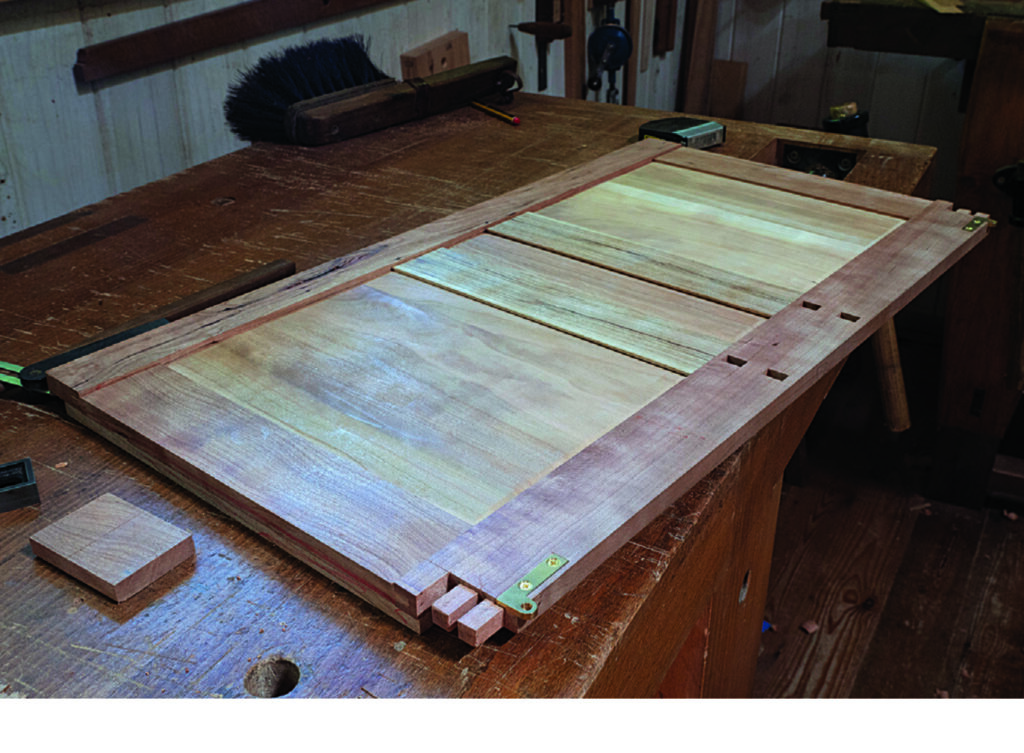
The four drawers
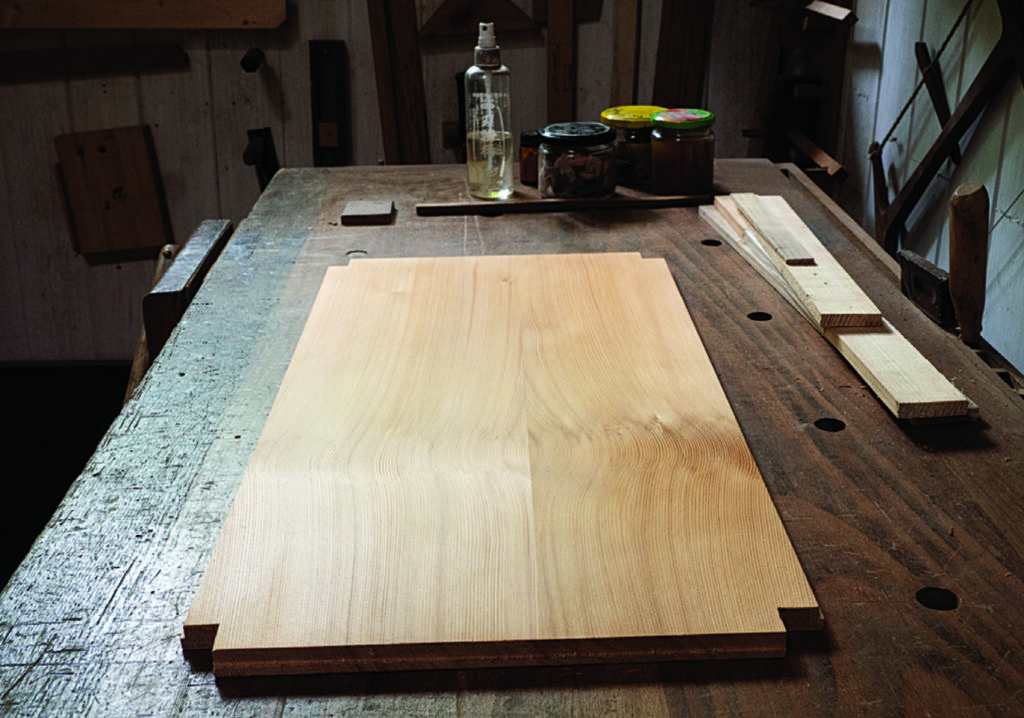
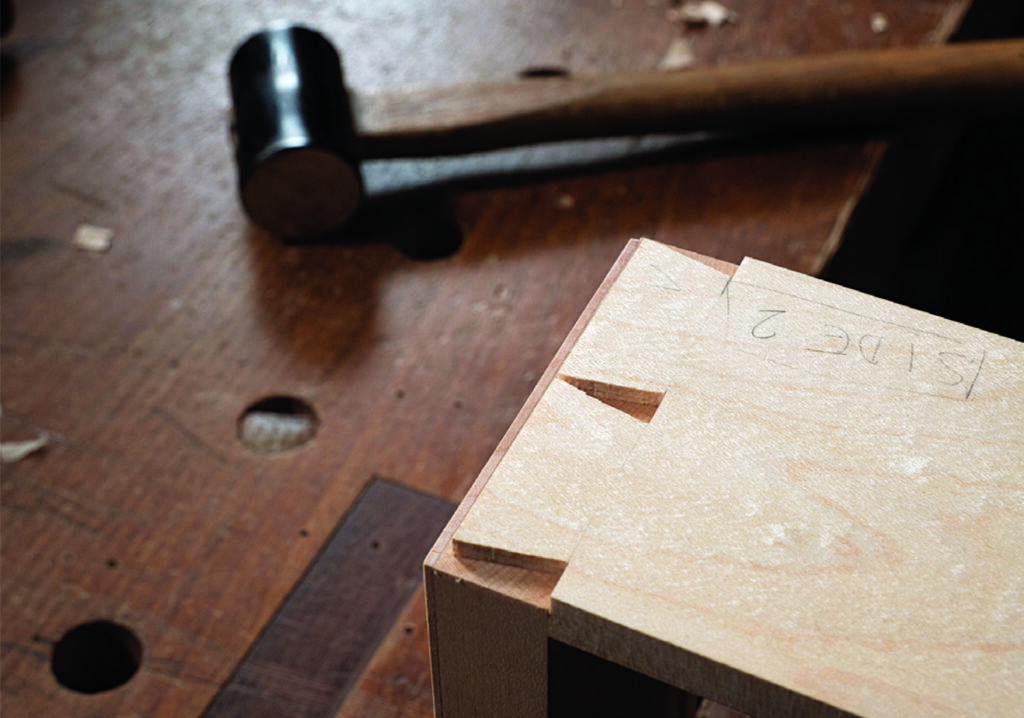
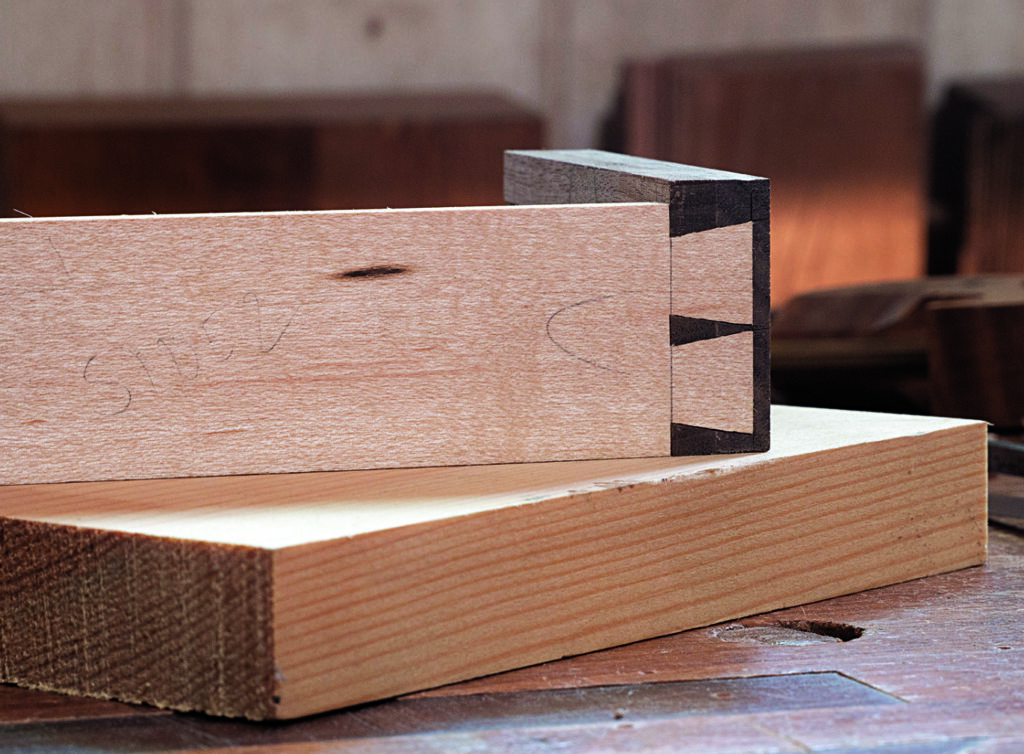
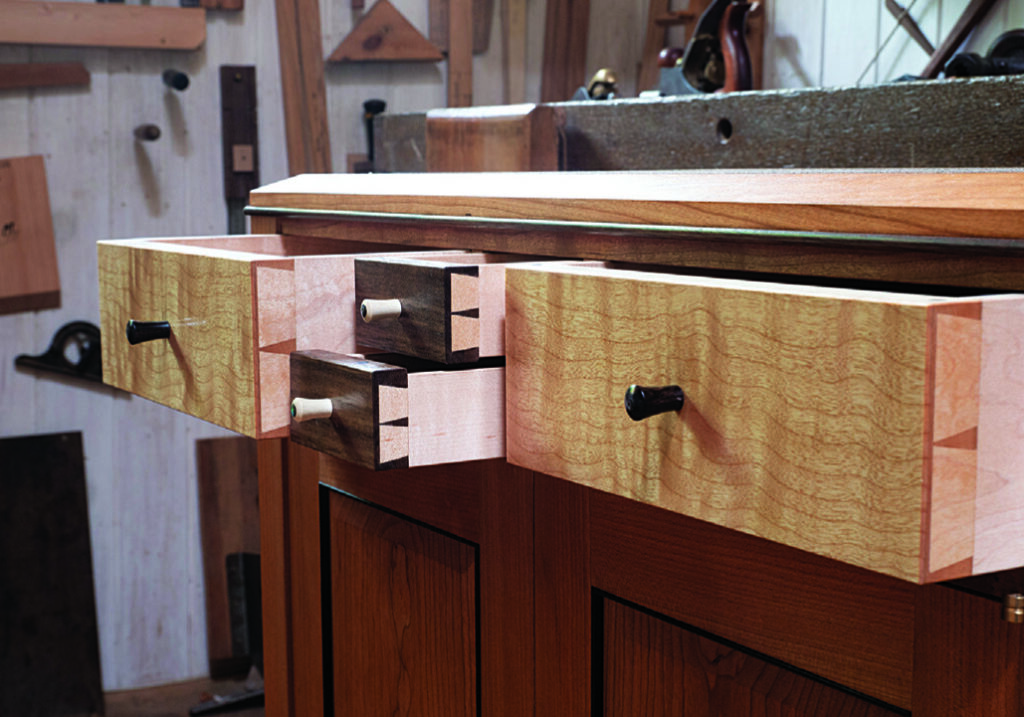
At the beginning the design was made so that the drawers were hidden behind the doors, but when I started making the piece it looked better to my eyes to show the drawers. I made the side ones in maple with a 2mm-thick ripple sycamore veneer. I made two wide London pattern dovetails to join
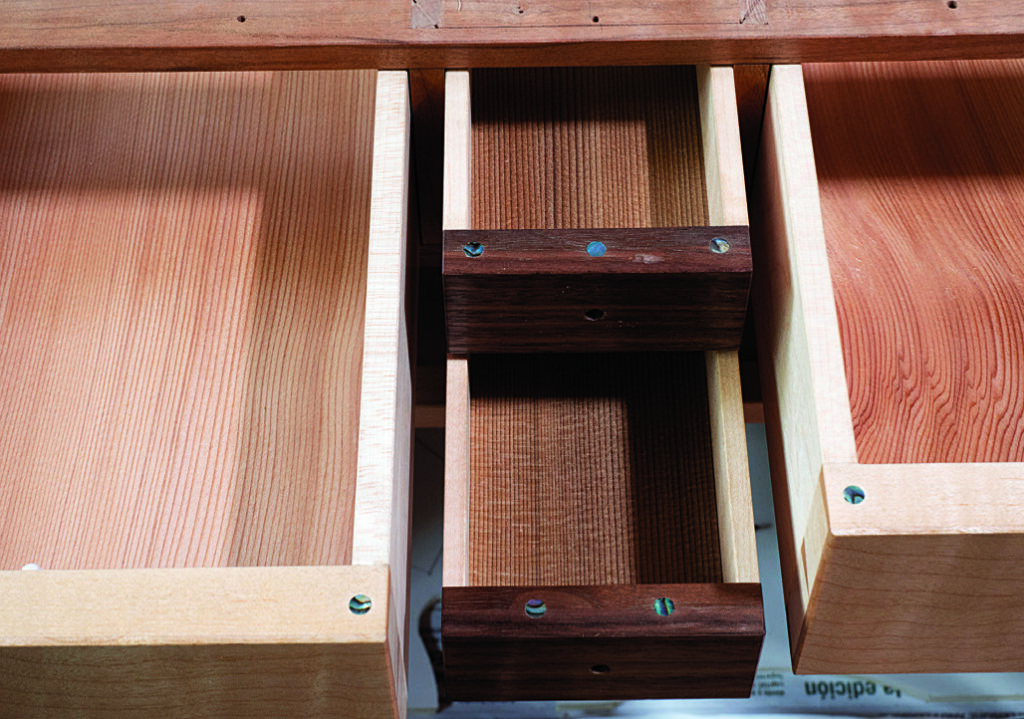
the sides and fronts. In the centre I made two more drawers, one over the other, both with walnut fronts. The backs were joined, as I normally do with sliding dovetails – I learned this style of joinery from master furniture maker, Garrett Hack. The drawer bottoms were also made in red cedar. The centre drawers are narrower in the front so the bottom grain runs from front to back (less wood movement than side to side).
I made two ebony and two holly drawer pulls, each with an abalone dot. I also added abalone dots on the top of the drawer fronts.
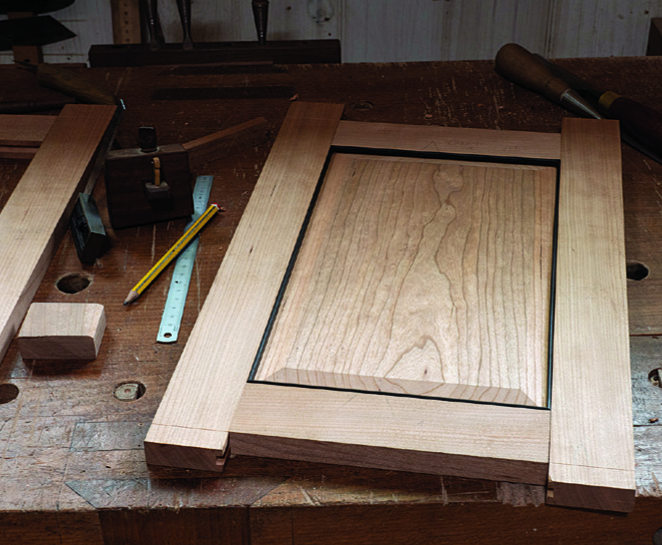

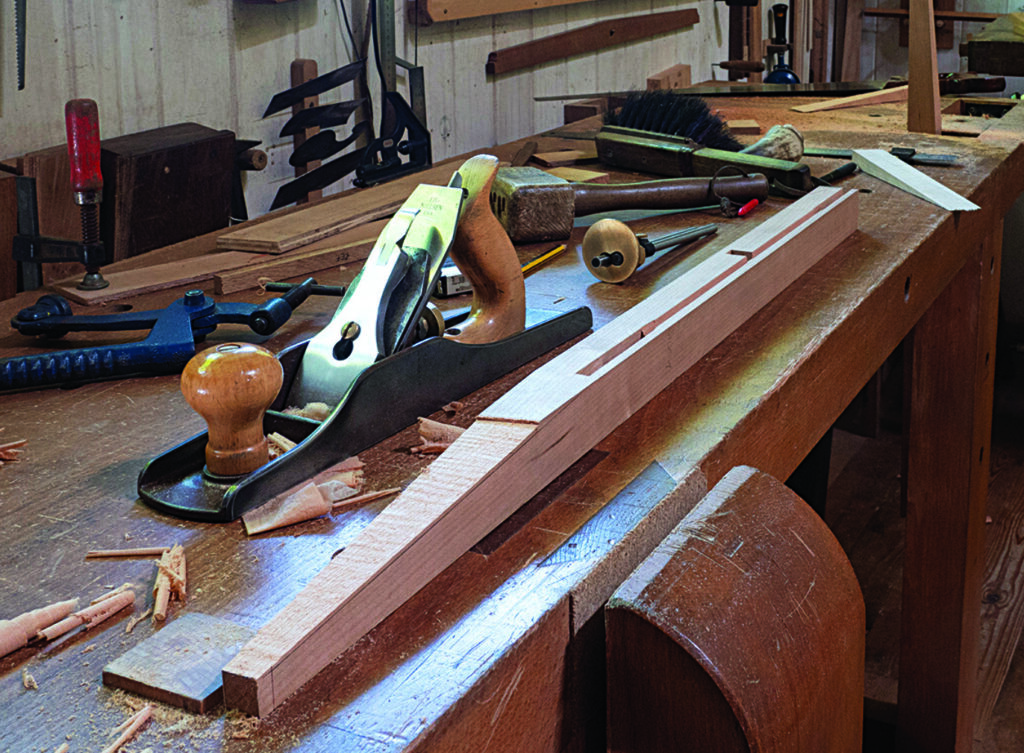
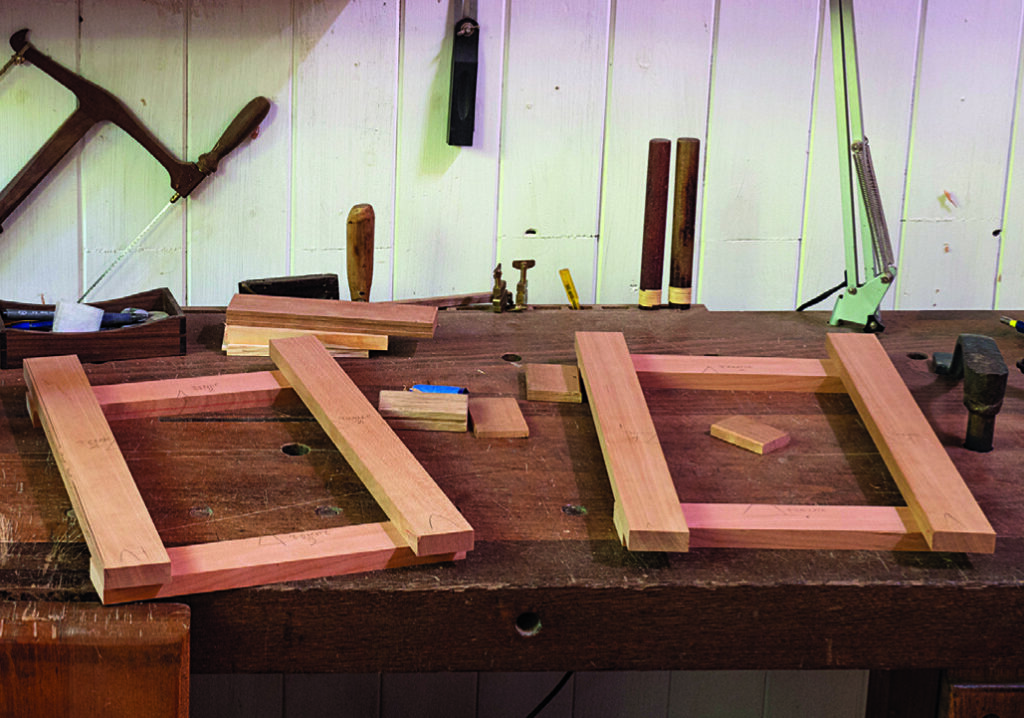
The doors
The doors were also made from cherry. The frame, rails and styles were done as quartersawn, as I could have a straight grain and the panels were made in one piece. To make the joinery I always leave extra material on the stiles, where the mortises are done, to avoid splits when making the mortises. I added four ebony mouldings, made with the scratch stock, and glued them to the frame after the doors were adjusted in their places. The doors meet in the centre with a rebate, to keep dust out of the piece, so the middle stiles were done accordingly so that they look the same width. Then I fitted the offset knife hinges on the doors.
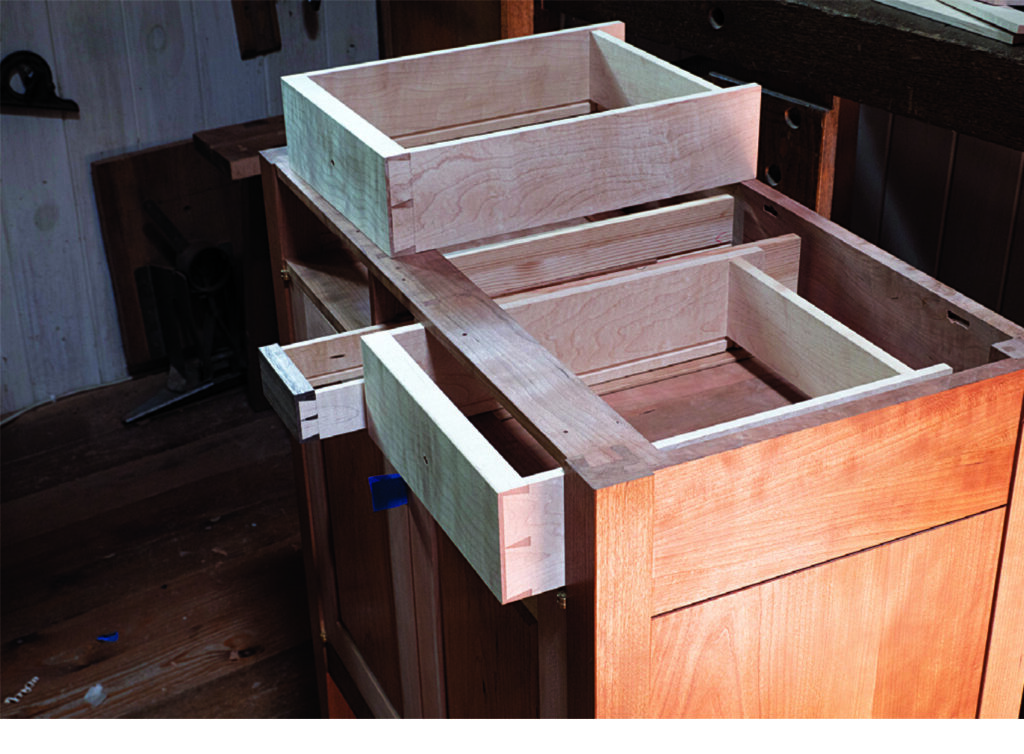
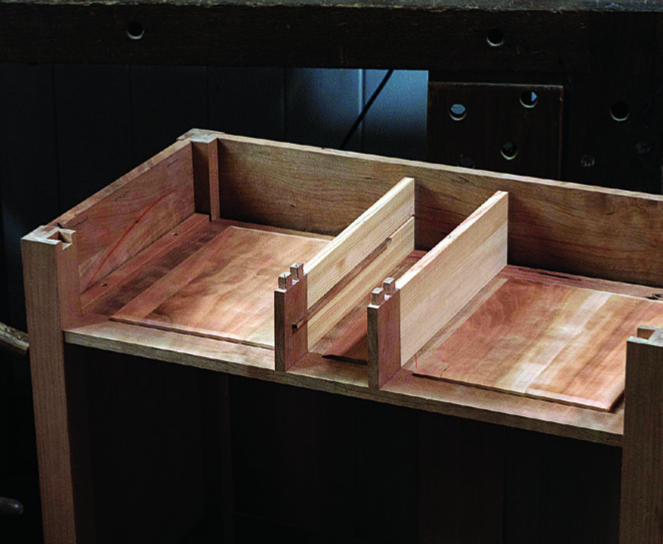
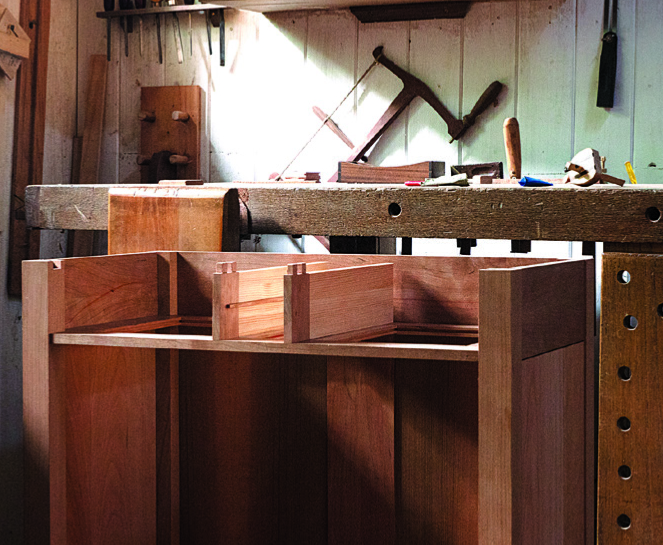
The central drawer case
In order to make the case for the central drawers, which go one over the other, I used quartersawn pine to make the sides of the case and two pieces of cherry for the runners. The runners go in a groove inside the pine, but also inside the cherry dividers. The grain runs from bottom to top, but because these are narrow pieces, wood movement won’t be a problem. But just in case that part moved, these two drawers have a bit more tolerance than normal, around 0.5mm more. To make the fronts the same height, the flap that covers the rail is divided between the two of them, the lower one at the top and the upper one at the bottom.
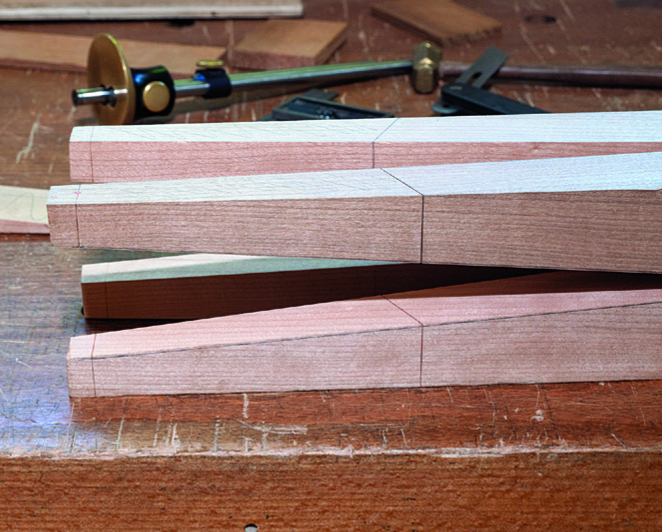
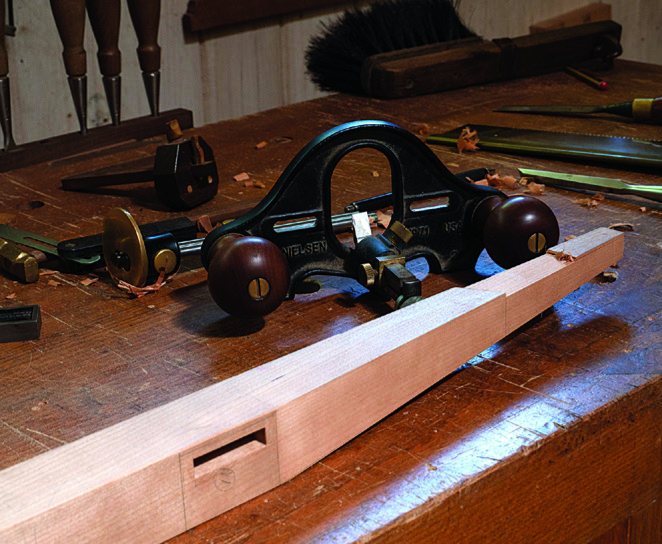

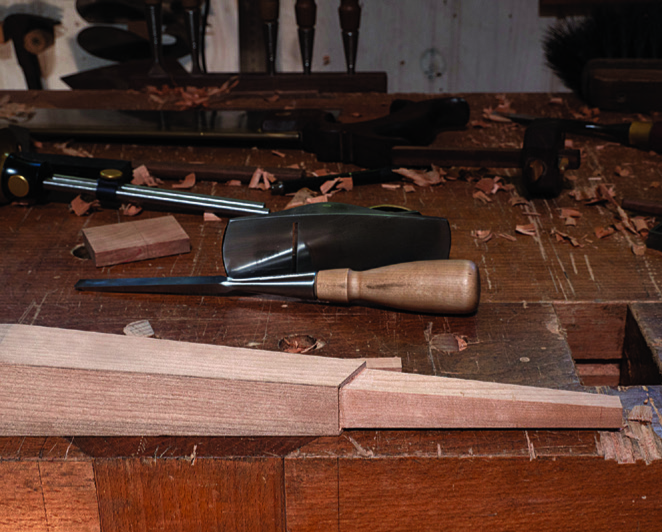
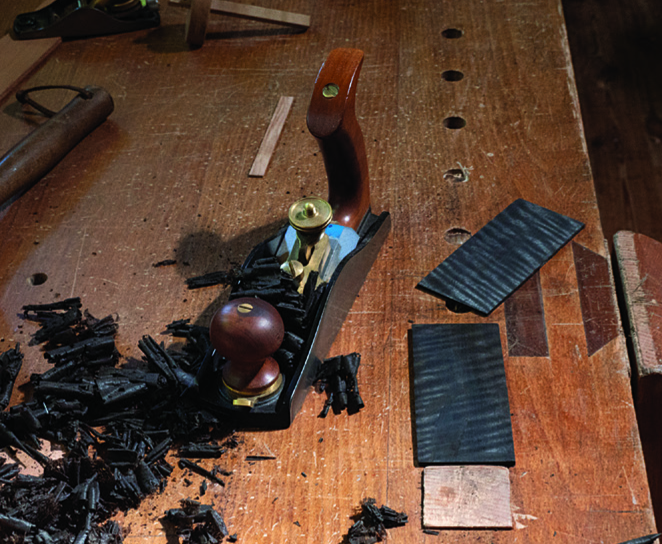
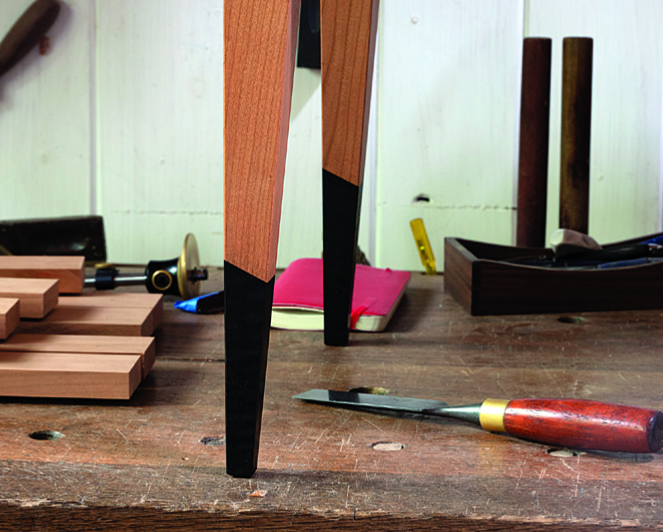
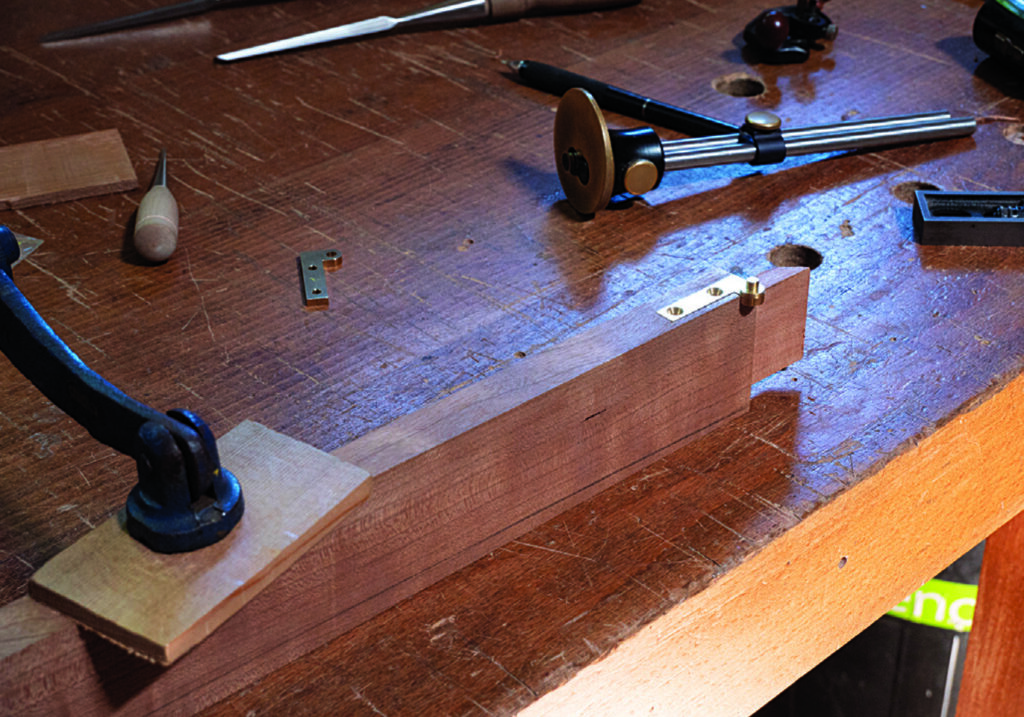
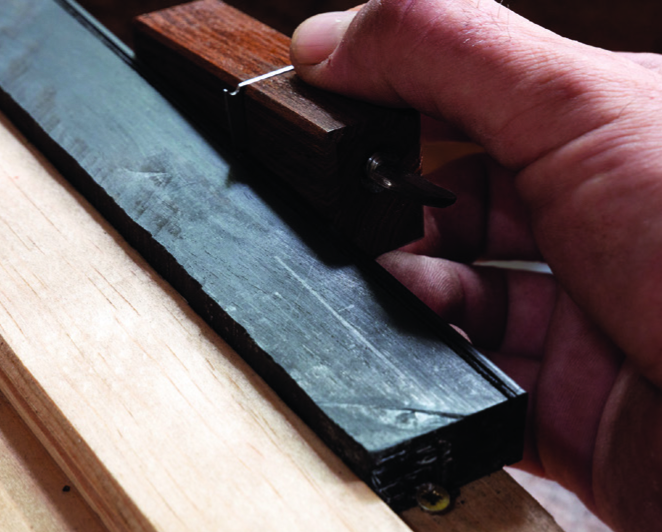
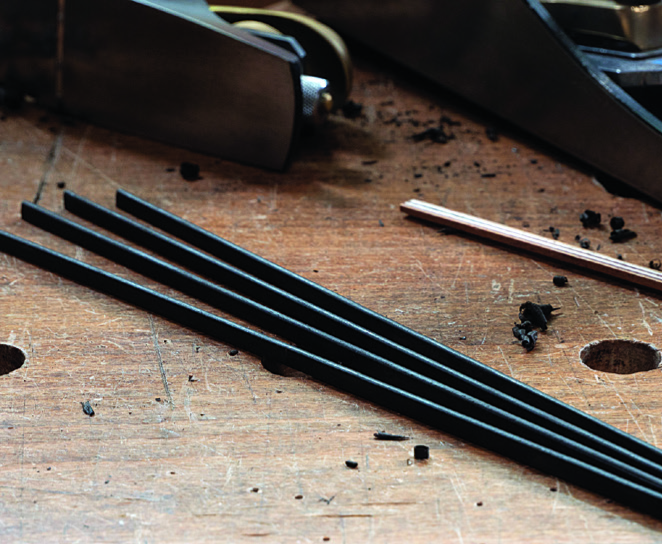
Ebony feet
Adding feet to the legs creates a nice detail. After shaping the legs I marked the feet on them and made a recess for the ebony veneer (2mm thick). First I used the router plane to get the perfect depth and then removed the rest with chisels and a block plane. I repeated that on four sides. Then I made the curly ebony veneer and glued it to the legs. First the front one, which covers the side ones, and the back one has to be made to fit inside. This last one is the most difficult but it won’t be seen.
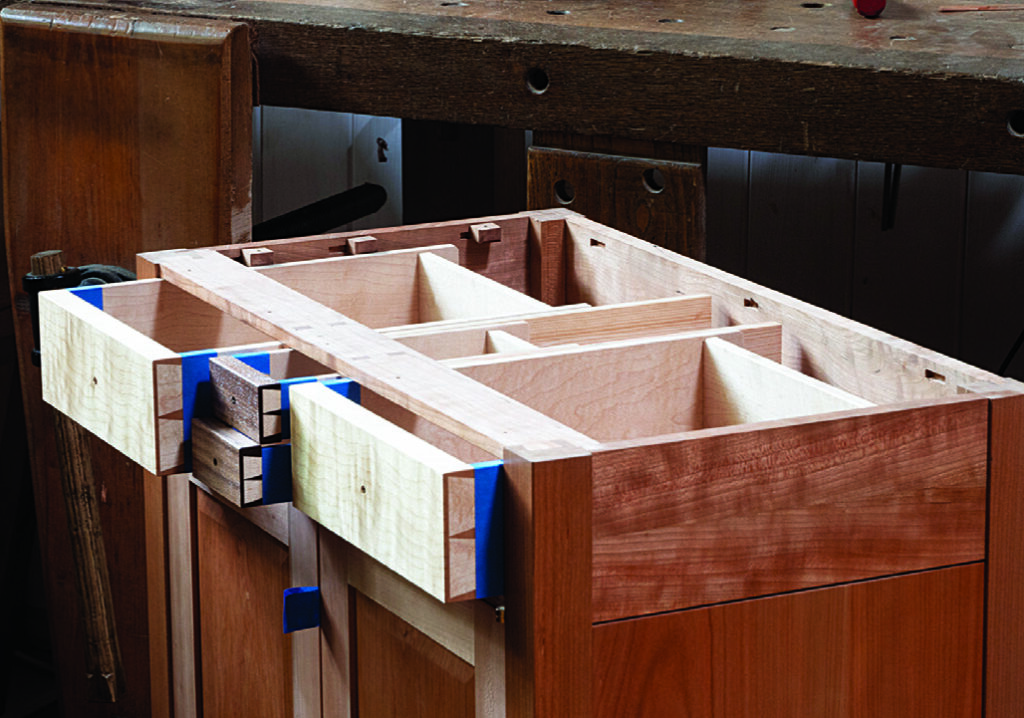
The hidden drawer
Once I finished the piece, and because I didn’t want to make very long central drawers, I realised that I had a nice space behind them, so I made a hidden sycamore drawer. It has grooves on its sides to allow space for the runners. I made a simple mechanism that goes under the top inside the right side drawer and as you push a wooden piece it pulls the central hidden drawer out, giving you access to it.
Further reading
PHOTOGRAPHS BY ISRAEL MARTIN