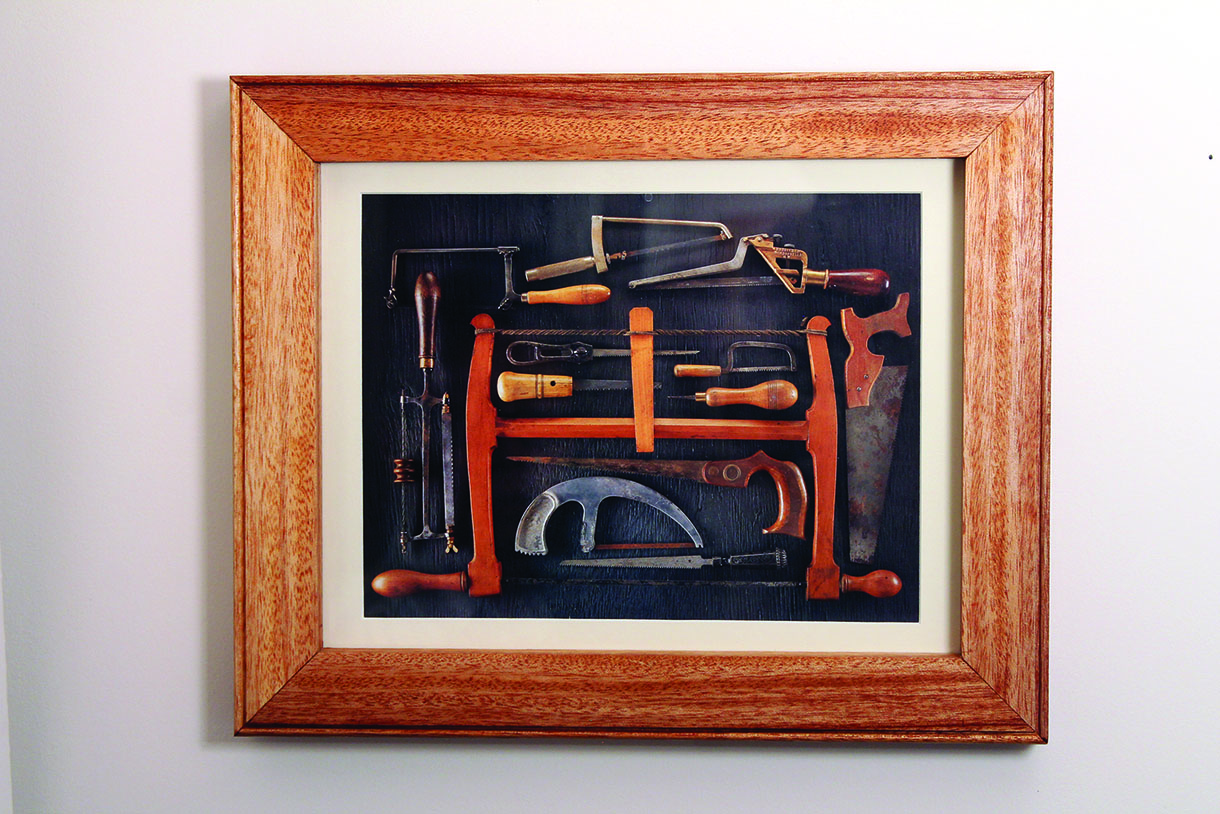
Cutting joints by hand challenges your skills. Charles Mak illustrates the technique of cutting a half-lap mitre joint that gives a rock-solid picture frame.
Don’t be fooled by the simple look of a half-lap mitre. The half-lap mitre may not sound as sexy as a dovetail, but it is by no means an easier joint to cut – even for a skilled dovetailer. It requires the same kind of attention to detail and sawing skills to make as any other taxing joints. Your skills and patience will be rewarded with tight corners and flush joints that are the hallmarks of a well-made frame.
Are you ready for the challenge?
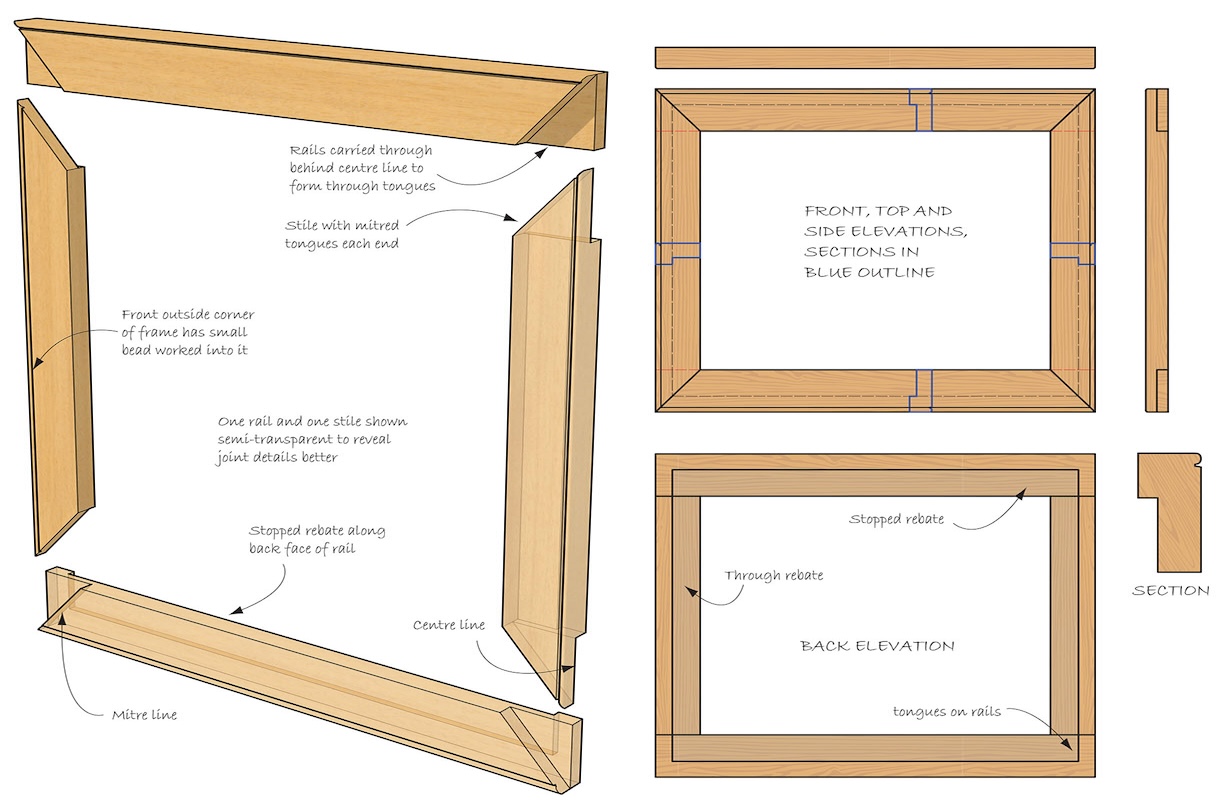
Picture frame exploded view
Mitre joinery
Mitred frames are usually toughened up in their corners with some kind of fastener, such as loose splines or brads. When good appearance is also required on the edges, loose tongues or biscuits can be used. A half-lap mitre joint combines the element of visual aesthetic (the mitre) with the strength of a structural joint (half-lap). It gives the frame a conventional-looking mitre joint on the front, with a half-lap on the back (see diagram below).
Setting out the joint
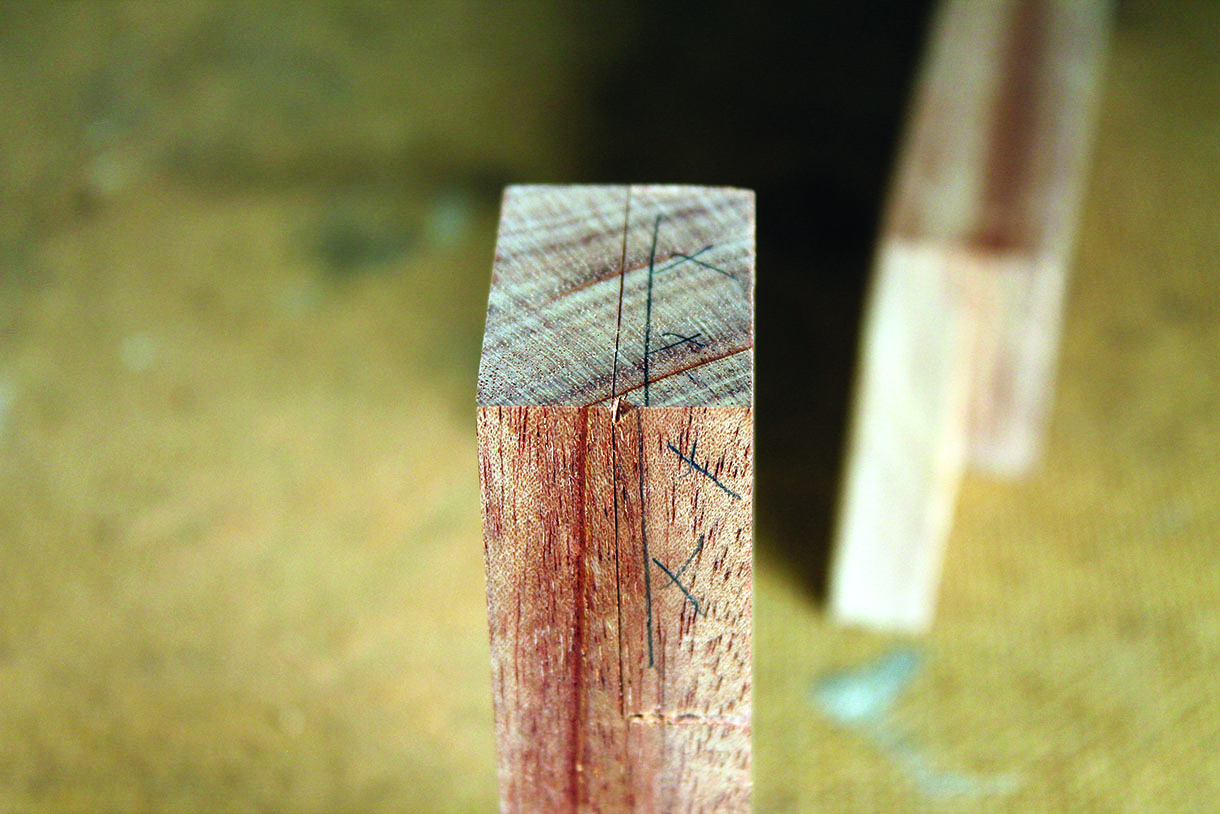
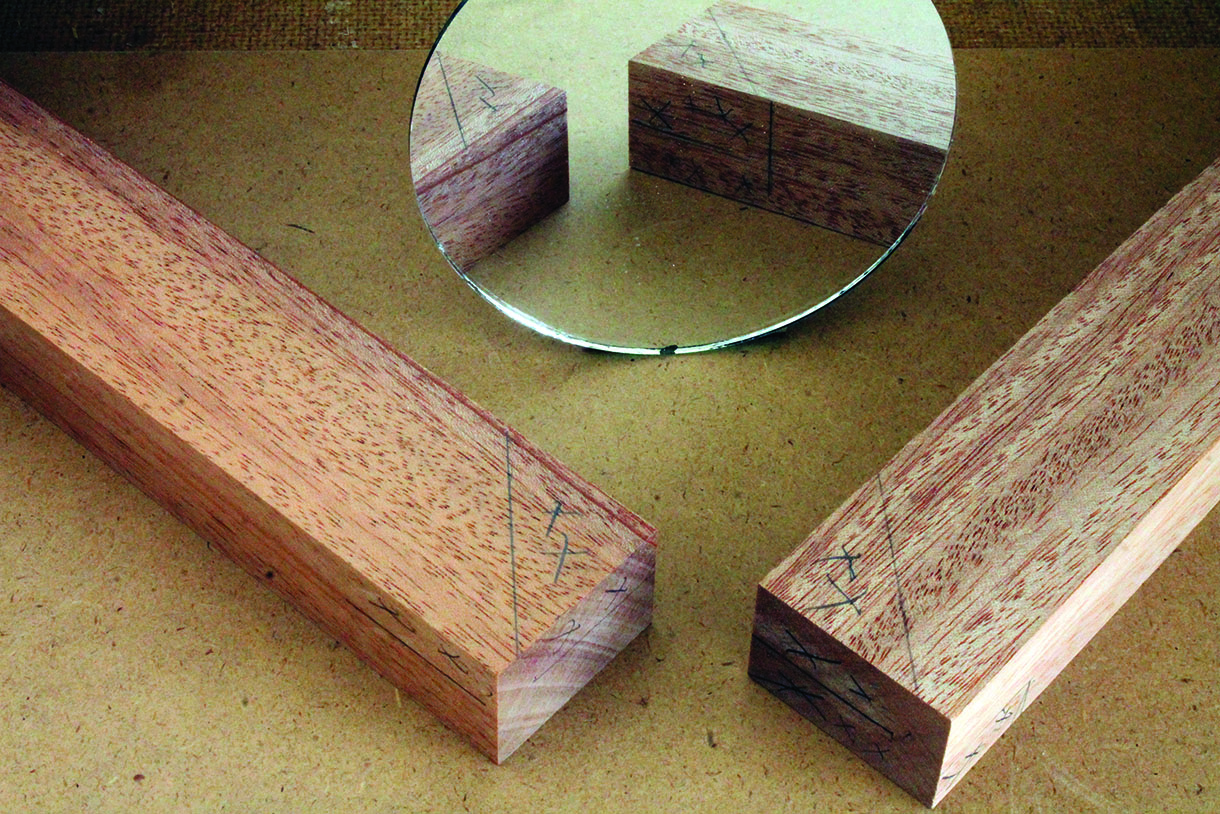
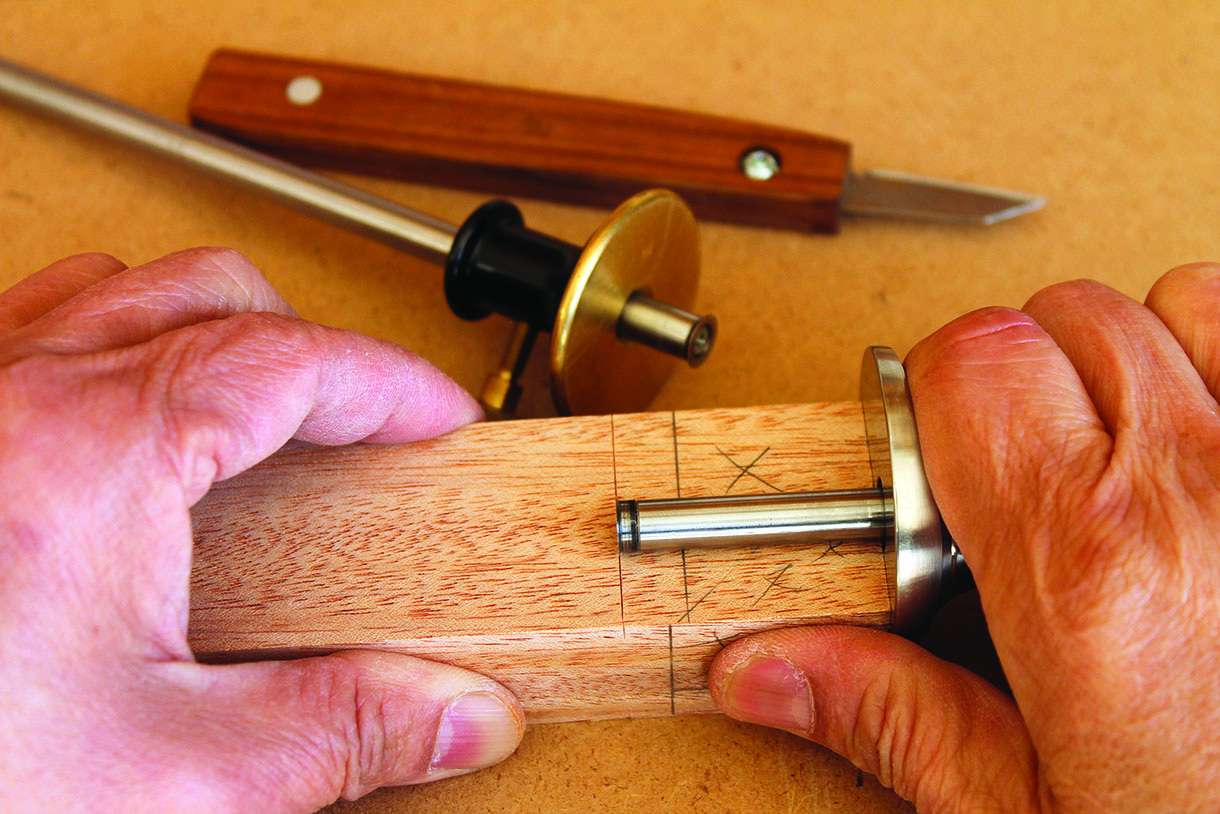
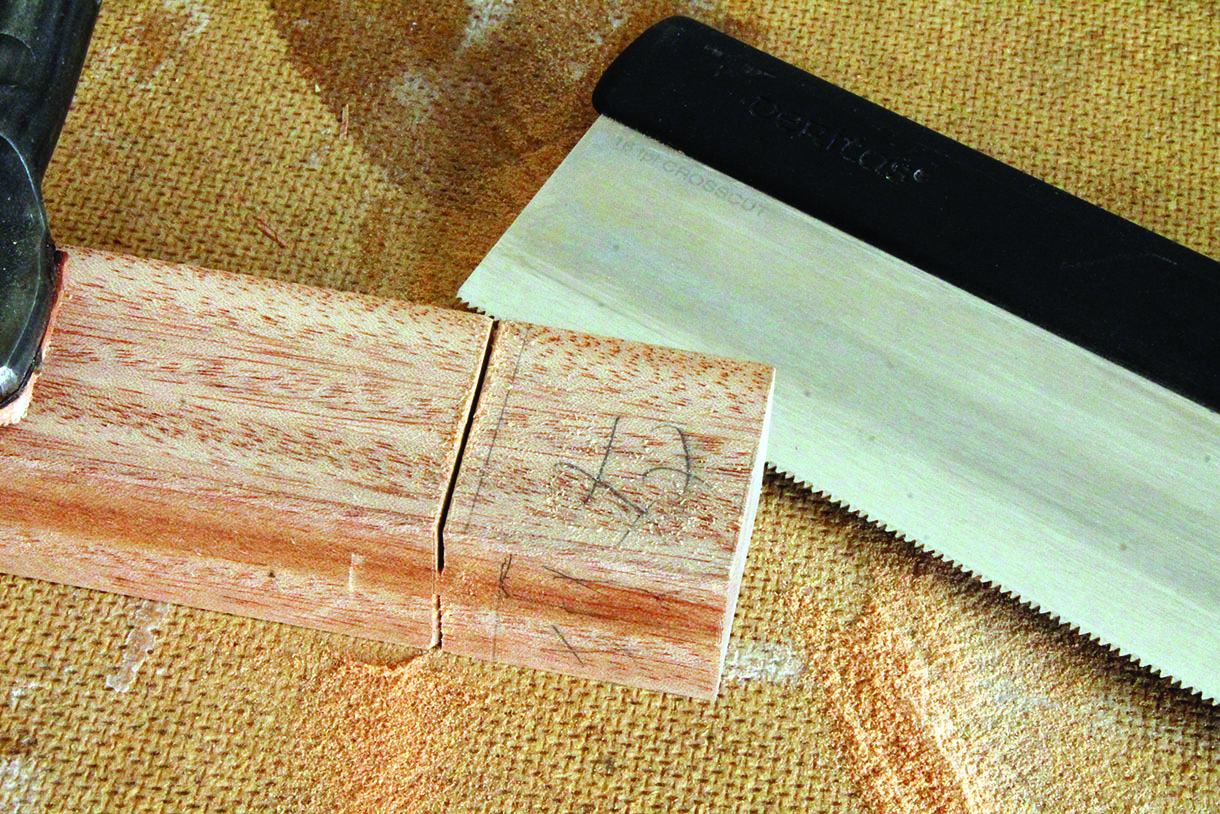
I planed all the stock to identical width and thickness, removing all the machine marks in the process. You can cut the halves in either order; I started with the mitred tongues. I also chose the tongues as the stiles as I wanted the shoulder end-grains to be visible on the sides. With a pencil, I first roughly marked the cut lines and waste to be sawn. At the scribing stage, I would knife all the mitre lines with a combination square, and score the rest of the lines with marking gauges. To avoid resetting the stop for separate measurements, I used two marking gauges: one gauge set to the stock’s width (‘the width gauge’), and the other set to half of the stock’s thickness (‘the thickness gauge’).
Marking out the mitred tongue
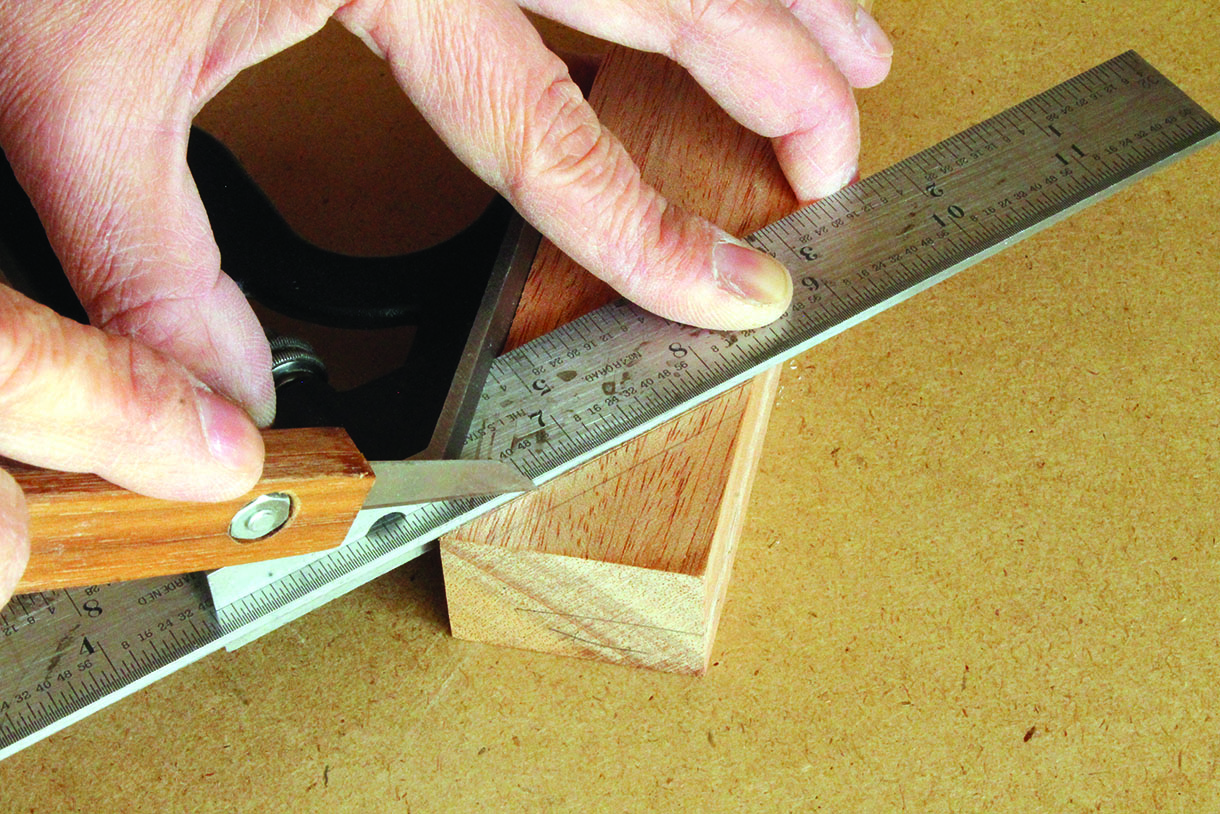
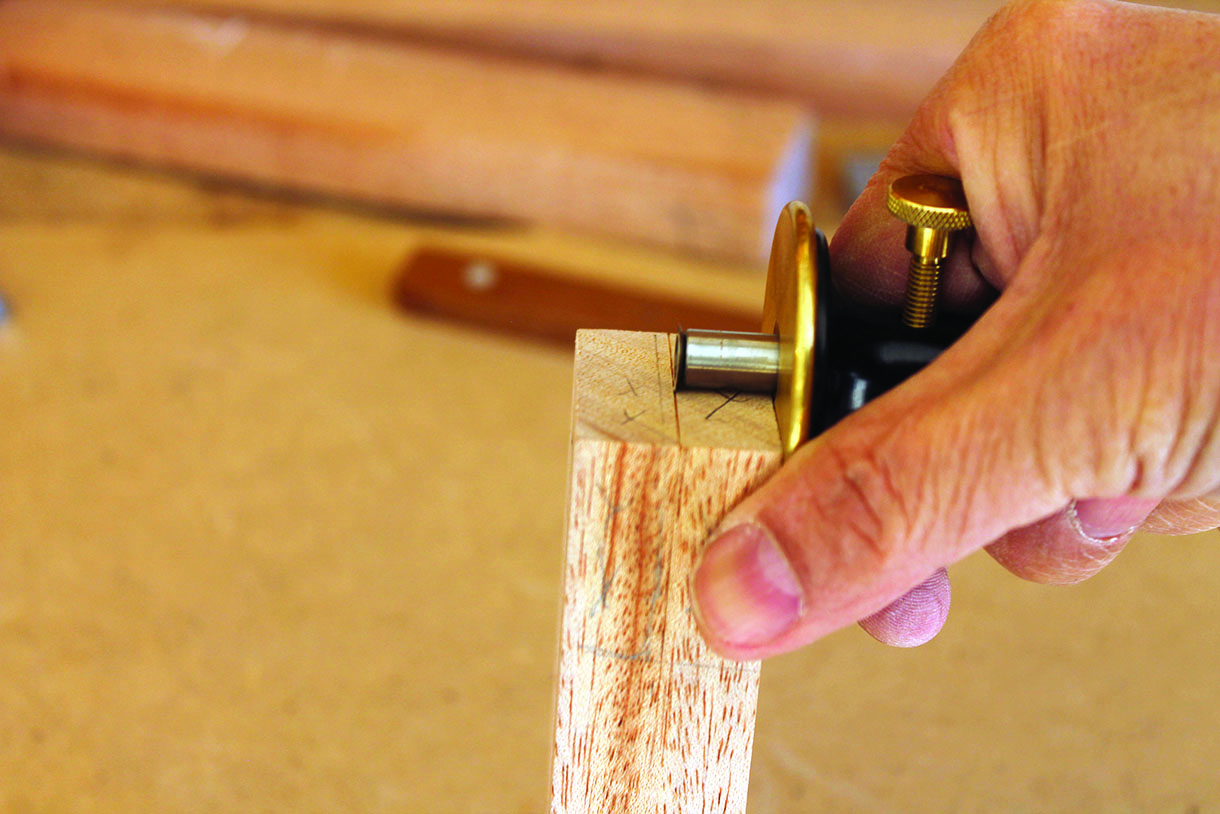
I scribed the mitre line on the tongue piece, starting from the outside corner down to halfway of the inside edge. Then, with the width gauge, I scored a shoulder line around the underside of the tongue piece and edges. Lastly, the thickness gauge was used to mark a centreline along the three edges of the tongue piece. Repeat the same layout steps for all other tongue pieces.
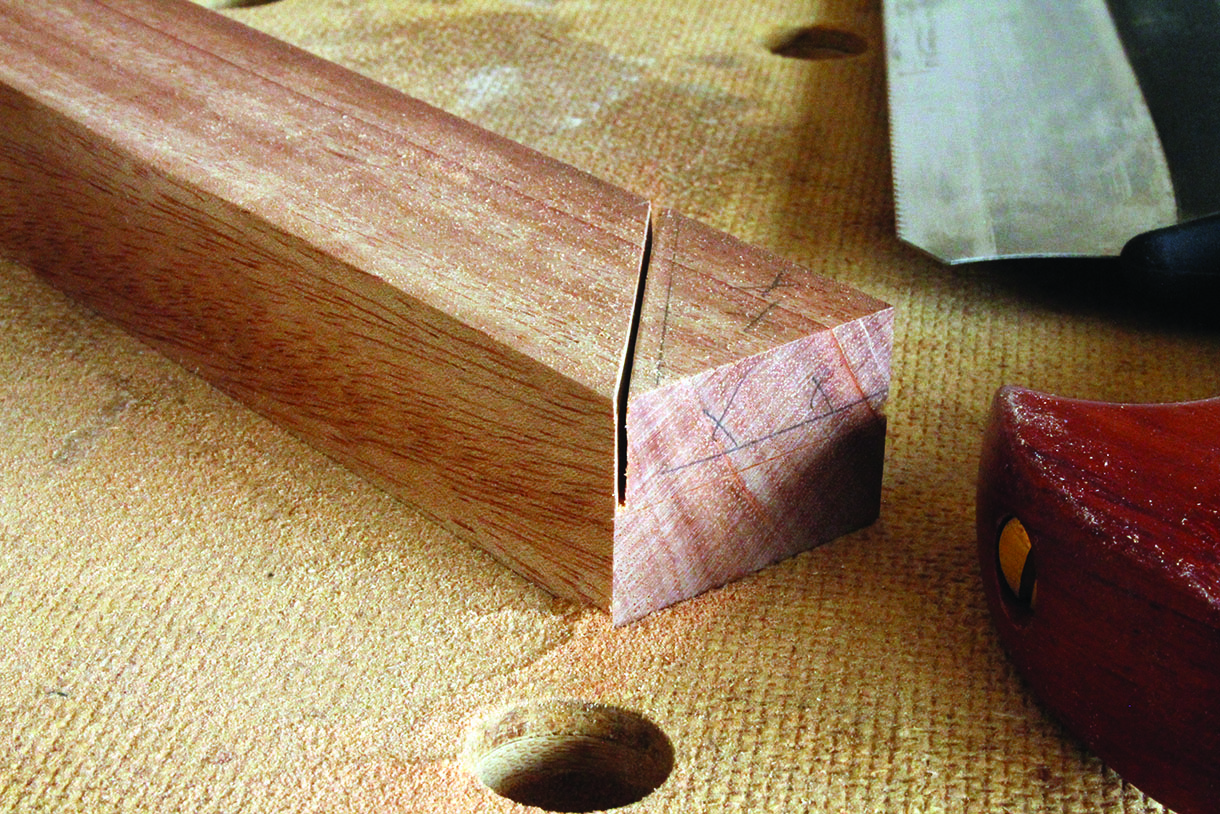
Marking out the mitred shoulder lap
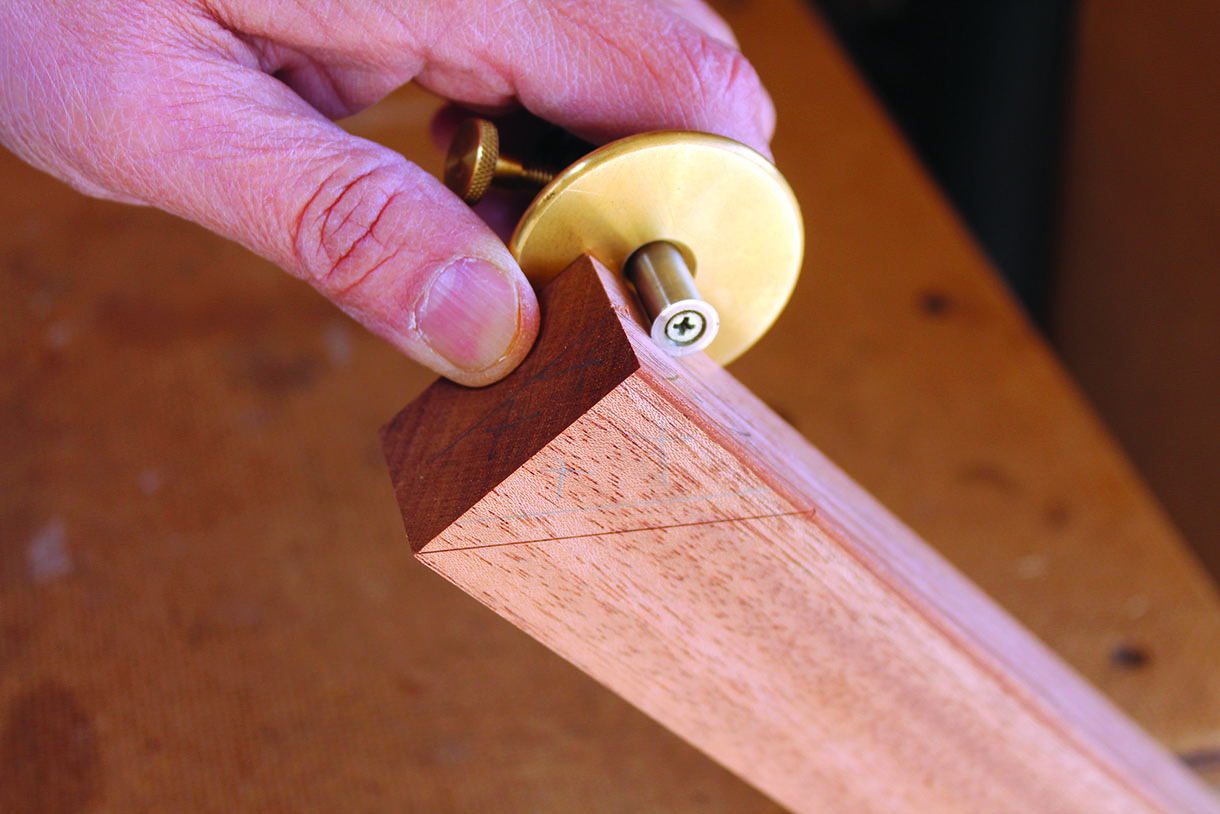
Next, on the shoulder lap piece, I scored a mitre line from the outside corner ending halfway on the inside edge. To mark the centreline, I simply ran the thickness gauge along the top end and inside edge. Proceed to mark all your other shoulder lap pieces in the same way.
Cutting the tongue
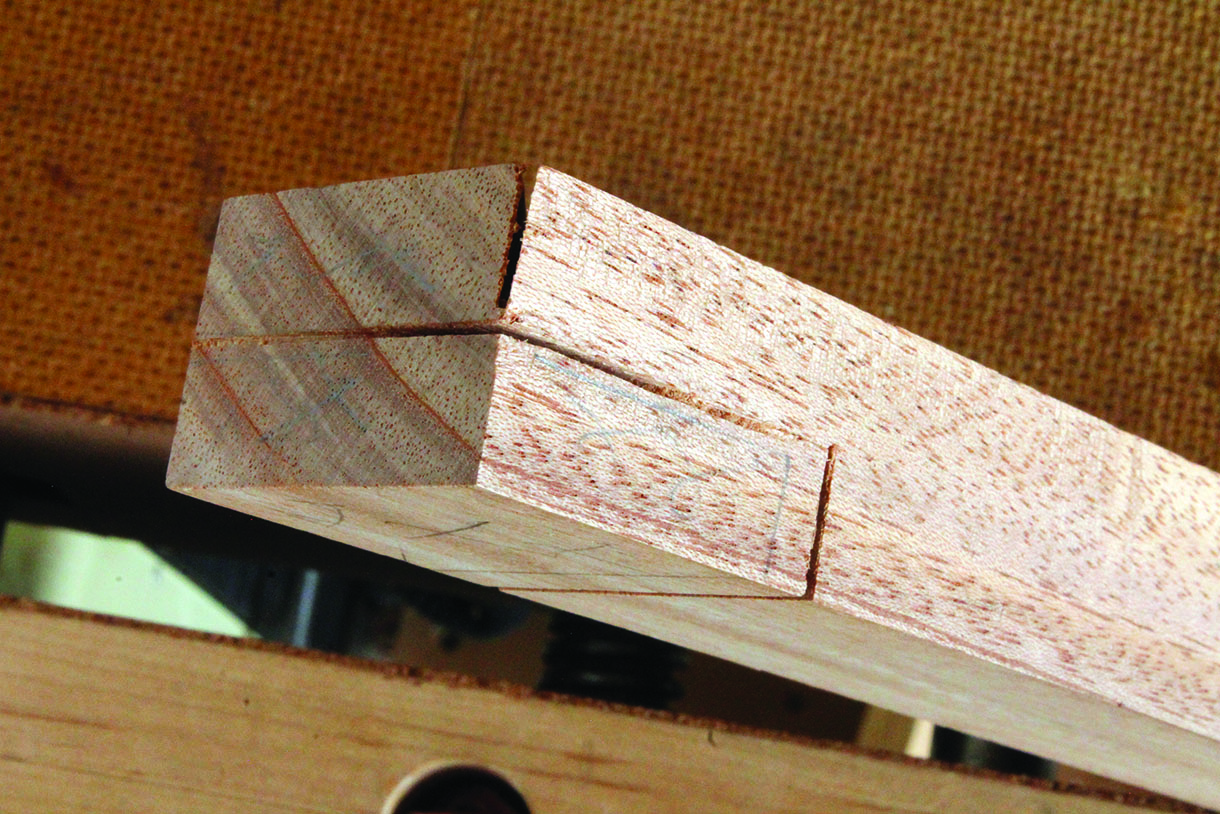
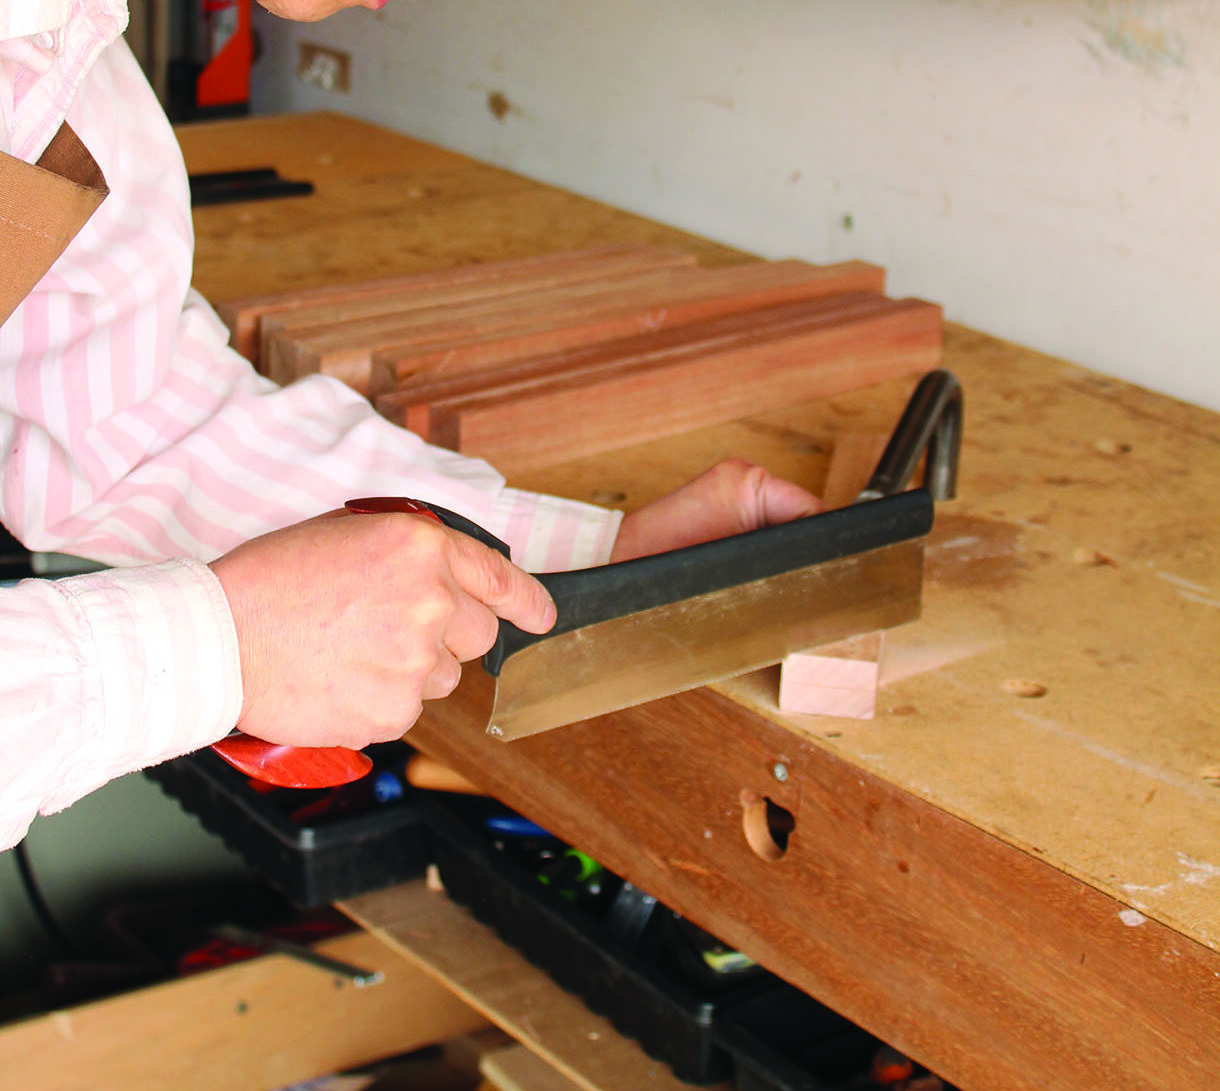
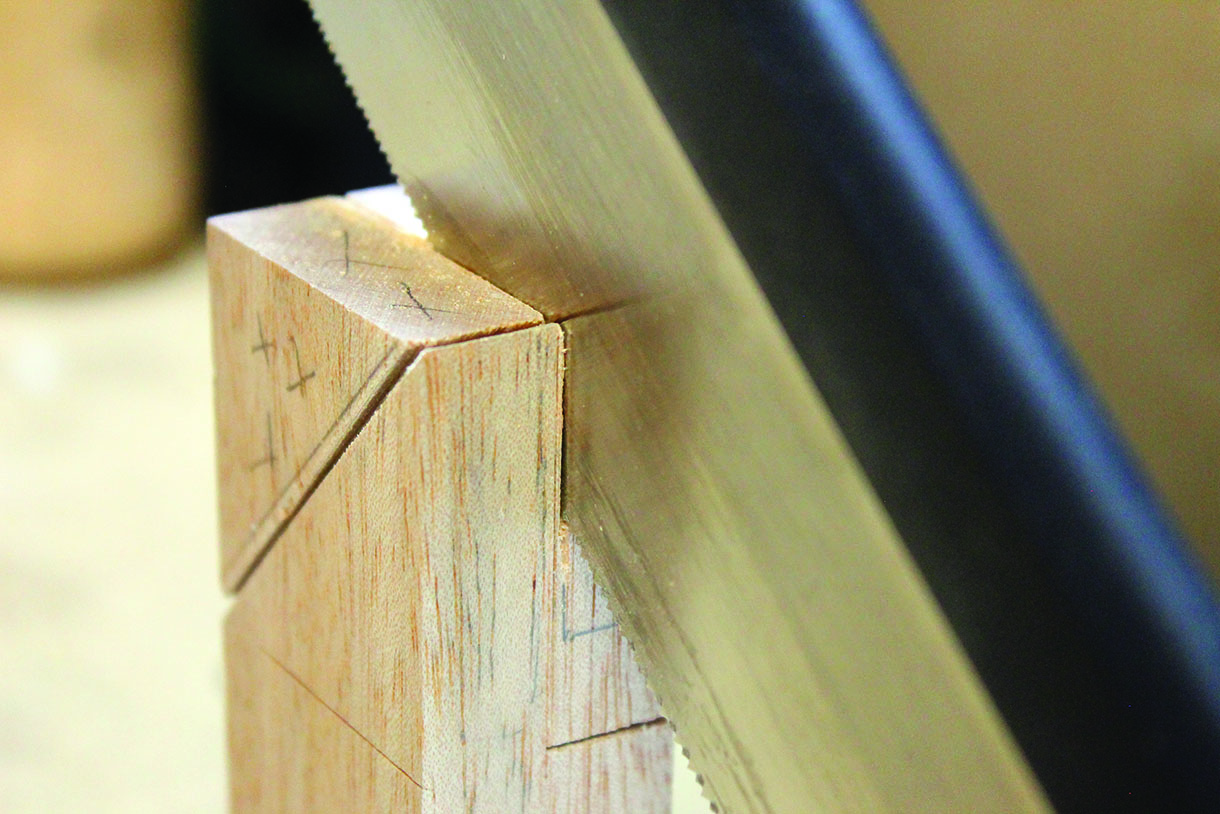
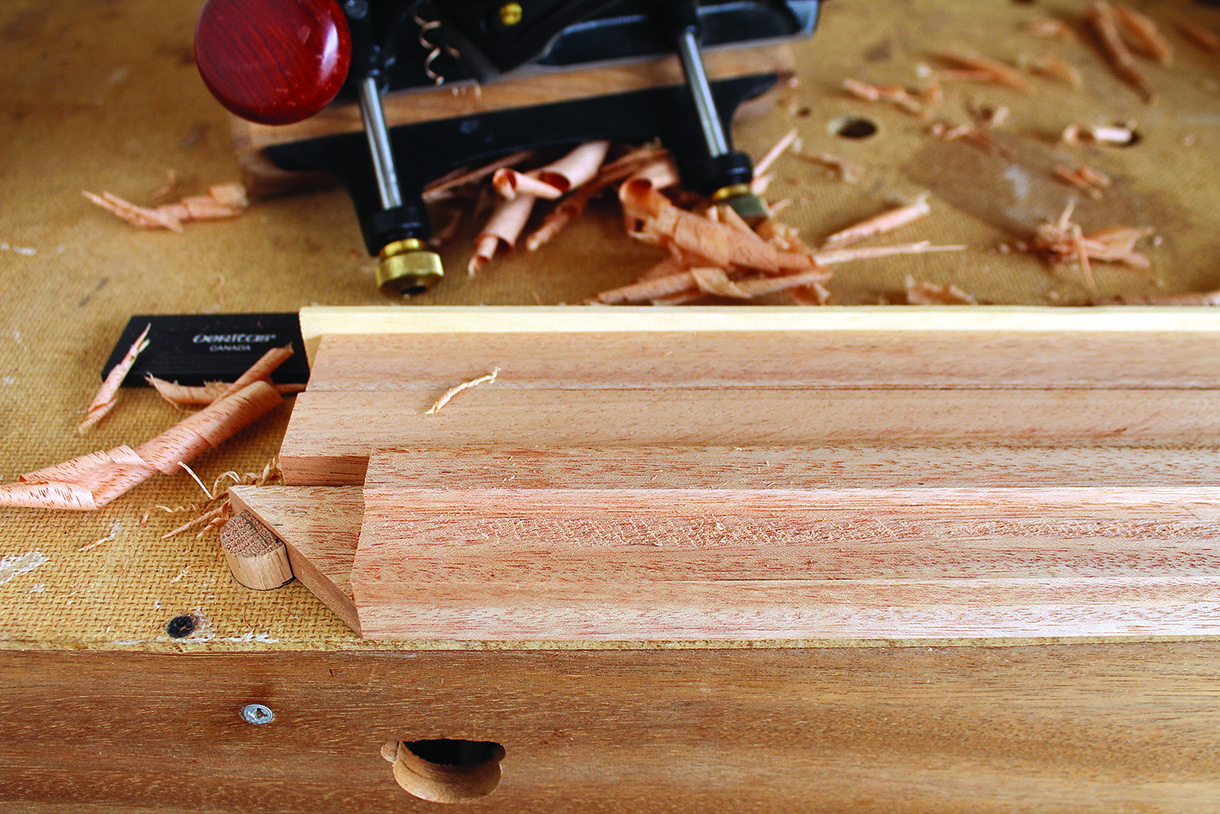
Cutting is the critical part. For lap joints or tenons, I usually start with the cross cuts, roughly providing a baseline for the vertical cuts. First, I chiselled a shallow channel on the mitre line as a saw guide. With the workpiece held down, I sawed down the work up to the centreline. As in the case of cutting tenons or dovetails, saw to the gauge lines, rather than clear of the lines, as much as you can. I flipped the piece over and sawed halfway down the shoulder line at a right angle. With the work cramped vertically, I started to saw at the far corner, gradually lowering the saw to cut a shallow groove on the end. I then sawed down the vertical gauge line, removing the waste to form the tongue.
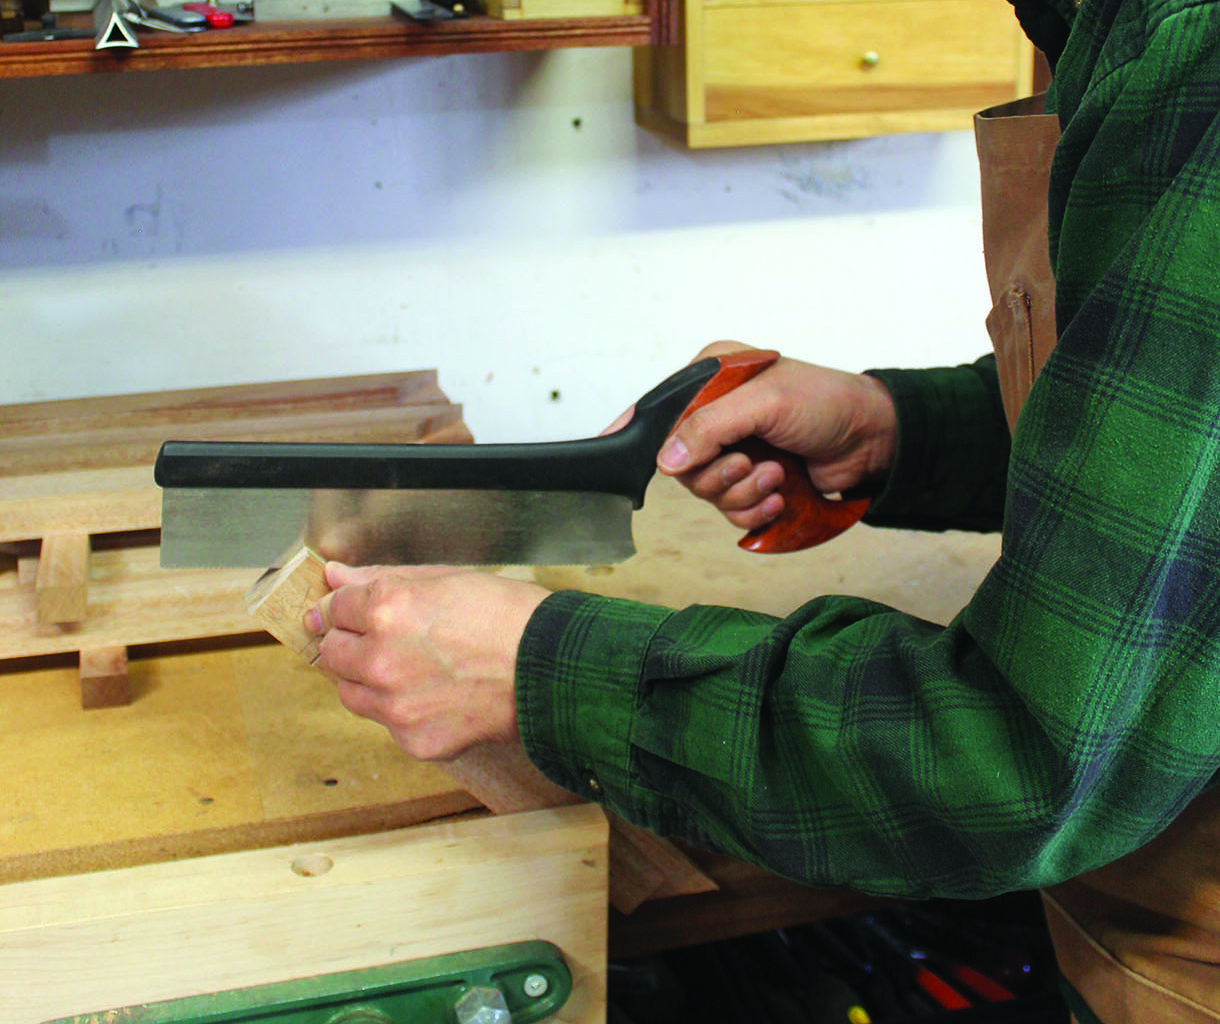
Cutting the should half lap
For the mating shoulder lap piece, I cut the mitre in the same manner, up to the shoulder line. I cramped the work obliquely in the vice when sawing down the vertical line to remove the waste to expose the half lap.

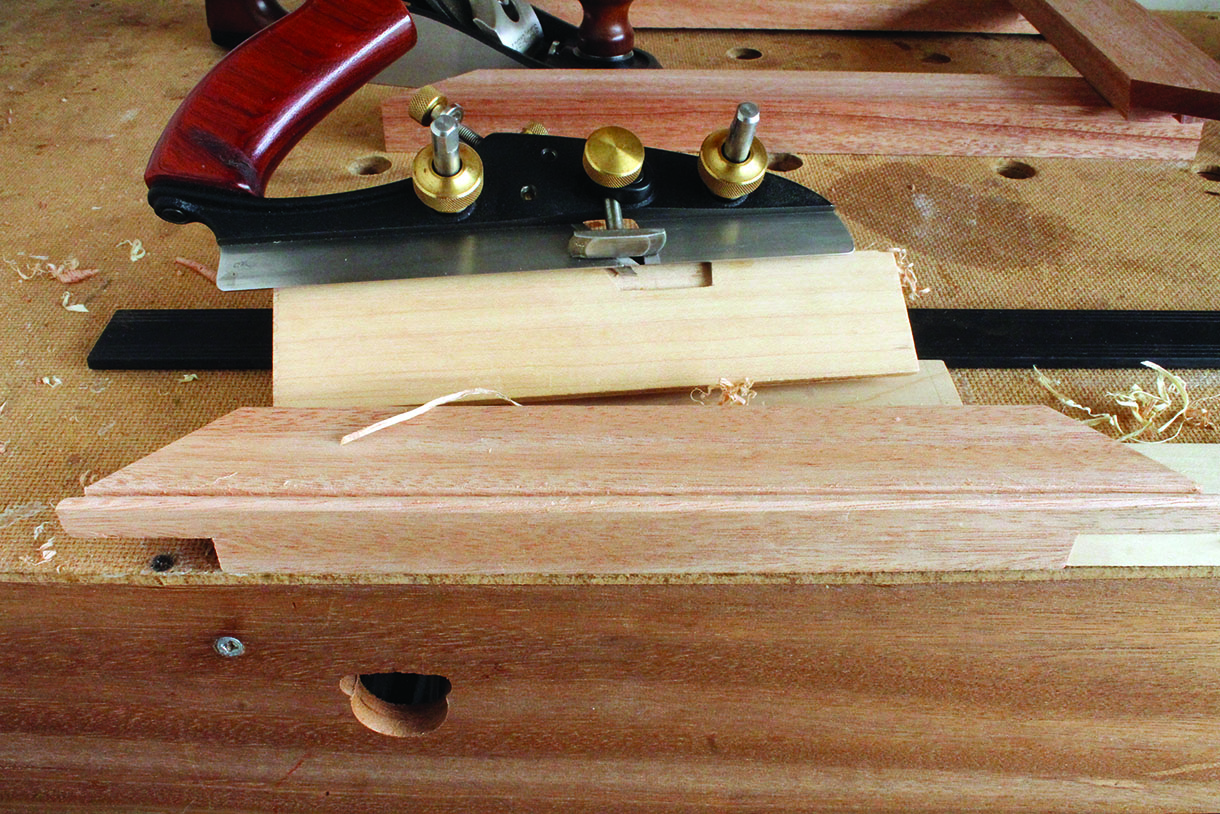
Rebating and beading
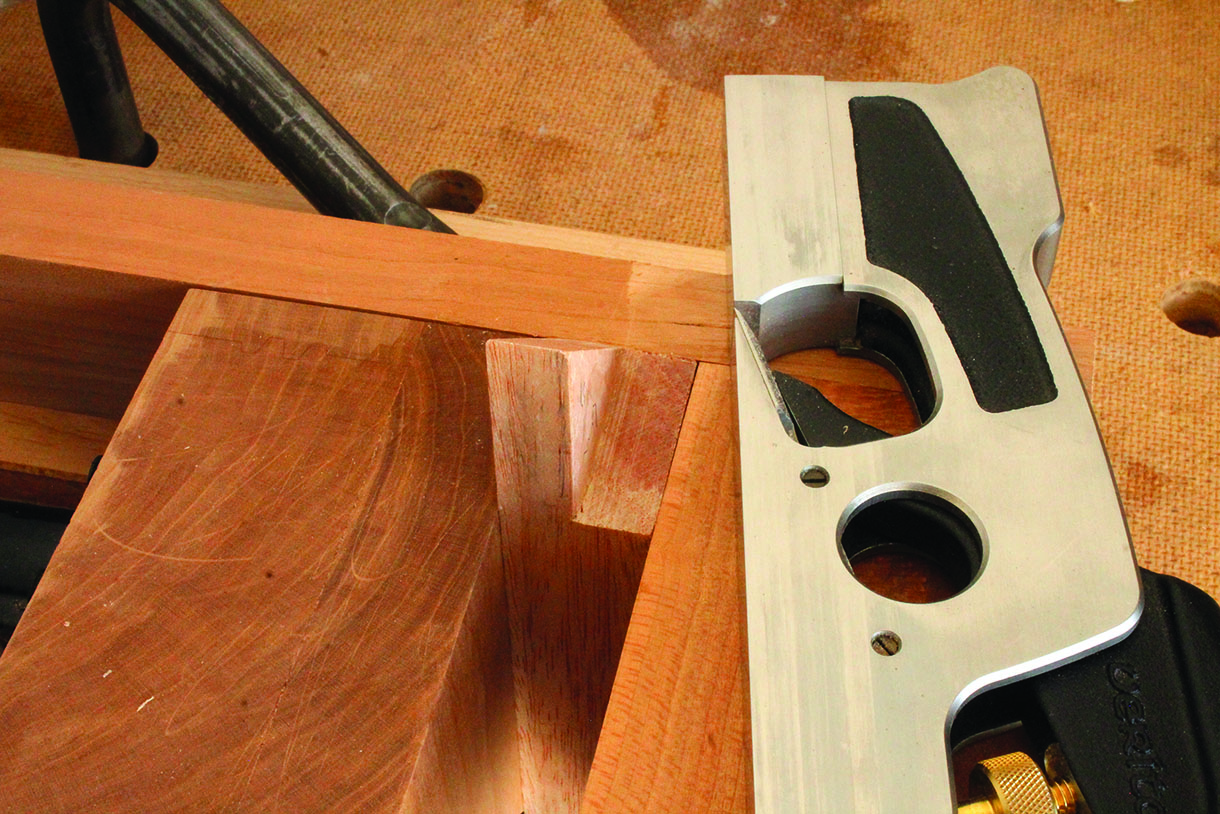
Many find it easier to cut a frame’s decorative elements and rebates when the workpieces are still flat and rectangular. However, I chose to cut the mitre and then bead, as beads cut that way would always meet seamlessly at the corners. I first cut the rebates on the back of the frame with a skew rebate plane. For the stopped rebates on the stiles, I chiselled the last sections after cutting most of the rebates with the plane. A simpler but less elegant approach is to cut through rebates on both the rails and the stiles, and then carefully plug the openings. Finally, I ploughed a round bead on the outside edges.
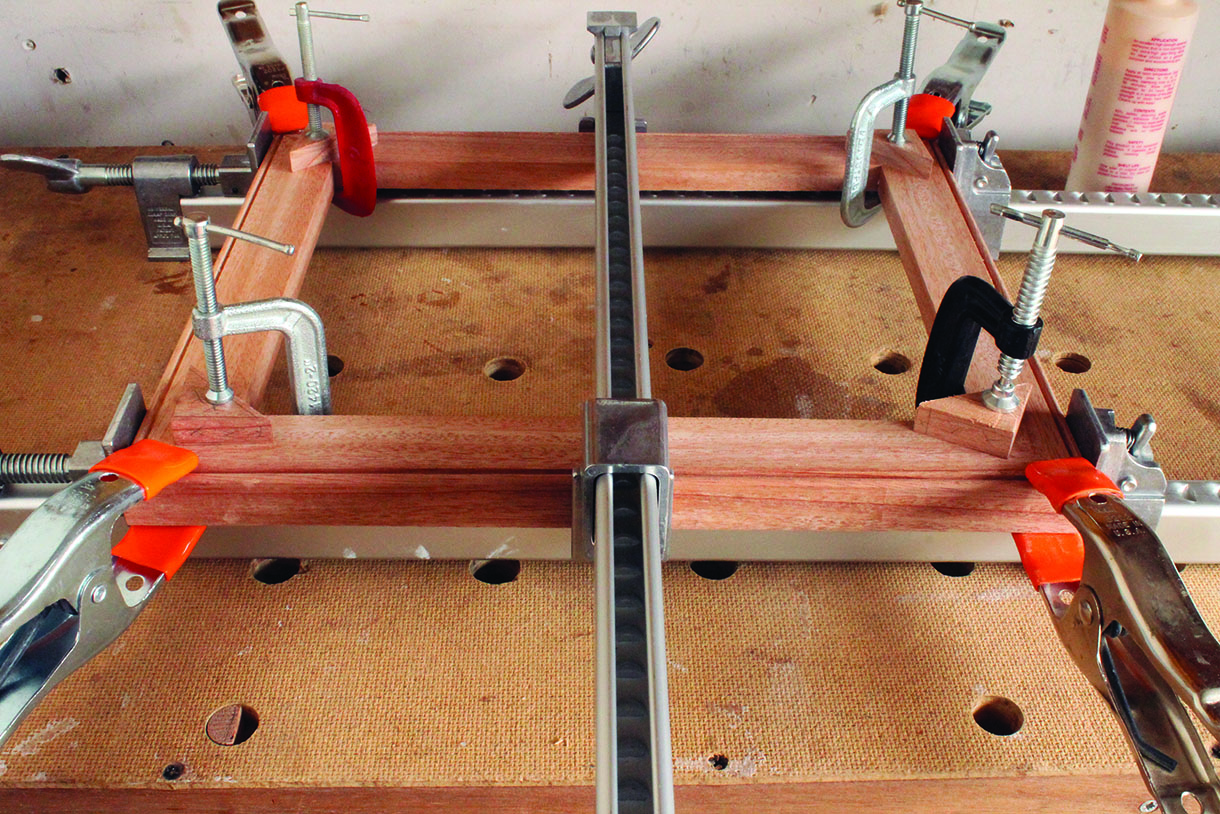
Assembling and finishing
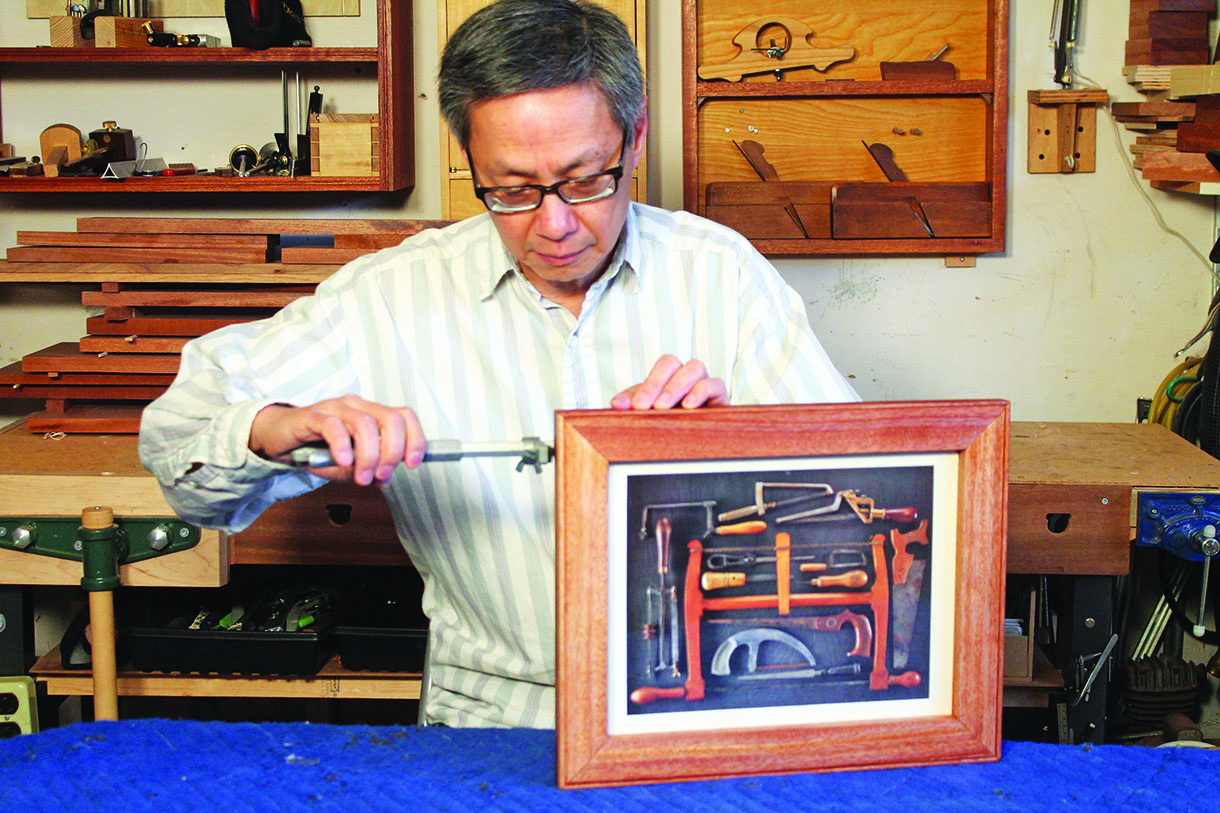
Mitres can be a hassle to glue up, often requiring the use of speciality cramps or cramping jigs. But for lapped mitre joints, some bar cramps and spring cramps are usually sufficient for getting the job done. I would recommend using a reversible glue such as liquid hide glue, if you usually struggle with a mitre assembly. Put on a few coats of finish of your choice, and, after the finish cures, your frame is ready to receive its glass, mat, artwork, backer board and mounting hardware.
Framing your treasured family memories or woodworking inspirations is distinctly gratifying when you do it by hand!