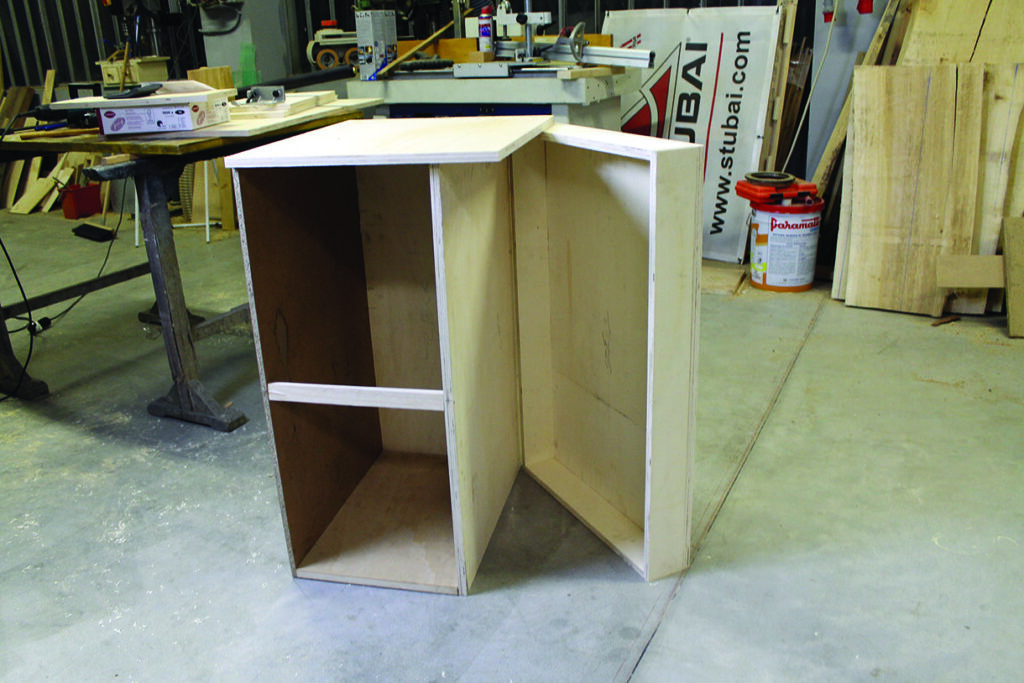
Andrea Zanini brings order out of chaos with a useful storage cabinet for all your gouges and turning accessories
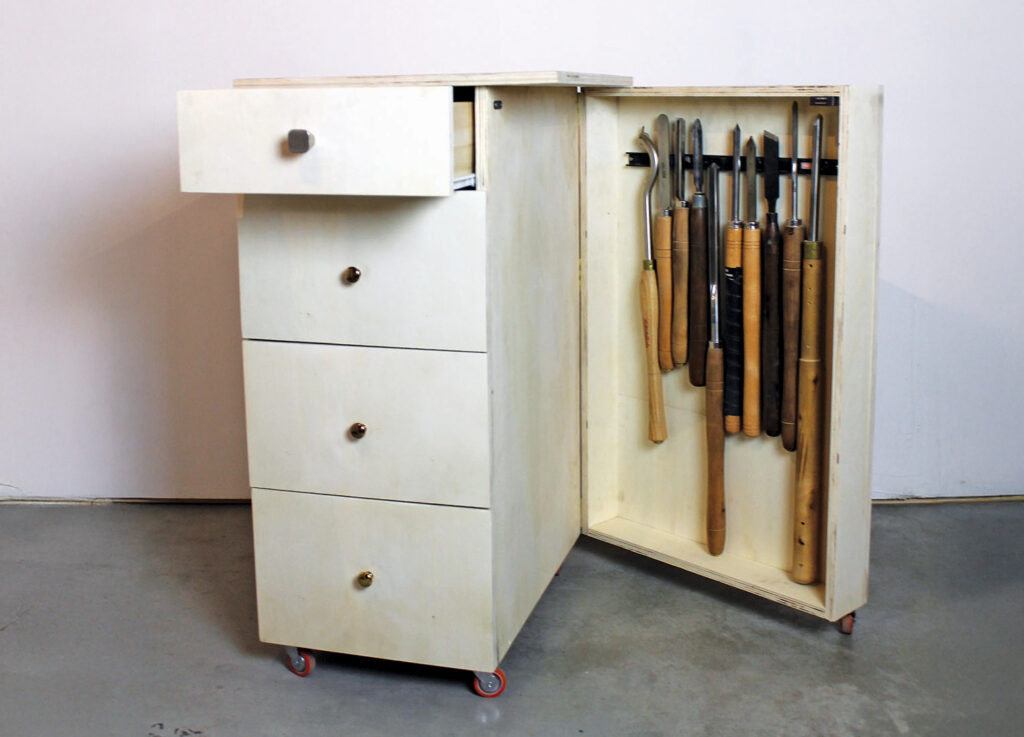
When we start turning our first purchases are usually recommended by someone else, but soon enough we all find how satisfying buying new tools and accessories is. It soon becomes clear that everything needs a place, so we build a tool rack and struggle with the problem that all turners face: everything gets covered in enormous quantities of shavings. They seem to get everywhere and finding that chuck key, or the chuck itself, becomes a stressful rescue mission. I’ve always liked to work in a clean and organised workshop. A clean ’shop is a safe ’shop and finding what I need quickly means more time to work on a project. But which tool holder or cabinet is the most convenient for a woodturner? Here, I am going to describe the process and design of a cart, born after a long series of trial and error, that could fit in almost any ’shop, from the garage to the pro,
and which will help every turner to save space and stay organised.
Plans and equipment
Equipment and materials
Tools
• Hand circular saw
• Hand saw
• Biscuit jointer
• Tape measure
• Straight edge
• Drill
Materials
• 18mm plywood
• Brad nails
• Wood screws
• Wood glue
• Biscuits
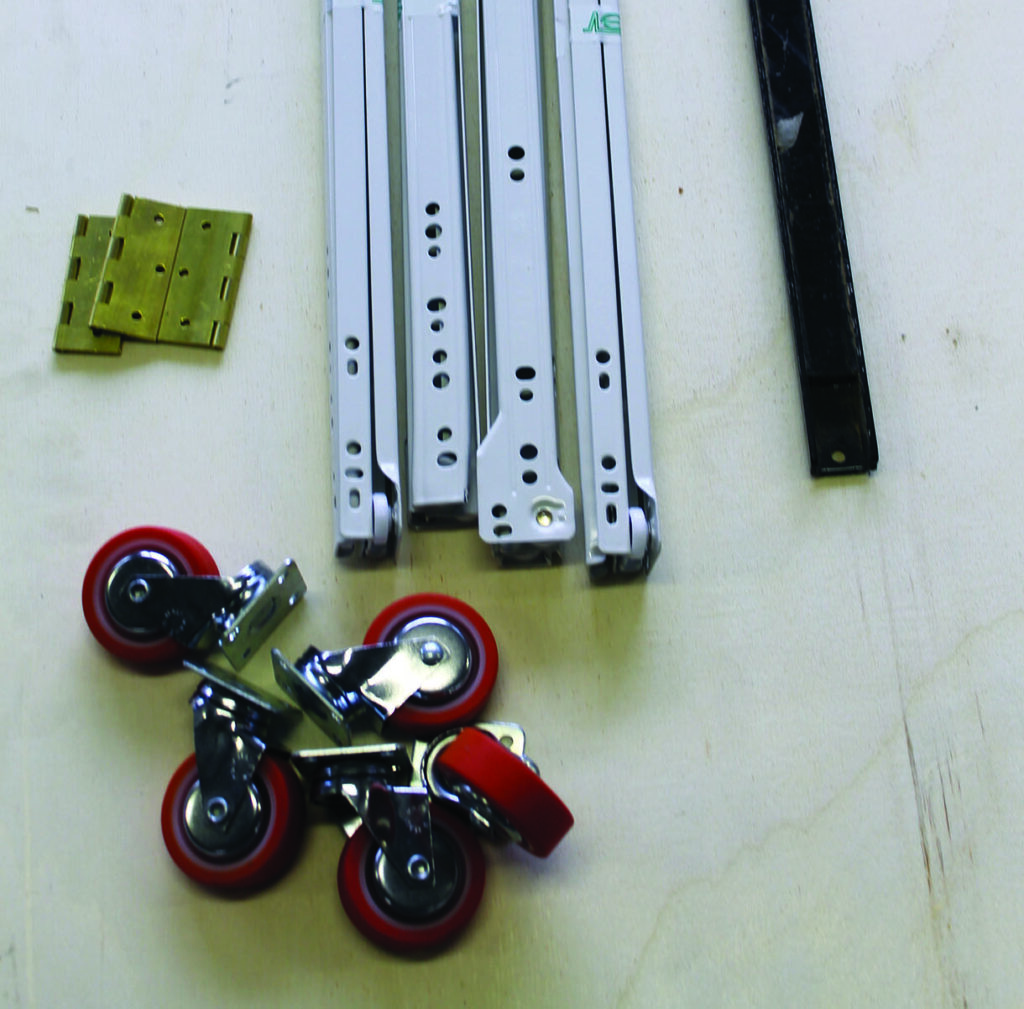
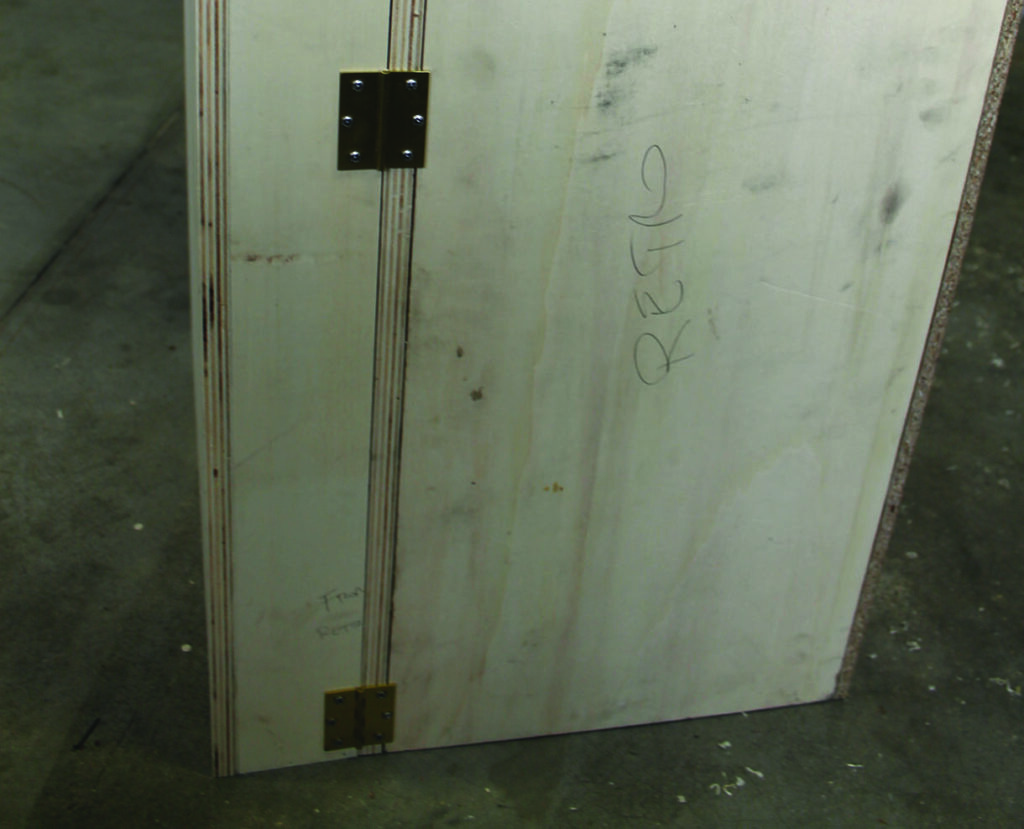
• Hinges
• Casters
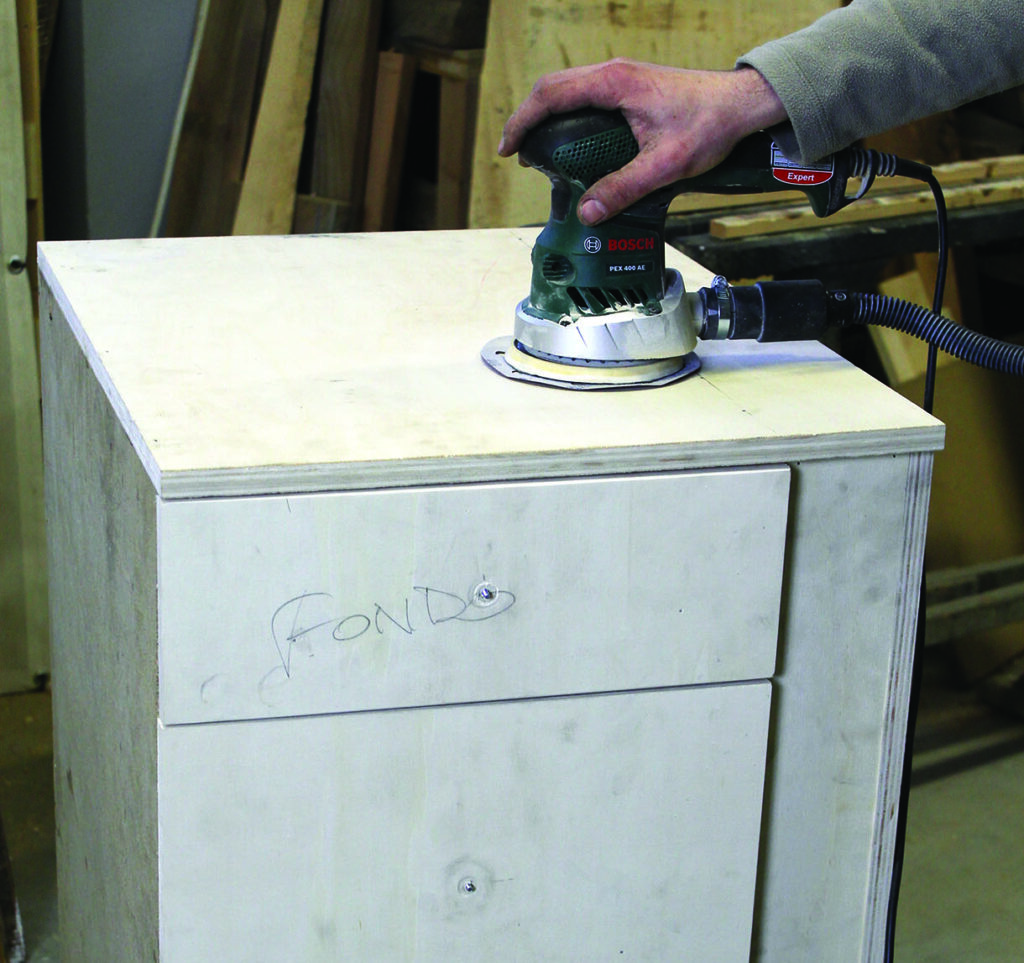
• Water-based finish
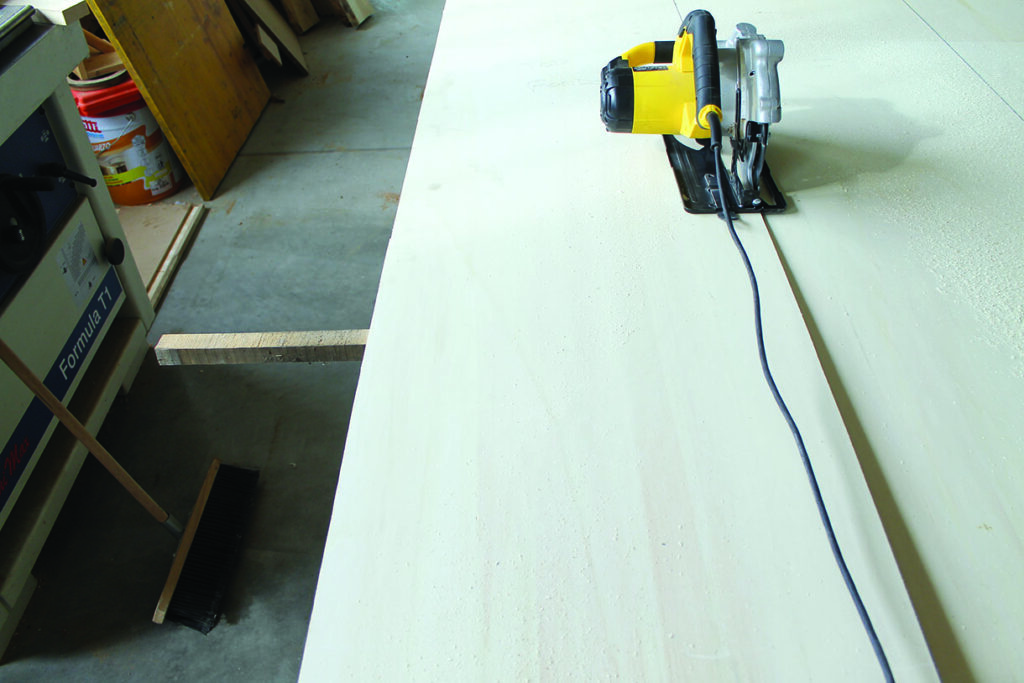
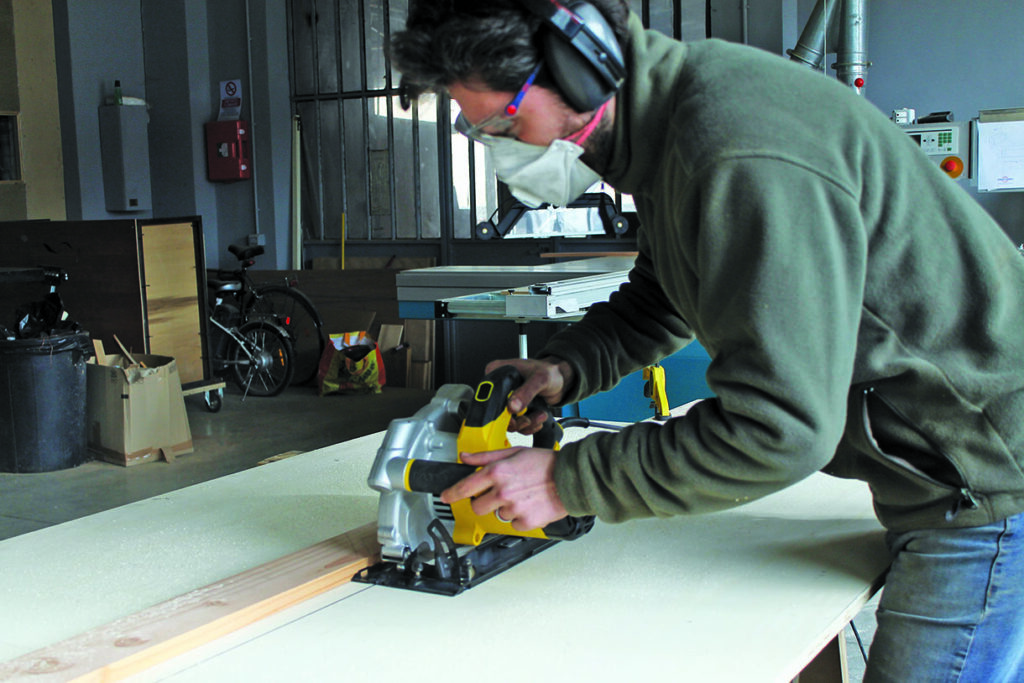
Short sawhorse? No problem
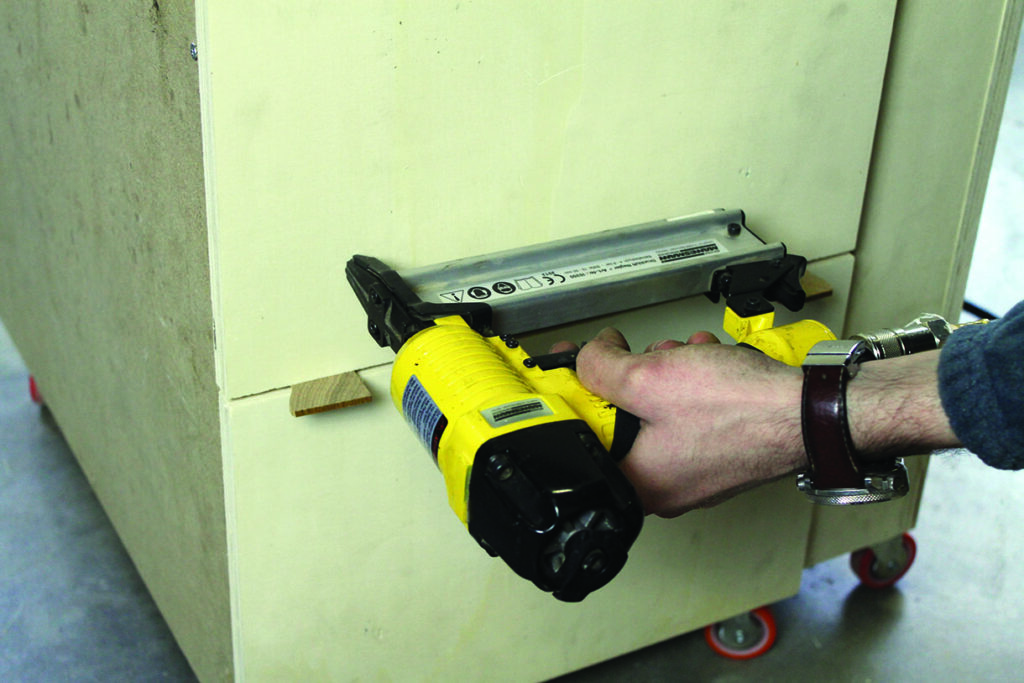
When cutting wide panels it often happens that the sawhorses are too short to hold the piece in place once the cut is completed. A simple yet effective trick consists of stopping the hand-held saw once you’re past the first sawhorse. Lift the panel and place a stick beneath it. This will support the timber once you’ve finished the cut. You can easily hold the other free end of the piece you’re cutting with your hand but if don’t want to take any risks, just add a stick on the other sawhorse before completing the cut.
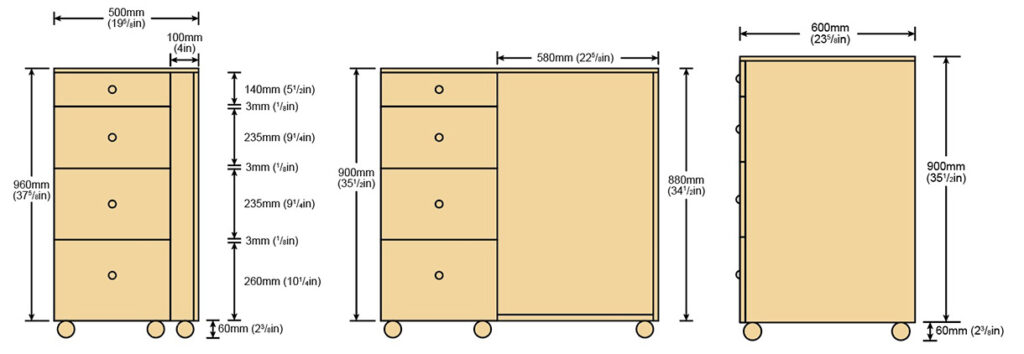
Plans
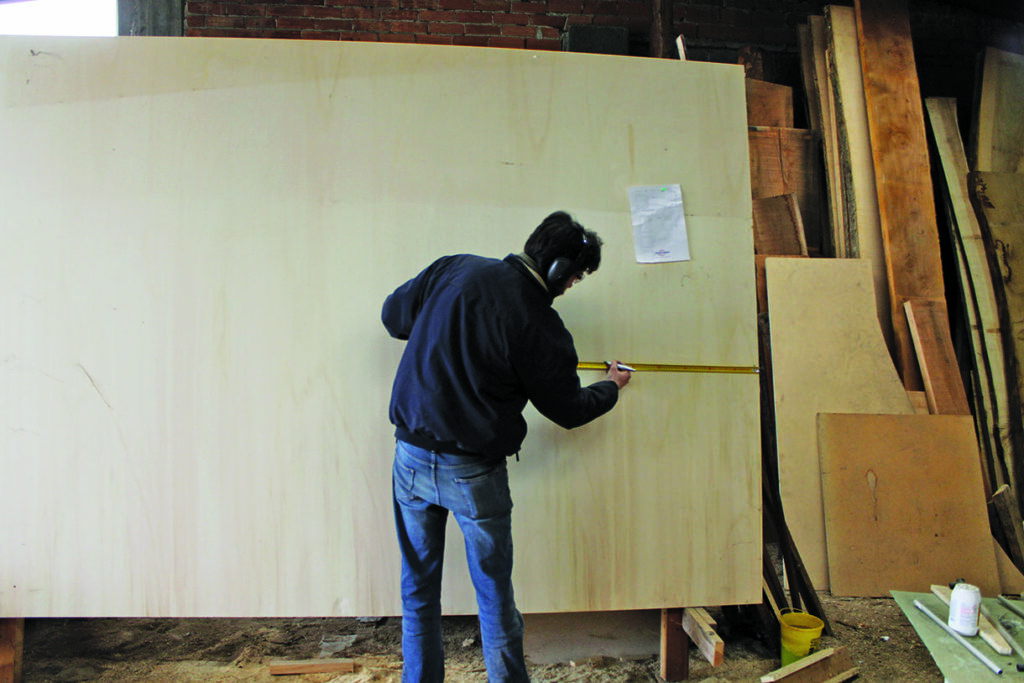
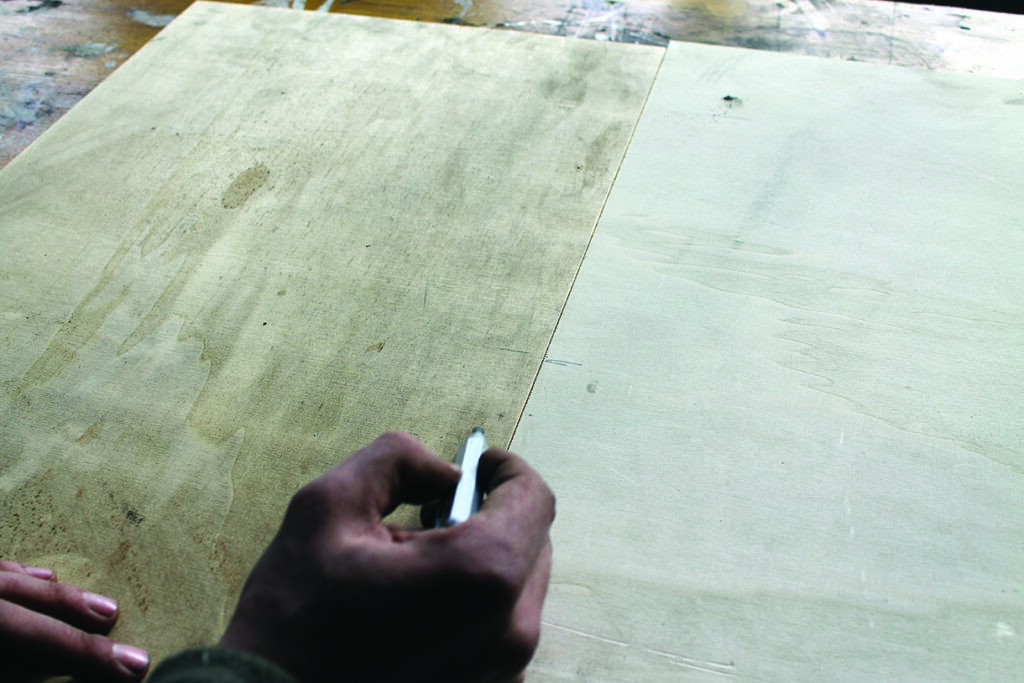


Keep track of everything
In every woodworking project there are a lot of parts involved and everything must end up fitting together. It is easy to forget a piece or mistake a measure, so to prevent stress, write everything down. It doesn’t have to
be a CAD file, a piece of paper is more than enough. There are two golden rules:
no useless details and keep your detailed cutting list in plain sight, so that you can check it at a moment’s notice.
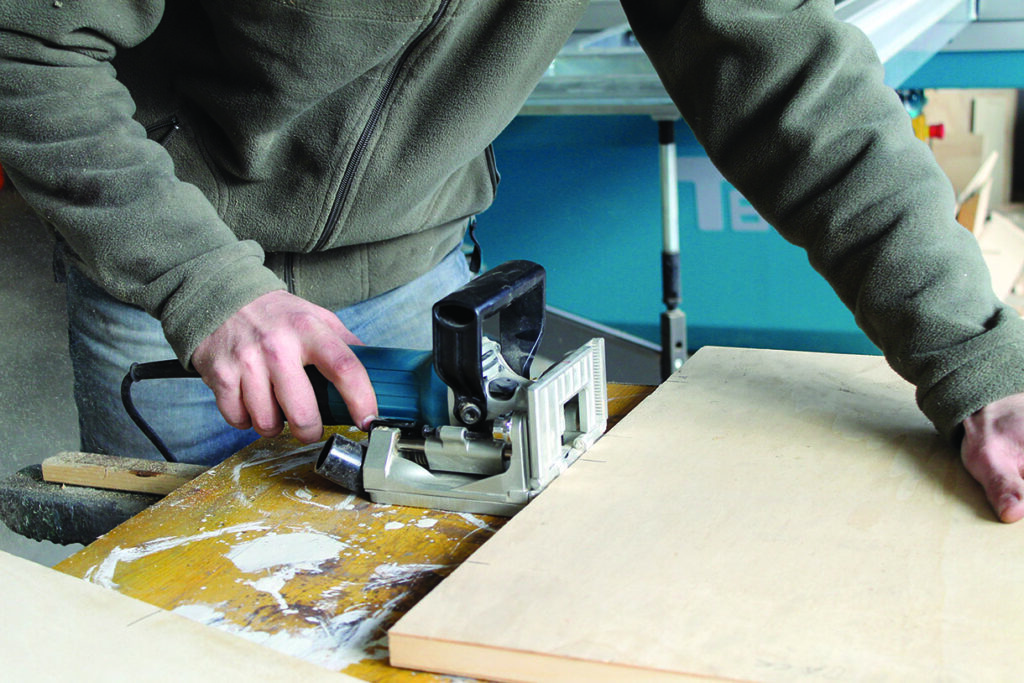
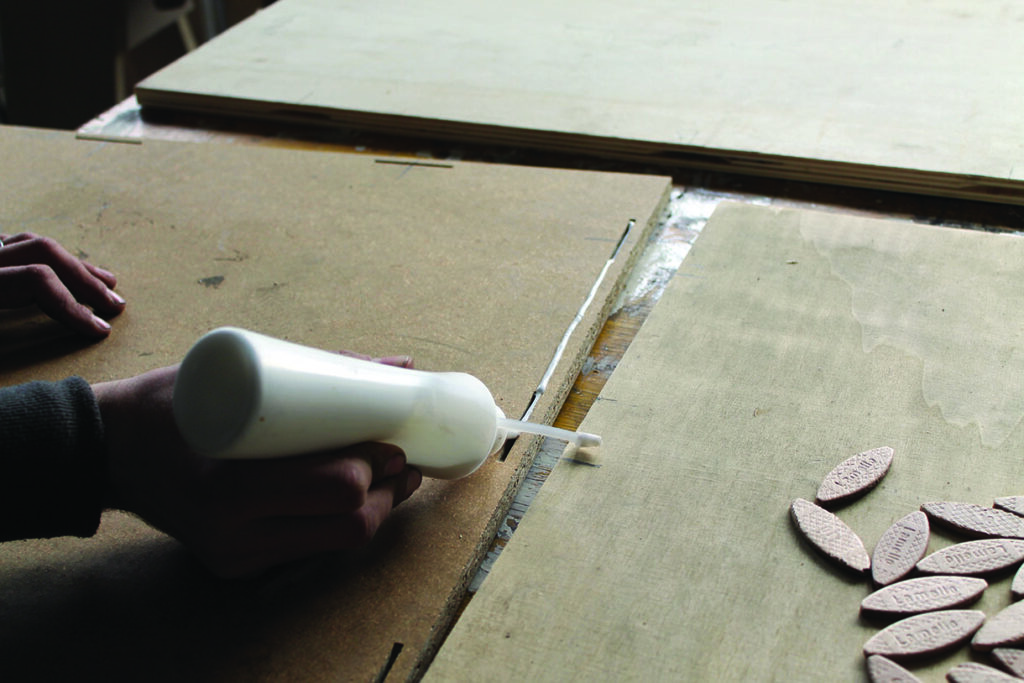
Vertical biscuit joints
Cutting biscuit joints on the face of a panel can be tricky. To make it easier you could use a big piece of wood with two squared sides or build a simple jig using two pieces of plywood screwed together to form a 90° angle. Rest the back of the of the biscuit jointer on it and you’ll have consistent and precise joints.
