Colwin Way makes the kit for this traditional summer game
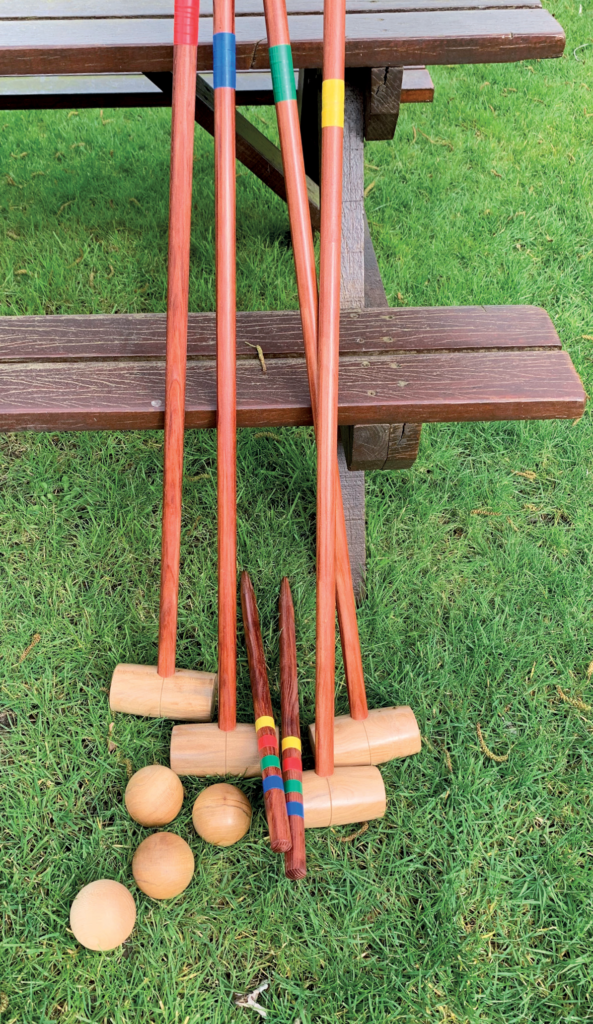
Before we start looking at the project we’re about to embark on, I’m going to hold up my hands and admit that I’m no authority on the rules or history behind the game of croquet. What I do know is that it’s great fun on a lazy sunny afternoon to be enjoyed with the family while the barbecue is cooking. Let’s look at the rules briefly first though, this will give us an idea of the parts required. We are going to make a full set for four players so this means four mallets, four balls, six hoops and two scoring pegs. Each player has one mallet and one ball. Alternatively, you can have two players with two balls as you make your way through six sequenced hoops and finally to the scoring stick. That’s a lot of kit to make! This is a great little project and much easier than it first looks.
Things you will need
Tools
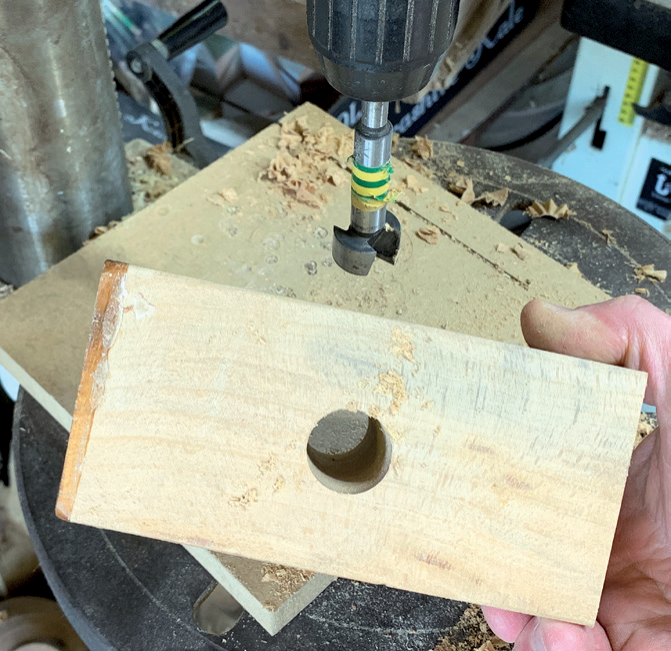
- 24mm Forstner bit
- Sanding disc
- Pull saw
- Fluchcut pull saw
- Hammer
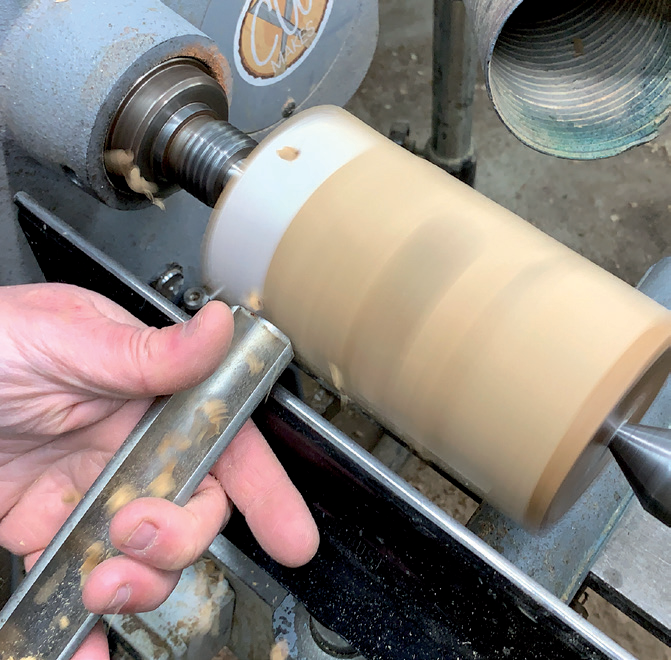
- 19mm roughing gourge
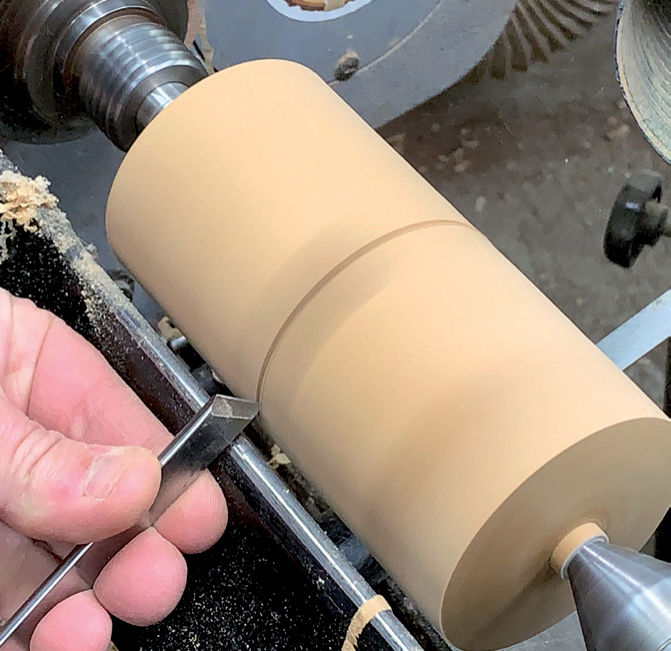
- 3mm & 6mm parting tool
- 25mm skew
- 25mm gouge
- 6mm bowl gouge
- Abrasives (100, 150, 240, 400 grit)
Materials
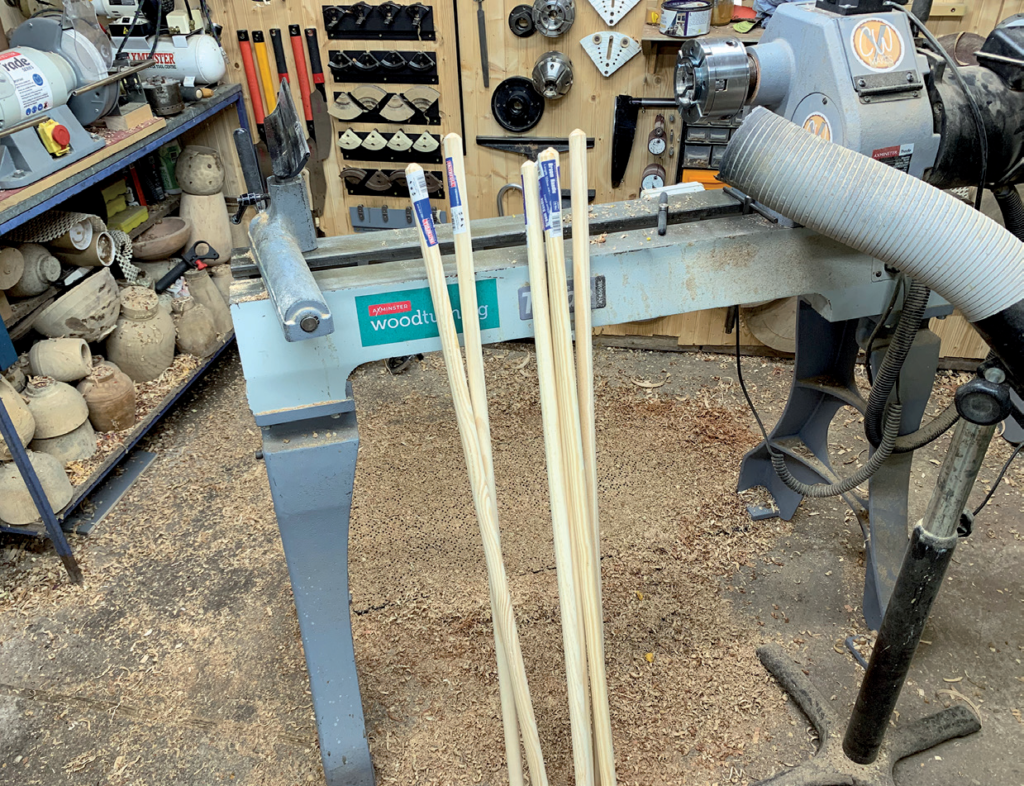
- 6 x 24mm diameter broom handles
- Card for template making
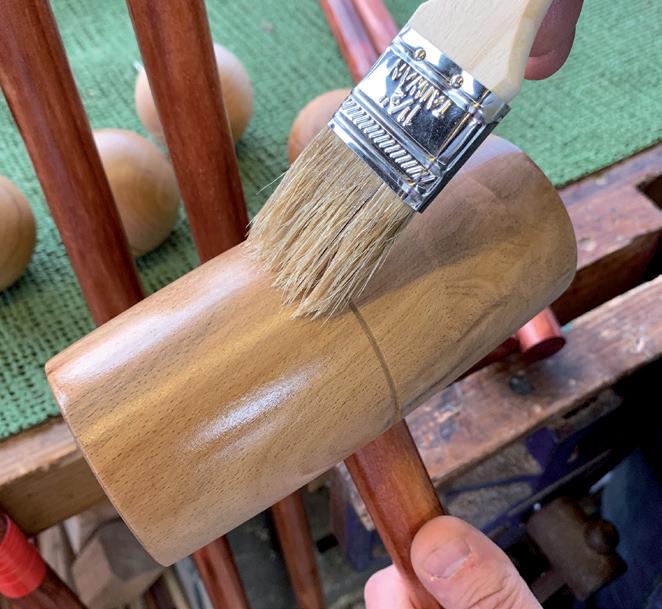
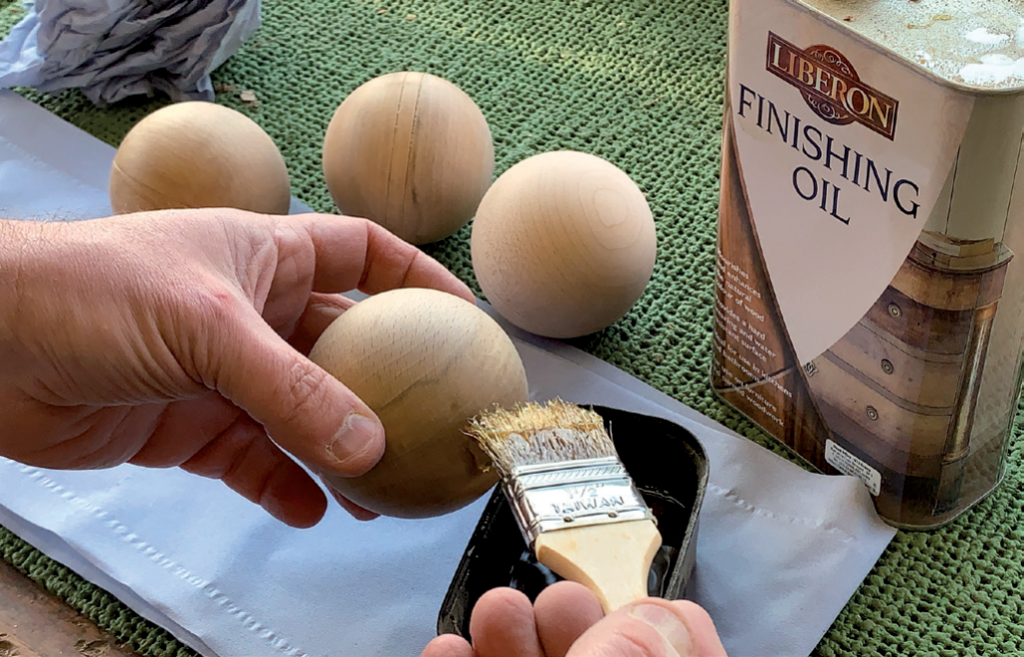
- Finishing oil
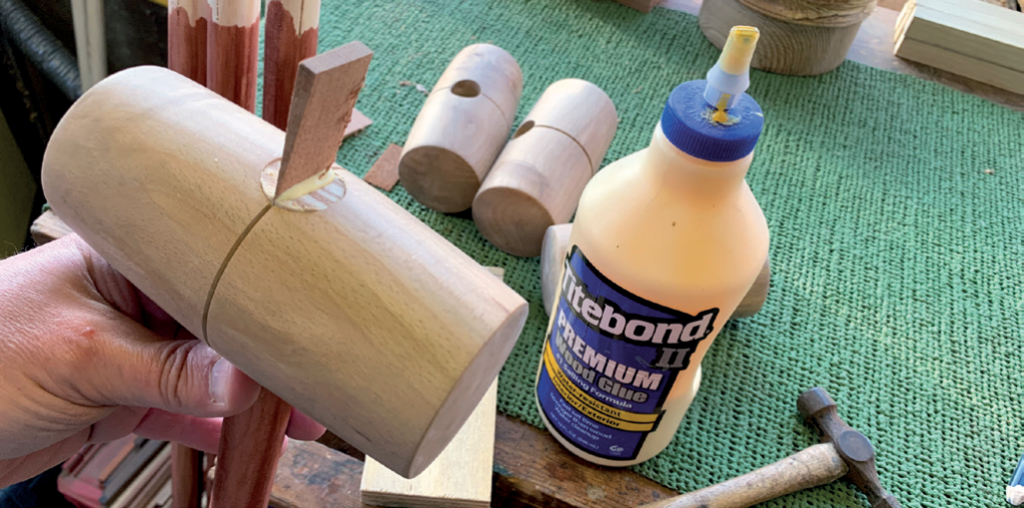
- Wood glue
- Wood stain
- Brush for stain
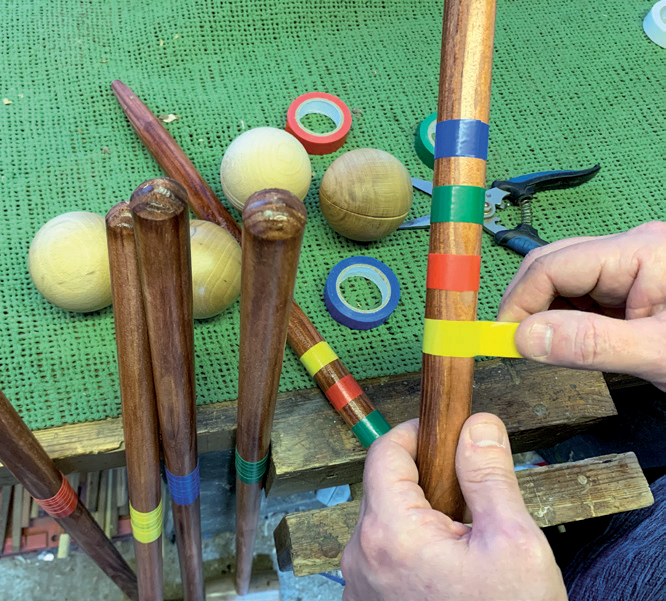
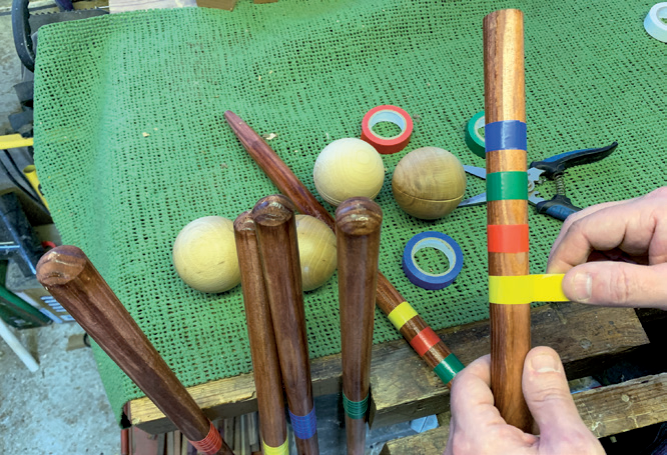
- Coloured tape (red, blue, yellow and green)
- Exterior varnish
- Small piece of router matting
- 4 x 300mm beech blanks
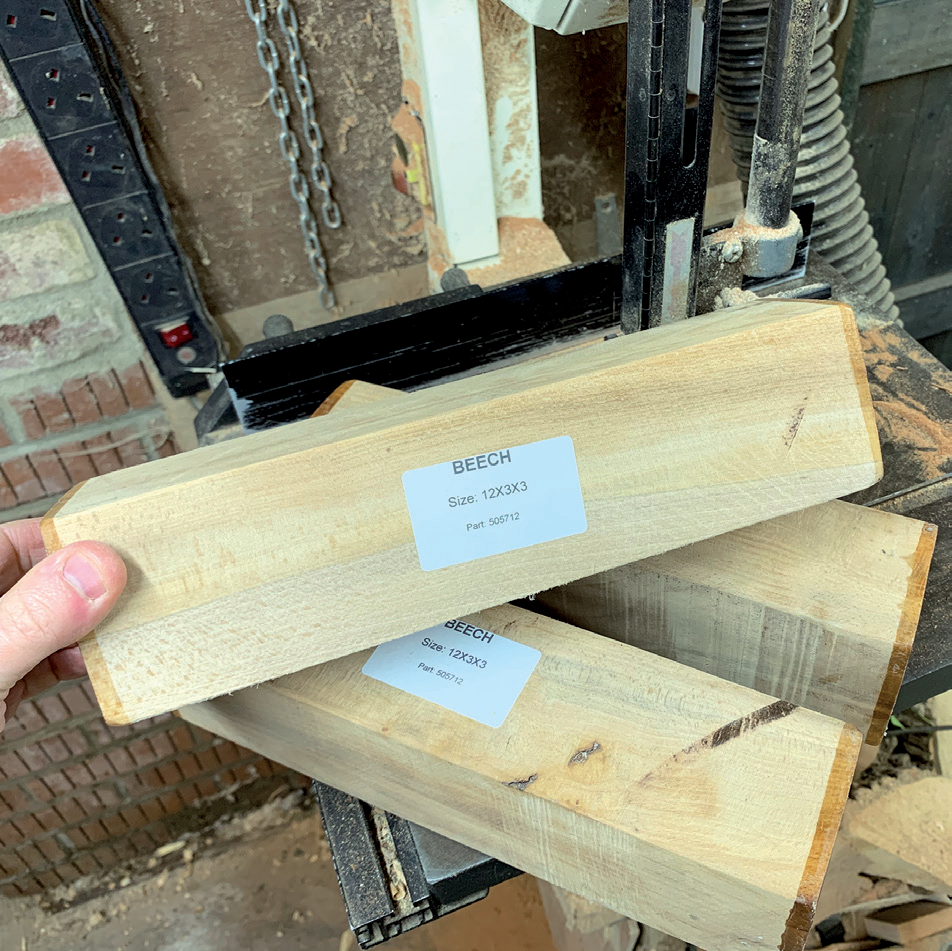
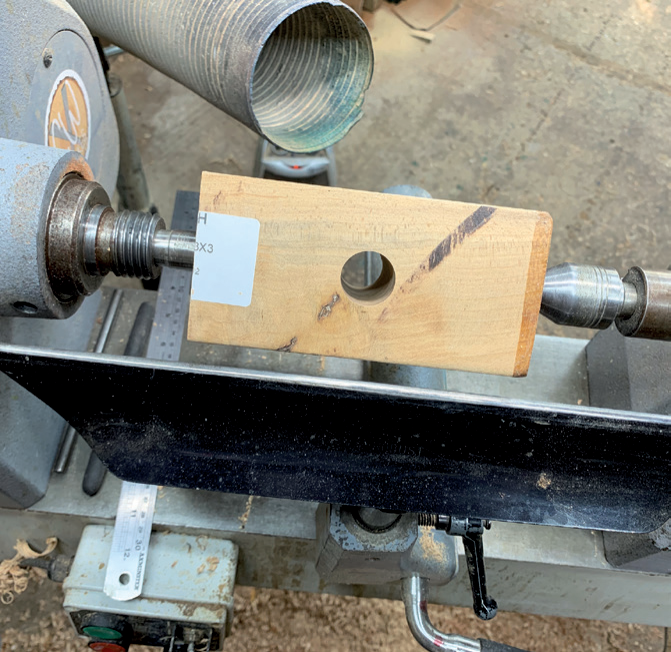
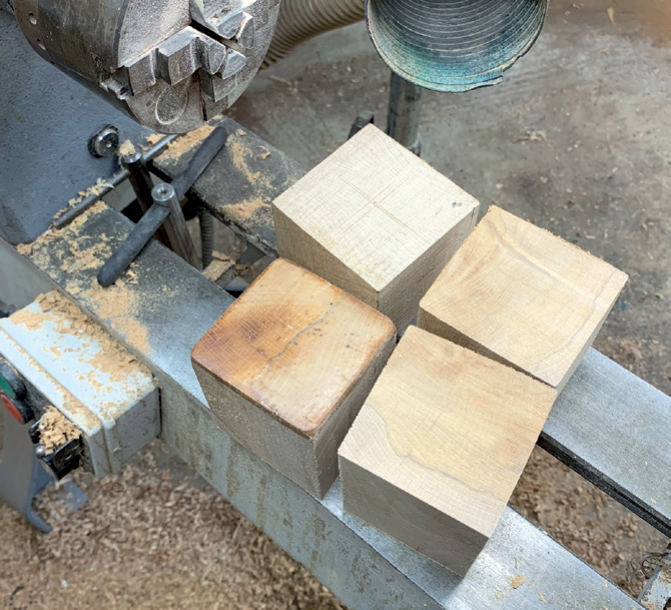
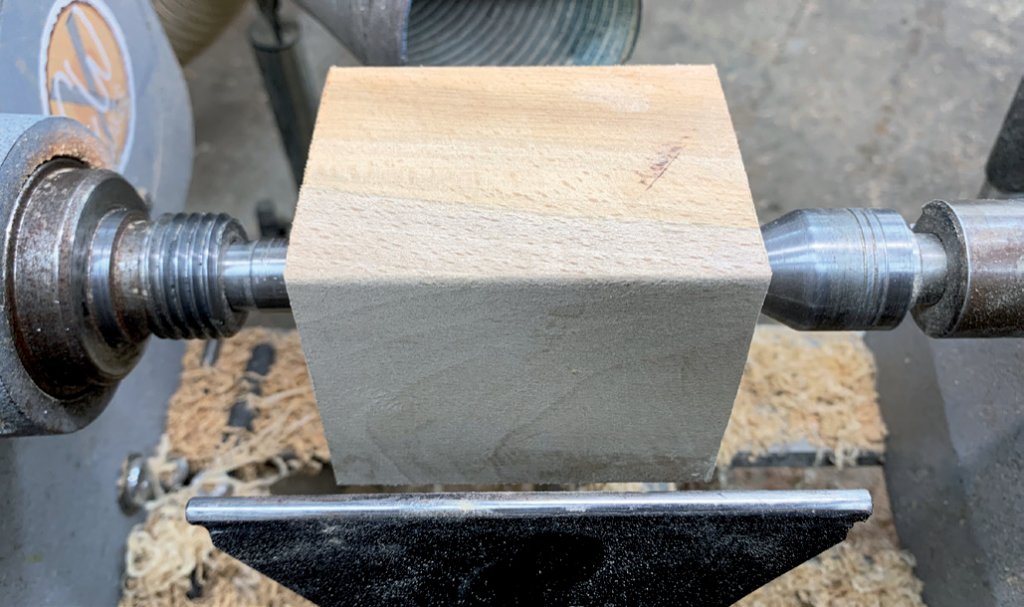
- 4 pieces of 75 x 75 x 85mm beech
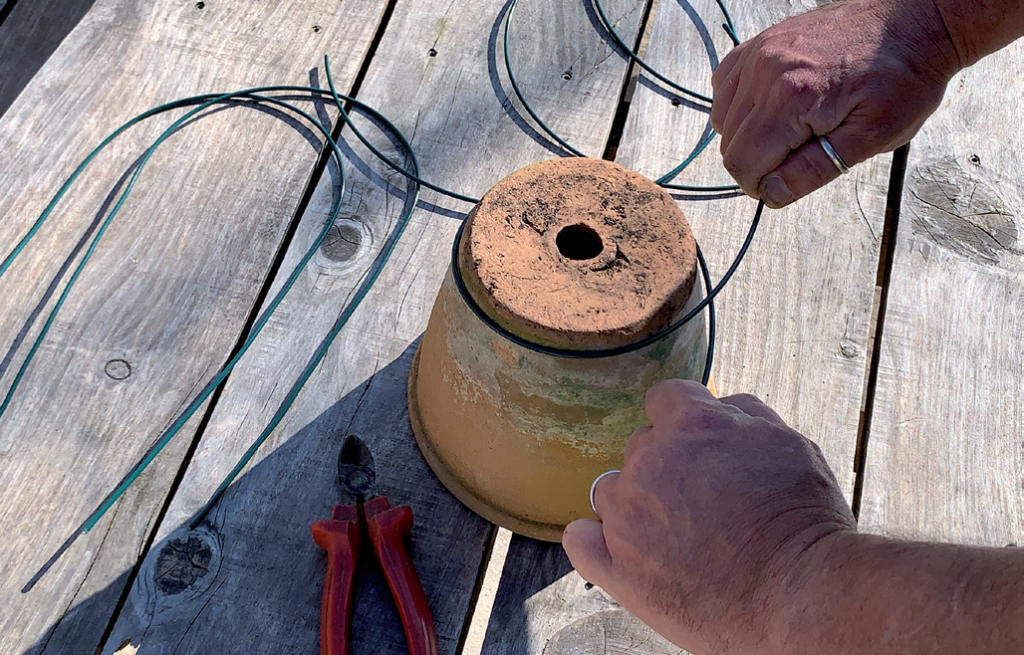
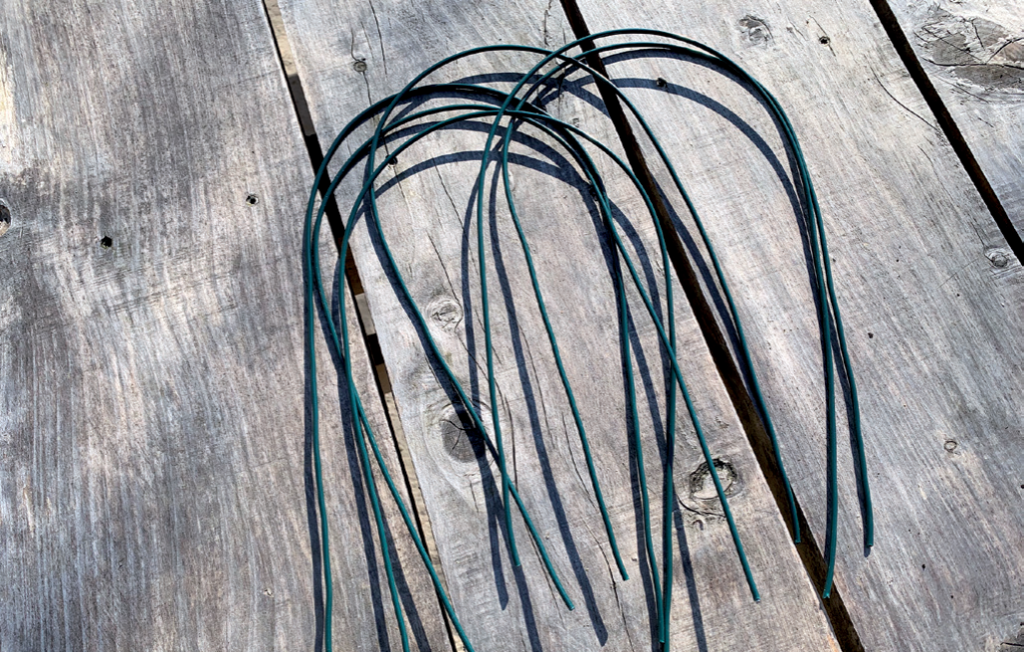
- Thick gauge garden wire
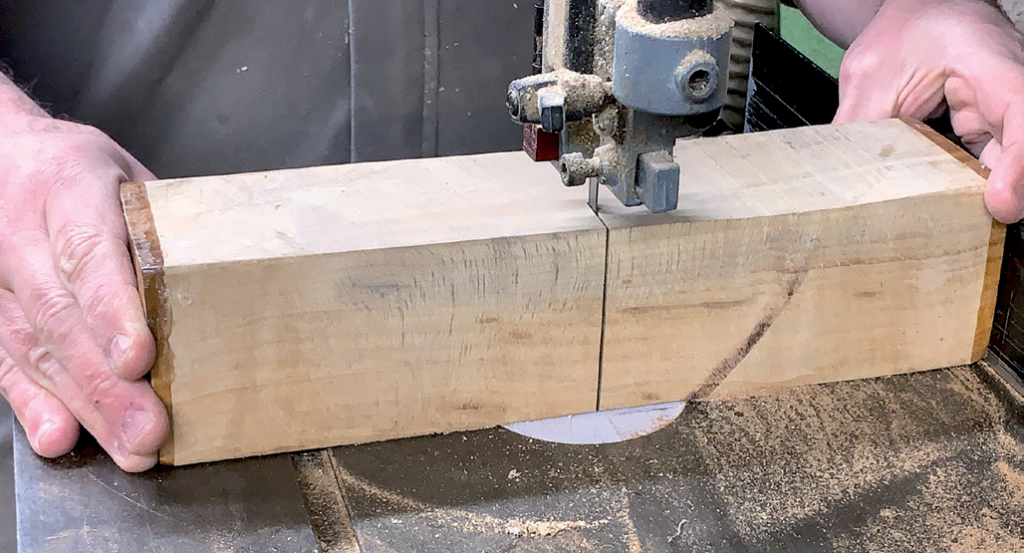
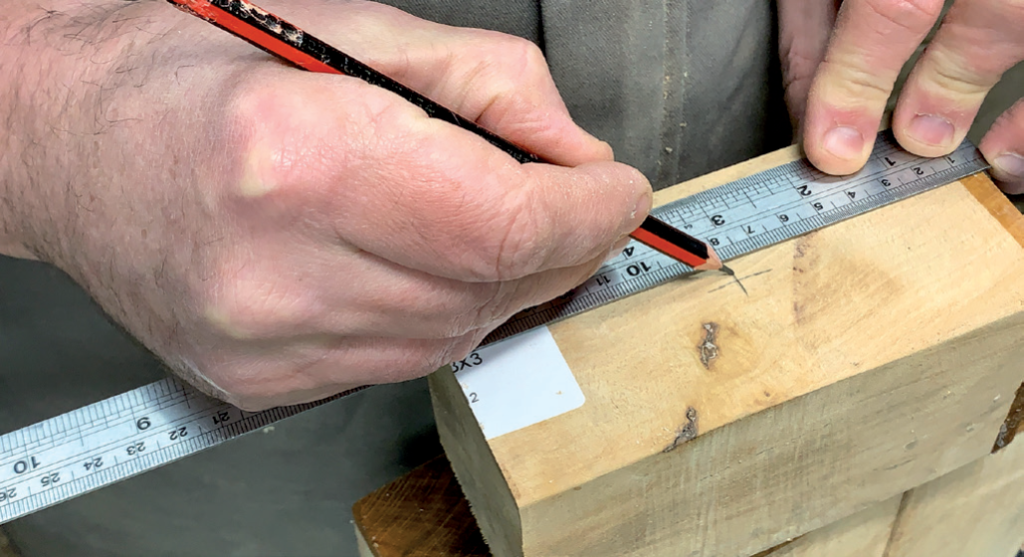
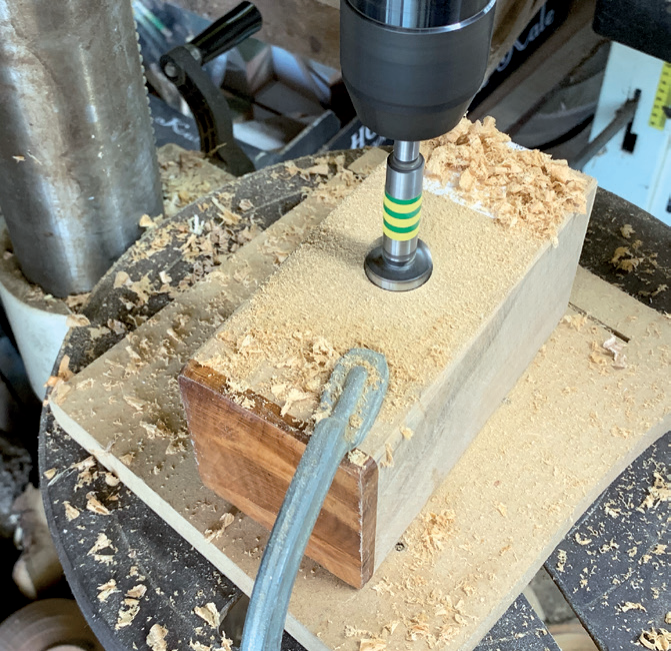
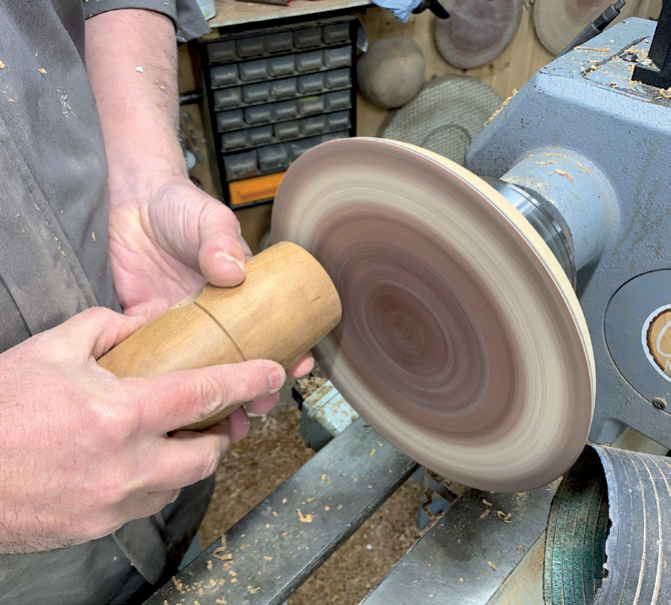
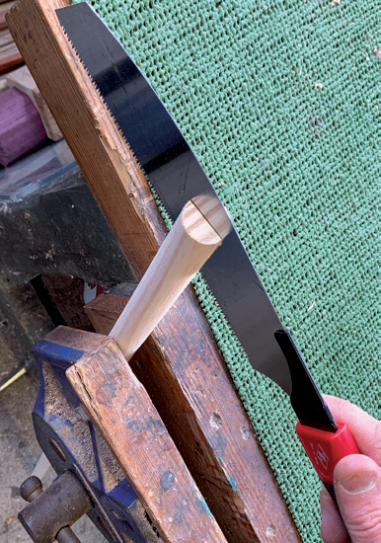
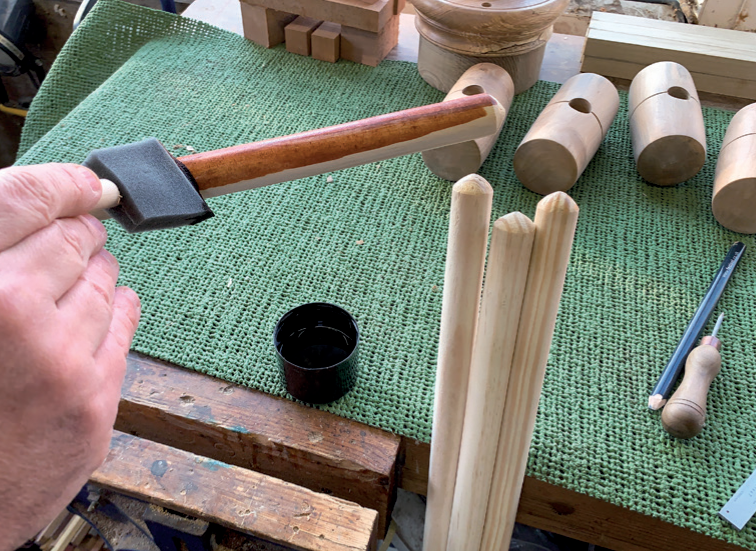
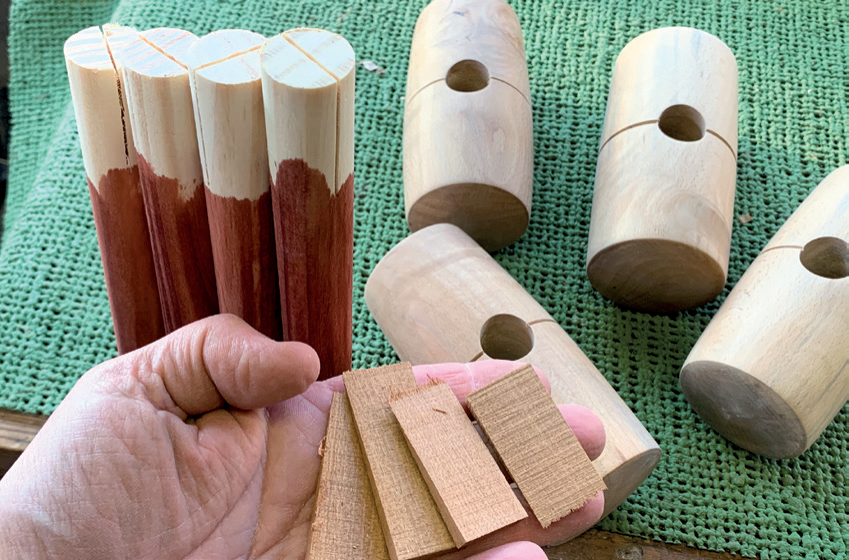
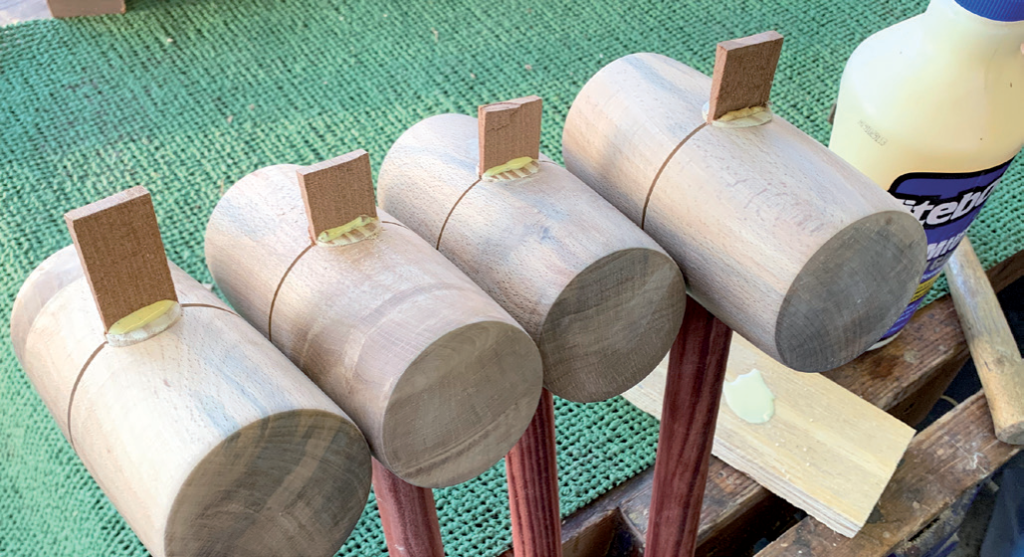
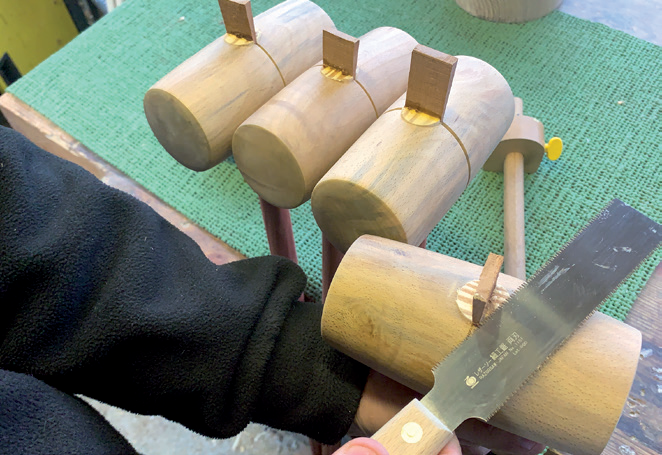
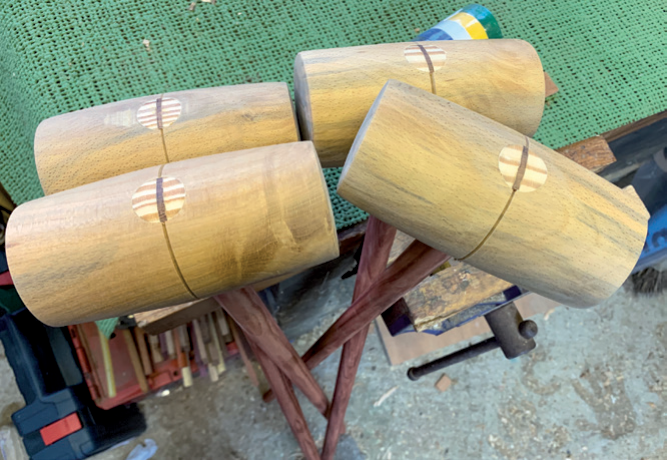
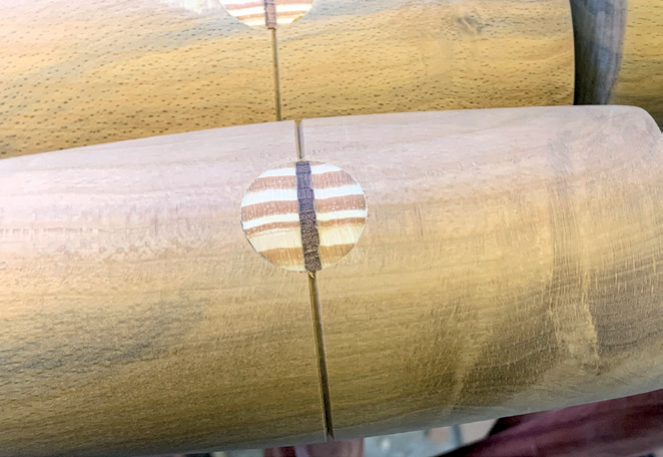
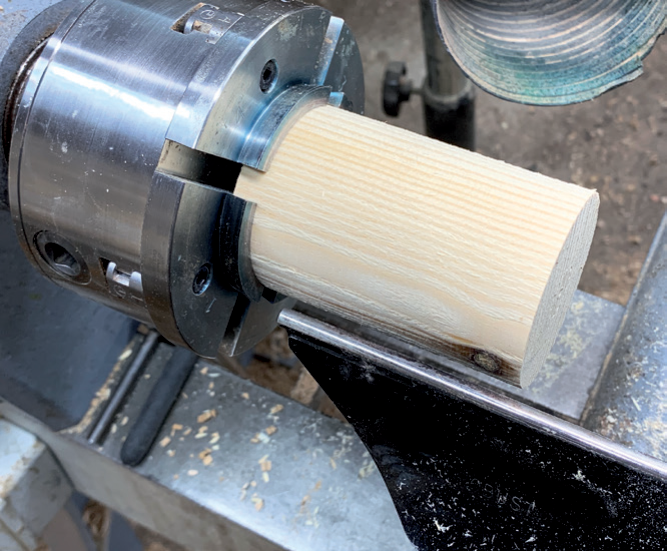
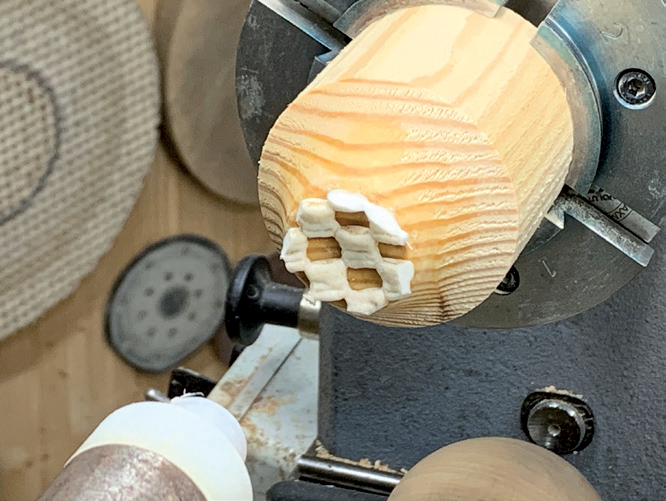
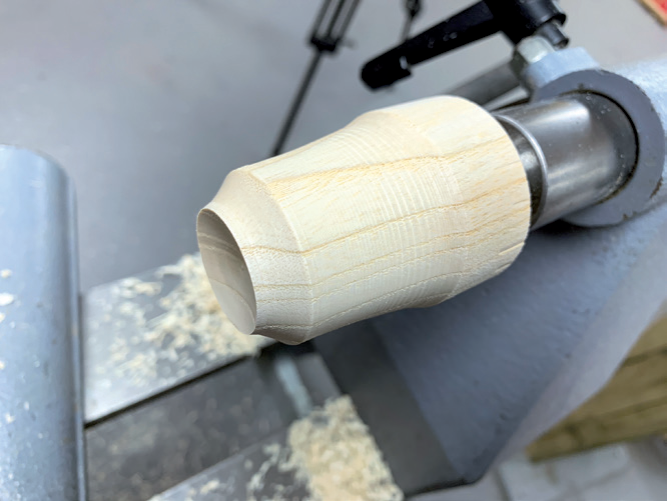
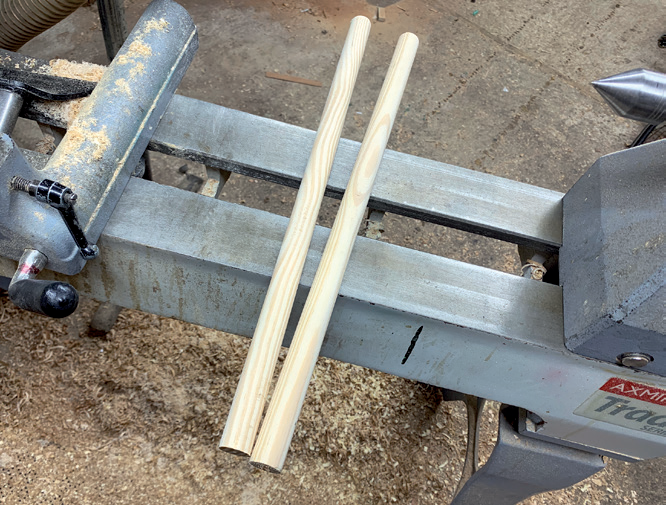
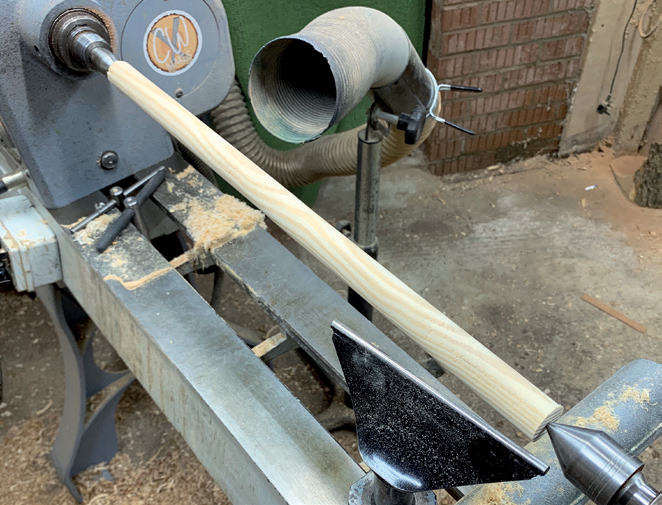
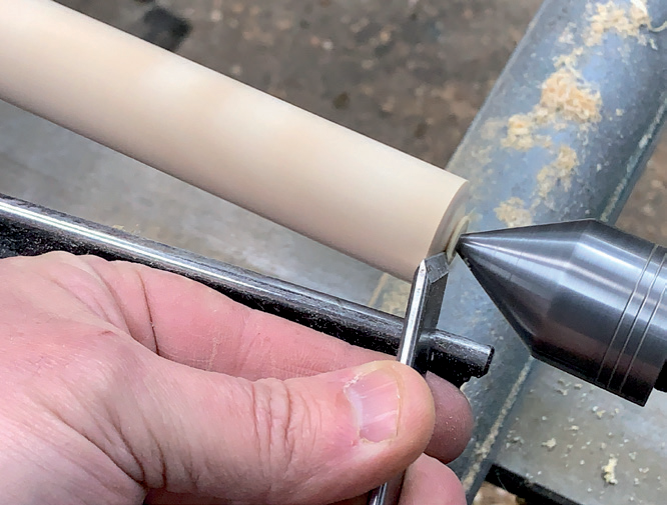
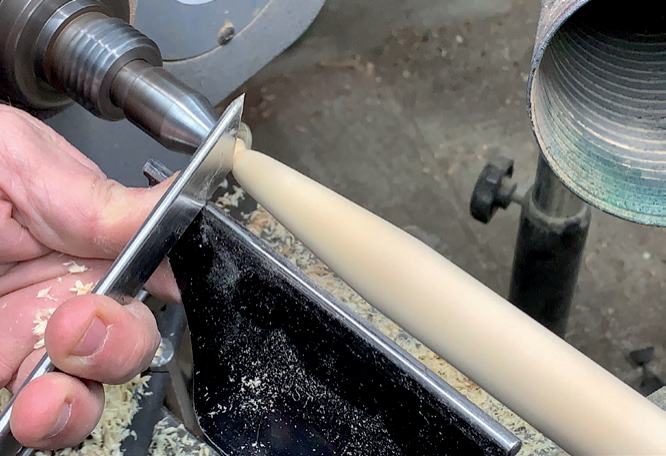
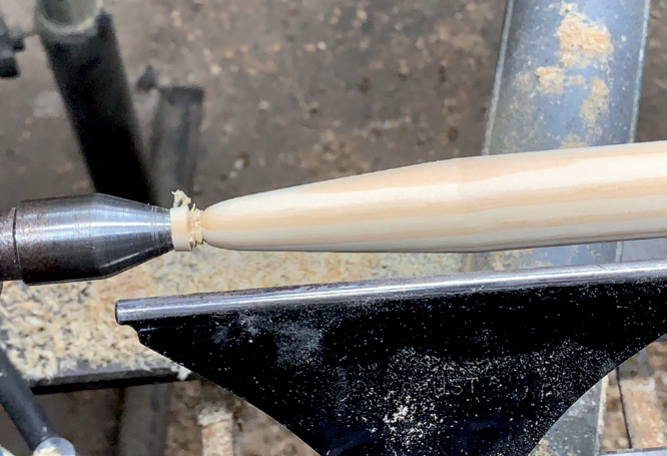
Making the mallets
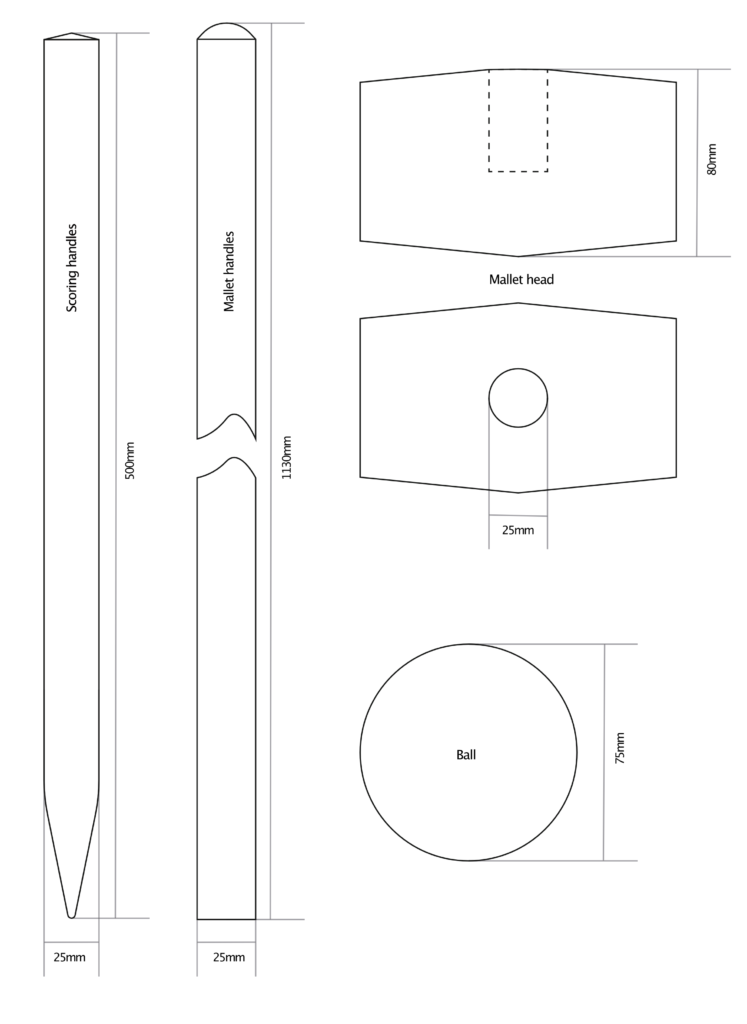
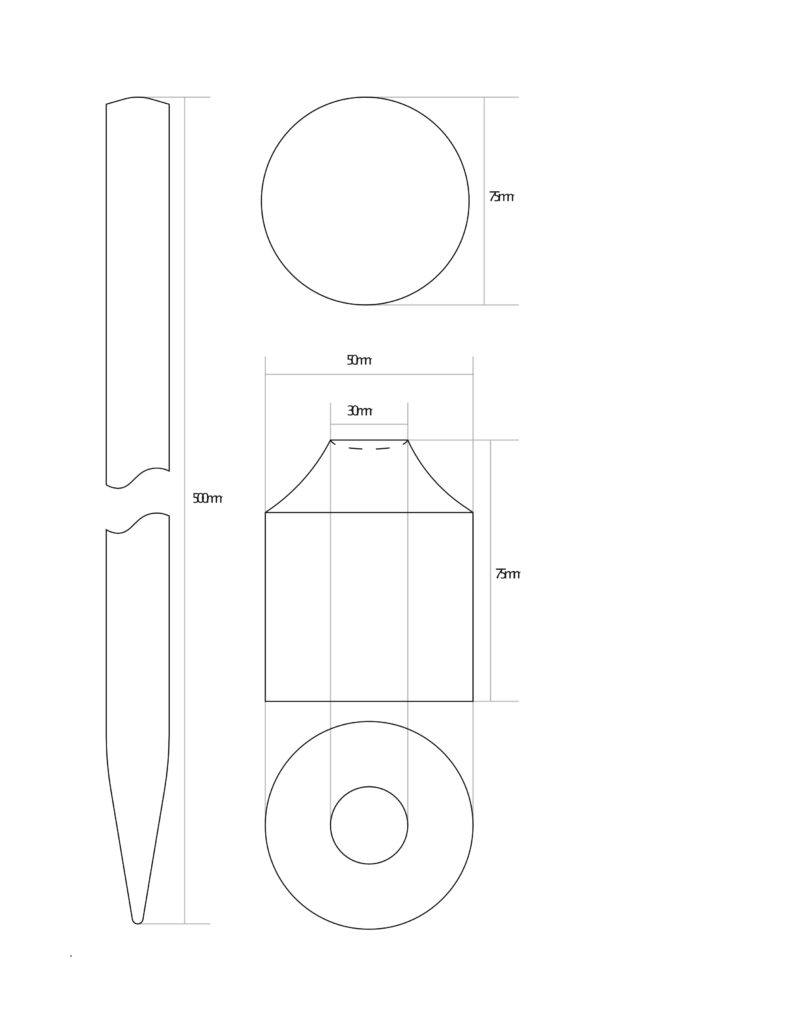
Croquet set plans
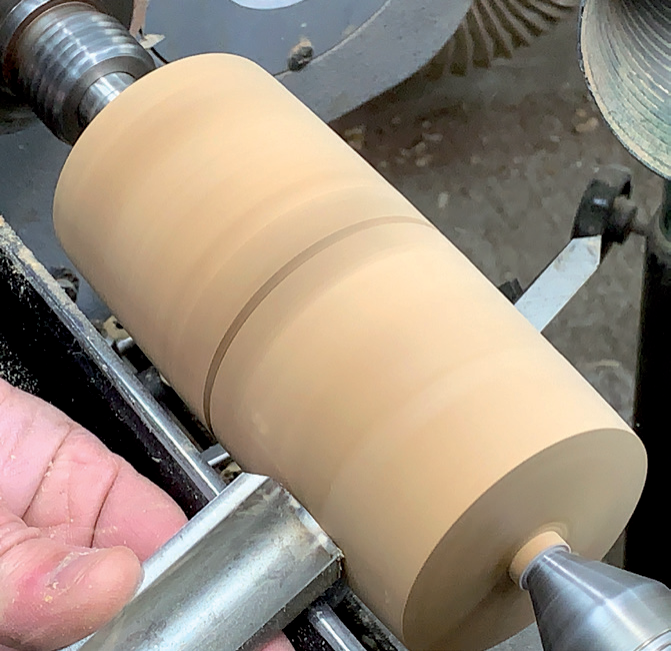
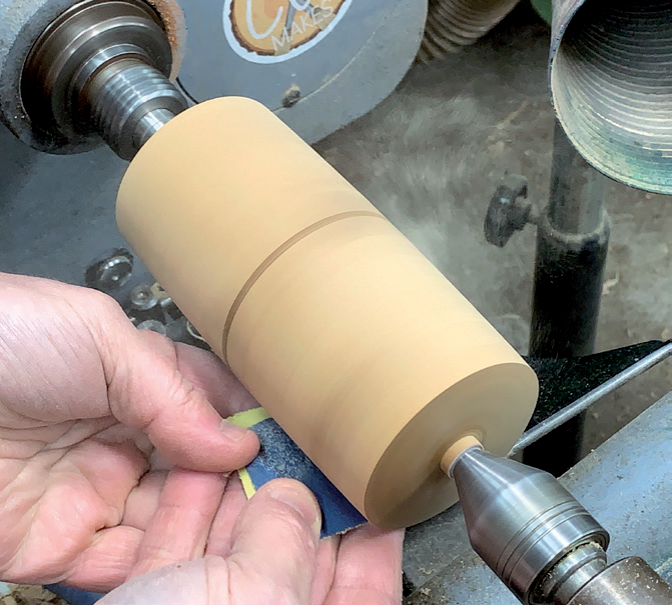
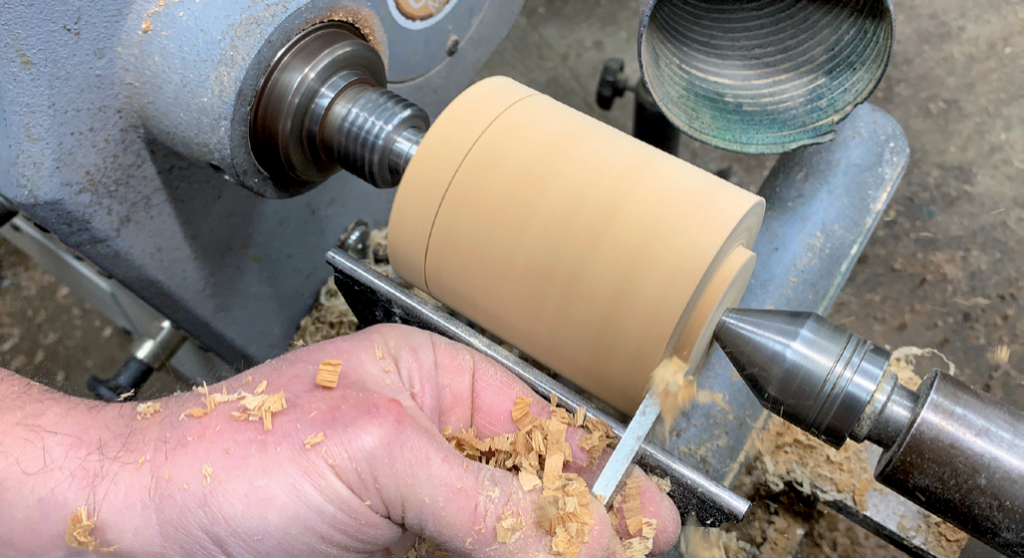
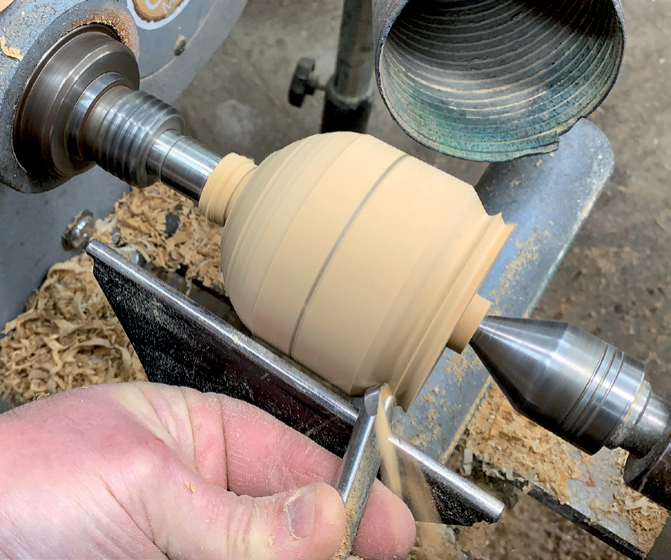
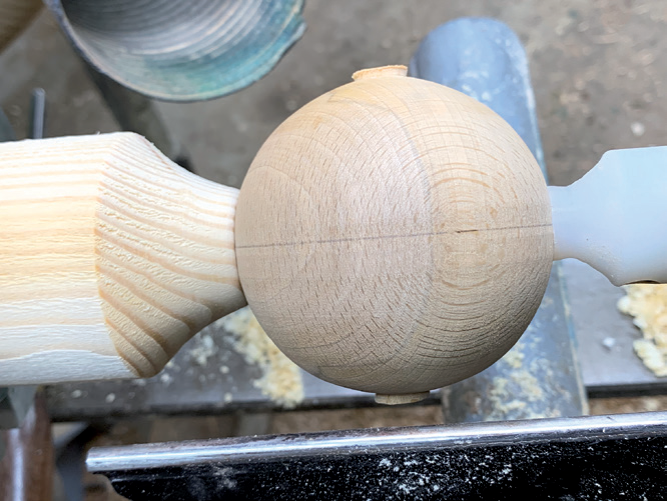
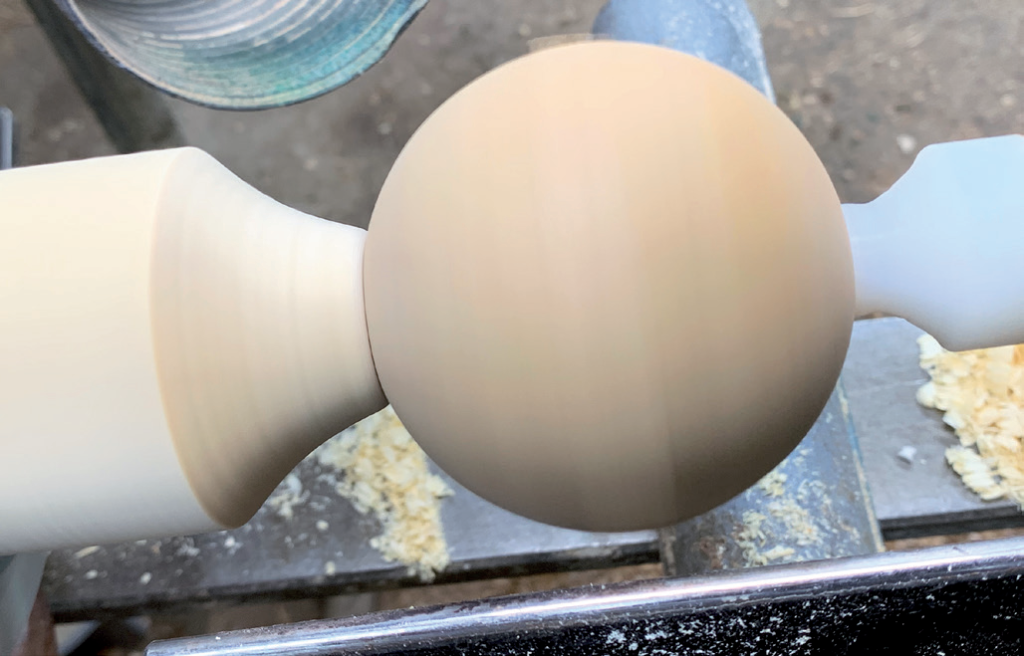
Making the balls

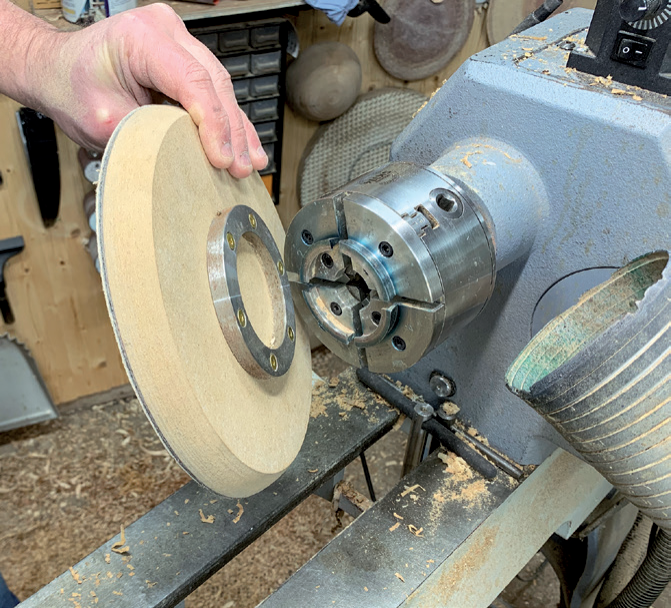
Making the hoops
Further reading
PHOTOGRAPHS BY COLWIN WAY