
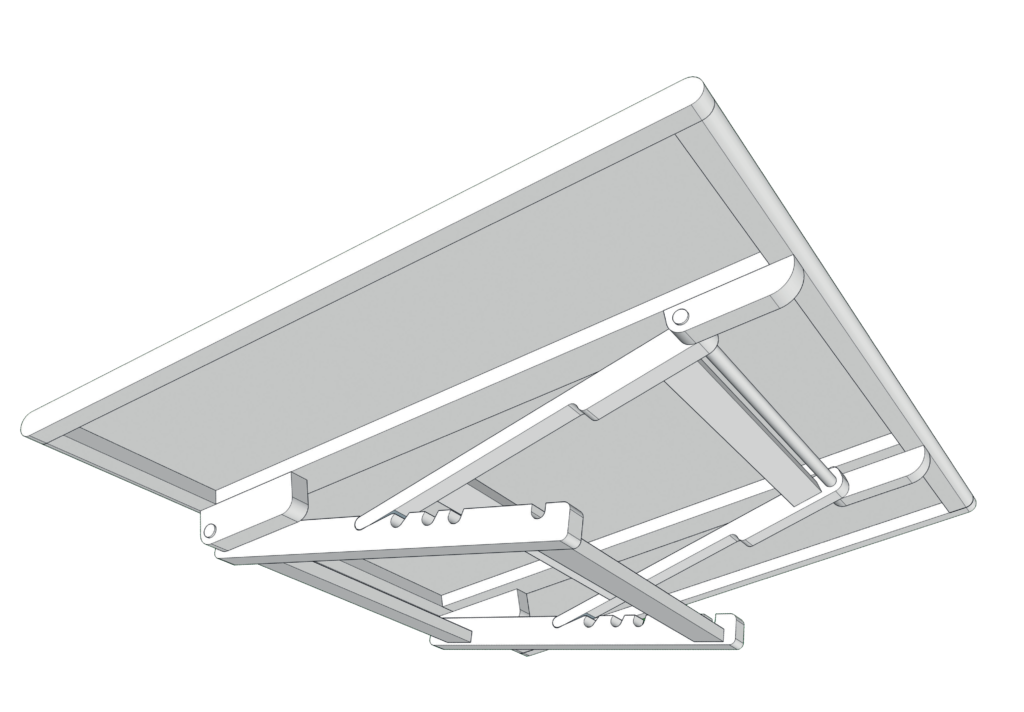
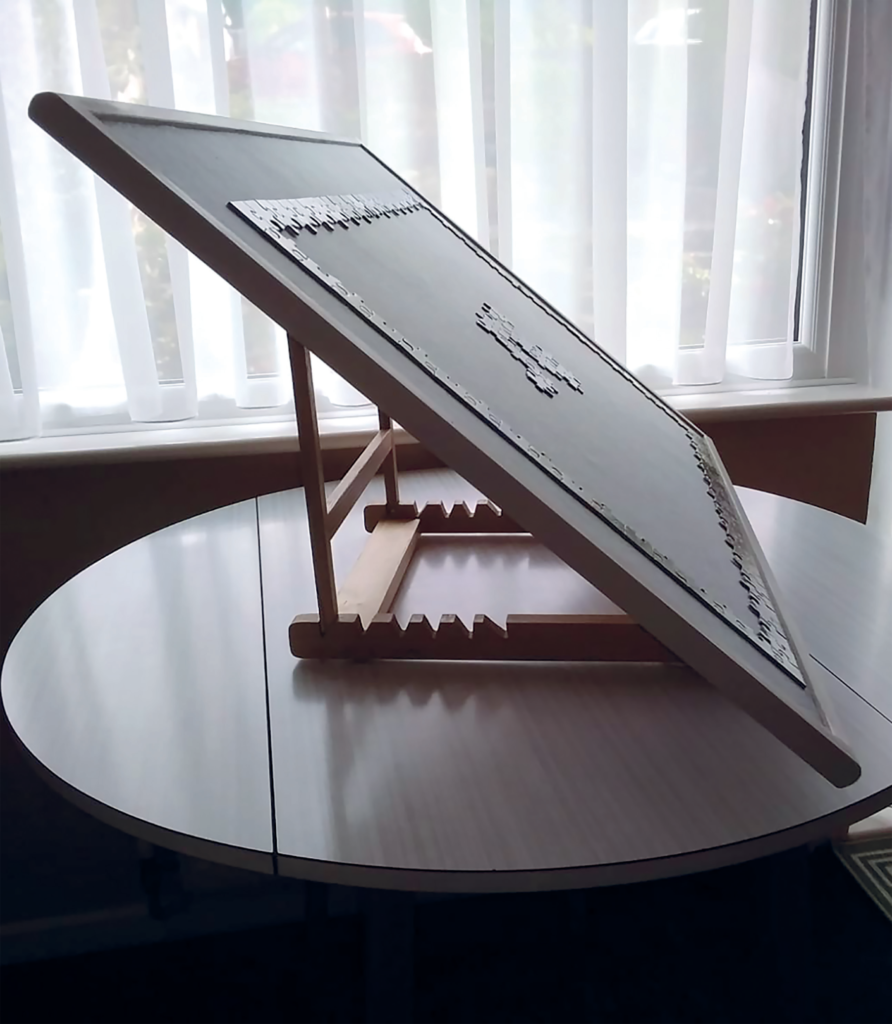
I never realised that stands for jigsaw puzzles were a thing until I was asked by a friend to make one. Angling the surface apparently makes the experience much easier on the dissectologist.
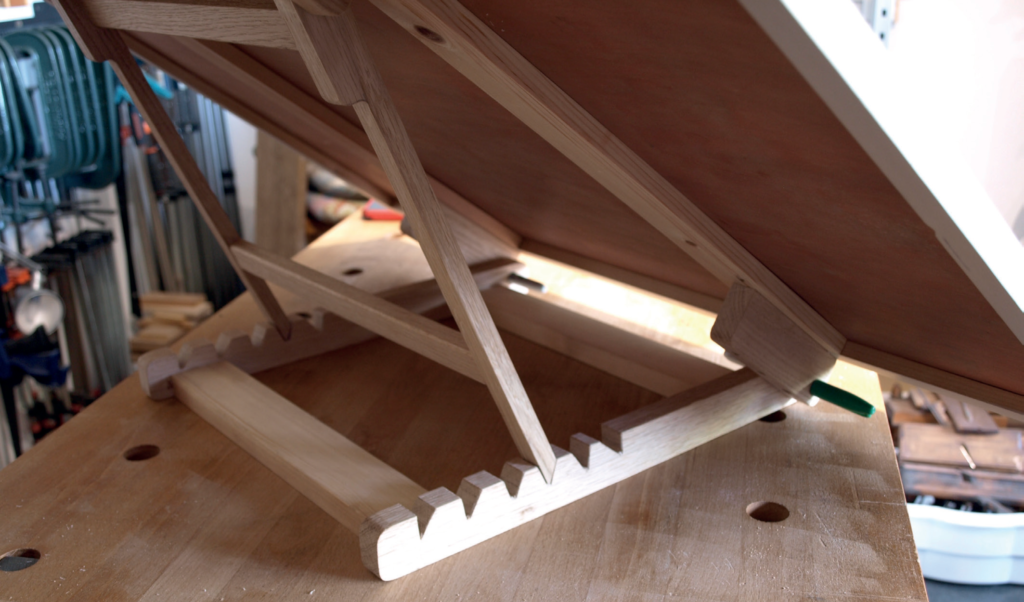
My friend’s requirements were pretty specific, in that the surface area had to be a certain size, covered in something that would stop pieces sliding under gravity, and bounded by a frame to avoid catching the edges when leaning over it. Total control of the tilt wasn’t required, although a good selection of stops between horizontal and 45° were desired. Finally, the stand was to be used on a moderately sized circular table most of the time, and so the base had to be somewhat smaller than the surface.
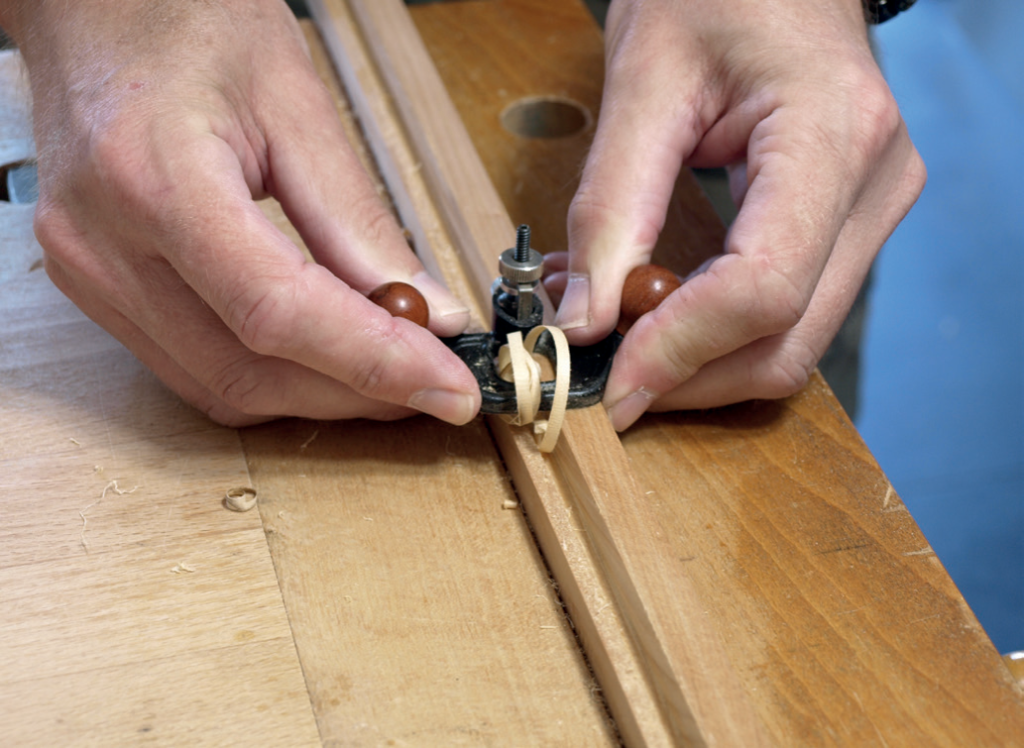
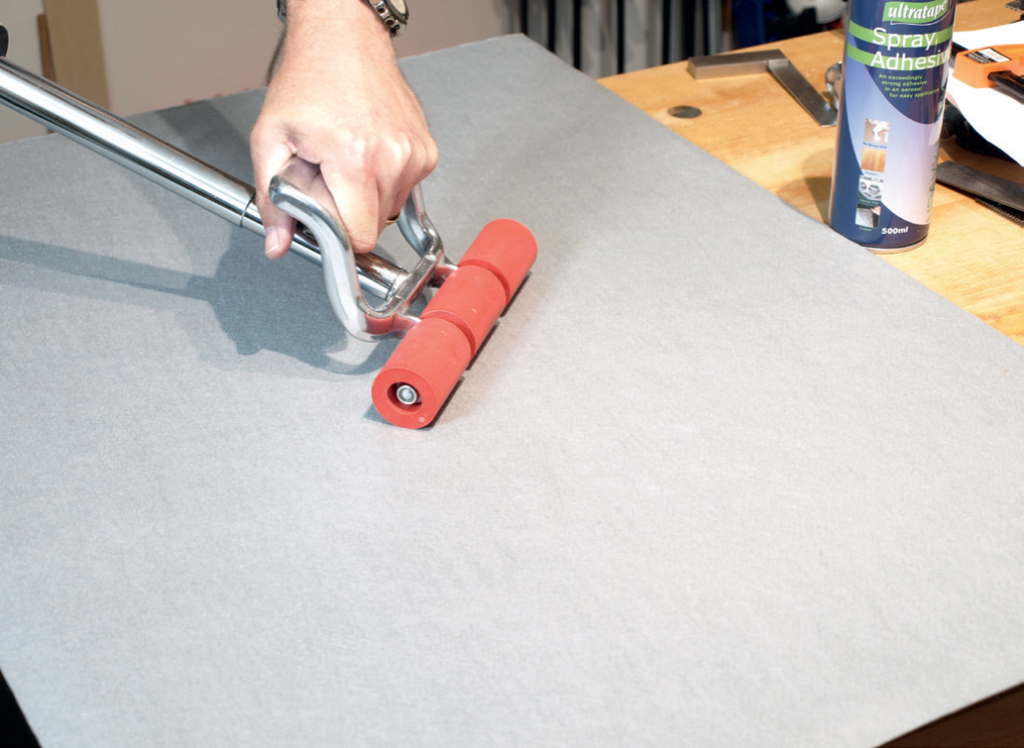
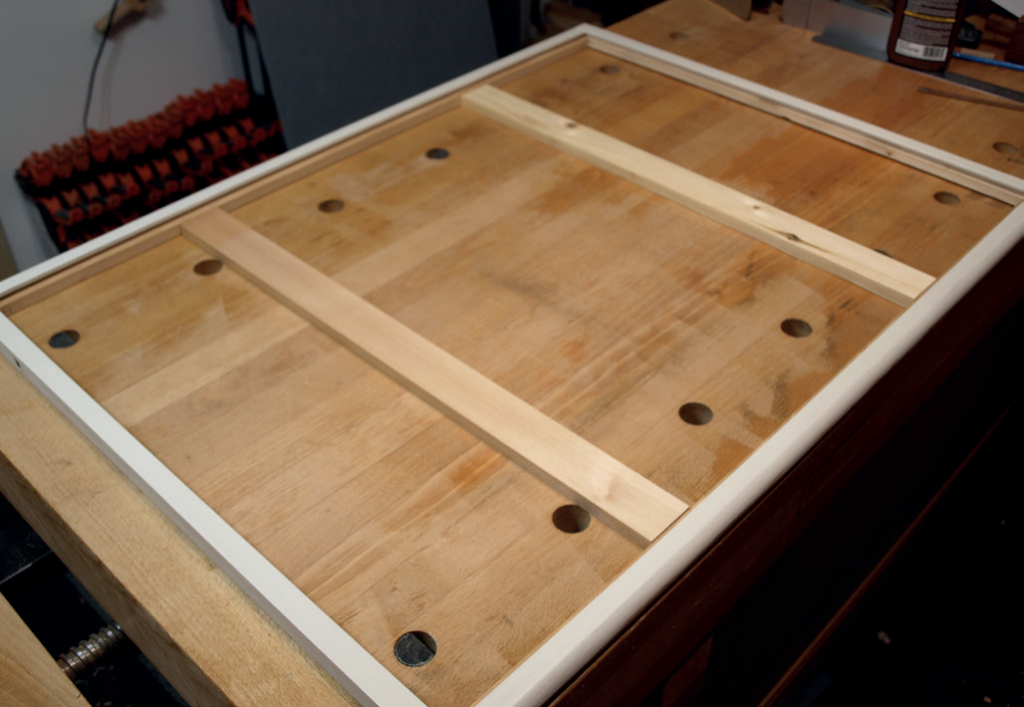
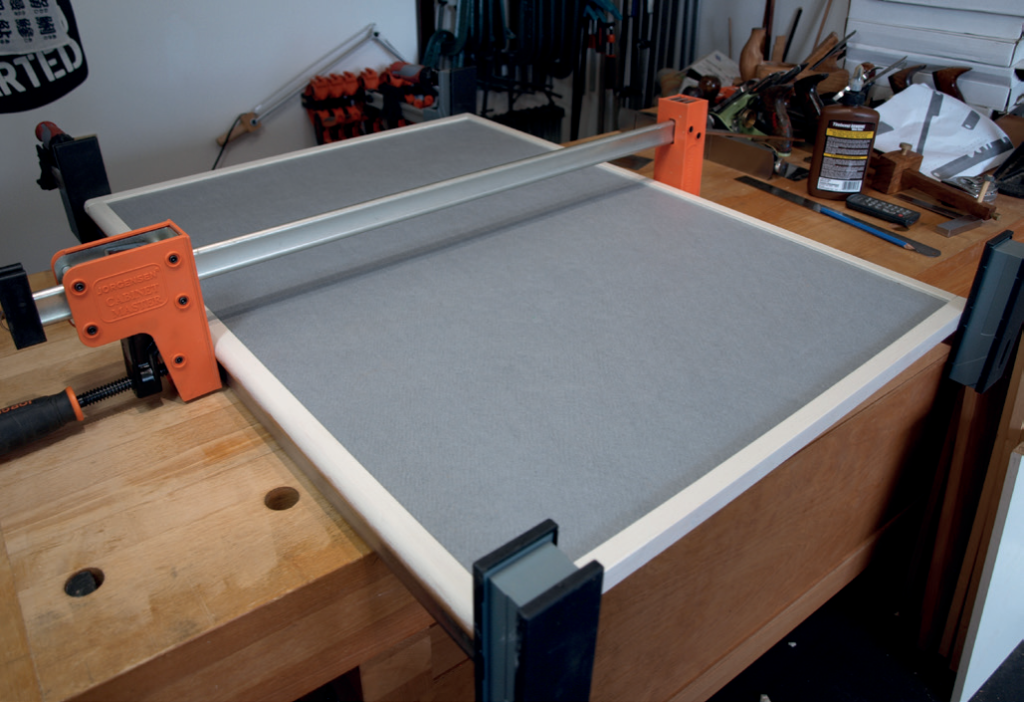
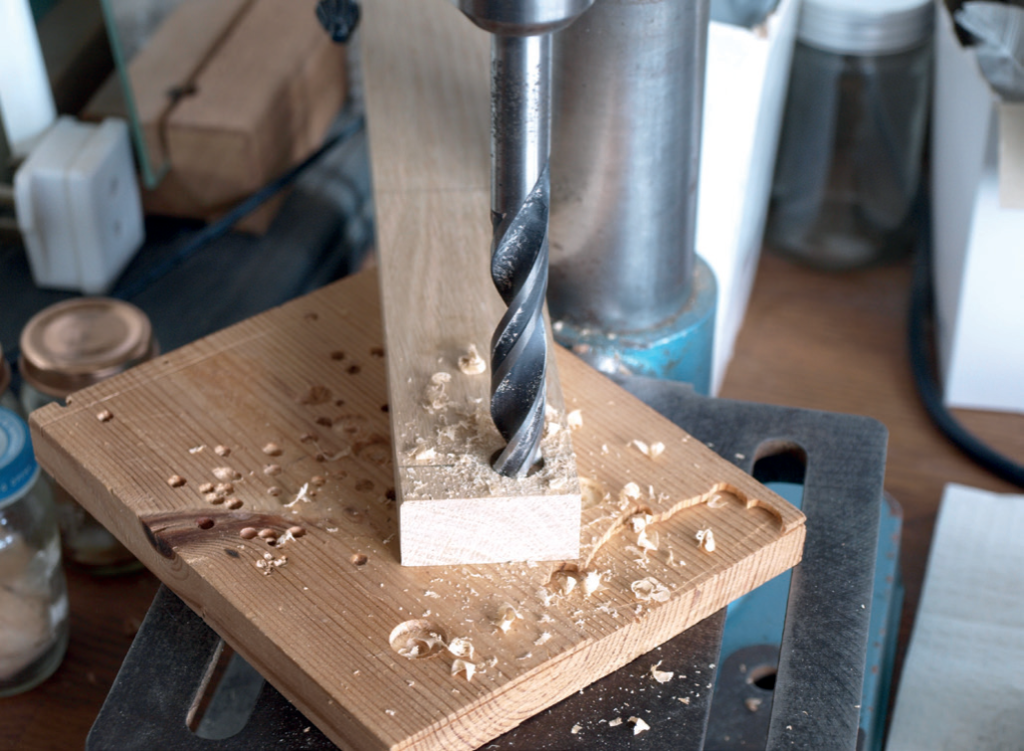
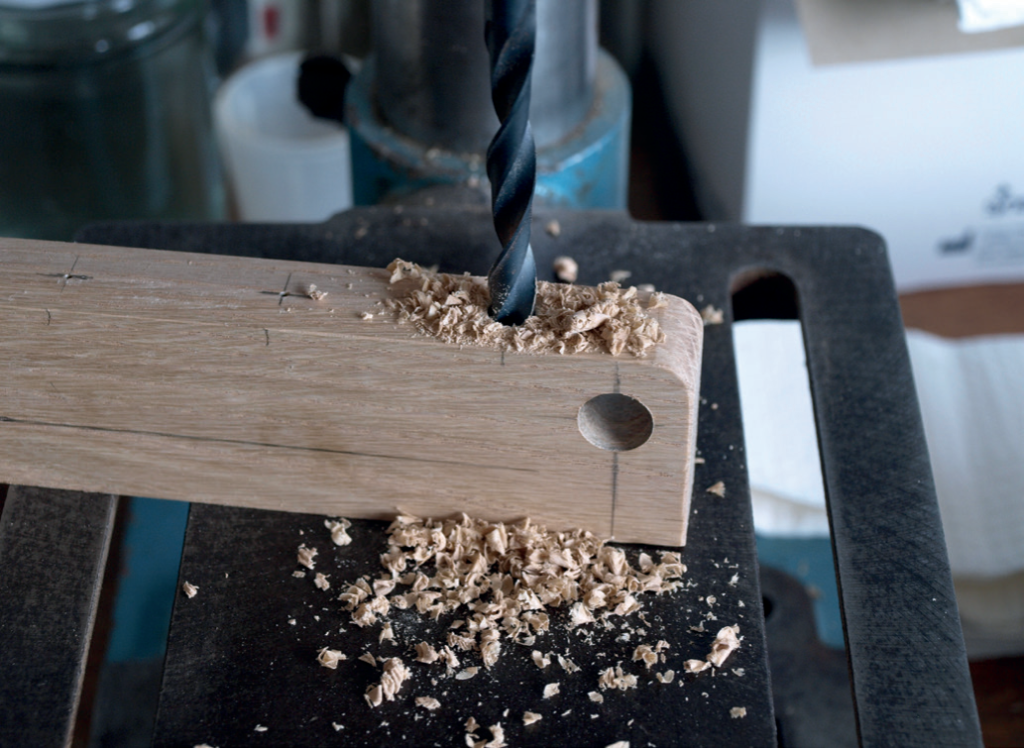
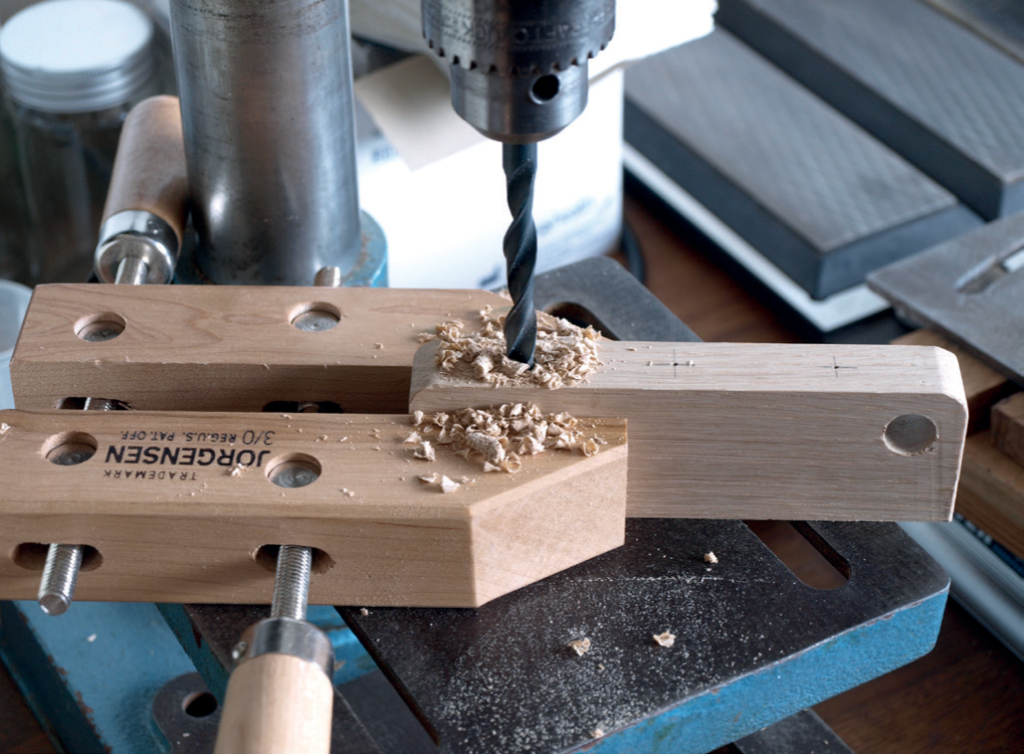
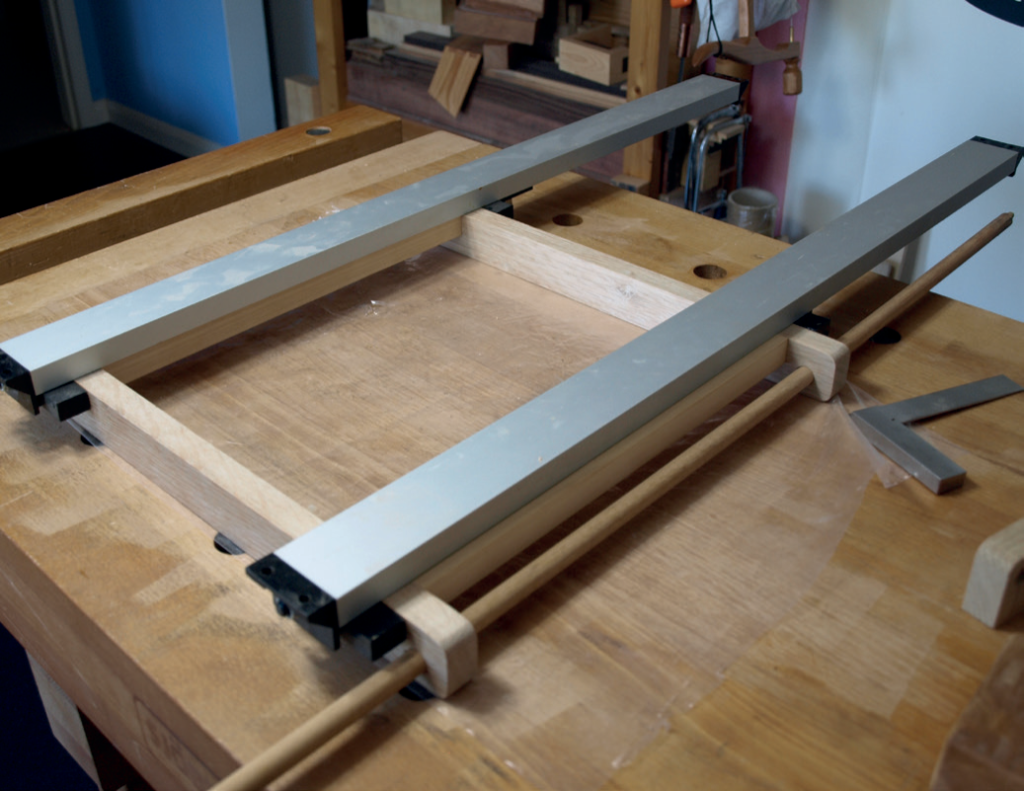
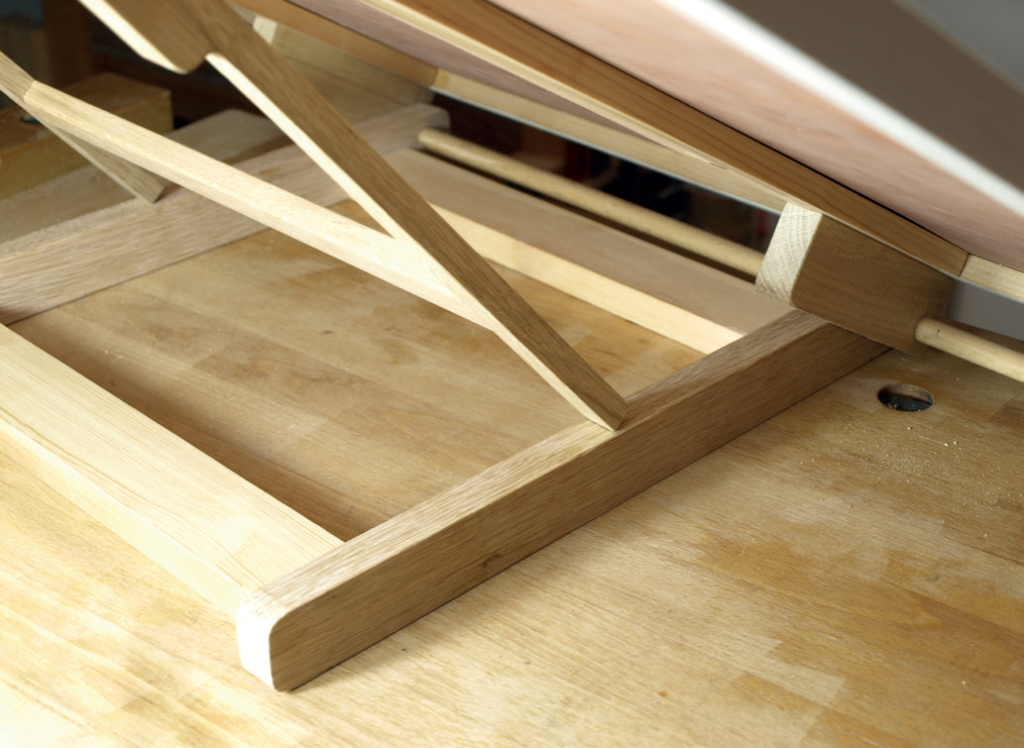
I chose to use a notched adjustment system for the tilt, and this dictated the base to be made of a reliable hardwood, oak in this case. The main surface was kept light, using pine framing and a thin ply deck, which would be covered with felt baize to hold the puzzle pieces.
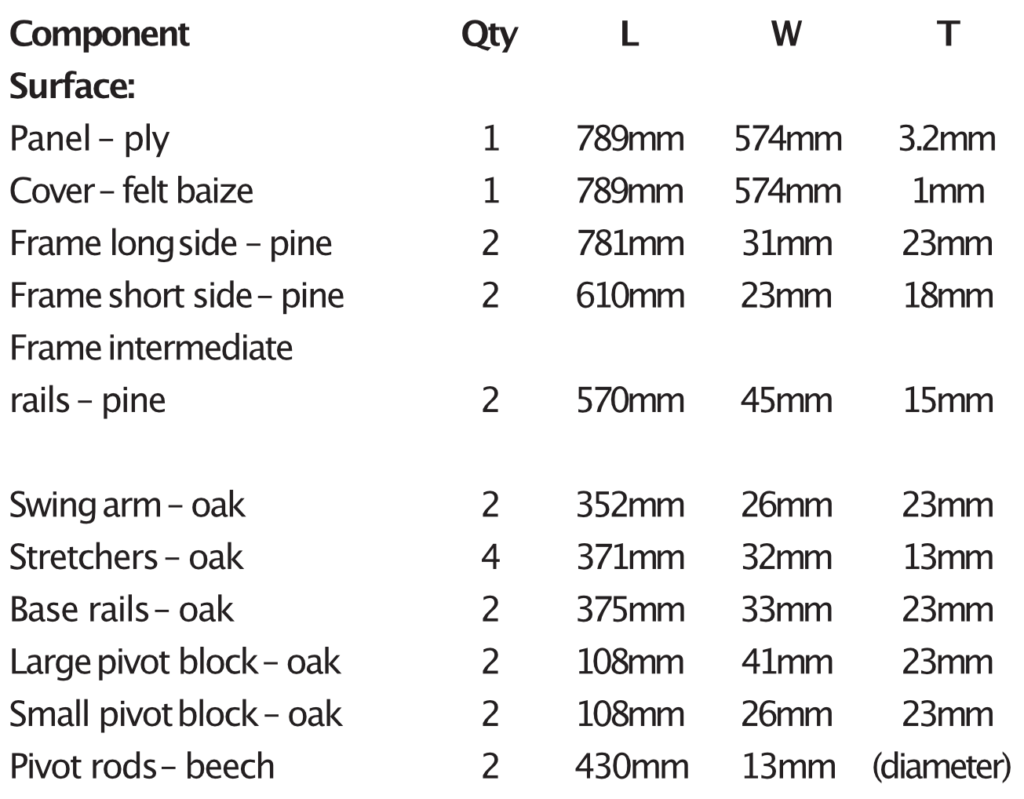
Cutting list
Making the easel
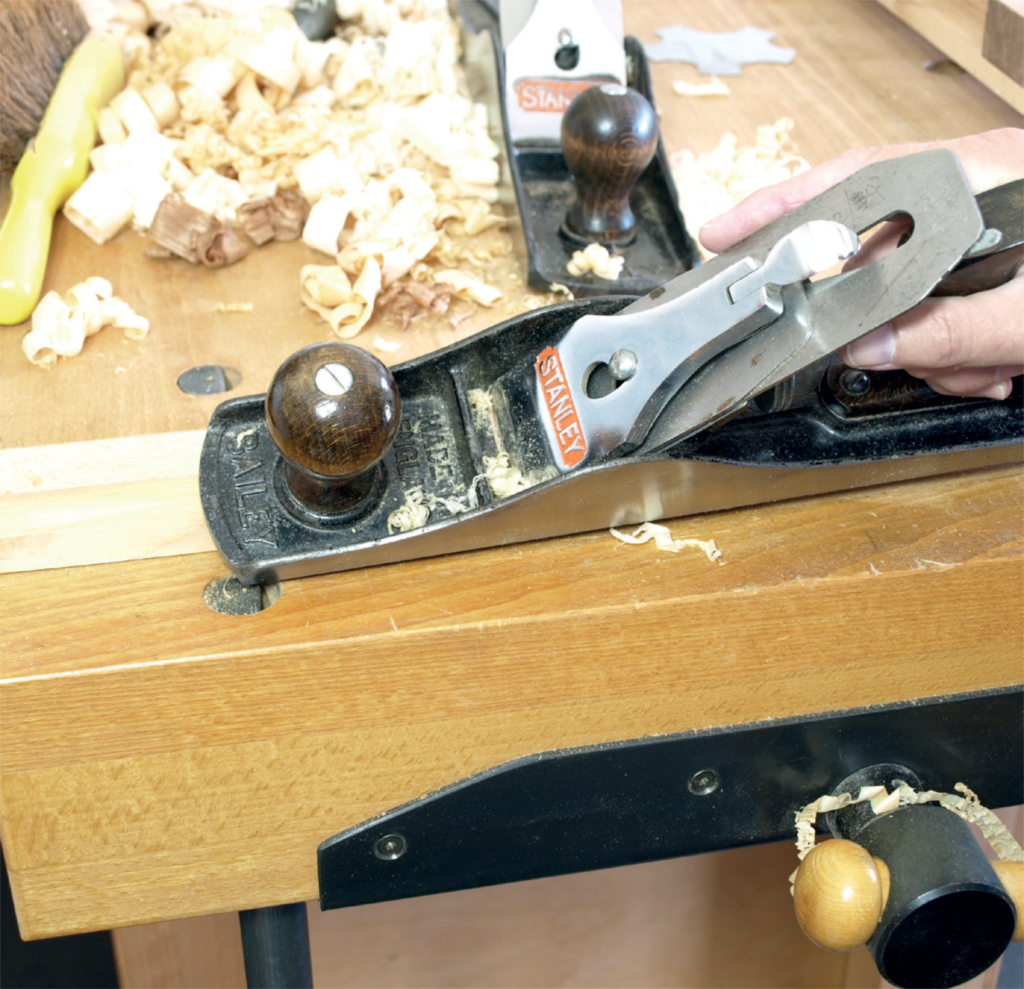
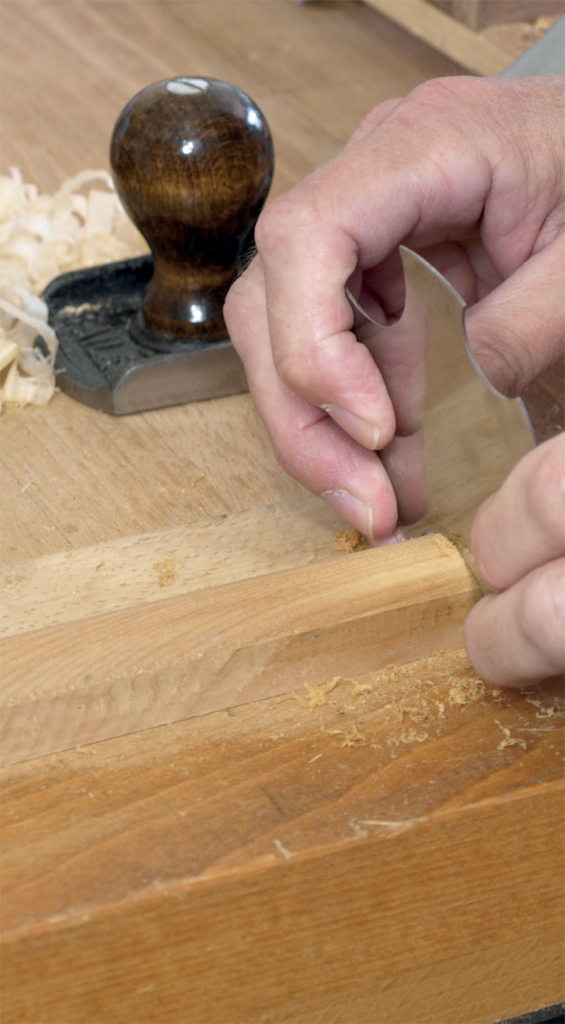
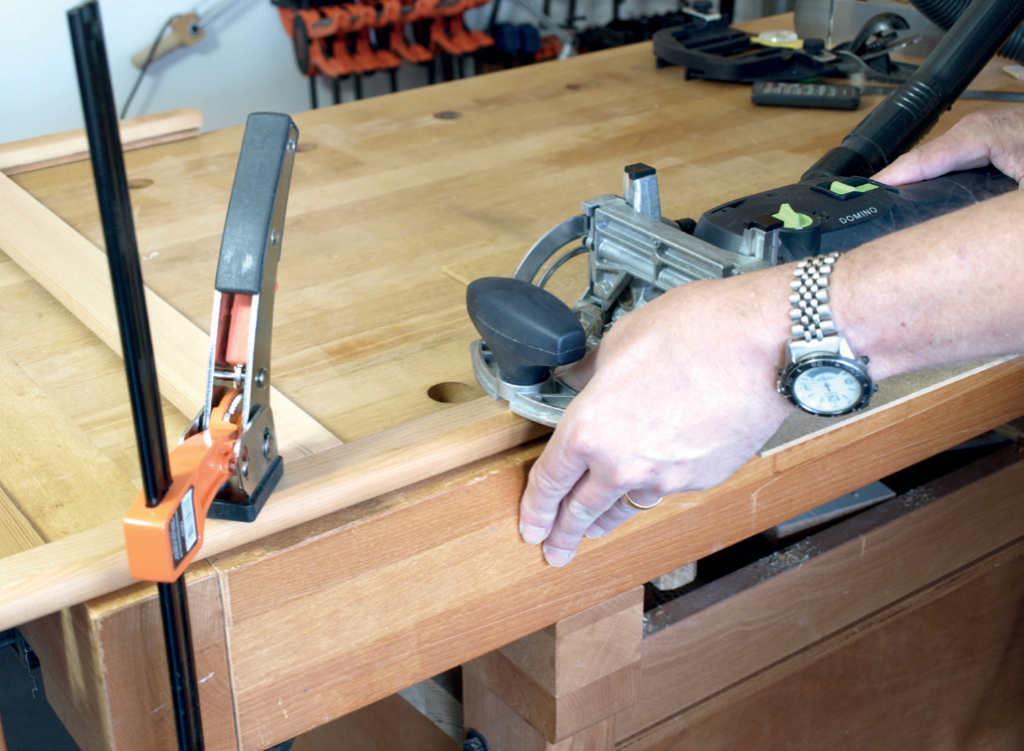
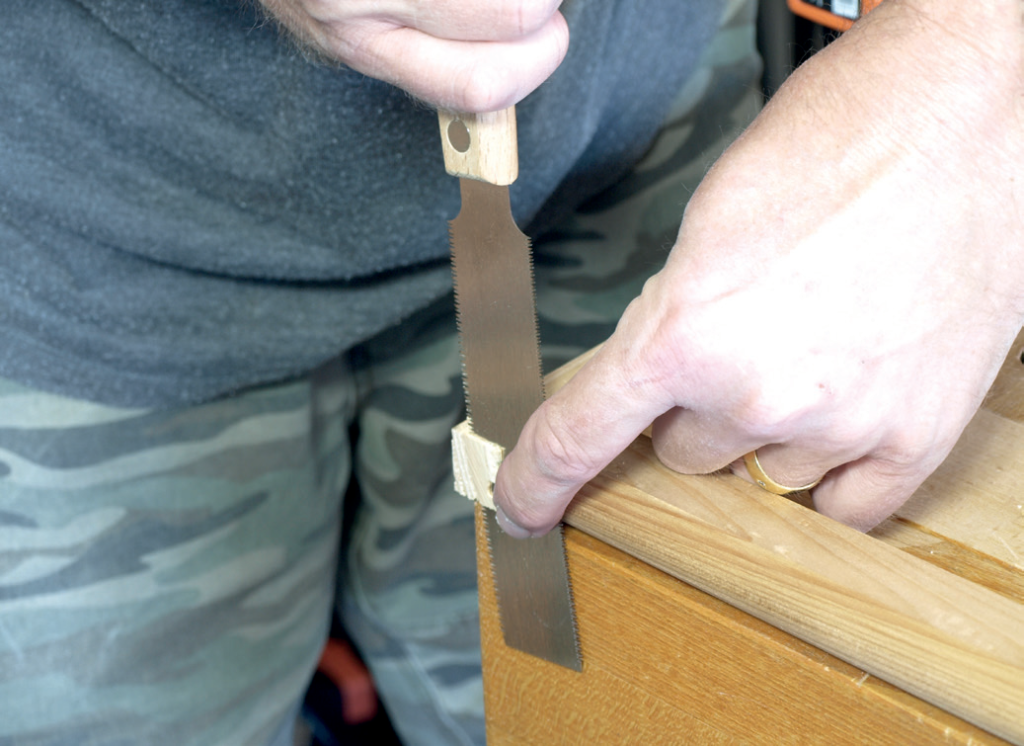

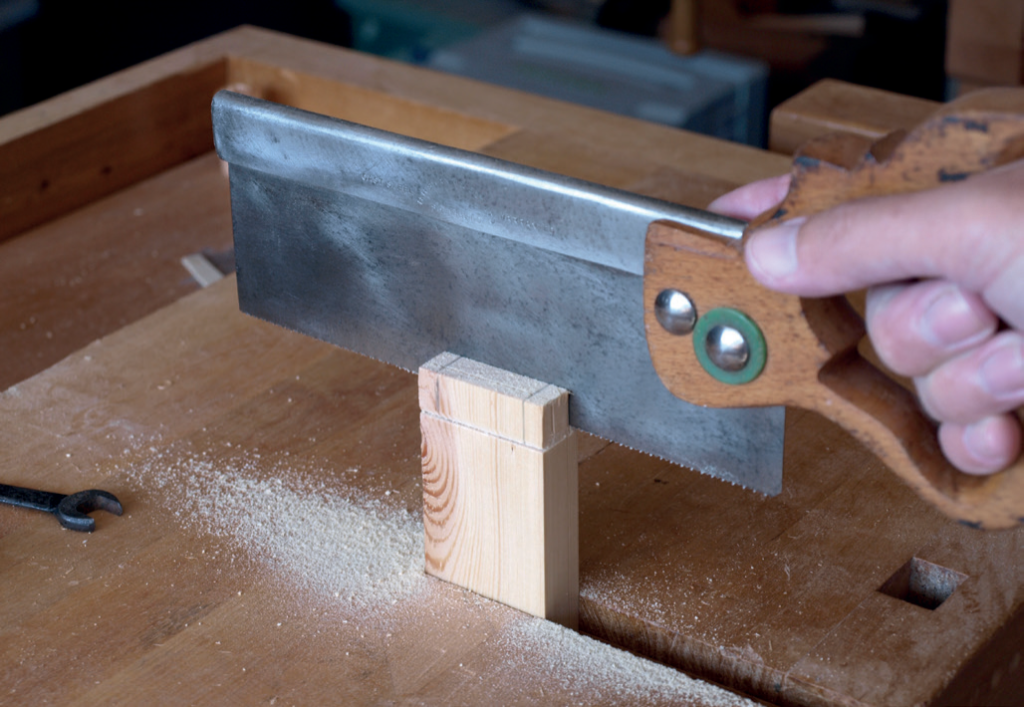
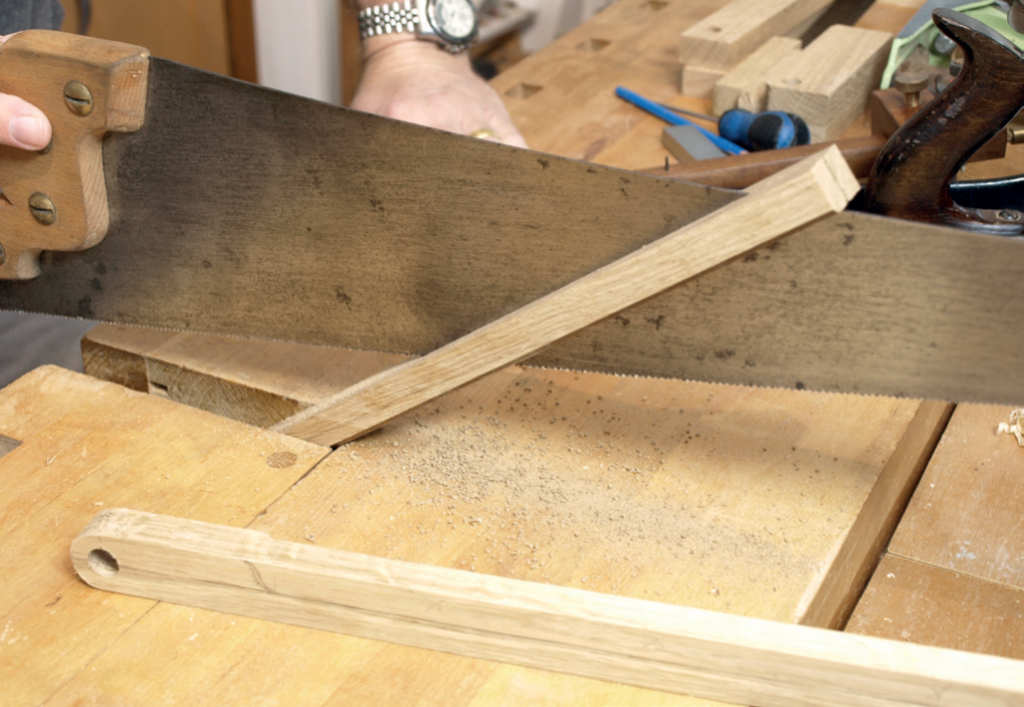
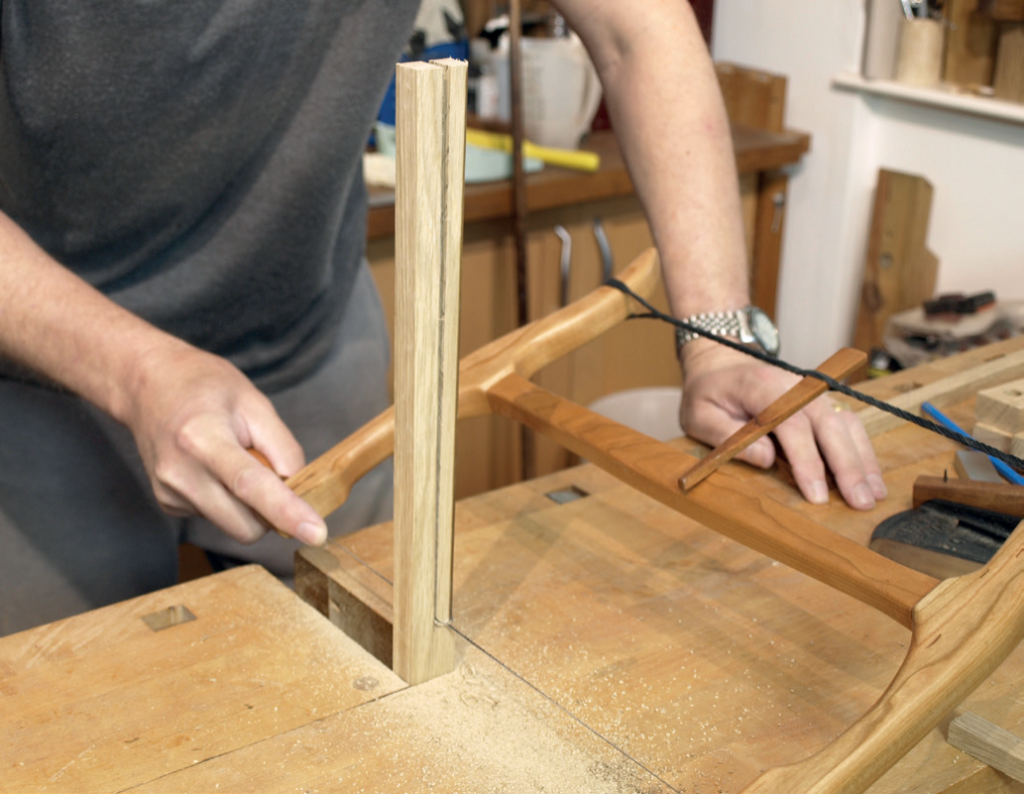
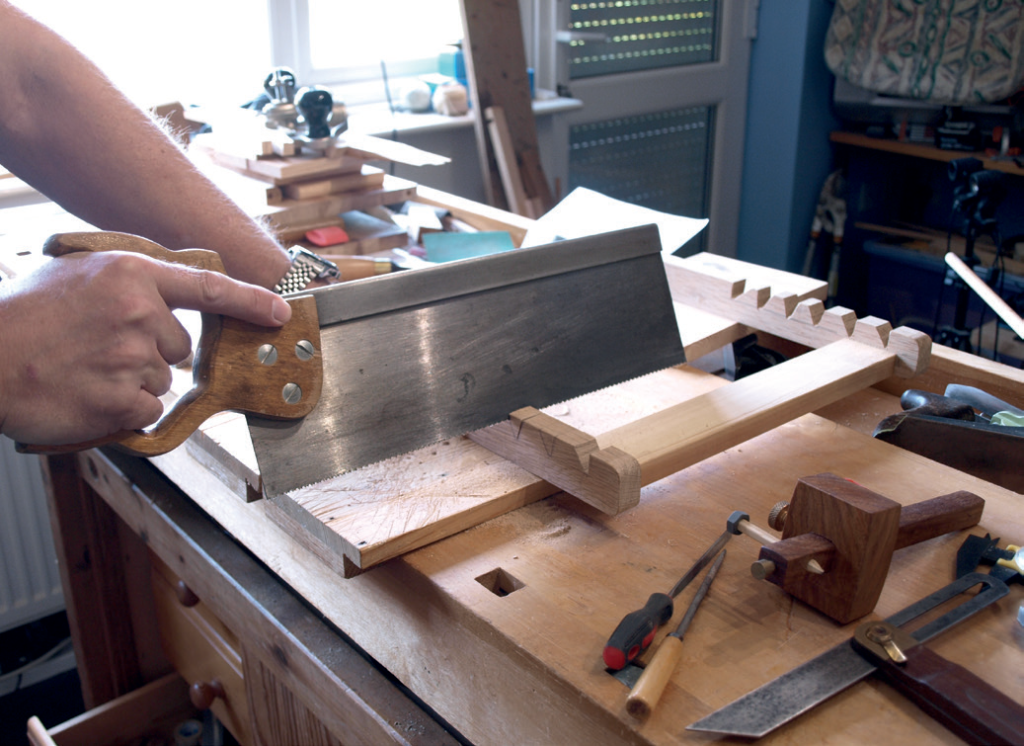
Making the easel
I have since drawn up a set of plans which you can order as a PDF (for free or a donation) from my website: mitchpeacock.co.uk