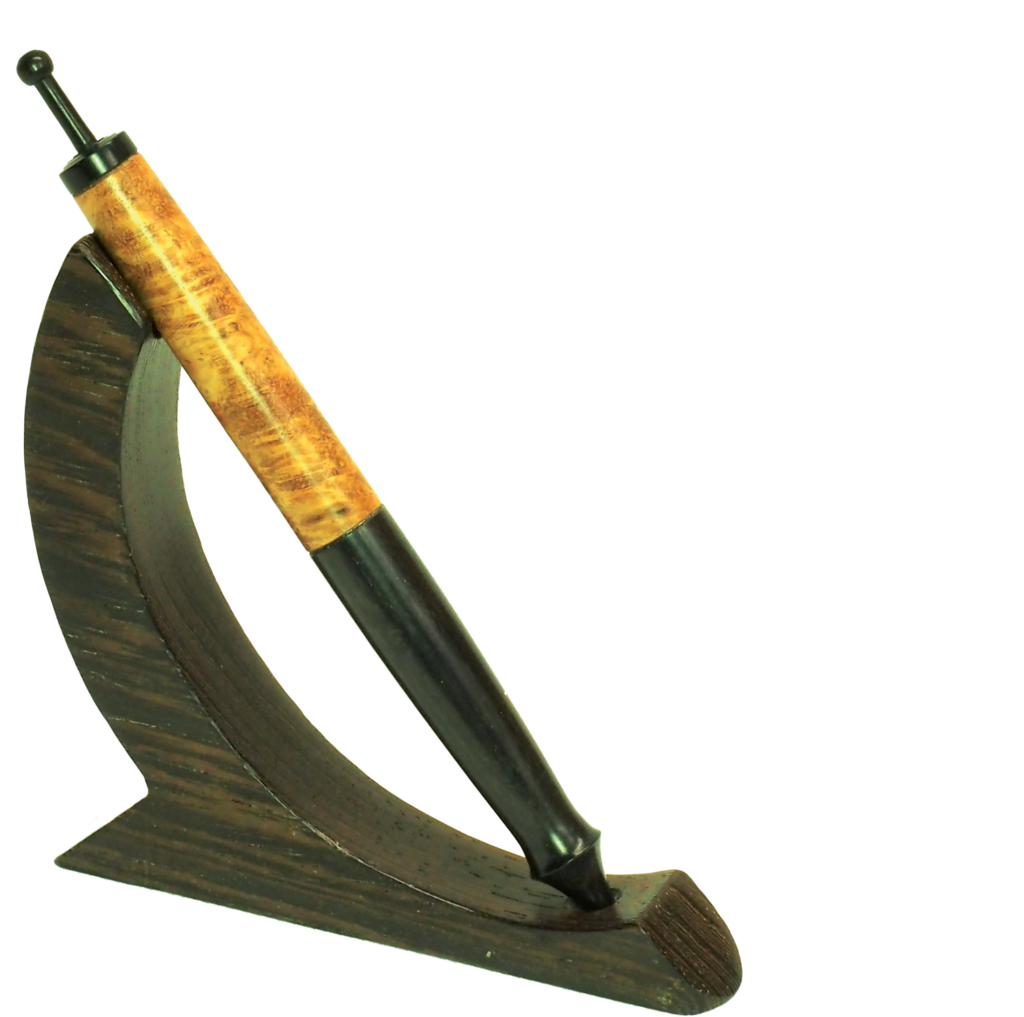
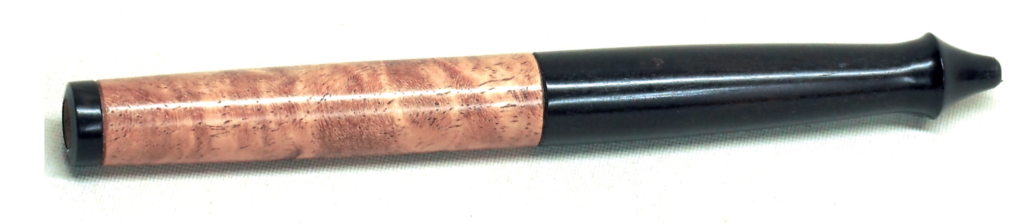
Ger Vervoort makes a unique implement completely out of wood without the need to buy a pen kit
Back in my early turning years, I was subscribing to an American magazine called Fine Woodworking. In 1988, there was an article about a wooden retractable ballpoint, turned and written by Richard Elderton. When you’re a novice woodturner, you want to turn anything, from bowls and goblets to boxes and vases – at least I did.
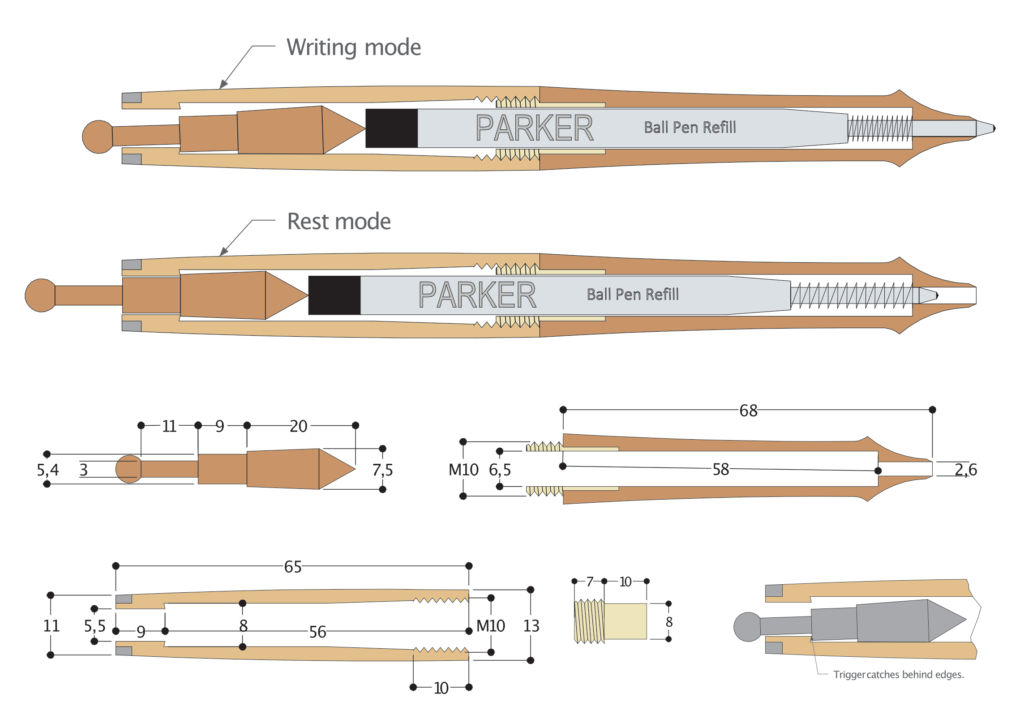
This article in Fine Woodworking intrigued me enormously and I started making this ballpoint pen as well. What makes this pen so special is that, at that time, there were no pen kits, and this was made entirely out of wood. The only thing you must buy is the refill, and the spring you get from an empty ballpoint. In the beginning I made this pen as it was described in the article and the closure of both parts was by means of a bayonet locking. However, the bayonet locking was a bit awkward to make, so I started puzzling over how I could make it different. Almost all ballpoint pens have a screw connection to open them for replacing the refill, so I started wondering how I could make these pens by means of a screw connection.
Nowadays, you can buy pen kits for any kind of pen you can think of, but making this pen is pure woodturning and requires some real craftsmanship. Now, I’m not a pen turner at all, but the process of making this is pure fun and I enjoy the entire process, from design to execution. I use these pens daily and this also gives a lot of satisfaction, writing with something you have made yourself. I wish everyone who is going to try to make this pen lots of fun.
Plans & equipment
Tools & equipment
- PPE & RPE as appropriate
- Compass and callipers
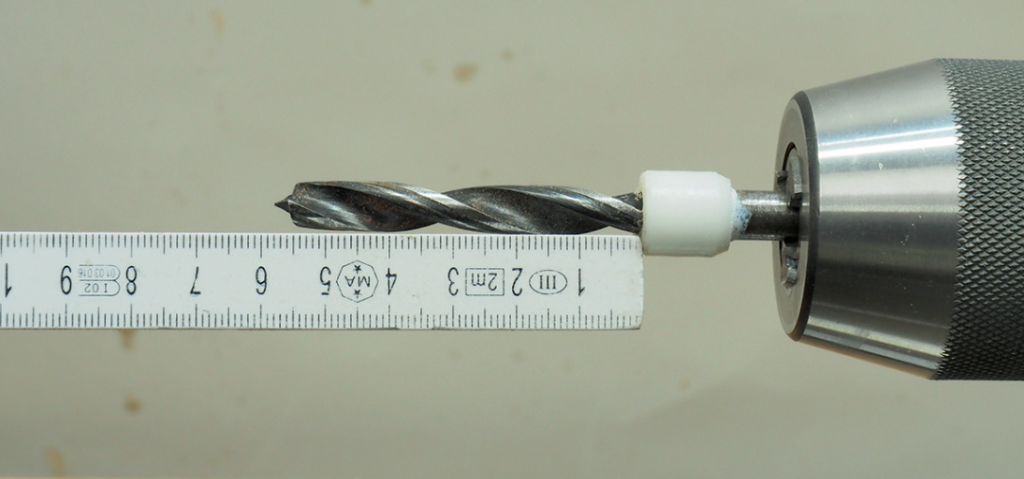
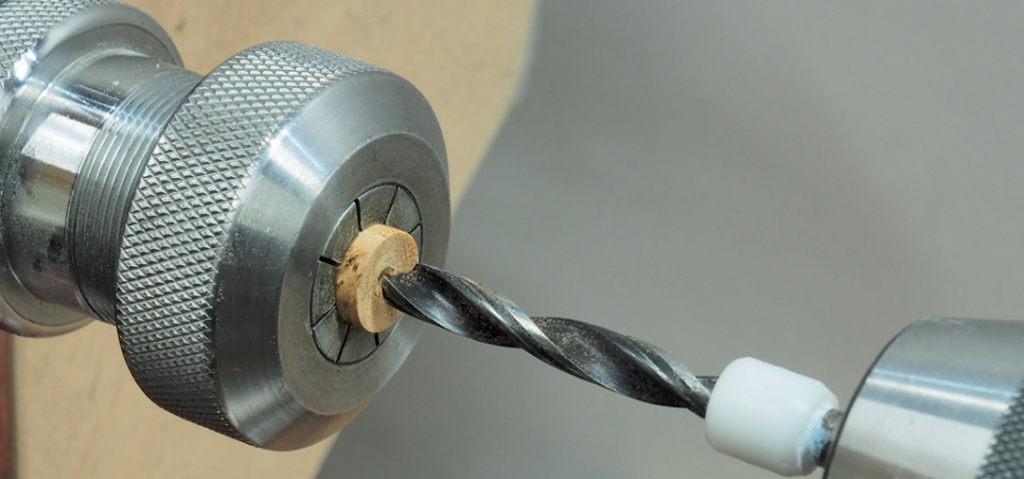
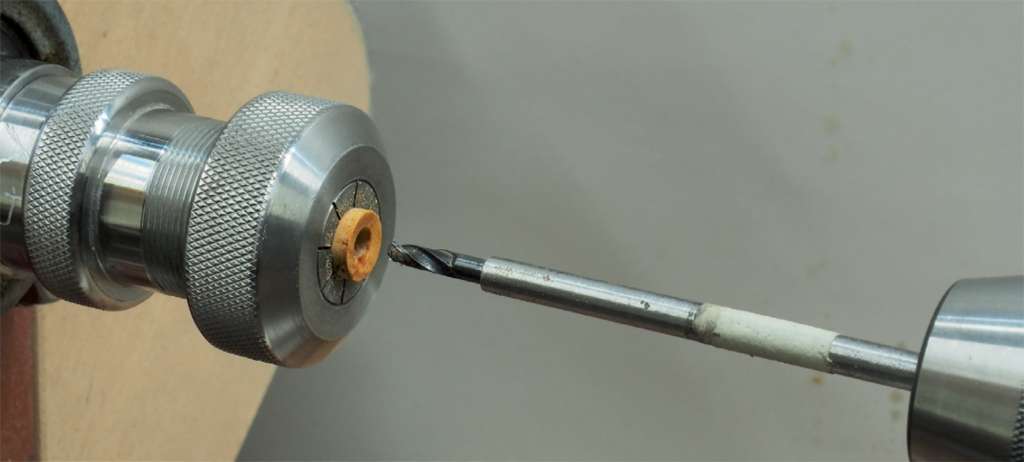
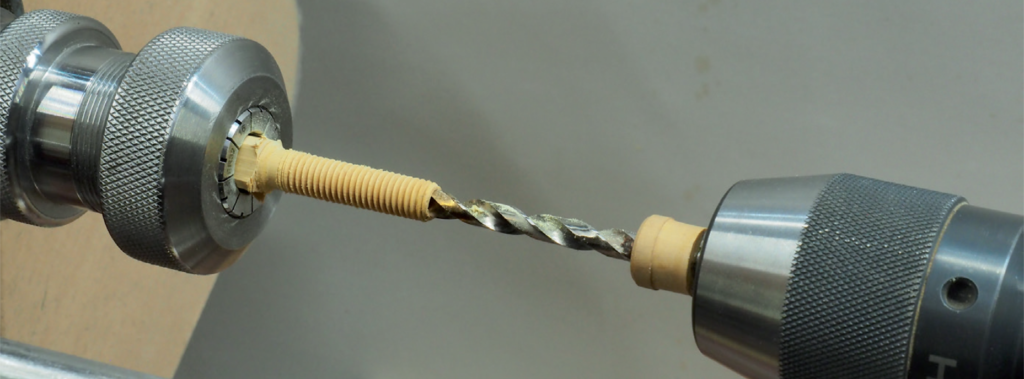
- 6.5mm twist drill
- 2.6mm twist drill with
- 6.5mm extended shaft
- 8mm brad point drill
- 5.5mm twist drill with
- 8mm extended shaft
- M10 tap with wrench
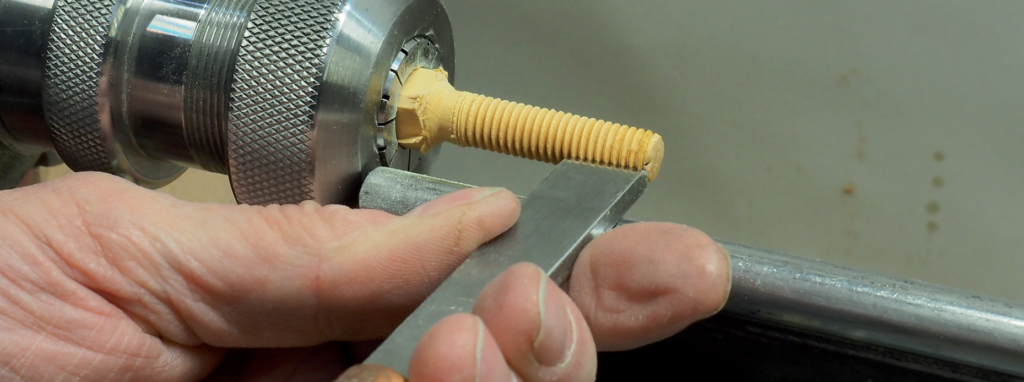
- 16tpi thread chasing tool
- 9mm spindle gouge
- 13mm skew chisel
- 4mm parting tool
- 1.5mm parting tool
Materials
- African grenadillo 70 x 18 x 18mm
- African grenadillo 50 x 10 x 10mm
- Amboina burr 70 x 18 x 18mm
- Boxwood 100 x 12 x 12mm
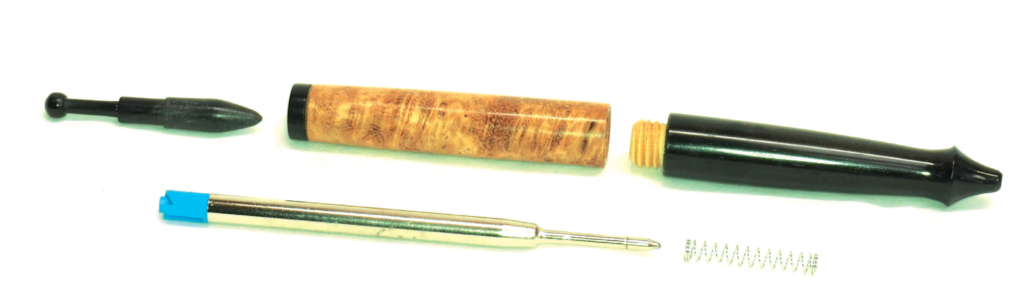
- Parker refill ballpoint
- Spring from an old pen
- Cyanoacrylate glue
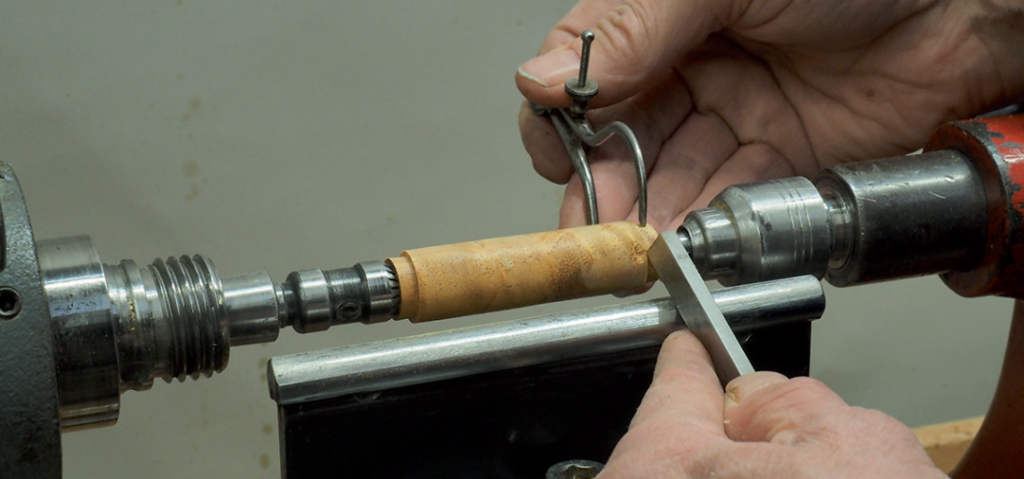
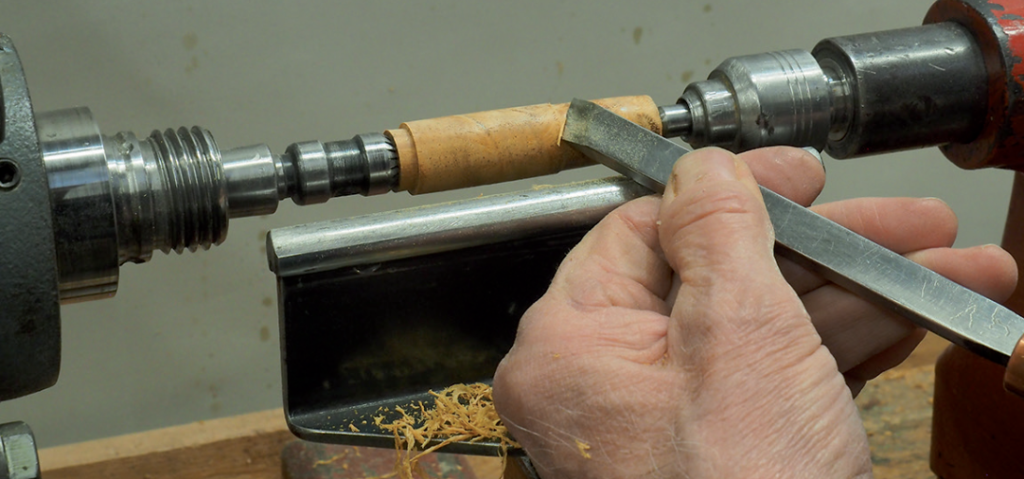
The making

Health and safety
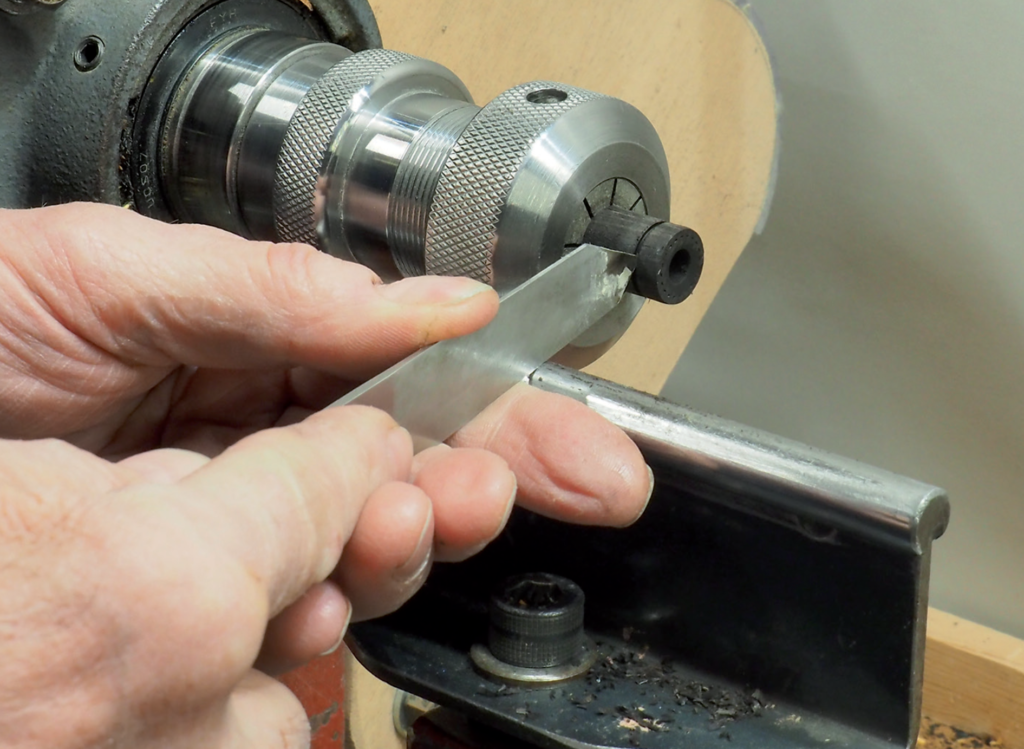
- Although it is a small turning job, always wear safety glasses.
- Supporting the pen with the fingers is safe, but if your fingers are getting hot, let go – you’re pushing too hard.
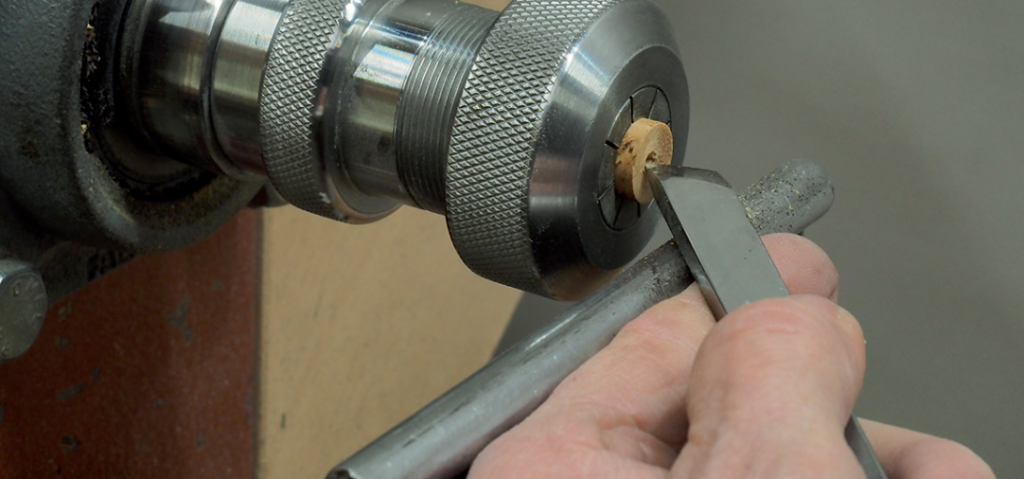
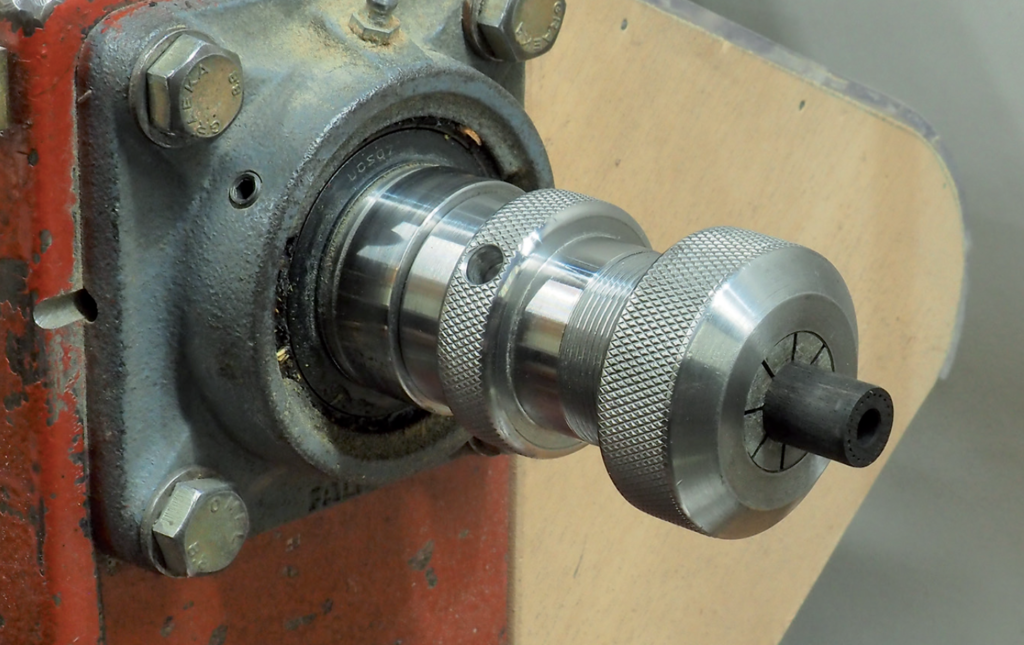
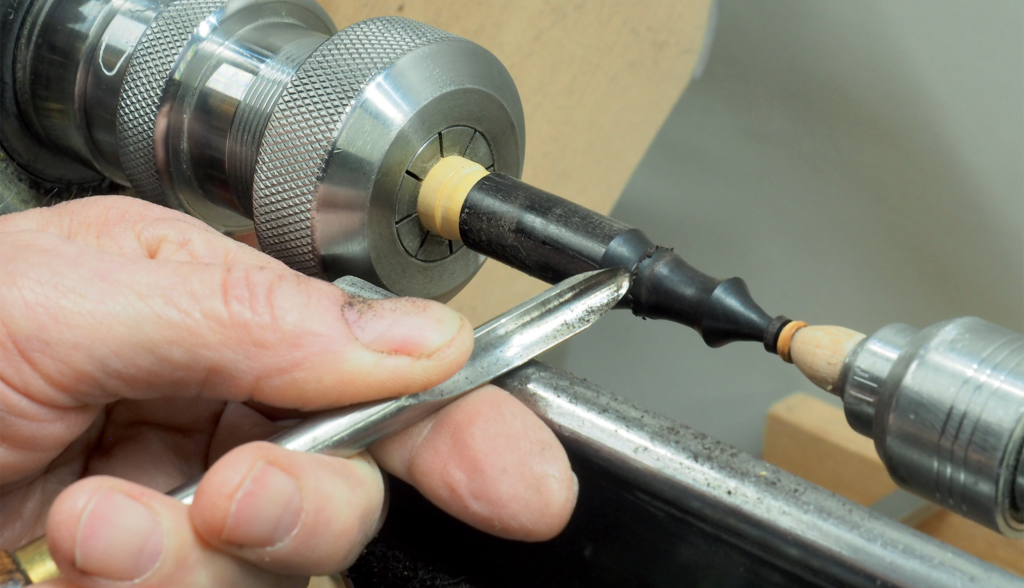
- Don’t turn this pen in a four-jaw chuck with step jaws. Because you are working close to the chuck, it will certainly hit your knuckles, no matter how careful you are.
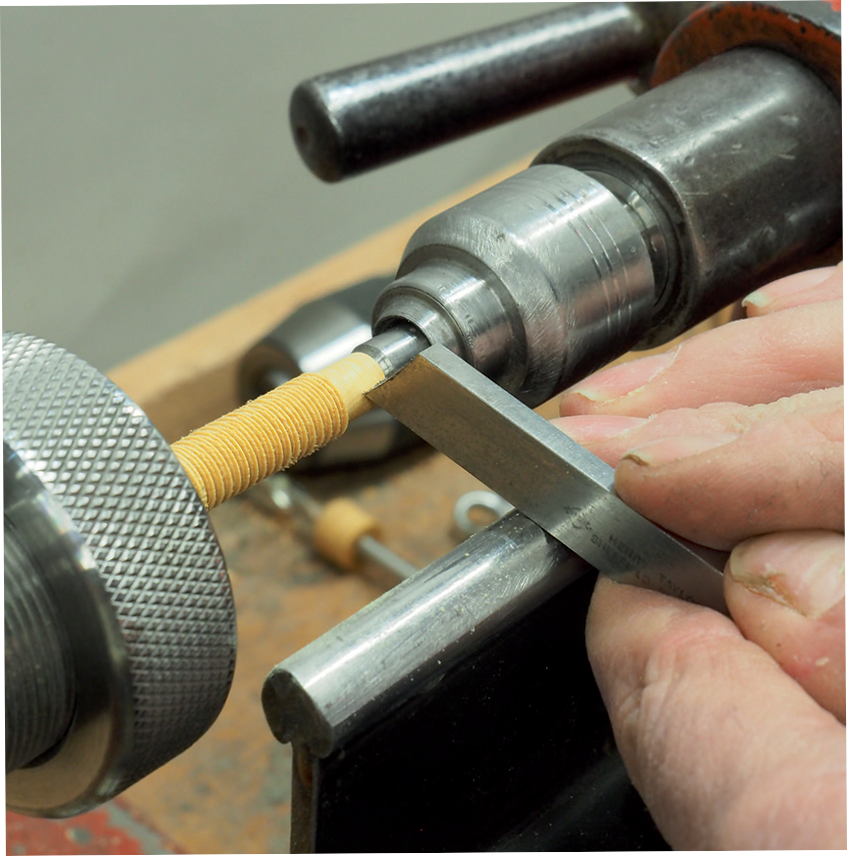
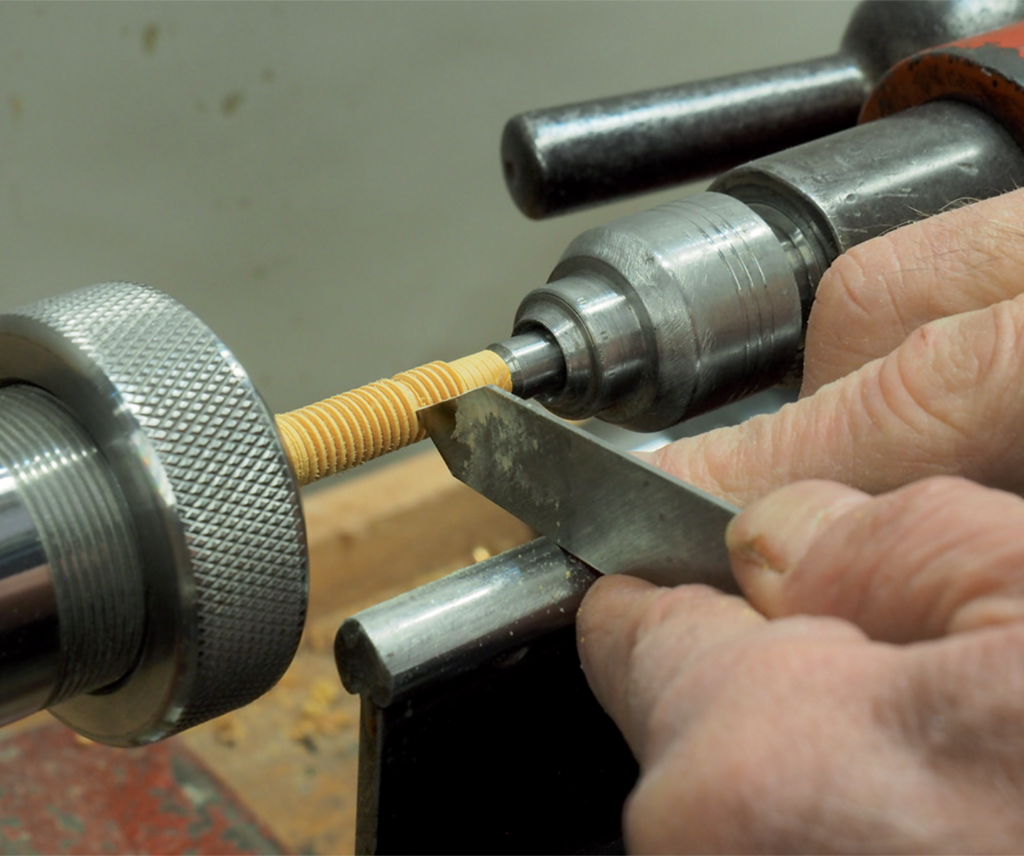
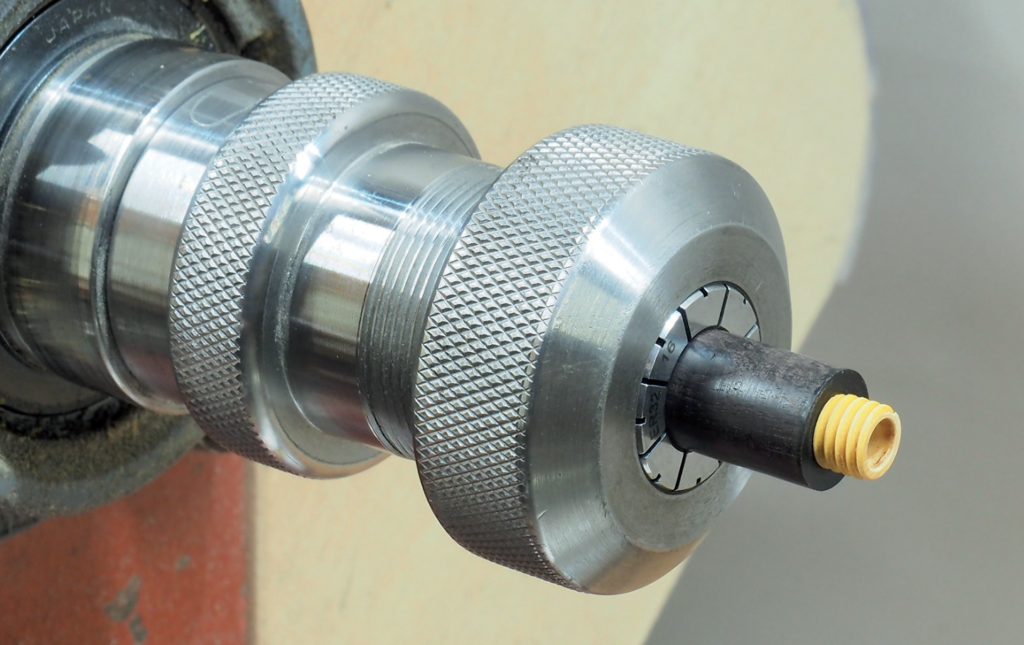
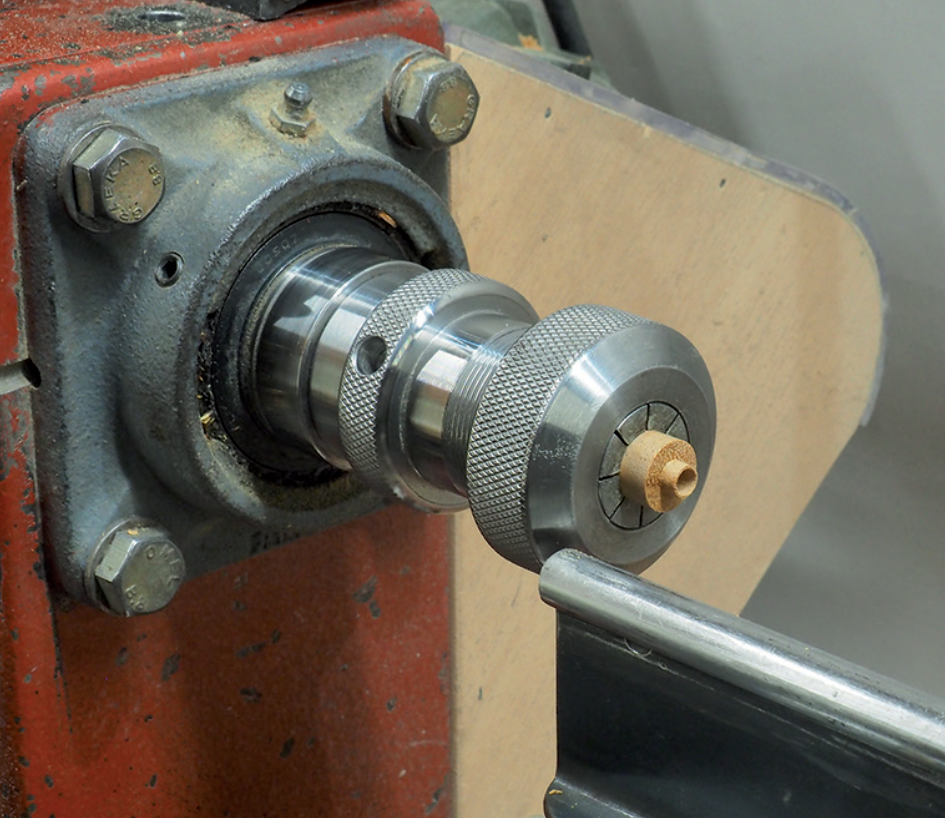
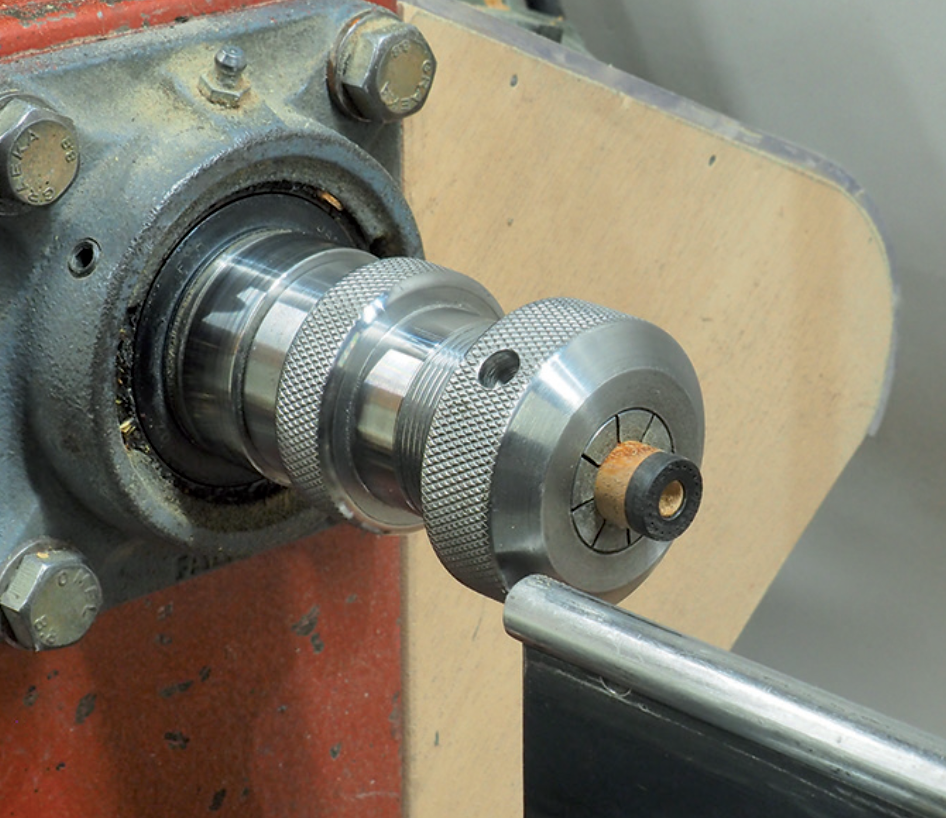
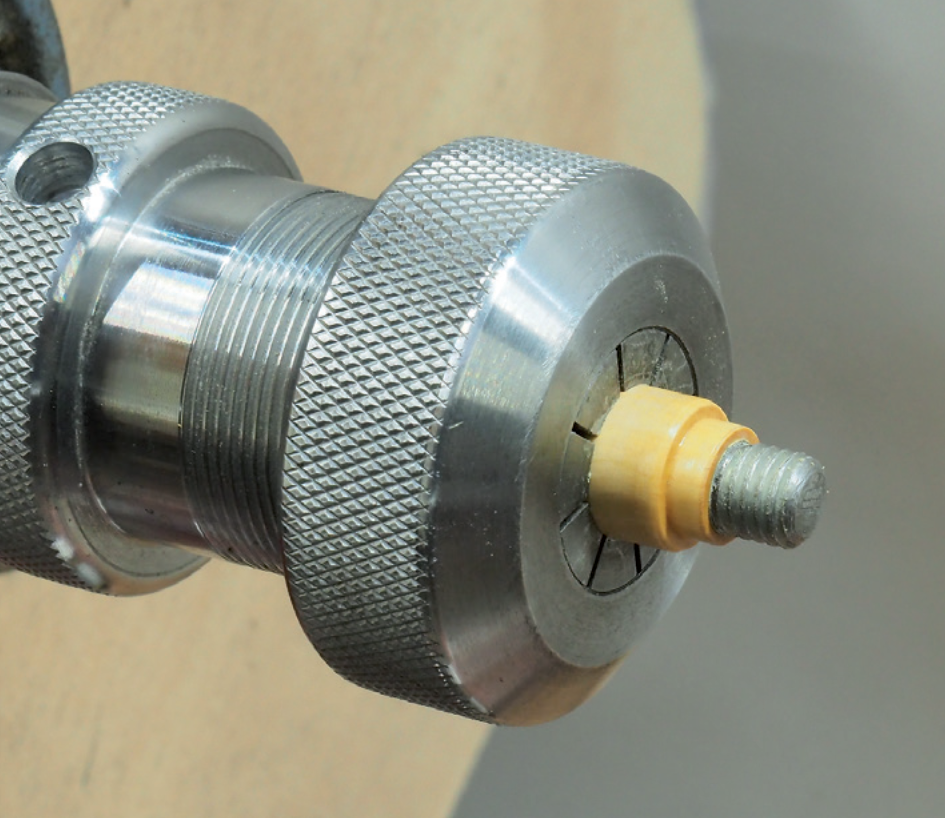
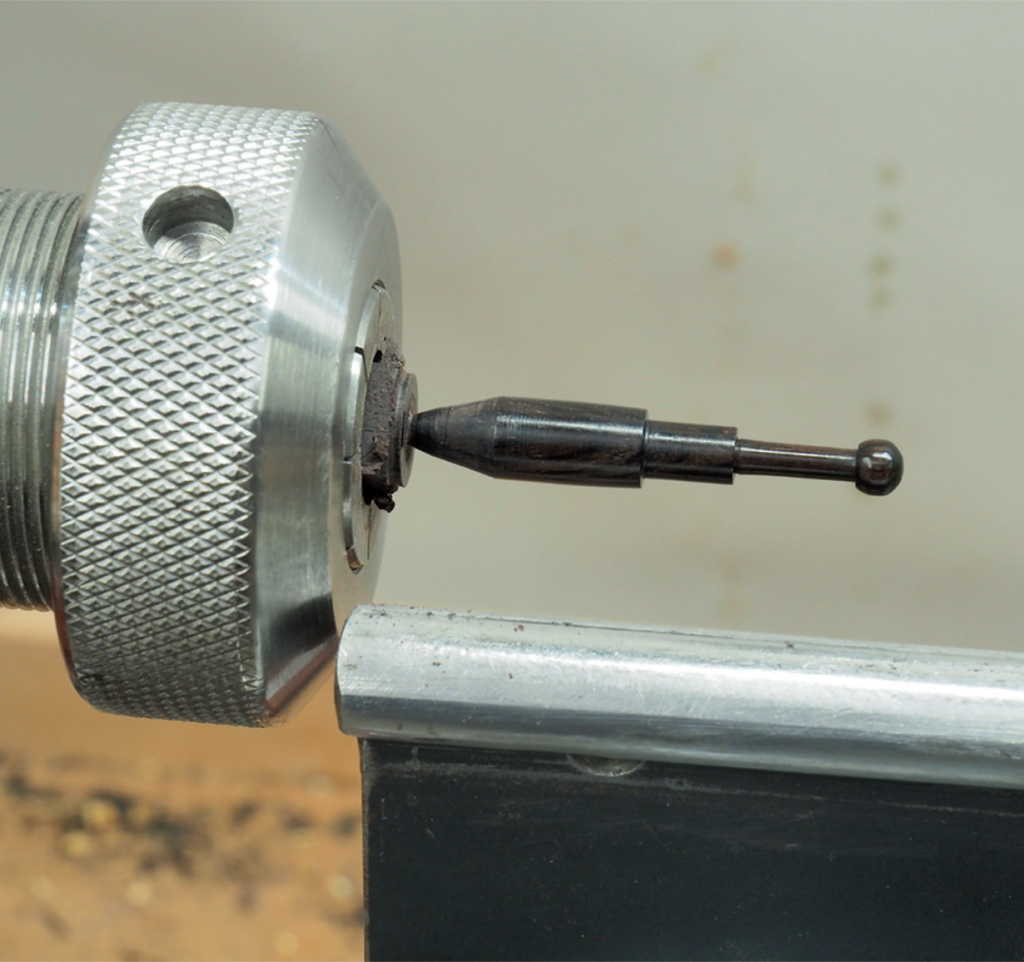
14. Here you see the insert screwed into the just-prepared pen blank, with a spare insert next to it
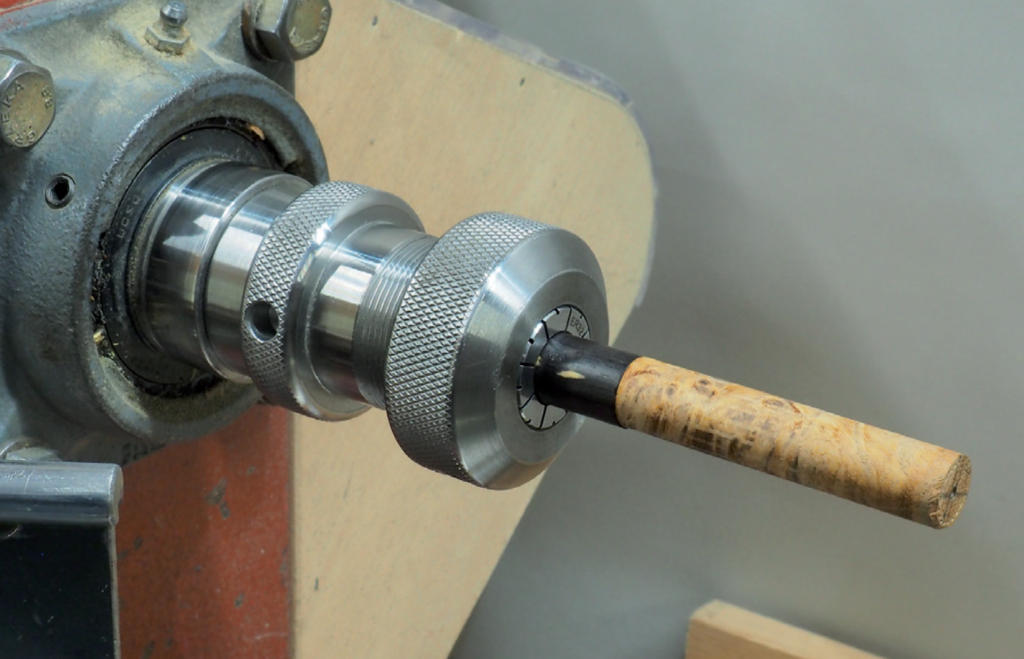
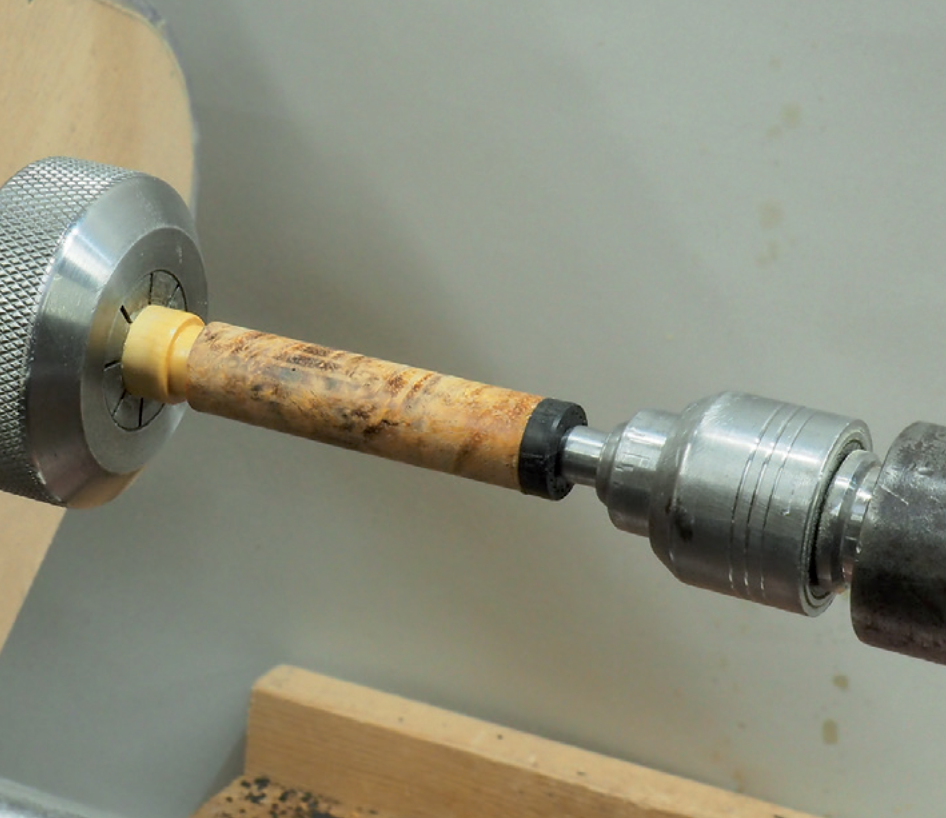
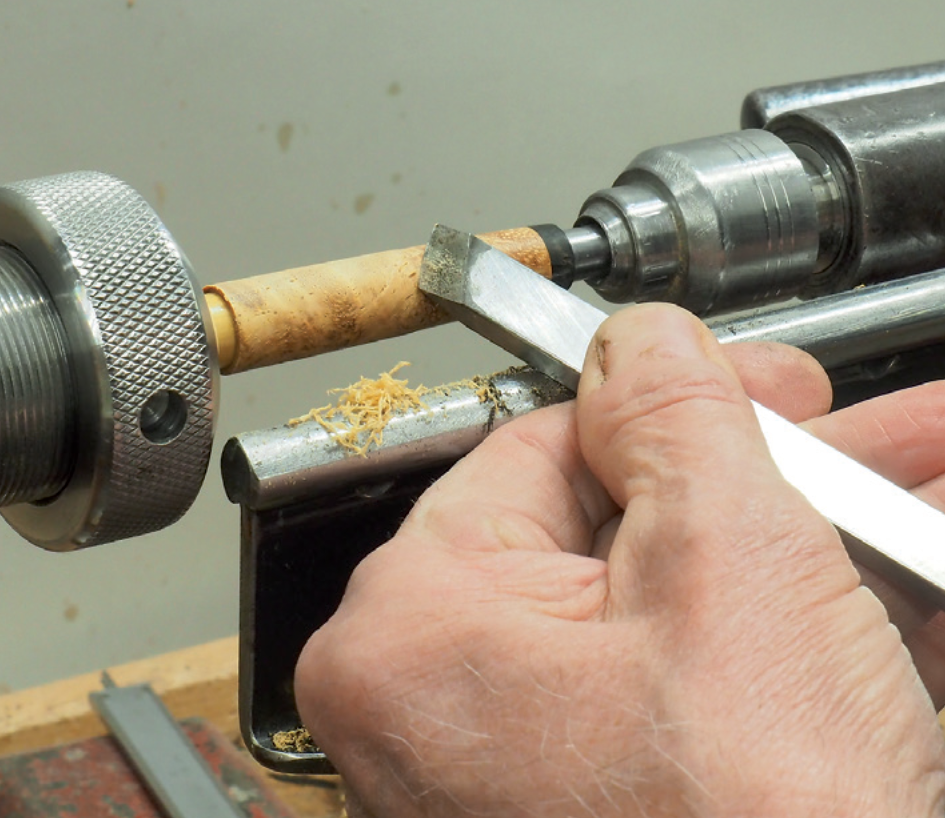
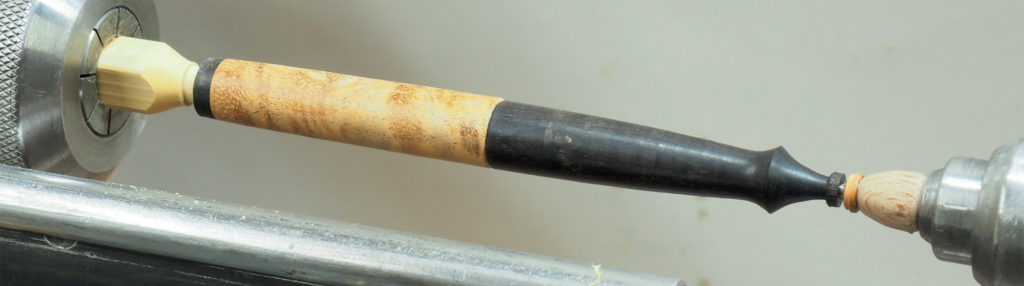


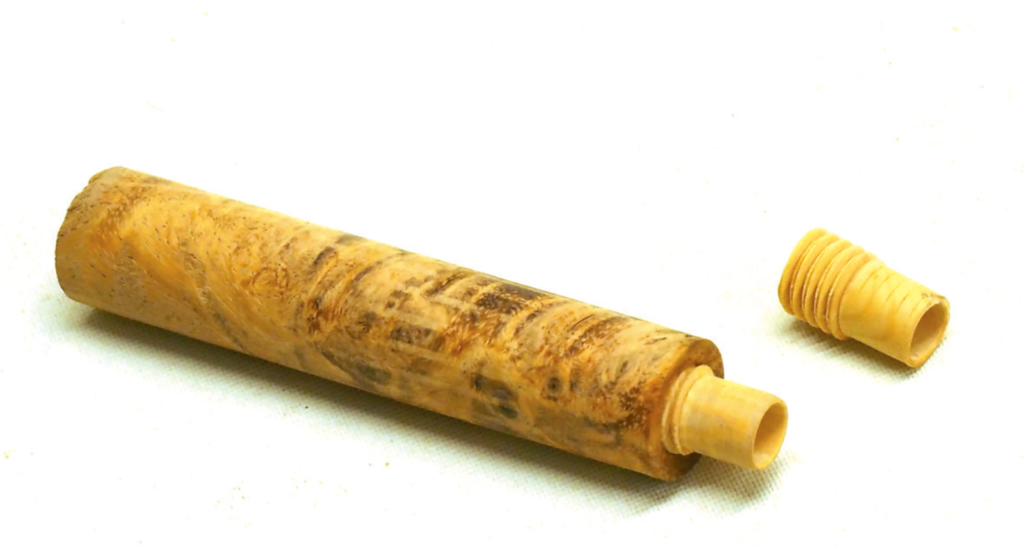
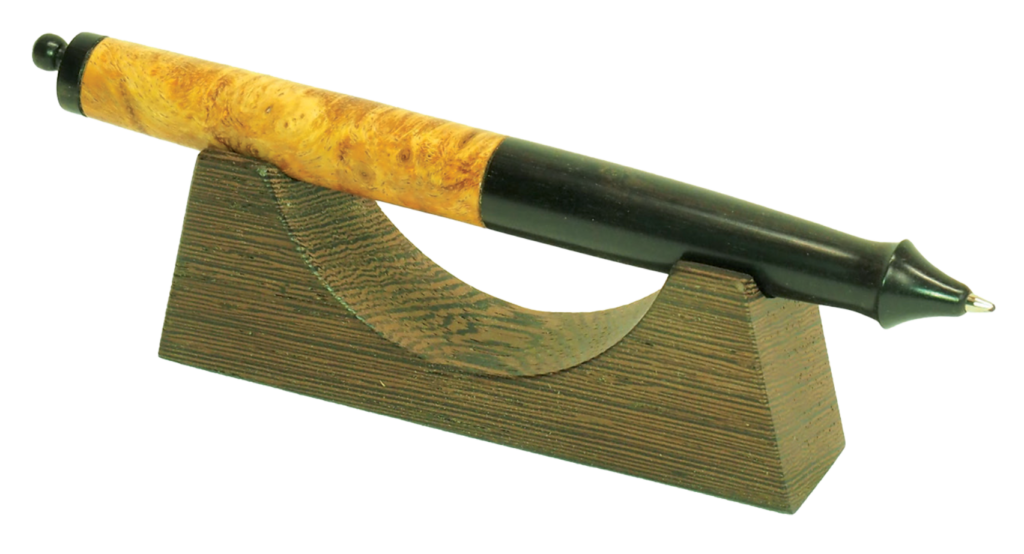
33. So far, this pen body is ready. Last thing to turn is the trigger
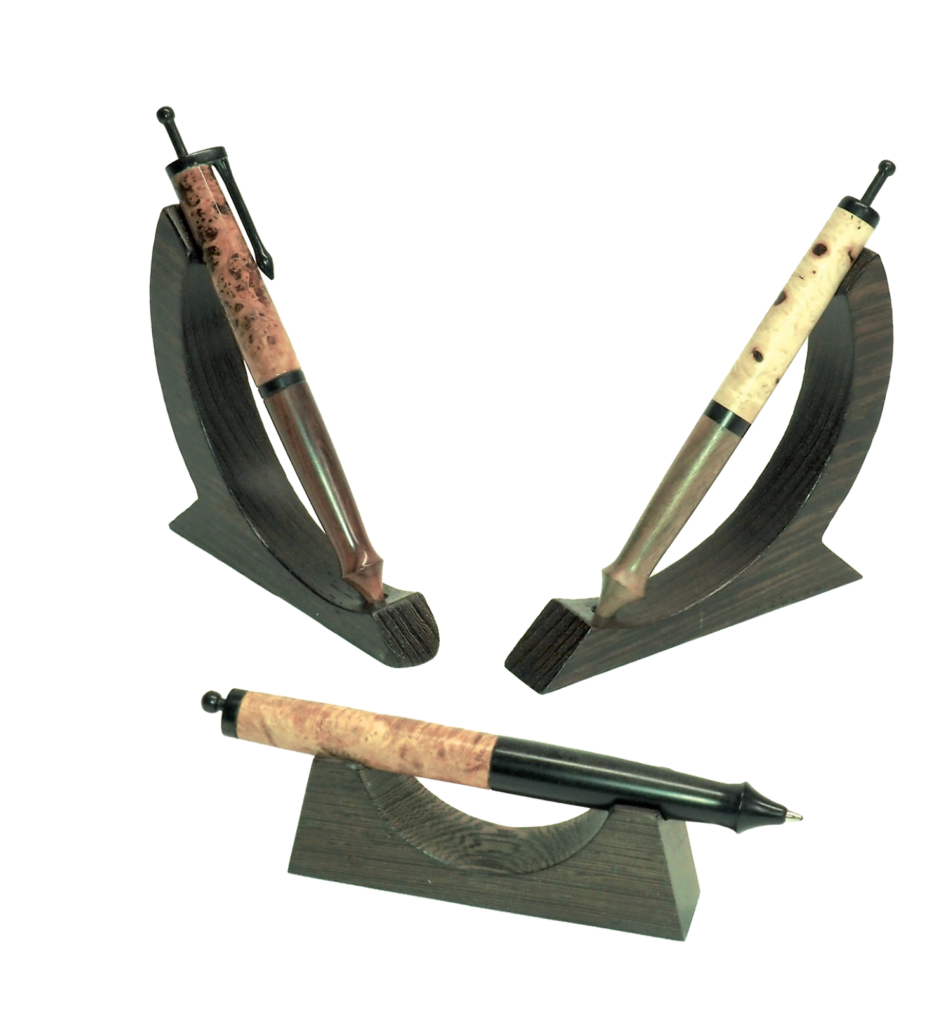

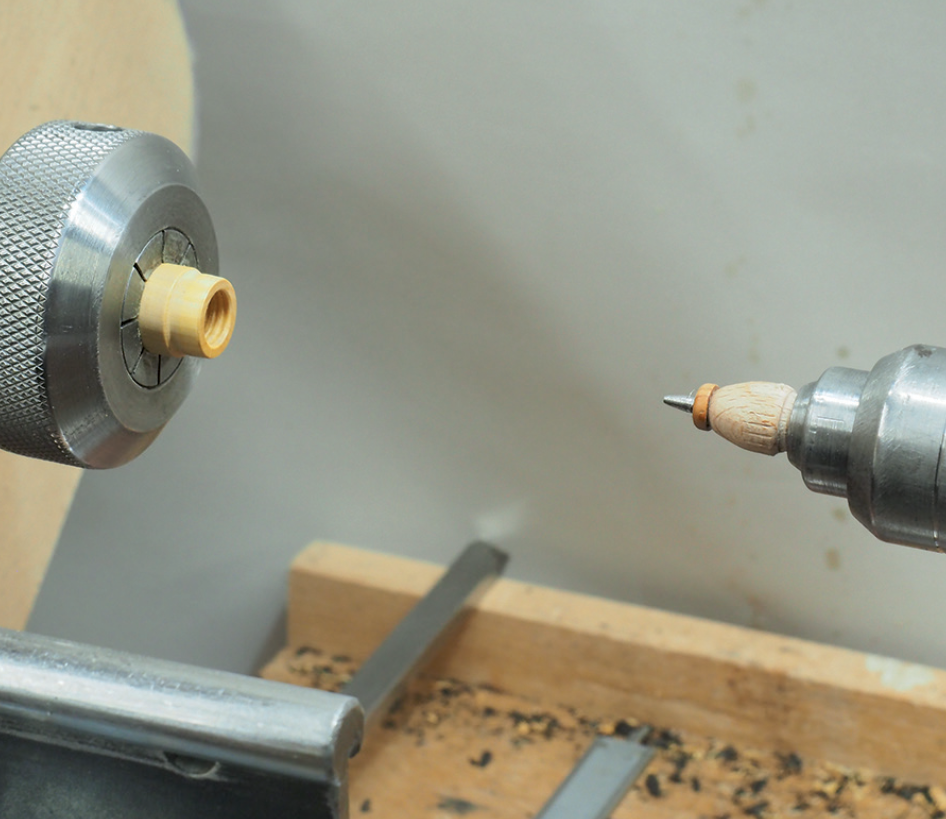
39. This is an early pen with a bayonet locking system. A small pin slides and turns in a groove, locking both parts. This bayonet lock is a little bit awkward to make, so I came up with another solution
Further reading
PHOTOGRAPHS COURTESY OF GER VERVOORT