Brian Kawal introduces a decorative technique that can really make your work standout
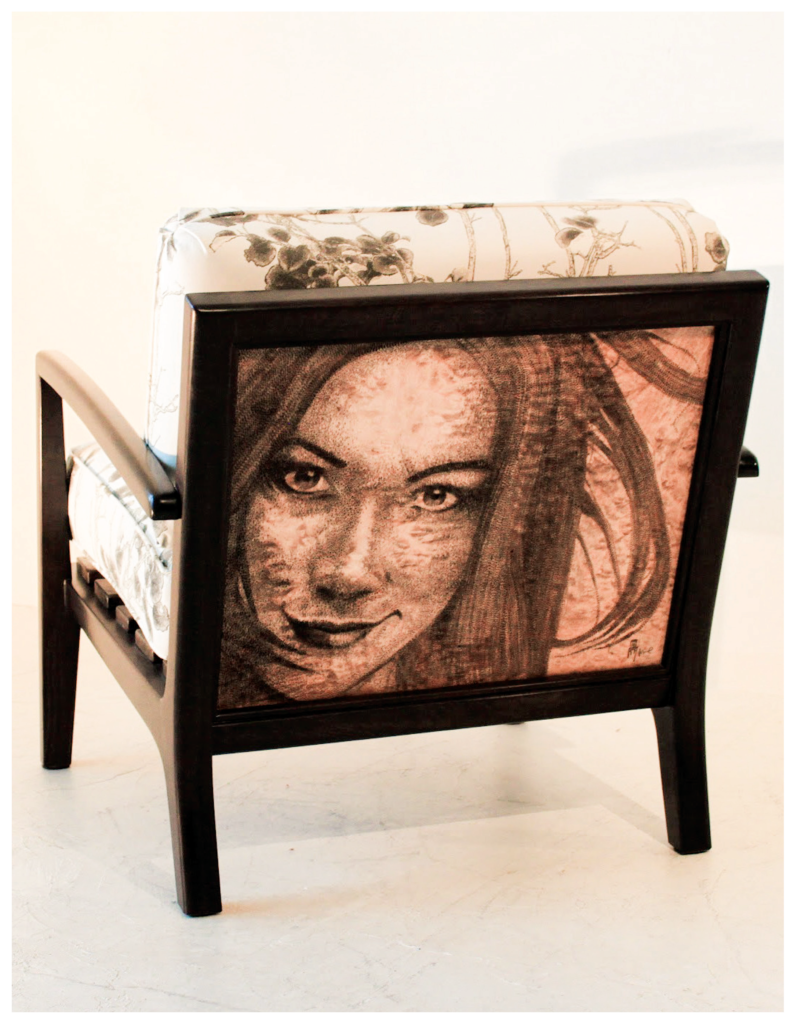
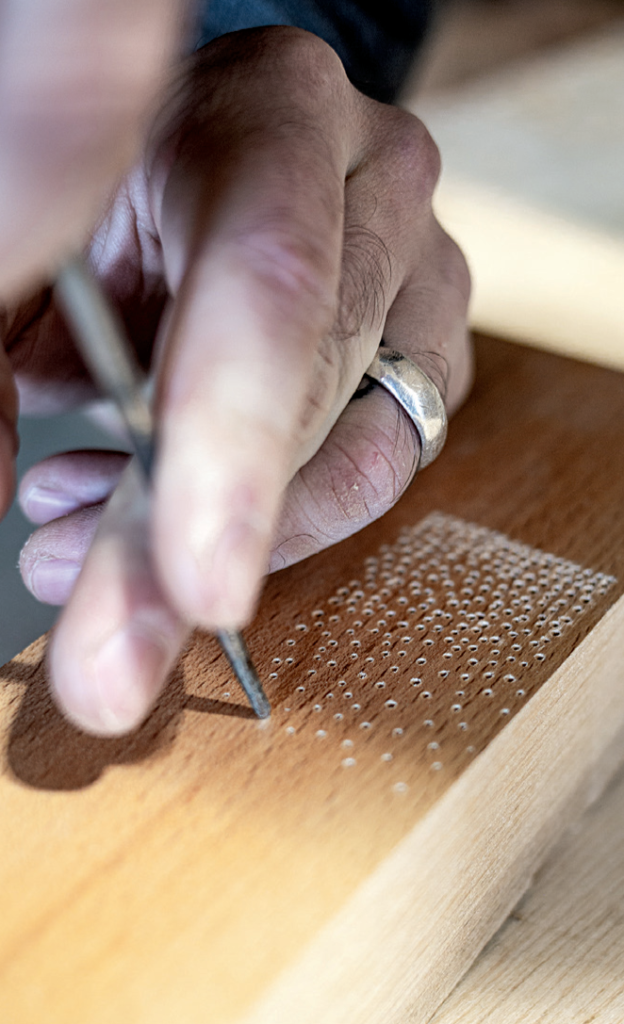
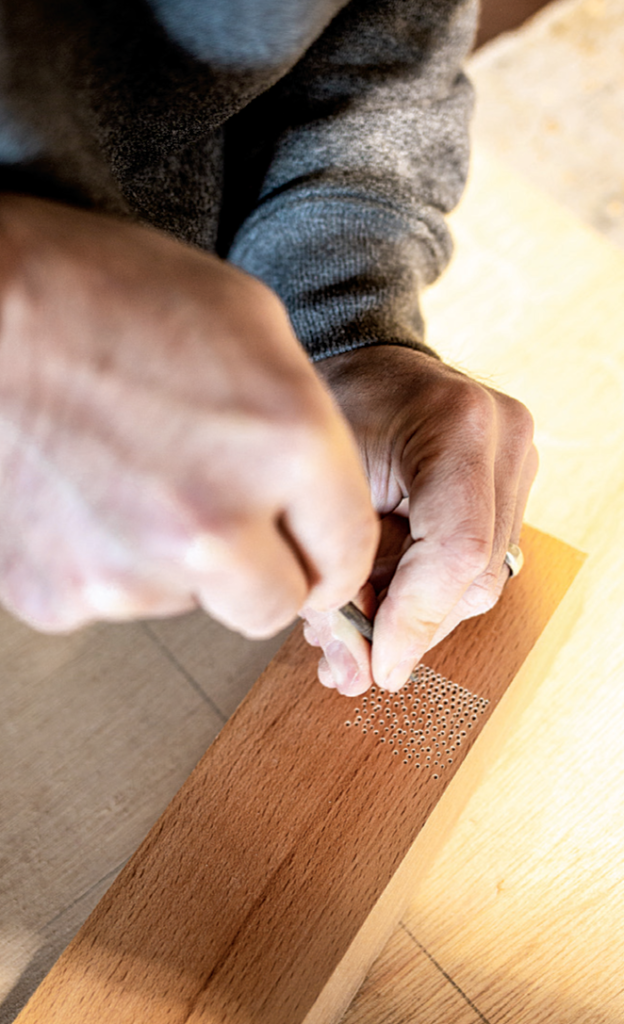
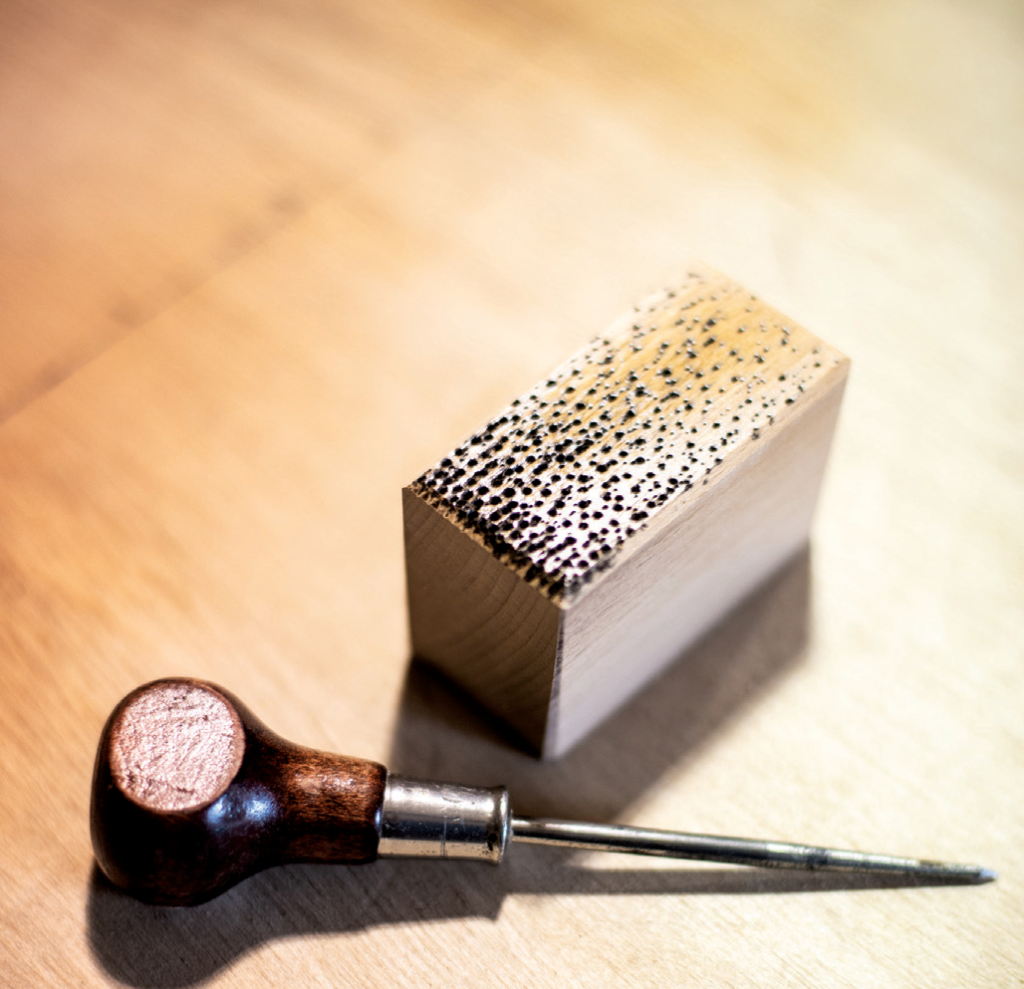
At its very core, the idea of stippling is simply to create a series of decorative dots. In our medium of wood this could be either an applied technique, such as using ink or paint on the wood’s surface, or in the case of the specific technique I’ve worked on developing, poking holes into the wood itself. Stippling of differing varieties has long been used in furniture making as a textural element (see my article in F&C 294 on antique chair reproduction where I use the same tools and technique for a traditional carving detail).
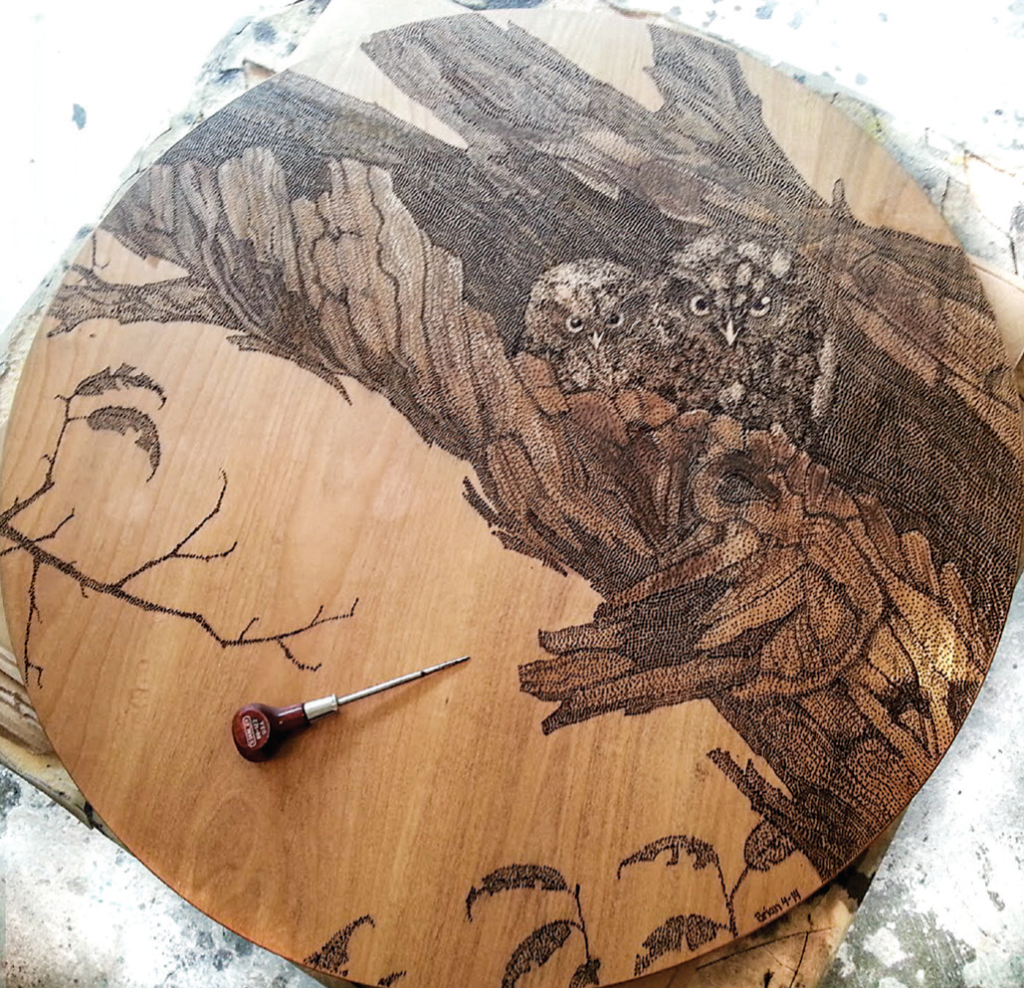
Expounding on this idea though, you can use this technique for creating unique patterns and pictures on your work. Whether a standalone wall piece or a panel in a chair back, stippling can make your work really stand out. In this article I demonstrate and describe a simple stippled gradient which is the basis for any stippled work, and I’ve also included a couple of my past projects to show what can be done.
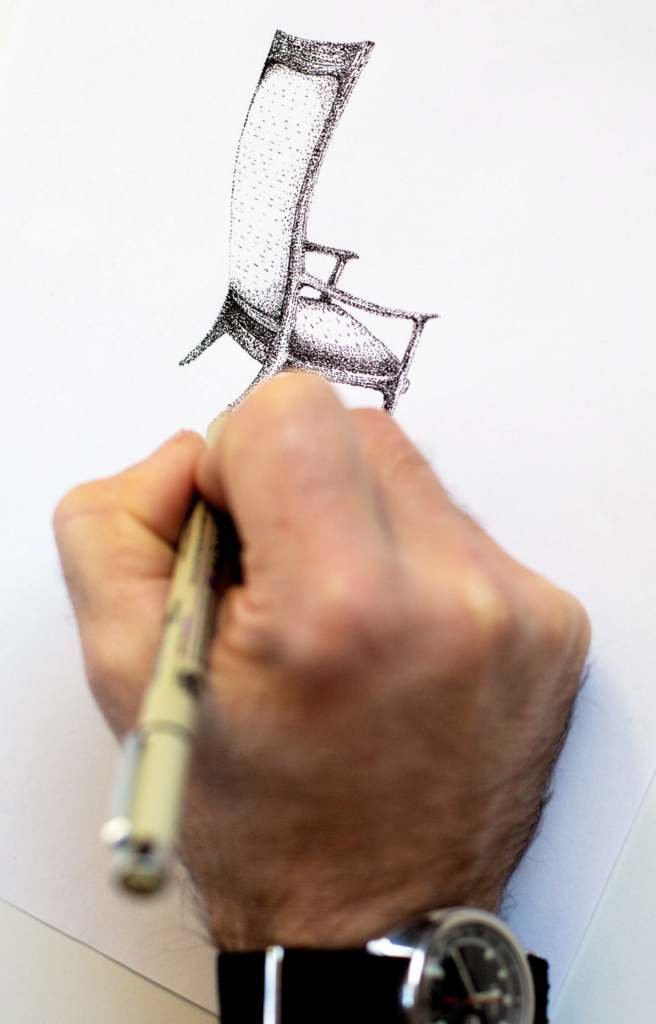
Preparation
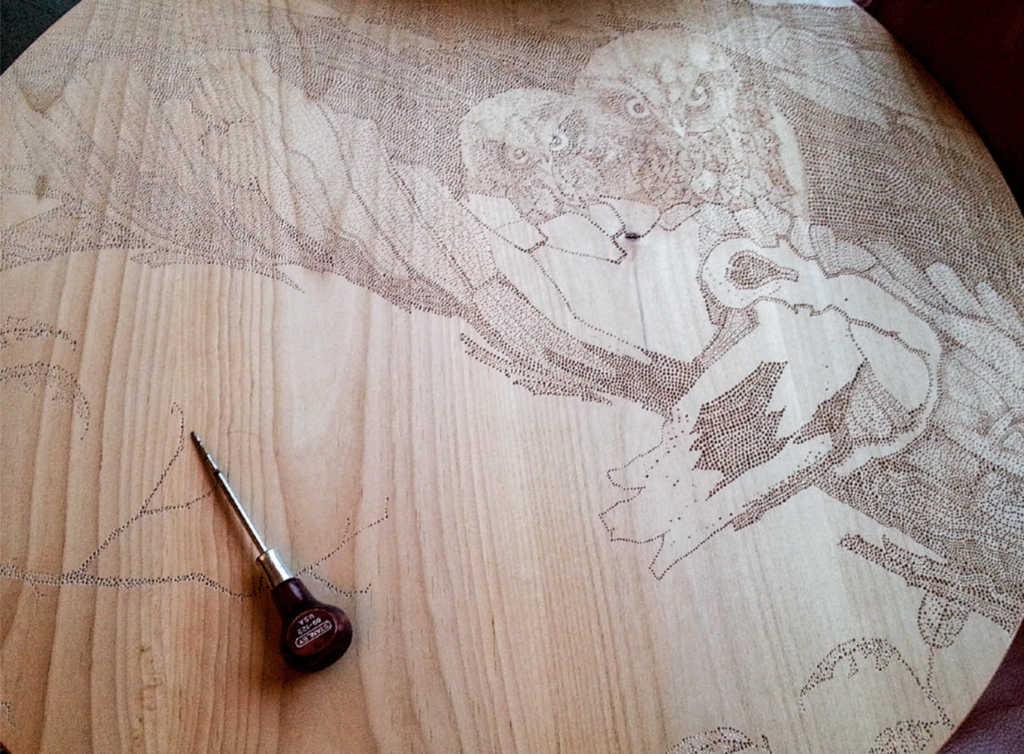
Stippling
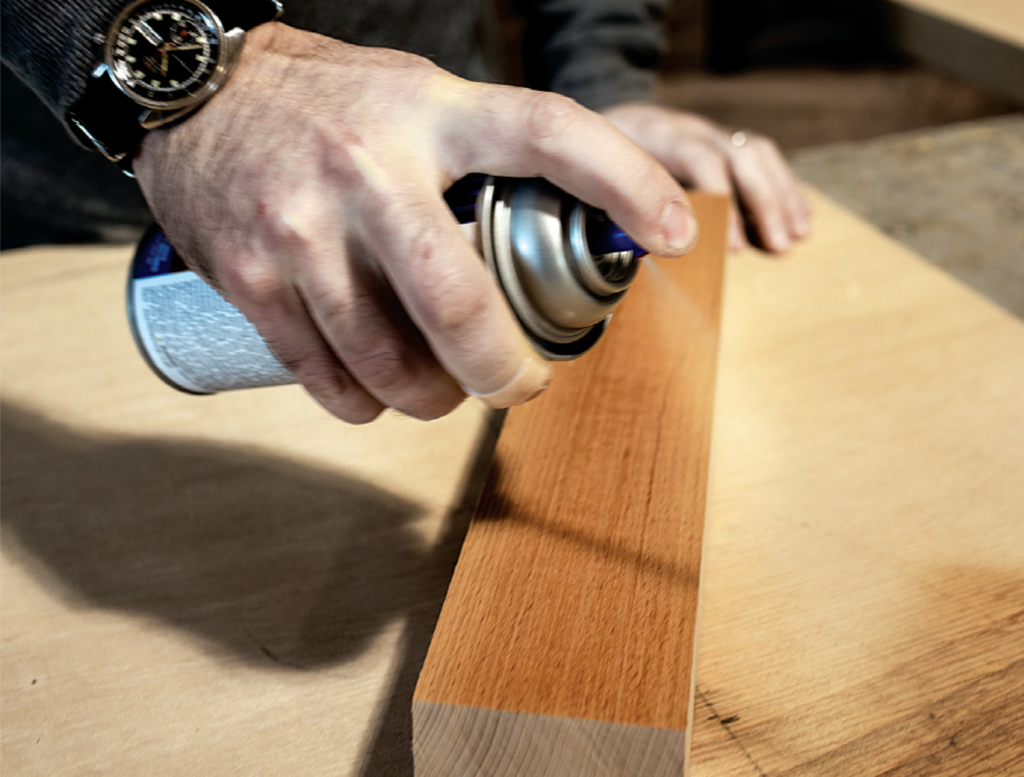
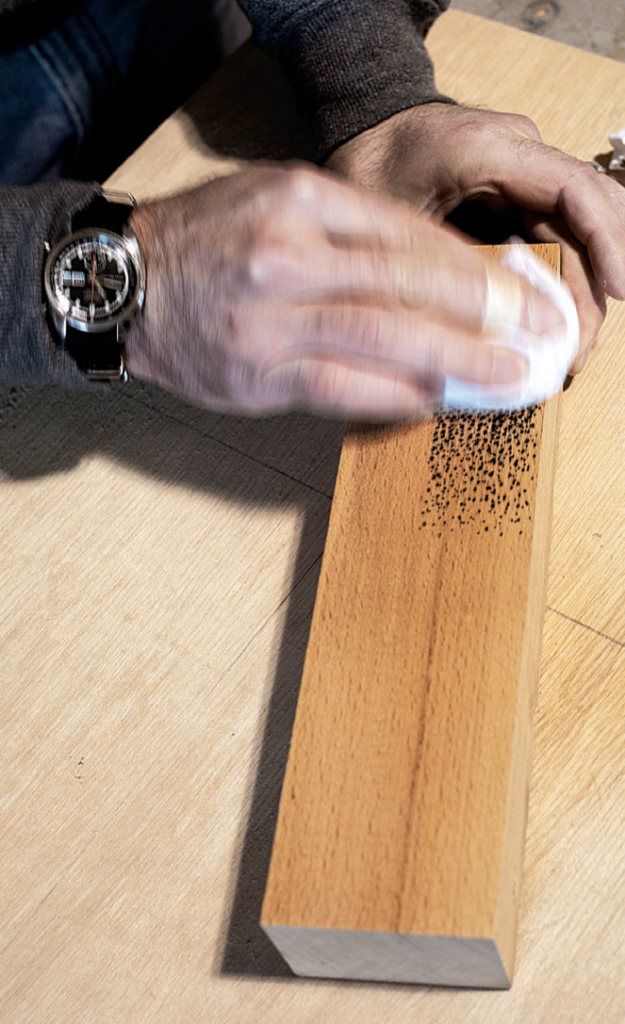
Finishing
Further reading
PHOTOGRAPHS BY @TASHAMARIEGALLERY/BRIAN KAWAL