Ramon Valdez makes a handy jig for shaping curved crest rails
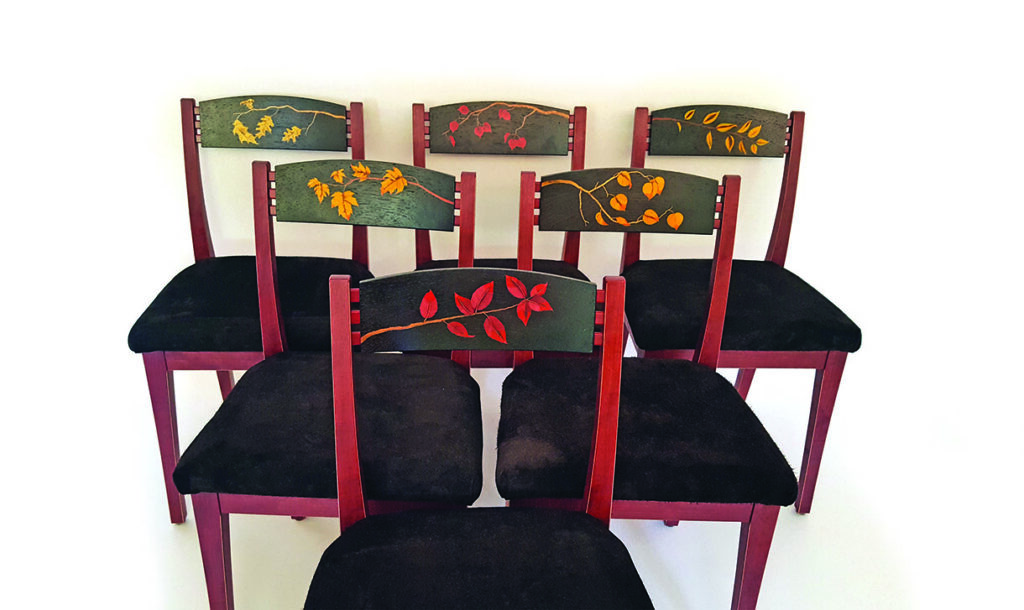
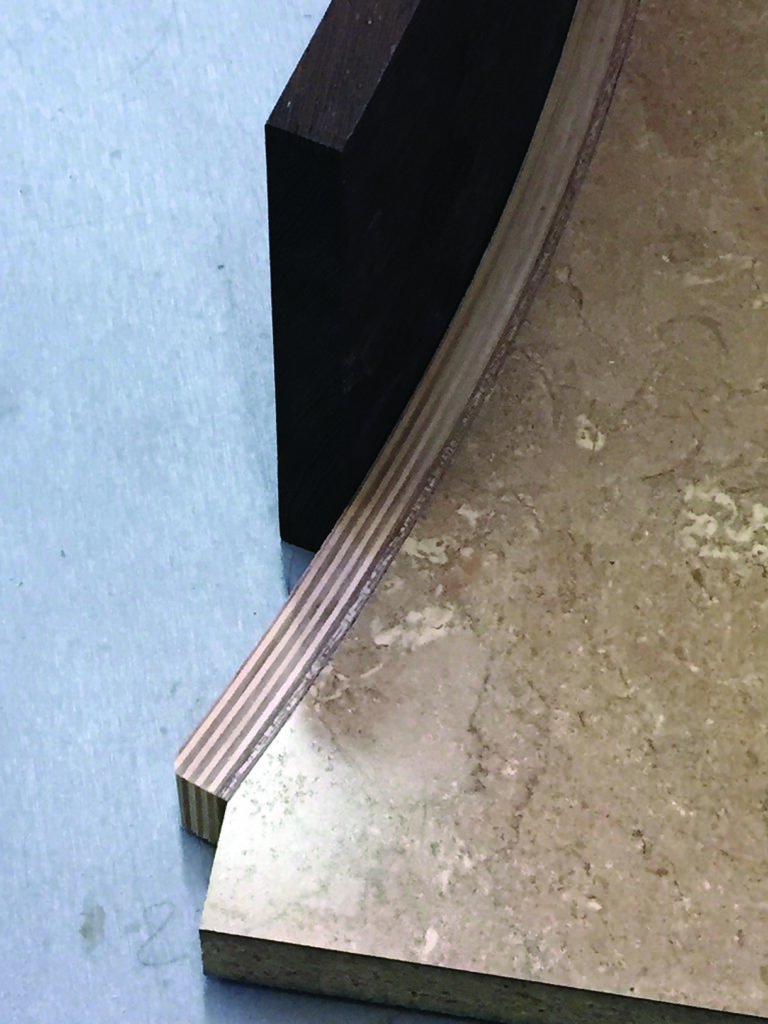
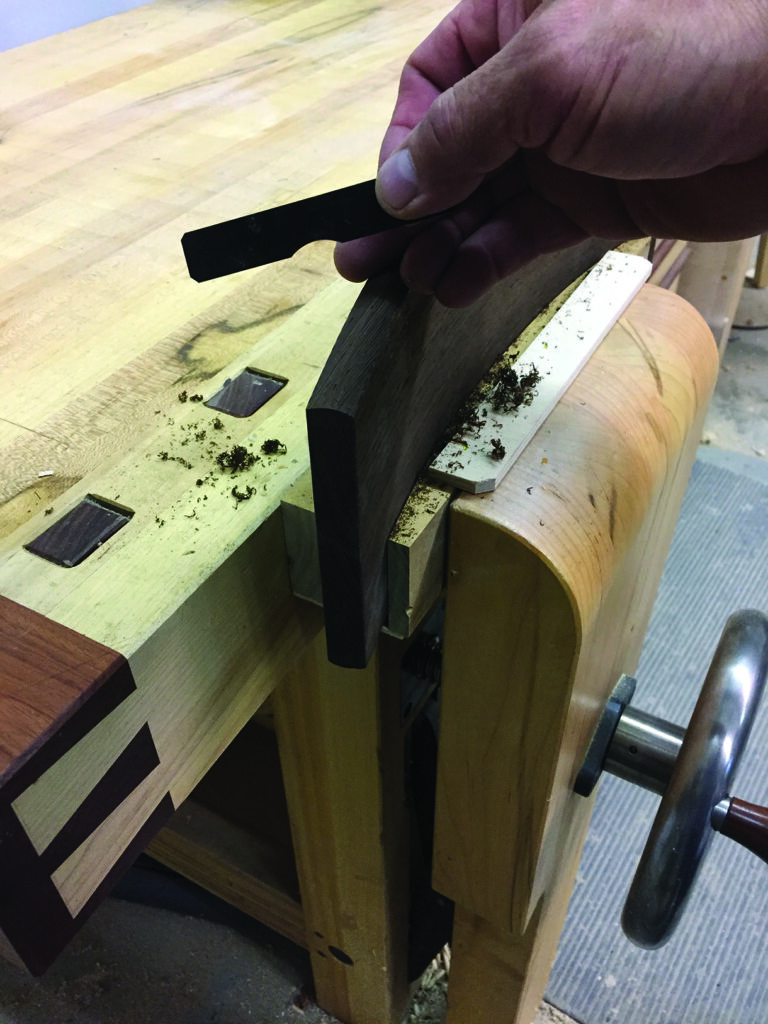
I recently created templates, jigs and fixtures to produce all the necessary components to build nine chairs (only six with marquetry are shown in this article). I needed the parts to be easy to reproduce, preferably quick and easy to make and most importantly, accurate and exactly the same as each other. For most of the chair components, this was a straightforward task. However, when it came time to add a thumbnail profile to the top and bottom edges of the crest rails (chair backs) this took a bit of head scratching. The crest rails are curved at a 30in inside radius to fit the user’s upper back and the top edge is also curved for aesthetic reasons. Perhaps this could be called a compound curve. I needed a foolproof solution as I had already spent quite a bit of time on the crest rails because of the marquetry and I certainly didn’t want any mistakes!
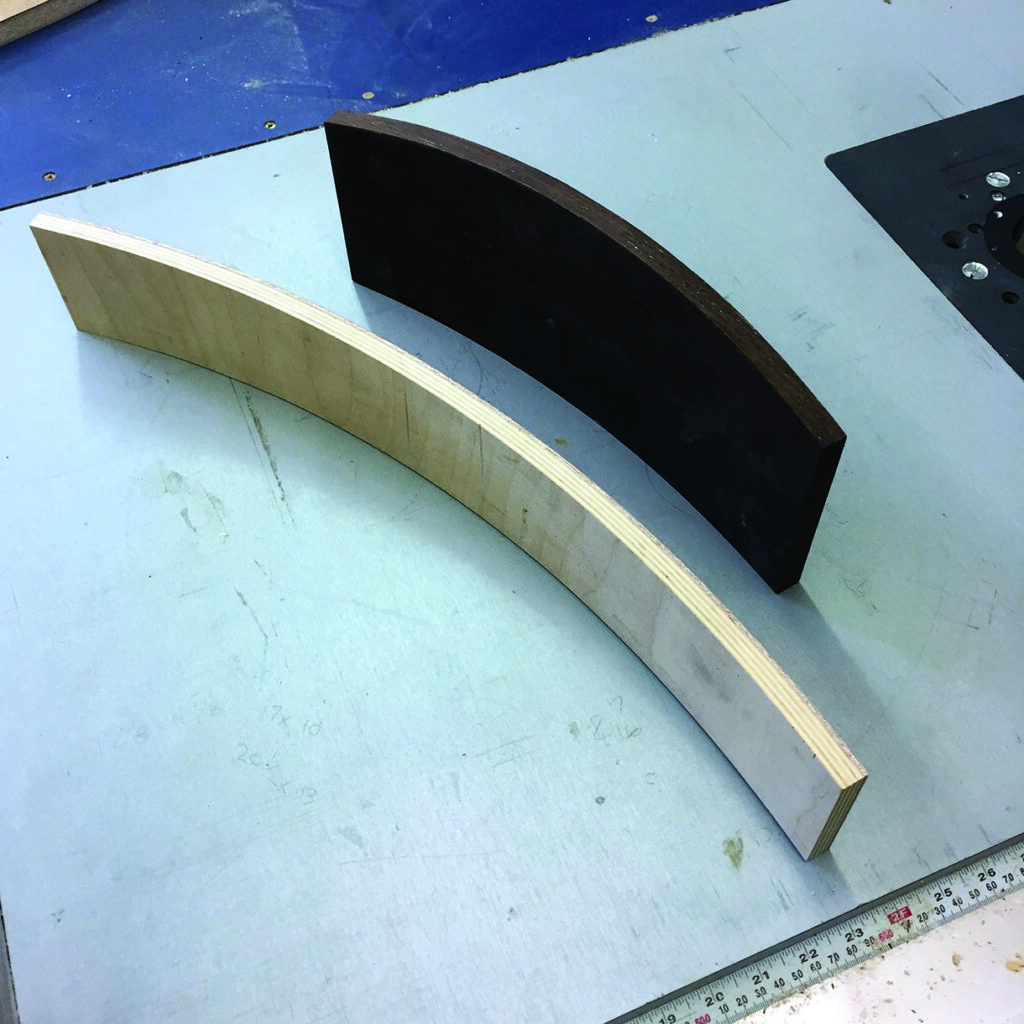
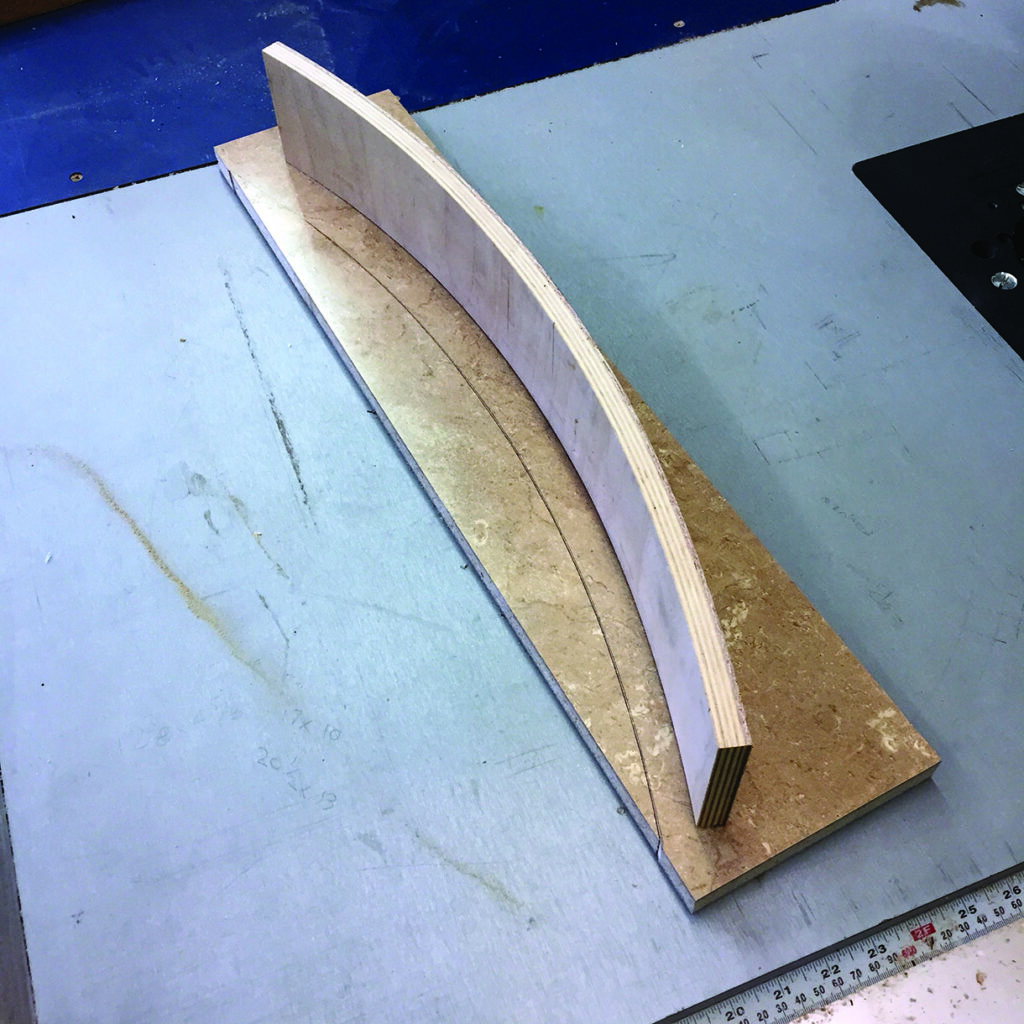
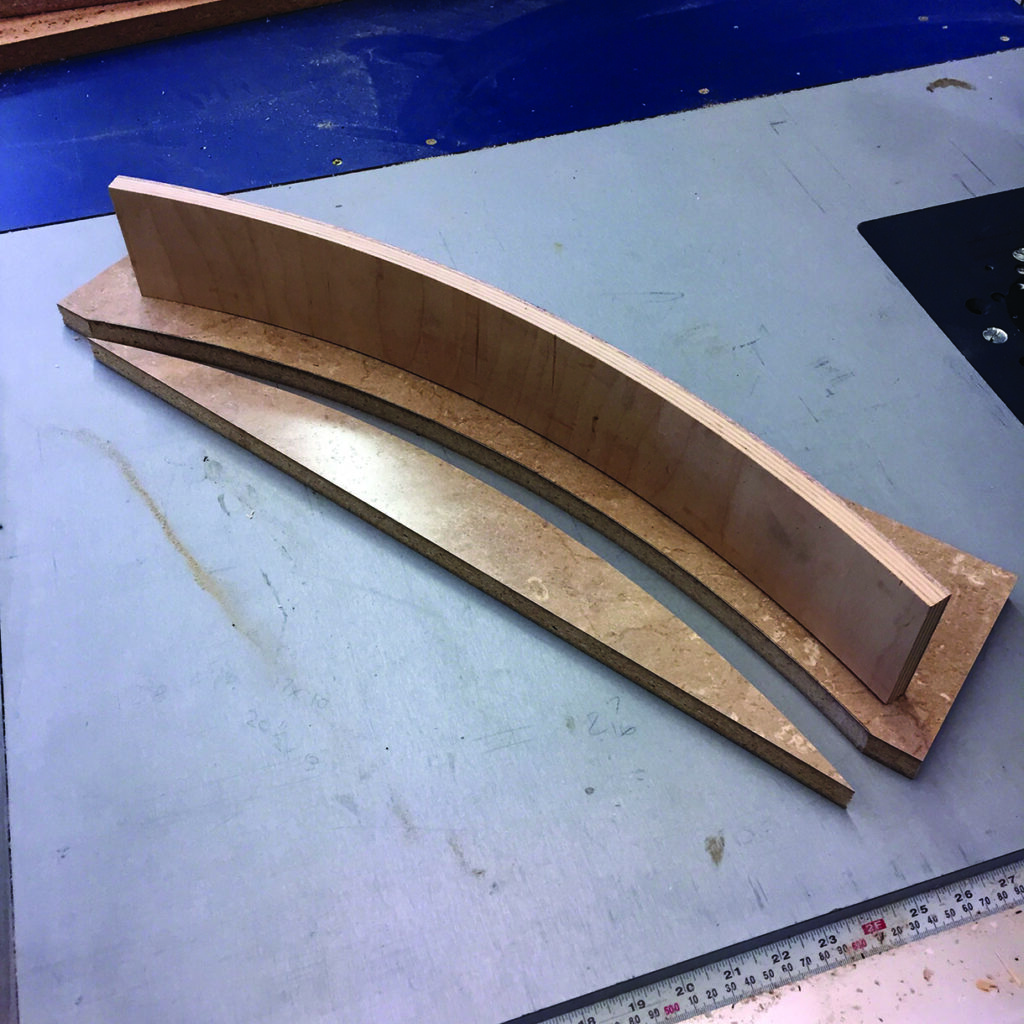
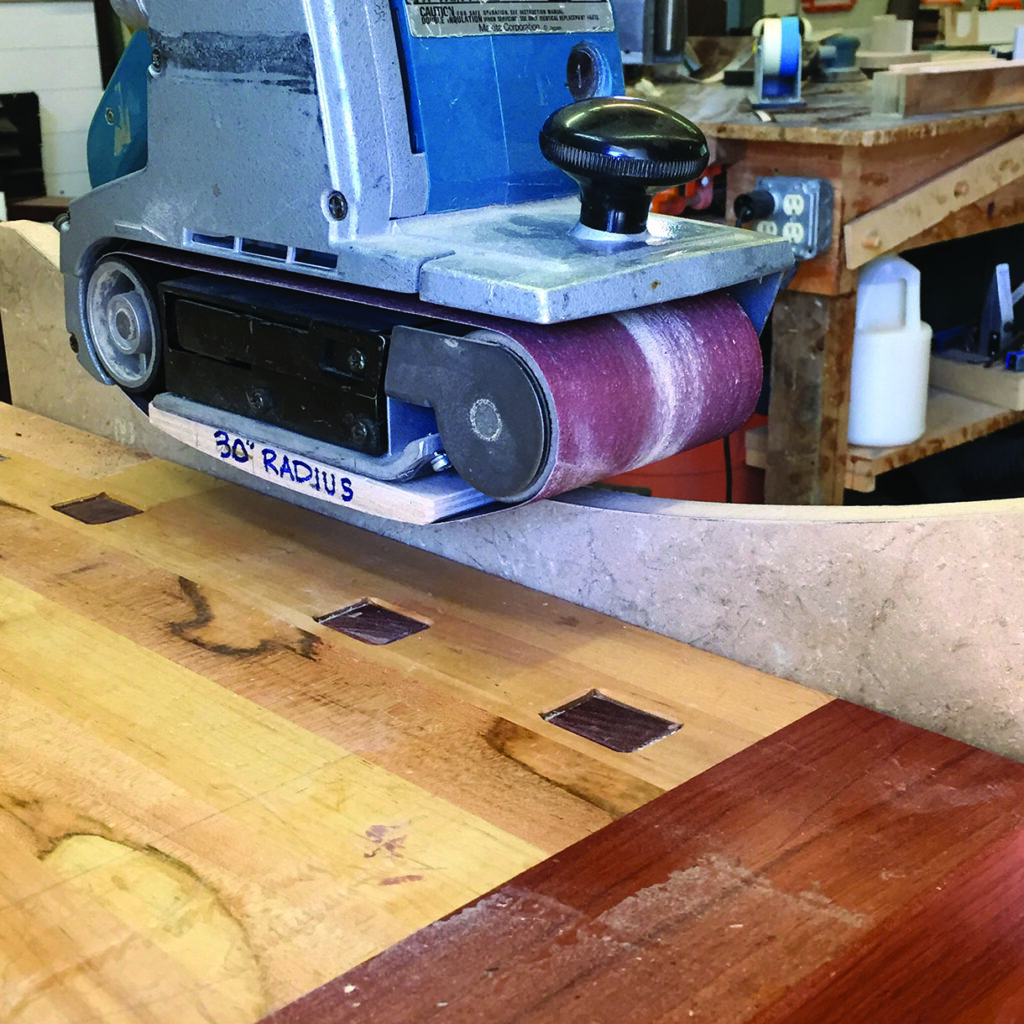
This was my solution. When making the curved substrate for any project, I intentionally make more than I actually need. You never know when you’ll need the curved material during the project. As a backup for the curved material, I created a curved section using scrap particle board (I used Formica-covered sink cut-outs) and I traced the 30in curve onto this and cut to the line at the bandsaw. After fairing the curve with a belt sander and curved platen, I attached a narrow section of the curved material with glue and screws. This will later become the template that the back of the crest rail will follow. Using another section of scrap with a 45° angle and a notch for the router bit, I attached this section to the first, then attached them both to a sub-base. Then on to the second curved ‘fence’ that will guide the convex top shape of the crest rail. In other words, the crest rail will move across the router bit at a 45° angle, and not only follow the back of the crest rail, but also follow the convex shape of the top of the crest rail. This may seem overly complicated, but the photos should show the relative ease of the jig.
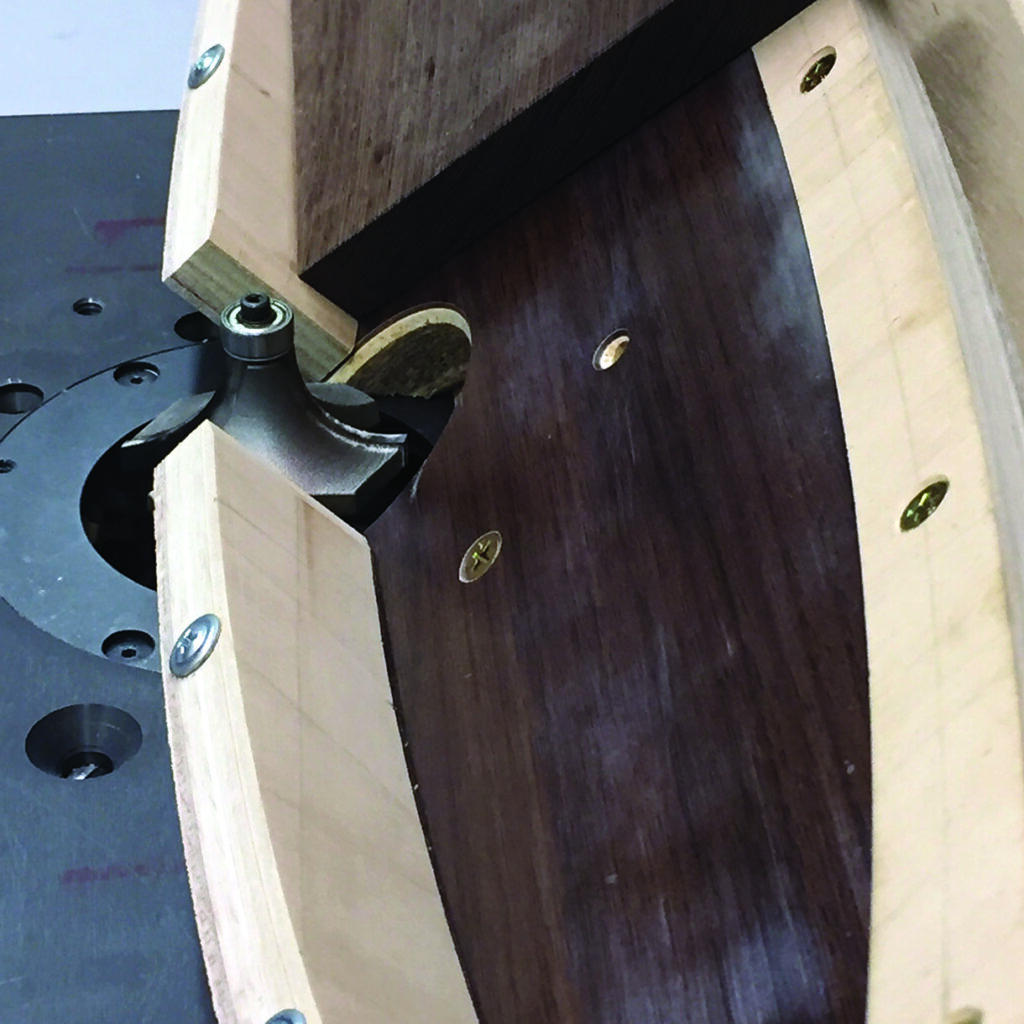
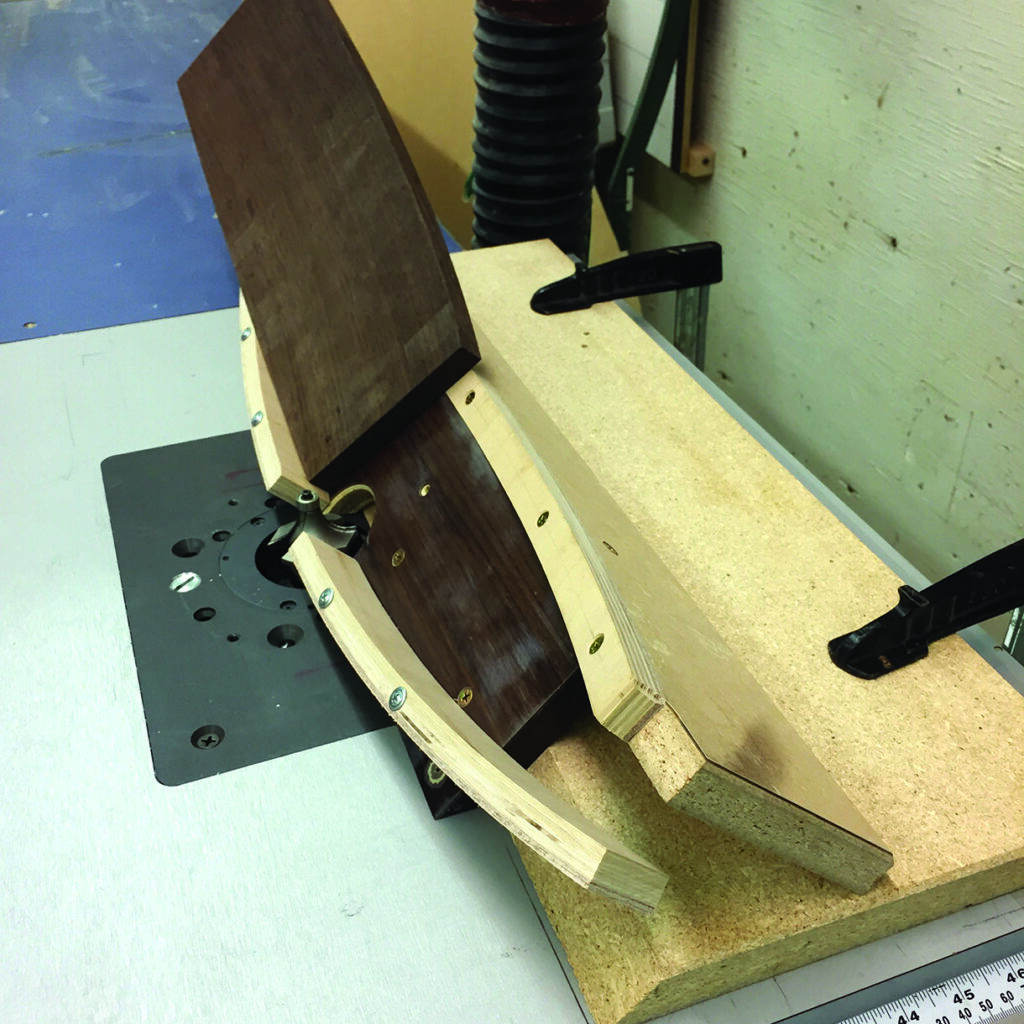


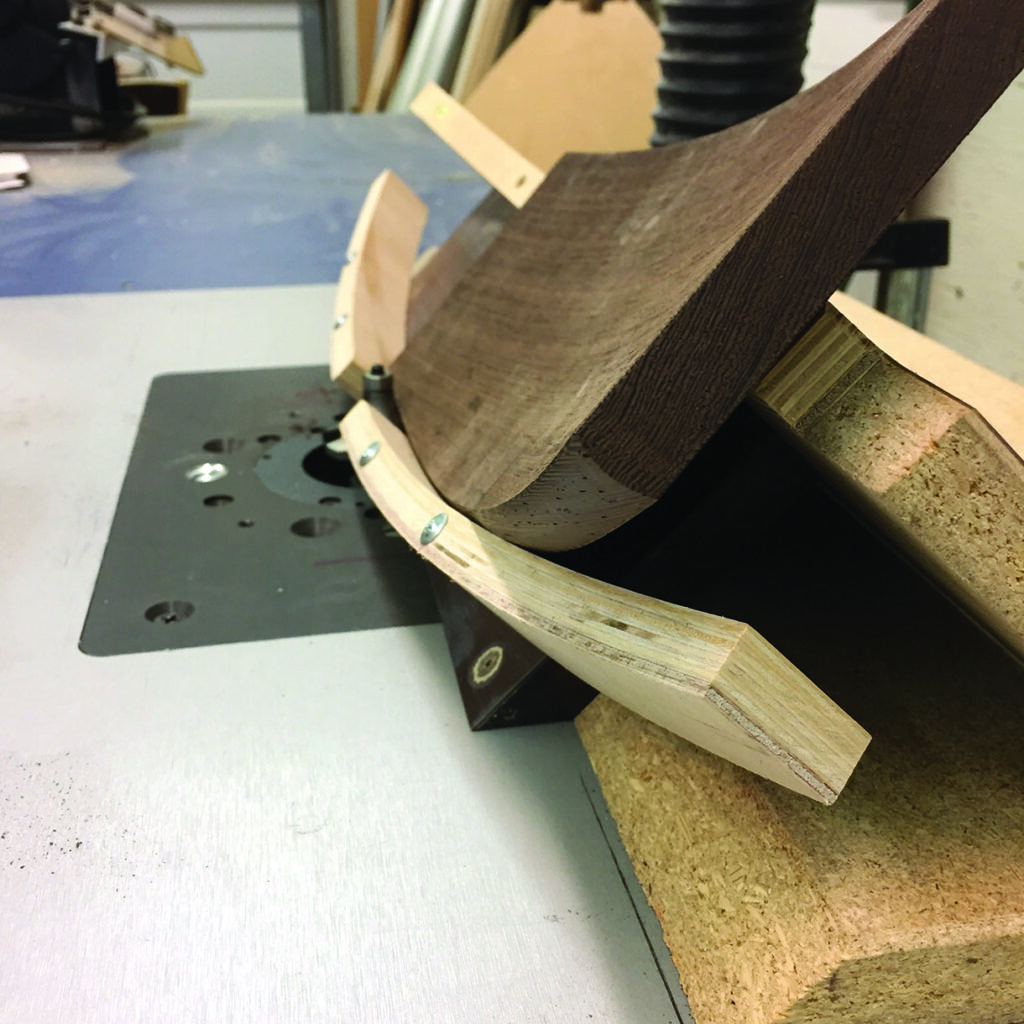
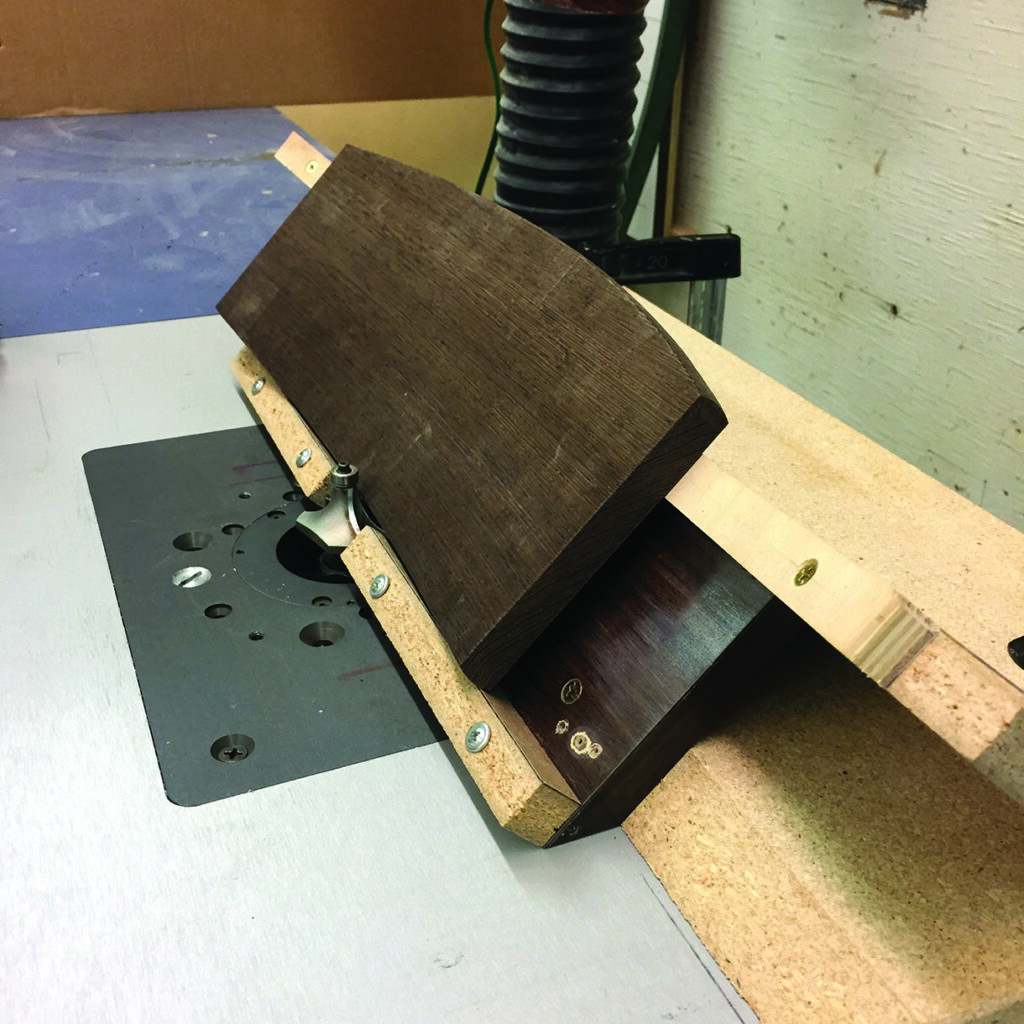
Setting up the jig required a bit of a dance between the router bit height and the proximity of the jig to the router bit. I assumed it was close by eye and made a test cut, just barely cutting the leading edge. After a tiny adjustment, I locked down the clamps holding the sub-base and routed all the curved top edges. Once finished, I simply removed the curved ‘fence’ and replaced it with a straight one to rout the bottom edge of all nine crest rails.
I love creating jigs and I believe that they should serve at least one of three principles: provide safety, speed of production and/or accuracy … or better still, all three.