
In my experience, there is no better finish for small to medium sized turned objects than cyanoacrylate. When you know how, it can be applied evenly across objects, providing a consistent finish that protects for many years. We have already looked at how to prepare your piece, and the considerations necessary to ensure a safe and smooth process. With that in mind, let’s now look at how to apply the cyanoacrylate to your workpiece.
7. Application process
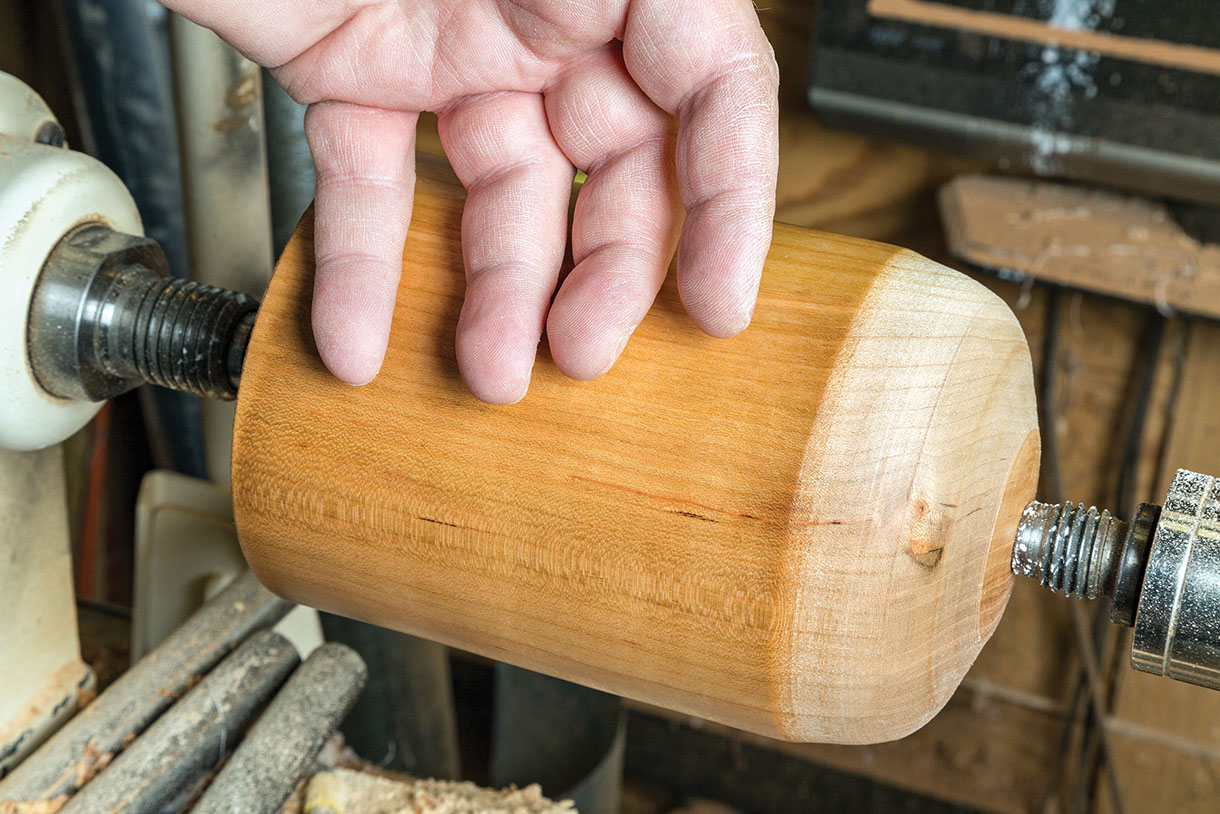
I’ve altered the technique that I used for many years to a more versatile method I learned from Alan Trout. Alan has been sharing a technique he developed for some time. His has the advantage of working on any sized work. Once all is sanded, wiped clean, and ready, follow this process.
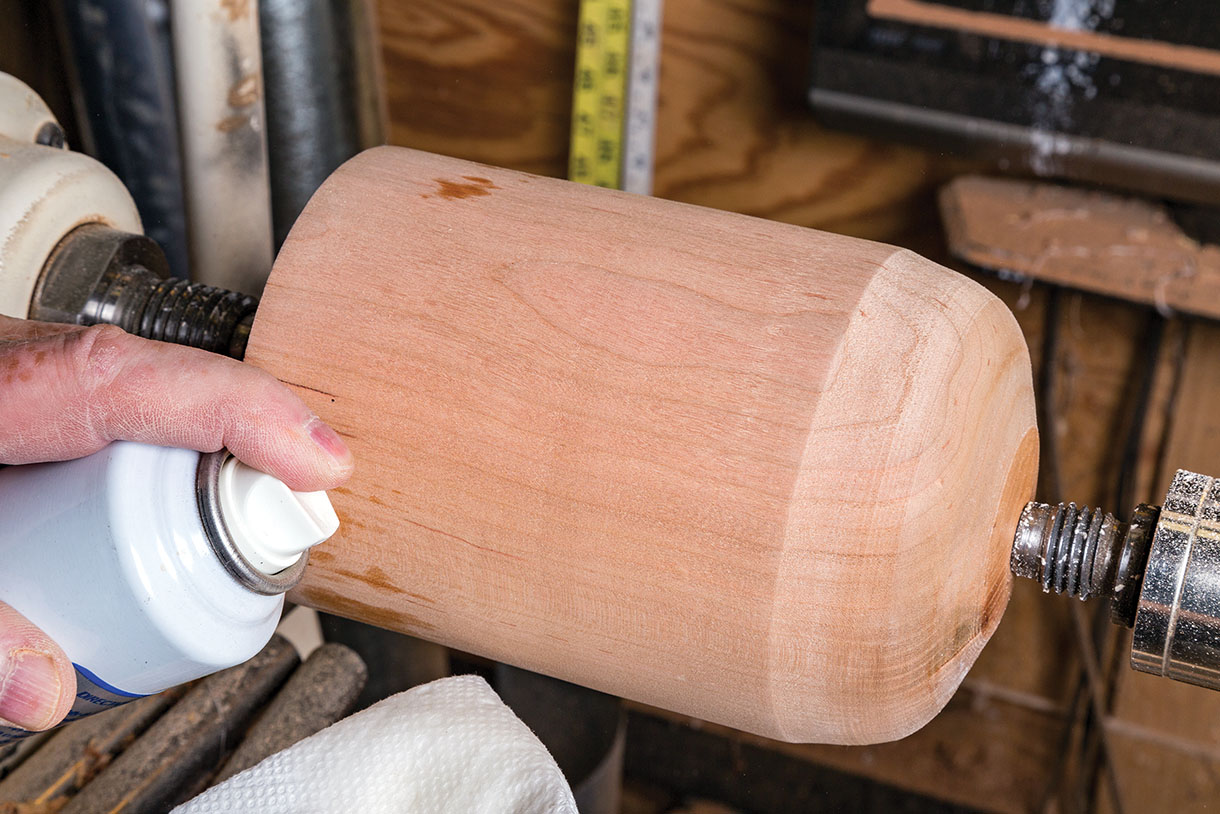
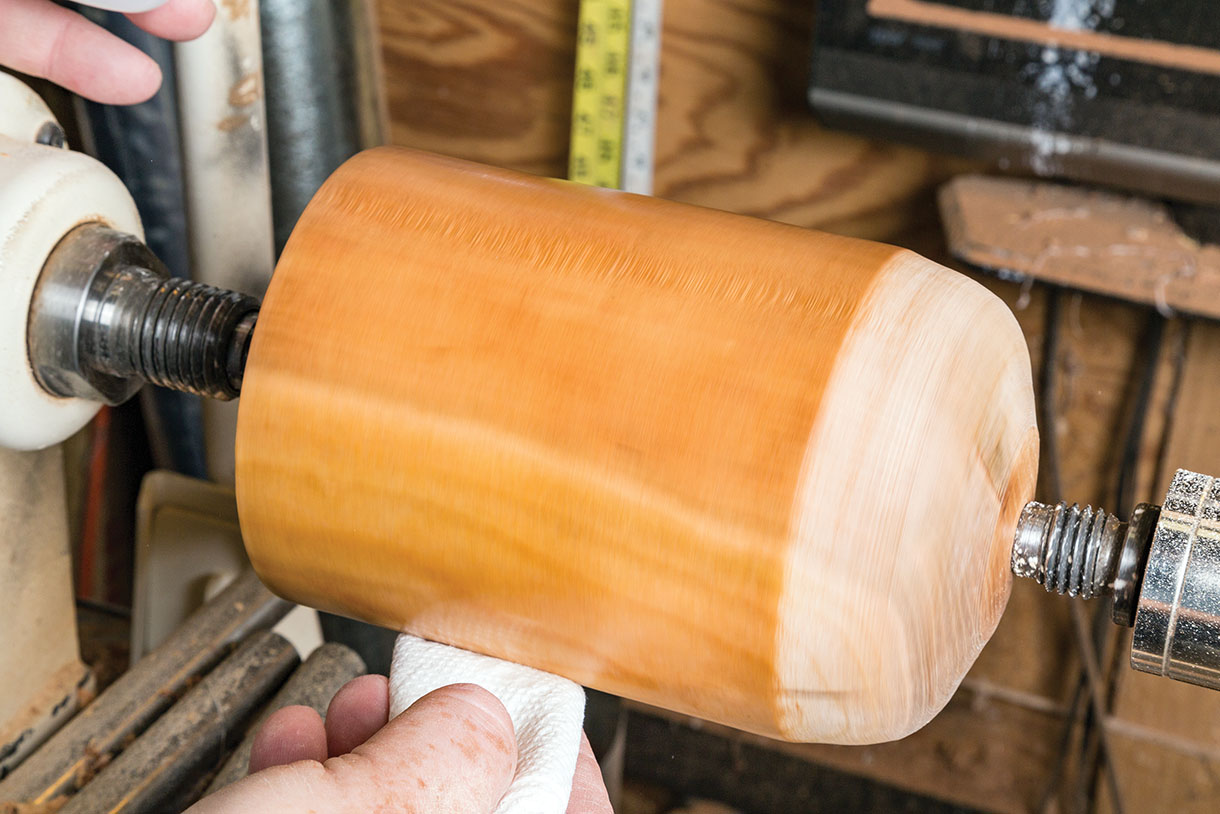
The accelerator
Take a paper towel and fold it enough times so you have a multiple layered pad of about 50 x 75mm. If you have the half sheet perforated paper towel variety, folding that half sheet into four quarters works well. The multiple layers will provide sufficient thickness to wet the towel with enough accelerator and prevent it from wicking through to your hand. Using the lathe to hold and rotate the work, set the speed at a low rpm. Somewhere between 250 and 600, depending on the size of the work. Apply a quantity of accelerator to the paper towel so it is well wetted, but no puddles or running liquid. While the work is turning, apply the accelerator to cover the entire surface. You will be depositing dry chemical for the most part, so you won’t see wetting, or at least not on the entire surface. Apply until you have fully covered the surface. Re-wet the towel if you feel it is necessary to complete the entire surface.
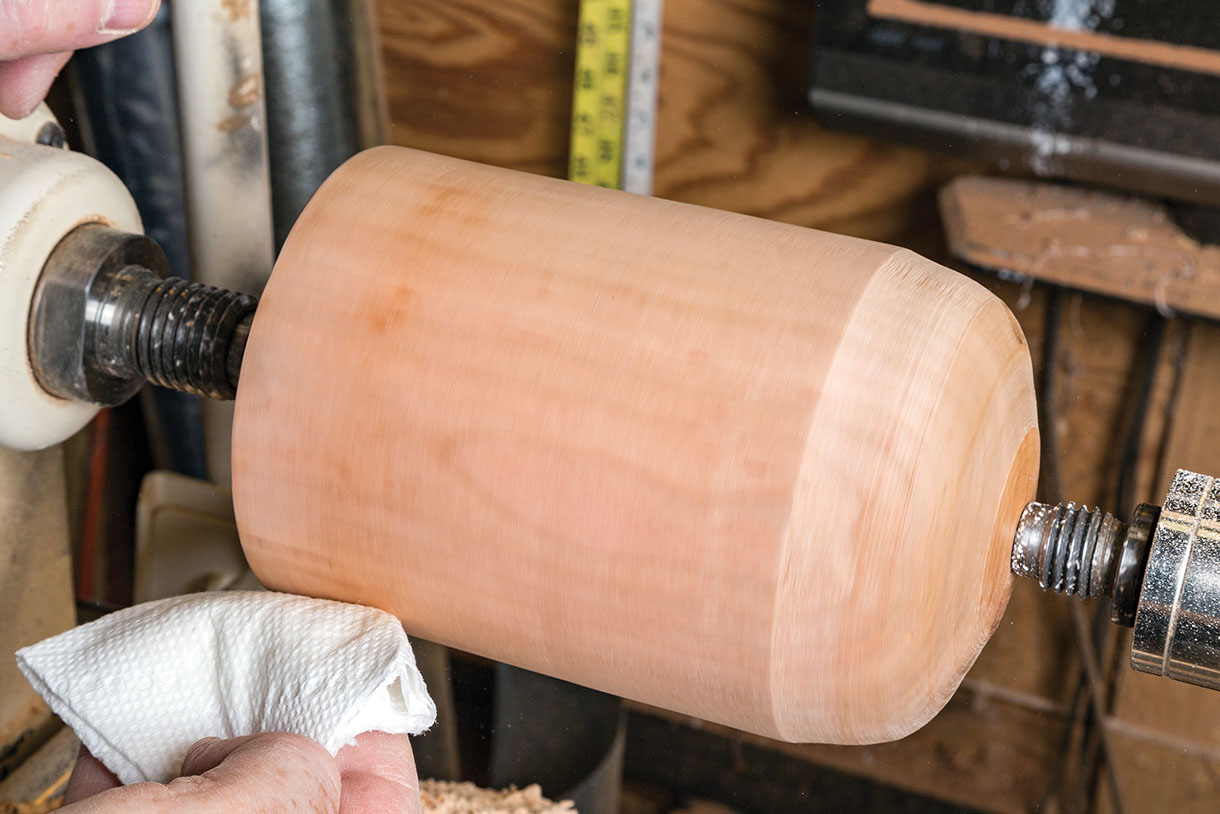
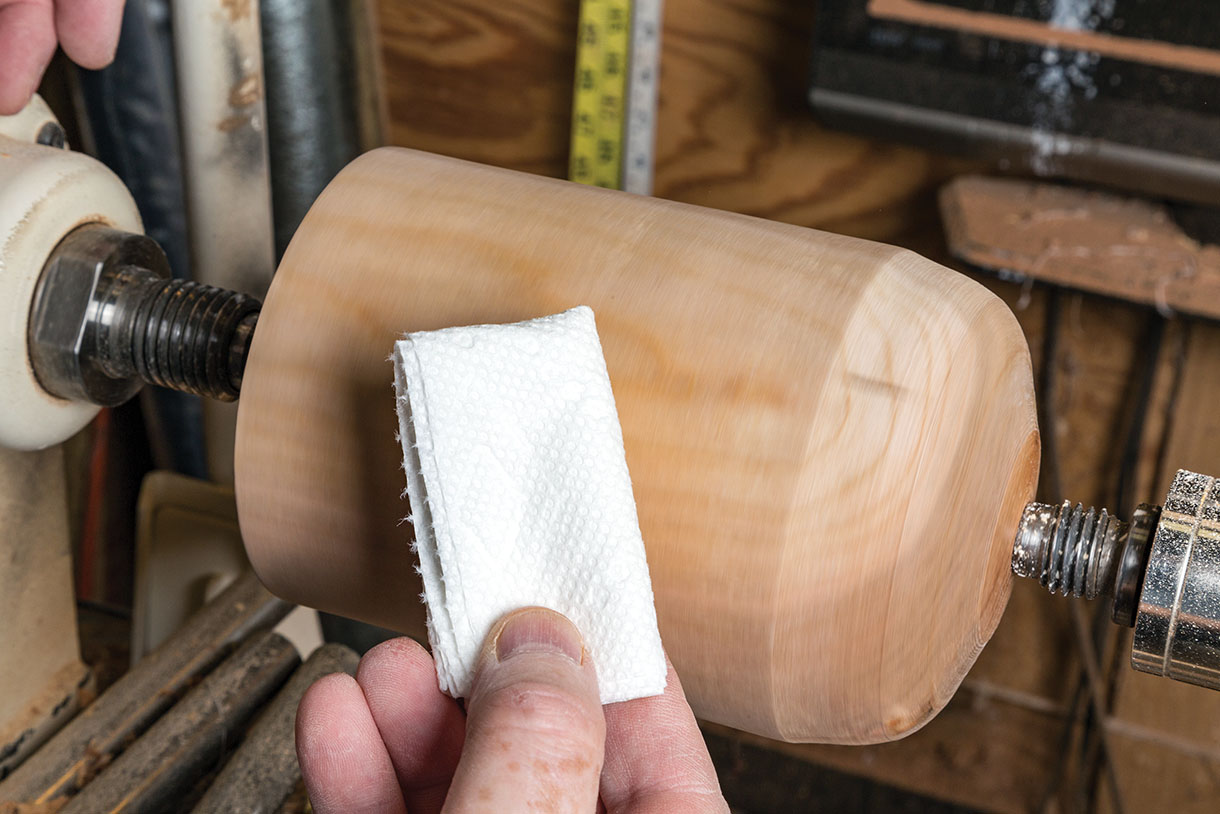
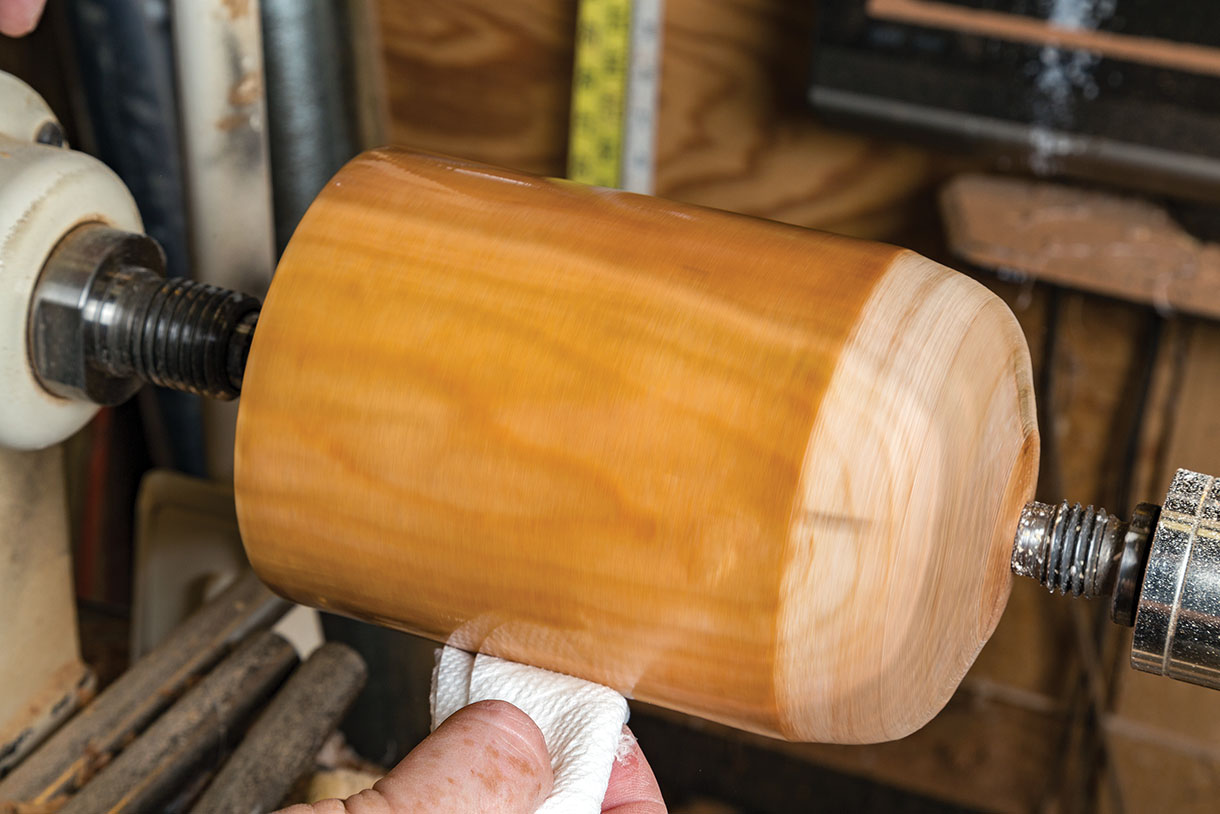
The adhesive
Take a new towel and fold it until you have an application pad that has a good bit of thickness. The thickness will help avoid wicking adhesive through to your hand as well as minimising the heat transfer. Apply cyanoacrylate adhesive to a towel corner and then spread that on the turning as it is rotating. The goal is to make complete pass and avoid seams. Be careful of the heat that will be generated in your towel of cyanoacrylate once the accelerator has been contacted. The goal is to apply a light coat that stays wetted from end to end. Depending on the size of the turning, you may not make it from end to end in one pass. If not, repeat using a clean corner or a new towel to apply cyanoacrylate to the area not yet covered. I always place used paper towels in a safe place in the middle of my cement floor. There can be continued heat release so don’t discard the towel into the trash until you are certain the glue has setup and is cold. I wait until the next day to pick them up and discard them. After the first coat of cyanoacrylate over the entire surface, repeat the cyanoacrylate application again.
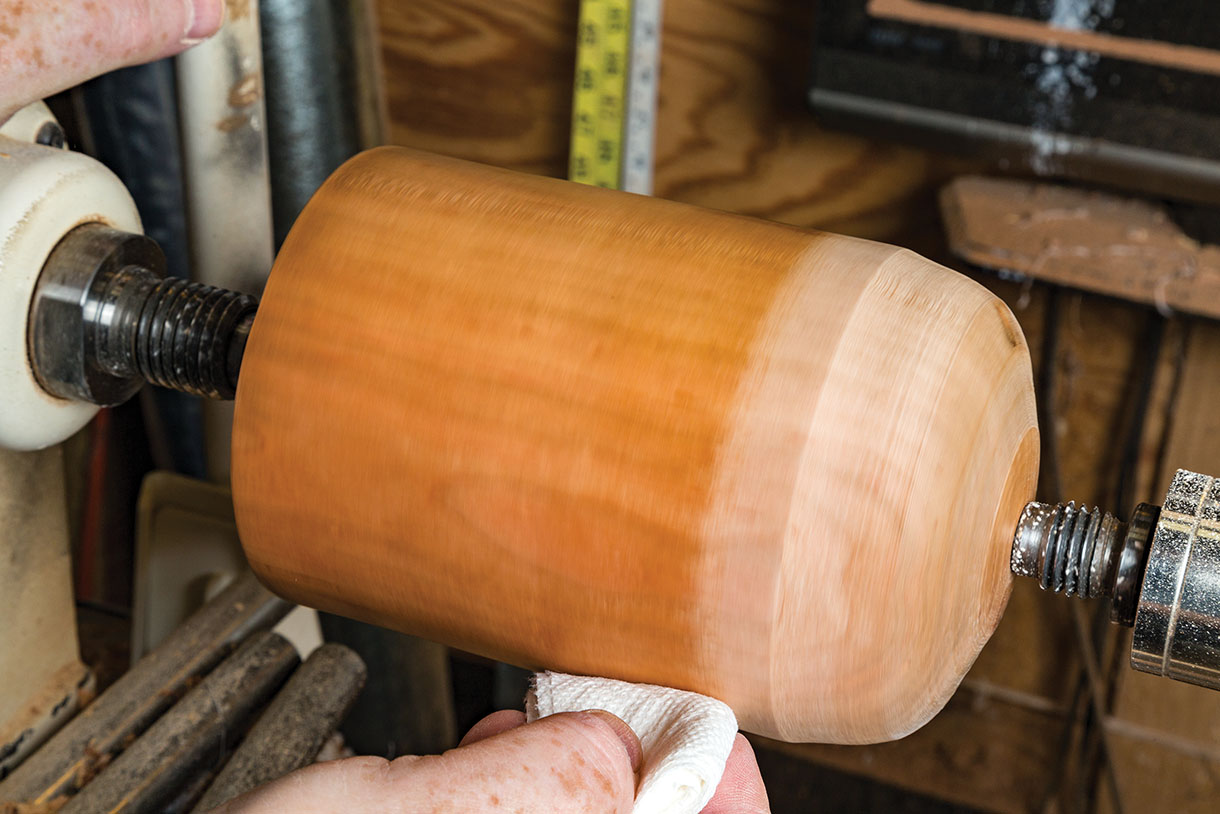
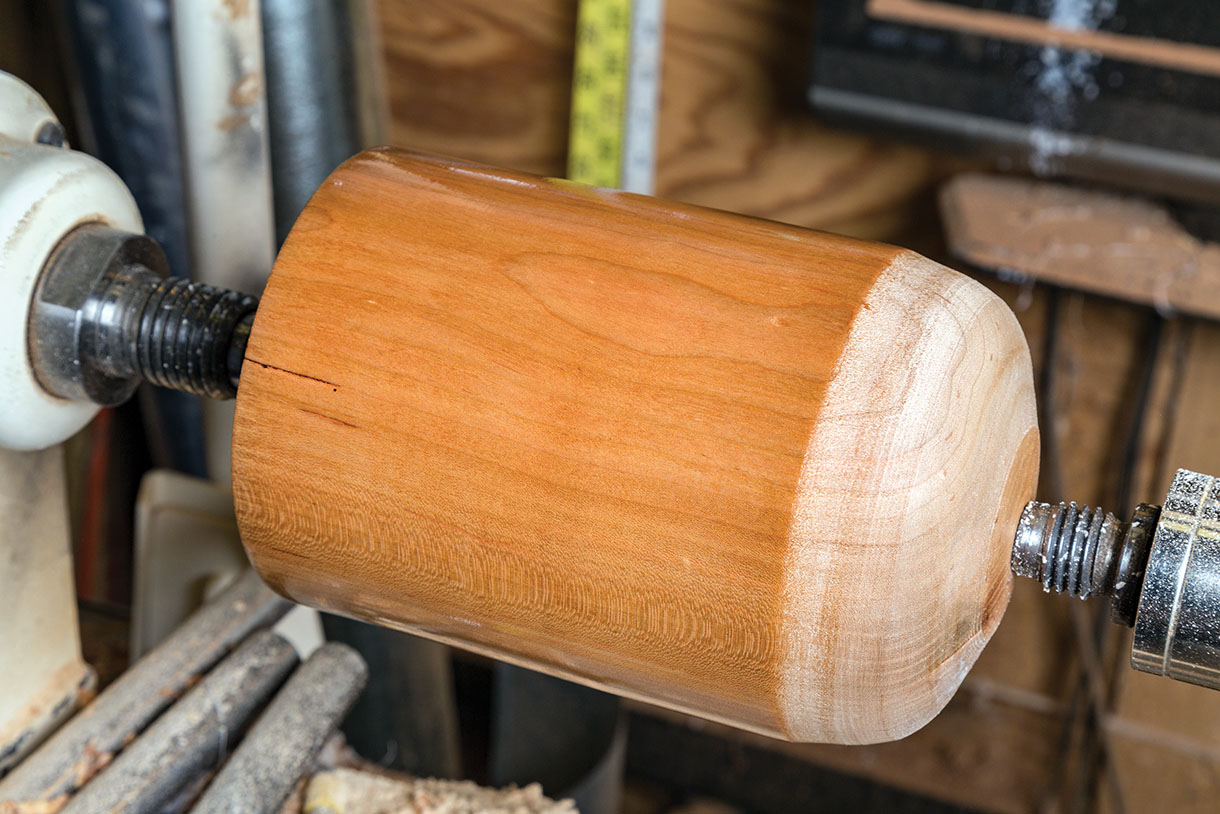
Cyanoacrylate thickness
Because the coats are extremely thin, it takes many layers to build up any thickness. The adhesive can be applied almost continuously since the thin coats will cure almost immediately. The thinner the better. You can check for the set of the adhesive with a light touch of the back of your finger. Any tackiness means to let it sit for a few moments longer, or don’t put it on so thick. The process is one application of accelerator followed by three applications of cyanoacrylate adhesive. Repeat this process as many times as you wish to get the build you want.

8. Go slowly & methodically
Cyanoacrylate finishes can be easily ruined by a rushed application. For each application, less is better. Go slowly with thin and repeated applications. The trick to having a spectacular finish is to build many, many thin coats until you reach the desired look and protective thickness. The protective aspects are obtained pretty early on. It is the look that requires all of the added coats. You can also take a break if needed. As you progress through your many coats of cyanoacrylate finish, you can stop at any completed coat and walk away. There is no harm in letting things set as they are for an hour, day or month. When you get ready to continue, be certain that the surface is clean. Don’t let any accumulated dust or debris ruin the finish now. Get all of your materials out and ready and continue on. How many coats is enough? Depending on your application, 20 to 30 coats isn’t unreasonable. Remember, these are light coats that build. There are some spectacular hollow forms I’ve seen with 40 or more coats.
9. Sand out any flaws
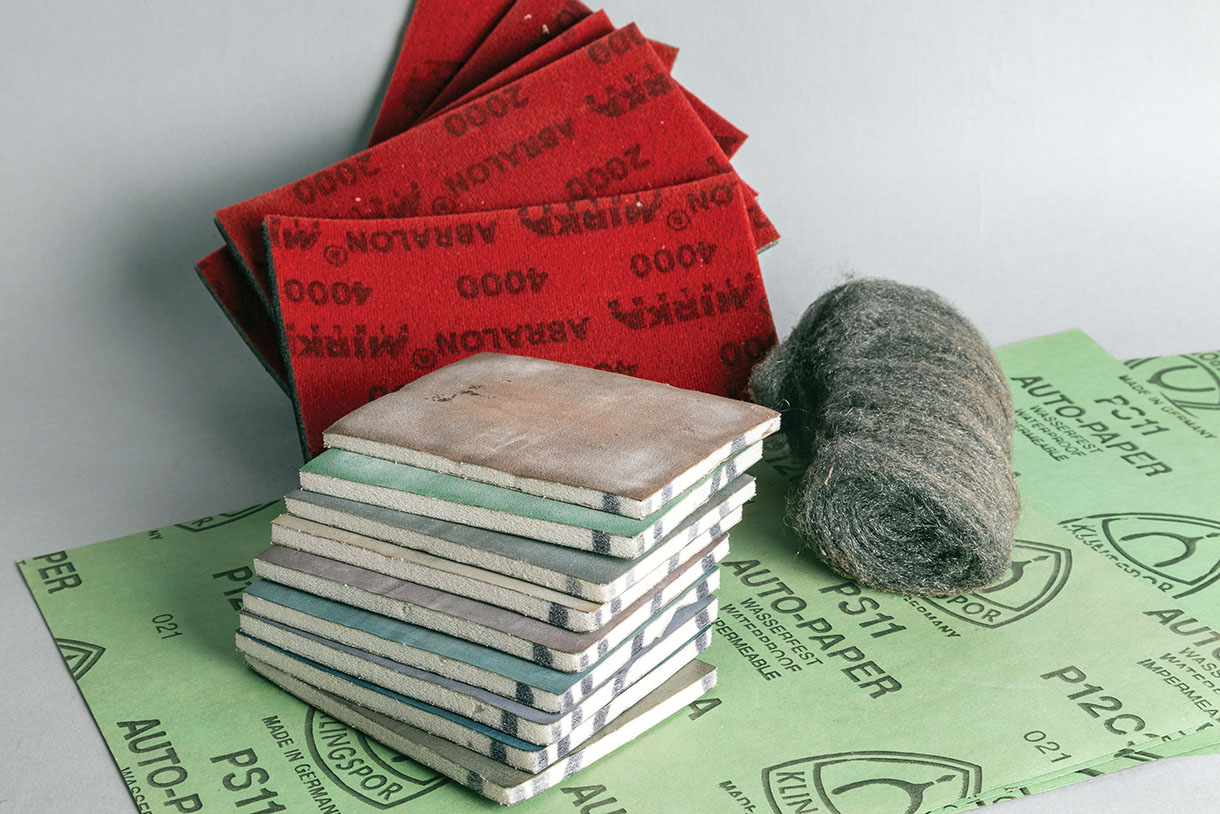
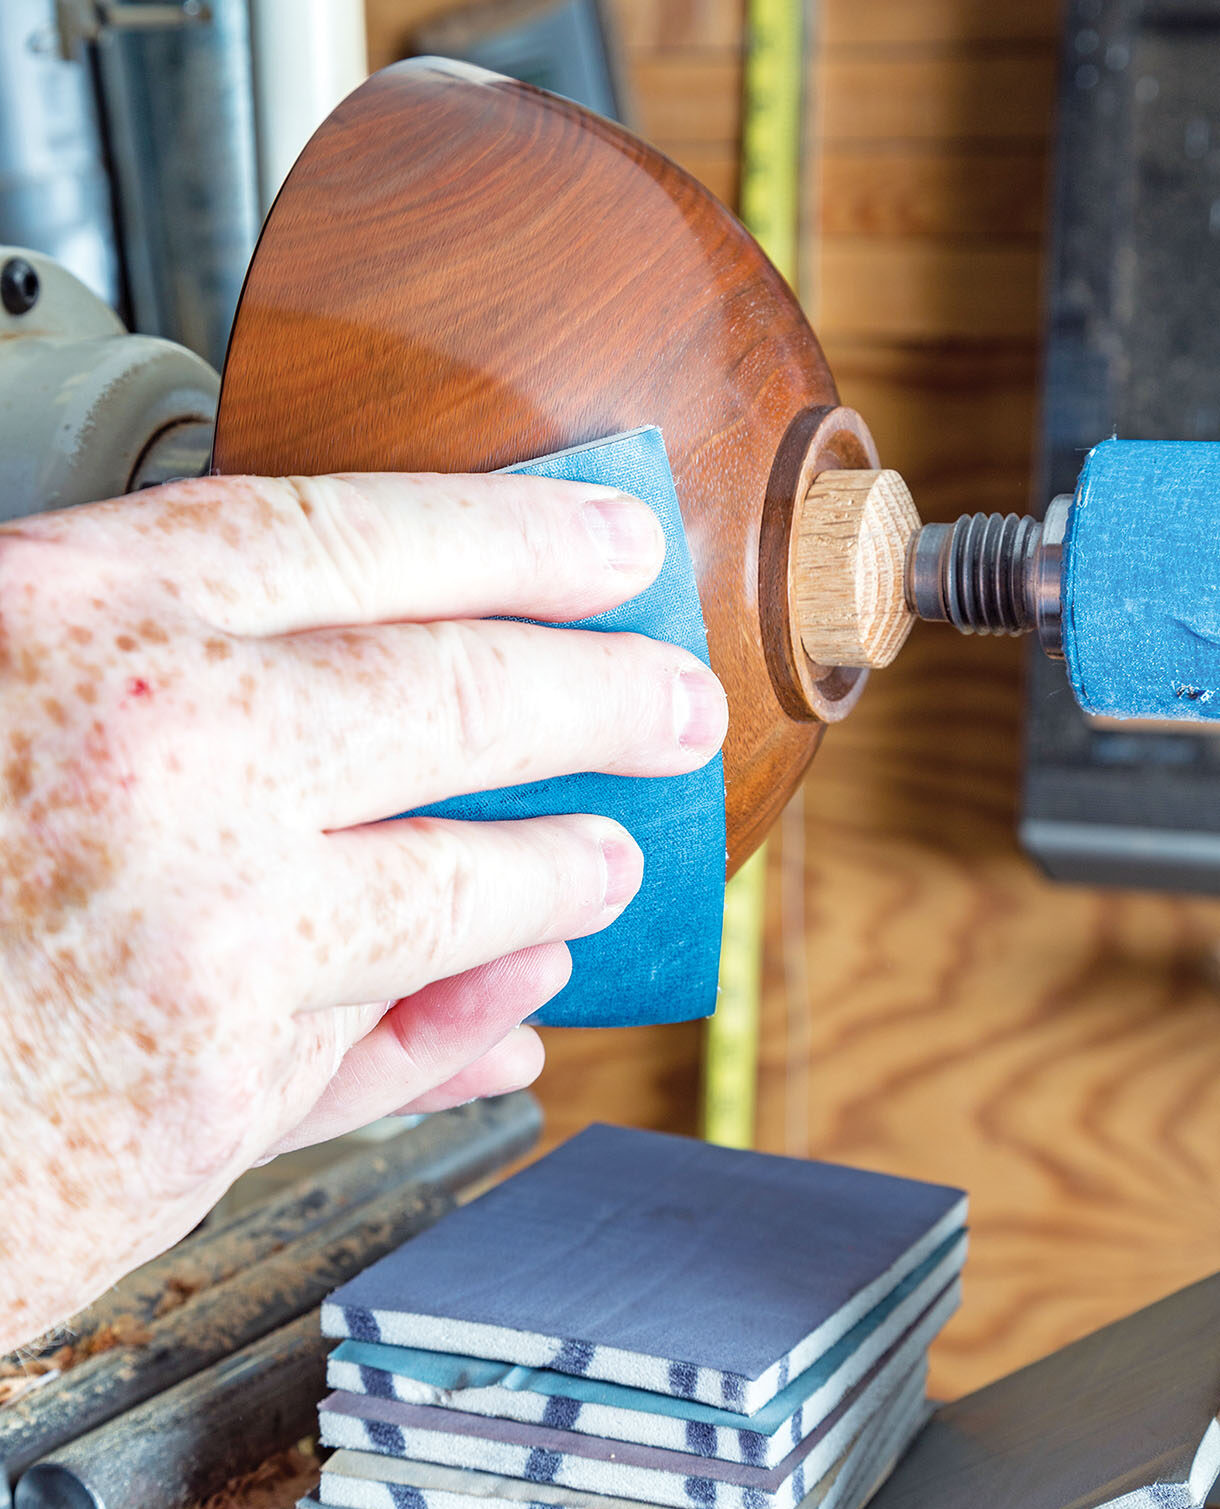
The goal in applying a cyanoacrylate finish is not to create any ridges or imperfections in the application process. It does happen, however. You can stop anywhere in the process to sand out any flaws that have become apparent. You’ll need to be certain that the cyanoacrylate has cured prior to sanding. Once it is cured, you can sand, beginning at a fine grit. Usually 400 or 600 grit is sufficiently coarse enough to remove ridges. You’ll want to remove the flaws, usually radial ridges, by sanding by hand across the ridge. You only want to remove the ridge. Go completely around the turning until all of the ridges have been removed. Be careful not to sand through the applied finish – especially at any corners. Work through the grits until any scratches you may have created are gone. You can use MicroMesh or the finer automotive finishing grits from 600 through 2500 as needed. You can continue to apply more cyanoacrylate after cleaning the surface as needed.
10. Going the extra mile
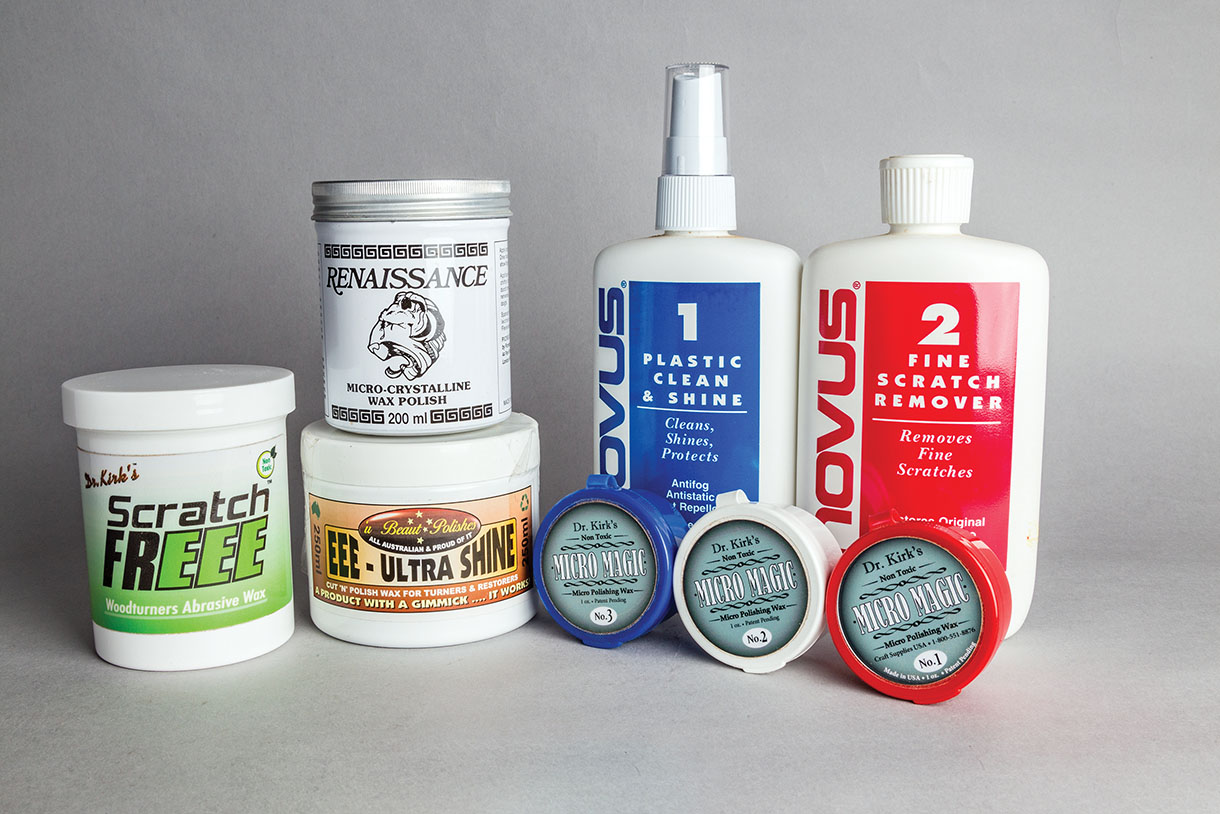
Cyanoacrylate finishes are not only protective but beautiful. You can control them from a super high gloss to a matte finish. Not many opt for the matte look, but if you wish, use very fine abrasive to bring down the sheen to the desired level. If you want to take the sheen to the highest level, continue working through the MicroMesh grits at the completion of your builds. You’ll need to begin in the middle to not remove too much finish. You’re only bringing up the shine. If the surface is perfectly level, as it should be by now, you can begin with their 3200. That is finer than P2500 or 1200 on the CAMI scale. You be the judge. You can certainly wet sand as well as use automotive finishers type abrasives. Depending on your end goal, you can progress all of the way through 4000 grit if you are using automotive abrasive papers. You can also use some of the plastic polishes available. The cured cyanoacrylate is indeed a plastic, so use fine plastic polishes or jeweller rouge on a flannel wheel.
How long will it take?
How long will it take? That depends on how proficient you are, how big your turning is and how tough or deep do you want the finish. For a point of reference, I can put a beautiful, durable cyanoacrylate finish of 30 coats on a pen in less than five minutes. Not a huge amount of time to create a finish for a turning that has the toughest life there is. Larger items take longer, but it still is a fast process. Whether you use cyanoacrylate as an adhesive or not, I highly recommend you try using cyanoacrylate as a finish. Properly applied, I don’t think you’ll find a better looking tough and durable finish for your turnings.
Conclusions
Is all of this necessary? Isn’t this a huge time-consuming effort when you could use a wipe on Poly or a friction polish? The answers are no, and no. You certainly don’t need to put on 40 coats and work through to 4000 grit. You can also skip cyanoacrylate entirely if you wish. The explanation is far more daunting than the actual process. The reason for cyanoacrylate as a finish is the beauty and durability. Depending on the end use of your turning, you can put a rub and buff on it, and put it on the upper shelf. If no one ever touches it or uses it, that finish will last a long time. If you wish to have a finish that looks like peering into a clear pond, or something that is tough enough for a pen, cyanoacrylate will get it done.