
If you need to get a grip on your woodworking we have some good advice…
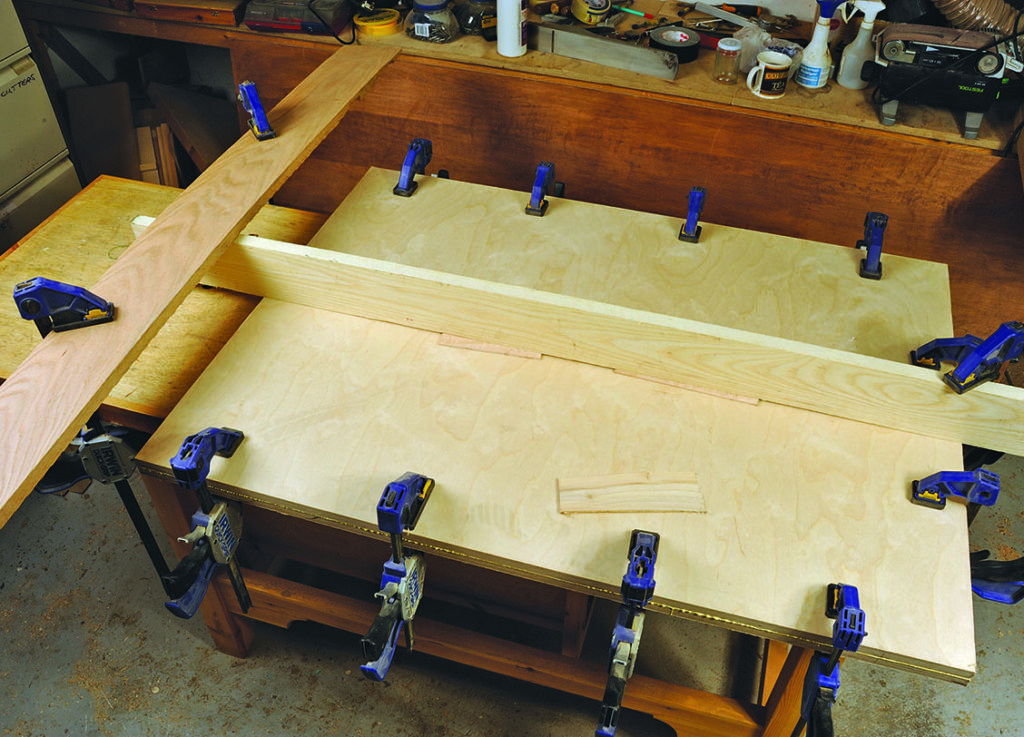
Clamping is a big subject, but we are going to give you a few useful tips to get you started. Just remember that whatever clamps you have, you will end up needing a lot more and there are different types to suit different jobs. There are more options to choose from than ever, so choose carefully as you build up your stock of clamps.
1. Modern quick clamps work in most situations but make sure the pads are carefully placed so they don’t distort the workpiece. Use plenty so the length of a joint is firmly closed before the glue has a chance to set. Some quick clamps have a settable lock for the clamping pads which is best used most of the time unless there are awkwardly shaped clamping surfaces.
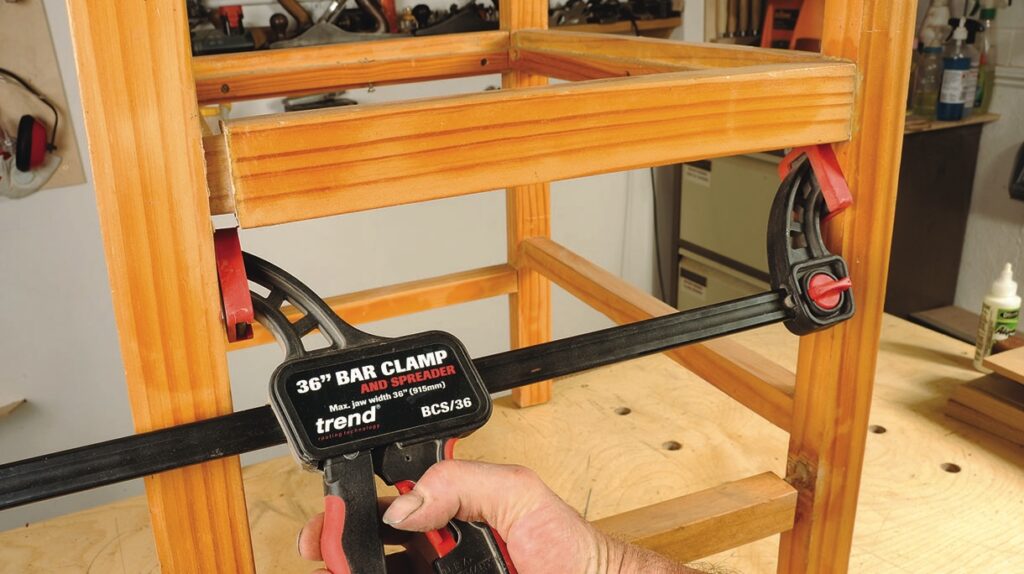
2. Sash or T-bar clamps are still very effective for panel clamping. You can use the bar to press the panel firmly on to so you know it is flat. It is often necessary to have several clamps from the other face to trap the panel and stop it ‘springing’. There are special panel clamps available but unless you do a lot of panels it is probably better to use sash clamps.
3. If you use sash or T-bar clamps make sure you use protective pads on the clamp heads to avoid denting the work and use paper to prevent water in the glue from causing iron staining on the workpiece. Quick clamps normally come with protective pads as standard.
4. Smaller squeeze clamps or spring clamps are incredibly useful for smaller jobs. You will need plenty as they need close spacing to keep thinner components pressed together and ensure even glue ‘squeeze out’. Clean up excess glue promptly and run a damp cloth along joints to wipe away any remaining glue.
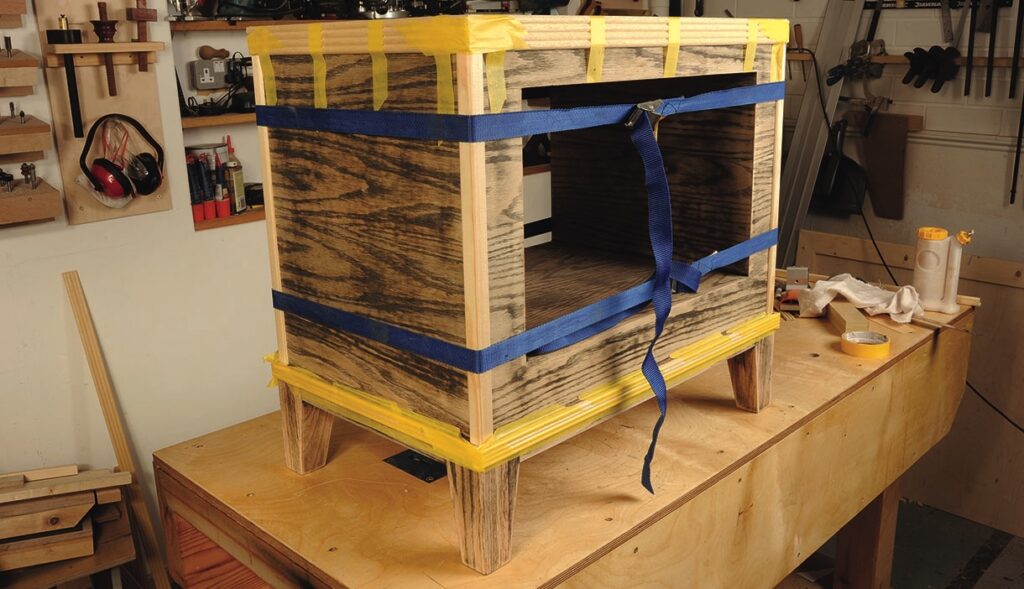
5. Car luggage straps make excellent carcass clamps or for holding repaired re-glued chairs together. Four is a good number unless you need to undertake more than one job at a time. You can avoid corner damage by squashing with the straps by usingrigid cardboard corners, which sometimes come in packing for domestic‘white goods’.
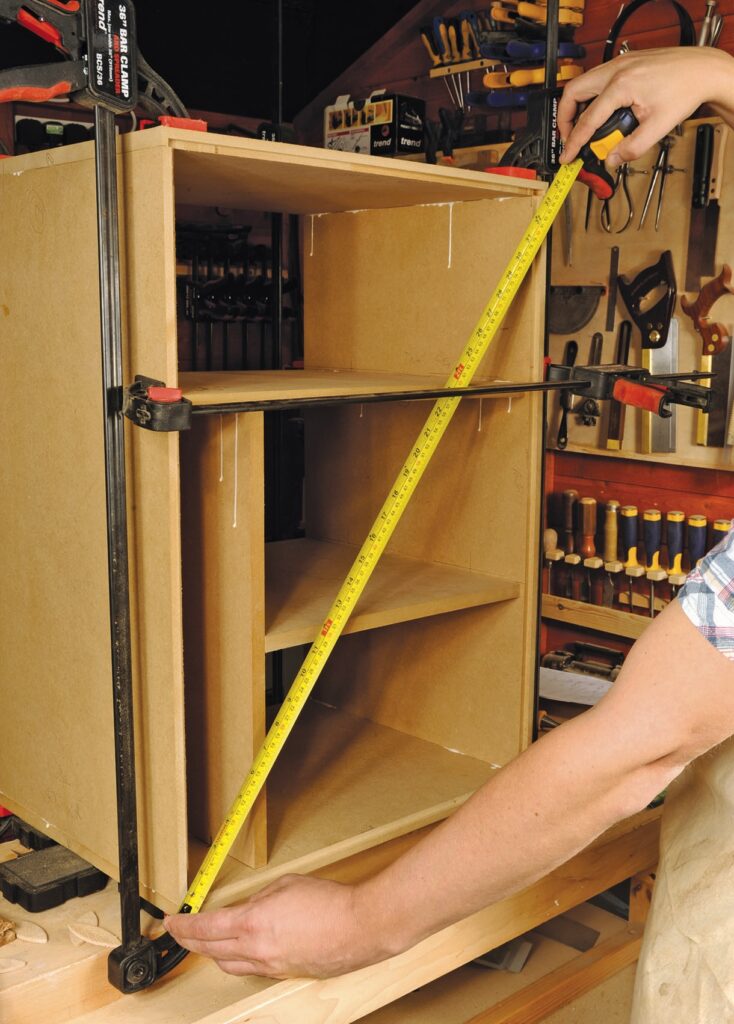
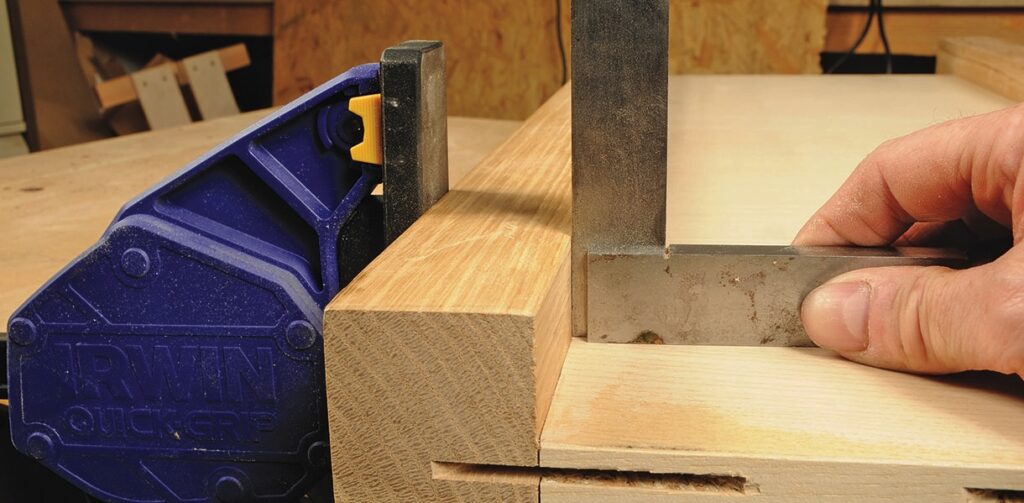
6. Checking for distortion and squareness after clamping is essential. Corner to corner measuring for carcasses or using an accurate square to check smaller components will ensure everything is as it should be before the glue has a chance to set. Use a straightedge on supposedly flat surfaces to make sure they haven’t got distorted out of shape.
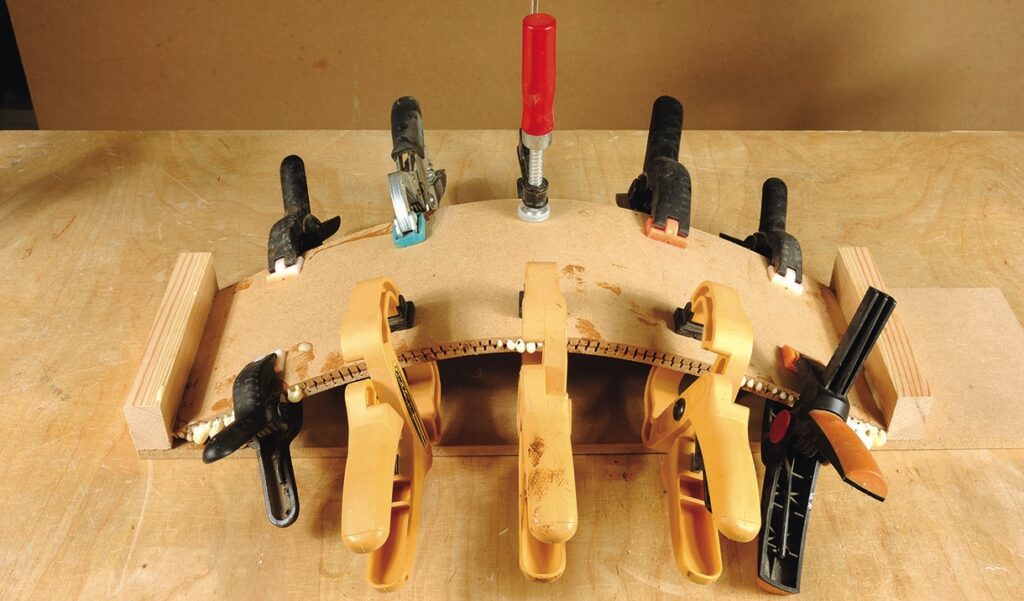
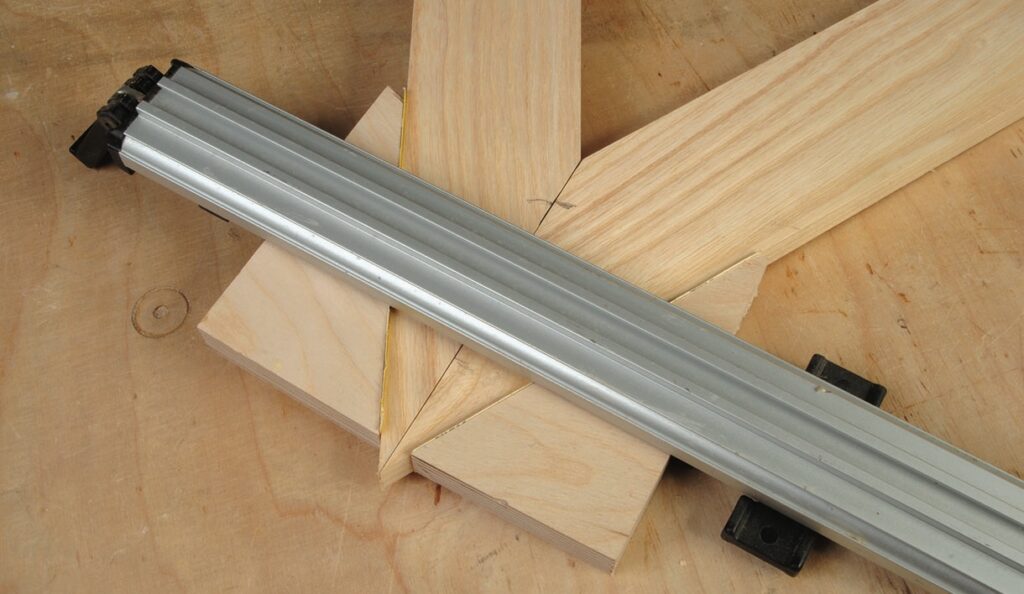
7. Awkward shapes can be clamped successfully with careful preparation. In the case of a corner mitre triangular joint blocks with abrasive facings glued to them, allow clamping across the joint. Another triangular piece can be placed inside the frame shape to allow another clamp to be applied.
8. Bench dogs can be very useful as an effective means of clamping for both working on wood, such as hand planing, but also gluing and clamping. You need to check that there isn’t a lot of glue squeeze out underneath that could spoil the face. You may need to unclamp, turn it over, re-clamp and wipe off the excess glue.
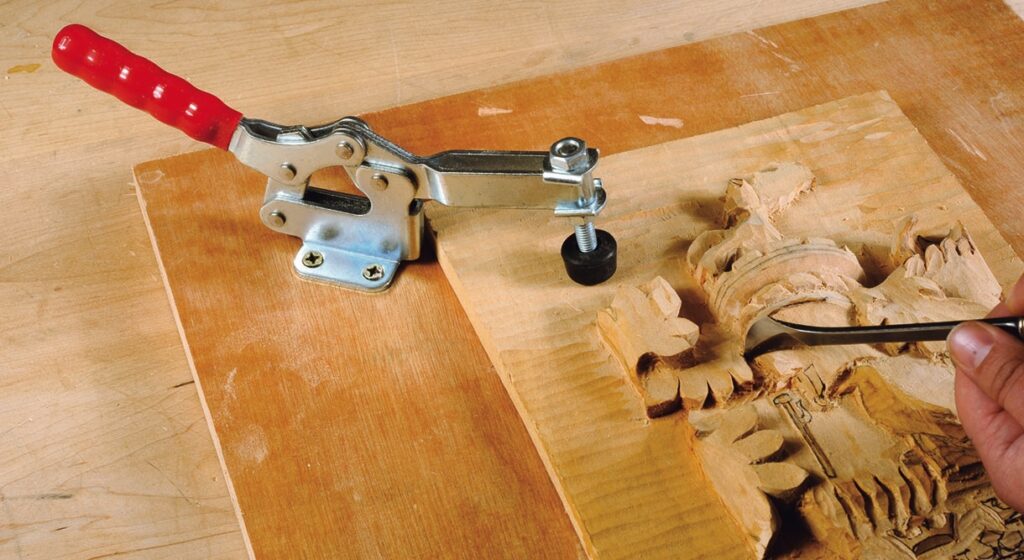
9. Clamping isn’t just for glue-ups, it is essential for doing dry assemblies to check everything is going together well before gluing. It is also essential for workholding when doing a variety of operations, such as routing. Quick clamps make positioning of jigs and components quick and precise.
10. You will need some sort of clamp rack or clamping bar so you can store clamps neatly and access them quickly. This can be on the wall or if space permits a mobile storage rack.