The Woodworkers Institute

We bring you the very best of woodworking!

“Make it with us”

Supported bowls

Colwin Way shows how to turn a selection of bowls, bases and columns that can all be joined in different combinations to create different looks
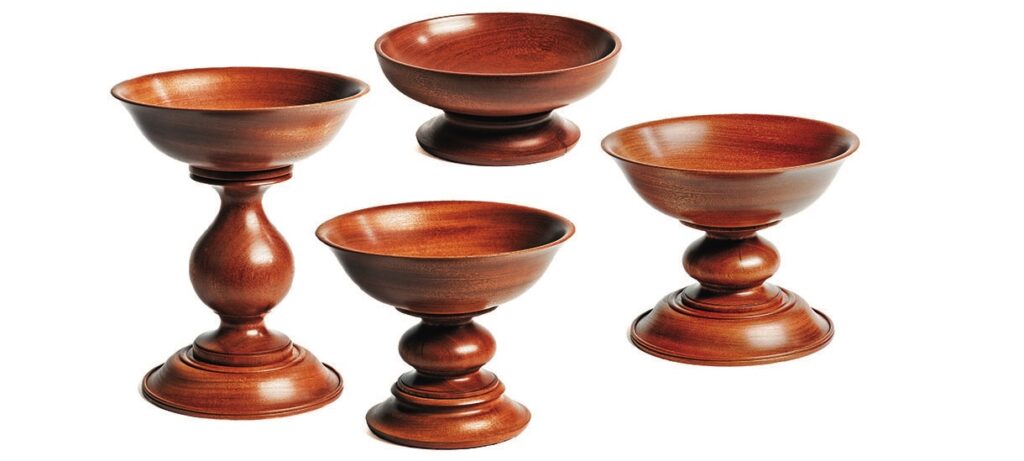
Four wooden pedestal bowls in various sizes
In this main picture I’ve tried to show a few combinations of base and stem but there are six possible combinations in all. Try to design your own project, think about possible problems such as movement in the timber, showing off a nice timber, using contrasting timbers or incorporating other techniques such as colouring or texturing

I want to use a variety of different stands, spindles and bowls to show how we can stretch and compress a design to create a mixture of different projects. Along the way we can once again explore bowl and spindle turning techniques while having fun with the shapes. I’m going to use a neutral timber – this means a timber that’s relatively plain with no strong grain pattern – so we can concentrate on the form rather than the pattern of the timber, in this case sapele (Entandrophragma cylindricum).
Sapele as a timber machines very well and is often used for door and window frames because of its uniform grain, machining quality and resistance to rot. However, sapele can have side effects, such as skin irritation, so all the usual precautions need to be taken, such as dust protection both directly with dust masks and dust extraction taking the dust away at source. You can, of course, try using hardwoods or softwoods for these projects as you choose.

Equipment

Tools
• 6mm bowl gouge
• 10mm bowl gouge
• 12mm round nose scraper 
• 20mm spindle roughing gouge
• 3mm parting tool
• 30mm skew chisel
• 8mm drill bit
• 35mm Forstner bit
• Screw chuck plywood packing pieces
• Four-jaw chuck
• Jacobs chuck
• 150mm callipers 
• Ruler
• Sanding sealer
• Wax polish

Plans
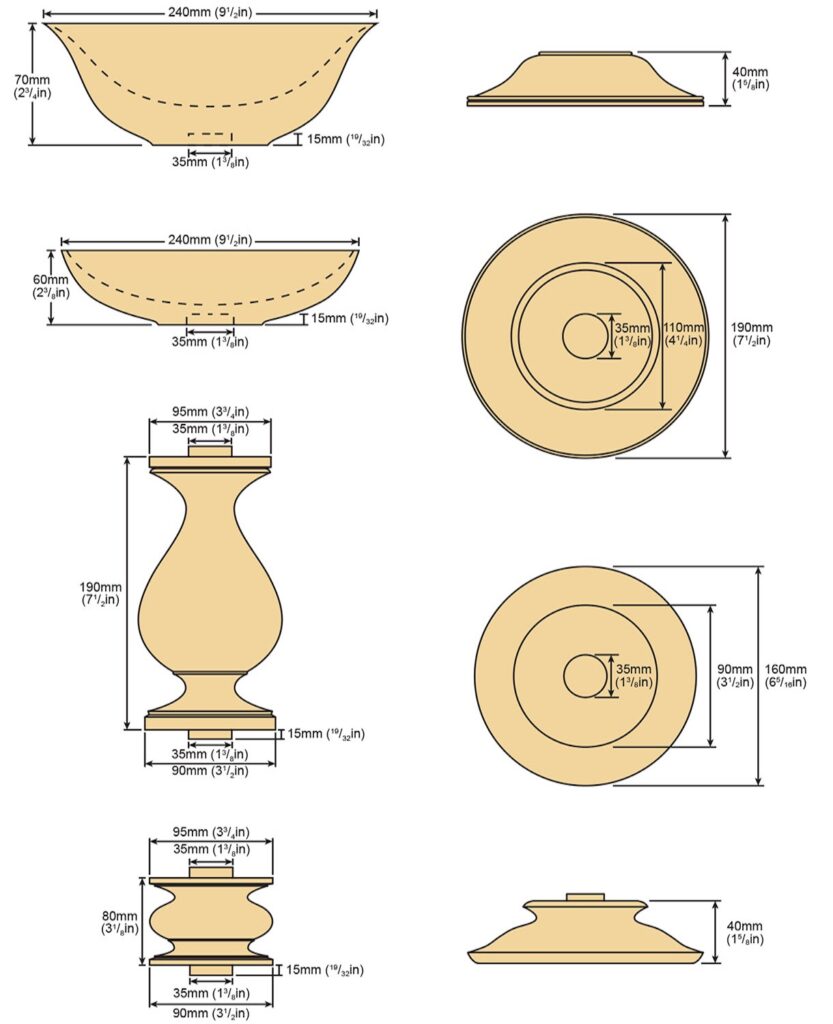
Illustrations and measurements of wooden bowl designs.

Bases

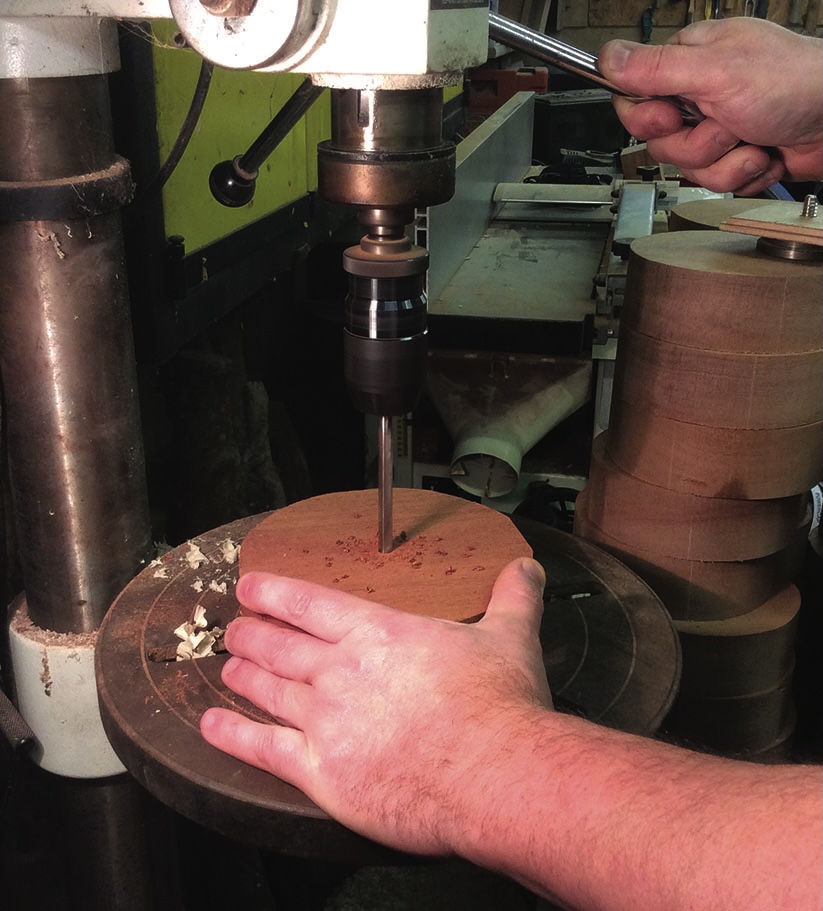
Person using a drill press on wooden disc.
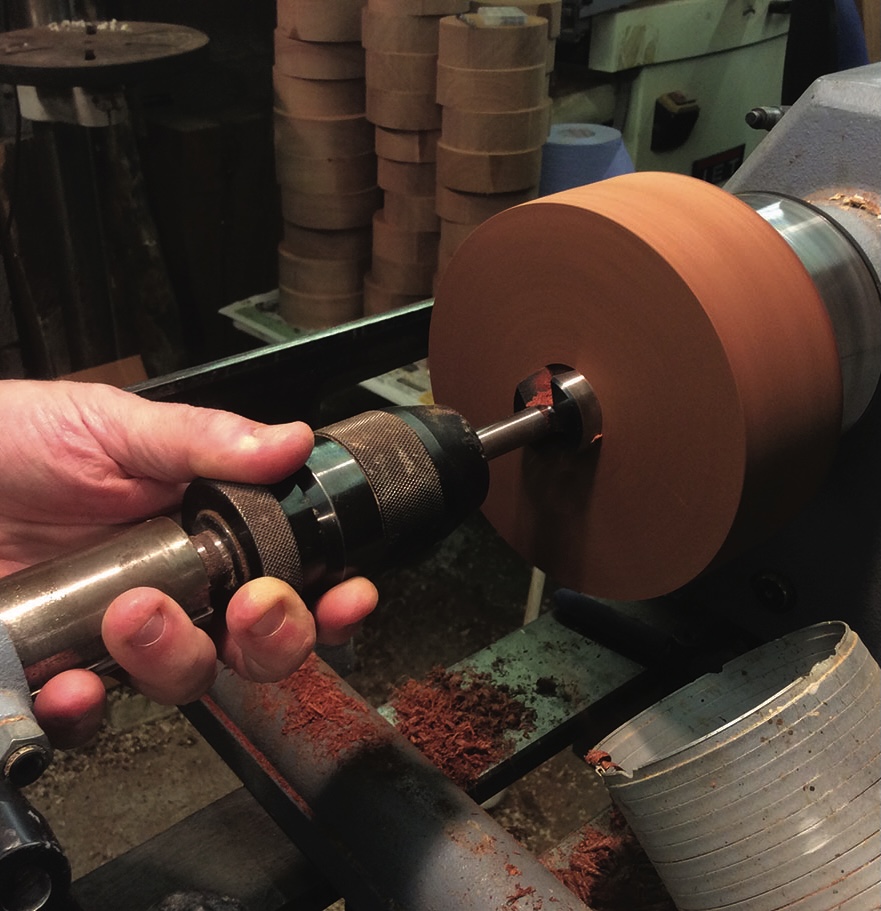
1. Let’s start at the bottom and work our way up, by making two bases – one tall with an ogee profile and one short with a cove-design for a low tazza. Let’s start with the ogee base to support a stem. Start by drilling an 8mm hole in the face that will eventually be the top of the base. This hole is to be used with a screw chuck and will eventually be replaced with a mortice hole to take the tenon of the stem. I used a pillar drill but a cordless drill will be fine – just make sure you don’t drill all the way through
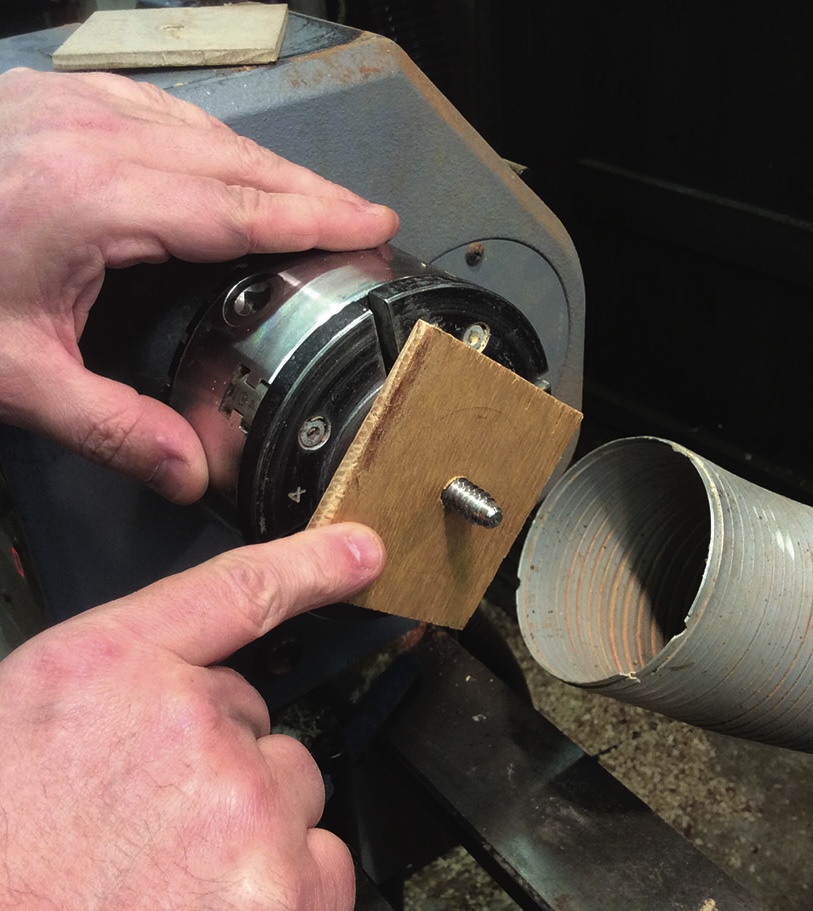
Wood lathe setup with hands and wooden attachment.
2. Here’s the screw chuck in position with a ply packer to minimise the depth of the screw. I’m using a screw chuck that fits into a normal scroll chuck. To minimise the depth of penetration by the screw I’m using a plywood packing piece. I use a screw chuck in preference to a faceplate purely because the screw holes left from a faceplate would show in the front of my base, whereas the screw chuck screw can be placed where the mortice will lie
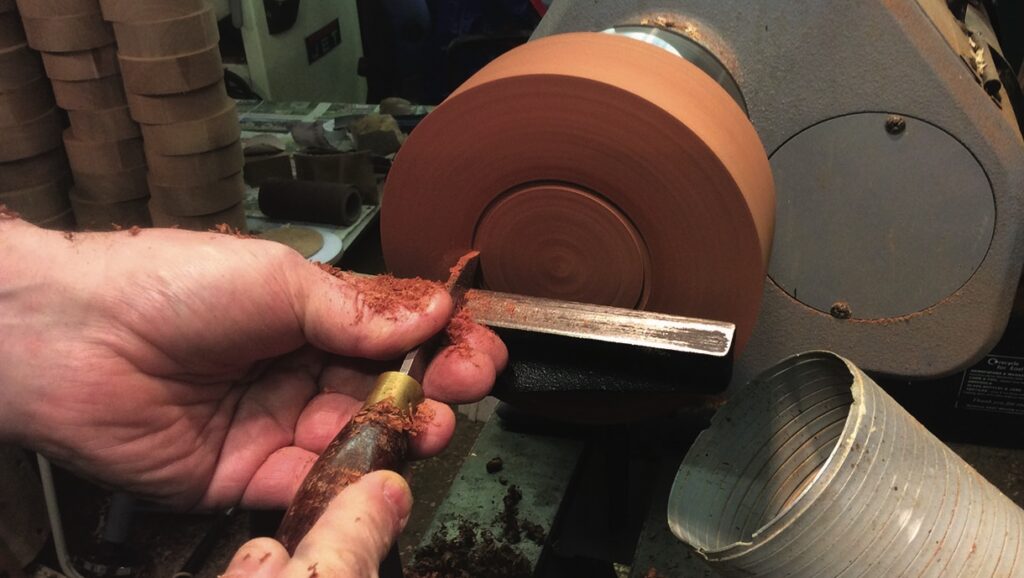
Woodturning with lathe and chisel in workshop.
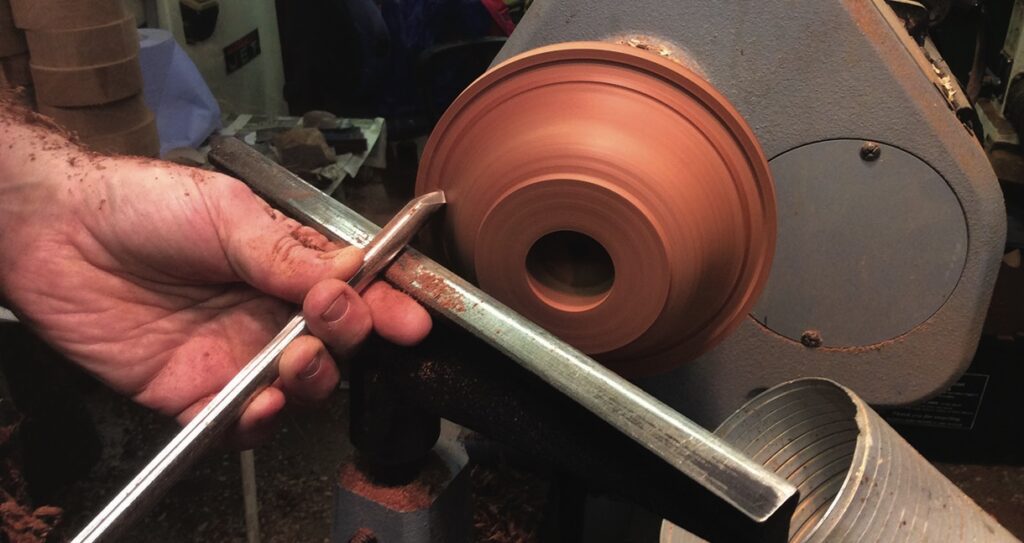
3. Screw on our first blank, and in this case the first one measures 190mm in diameter by 40mm thick. Start off by cleaning the outside face and edge with a bowl gouge until you’ve taken out any signs of bandsaw cuts. Think about how you are going to hold the base when we turn it around to turn the front end. I chose to make a dovetail recess to match the jaws of my chuck – 70mm for my chuck. Using dividers mark the required width to suit your chuck jaws with a set of dividers then cut the inside of the line with a 3mm parting tool to a depth of 3mm
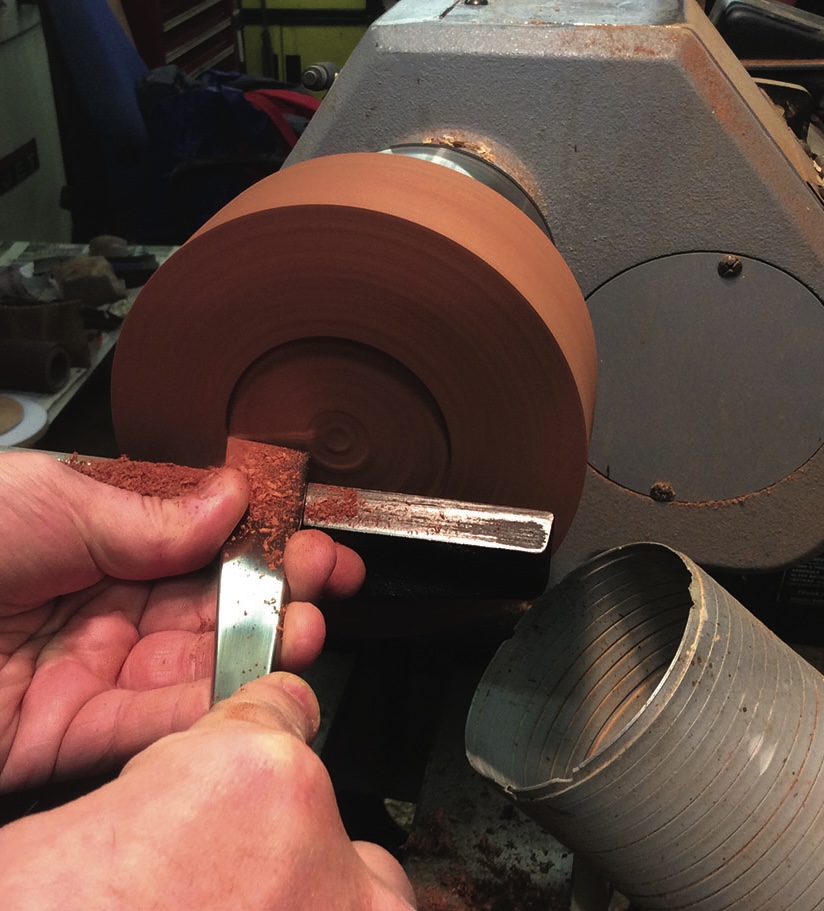
Person using lathe to shape wood.
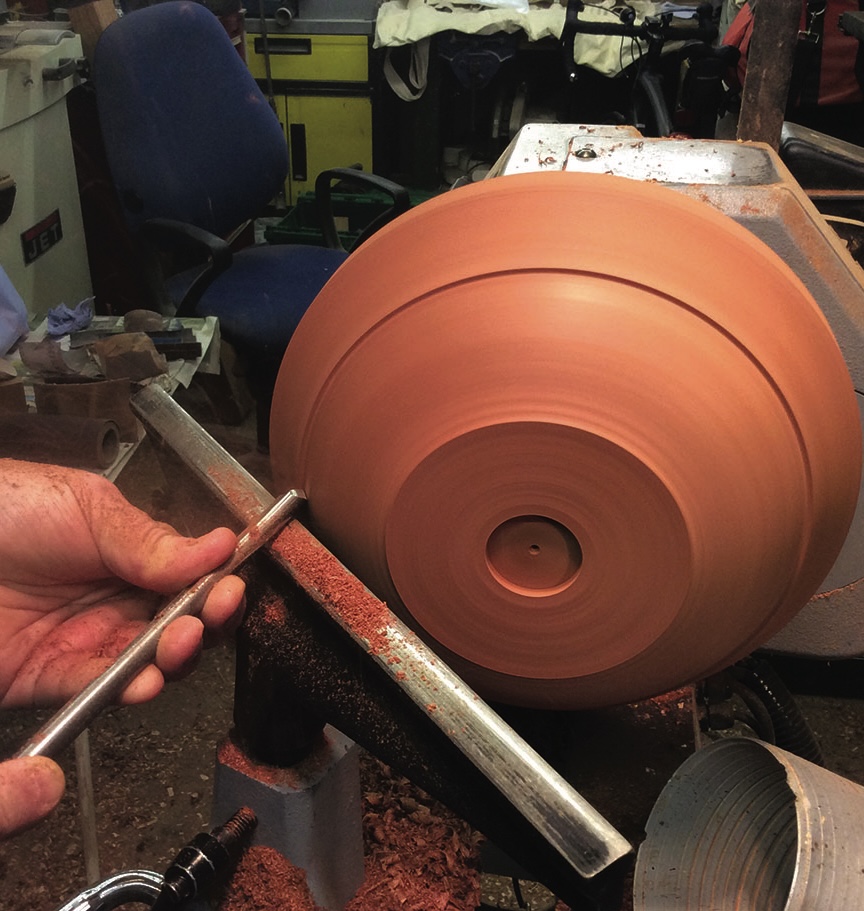
4. Once the parting tool cut has set the depth, remove the waste timber from the centre. You need to be careful not to catch and damage the internal edge of the recess, so cut towards the centre with a 6mm bowl gouge. Don’t worry if the finish isn’t pristine at this stage as you can clean it up with the skew next. Now the waste is removed, create the dovetail on the inner edge of the recess, and at this point, using the skew as a scraper, gently scrape the recess surface
Wood lathe turning block, craftsman at work.
5. Now the underside has been turned it can be sanded and finished, working from 100-400 grit. Once sanded, finish with sanding sealer and wax. Now the back’s finished, turn it over ready to shape the front. Start drilling a mortice hole ready for joining the piece together later. A 35mm Forstner or saw-tooth bit is ideal and drill to a depth of 15mm
Woodturning on a lathe with hand chisel.
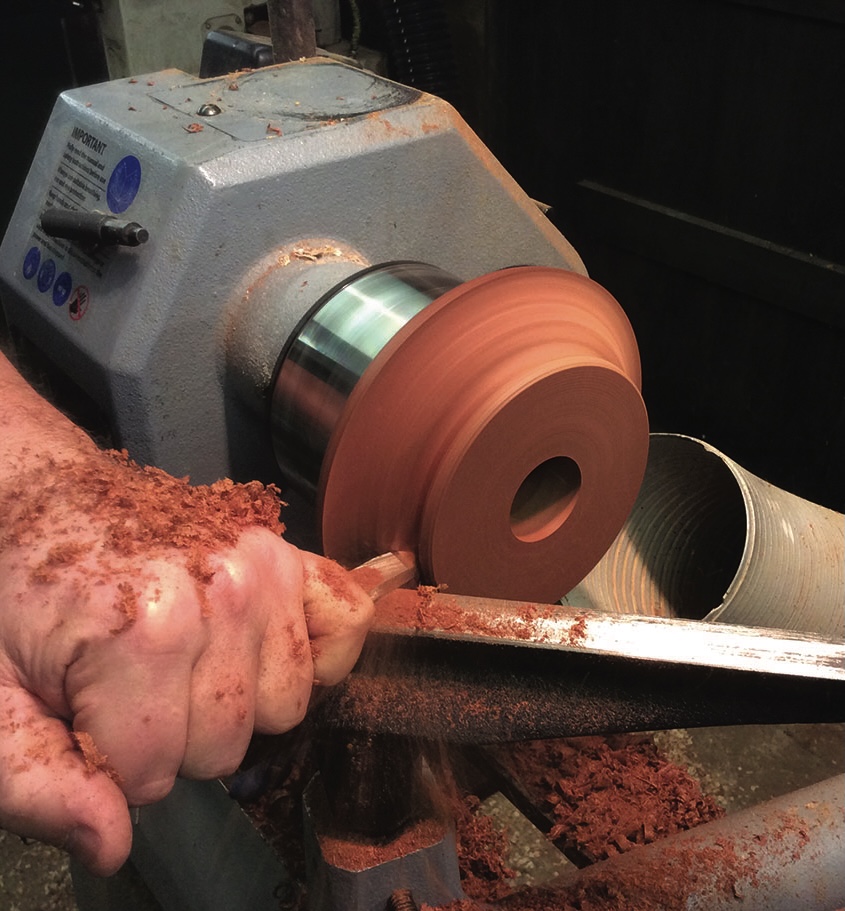
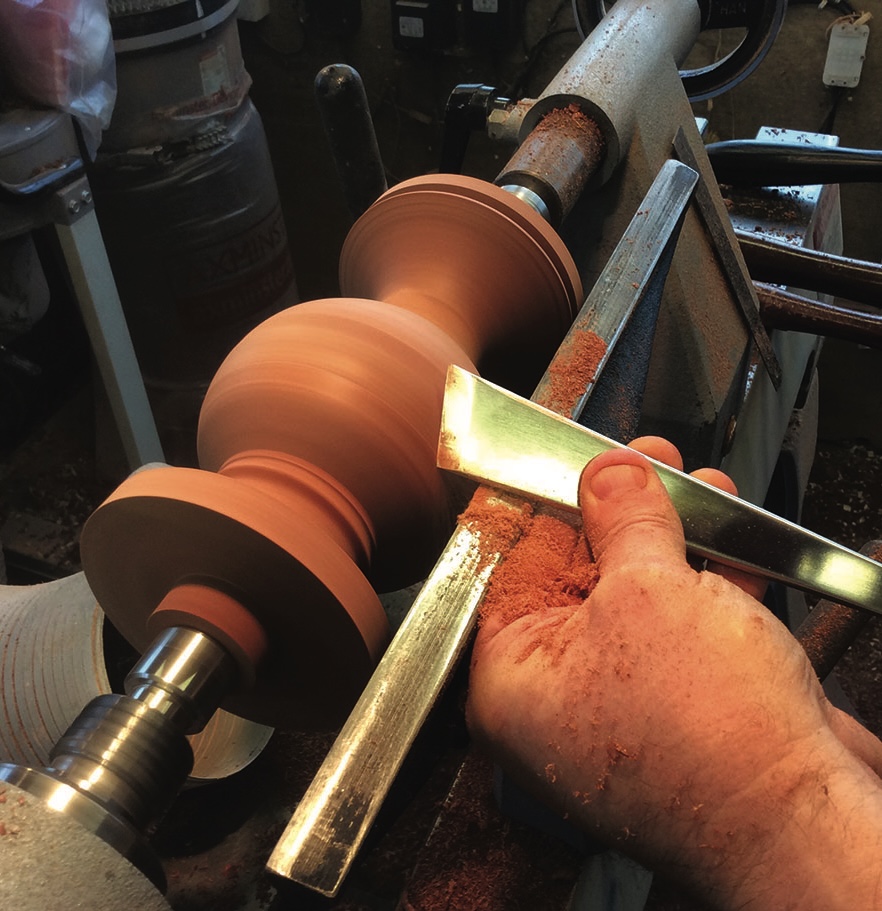
6. Shape the ogee using a 6mm bowl gouge.Rough out the basic shape first with a pull cut before using a push cut to leave a good finish. Note that the ogee is capped with a bead, both at the top of the base and a second around the lower rim. To shape these beads use a skew chisel on its side to scrape the shape. When you’re happy with the shape of your base you can sand and finish it in the same way you did the back

Second base

Woodturning on lathe with chisel and wood shavings.
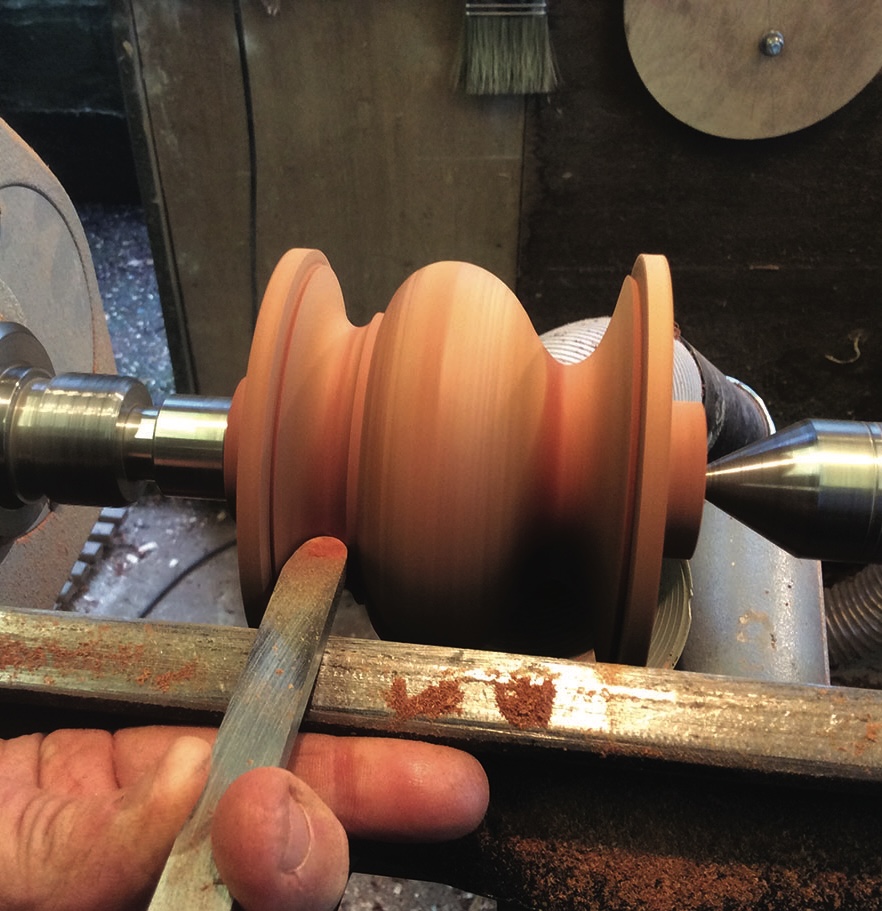
7. That’s the first base done and ready to be fitted to the various items later.  Now create the shorter base that is intended to fix directly to the bowls without a stem. Start off in exactly the same way as the first base by turning the underside flat and cutting a recess for mounting on the chuck, finishing it then turning over and drilling. The dimensions here, however, are 160mm diameter by 40 mm thick. A 12mm round nose scraper can be used to cut a deep cove just behind the joining face of the base as it’s difficult to get a gouge into
Woodturning: hands holding crafted wooden pieces.
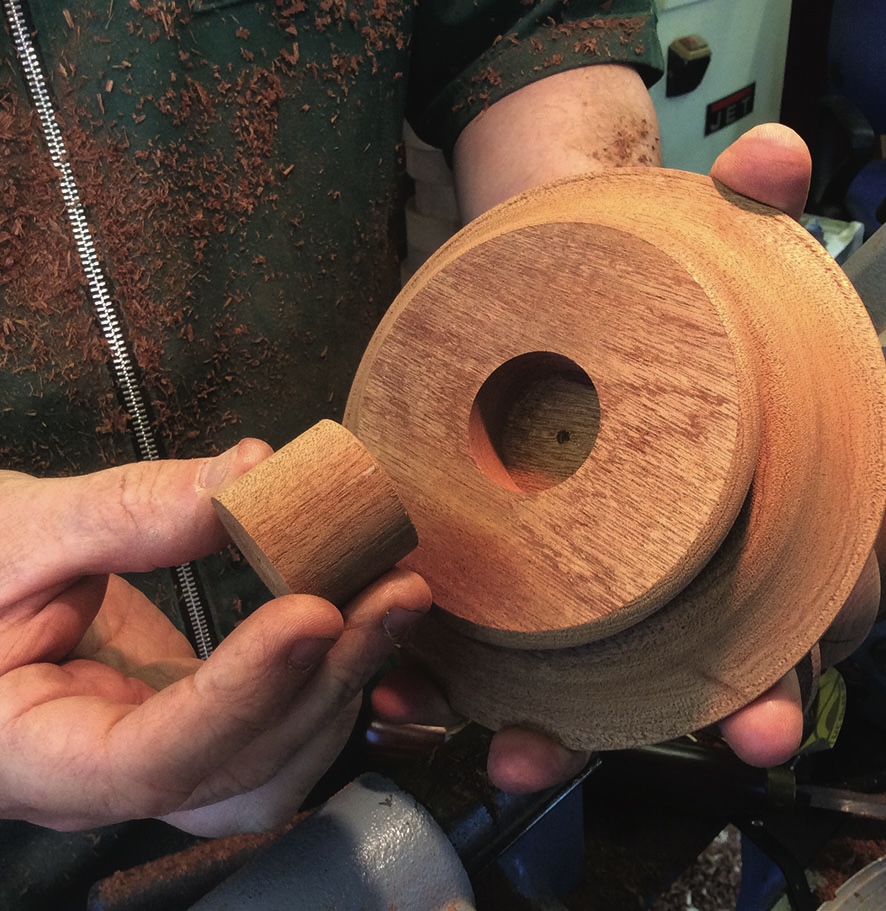
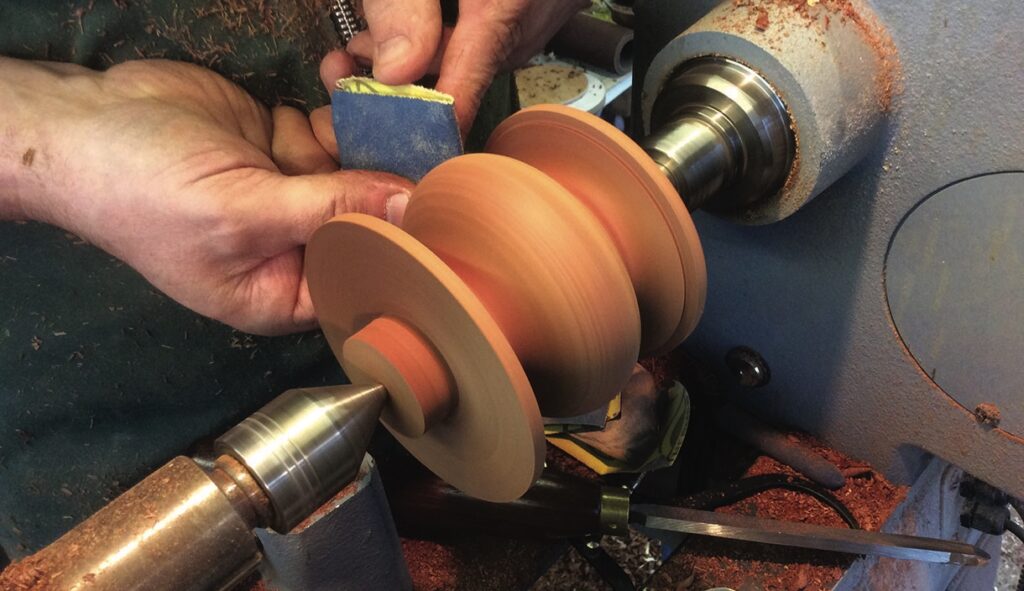
8. The base is now ready for sanding. Since base is going to fit straight in the bowl of our project with no stem separating them it’s important we make a joiner in the form of a loose tenon. This tenon can be glued into both bowl and base and eliminates wasting too much timber. In this way we can keep the tenon strong by turning it with the grain running up its length

Bowls

Person using lathe to shape wooden block
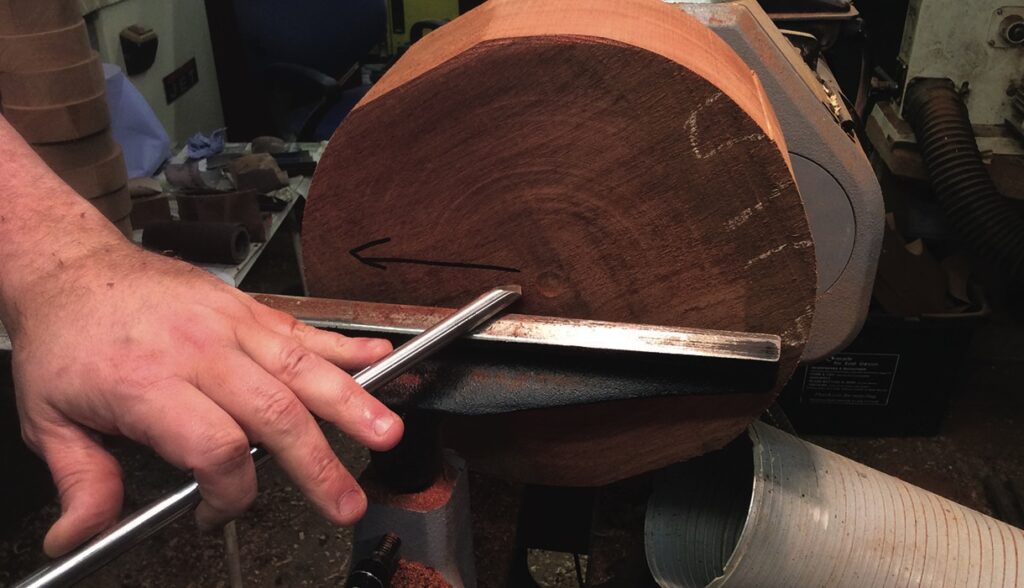
9. Mount the blank on a screw chuck the same as you did for the bases. The drawings supplied show two variants. I am just going to show how to make one of these. Before any shaping is done it’s important that you true up the blank. Make several pull cuts from the centre out with a 10mm bowl gouge, then drop the handle down low and, pointing the flute toward the 2 o’clock position, draw the gouge across the outside edge of the blank from left to right. This will keep any breakout, if there is any, away from the rim of the bowl
Person using a lathe to shape wooden disk.
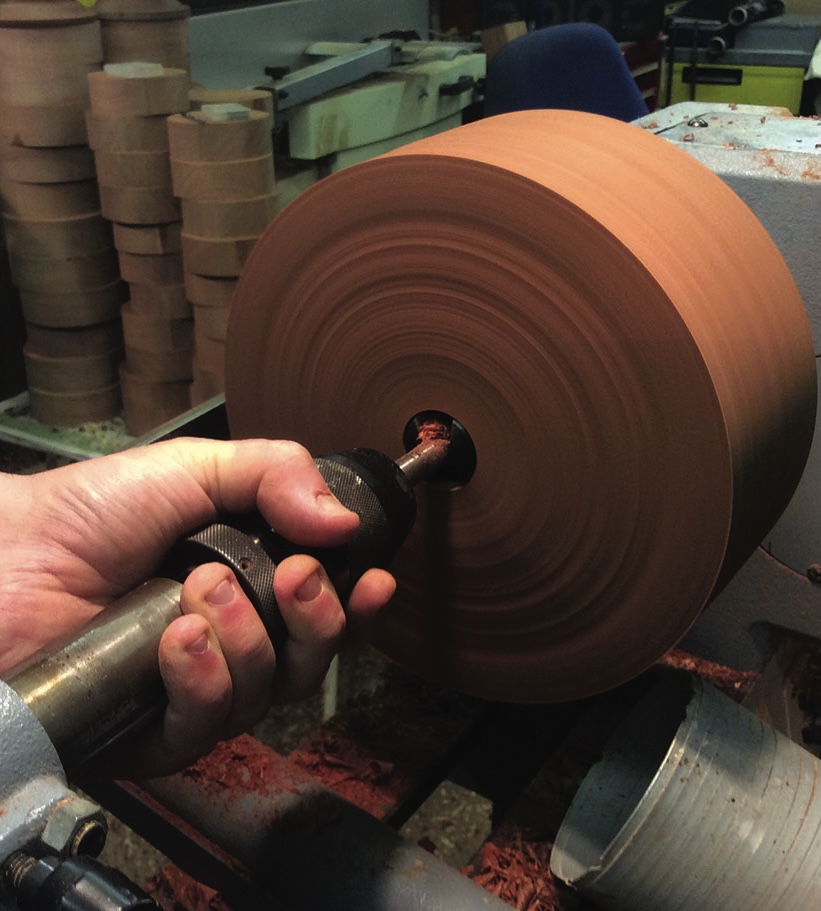
10. The bowl and base are going to connect to the centre column with a round mortice and tenon joint, so to cut the mortice in the bowl we’re going to cut a 35mm hole with a Forstner bit in the same way the bases were drilled, again to 15mm deep. When drilling on the lathe with a drill bit this size it’s important to turn the lathe speed down. I also keep one hand on the Jacobs chuck for extra security and find this is just enough pressure to stop the chuck from spinning
Measuring wooden disc on a lathe with ruler
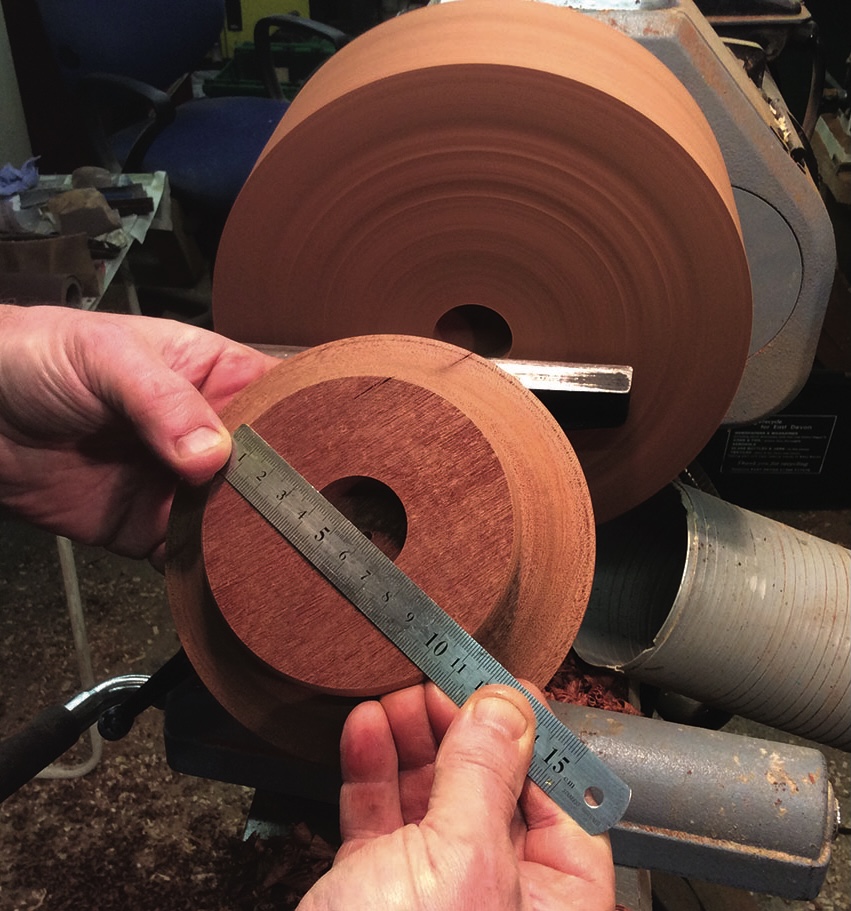
11. Measure the top edge of the base and mark this measurement on the bowl with a pencil as it’s important that these two points meet, otherwise you will have one of them overhanging the other. For these projects, keep this measurement the same on all the columns and bases that will contact the bottom of the bowls 
Craftsman shaping wood on a lathe.
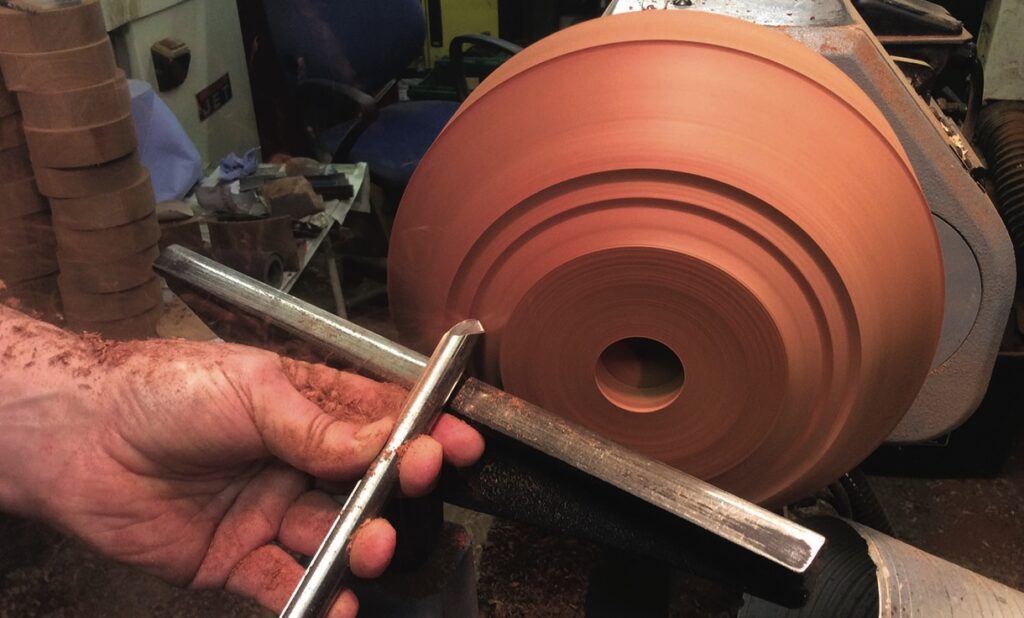
12. Start removing the waste timber from the blank using a pull cut. This cut takes a lot of timber away quickly with very little chance of catches occurring. Focus on the silhouette on the top of the bowl and draw the shape out to your chosen design. You can see here that the line marked on the bowl is the start of a concave cut before leading into a convex then again into a concave. The second bowl is a more traditional shape with a regular convex curve throughout
Woodturning on a lathe with handheld tool.
13. Once the bulk of the timber has been removed you can complete a finishing cut. Bring the bowl gouge handle over the far side of the lathe and point the flute toward 10 o’clock, rub the bevel and gently push the chisel forward on its bevel where you can control the curve by bringing the handle towards you at the same time for a convex shape or away from you for a concave shape 
Woodturning on a lathe, creating wooden bowl.
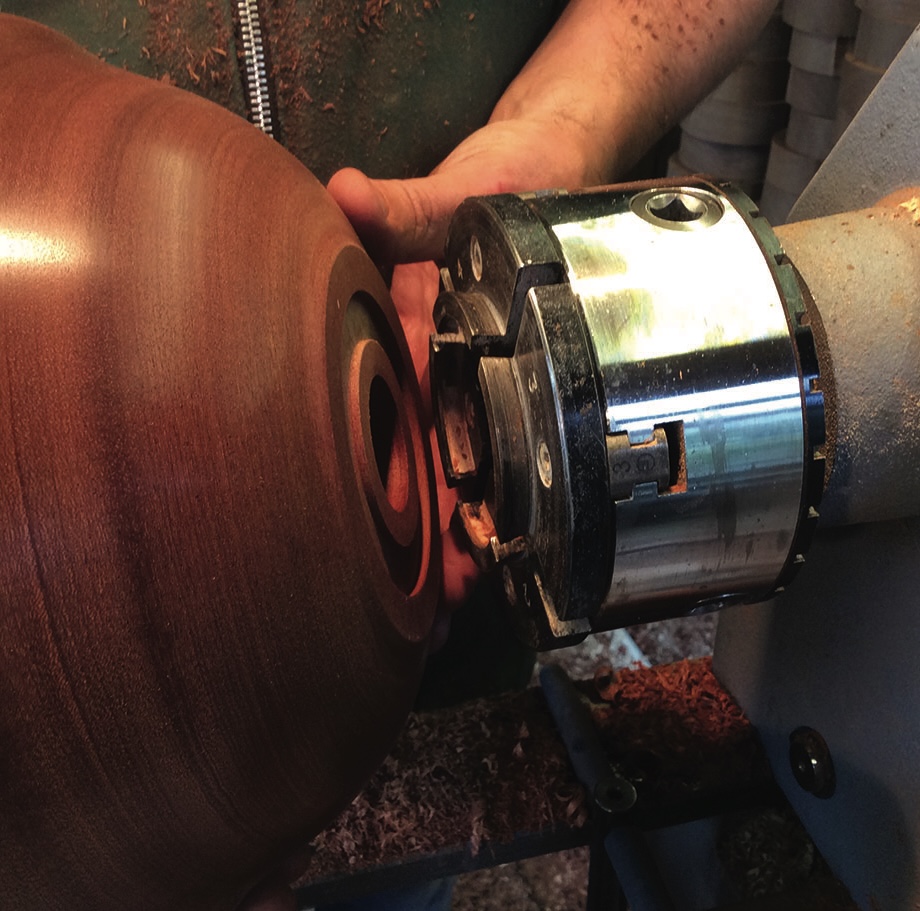
14. When you’re happy with the bowl you can sand and finish it. I cut a 3mm deep dovetail tenon on the under side of the bowl as a holding method for remounting into my four-jaw chuck. When all this is done, remove the bowl from the screw chuck or faceplate and reverse the bowl on to the chuck 
Person using lathe to shape wooden bowl.
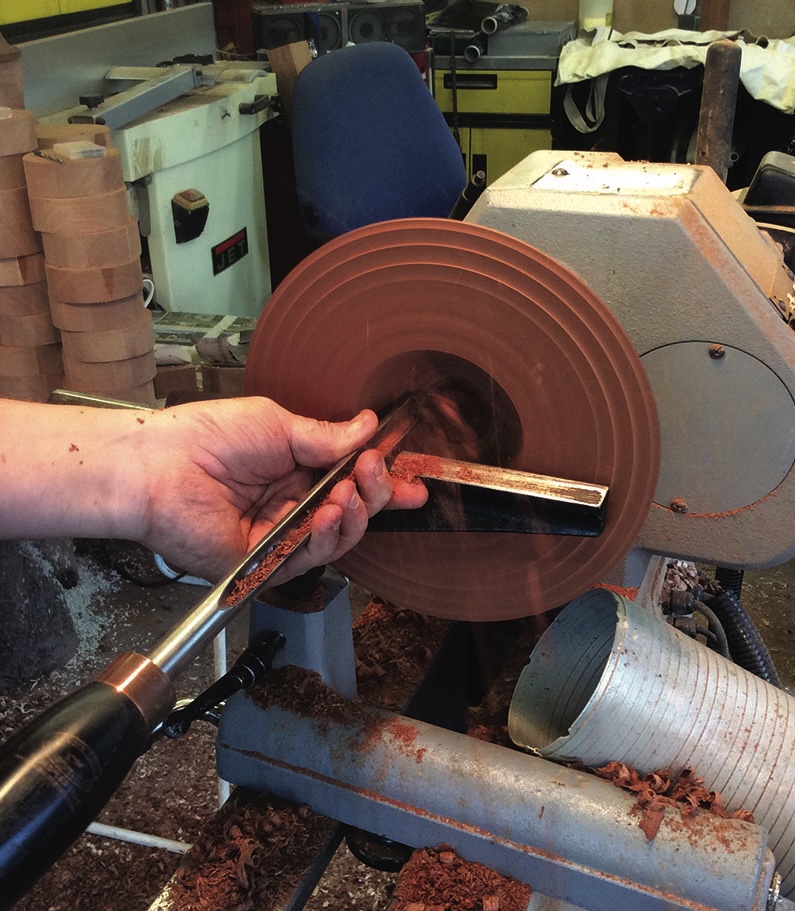
15. Start removing the inner section of the bowl – potentially the most problematic part of the process. We’re going to start near the centre of our blank. Again I’m going to position the handle over the far side of the lathe but position the flute facing 2 o’clock. Pause at the beginning of the cut to allow a shoulder to form before pushing up the length of the gouge and swinging the handle around toward you. It’s wise to drill a depth hole before starting the coring, especially considering you’ve already drilled the mortice on the back of the bowl 
Woodturning on a lathe with chisel tool.
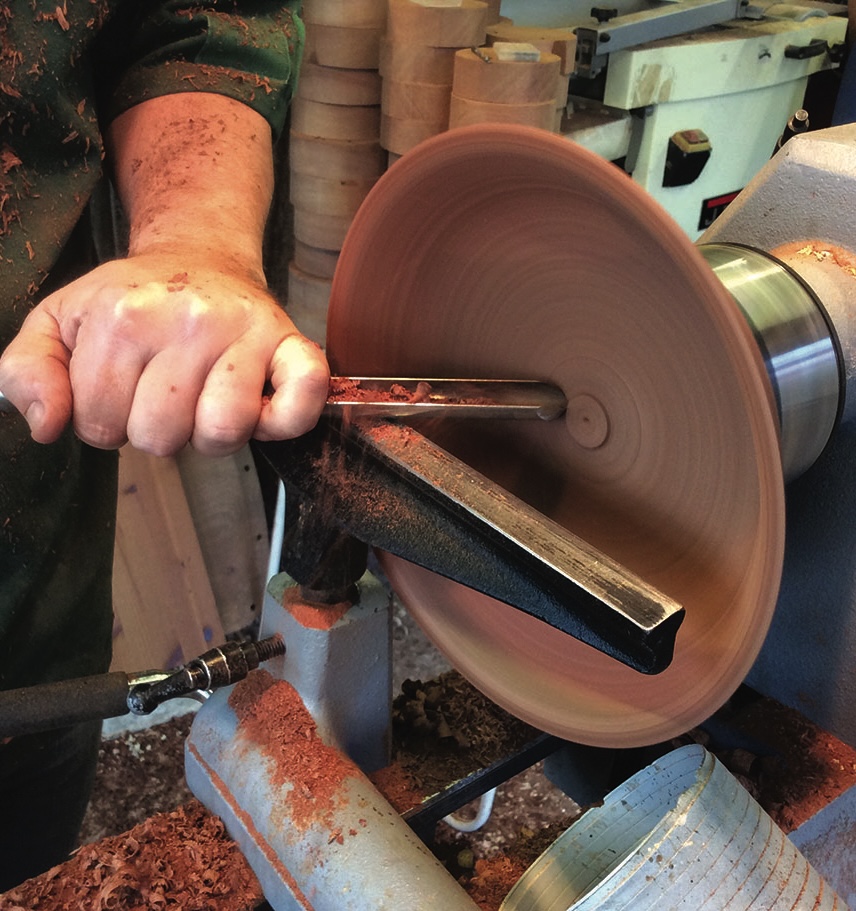
16. When most of the waste timber is gone it’s good to make a finishing cut with a freshly sharpened gouge

Central column

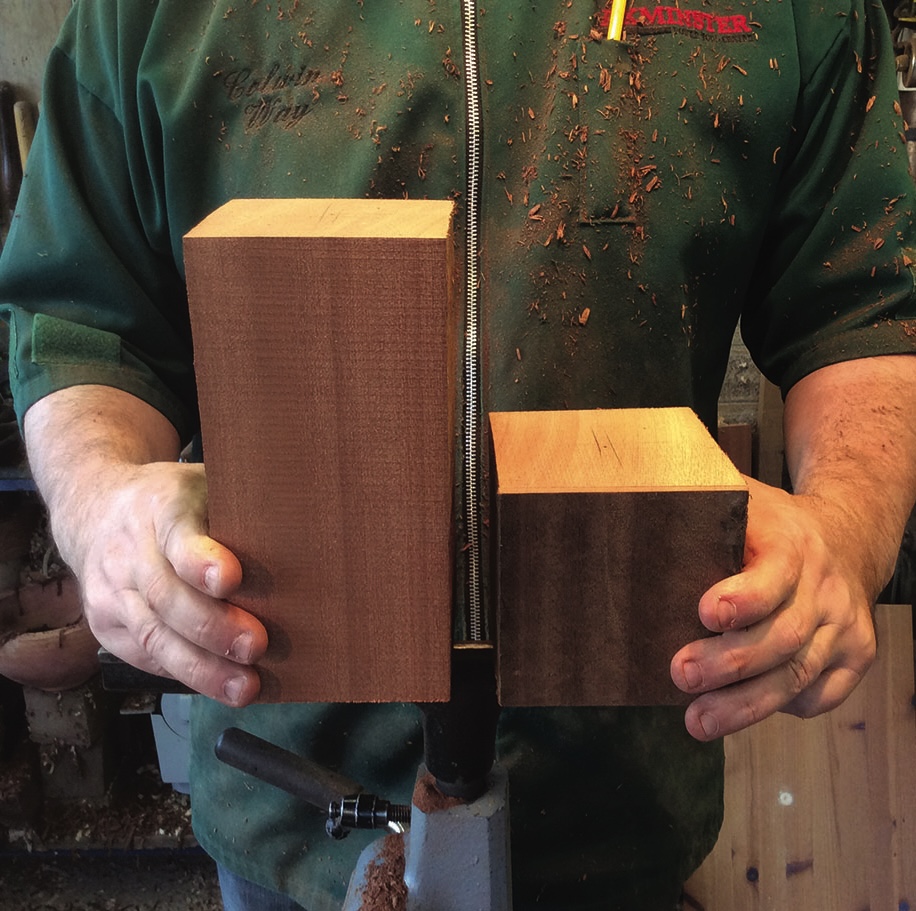
Person holding two large wooden blocks in workshop.
17. I opted to create two columns – both spindle grain oriented grain – with the same design but two different the lengths. One is to be 190mm long and the other 80mm long. This is obviously a big difference but I want to demonstrate how easy it is to manipulate these shapes and show how such a small change can have a big effect on the look of a piece
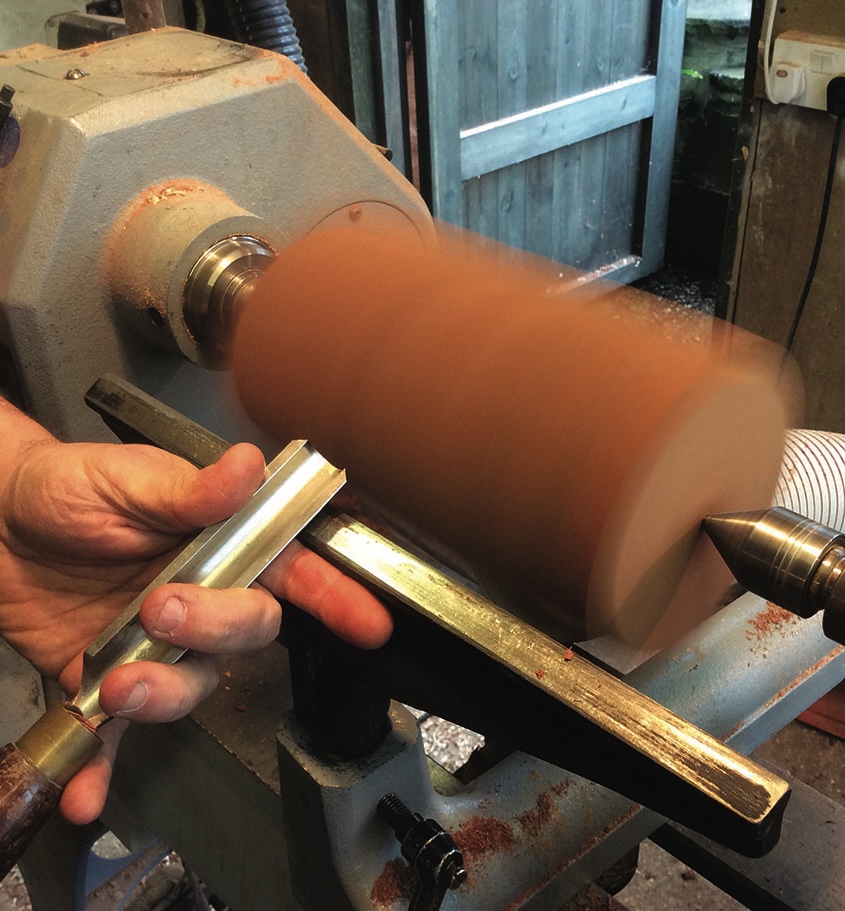
Lathe turning wood with metal chisel tool.
18. Start by roughing down the longest form. A 20mm spindle roughing gouge will quickly turn the timber down to round. If you want to and find it easier you could, of course, rough down the shorter block as well. If you’re new to woodturning it’s worth noting a few safety points before starting this process. Double check all locking levers are tight before starting to turn, make sure your speed is low at first and slowly increase the speed to suit the piece you’re turning and always start with small exploratory cuts to take the corners off
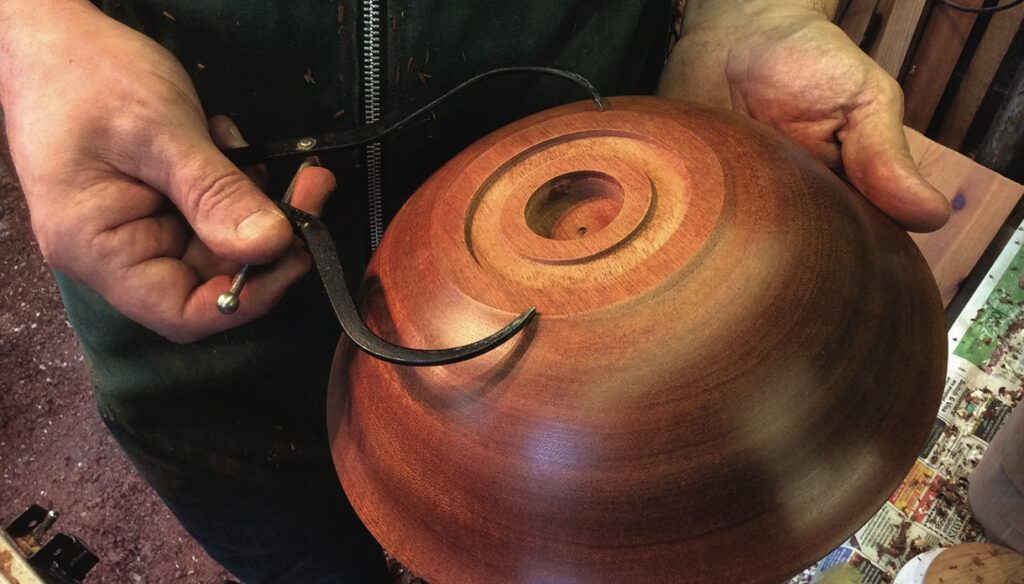
Person turning a wooden bowl with calipers
19. Once you’ve roughed the pieces down start thinking about cutting in our first of several key diameters. These are the top and bottom where the column will meet either the base or the bowl. Measure the bowl foot so you can match this to the top of the column and the same needs to be done on the end of the column to meet the base
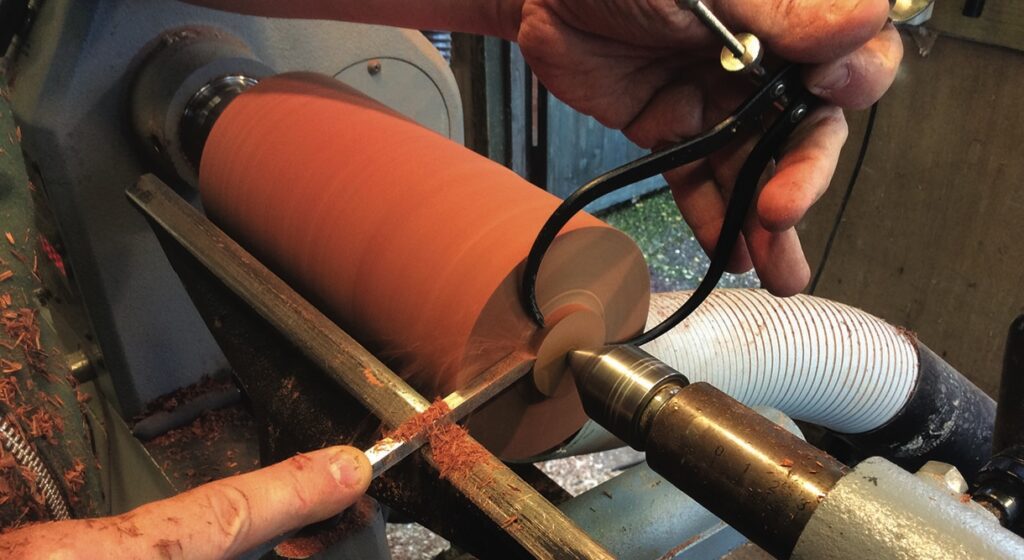
Woodturning on a lathe with measuring tool
20. The next important diameters are the two tenons – these measure 35mm. Measuring the drill bit used to cut the mortise is a very accurate way to ensure the tenons fit well. Measure with a pair of external callipers before cutting with a parting tool. The normal method of sizing a spigot or tenon would be to cut with your parting tool while gently offering the callipers up to the cut, but if you’re just starting it might be safer to stop the lathe before checking with the callipers

Top tip

When cutting the tenon to fit your mortice only size the first few millimetres, it’s easy to get carried away and end up with a sloppy tenon. Slightly taper the first 6mm until your callipers fall over the tenon and when happy with the size reset your callipers to this perfect dimension and finish the tenon. 

Woodturning vase on lathe with tool in use.
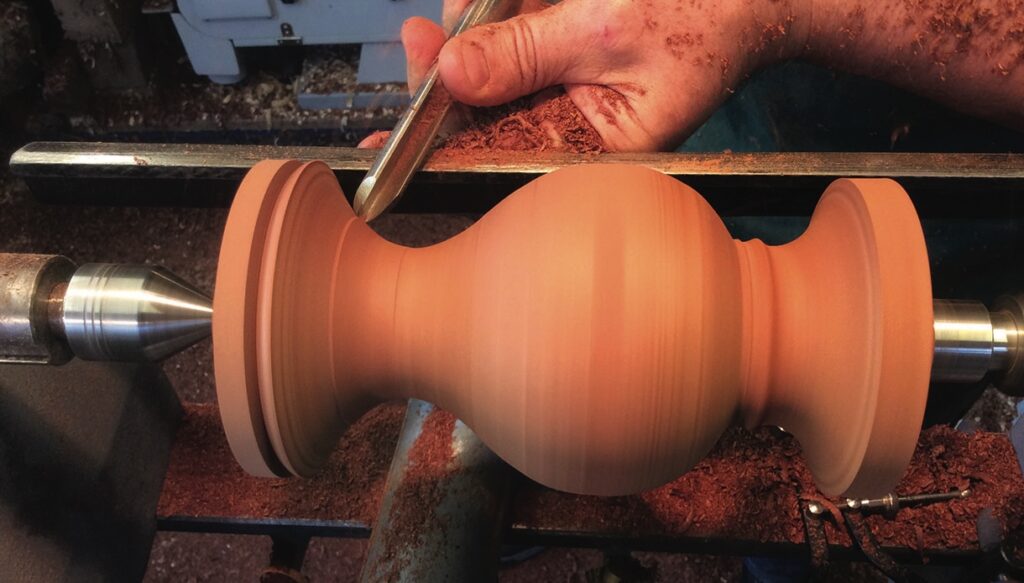
21. Now for the fun bit, which is the actual shaping of the column. This is one of the shapes I use often for lamps and vase shapes but it works really well for these columns. It’s also a great design to be able to manipulate by stretching and compressing. Here I’m using the bowl gouge to shape one of the concave areas 
Woodturning spindle on a lathe.
22. As well as using the bowl gouge to shape these columns, the skew chisel is heavily used in spindle turning. The picture shows the tool in planing mode with the heel down and bevel rubbing, but when turned over the toe is used to cut in the V cuts before once again turning the tool over to roll beads. This makes the skew chisel a really versatile tool, however it comes with a bad reputation for catches which is unfortunate. The skew works well and can be taught very quickly as most of the issues with a skew come from wrong presentation
Woodturning on a lathe with shaping tool
23. Once the long column is sanded and finished, move on to the shorter second column Some of the curves become quite extreme so we may need to look to other tools from the tool kit. A 12mm round nose scraper works well for getting in the tight cove curve. The top, bottom and tenons are all the same diameter as used on the longer column
Woodturning craft on a lathe in workshop
24. Again, once all the shaping has been completed, it’s time to sand and finish. Be careful not to cut yourself on all the crisp edges and mould the abrasive to the shapes. You may just notice the extractor hose at the bottom of the picture picking up a majority of the dust made, however I’m always in my respirator for the whole process, from turning to sanding. So that’s all of the pieces made and now it’s time to experiment with the various options available to you. Let me know what your favourite combination is

Leave a Reply

Your email address will not be published. Required fields are marked *