Peter Wood guides us through the techniques for Windsor chairs, paying special attention to getting the joints as tight as possible
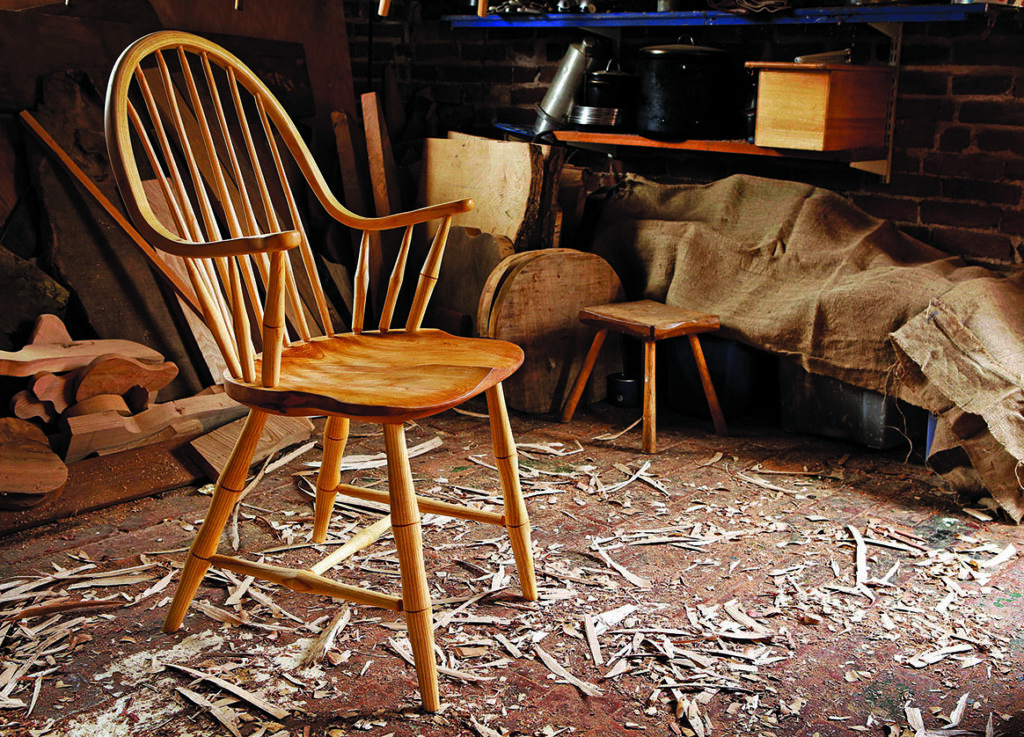
The mortise and tenon joint works well when the force is pushing along the tenon not side to side. You can see on this chair the legs are fine with the force straight down the tenon as you sit. The back is supported with the forward facing spindles countering the force generated against the rear-facing spindles as you sit on the chair. In contrast, the back of a side chair has to have the spindles behind the line of the bow. If they were in line the force of you leaning back could break the tenons at the base. Bringing the bow forward 50mm creates a triangle so as you lean back on the chair the force is transferred down the spindles. Each joint is aligned to maximum effect.
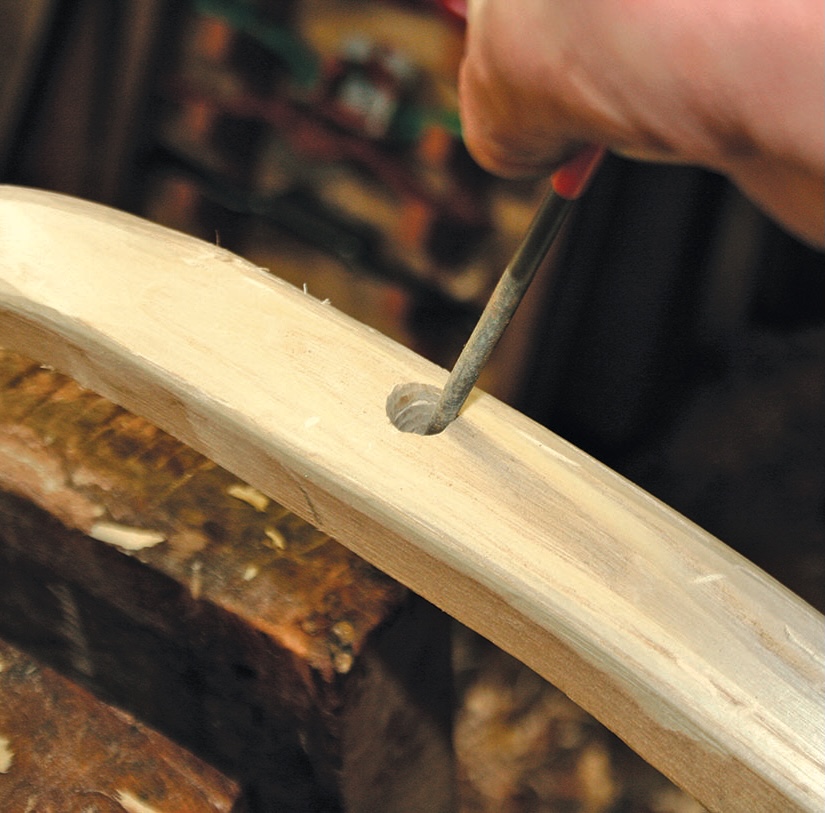
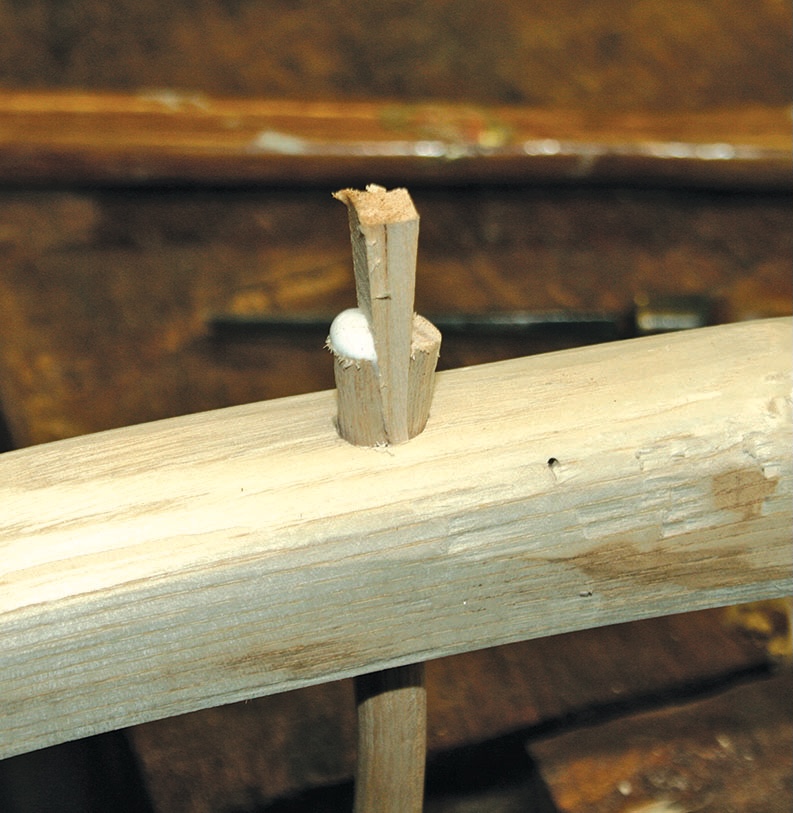
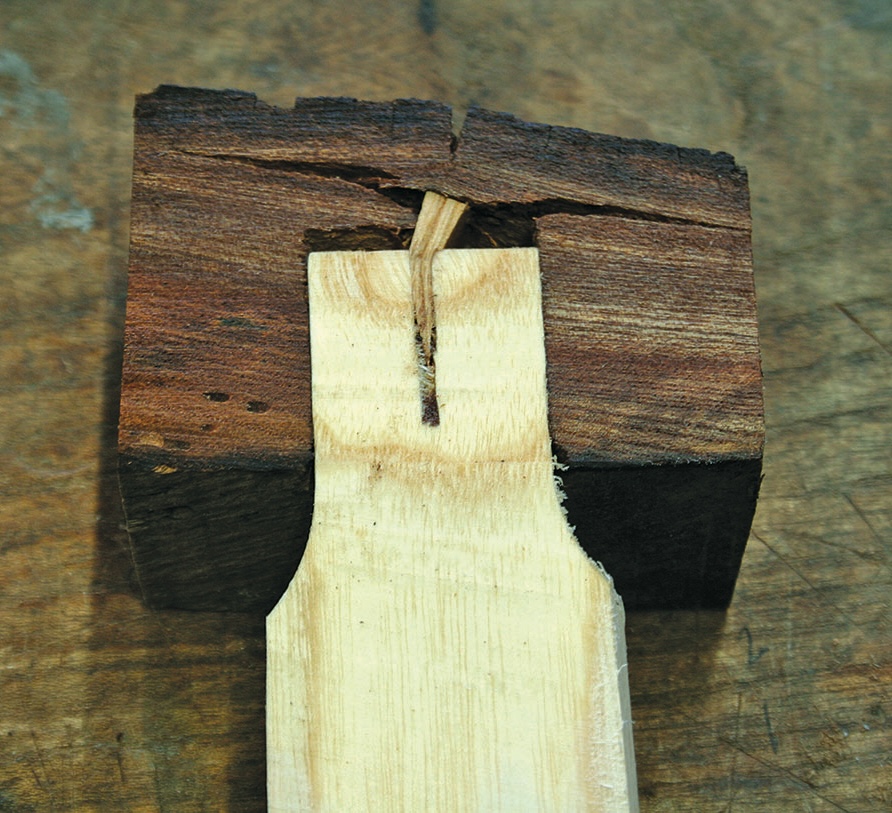
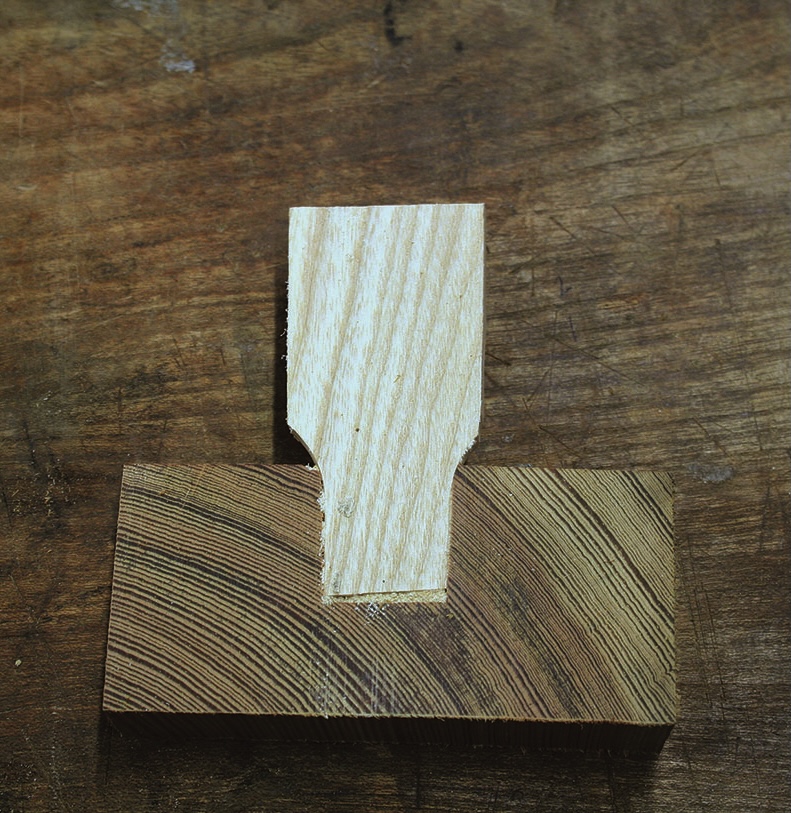
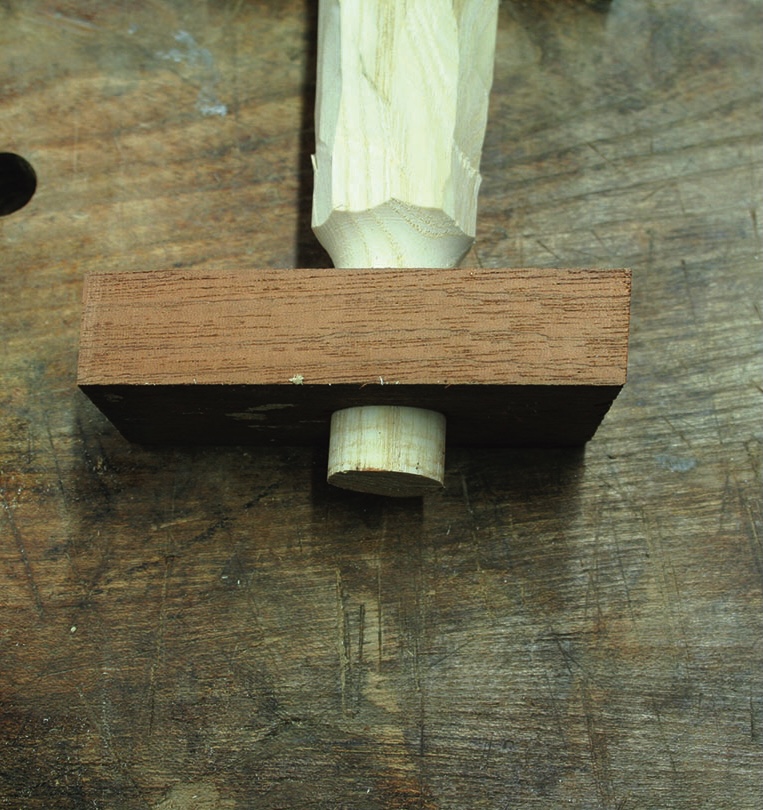
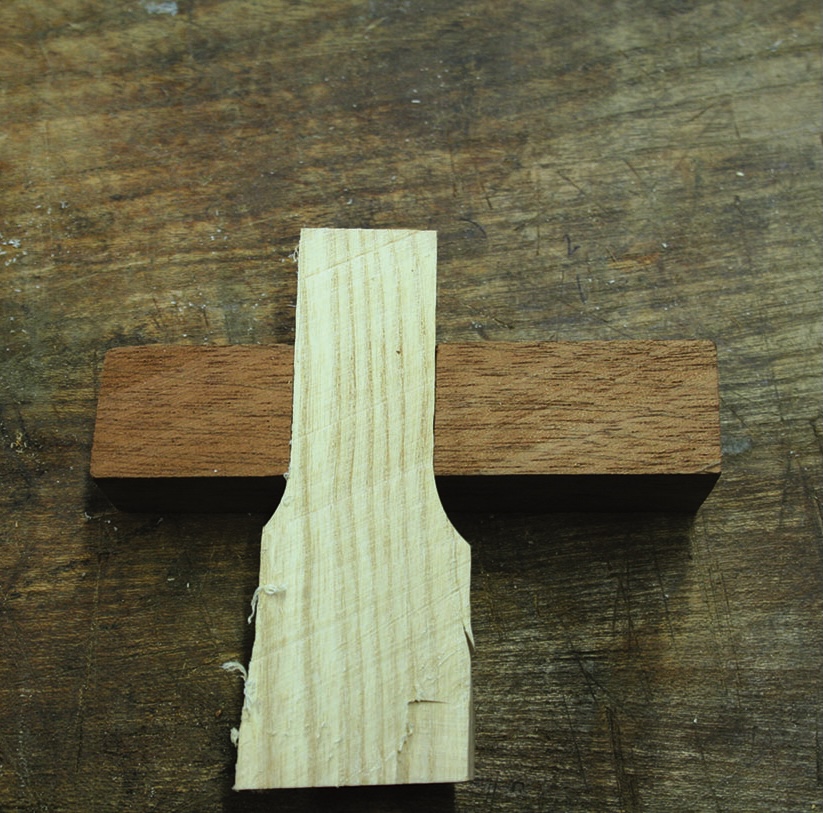
When I’m teaching or making chairs I need the joints to be tight but not too tight! When fitting and assembling a chair I need to be able to easily put it together and easily take it apart. When fitting I could go through this process twice (if things are going well) or 10 or more times if my or a student’s measurements are off. While in an ideal world we want the joint as tight as possible, this would make disassembly almost impossible. A nice ‘push fit’ is ideal. As soon as you have to wiggle the tenon to free it you enlarge the mortise and end up with a loose joint.
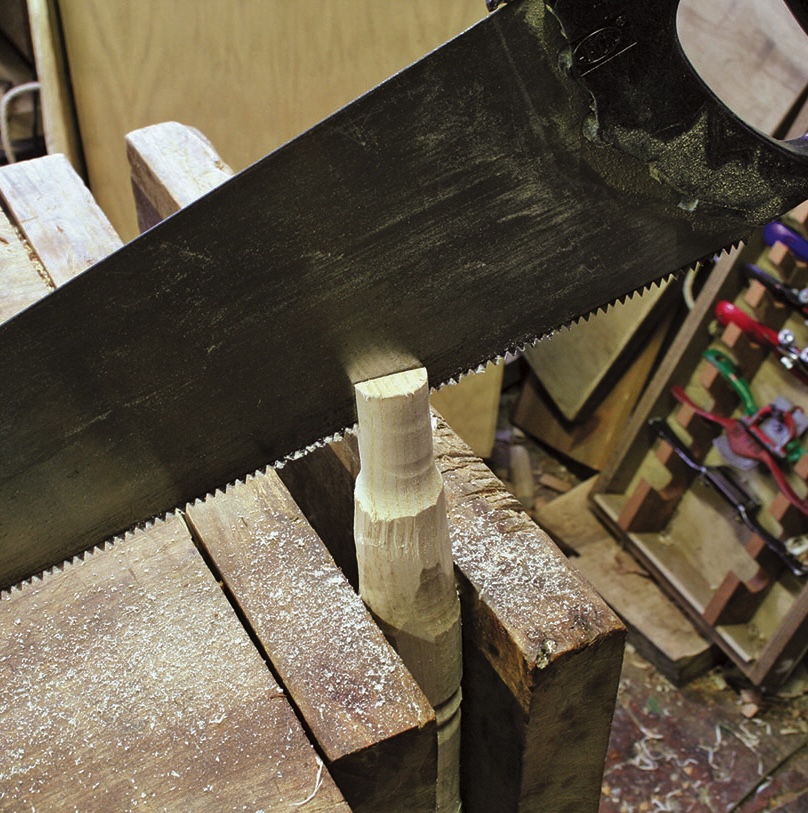
Tip:
Always cut towards the vice, not side to side. The force of the cut will brace against the bench rather than the work moving in the vice.