The Woodworkers Institute

We bring you the very best of woodworking!

“Make it with us”

Peter Wood guides us through the techniques for Windsor chairs, paying special attention to getting the joints as tight as possible
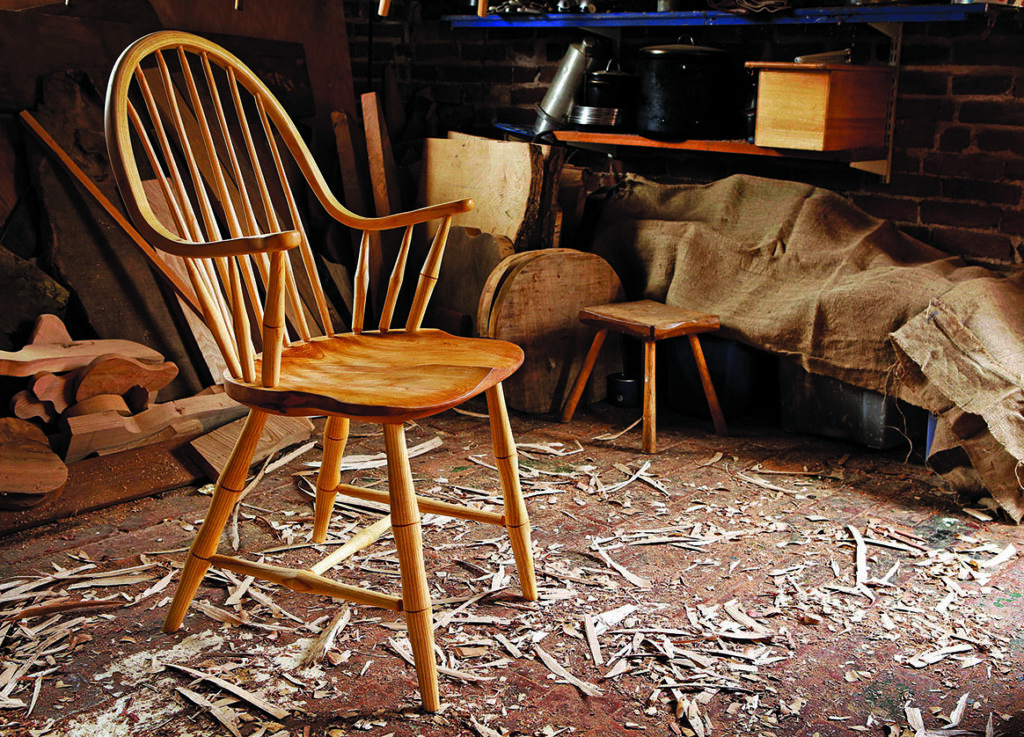
Wooden chair in a workshop with shavings.

The mortise and tenon joint works well when the force is pushing along the tenon not side to side. You can see on this chair the legs are fine with the force straight down the tenon as you sit. The back is supported with the forward facing spindles countering the force generated against the rear-facing spindles as you sit on the chair. In contrast, the back of a side chair has to have the spindles behind the line of the bow. If they were in line the force of you leaning back could break the tenons at the base. Bringing the bow forward 50mm creates a triangle so as you lean back on the chair the force is transferred down the spindles. Each joint is aligned to maximum effect.

When I’m teaching or making chairs I need the joints to be tight but not too tight! When fitting and assembling a chair I need to be able to easily put it together and easily take it apart. When fitting I could go through this process twice (if things are going well) or 10 or more times if my or a student’s measurements are off. While in an ideal world we want the joint as tight as possible, this would make disassembly almost impossible. A nice ‘push fit’ is ideal. As soon as you have to wiggle the tenon to free it you enlarge the mortise and end up with a loose joint.
Wooden mortise and tenon joint on table
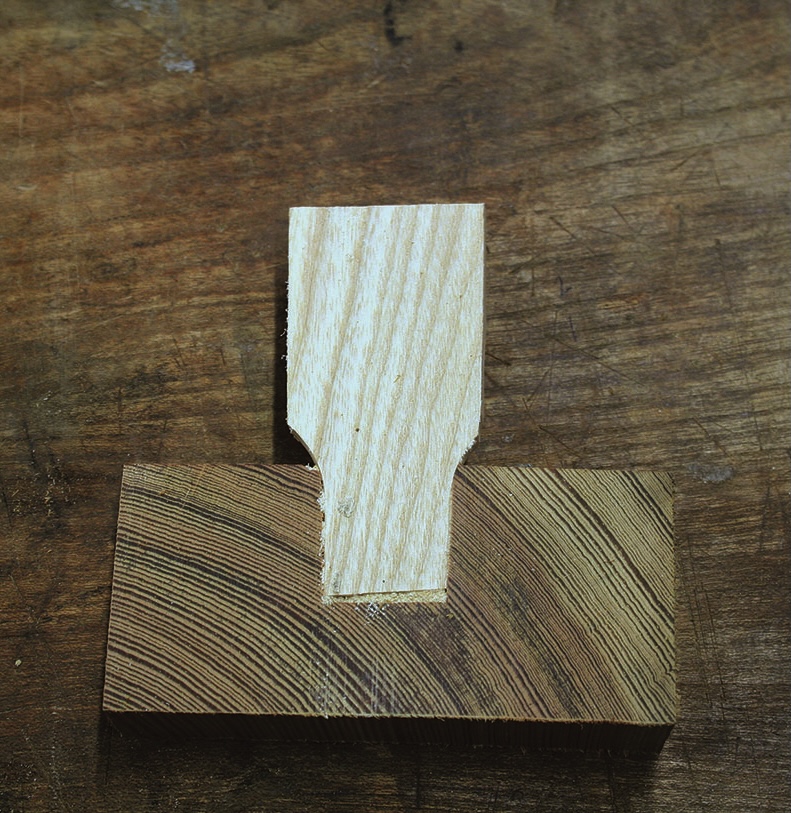
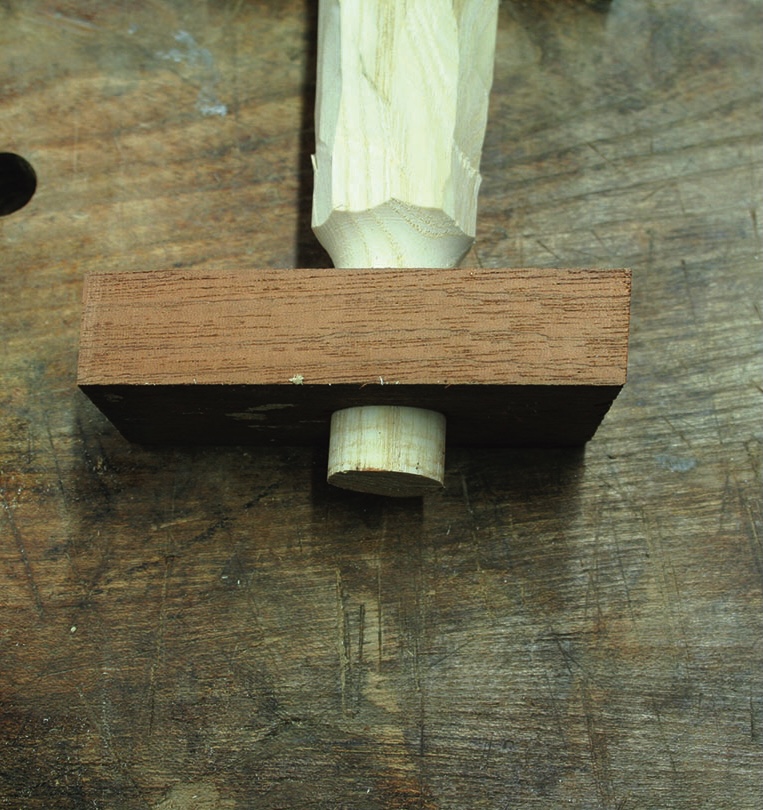
1. The most basic joint is a blind mortise and tenon. Note from the picture the tenon reaches to the bottom of the hole so we have maximum strength and maximum gluing area. A rule of thumb is you want the mortise to be as deep as the diameter of the tenon (though deeper is better)
Wooden mortise and tenon joint on workbench.
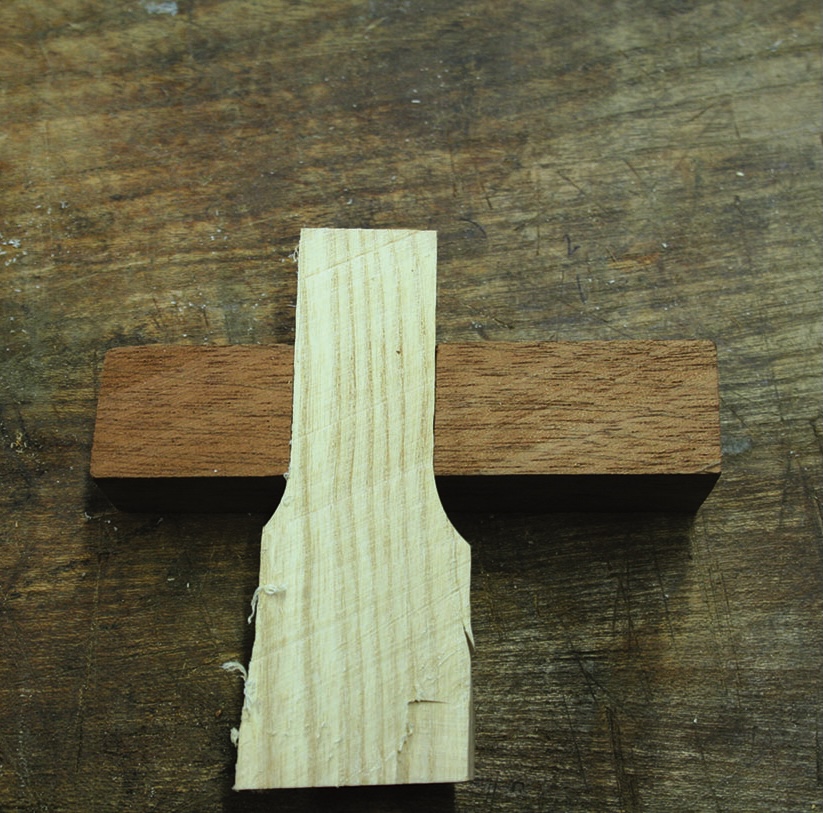
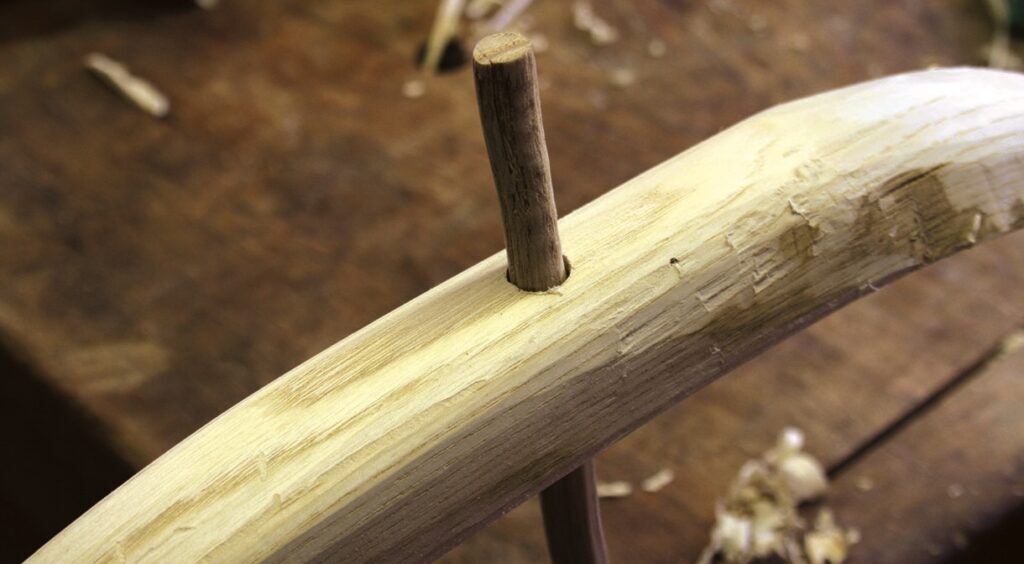
2. To increase the gluing area or if the wood you are mortising into is too thin, you can increase the depth by drilling a through mortise and tenon. It’s a good idea to drill from the top side of the mortise to reduce the chance of breakout
Two wooden pieces in cross lap joint.
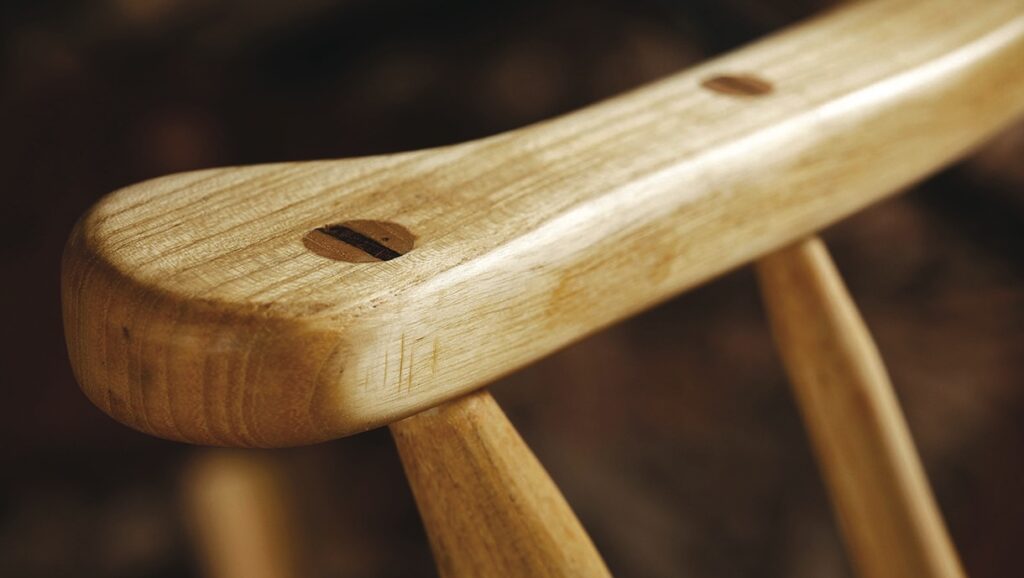
3. The tenon has the maximum gluing area, and if you’re in an Arts and Craft mood, is a good feature to add to your work
Hand saw cutting wooden dowel in workshop.
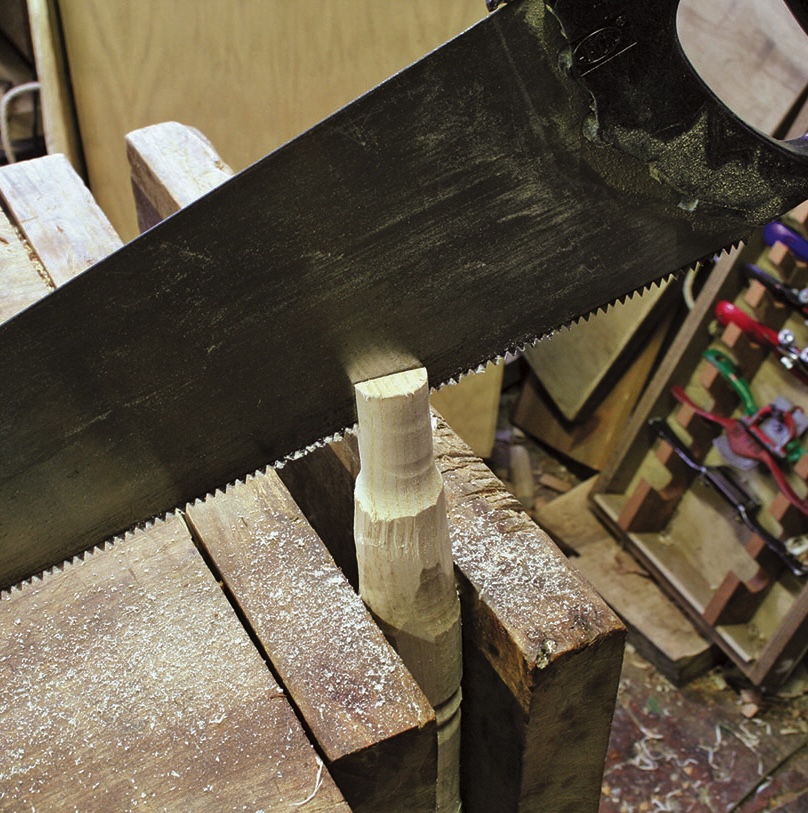
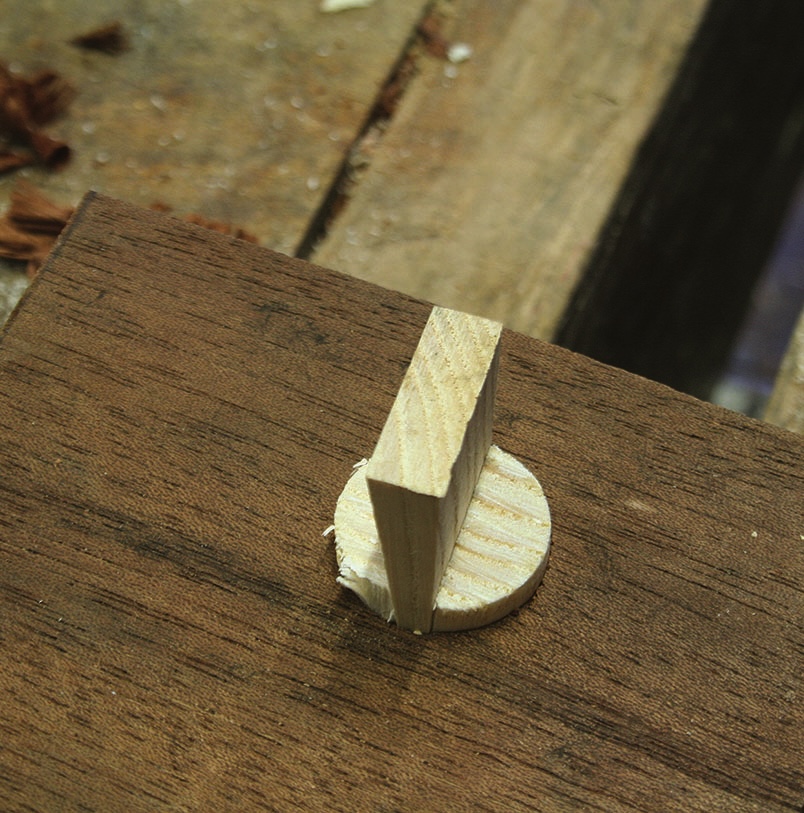
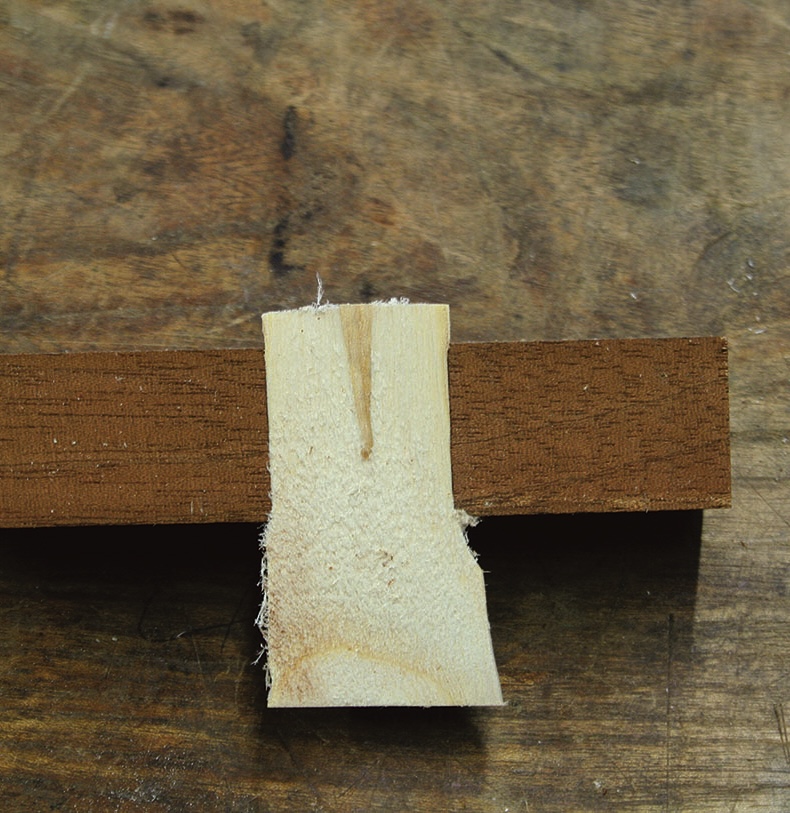
4. While you may make a tight joint through the tenon sometimes, especially when drilling by hand, the bit rocks and creates an enlarged hole. To increase the tightness of the tenon and create another feature, cut a slot in the tenon and create a ‘wedged’ through tenon

Tip:

Always cut towards the vice, not side to side. The force of the cut will brace against the bench rather than the work moving in the vice.
Wood joinery technique showing dowel joint example.
5. Cut a wedge out of any straight grained hardwood the same diameter as the hole. With a slot cut the wedge should knock straight in but if the joint is tight the slot for the wedge may close up making it hard to start the wedge. Open the slot with a chisel and once in the wedge will open up the slot. Please note – position the slot perpendicular (at right angles) to the grain direction, if you follow parallel with the grain, the wedge could split the wood  
Wood joinery technique with interlocking pieces.
6. The slot needs to be 2⁄3 depth of the mortise, hopefully the wedge will reach almost to the bottom of the slot creating a very tight joint
Wooden wheel spoke construction on workbench
7. For the top of a double bow Windsor chair I favour a through mortise and tenon joint for the top bow. This bow is usually delicate so needs the extra depth of the through joint, it’s also advantageous that the bow’s height can be adjusted while gluing with the spindle still over length. The tenons can be left very overlength, enabling easy location of each tenon when fitting the top bow
Chisel carving wood in workshop with tools nearby.
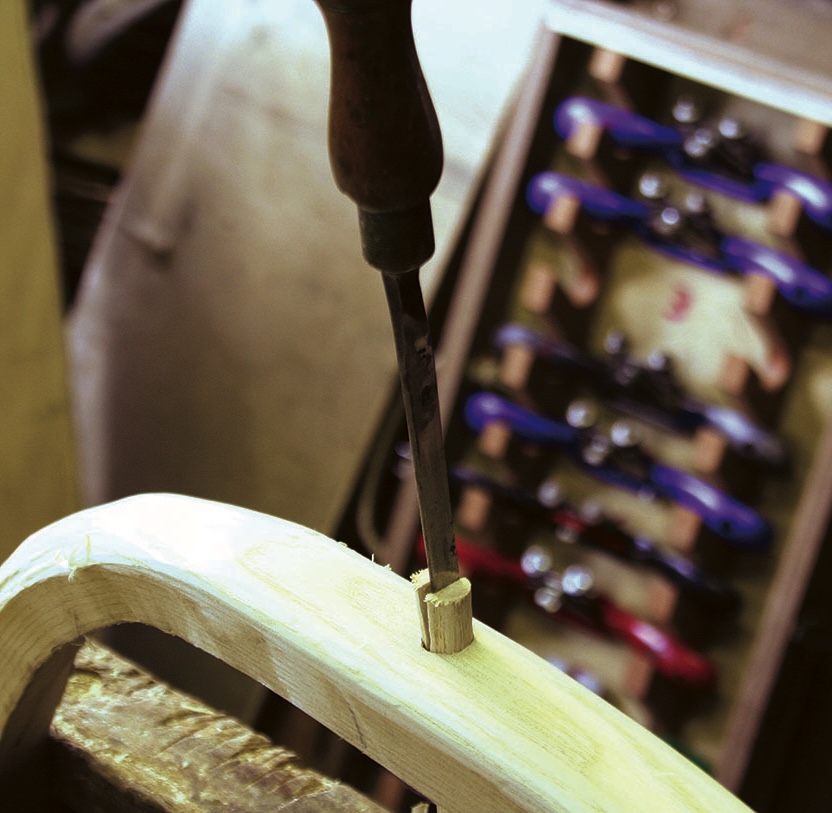
8. I would then cut the tenon 5mm longer than flush and use a chisel to split open a slot for the wedge (perpendicular to the grain). Be careful, it’s very difficult to split a slot if you cut the tenon flush. There is no space for the split to open
Carving wood with a hand tool.
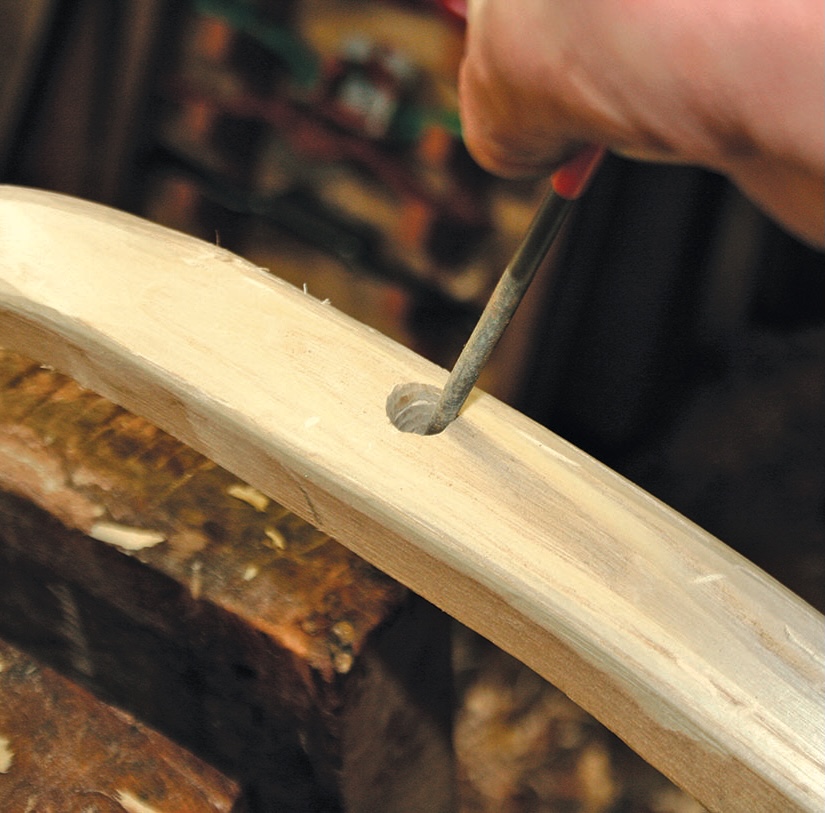
9. When you lean back on the steam-bent bow of a Windsor chair, over time the force generated acts to pull the tenon out of its mortise. To counteract this use a small file to open the top of the mortise; you want to create an oval exit hole. When you knock the wedge in it will spread the tenon into the oval, so, when the top bow is forced upwards the joint is tightened rather than loosened
Woodwork joint pegged for chair construction
10. I glue my wedges but only on one side. This is because the end grain glue joint inside the mortice is weaker than the long grain joint of the wedge in the slot. If you glue on both sides of the wedge and the tenon shrinks there is a chance the end grain mortise joint will fail before the wedge and the whole joint will come loose. Leaving one side of the wedge loose means the wedge will move rather than the joint failing
Close-up of a wooden traditional Japanese joint.
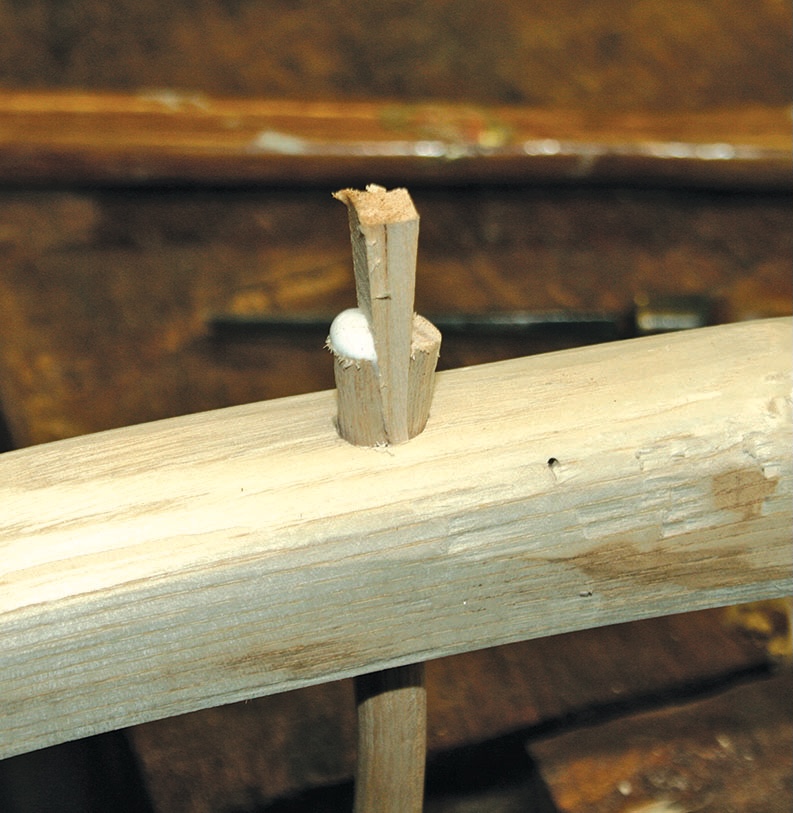
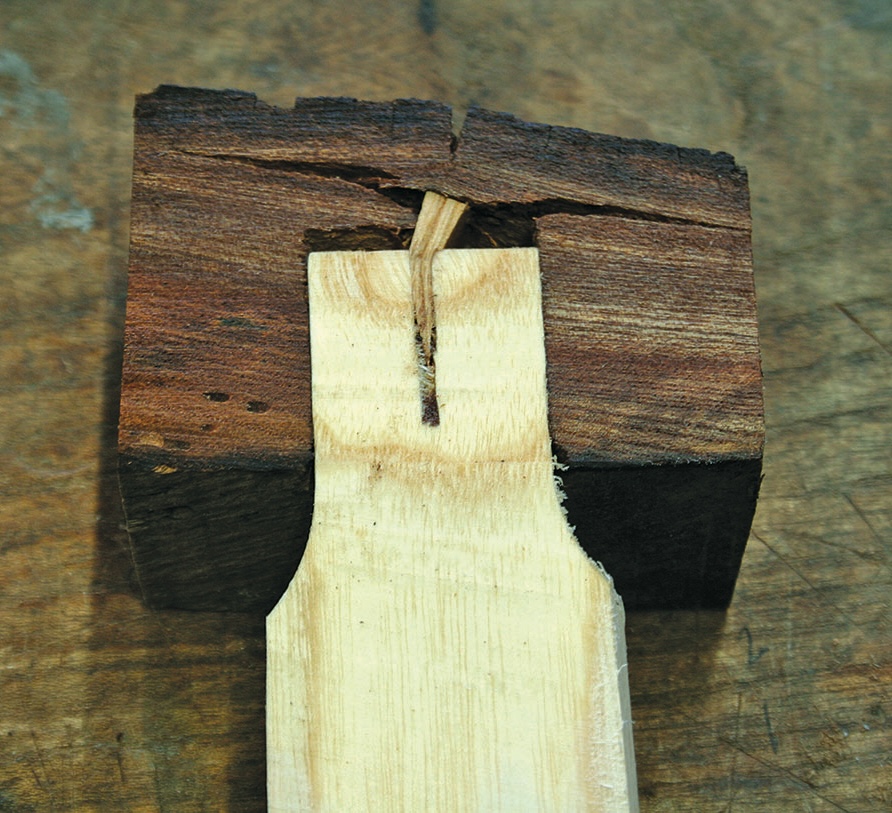
11. Finally the mortise and tenon is a joint that can easily be ‘put right’ with the addition of a wedge. We’ve seen this with the through mortises being tightened with the wedge but you can also ‘fox-wedge’ a blind tenon. After cutting a slot in the tenon, measure the depth of your mortise; you want the wedge to be pushed into the slot as it hits the bottom of the mortise. Be careful though, as you can see here the wedge is too long and the mortise has been drilled too close to the edge almost pushing through! 
Close-up of wooden chair backrest with dowel joints.
12. The mortise and tenon is a wonderful simple joint; easy to get right with matching drills and tenoning tools. It’s forgiving and can be tightened with wedges if your measuring is slightly off. If used correctly it will make a striking feature on your work as well!

Leave a Reply

Your email address will not be published. Required fields are marked *