It’s very easy to become unhinged if you don’t know the right way to hang doors, but a simple jig is all you need
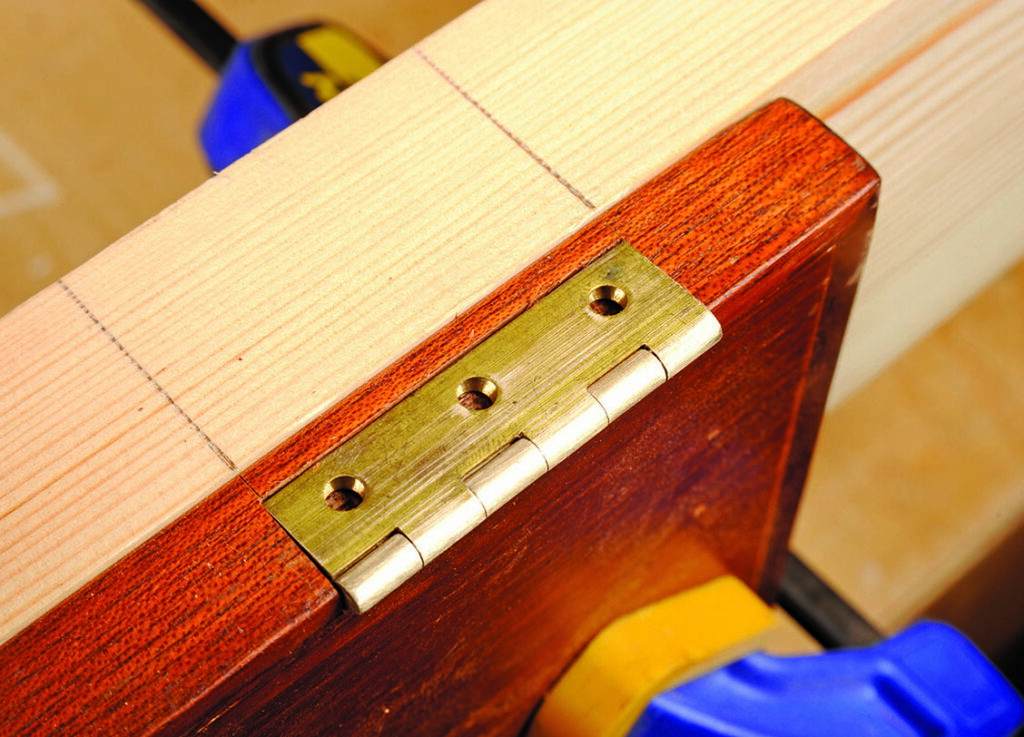
The router is a perfect way to inset door hinges; all you need a straight cutter, guidebush and jig plus a sharp chisel. Each size of hinge will need a different jig but since they are so easy to make and are easy to store afterwards this isn’t a problem. It is a lot less bother than trying to chop out hinge mortises by hand. A small or medium size router is best since they can sit on a door edge or frame more easily than a large machine.
Making the jig
Decide on a suitable hinge size that is strong enough for the job. Cupboard doors are thinner than room doors so the width of each flap needs to be narrower. Wide doors or doors subject to a lot of wear and tear may need an extra hinge near the top one to cope with the extra loading.
A smaller machine not only sits on a door or frame more easily but it should also have a smaller diameter guide bush. This helps make machining easier and allows the cutter to get closer into the jig corners. This reduces the amount of squaring out with a chisel afterwards.
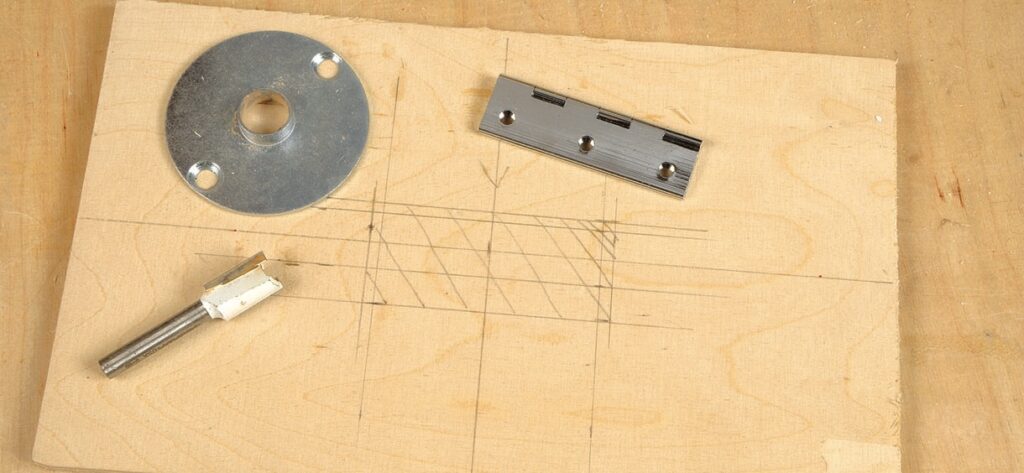
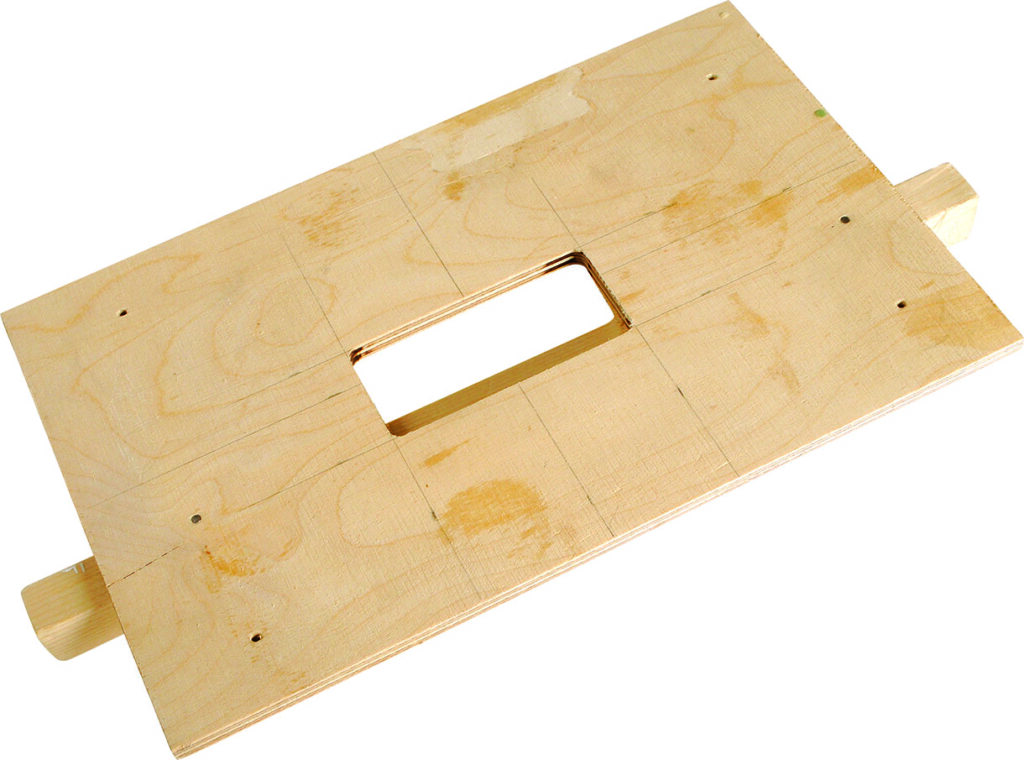
Take a smallish rectangular offcut of 6 or 9mm MDF and mark across it the length of the hinge. Now mark the folded width of the hinge including the knuckle in the middle of the width of the MDF. This will be roughly where the jig will sit on the door edge.
Now measure the difference in diameter between the guidebush and the chosen cutter. Divide this figure and this will be how much bigger the jig cutout needs to be for the cutter to create the right size opening. A typical example: 16mm dia guidebush minus a 9.5mm straight cutter = 6.5mm. Divide to give 3.25mm but round it down to 3mm as the 0.25mm is hard to measure out exactly.
Mark an extra around 3mm at each end of the jig, don’t worry about altering the width as you now need to make a U-shape cutout so the jig can be moved across slightly afterwards to account for the guidebush offset amount.
Doing a test cut
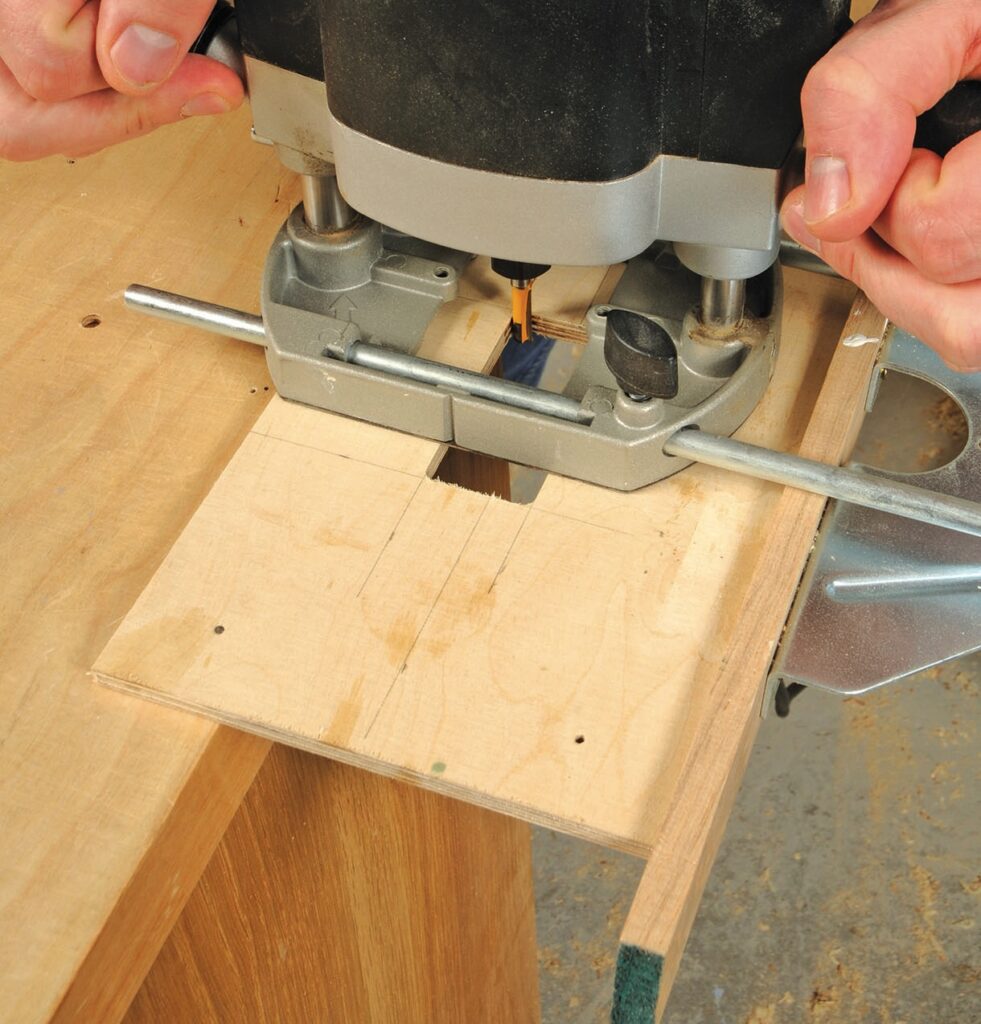
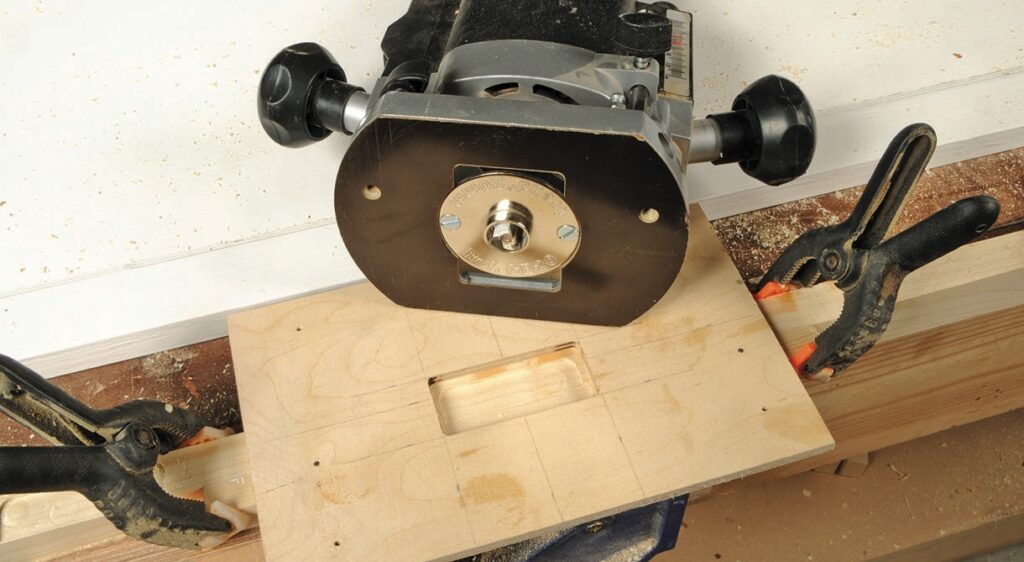
Now lay the jig on the door edge and work out where it should be widthwise. Some hinges will be narrow enough that you won’t need to machine right across the width of the door so deciding this is quite important. Mark the jig where the door edge is and remove it so you can neatly screw a fence in place using a fillet of softwood. At this stage don’t glue it until you have done a test cut.
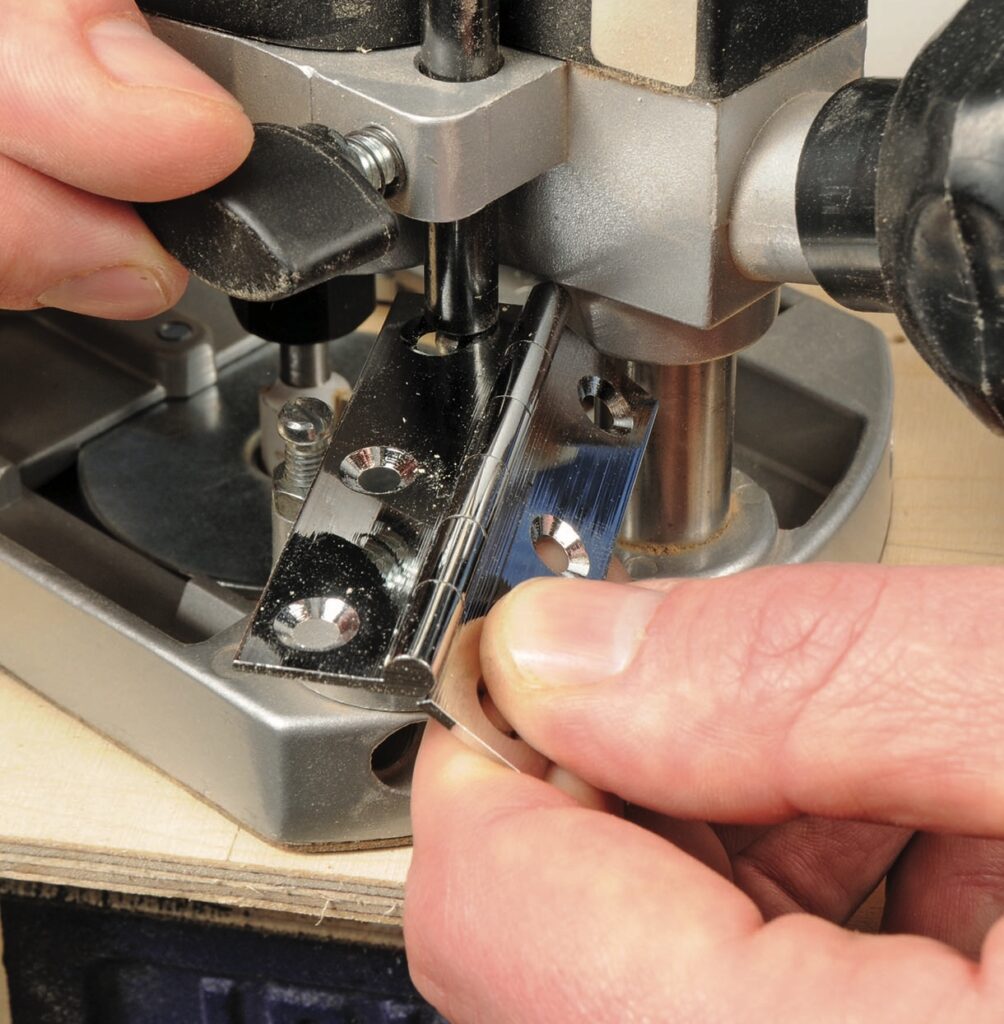
Do a test cut on a scrap of wood to check width position. Fit your straight cutter or a mortise cutter if you have one and press the static cutter down on to the test once the jig is clamped in place. Now place the unfolded hinge under the depth stop which you need to press down on the hinge and lock off. I would suggest the depth needs to be a fraction more than hinge thickness so when the door is fitted, there should be a slight gap on the hinge which avoids stressing the hinge and screws holding it.
Do the test cut running along the outer edge of the workpiece first so it is cut away cleanly, then move inwards removing the rest of the waste. Unplunge and switch off and withdraw the router.
Hinge fitting
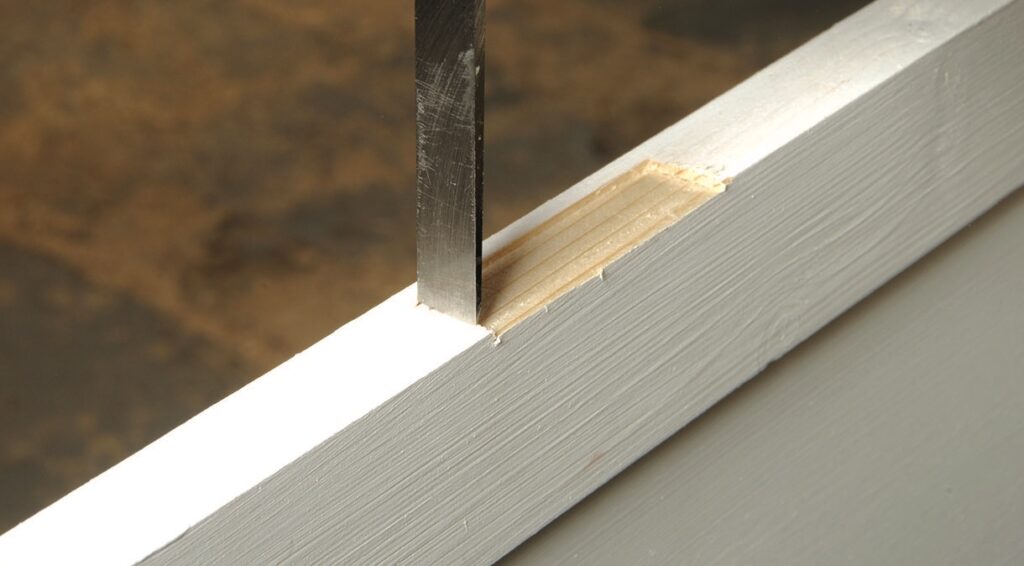
Use a sharp chisel to square out the corners of the recess if it doesn’t go right across door width. Clean the base of the recess with the chisel in the corners and try a hinge for fit. If it isn’t quite right you may need to adjust the jig or move the fence fractionally.
Now you can proceed to make all your hinge cutouts, which becomes a quick and easy process. In a piece of furniture your jig may limit how close to the top or bottom of a door opening you can place the router. If you are working on a larger scale with room doors you will either need to move the fence across to accommodate the thickness of the architrave bearing in mind it probably will be an awkward moulded shape, or remove the architrave for the duration of machining, which may not be as bad as it sounds if it is just held with a few nails.