The Woodworkers Institute

We bring you the very best of woodworking!

“Make it with us”

Gilding technique

Expert gilder Paul Wilson shows you how to gild an awkward claw foot
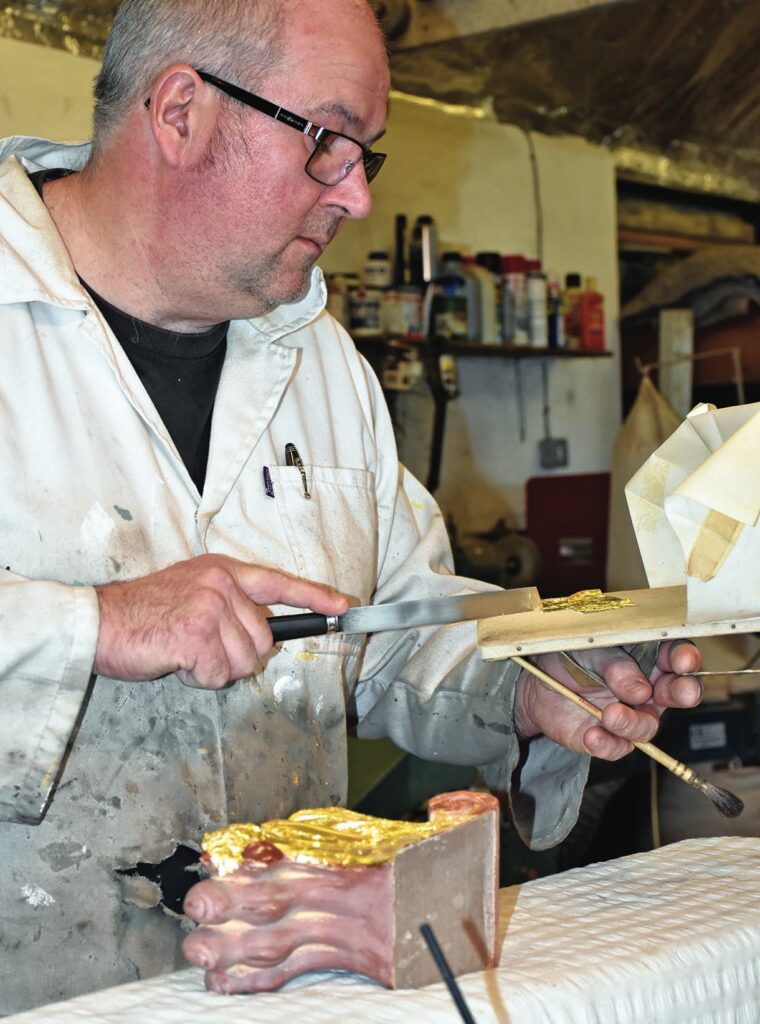
Man applying gold leaf to sculpture in workshop.

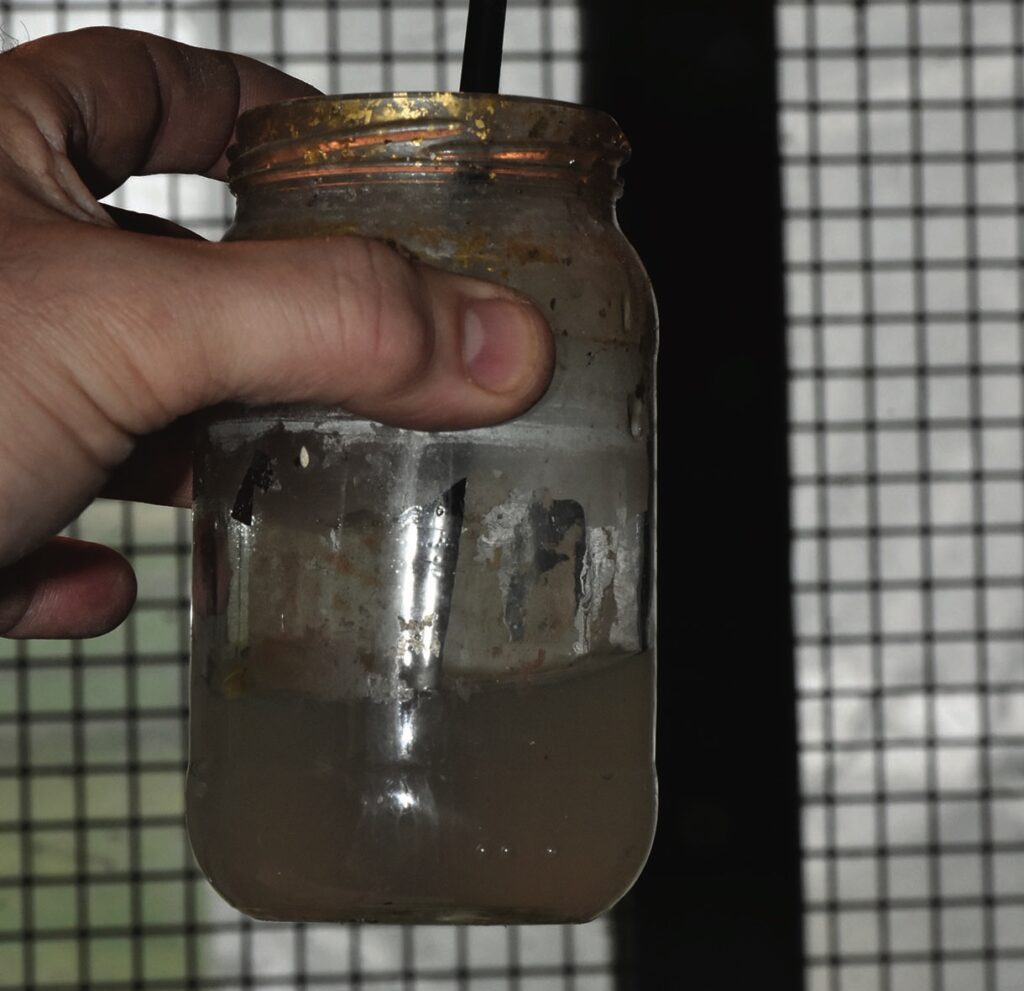
Paul Wilson freely admits he is largely a self-taught gilder, but his work is exceptional. He manages to make a difficult and intricate job look remarkably easy. First, he picked an old screw-topped jar from a selection on a dusty shelf: ‘I think that’s the one, it doesn’t smell that bad.’ You could have fooled me, it smelt pretty revolting. ‘Skins, some years old, the older the better for what I want.’

He meant rabbit skin size, very watery, less pungent when brushed on to the gessoed, yellow painted ‘bottoms’ then ‘bowl’ (red) on the ‘tops’. After that, holding a gilder’s cushion with its draught shield at the back, transferring a leaf of gold and gently brushing it flattish and ready to go. Then, using a knife, Paul sliced the leaf, again and again, cutting it into smaller pieces to suit the awkward internal shapes in a scroll foot. I always thought having a head of hair was essential for creating static with a gilder’s tip, but apparently not. A few flicks, then pick up a piece, carry it gently to the work, brush it down and repeat endlessly, until having to select a new leaf and starting all over again. It was somehow mesmeric watching a skilled craftsman lifting each piece into the correct overlapping position until good coverage was achieved, ready for the agate burnisher to smooth and shine the whole surface. ‘I leave it to dry overnight before burnishing it,’ he says. I’m impressed even now, but rubbing back the gold to reveal glimpses of the red base underneath is an art in itself.

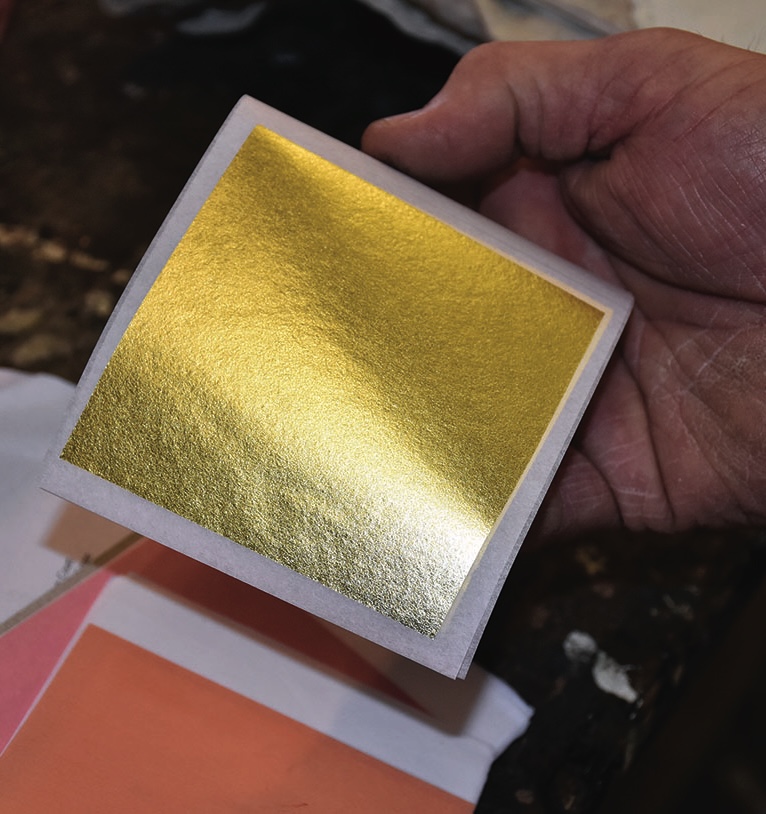
Being able to create this effect is very attractive to some clients but is also good for blending in sympathetic repairs. ‘A German company makes a special stick-on gold leaf. It’s a bit bright, but it is an alternative to the traditional sort. They said it couldn’t possibly be used for burnished work – I proved them wrong of course.’ I agreed it was a bit bling in appearance but he had managed to somehow break through the surface convincingly to give a good distressed finish. 
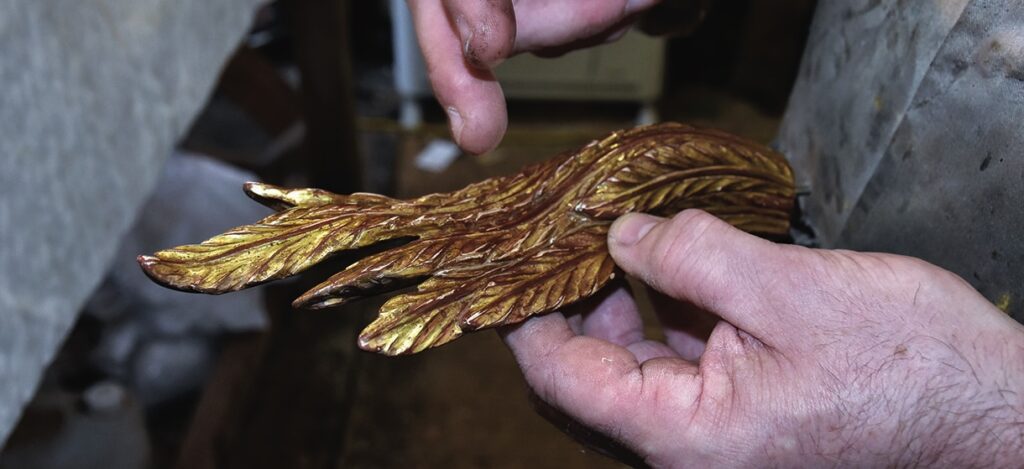
Hands crafting a metallic feather ornament
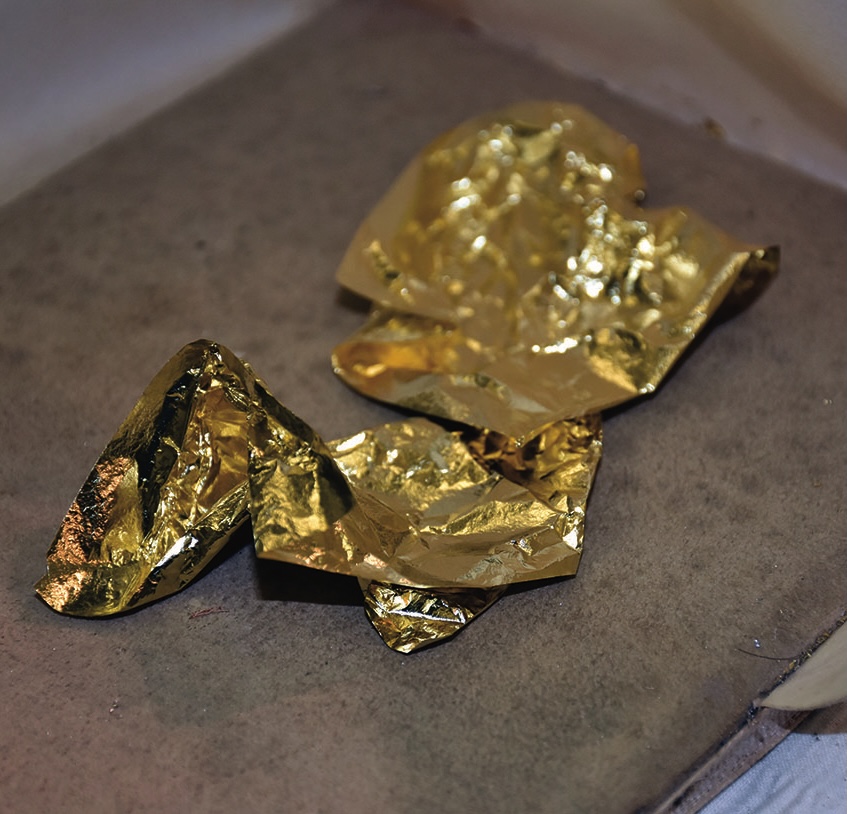
The aim is to produce a worn distressed effect like this leaf form
Crumpled gold foil sheets on a surface.
Gold leaf is, of course, extremely thin and is tricky to manipulate. The shield at the back prevents draughts disturbing the very thin leaf
Hand holding a sheet of gold leaf
Here is a more modern, German-made alternative that doesn’t need rabbit skin glue. A bit brighter than normal, note the textured surface
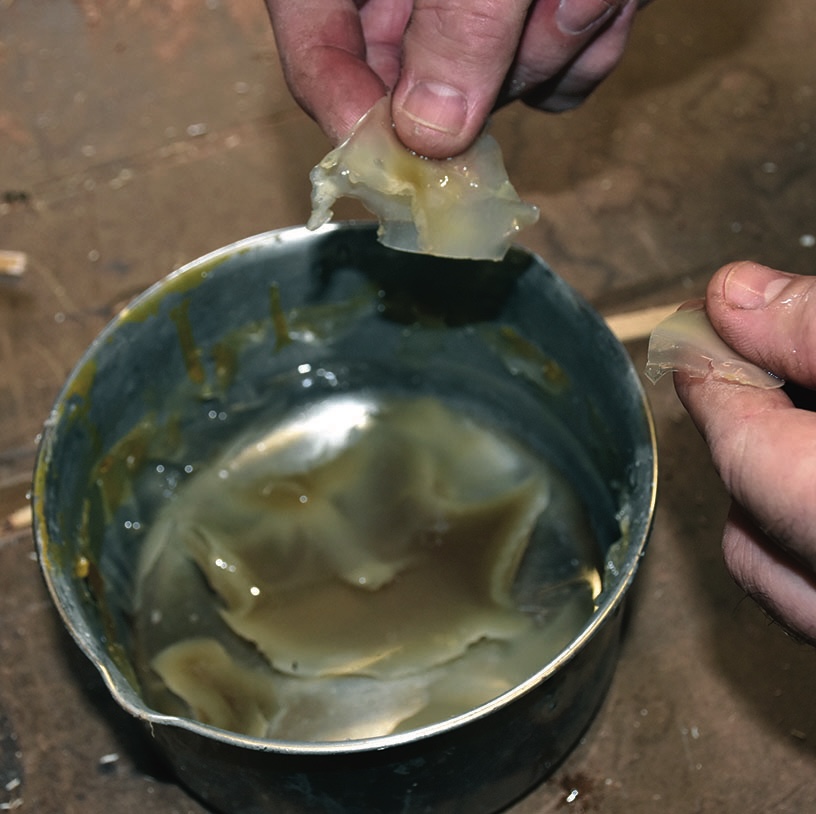
Hands examining substance in a metal container.
The rabbit skin size is gently heated with water to produce the working solution which consists of collagen from rabbit bones
Hand holding dirty jar with liquid and straw.
This is the disgusting-smelling cold mixture, now some 35 plus years old which apparently gives the best result
Hand applying gold leaf to wooden ornament.
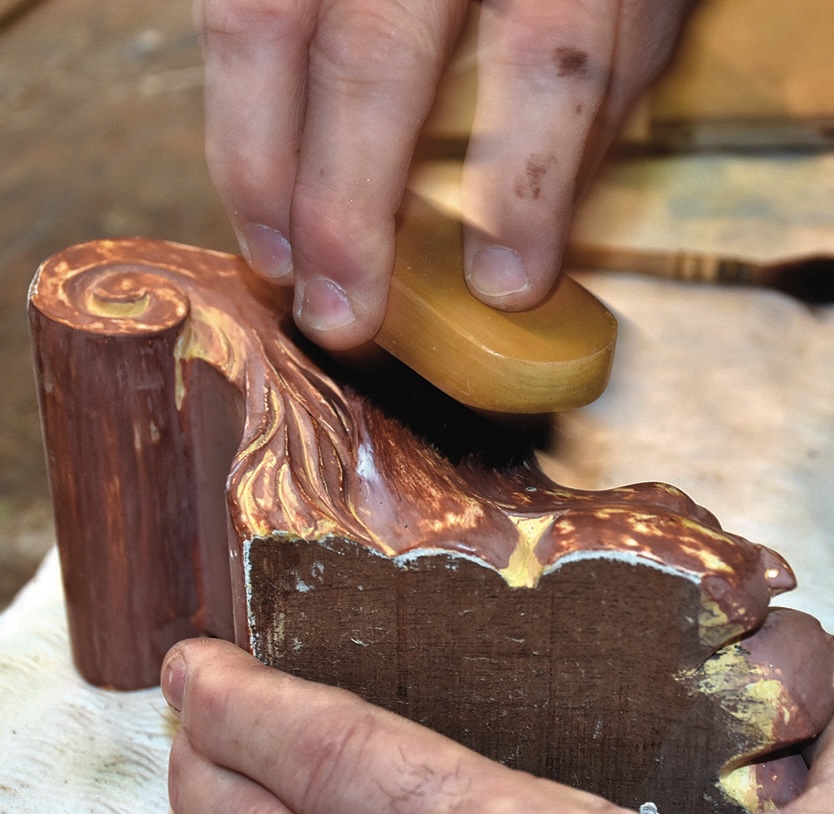
The surface is burnished all over with a brush to to break through the size layer as part of the pre-distressing process
Artist gilding a wooden sculpture with a brush.
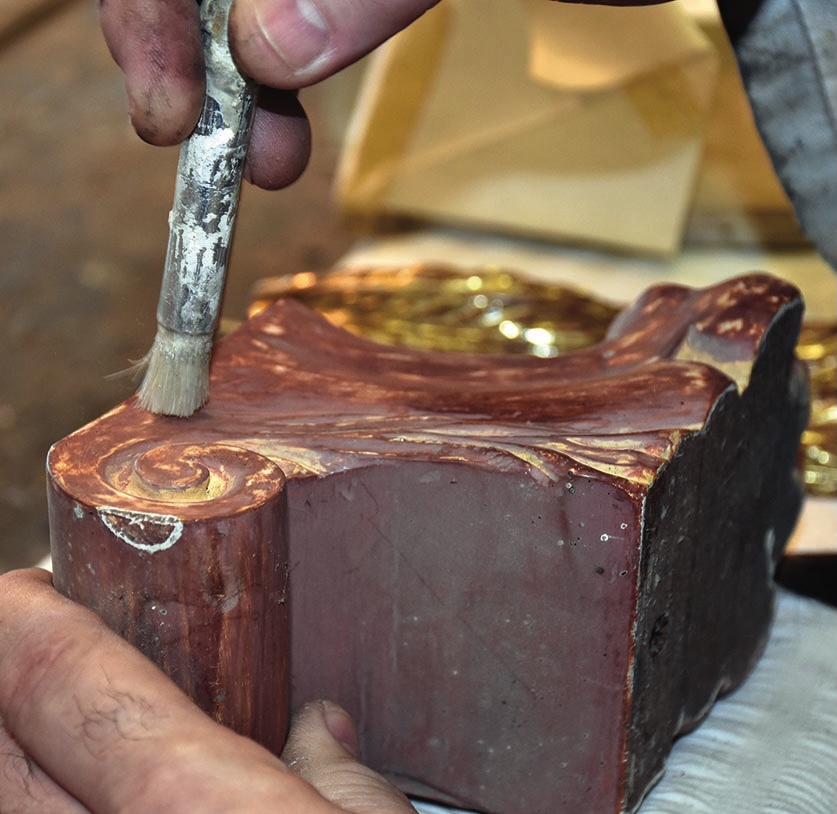
Using the size water to pre-distress the surface of the ‘bowl’
Person testing knife sharpness on paper strip.
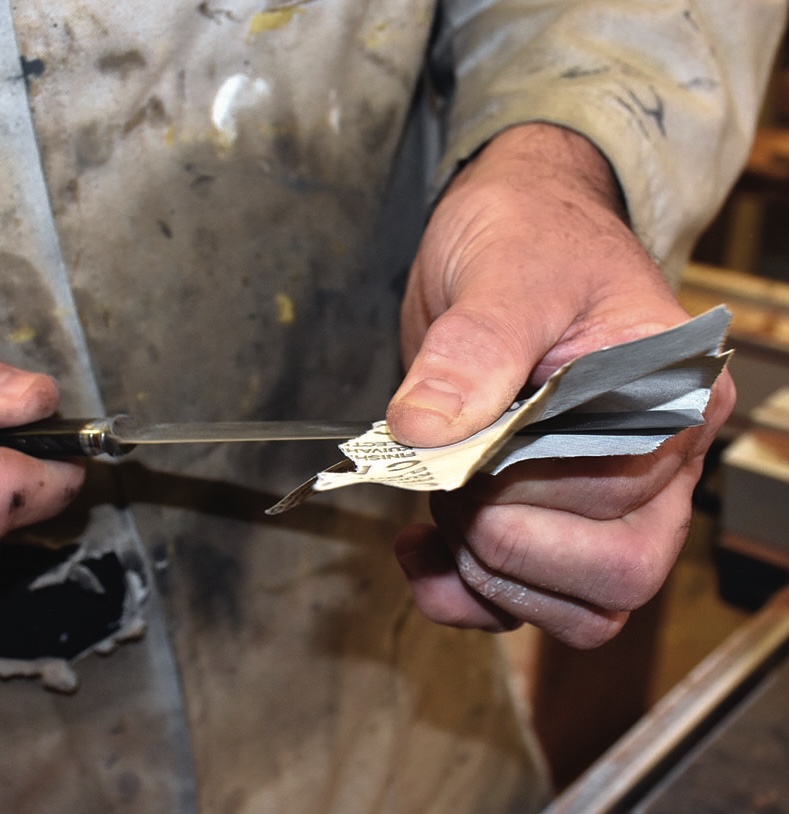
The flat edge knife used for cutting the leaf, is given a quick sharpen for clean cutting and avoiding tears in the leaf
Hands cleaning a brush with a comb
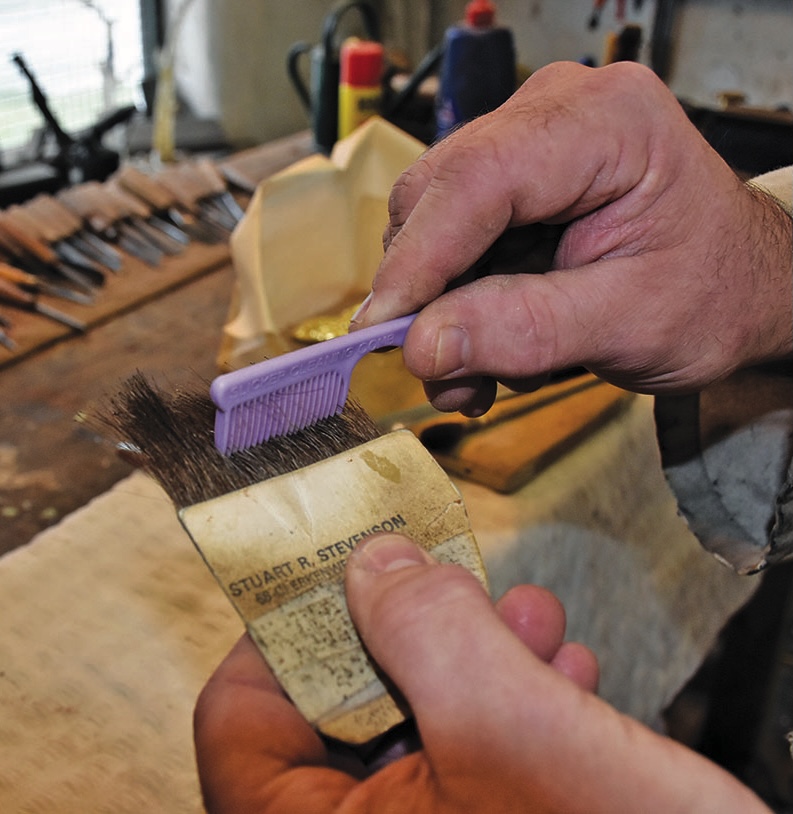
The gilders tip is prepared by combing it so it is silky smooth for a good ‘pick up and put down’ on the job
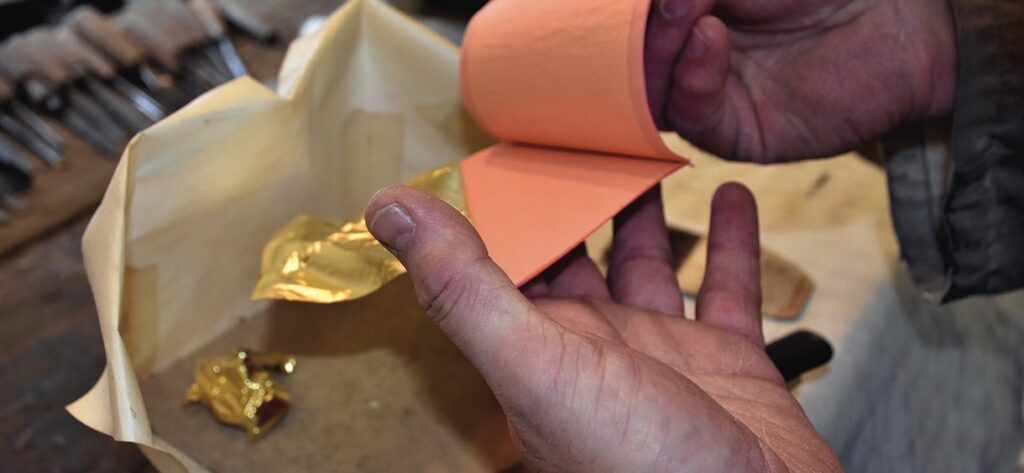
Hands holding gold leaf sheets for crafting.
The book or pad is opened and a leaf gently blown on to the tray. Two leaves should be sufficient for one side of the claw foot
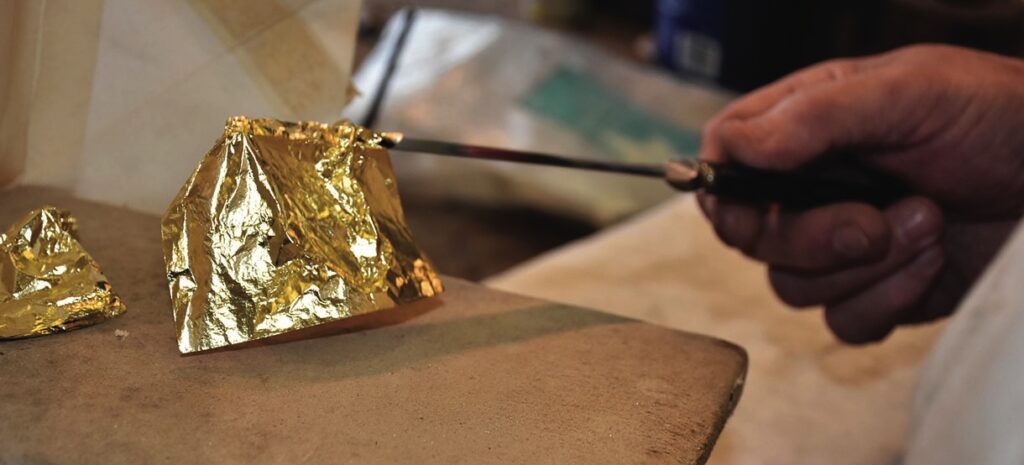
Hand applying gold leaf with knife
Pick-up with the knife to help the leaf lie flat. Each leaf needs to be spread out before attempting to cut it into pieces
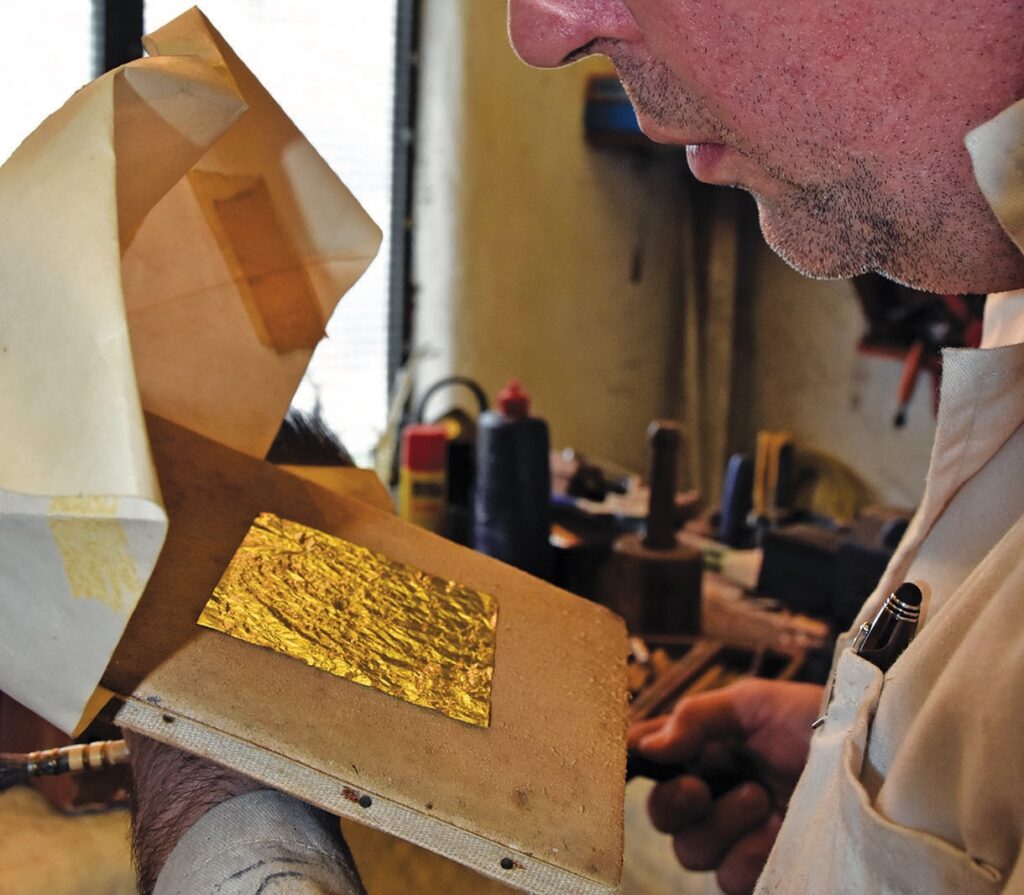
Man applying gold leaf in workshop.
The very gentlest of breaths is needed to persuade the leaf to flatten out fully. Note the soft surface underneath for cutting on
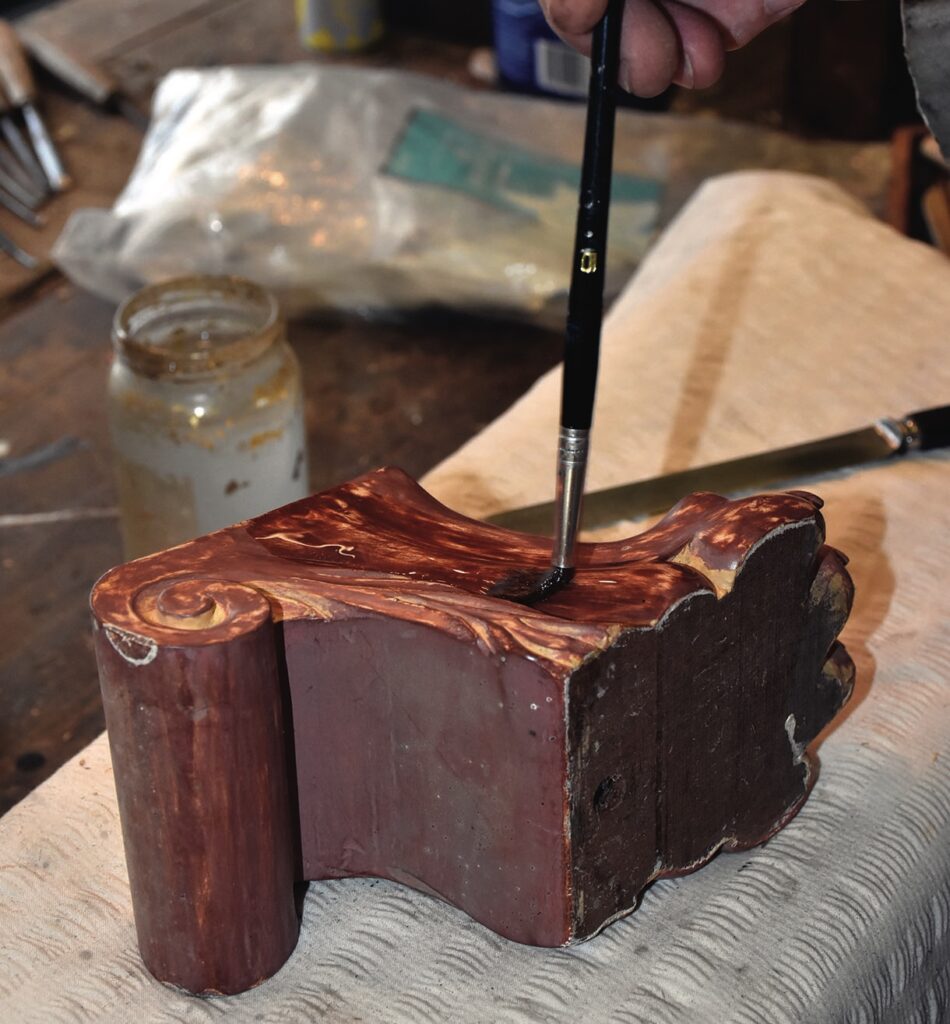
Restoration of wooden furniture with paintbrush
The surface has the size applied to it, ready for gilding
Manual gold leaf application on a surface.
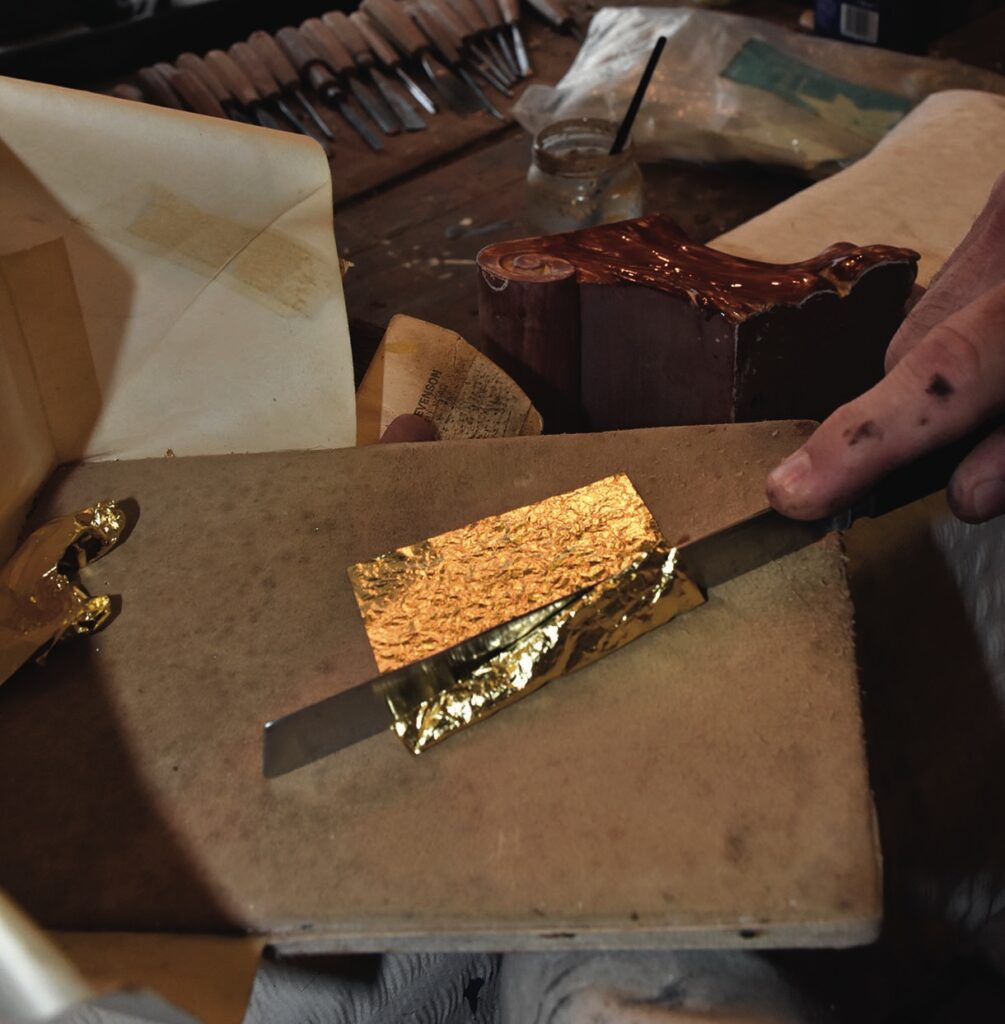
The leaf is cut in half, then again. If awkward areas are to be gilded then ever smaller pieces are used
Man in workshop wearing white coat and glasses.
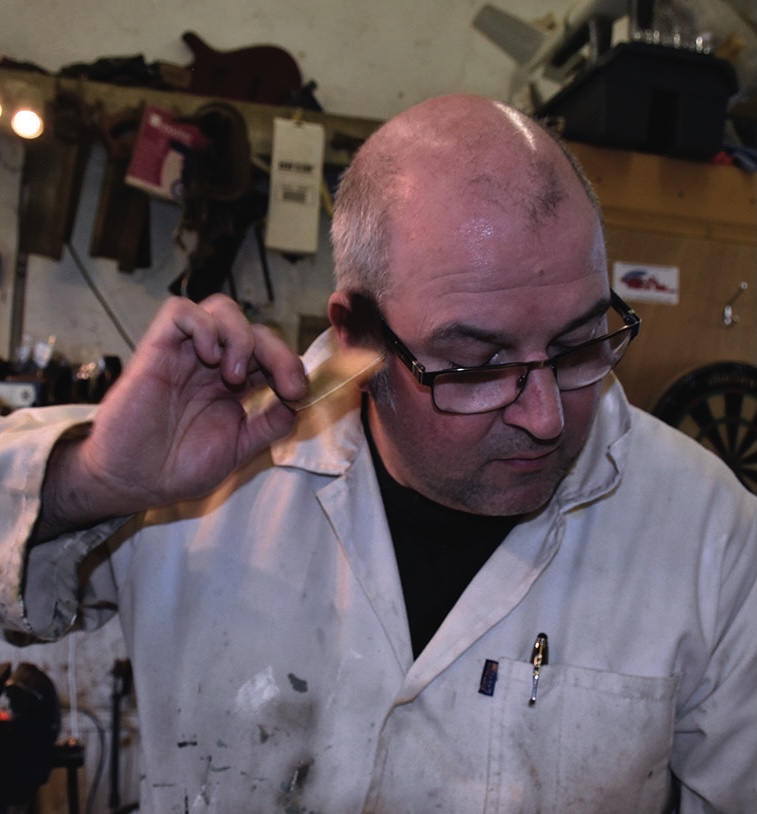
The static trick, a gentle brush and the fine squirrel hairs have enough power to lift a piece of gold leaf
A hand holding a worn paintbrush in workshop.
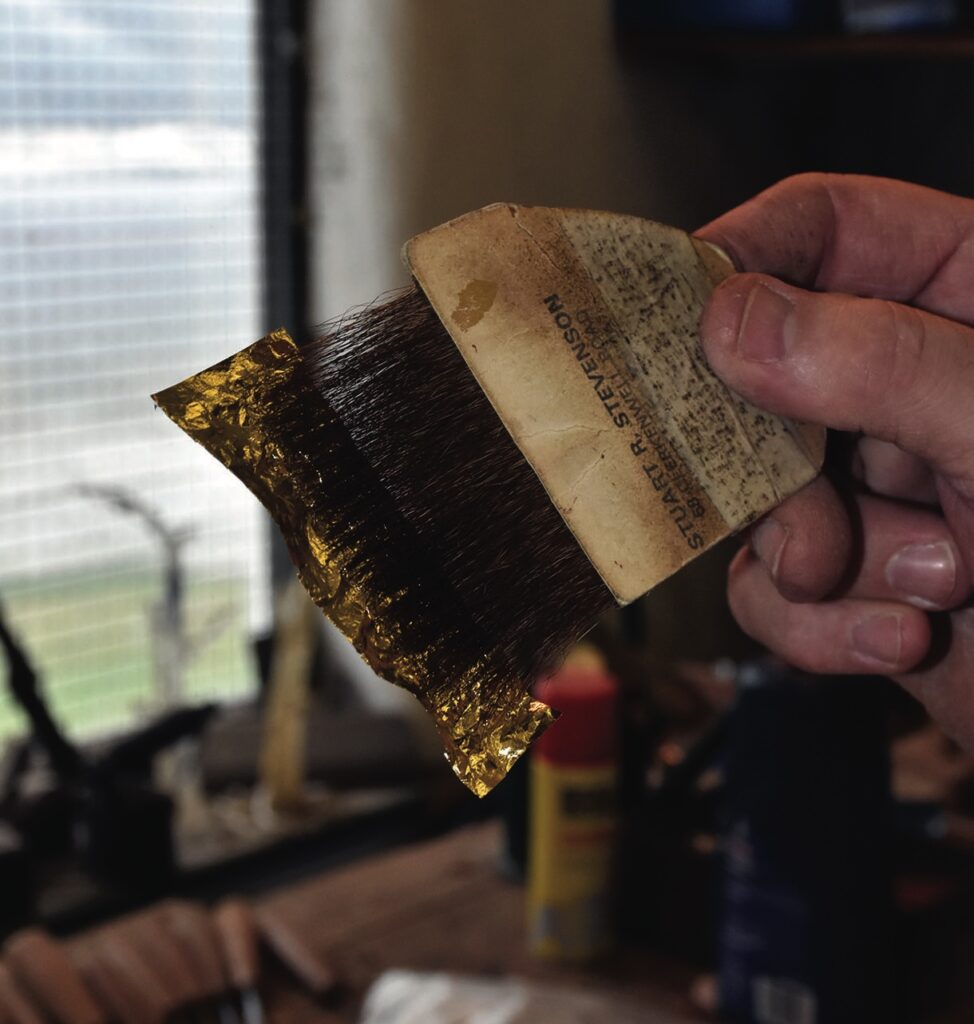
A section of leaf is now carefully captured, ready to press down on the job
Applying gold leaf to wooden sculpture
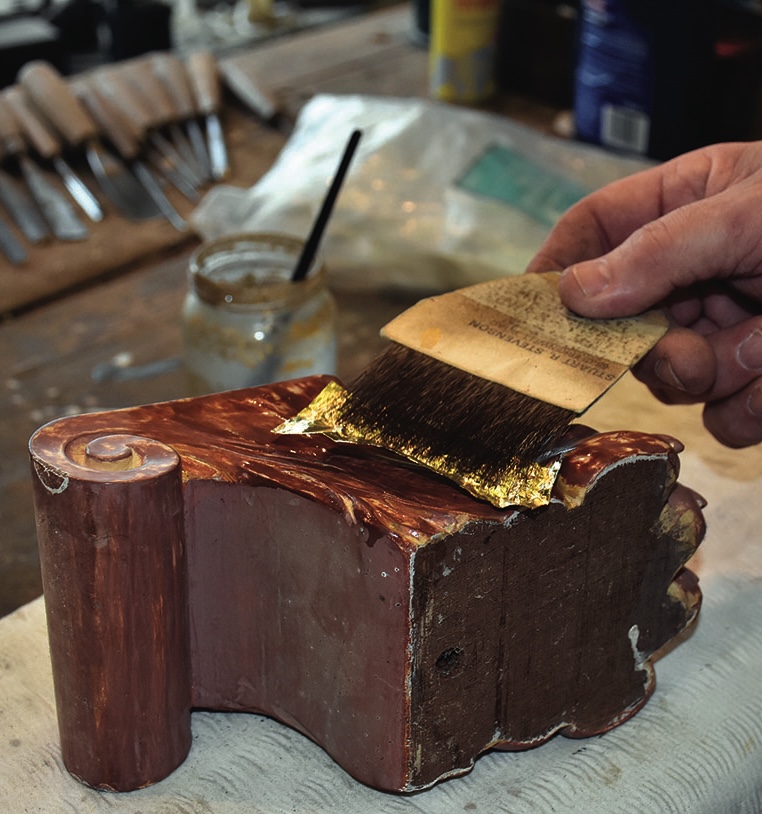
Pressed down, like so, roughly following the direction of the carved swirl
Person closely examining a paintbrush bristles.
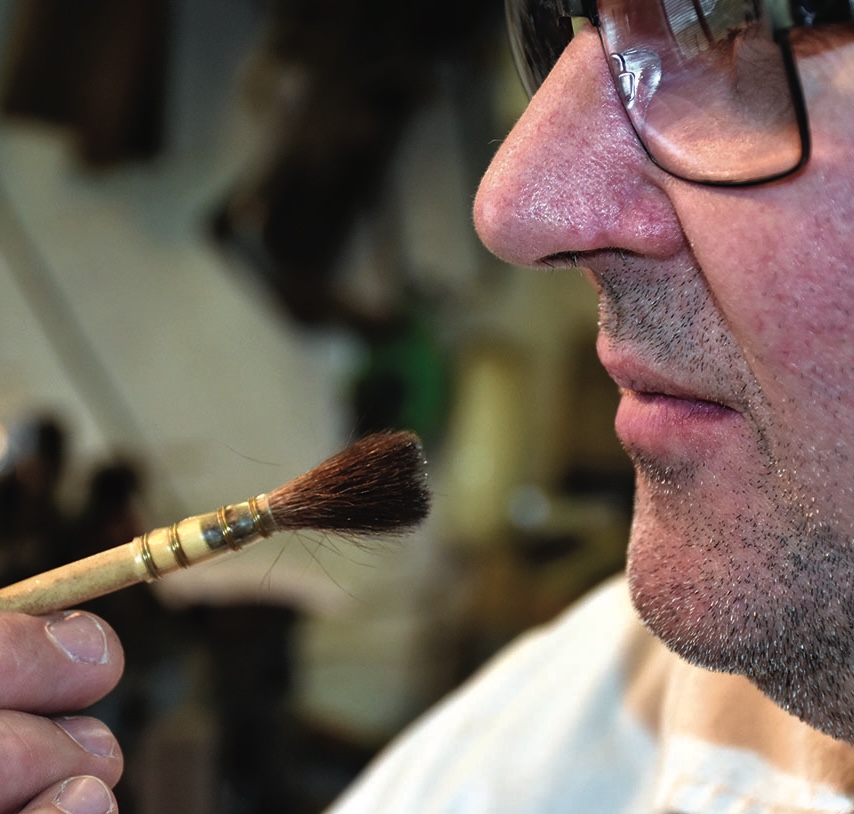
The ‘dabber’ is touched to the lips to check it is dry, no wet size which would result in the gold leaf becoming stained
Gold leaf applied on ceramic art piece.
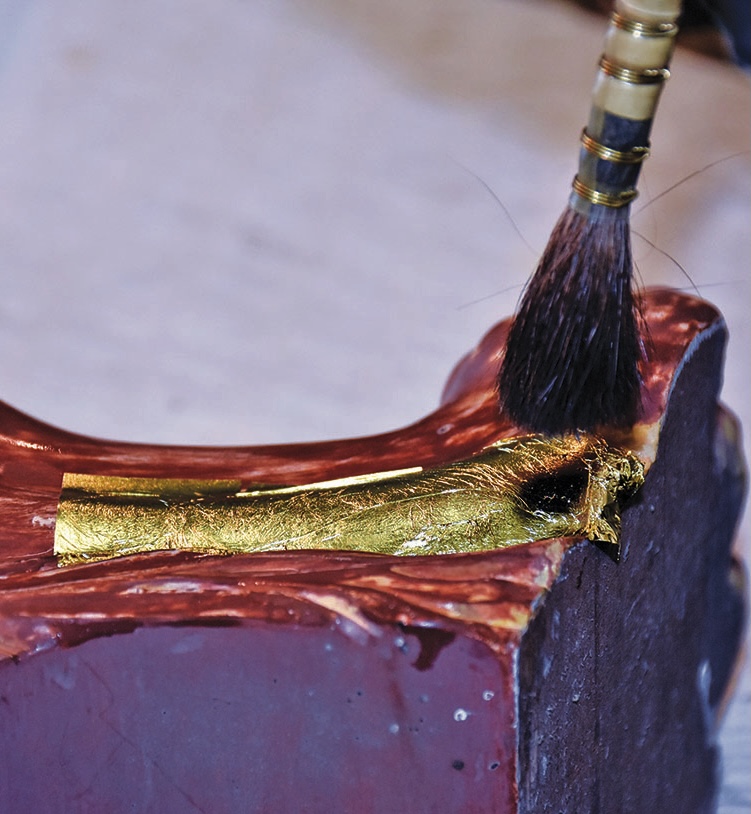
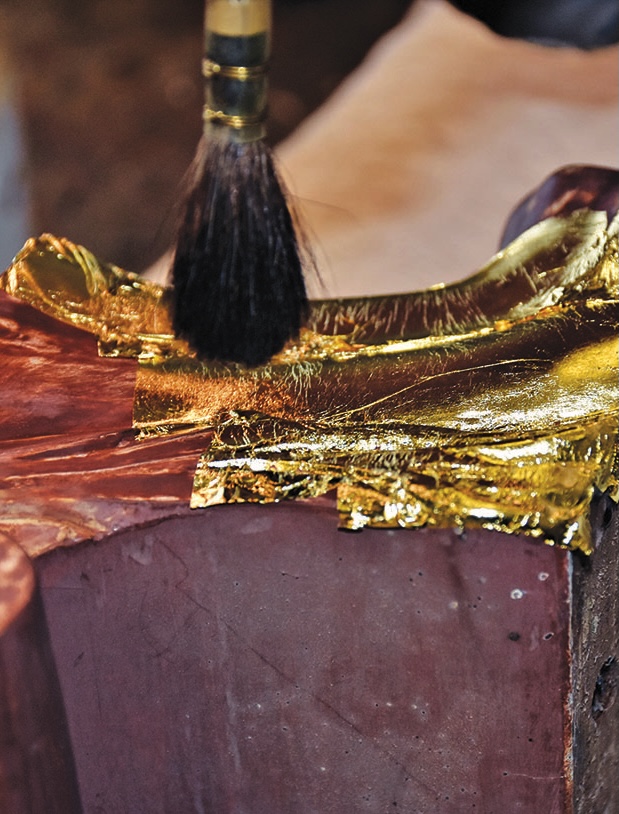
The gold leaf is dabbed into place. The size has previously dried enough to avoid contaminating the brush
Applying gold leaf to ornament with brush
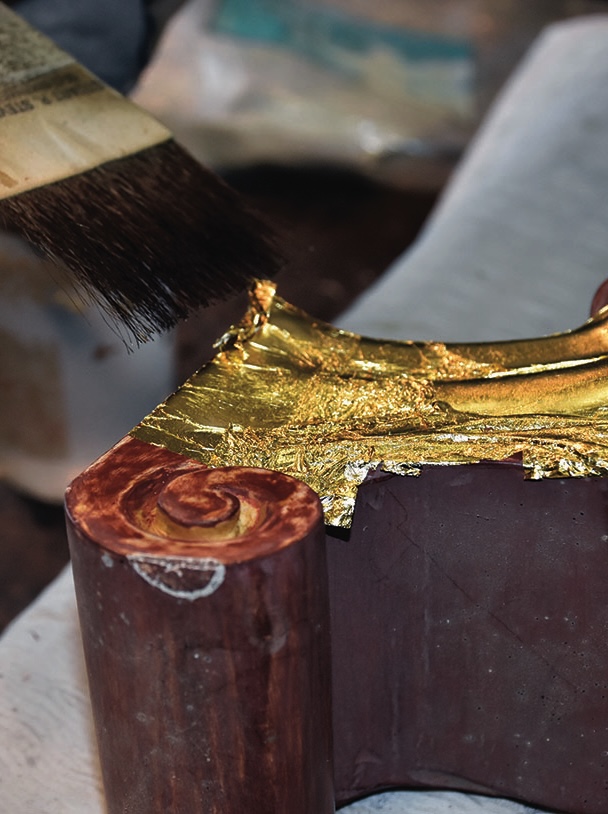
More size is applied to an adjoining area. Each piece of leaf slightly overlaps the last, although you can build up density as well if you need to
Brush applying gold leaf to wooden frame
Gently laying down a smaller piece. Gilding is a time-consuming process although it gets quicker with practice
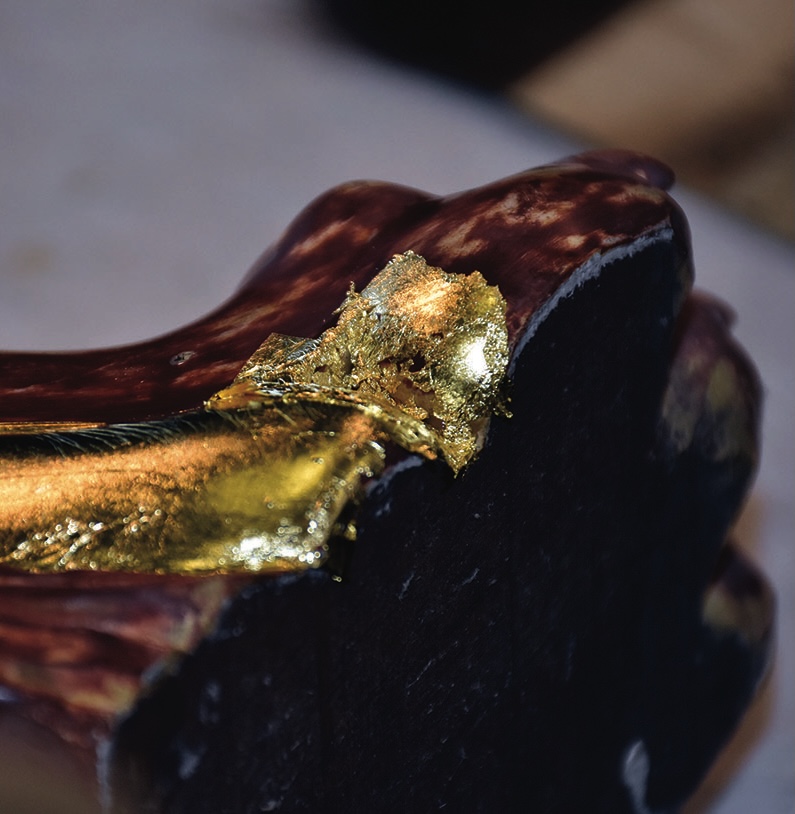
Close-up of gold leaf on dark surface
The ‘bottoms’, the deep ravines are already painted yellow where there may be any ‘misses’ in the gilding, filling in missing areas with gold leaf is known as ‘faulting’
Applying gold leaf with a brush on stone
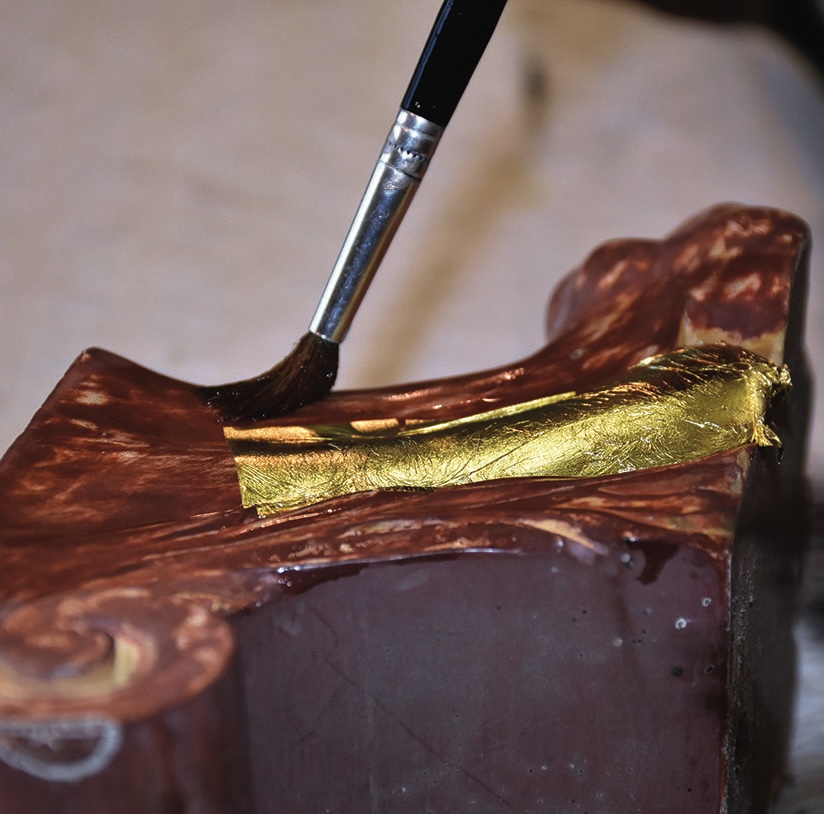
Dabbing down the latest additions, pushing them gently into place
Chocolate cake adorned with gold leaf decoration.
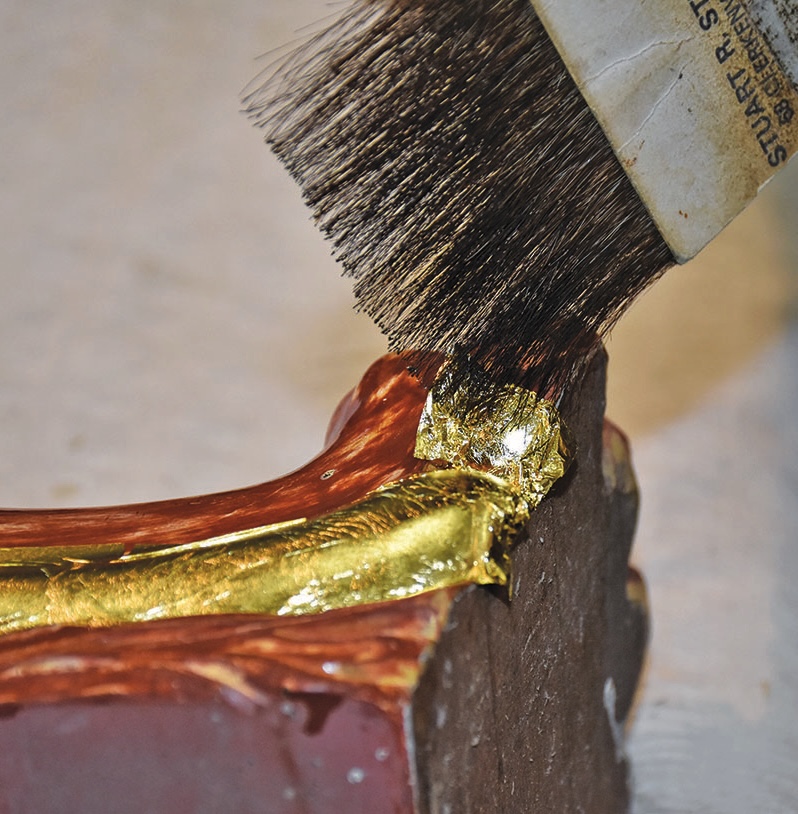
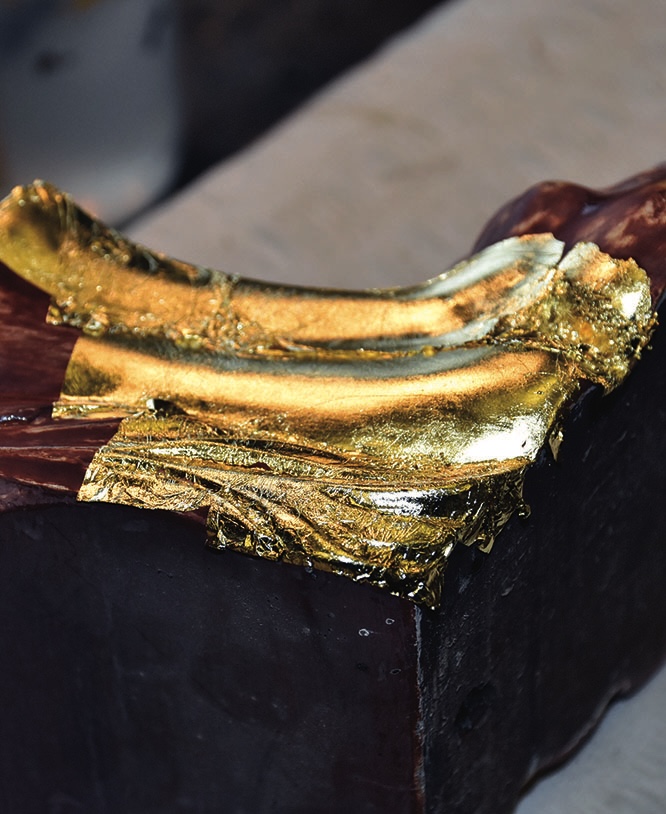
Gradually the surface gets covered in gold leaf. Any missed areas are easily filled in with smaller pieces
Applying gold leaf with brush on wood frame.
Laying another section. The visual effect is rapidly becoming apparent
Gilding wooden frame with a brush
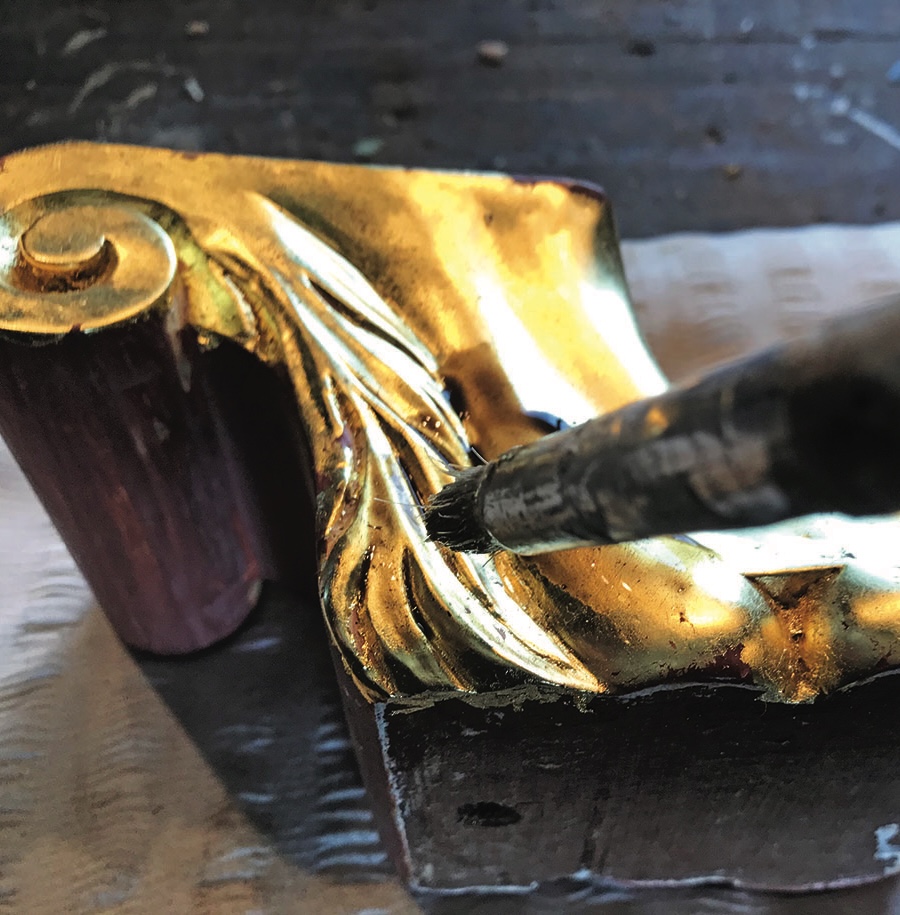
Applying the old size water to tone the gold and then while wet, distress the gold
Restoring gilt wood furniture corner with cloth.
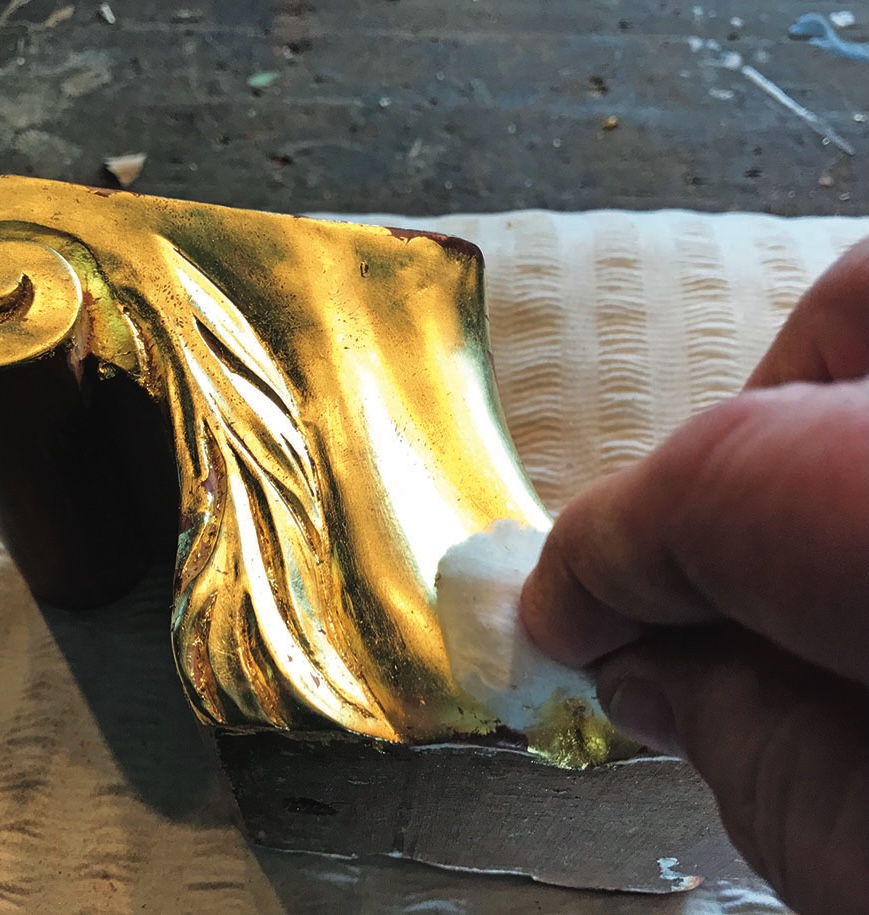
Cleaning off the old size residue from the gold with methylene chloride i.e wax-less stripper, this also tones the gold
Restored gilded wood carving detail with tool
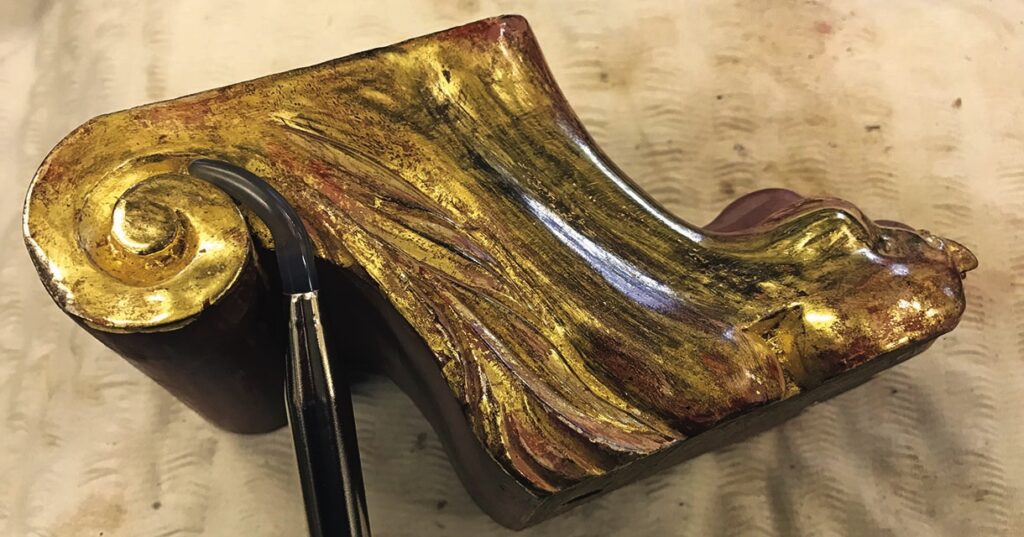
Using an agate tipped burnisher to give the foot is burnished finish

Leave a Reply

Your email address will not be published. Required fields are marked *