Brian Crossman shares his trials and tribulations in creating a fun triceratops
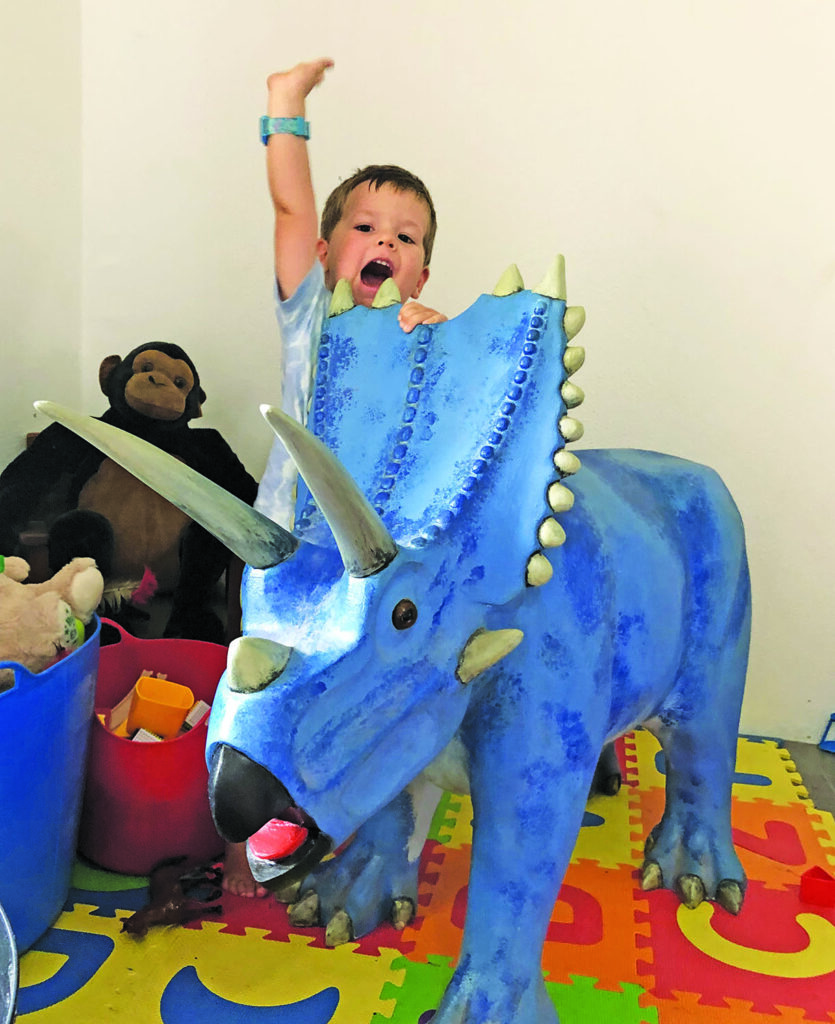
I first started woodcarving classes in the early 1990s as part of my interest in furniture making and learned the basic motifs carving such pieces as a Georgian pie crust wine table and hall table with ball and claw feet. At that time I saw some of my classmates carving rocking horses and promised myself to do the same if I ever became a grandfather. Over the years this morphed into the idea of a rocking dinosaur as many youngsters seem to be more interested in dinosaurs than horses. I hadn’t done any serious carving since the mid 1990s, apart from shaping some Windsor chair seats a couple of years ago, so this project was a long overdue return to carving.
There are plenty of books, articles and plans for rocking horses but I conducted an internet search for plans for a rocking dinosaur. I wanted to make a triceratops and the search did not give any worthwhile hits, so I was faced with the prospect of starting from scratch as to the design, but had plenty of reference material to be able to start with making the dinosaur. It took a while to make sketches and work out the various views and such like. This meant resizing these on a computer to obtain the outlines that were usable without being foreshortened. It was not an insurmountable problem but still rather time consuming. To help you, I have taken photographs of each relevant view so you can scan them and enlarge as required. You now have the chance to make a small dinosaur or, as I did, a large-scale one.
Timber
Good-quality wood for carving is becoming expensive in Australia, so the idea was to laminate the body from a plywood and medium density fibreboard (MDF) – then if the project went horribly wrong it would not be too expensive to discard. The rationale was the plywood would serve as a structural core for strength with the outer cladding in MDF shaped by chisel.
Rather than relying on power carving as the sole method, I wanted to use chisels as much as possible. I had already tried gouging a small sample of MDF and found it was reasonably easy to carve after piercing the hard, outer skin. The more complicated head would be carved from jelutong (Dyera costulata), which does carve nicely.
The dinosaur from various views with helpful dimensions
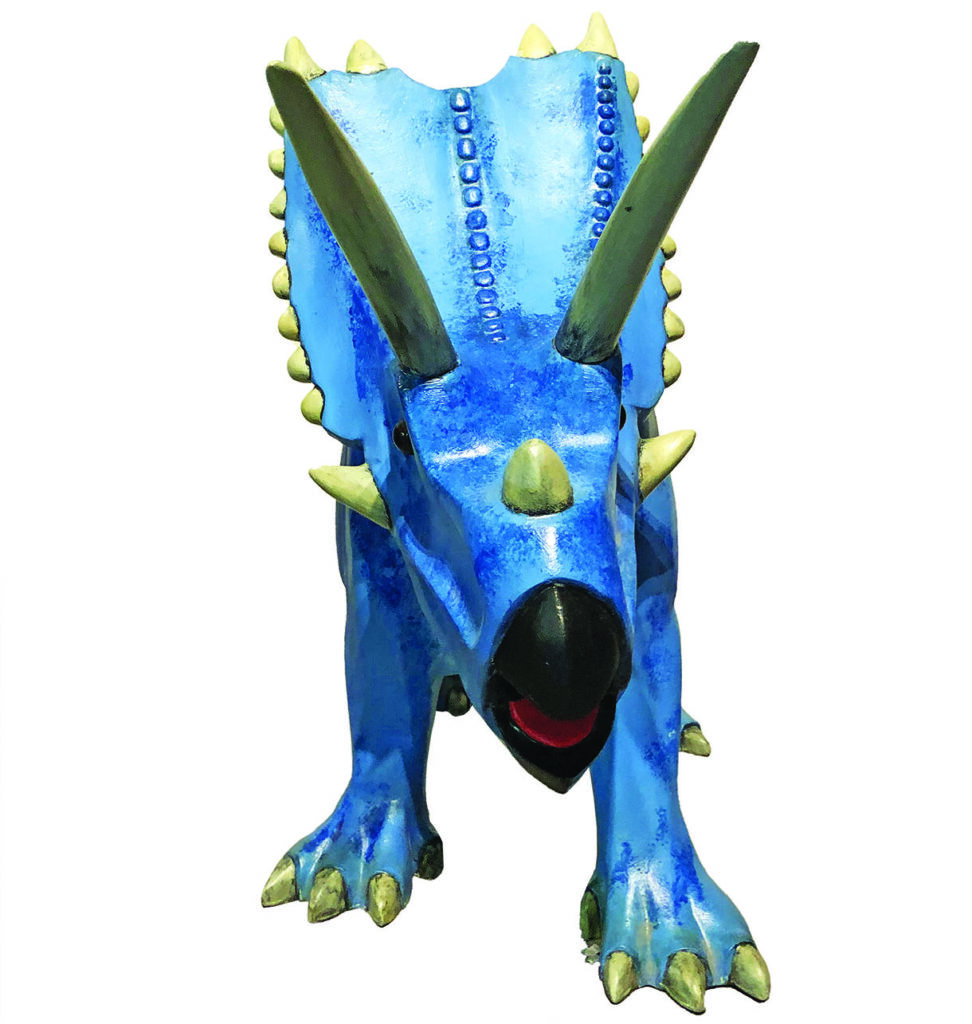
Height of RH horn off ground 715 mm
Height of LH horn off ground 705mm
Widest distance across frill 380mm
Highest point on frill RHS 880mm
On LHS 860 mm
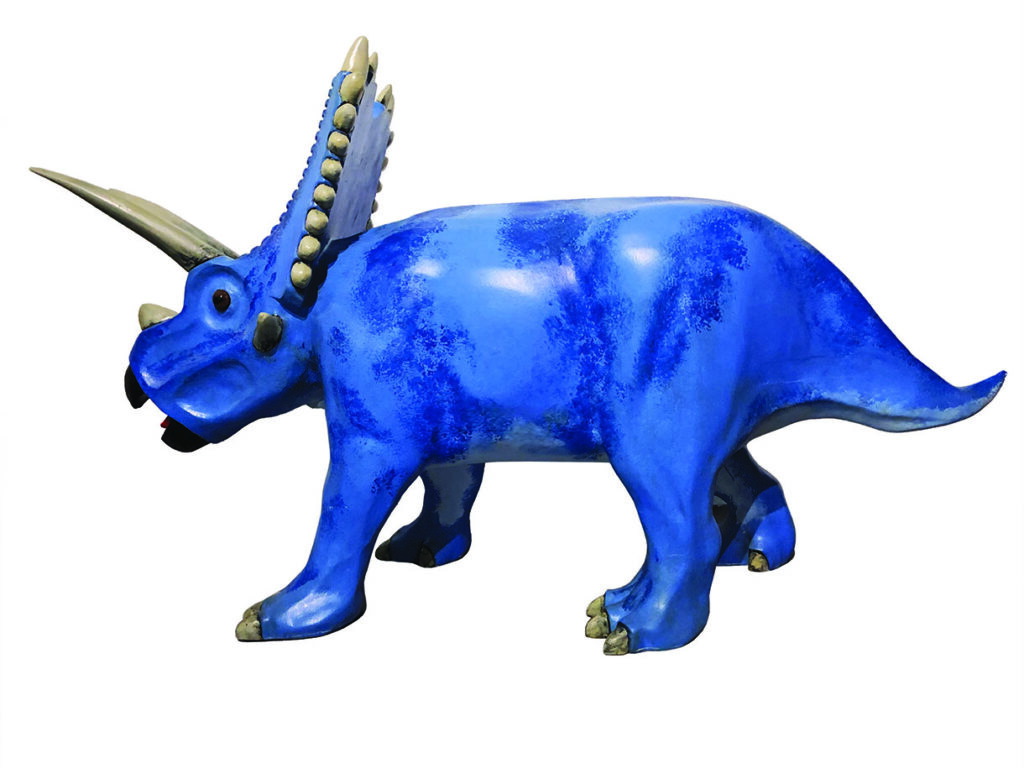
Tip of tail to tip of main horns 1470mm
Height of tip of tail off ground 340mm
Height of front horns off ground 705mm
Height of mid back off ground 600mm
Height of highest horn on frill 880mm
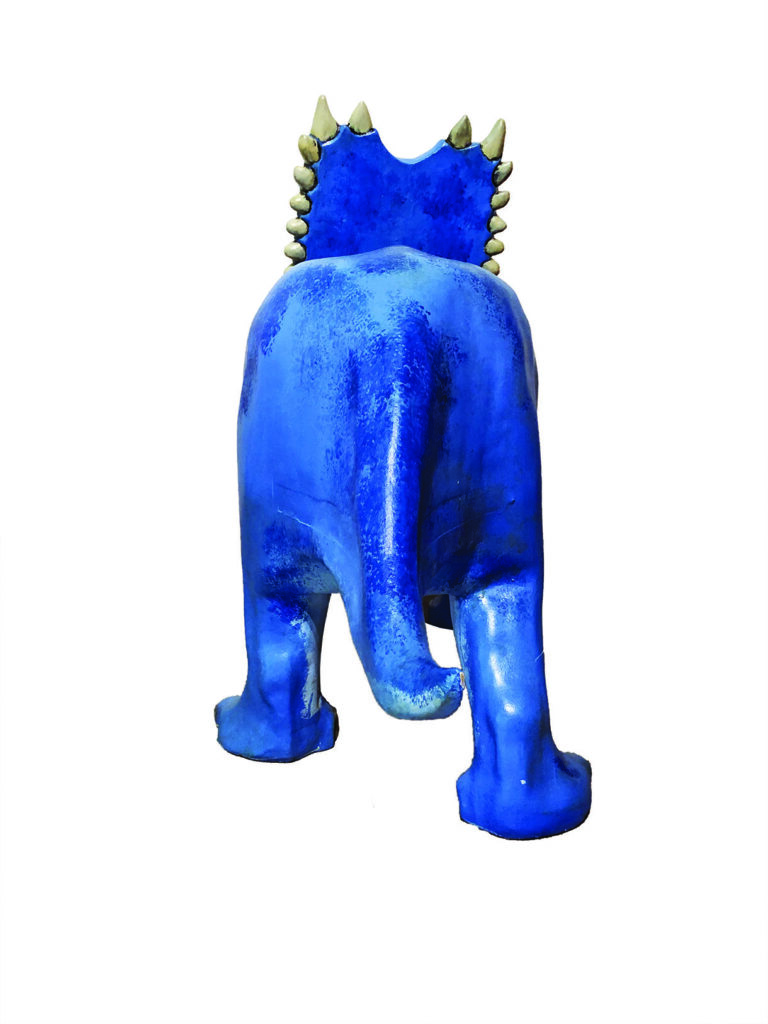
No dimensions – just to give a sense of the tail
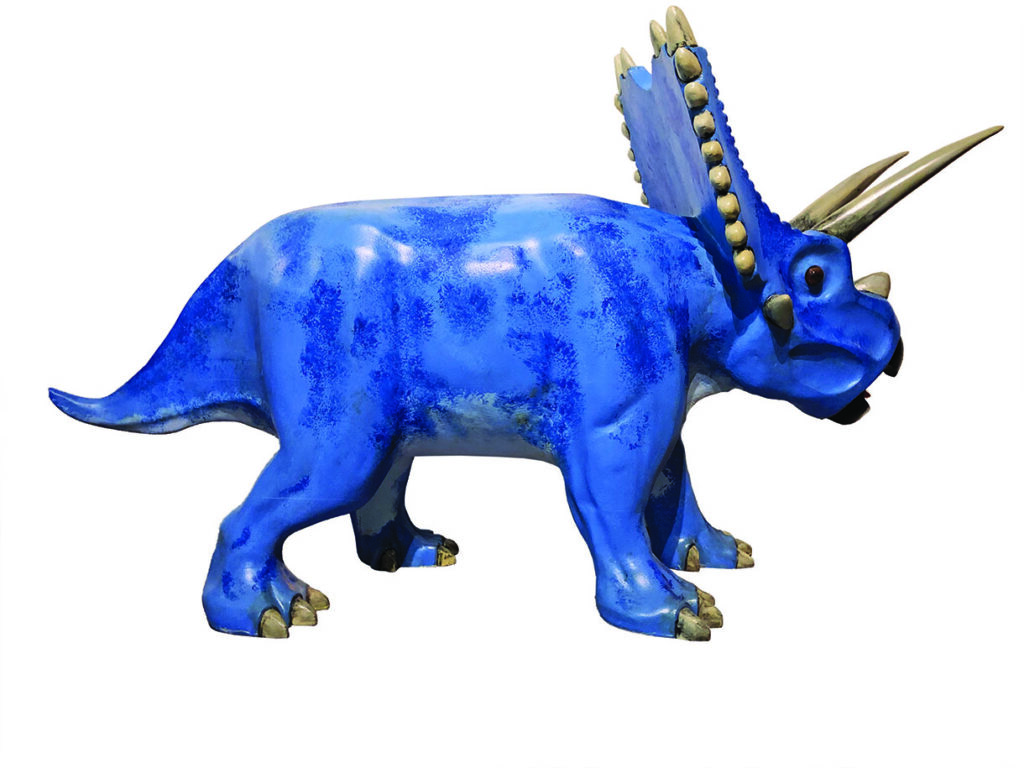
Dimensions approximately the same as left-hand side view
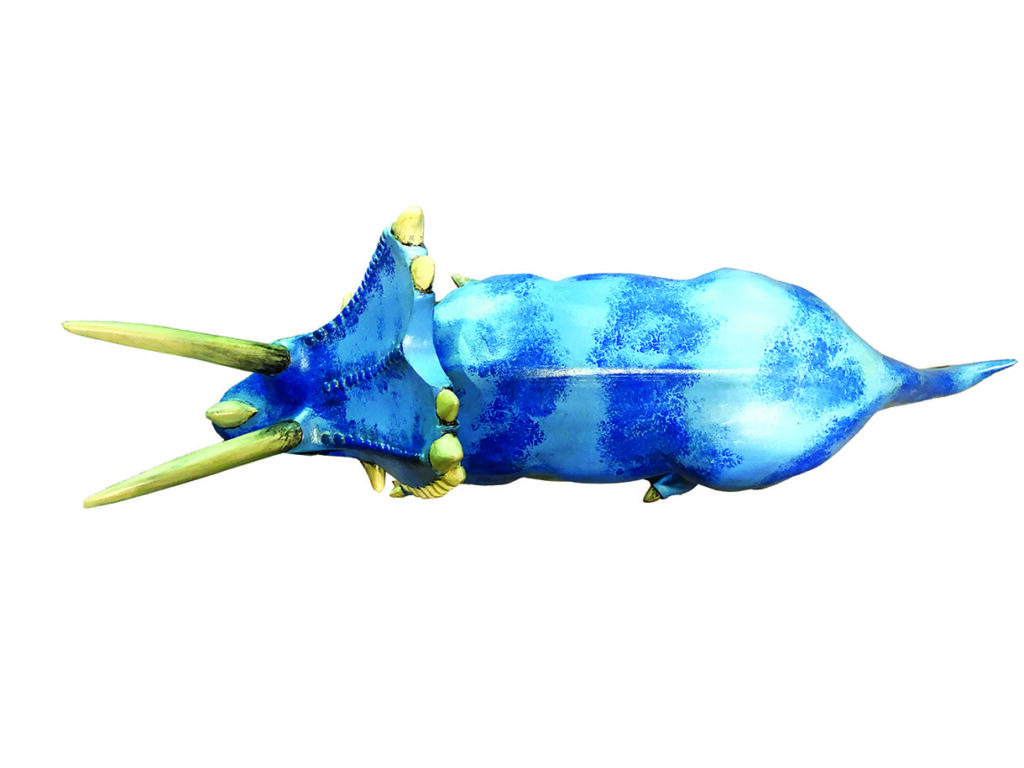
Distance between tips of horns 245mm
Widest point across rear haunches 345mm
Widest point across claws of feet on ground 485mm
Initial construction
Using a bandsaw I cut the sheets from 30mm plywood and 16mm MDF to laminate the body and so had a rough blank body to take to woodcarving classes as, from now on, I needed the expert eye for shape and form of my old teacher Ken Vear, who runs the South Australian Woodcarving Academy (SAWA). He was the last apprentice to be taken on in the carving section of a now-defunct furniture manufacturer back in the 1960s before guiding many a novice like me over the years at SAWA. One of the first things Ken recommended was to study the shape of the triceratops carefully to have a better idea of it, especially the head. This proved wonderful in the long term. With these preliminary ideas in mind let me now describe first the carving of the body then, second, carving the head. In reality, both were done pretty much concurrently.
Carving the body
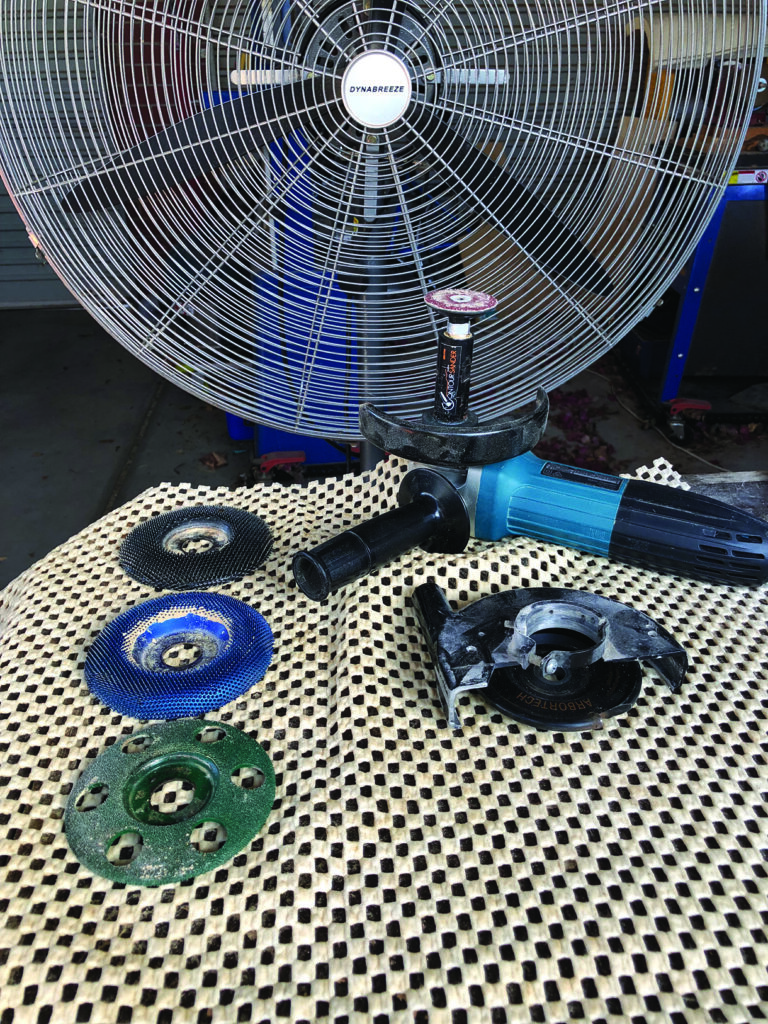
One of the first major issues that arose when shaping the body was that gouging a small sample of MDF was relatively straightforward but carving on a large scale across four or five glued MDF laminations required heavy mallet pounding, so I decided to change to power carving for the rough-shaping process. I already owned an angle grinder and Arbortech Industrial Blade and coarse, medium and fine carbide-toothed carving wheels. Carving discs are dusty and noisy to say the least so, as I did, make sure you wear appropriate face, eye and lung and hearing protection and work outside so dust can blow away from you.
The other thing to remember is to keep all your safety guards in place on the angle grinder. Do not think about removing them believing you might have better access. I found with the manufacturer’s guard in place I was able to carve much of the contours of the torso, legs and tail. For finer sanding and detail where bigger discs and sanders could not reach, I used a small contour sander and, for finer detail still and tight spots, I used a rotary carving unit with suitable burrs and hand tools.
Weight issues
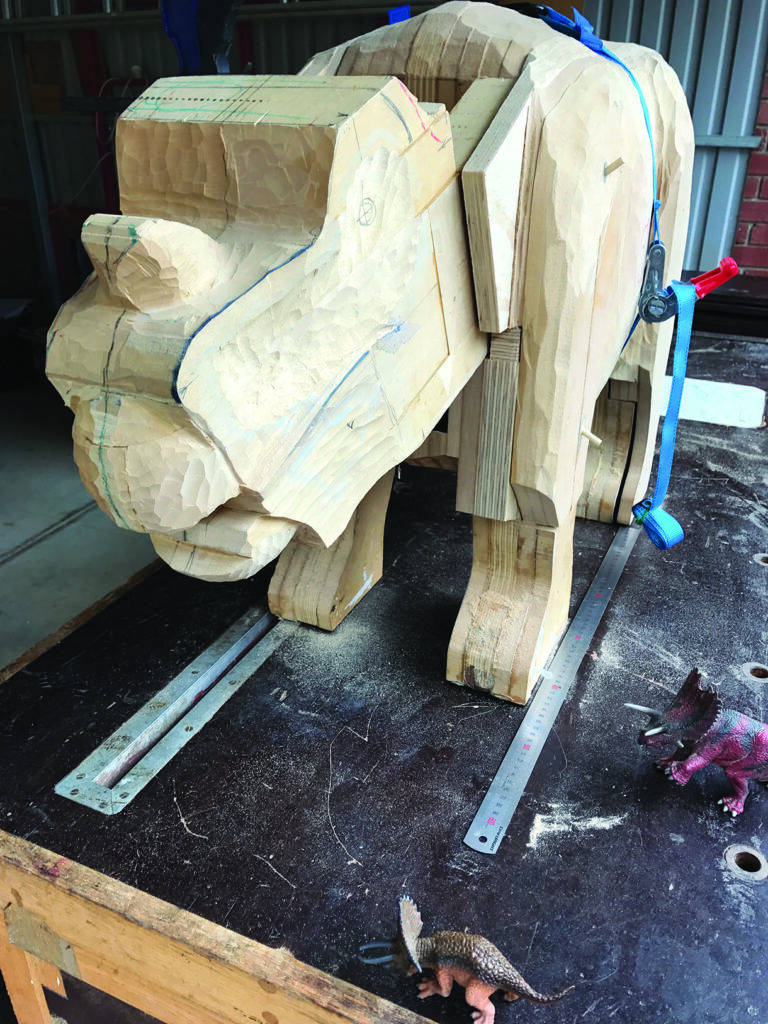
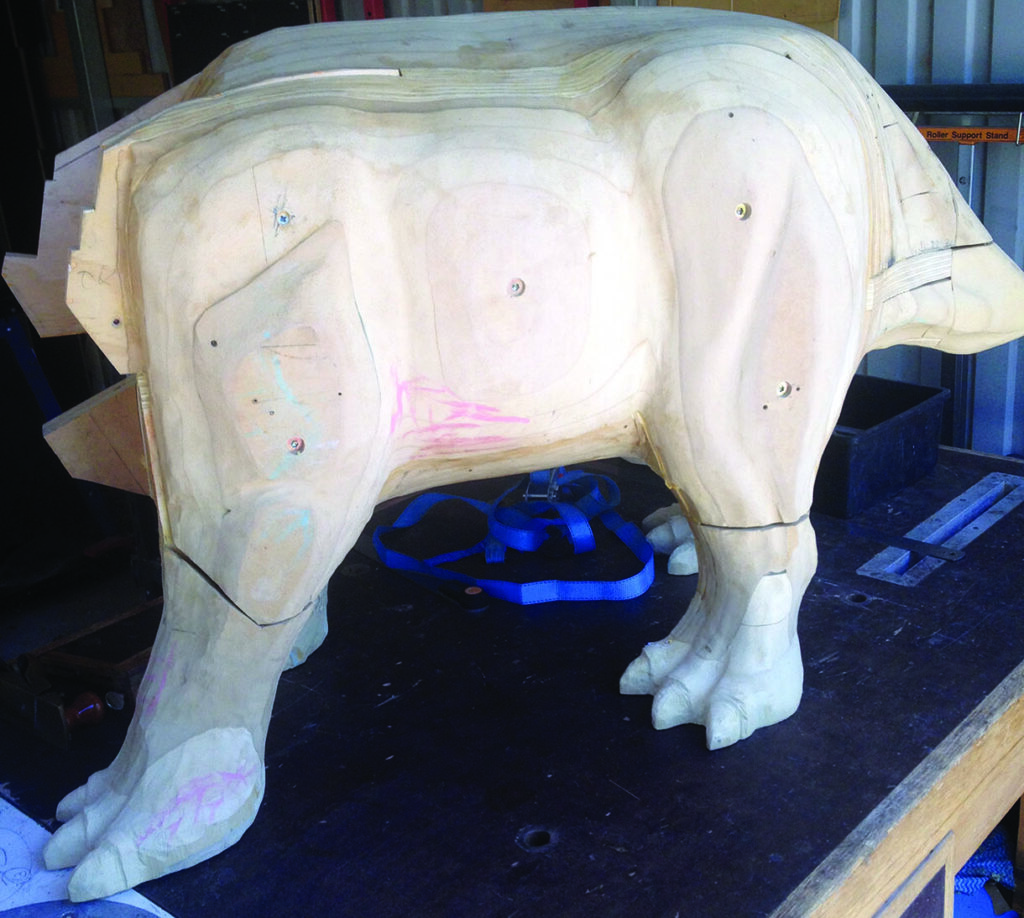
The second major issue was the weight, as it was a large size suitable for three years to adult, and ultimately needed two people for a safe lift. MDF may well be medium density when compared to other fibreboards but it is still denser than many woods and the project was becoming heavy to work on and transport to and from carving classes. Hence it evolved into four parts: upper body; lower body and two flanks – one left and one right, which were positioned together with wooden locating dowels and held in place with a strap. A number of time-consuming problems were encountered along the way. First, after keeping fairly closely to the dimensions when scaling up the model, the triceratops became quite broad and potentially uncomfortable for a child to sit astride, so I removed four layers of MDF. You can see the front legs are almost parallel – I decided to bring one forward to give a better sense of movement. These two modifications are easy to write in a sentence but, in practice, were very time-consuming and wasteful of material. Third, the claws of the feet were quite shapely and stuck out, so a soft material such as MDF would be easily broken off in use. To overcome this problem the four feet were cut off and replaced by shaped sawn pieces of jelutong, which were glued and screwed on.
One puzzling point was the model had four claws on the hind feet but five on the front, which seemed a little odd. Whether this is accurate or an oversight of the model maker I’m not sure, but I decided to go with four claws back and front. During this stage it was comforting to know that a reasonable amount of artistic carving licence was possible. Nobody has actually seen a 60 million-plus-year-old triceratops in the flesh, so a skinny version with the wrong number of toes is likely to go unnoticed by all but knowledgeable palaeontologists.
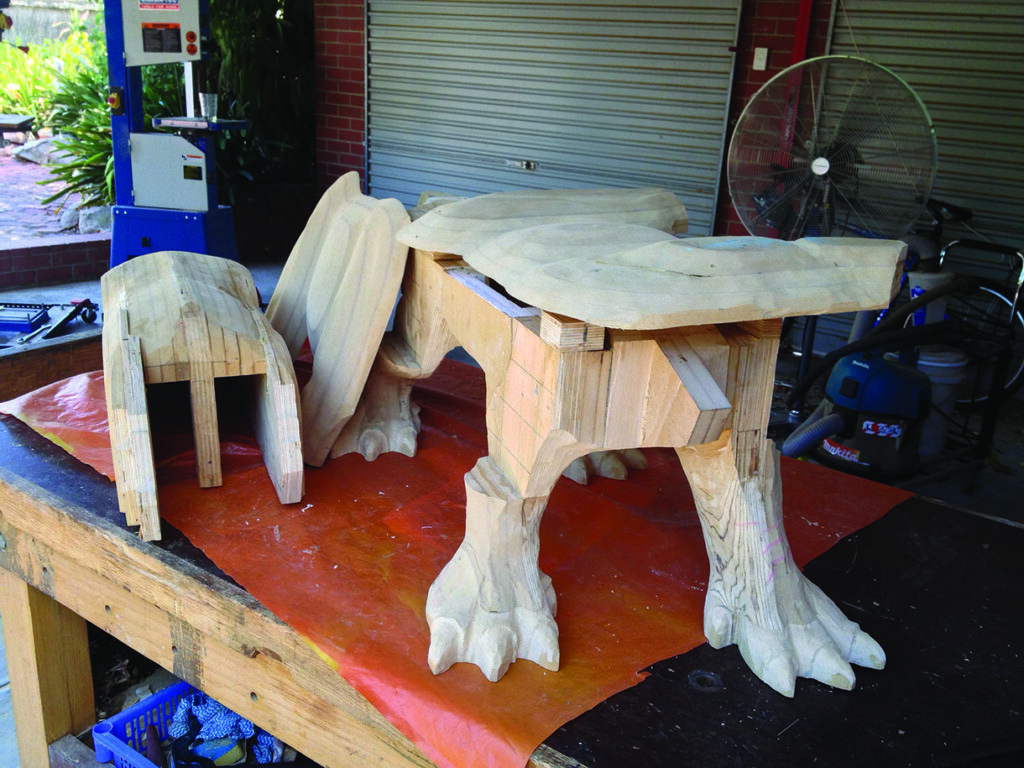
After this reworking I ended up with the four sections, which were finally glued and screwed together. From the last few photos you can also see how the head was evolving at the same time and the next section describes the steps taken for carving the head, horns and frill.
Carving the head
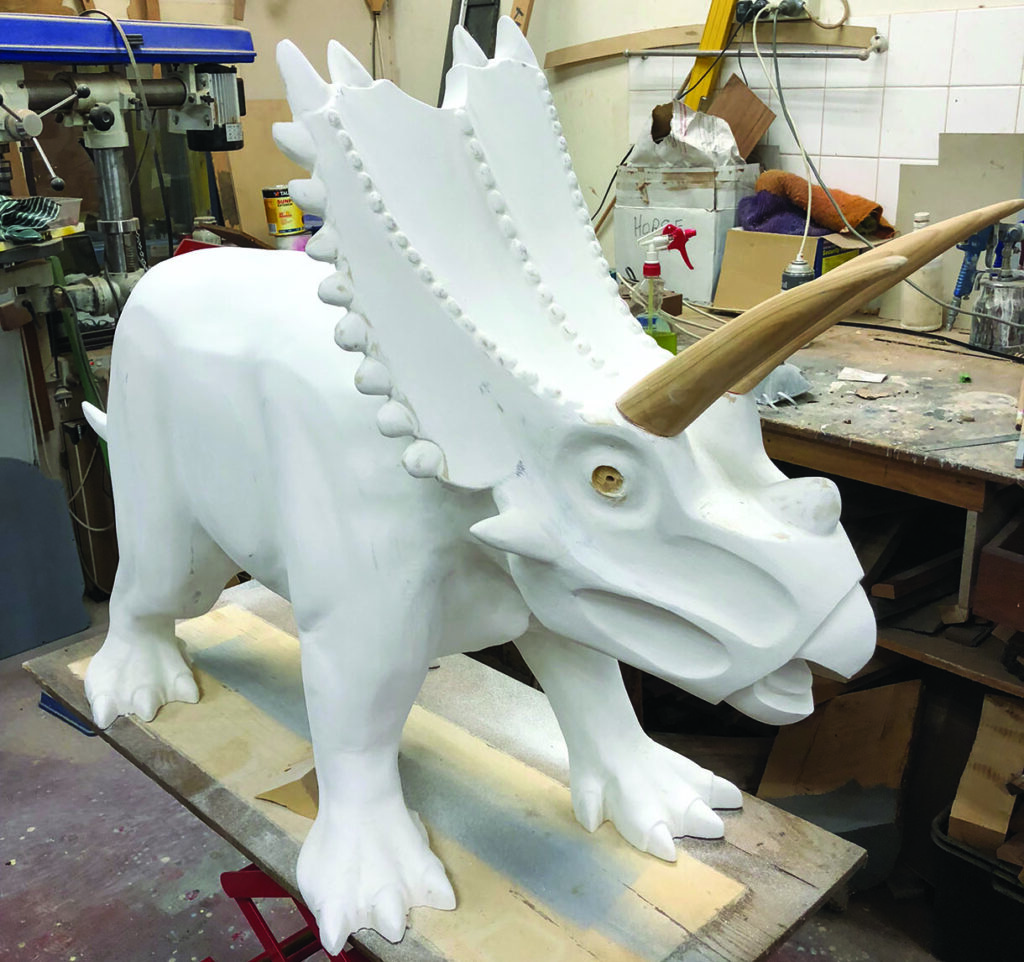
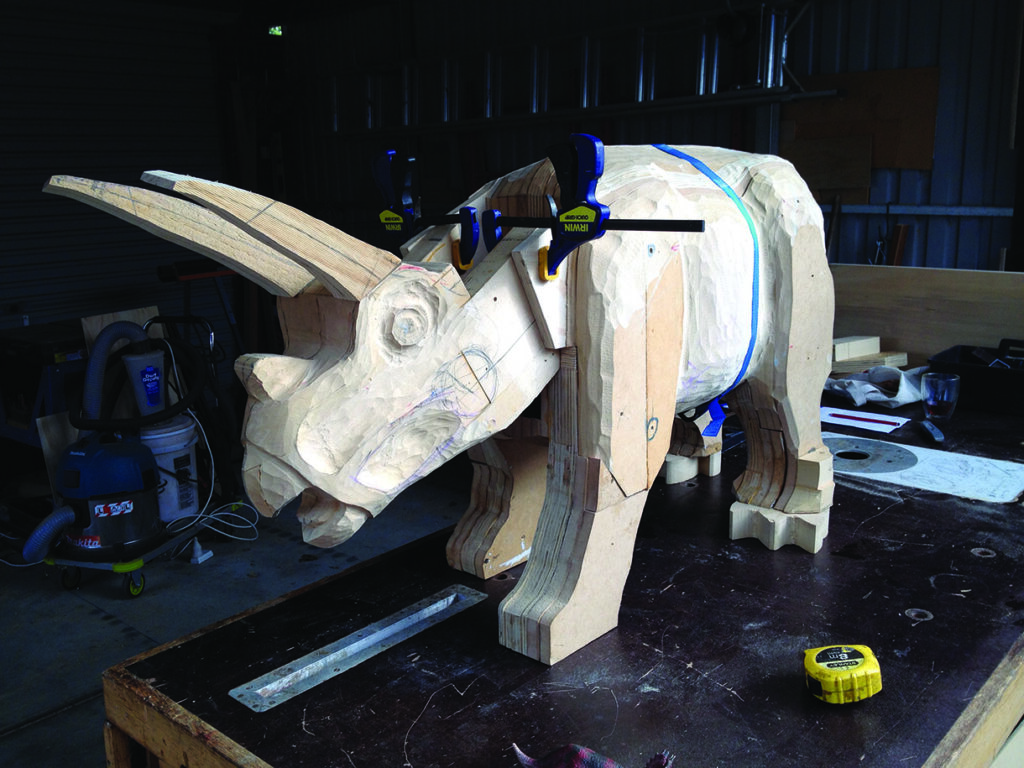
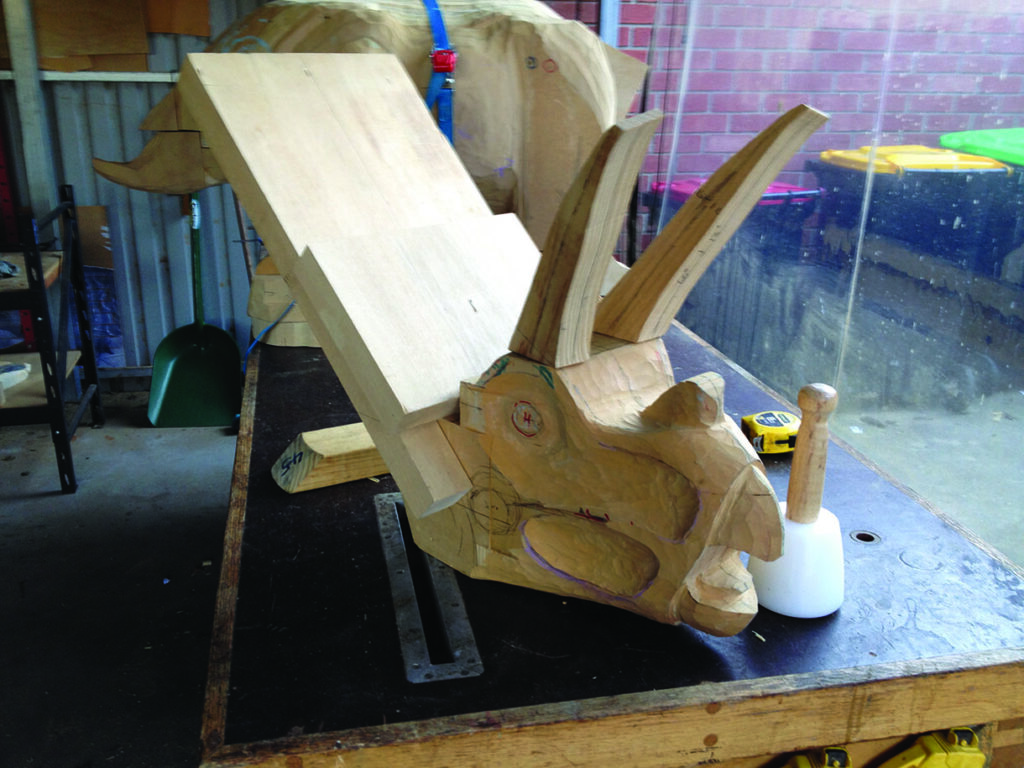
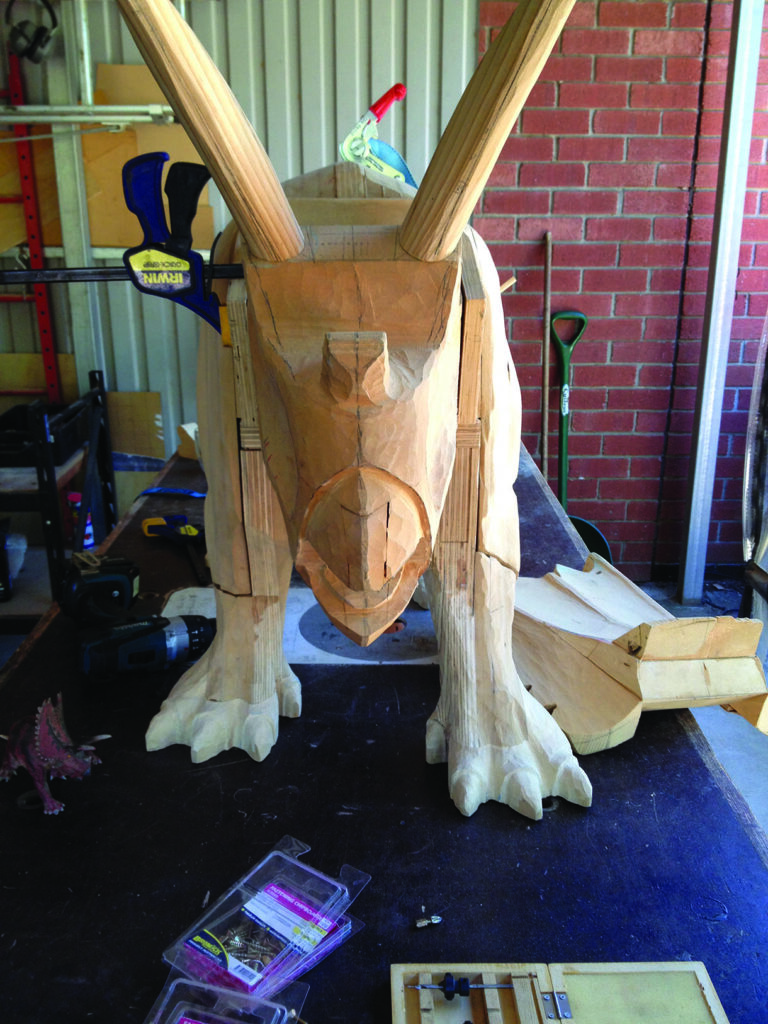
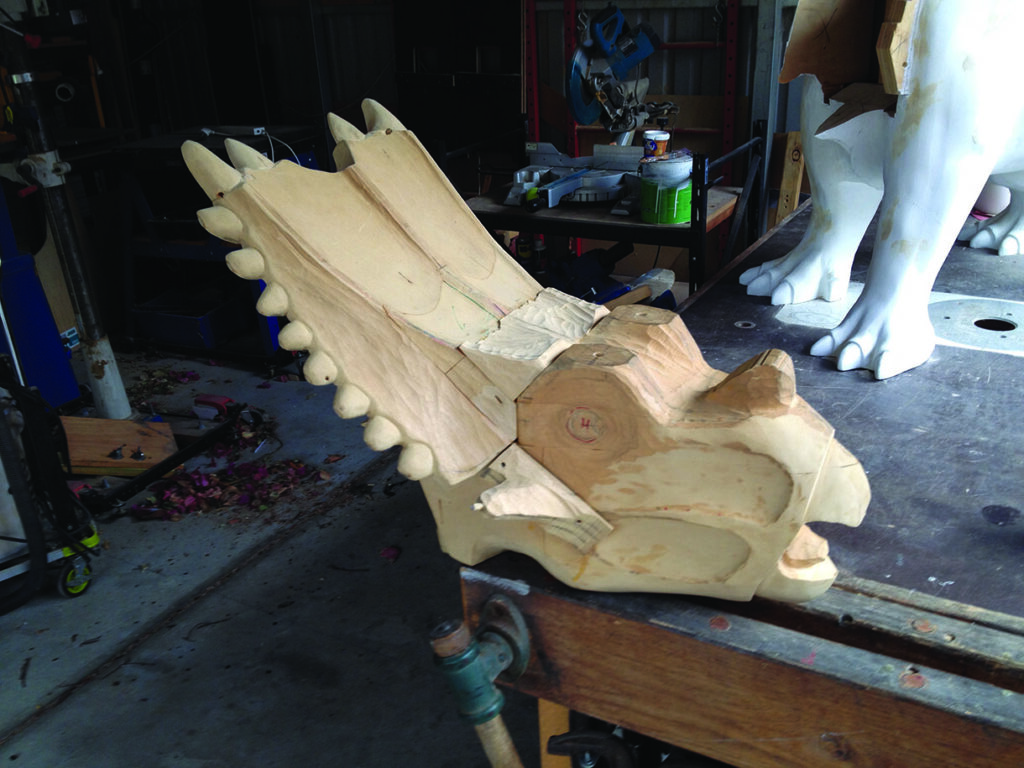
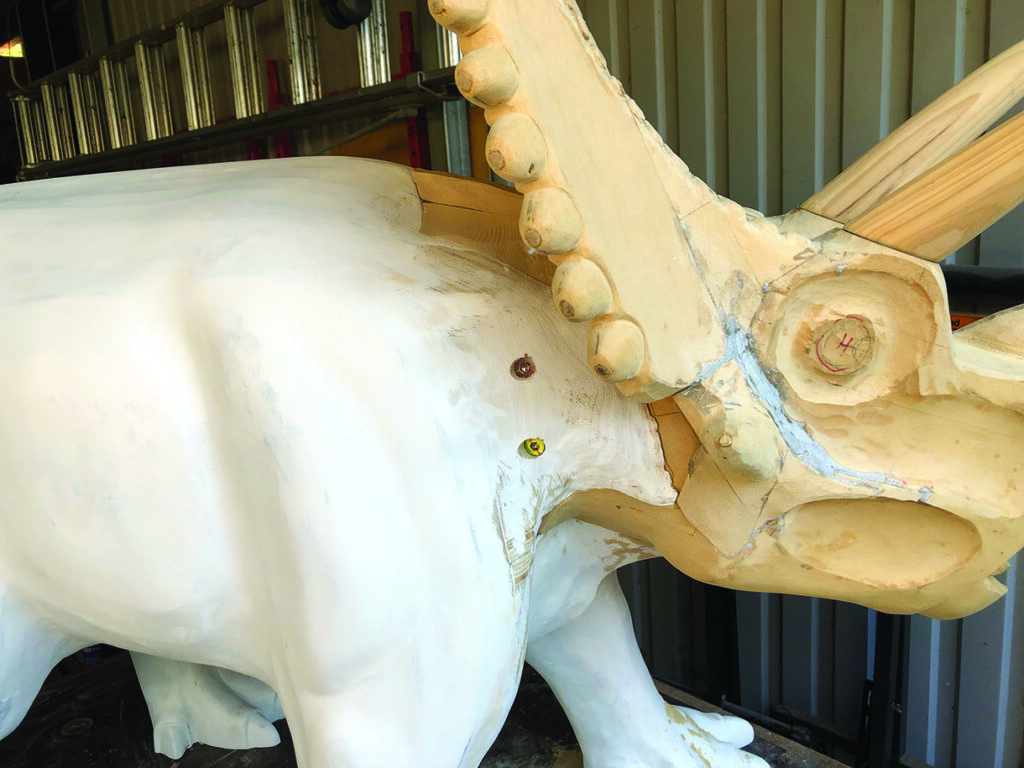
The two large horns shaped in pine were attached to the head with steel pins for added strength. You can also see the frill beginning to take shape. As this point I decided to cock the head to give more of a sense of movement and this proved to be another quite time-consuming change. The pictures give some idea of the angles planed to give the new cocked angle. It also involved adding plywood inserts into the neck of the body to allow for the removed wood and give a good indication of how the head and frill developed.
Grain direction is also important. As you can deduce from the picture the grain was running across the frill’s outer teeth and scales and, since jelutong is relatively soft and liable to chip off, holes were drilled and dowels inserted to provide reinforcement. Notice that the head and frill are at a 45° angle, which meant gluing end grain to end grain, a potential weak spot. Hence the frill and head were both glued together with epoxy and two hefty 14-gauge wood screws used for added strength. With body and head finished they were screwed and glued together.
Finishing the project and some concluding reflections
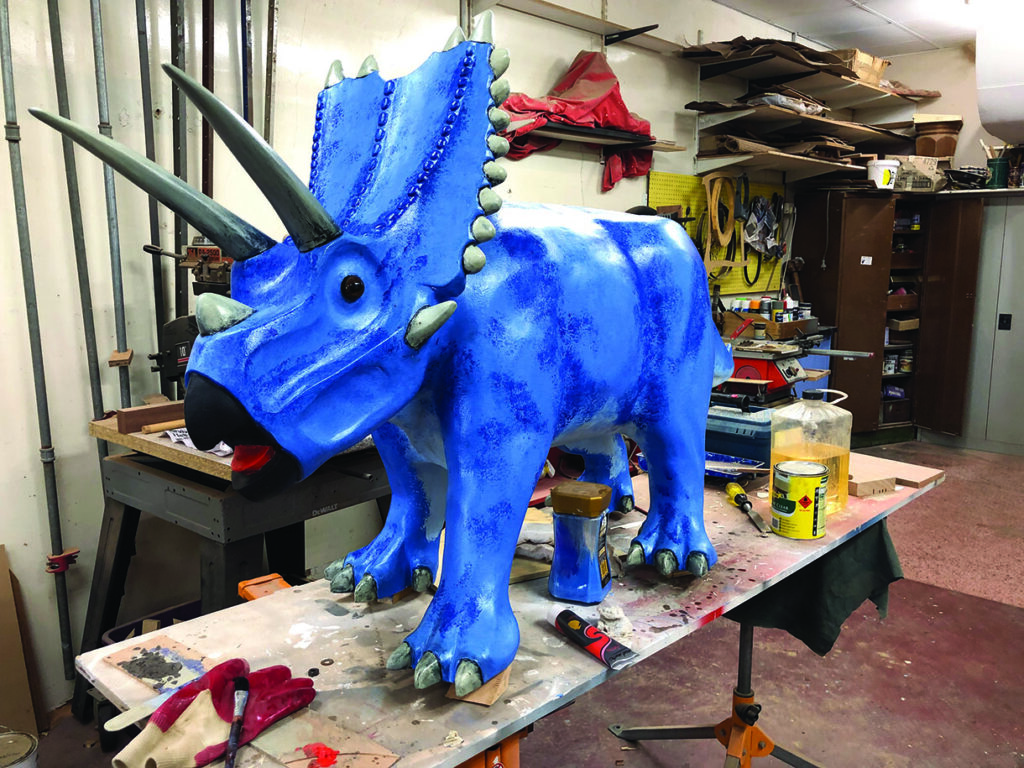
The triceratops was sanded and given a coat of gesso – a mixture of proprietary wood primer/sealer. I did consider using textured paint to simulate a dinosaur’s rough skin, however a paint specialist advised against it as such a textured surface is likely to abrade easily if sat upon. He advised acrylic paints be sponged on to give a reasonable amount of texture, followed by two coats of clear polyurethane varnish to both seal the paint and give better wear resistance. The final version was completed with good-quality glass eyes.
Mounting the finished dinosaur is still a work in progress. The stand I used is essentially one taken from plans for a large rocking horse. The problem was that horses have relatively long legs compared to a triceratops, so the geometry is different. As you can see in the photo the swingers are quite short so it looks visually unbalanced. I had originally planned to add one or two more side rails to form steps down to the floor. However, the dinosaur’s overall heavy weight means a very high centre of gravity and, when rocking with a heavy teenager in years to come, could prove to be unstable. Maybe in future the two upright posts will need to be shortened to bring it lower to the ground. Also the walnut stain does not really match with the blue so I’m toying with the idea of restaining to a black ebonised type of finish. As our grandson is not three yet, I’ll see how he grows into it before deciding which way to go.
Finished result
Overall the end result of this apprentice/prototype project proved quite pleasing, both for me and the end user, even though I must have made pretty much every mistake in the book. Negative learning – or how not to do things – can be very time consuming and frustrating, but does reinforce the wisdom of keeping to time honoured good practices. Good pre-project planning, photographs and models, along with keeping to a conventional structure of blocks of wood or using an all plywood construction would have saved untold curses.
Possibly the greatest lesson was overcoming my distaste of power tools to become a bi – appreciating the merits of both hand tools and power carving. Admittedly, power tools will never match the quiet, soothing pleasure of quality hand tools but they do offer exciting possibilities, enabling the carving of difficult-grained hard woods or composites for medium and larger projects. Should my wife and I ever be blessed with another grandchild, I would certainly do things a lot differently. Who knows, maybe even a pink dinosaur one day?