
Murray Taylor looks at the planning, layout and carving of these attractive items
The thinking behind this article was triggered by the problems that students have when it comes to the design and layout of things they want to carve. One wanted to carve a commemorative piece for a caravan club celebrating 50 years of existence, and the other was struggling with a piece for his 25th wedding anniversary. They had ideas for what they wanted to include in the design, but no idea how to go about it. Seeing the problems they had made me realise that even some talented carvers have difficulties in this department.
Planning the project
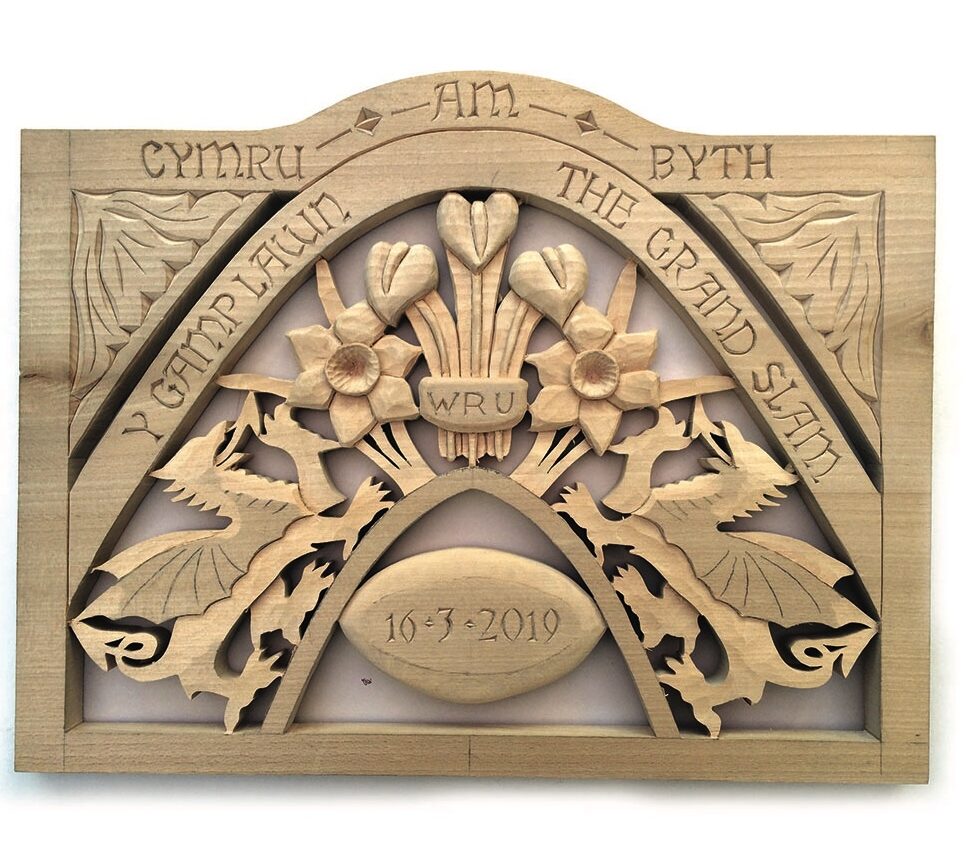
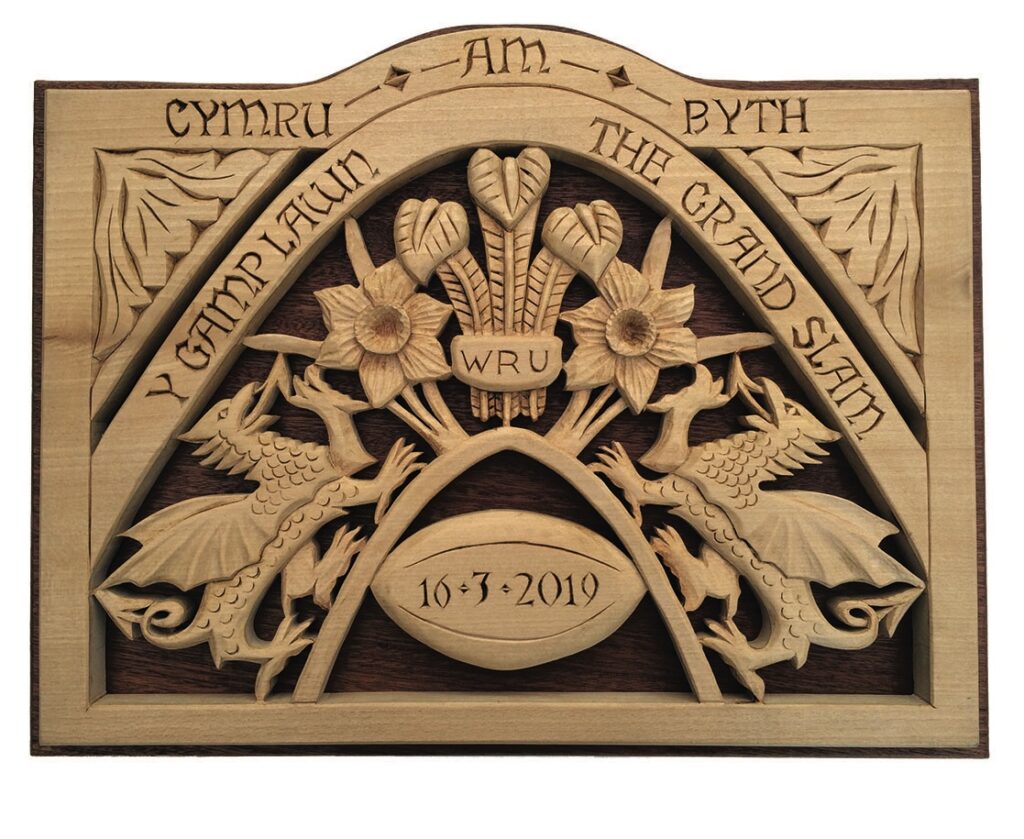
On 16 March 2019 Wales won the Six Nations Rugby Tournament to achieve the Grand Slam, as it is known, or Y Gamp Lawn in Welsh. I do apologise at this point to supporters of the other five teams.
Feeling rather elated having watched the match, I decided to make a wall plaque to commemorate the victory which would at a later stage be auctioned off at a local charity event. As I was setting out the design it occurred to me that the planning of a project would make a good article.
The carving style
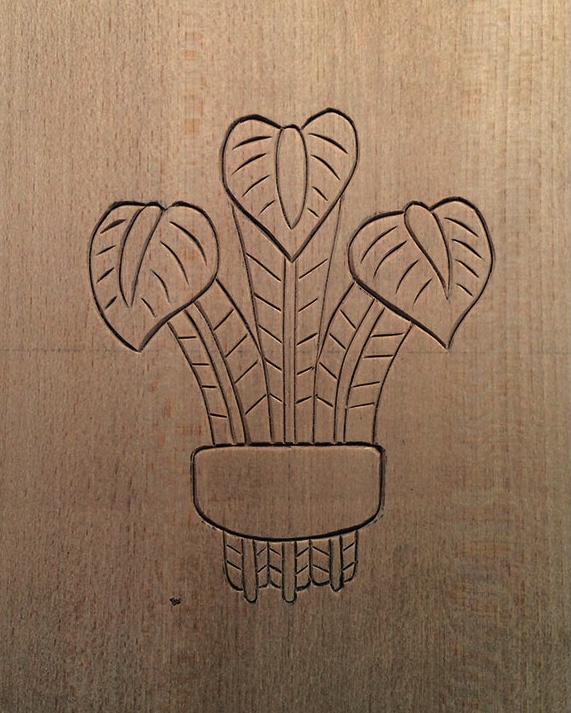
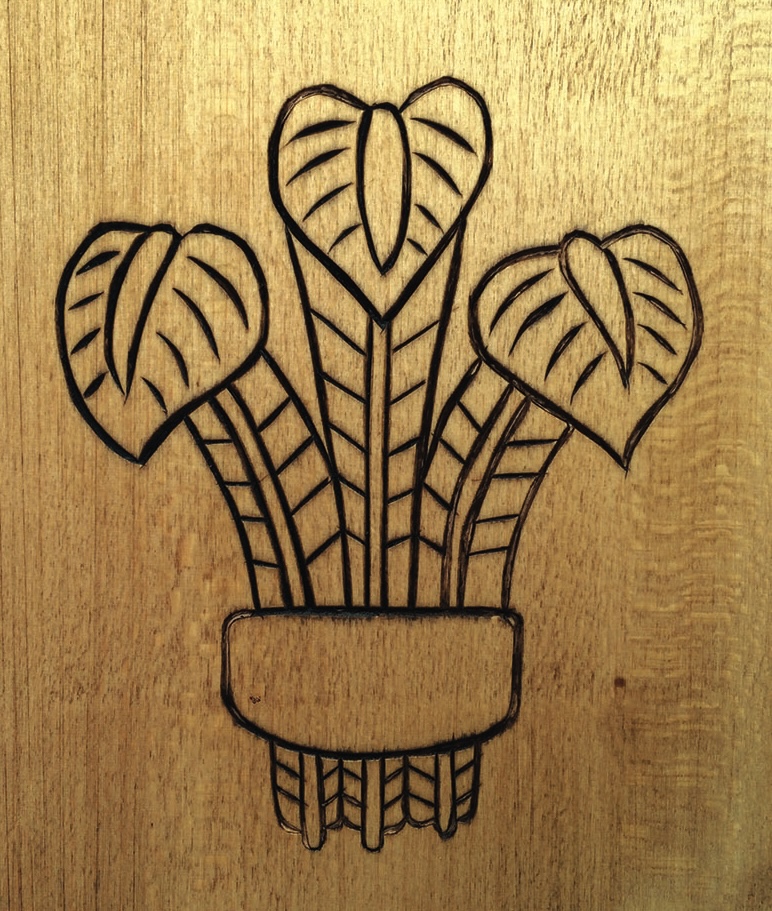
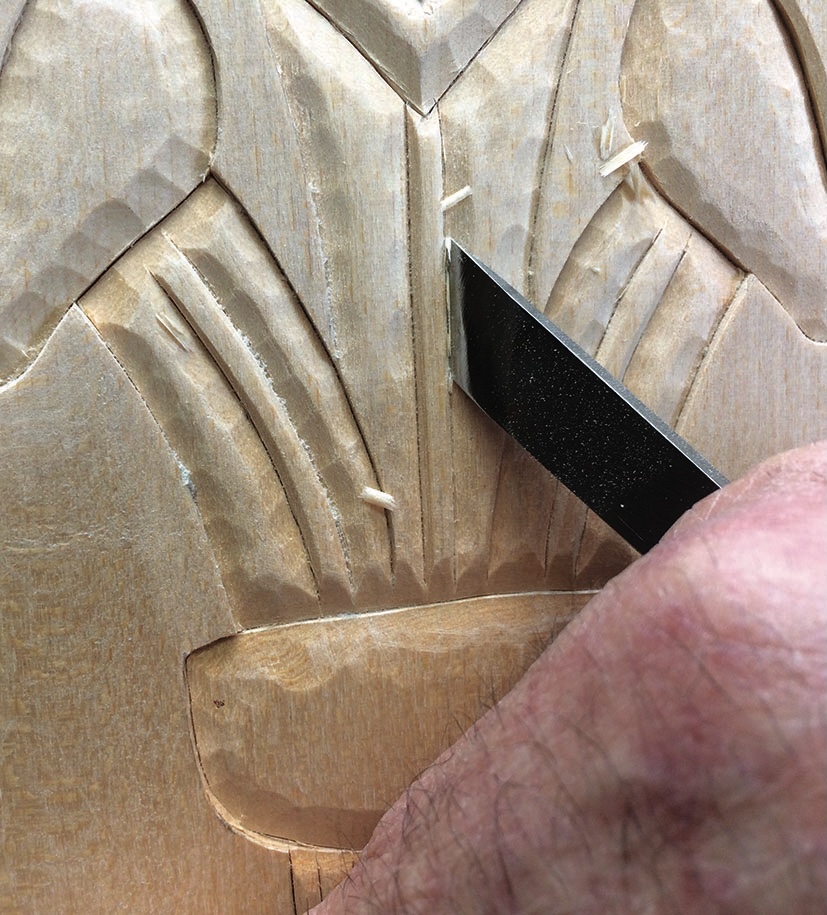
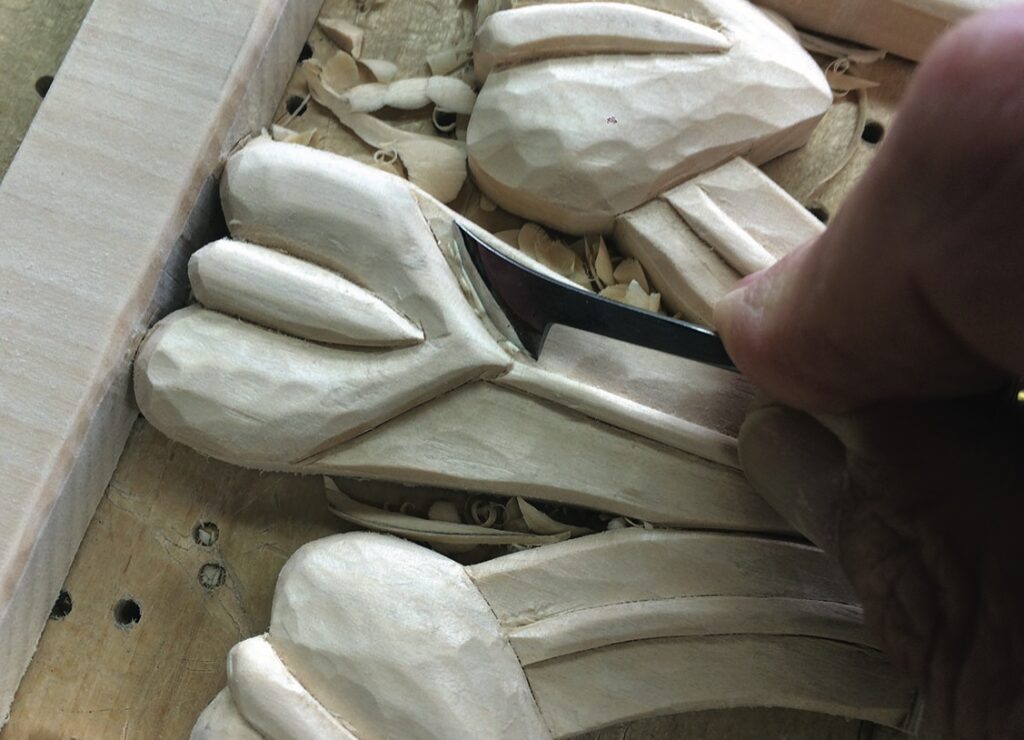
The feathers can be depicted as a simple chip carving or in many other decorative forms requiring different skill levels. Line-drawn carving was traditionally done with a V-tool, sometimes referred to as the carver’s pencil, which brings its own particular problems, one of which is the sharpening, but I won’t go into that here. The other is that as you make a curved cut, one edge is always fighting the grain, so I use a knife. Line carving can be very effective, especially when finished with a dark liquid wax.
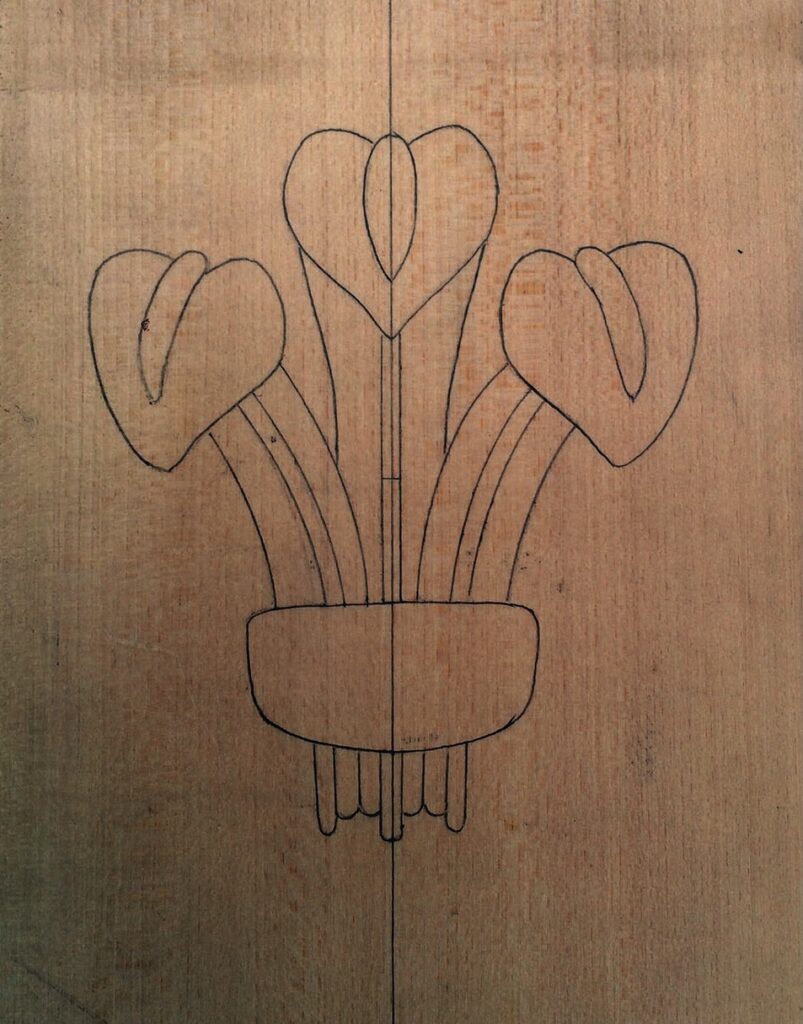
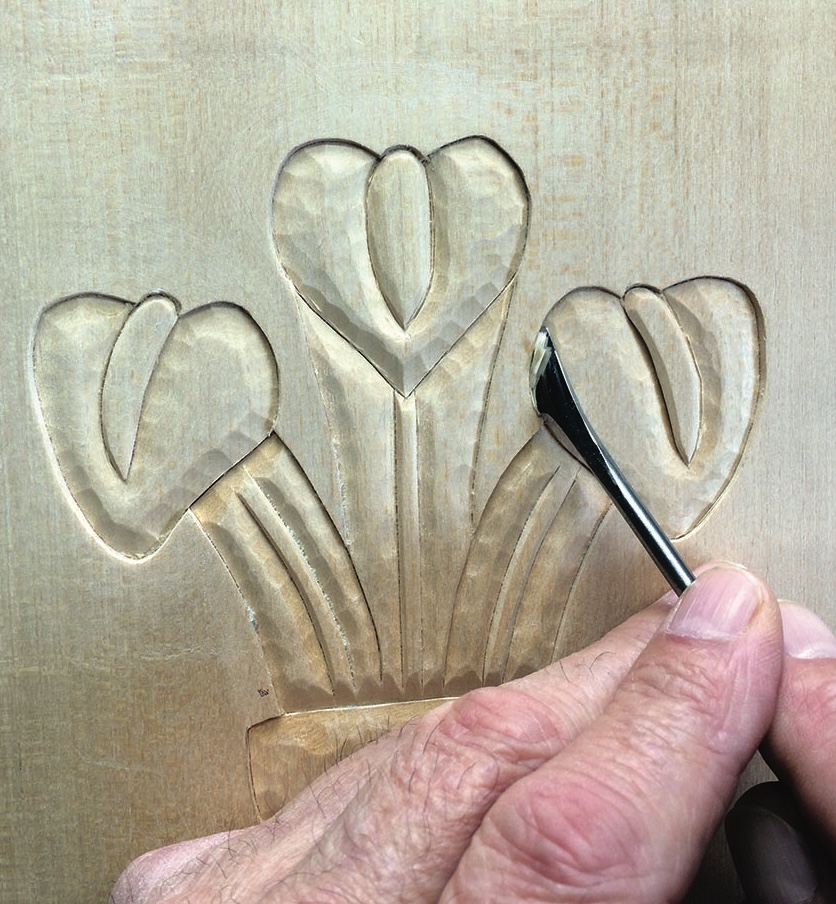
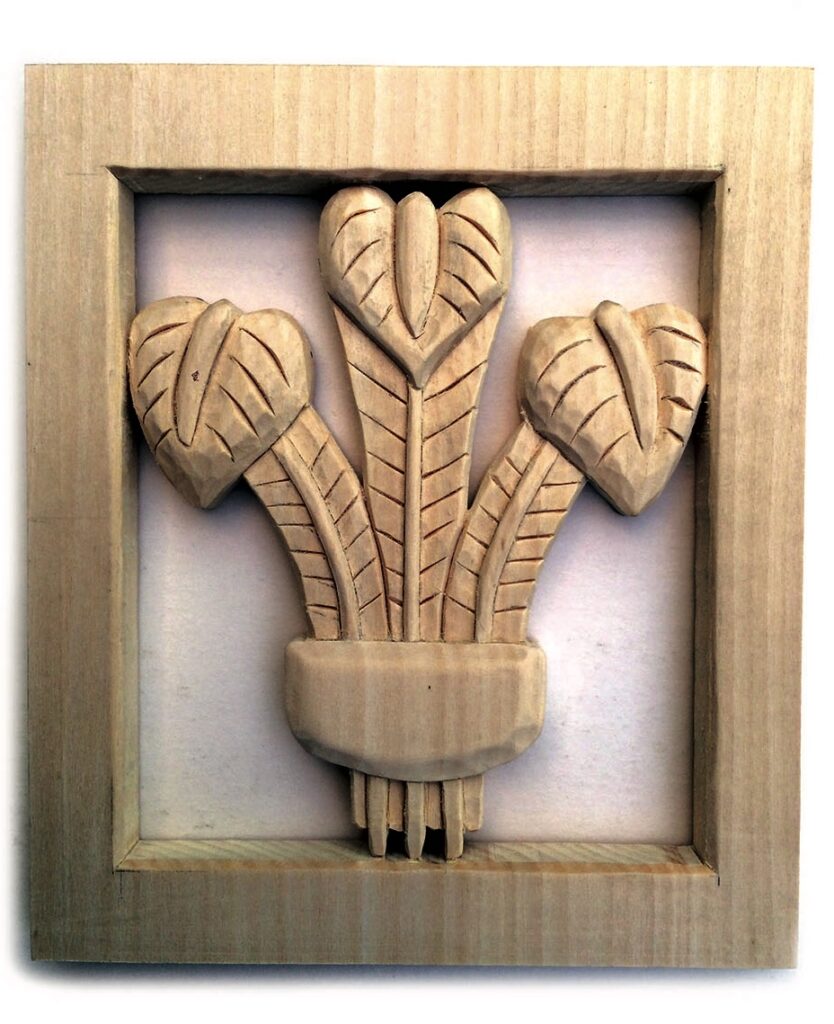
I am going to start by taking one of the elements in the design and using it to decide upon the style of carving. For this I am going to use the Prince of Wales Feathers, which is the emblem on the team shirt.
The below-surface carving
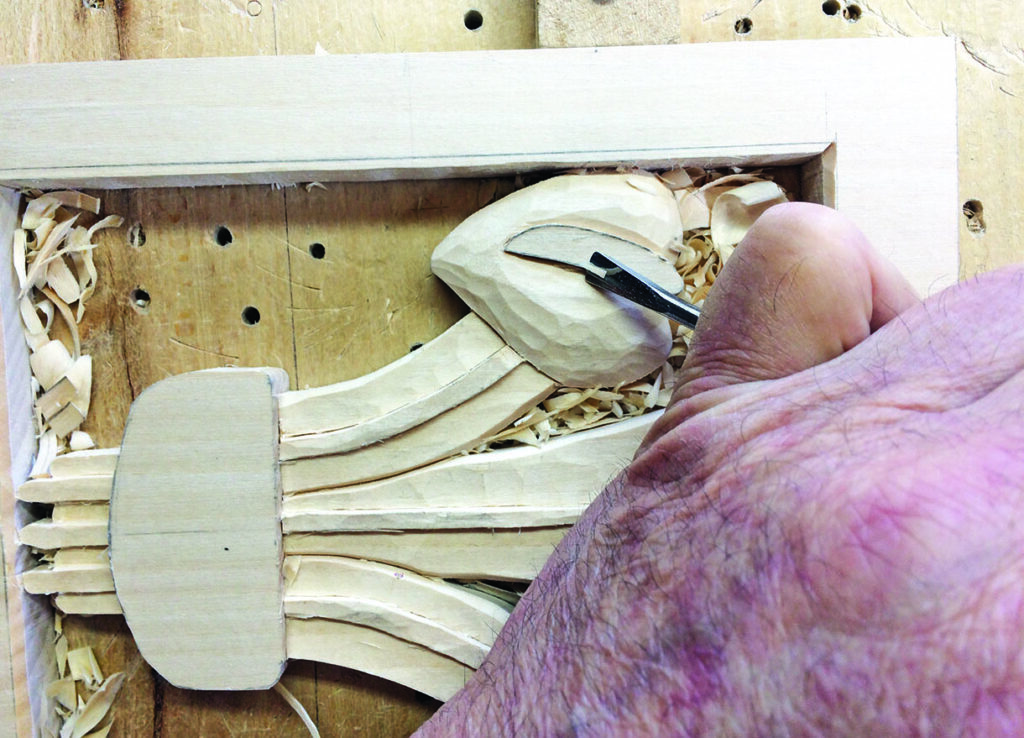
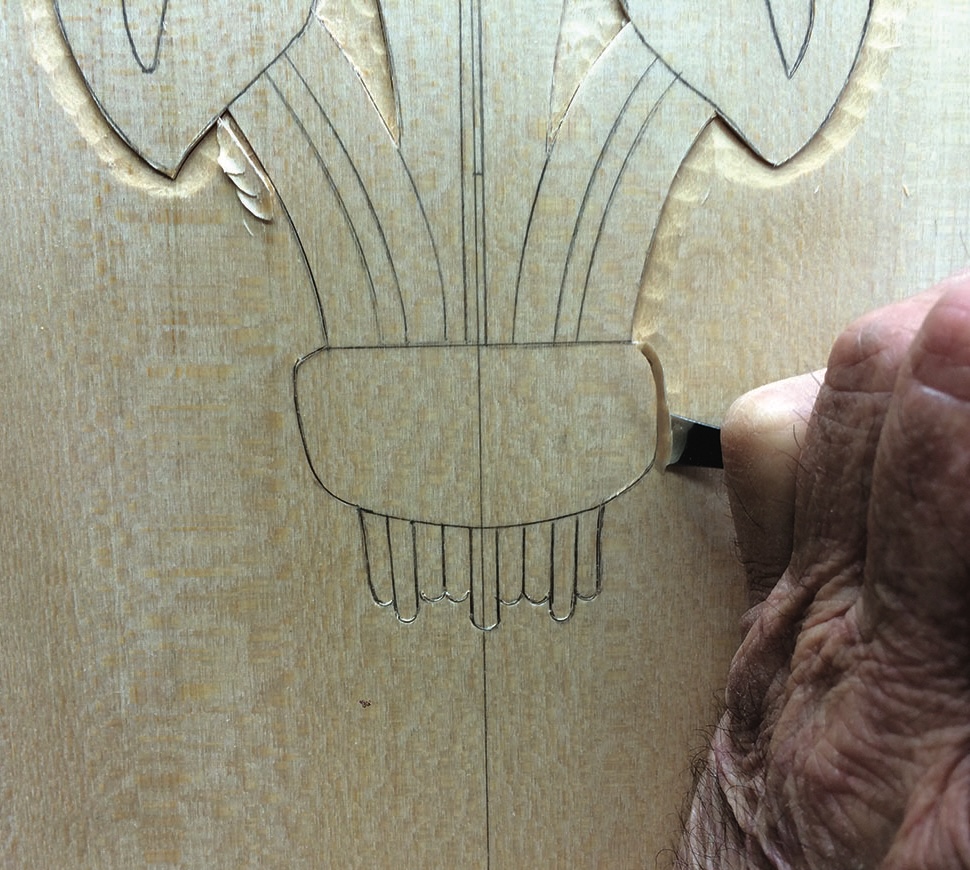
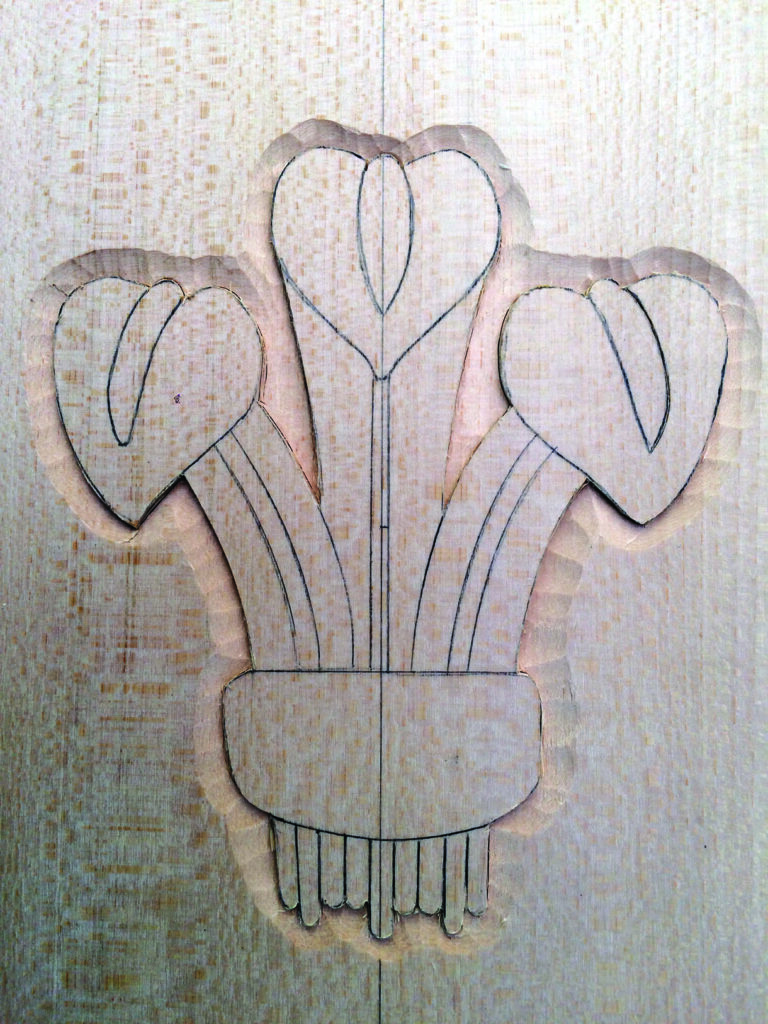
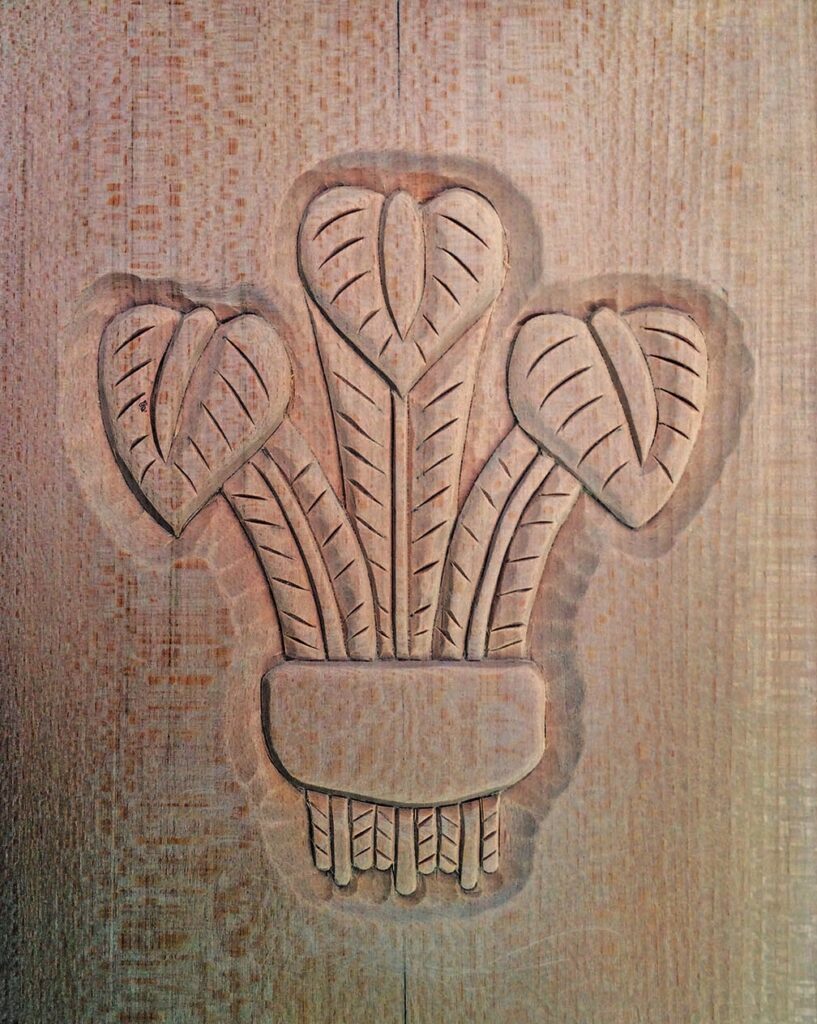
This gives a very useful effect, especially when you require the surface to remain level. It starts with the drawing, which is then set in around the outline. The feathers are then modelled up to the setting-in line.
The partial relief carving
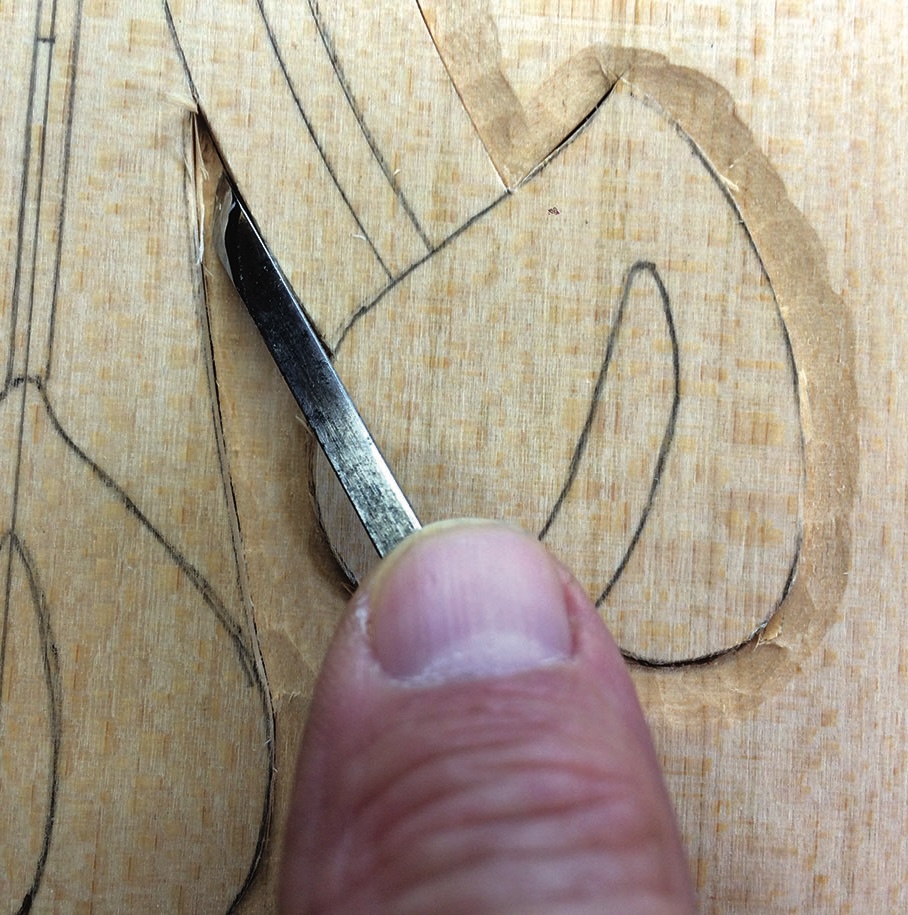
This is a form of relief carving when only a part of the background is removed. First, the design is ‘set in’ but, unlike the last example where we now start the modelling, a portion of the background surrounding the motif is removed.
A variation on the semi relief
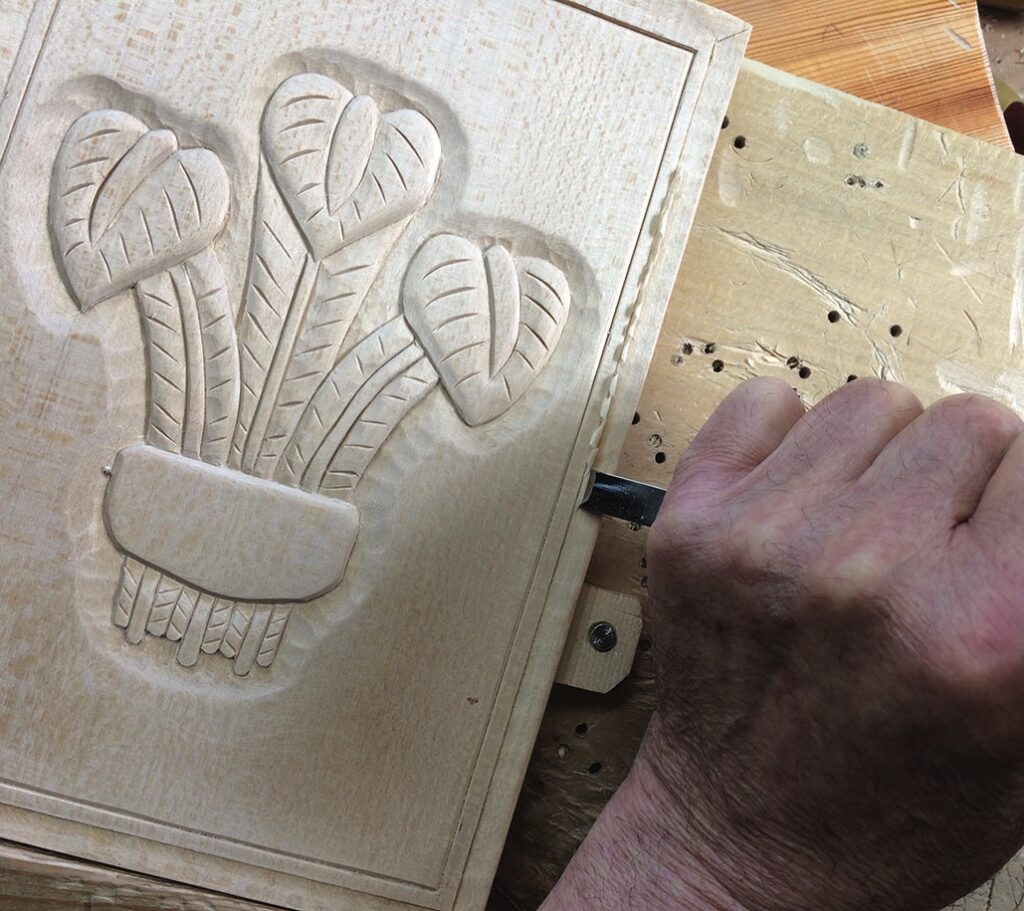
A double line border is drawn near the outer edge of the board. The inner can simply be delineated by chip carving while the other line is set in and carved down to produce what looks like a picture frame.
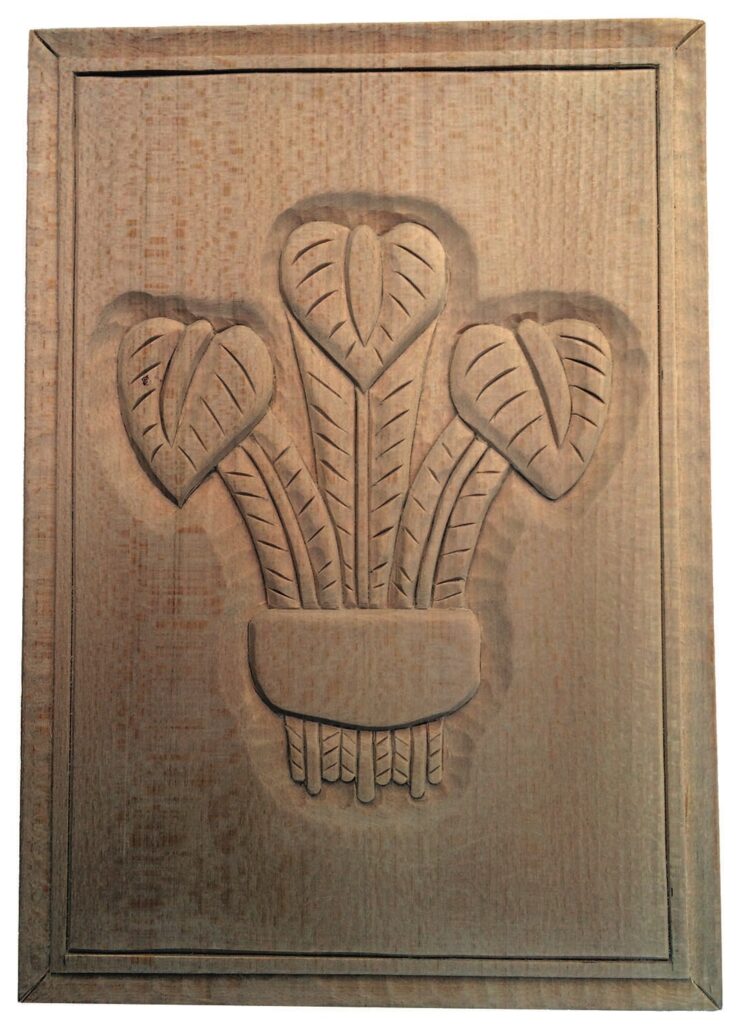
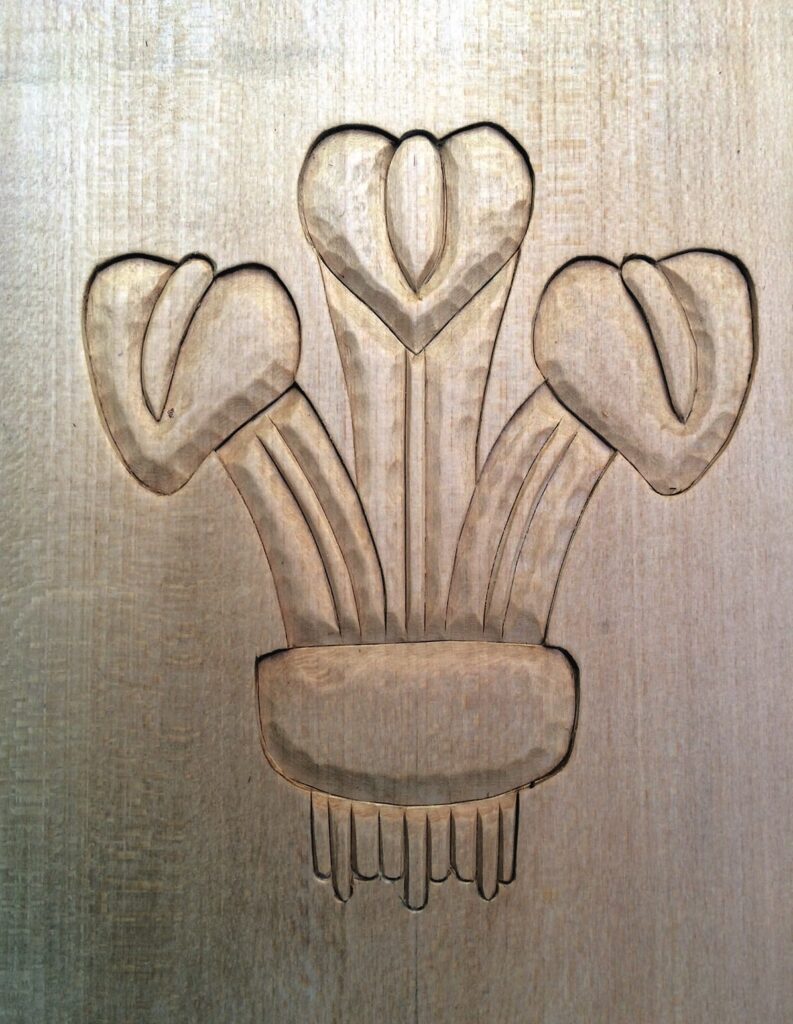
The motif in low relief
To complete the exercise in low relief the whole of the background is removed to a depth of 3-5mm right up to the frame or outer edge of the board. This is done using a No. 3 or other shallow gauge and a variety of small tools to get into tight corners. I use a collection of tools which I have made from dental probes. The background can be left quite heavily tooled or taken down to a smoother finish using a shallower gauge, say a continental No.2 or an Ashley Isles No.1½ designed by Chris Pye.
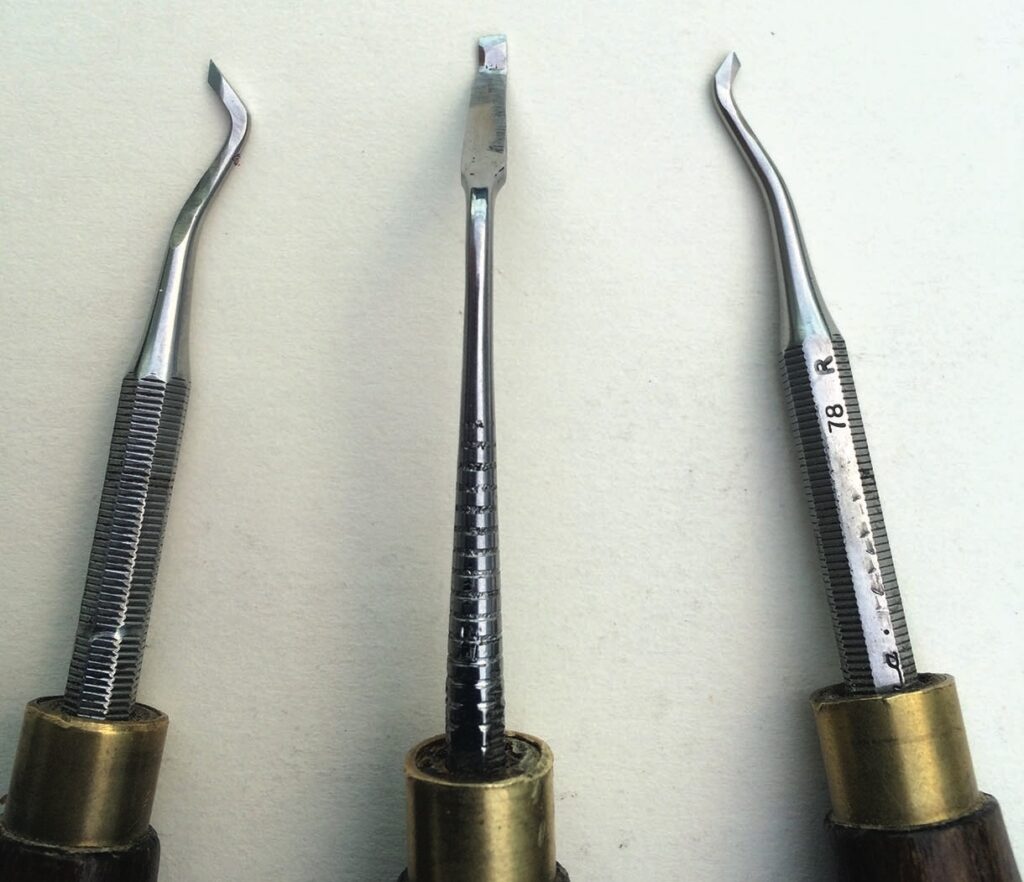
CARVER’S NOTE: The expression ‘shallow’ when applied to a gouge means that it has a very low-profile curve.
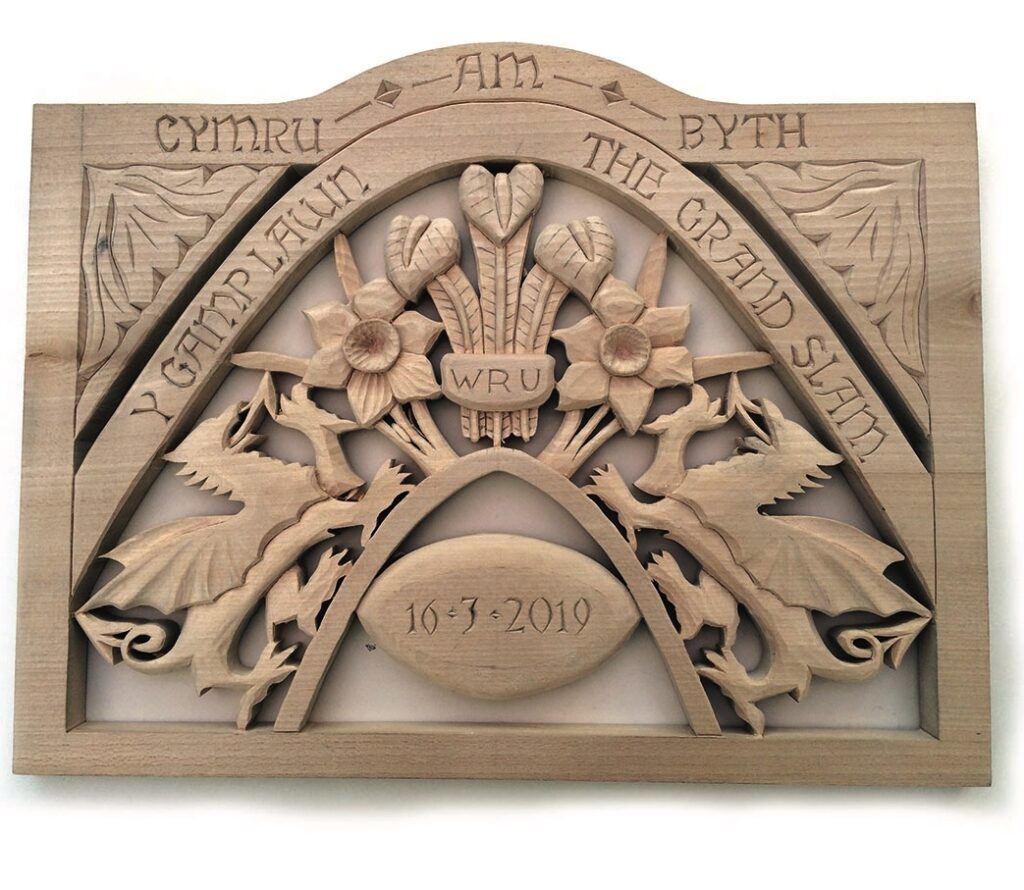
The design as a pierced panel
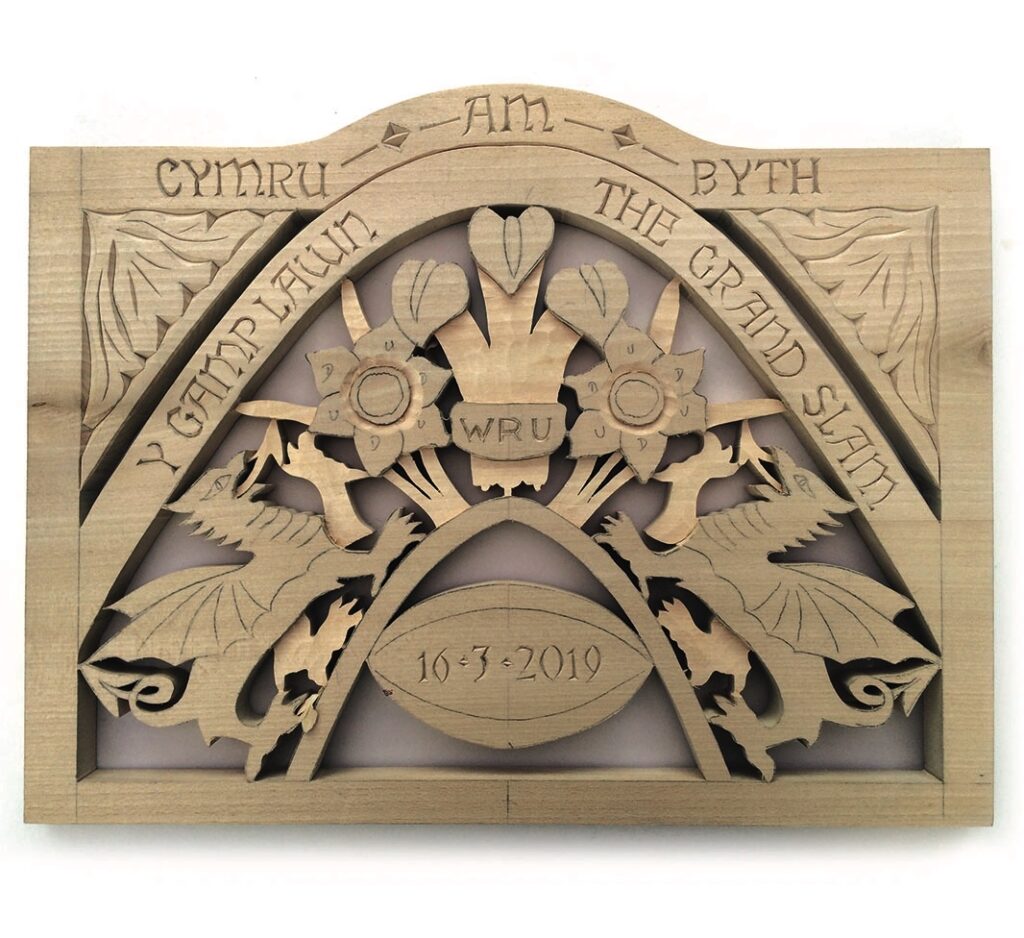
If you are going to make a pierced panel it is important to make sure there are enough contact points between the motif and the frame to ensure the stability of the piece as a whole. Although the feathers appear not to be overpowered by the surroundings, they do in fact make contact at seven points with the frame.
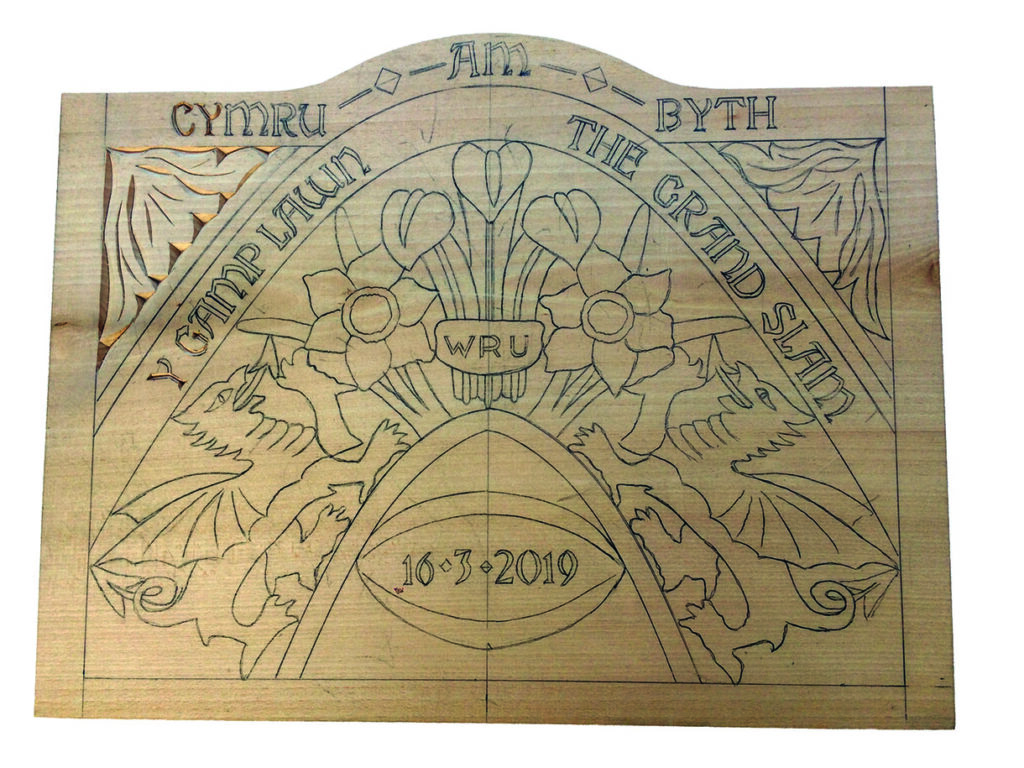
Now we have several different styles of carving that we can use in the commemorative plaque it is time to consider the overall design. The first thing to do is list the things we want to show, in this case the feathers, daffodils, dragons and an overall rugby theme. The way I go about this is to make simple line-drawn cut outs of the various elements on paper or thin card, then I juggle them around until they start to form a pleasing design.
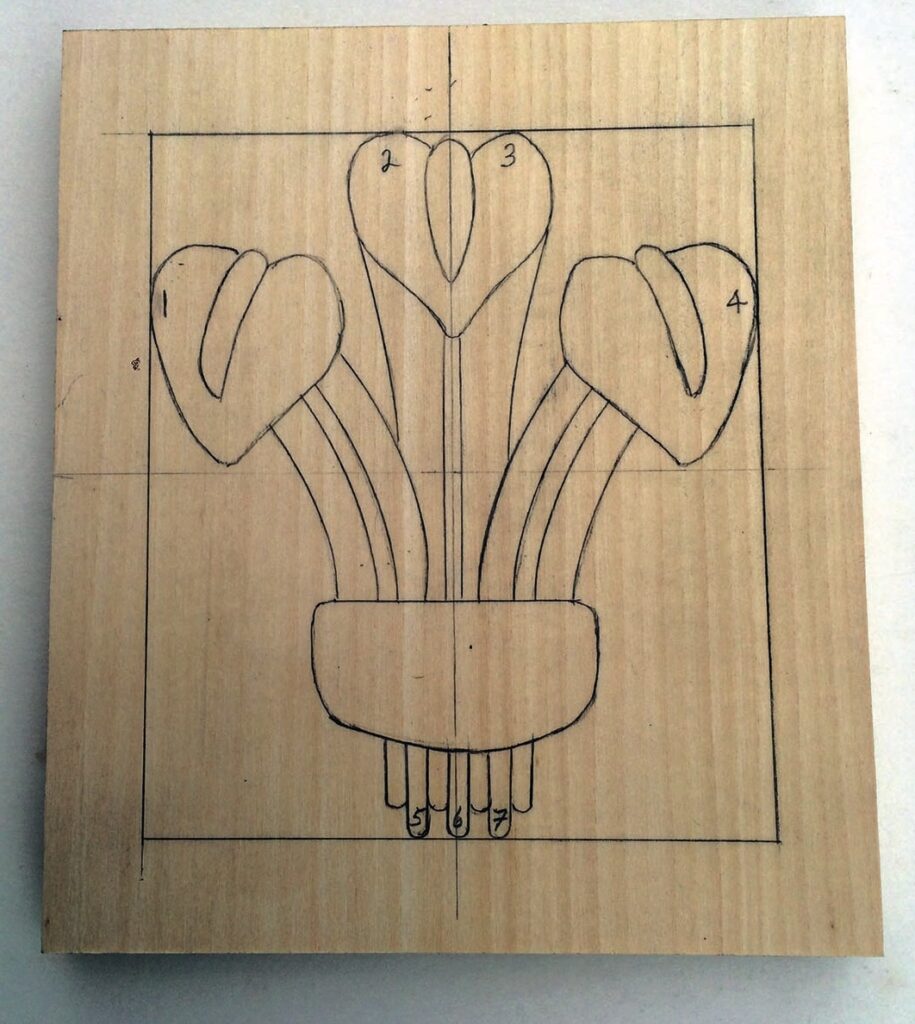
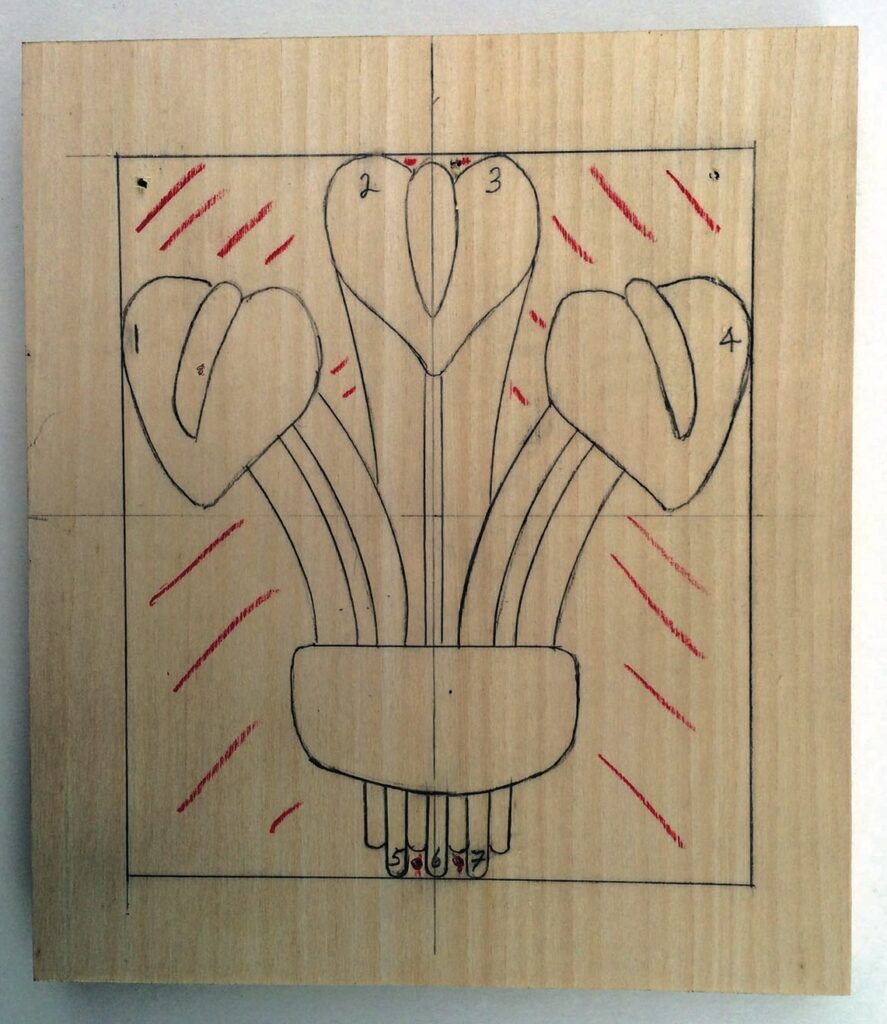
From the centreline
As you can see from the picture below everything works from the centreline. When I am happy with the design the connecting parts are made using the rugby ball-shaped arches.
You may have noticed that a small amount of chip carving and lettering has been started before the piercing and you might well ask why. It wasn’t because I was still in celebratory mood but because I had previously marked out and pierced a panel which, when I began to carve just started to crumble, so I redrew it on another piece of wood and did some test cuts before piercing.
So once again, as with all my articles, I do not offer this as a project but more as a way for you to develop your own ideas, although you are quite welcome to use all or part of this design.
I get requests for pieces like this to commemorate birthdays, weddings, anniversaries, new arrivals and other special occasions. They make very acceptable gifts, are highly personal and become treasured heirlooms.
Developing the idea of a commemorative panel
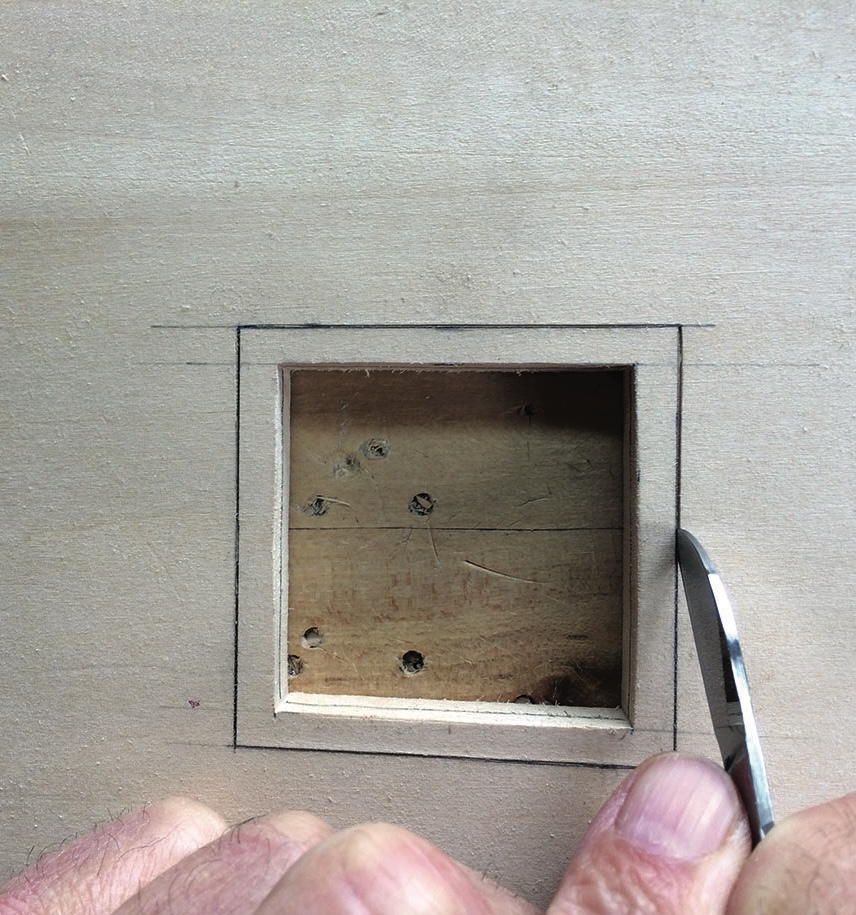
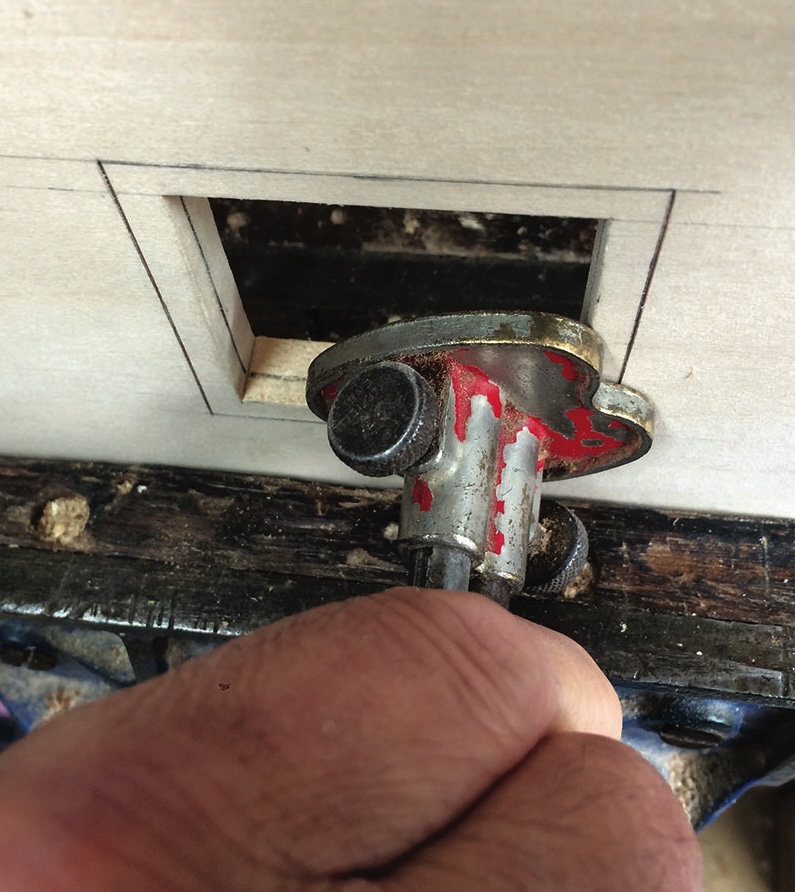
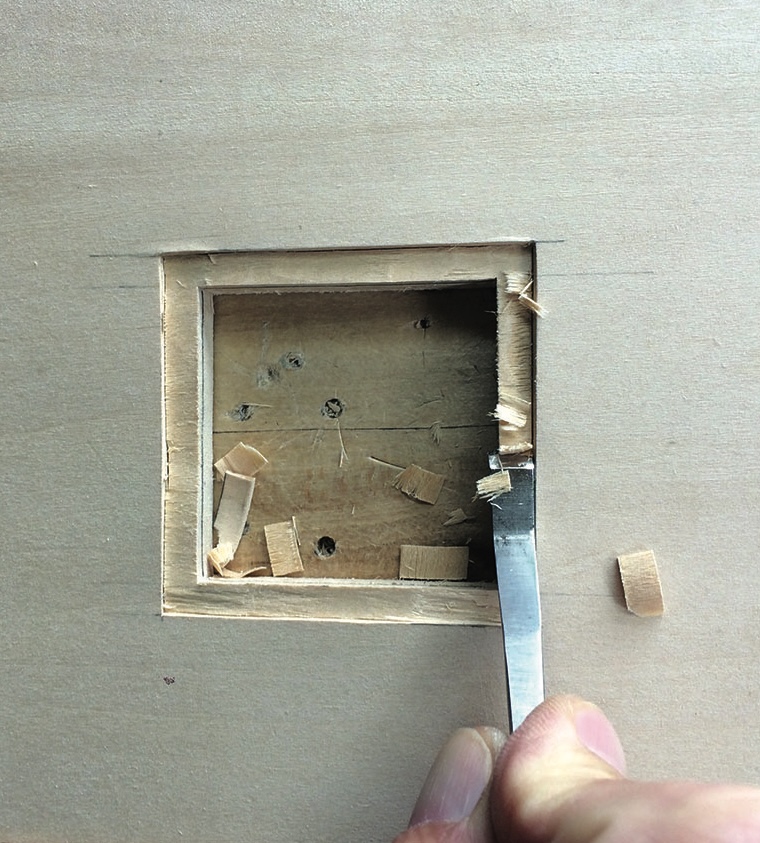
You can develop the concept of the panel in various ways, one such being to include a photograph. This can be quite easily achieved by opening an aperture and cutting a rebate on the back.
The first stage is to mark out the aperture and pierce it out in the normal way. The more difficult stage is on the reverse side when we come to cut the rebate. Yes, we could do it with a router, but we don’t all have one, so the photographs show you how they can be done by hand.
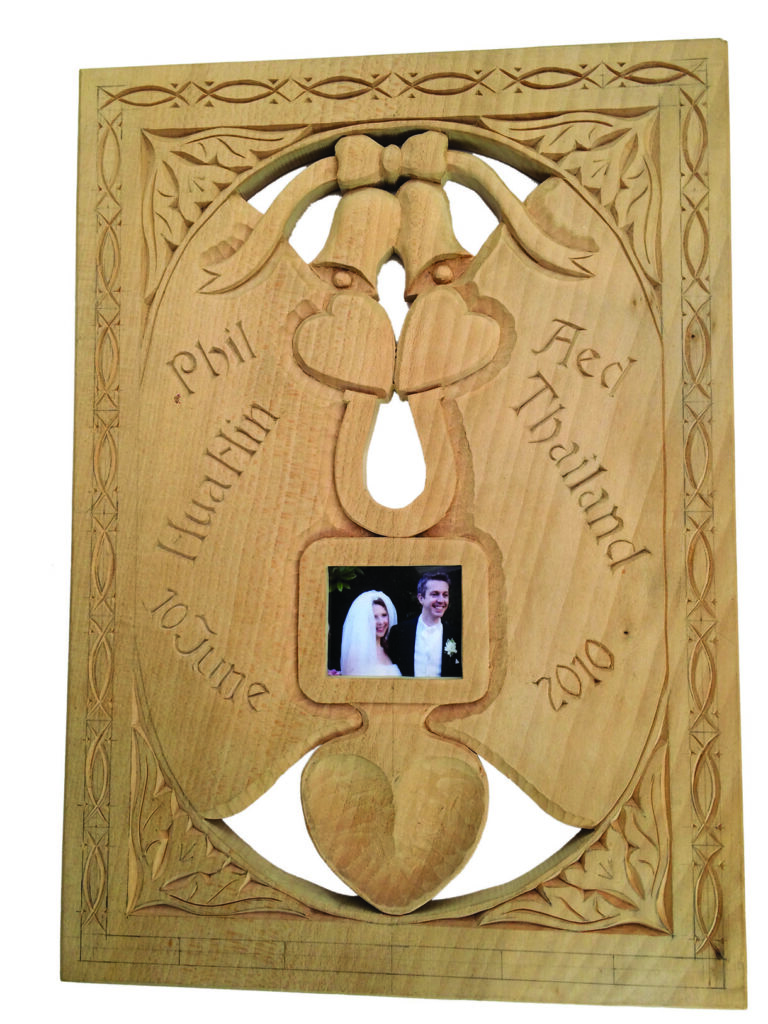
You can get an idea of the effect of adding a photograph from the picture of an incomplete wedding plaque project dated June 2010. This may seem a little strange, but you will see that the wedding was to take place in Thailand and unfortunately it had to be postponed due to civil unrest at the time. The wedding did take place later that year and I had to carve a replacement plaque. Lesson – don’t carve the date until the last minute.
You can use a piece of glass or you might find it easier to use a piece of clear Perspex sheet, which is easily cut with scissors. It really does personalise the piece and makes it a treasured keepsake.
Additional ideas for inclusion in a commemorative piece
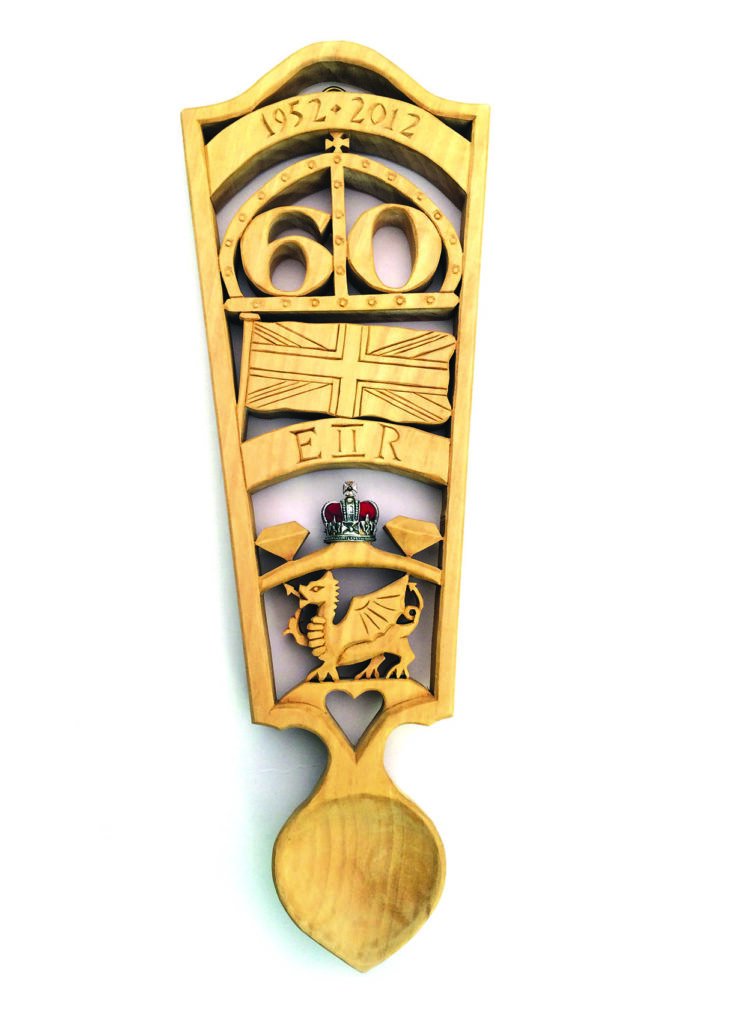
Some years ago, I was commissioned to make a lovespoon for a 25th anniversary and the customer asked if I could include a piece of silver to represent the silver wedding anniversary. As a working jeweller and silversmith, I made a small silver box with an amethyst top which was embedded into the spoon. I have made many such pieces since, using silver boxes or polished agate slices to decorate the carving.
I realise you are unlikely to use silver objects but there are many other small items that could be used. I once set a spoon with a silver pocket watch that had belonged to the customer’s grandfather.
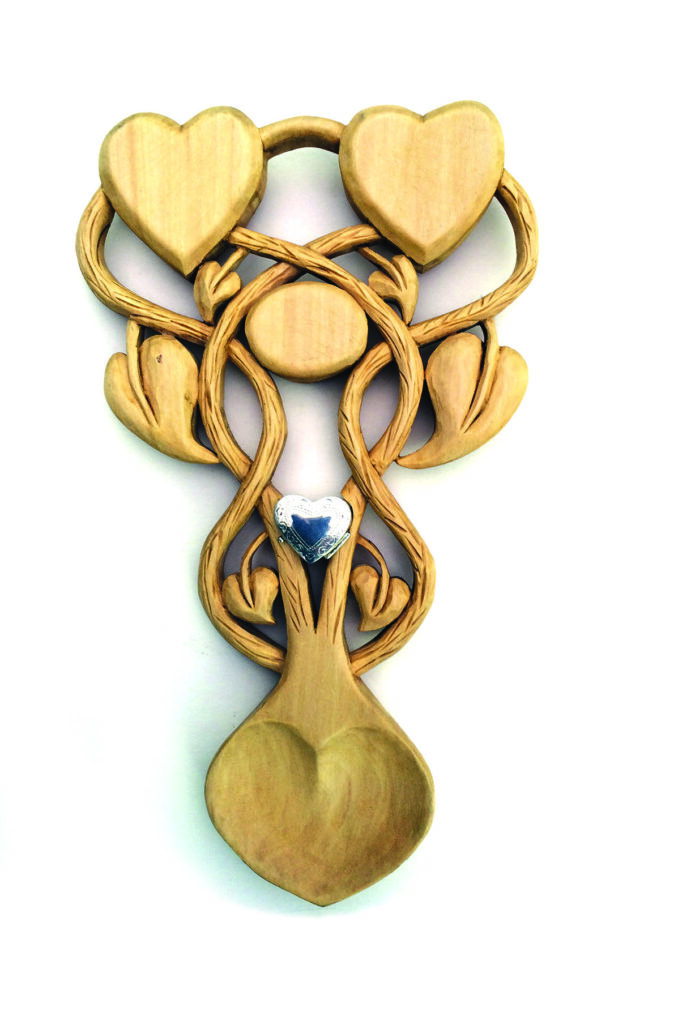
I hope this article has given you some ideas for creating a commemorative plaque. You can use any style of carving and
include all sorts of objects into your carving. Think outside the box – your only limitation is your imagination.
Remember, don’t carve when you are tired, always work in good light, strop regularly and practise, practise, practise.