You can buy Pen Turning for only £12.00/ $15.96 (+P&P)! Usual RRP £14.99 / $19.95
🇬🇧 For UK readers, visit giftstome.co.uk and use offer code R6216
🇺🇸 For US readers, visit IndiePubs.com and use offer code IPP4057
Offer ends 1st January 2027
In an extract from his new book, Carved Lovespoons, Dave Western makes a rock ‘n’ roll spoon from an offcut of yew
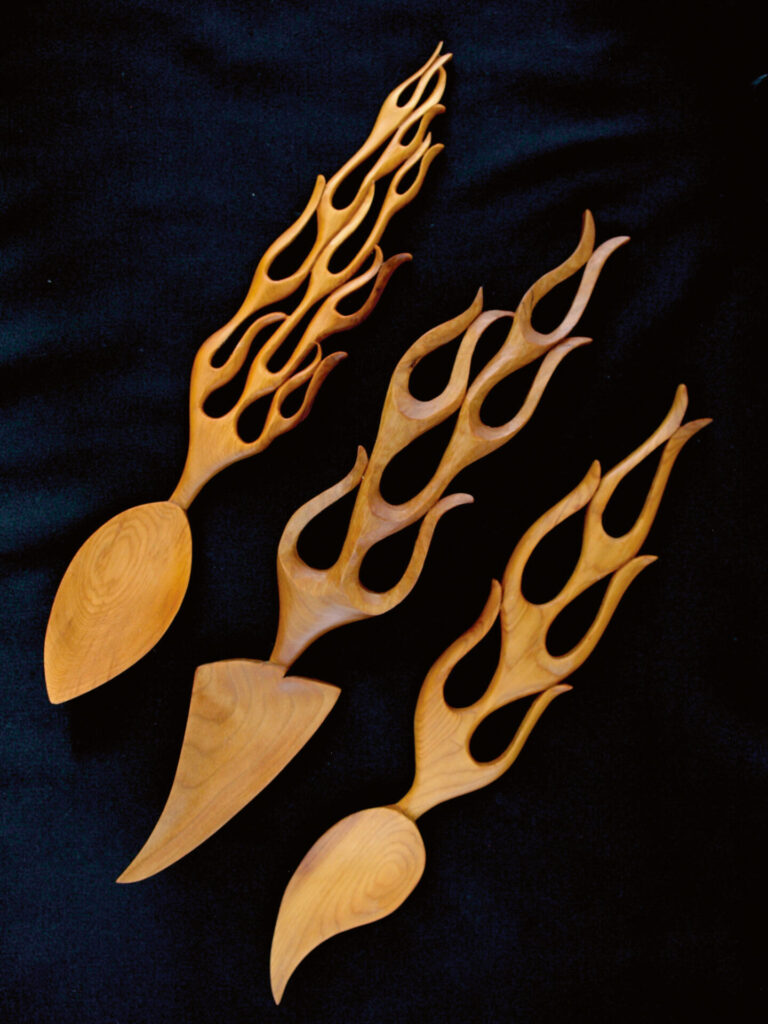
While not even remotely a romantic spoon, this one was just too much fun to resist! I will readily confess that I am not much of a car guy. In fact, I would be hard pressed to tell the difference between a Carrera and a Cortina. I do, however, have something of a soft spot for hot rods and their thumping big motors, gleaming mag wheels and those fabulous fuzzy dice hanging from the rear-view mirror. I especially love them when they sport deep, luxuriant paint jobs and those marvellous hot rod flames.
So it was a wonderful and fortuitous accident when a yew wood carving I was working on yielded an offcut scrap with a grain pattern and colour that looked exactly like a flame. That scrap got me to thinking about those hot rods and whether or not I could come up with a design that would look good on a spoon.
After several false starts, I think I finally have this flame caper figured out and I hope you will get as much fun out of making these flames as I had. It’s not without its challenges, but making them is an endeavour which brings lots of satisfaction and results in a really rock ’n’ roll project.
You will need
- Paper pattern and glue stick
- Scrollsaw
- Bandsaw
- 1in (25mm) chisel
- Selection of gouges or bent knives
- 120–320-grit abrasive
- Straight knife
- Needle files
- 150-grade cloth-backed emery paper
- Oil
- Beeswax polish
- Recommended wood
- The hot-rod flames design works beautifully with orange-toned woods such as yew

Making the spoon
1 Photocopy your design and glue it on to your workpiece. This will save you a great deal of re-drawing time and will ensure you have clean, accurate lines to work from. Move the photocopy around on the timber until you are confident you have found the best grain or the most suitable area for carving. Try to avoid knots and checks for this project as you will be cutting to some fine points and you don’t want to risk a breakage.
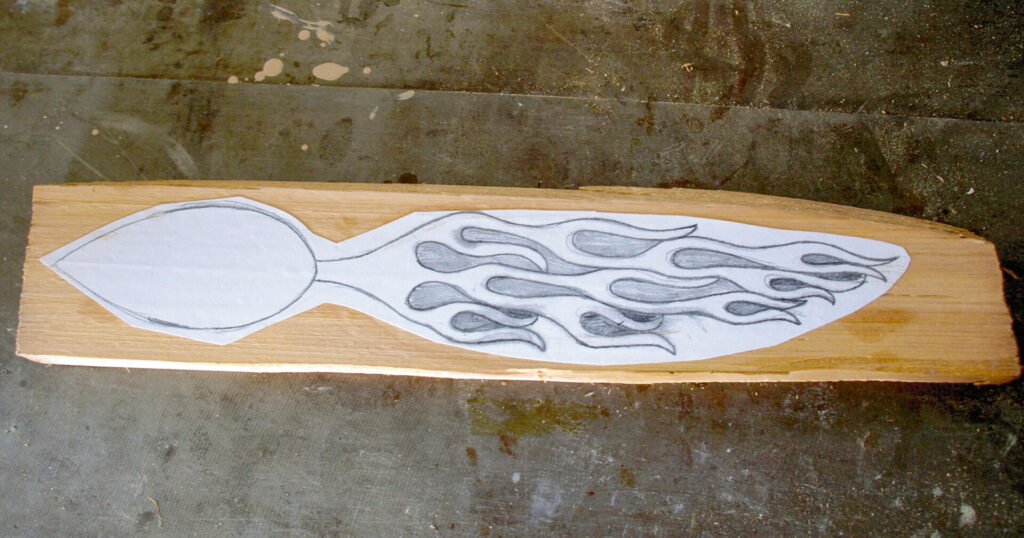
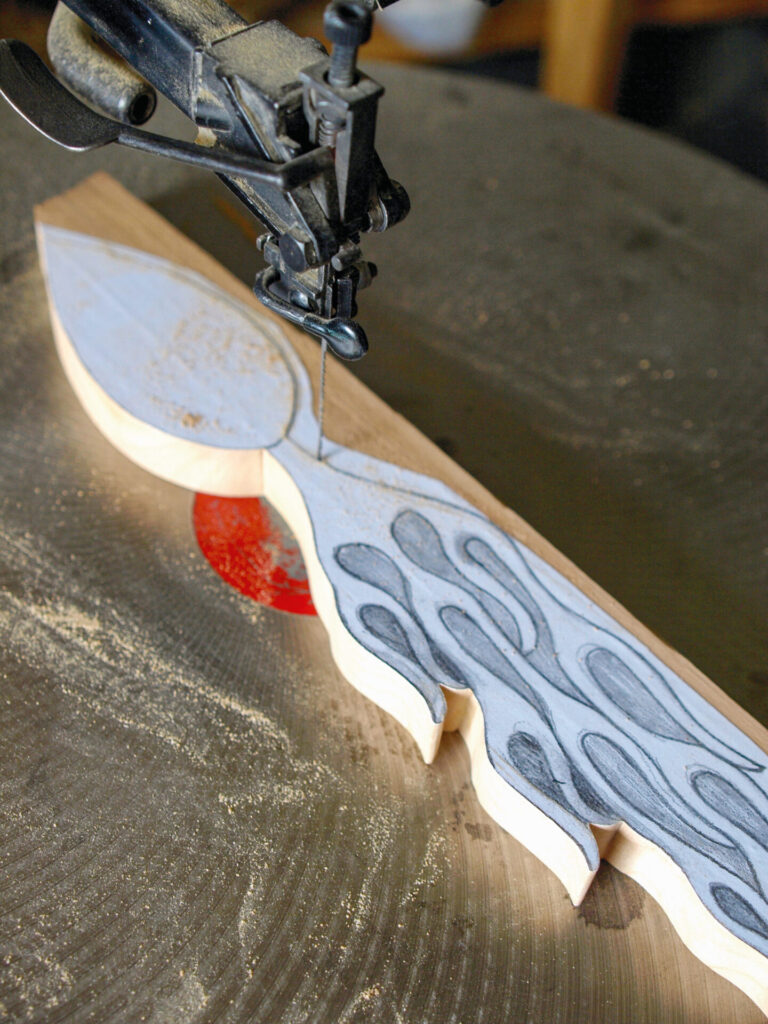
2 Due to the sheer number of curves you have to negotiate to make a flame, it’s best to cut this flame pattern with a scrollsaw. Failing that, you’ll be spending a lot of time with your jeweller’s saw. For swift, accurate cutting, it is hard to beat the scrollsaw though.
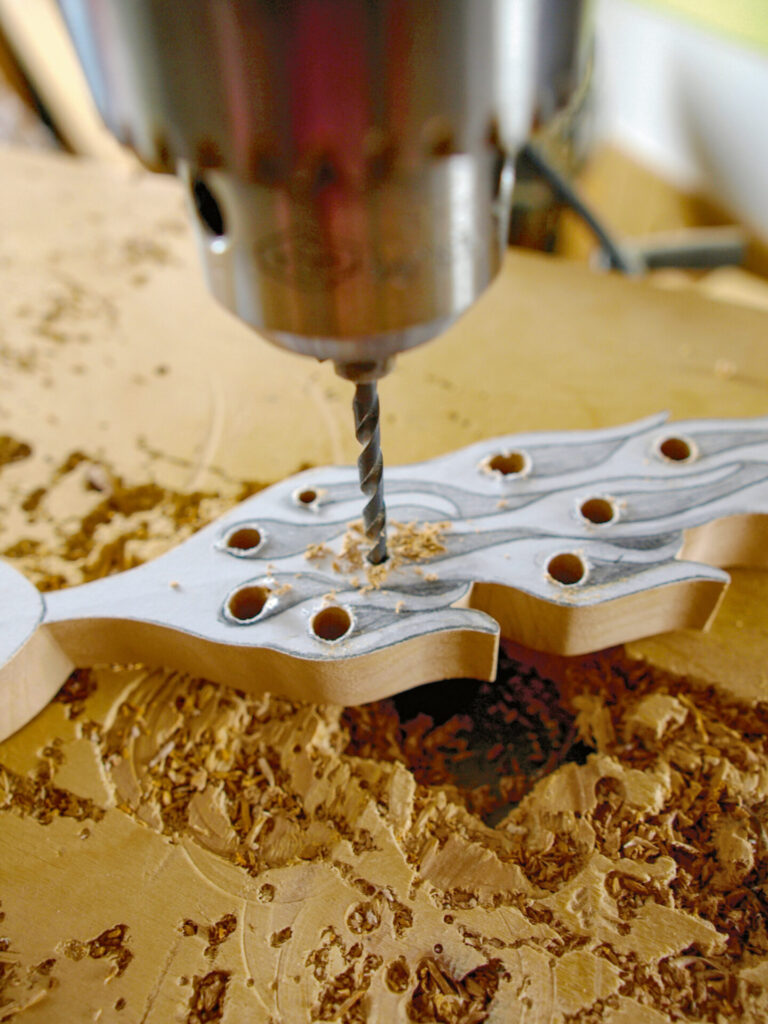
3 If you decide to go the hand-cutting route, make use of a full array of drill bits to help get you started. If you can drill to the curve line at the bottom of each flame pairing, it will save you a lot of time and effort trying to negotiate your hand saw around the tight curves.
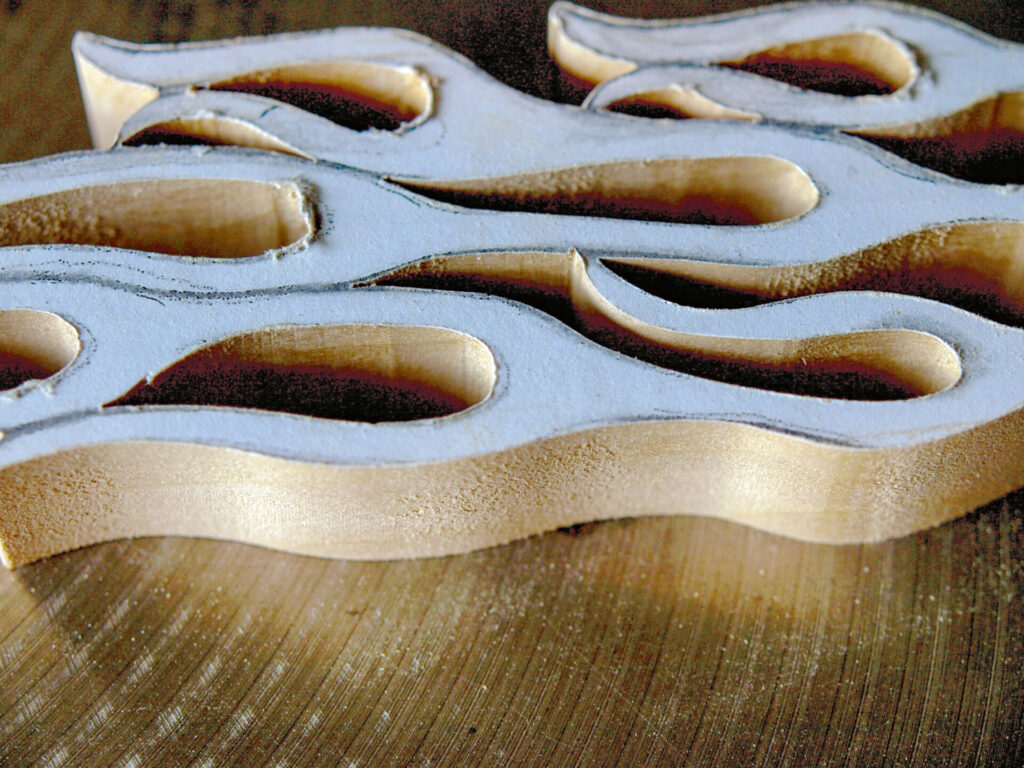
4 With your rough-out cutting complete, you should have nice, crisp cuts that accurately follow your drawn lines and are 90° to the face of the project. Wandering angles and edges just mean more clean-up at the knife-work stage and more time wasted on unnecessary work.
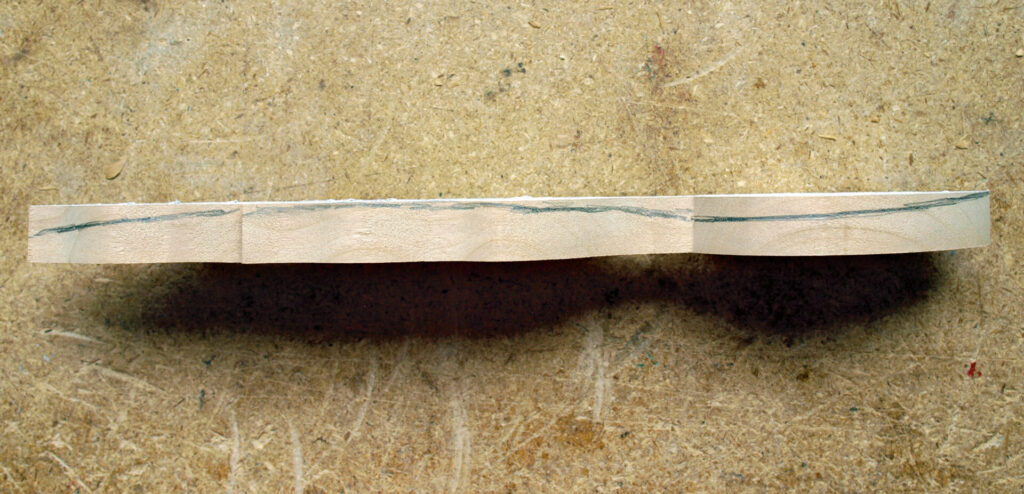
5 I like to add a little ‘movement’ to my spoons by carving a bit of a curve into the handle and tilting the bowl a few degrees. It adds some extra work, but results in a much more dynamic piece. Leave the back flat at this stage to facilitate easier clamping and to leave a bit of extra material for structural strength while carving out the front details. I use a bandsaw to quickly cut this material away, but a wide chisel or a block plane will also work well.
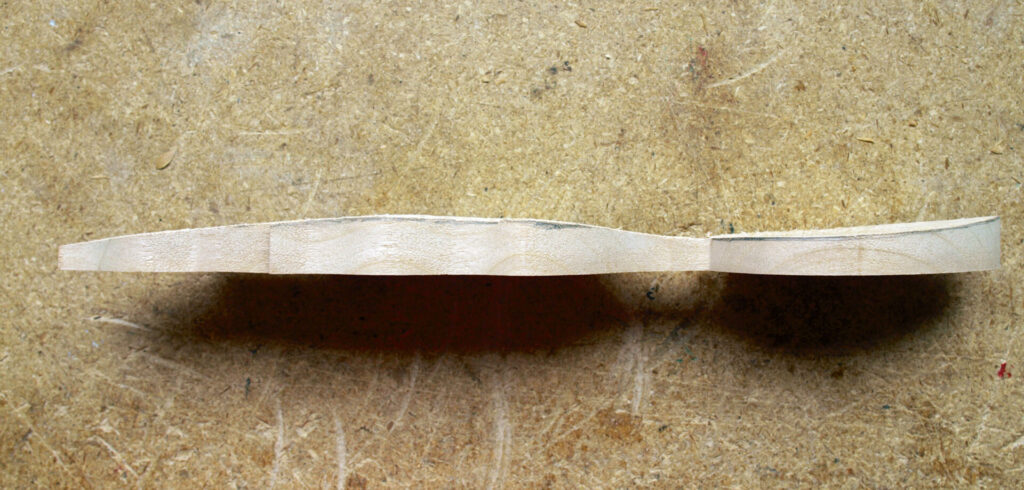
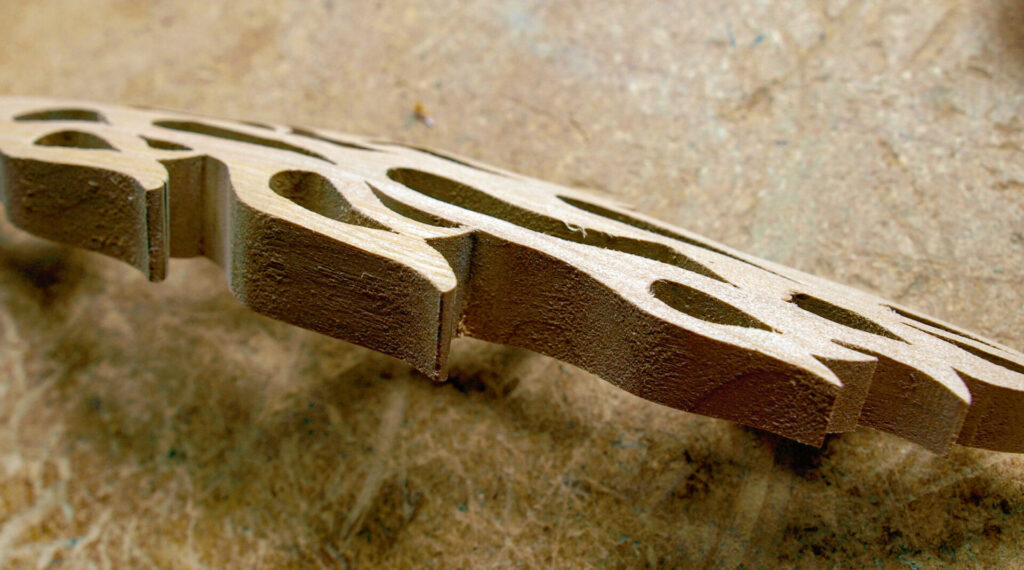
6 With the curve shaped, I often go the extra mile and dome the handle slightly by cutting away some material either side of the design’s centreline. I use a 1in (25mm) chisel to slowly pare away wood, being very careful not to chip any of the delicate flame tips in the process. If you are good with a hand plane or an orbital sander, you can also use those methods, but I find the odds of chipping out seem to increase the more rapidly I attempt to remove stock. So go gently and take your time when shaping to minimise mishaps.
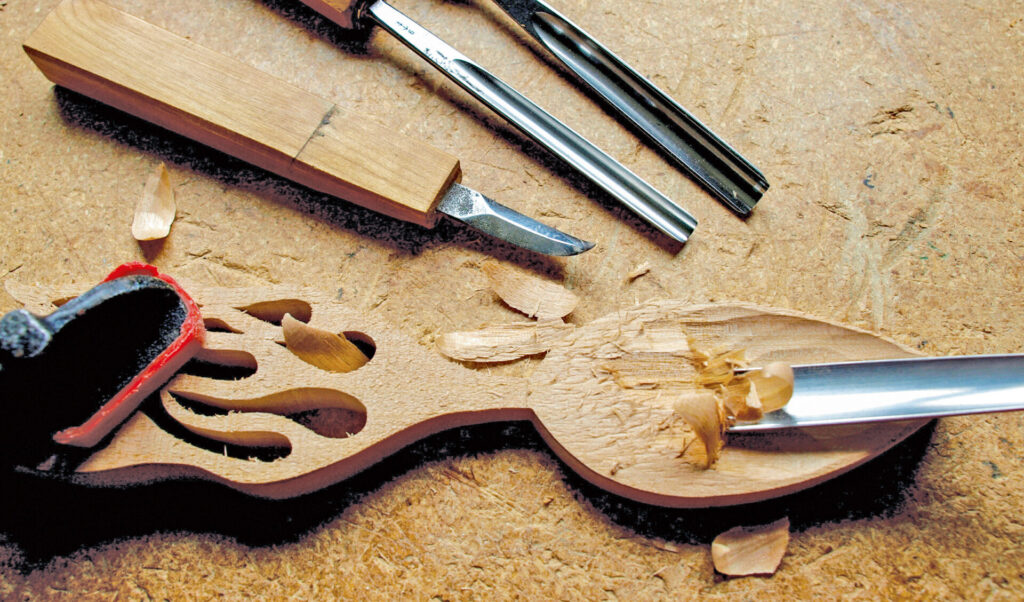
7 Before the spoon gets too far along, I like to get the bowl carving out of the way. Use a padded clamp to hold the piece securely to the bench then use gouges or bent knives to clear excess material away. I aim for a nice, fair curve that is neither too deep nor too shallow. It’s all a bit subjective, so go to whatever depth appeals to your eye. Carve with caution to avoid hollows or bumps, feel the curve frequently with your fingers and take shallow cuts.
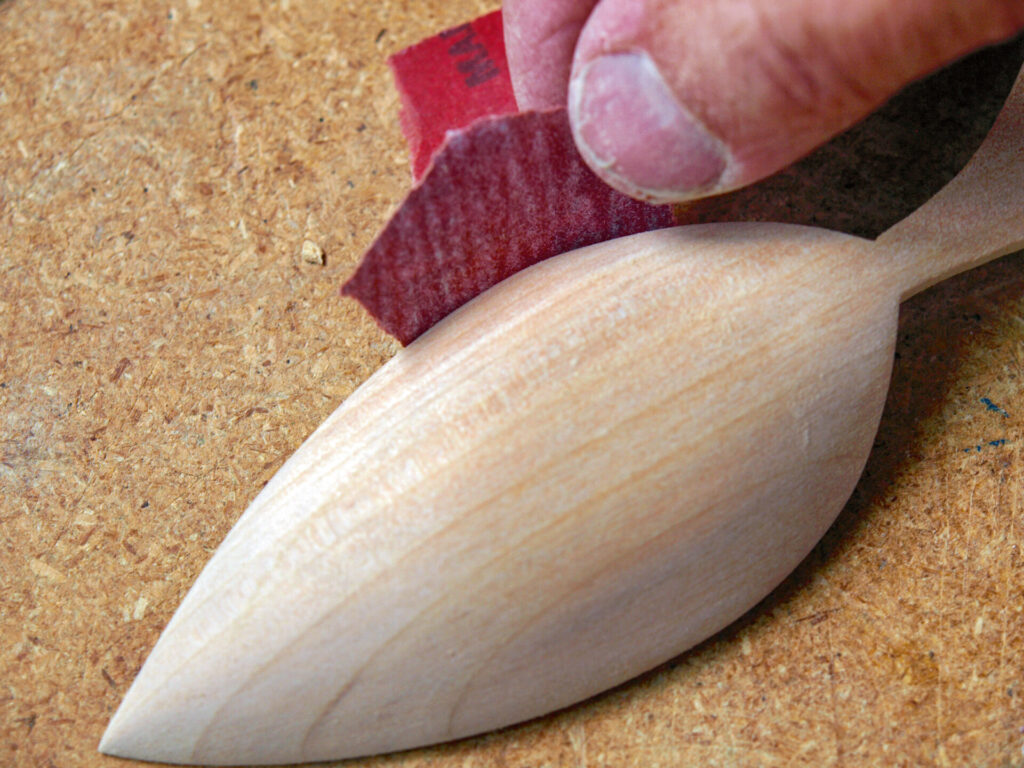
8 Because I intend to mimic the ultra-smooth finishes of hot rod paint jobs, I intend to heavily sand both the bowl and handle. I use a range of abrasive grits beginning at about 120 and working up to 320 in steps. Spend the time and energy necessary to ensure super-fair curves and no scratching. Avoid the temptation to sand cross grain as it will only leave ugly scratches that are a nightmare to remove.
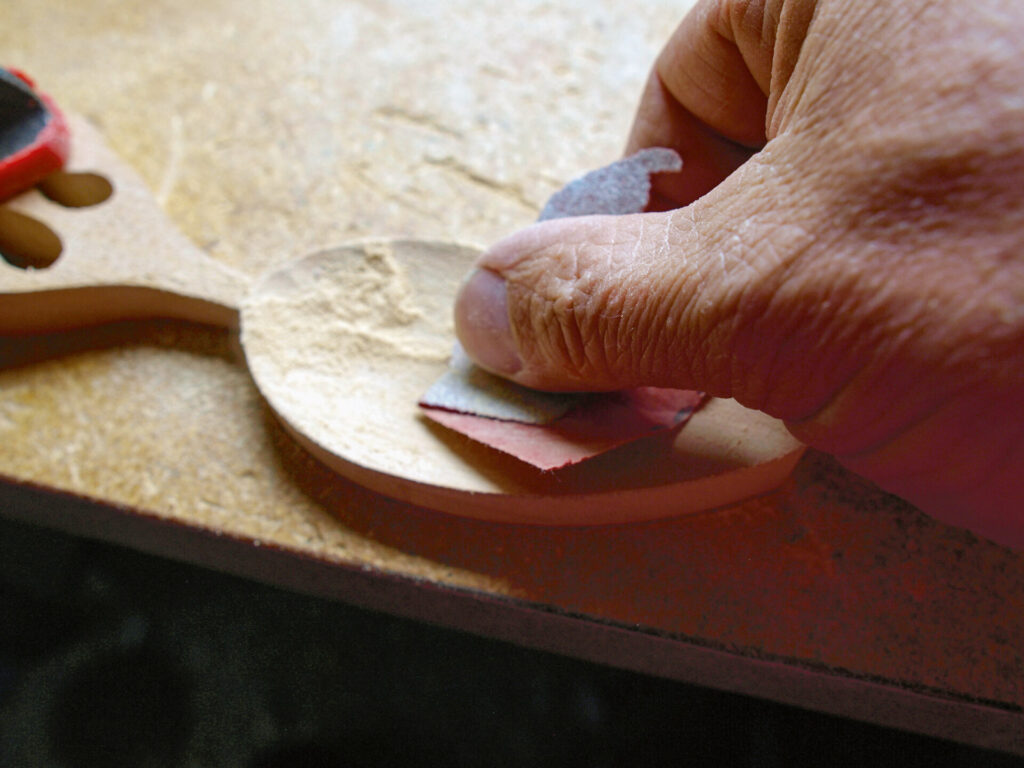
9 Whether you’re carving a spoon, a letter opener or some other project, make sure that if you commit to sanding, you take it through to a fine conclusion. Leave no bumpy areas and certainly make sure that scratches and blemishes are dealt with before a finish is applied. I find that getting to 320 grit is generally good, but many carvers who work with glassy surfaces recommend going even higher – some past 600.
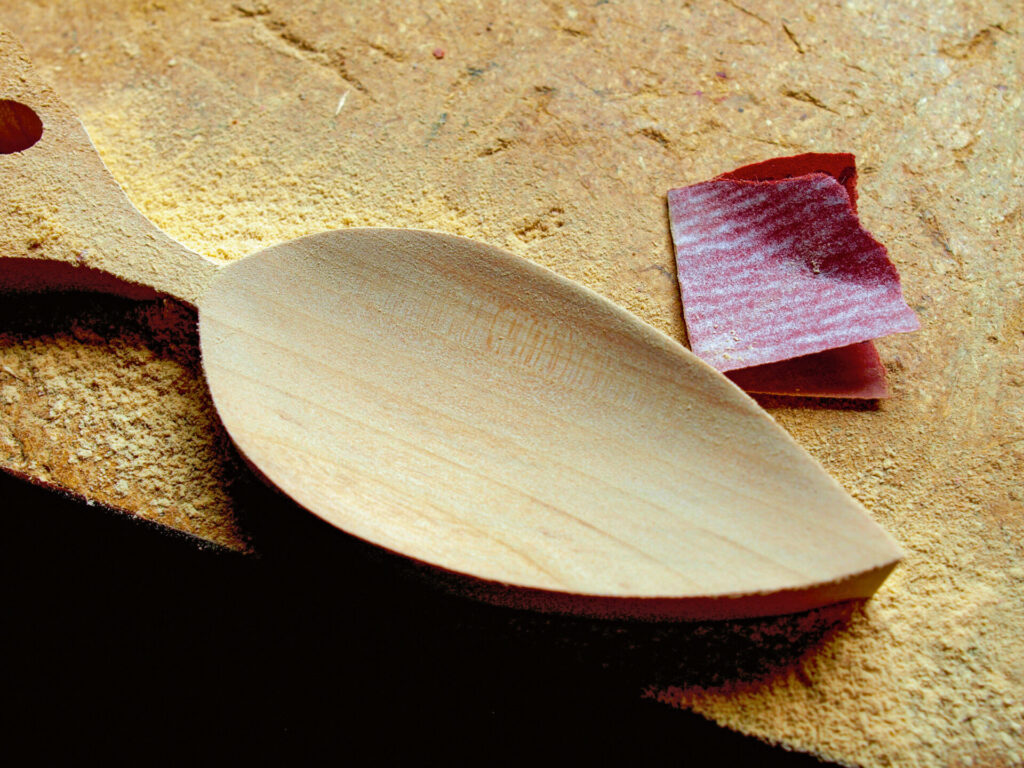
10 With the bowl’s concave surface complete, you can take the opportunity to carve the stem which will unite the handle and the bowl. This allows you to define the bowl by raising it from the stem, it also allows you to curve the stem a bit and add a more dynamic feel to the spoon.
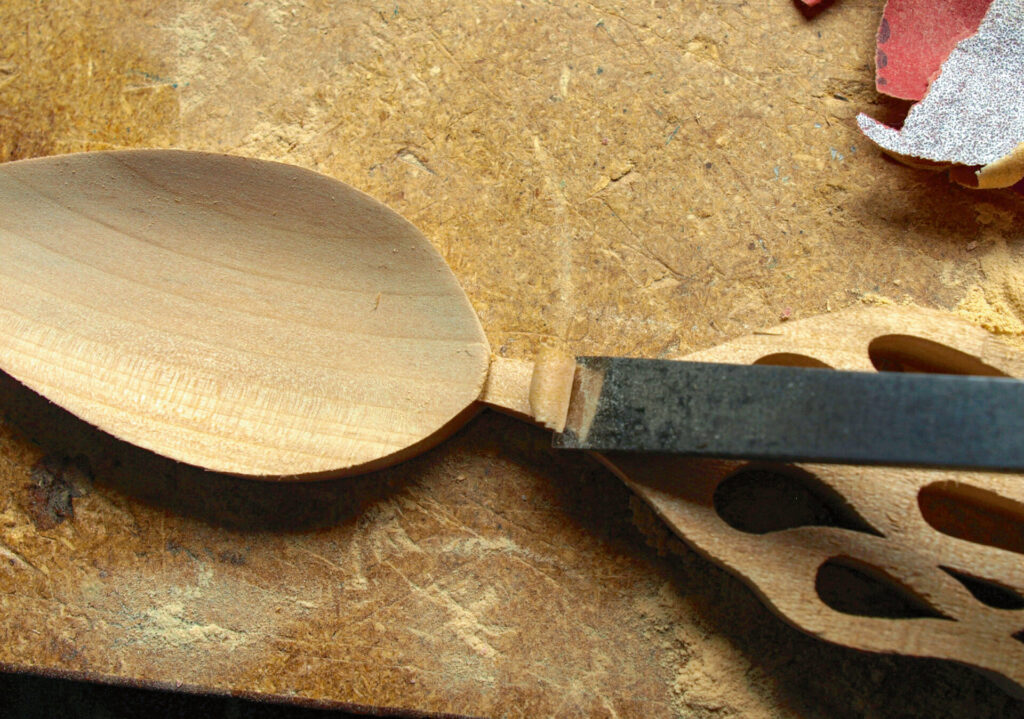
11 The paper pattern that had been glued to the blank was removed due to the doming of the flamework, so now is a good time to re-draw and scribe the lines which define each individual flame tongue. Use a fine pencil to draw out and then gently cut the lines into a depth of approximately 5⁄64in (2mm) with a small, straight knife. When engraving these lines, be aware that the wood grains can grab the knife and pull it off course. I find two or three shallow passes a safer option than one deep one.
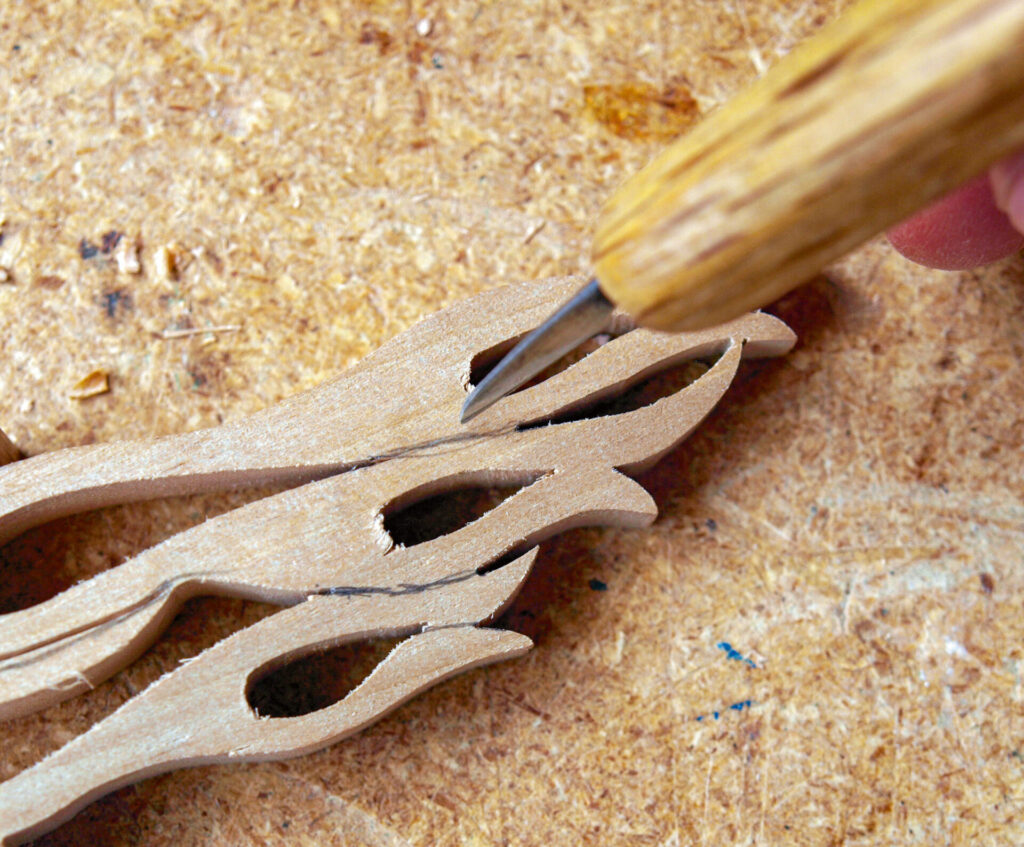
12 When cutting out the flames, begin at the tips of the tongues and aim to carve nice, flowing curves as much as possible. Be careful with grain direction changes as it is very easy to chip the tips off each tongue or to knock a large chunk off the sides of the flame bodies. The fairer your curves, the more dramatic the flames become, so you’ll want to work hard to avoid bumpy, irregular curves which muddle the flow and make the design appear clumsy.
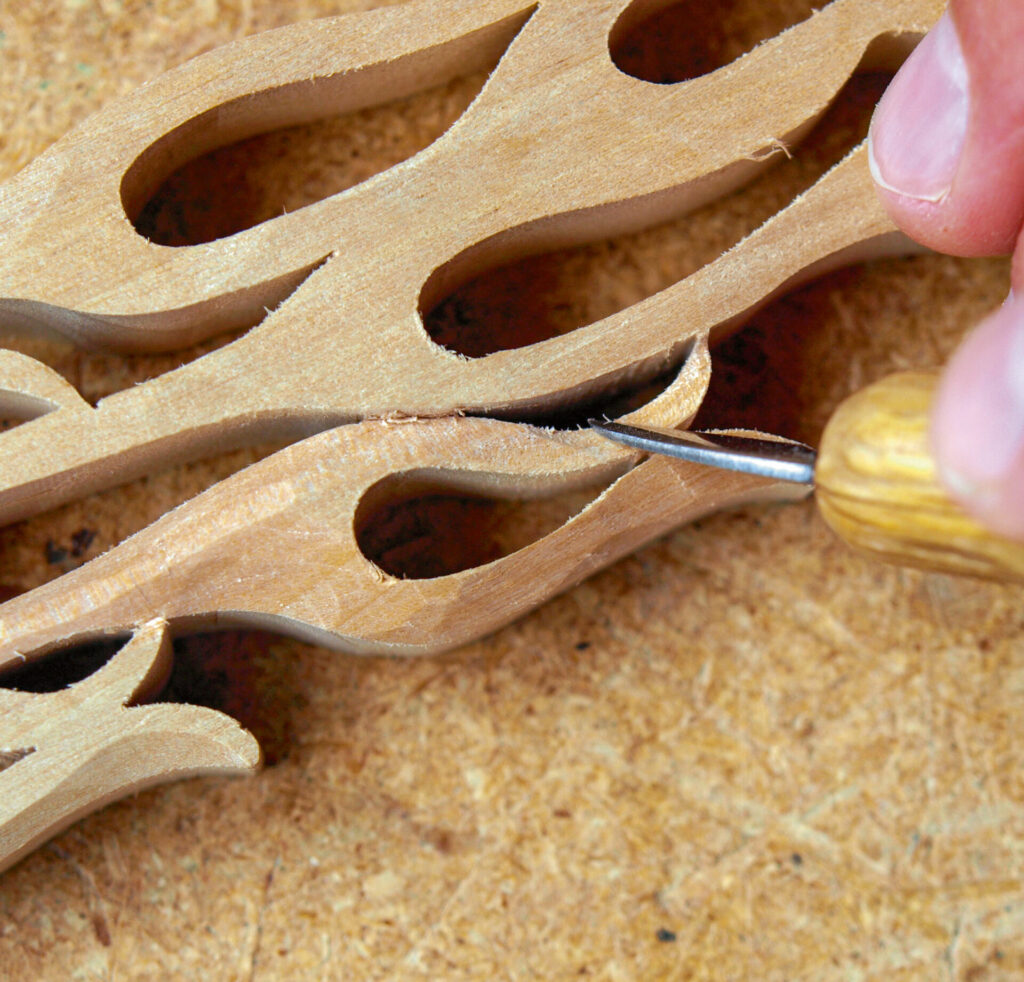
13 Exercise caution when cutting around the bottoms of the curves. Grain direction must be constantly considered to avoid chip-outs, which are difficult to clean up. Use a good, sharp knife tip to do all cross-grain cutting. Settling for a blade which isn’t good and sharp is a recipe for problems that will come back to
haunt you.
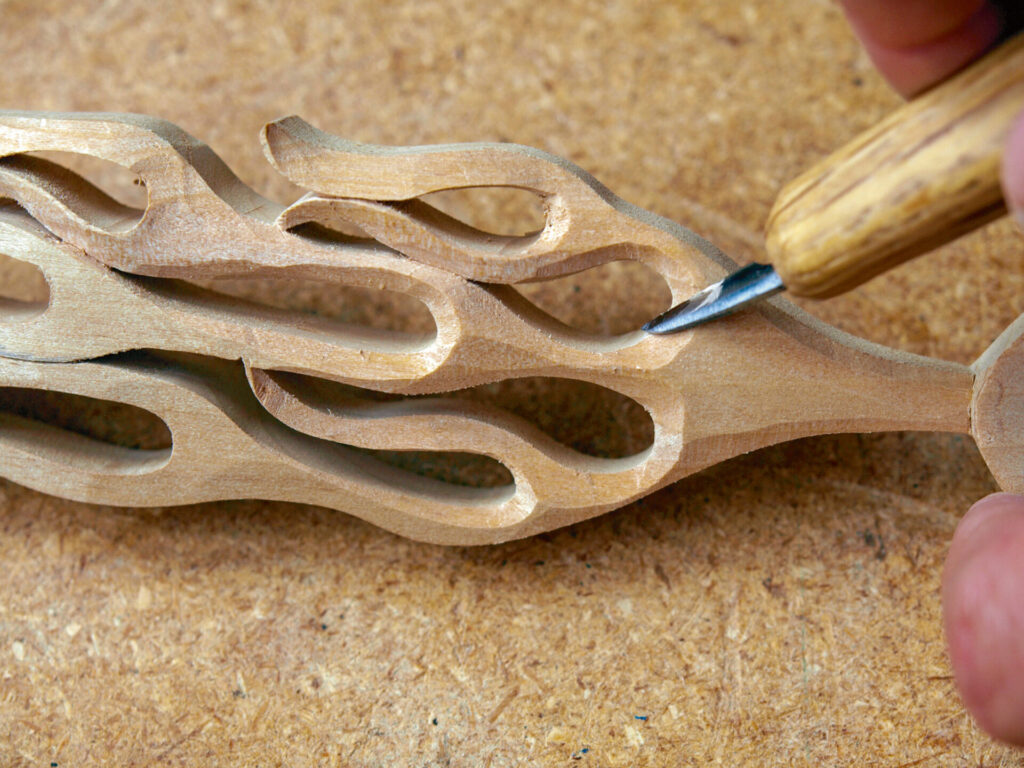
14 If you have tear-outs or any kind of problems with roughness or unfair curving that your knife can’t seem to deal with, opt for needle files before you reach for sandpaper. Small, round files will help you shape the curves without wasting abrasive paper and leaving potential scratch marks across the grain. They are fast, efficient, inexpensive and, best of all, very easy to use.
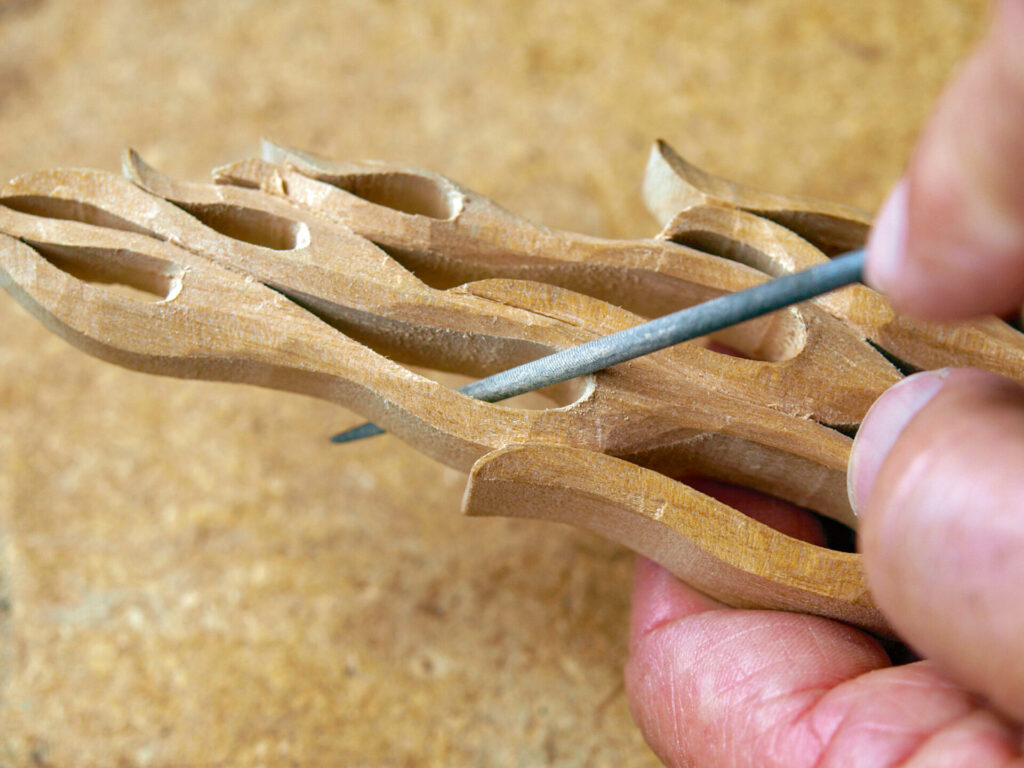
15 With the flamework roughed out, you can get a good idea if your curves are fair enough and if they flow into one another without awkward transitions. Re-carve any areas that seem a bit rough or don’t look like they are transitioning properly. You are after clear definition of each flame tongue and good roundness at the base of each flame pair.
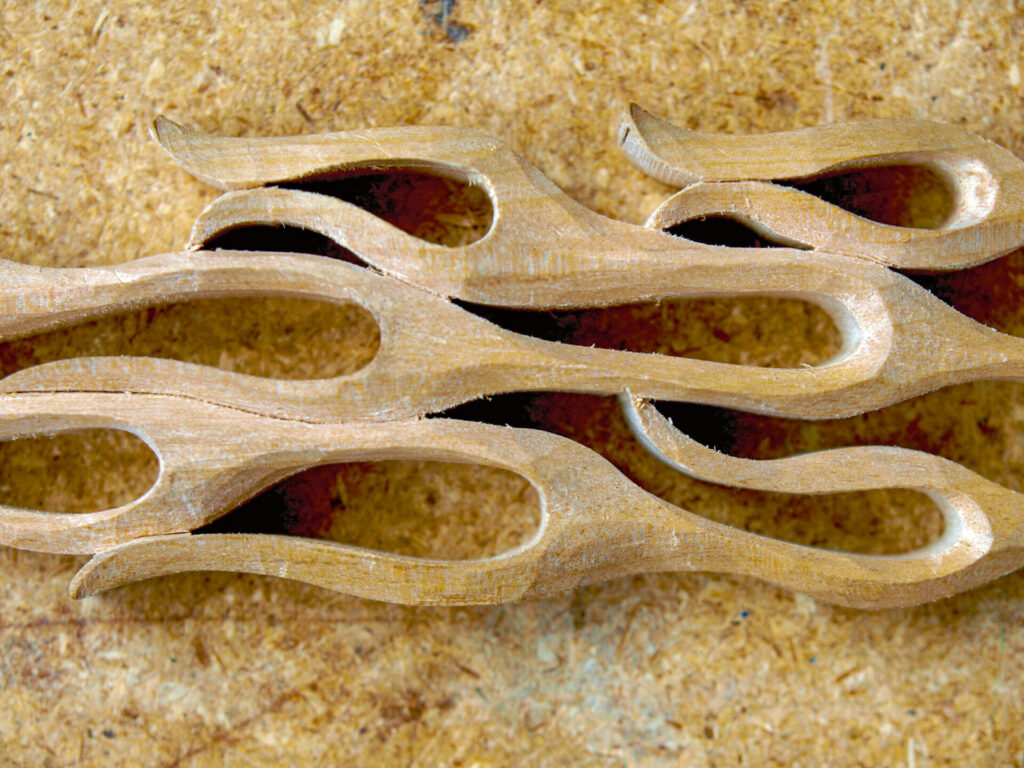
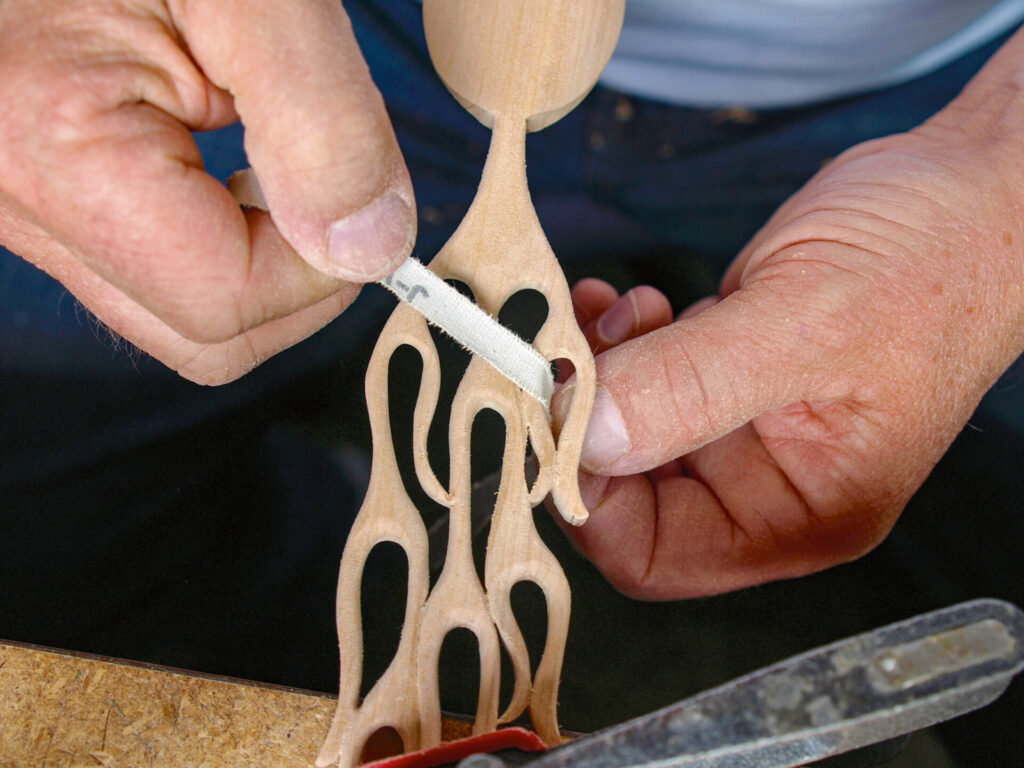
16 To really smooth the bottoms of the curves, I often make use of little strips of 150-grade cloth-backed emery paper. I exercise extreme caution to avoid cross-grain scratching and will often use paper that has been dulled a bit so that I know it is not too aggressive. I use files and various abrasive papers to give the whole piece a thorough sanding right up to 320 grit. Make sure that all the curves are smooth, that any bumps and dips are faired out and that there are no scratches left anywhere.
17 There are many surface treatments you can go for with these flames. I opted for a simple, highly sanded rounded surface. You can leave the surface off the knife, but I find the look a bit rustic and it loses the silky, glossy feel of the sanded version. A third method is to leave a concave hollow face to each tongue. There is a dynamism about that type of finish, but again, it loses that classic hot rod flame feel. With the front completed, cut the excess material away from the back of the handle and bowl creating a nice concave curve to match the domed front. If you are brave, you can carve the flames to match the front face. If you are worried about cracking the delicate piece, simply round over the edges and call it a day.
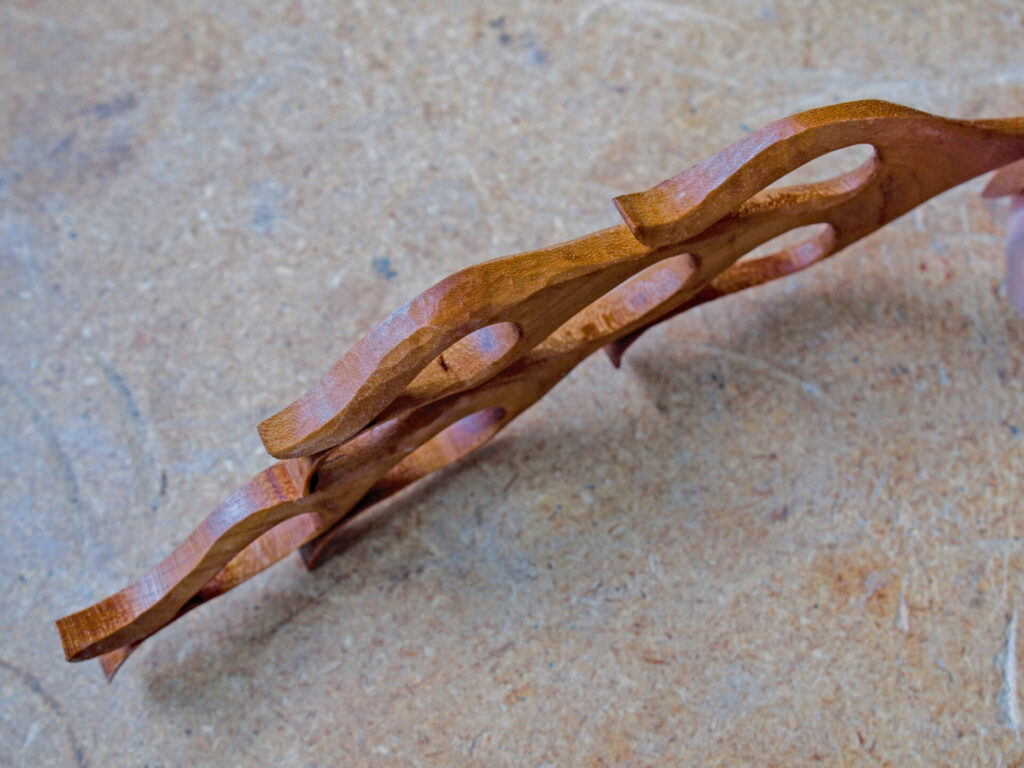
18 Spend as much time fairing up the back of the bowl as you have on the front face. Get a good curve and sand it well. If the work gets tedious, just imagine that you are working on one of those beautiful hot rods and going for the same voluptuous, elegant, smooth finish.
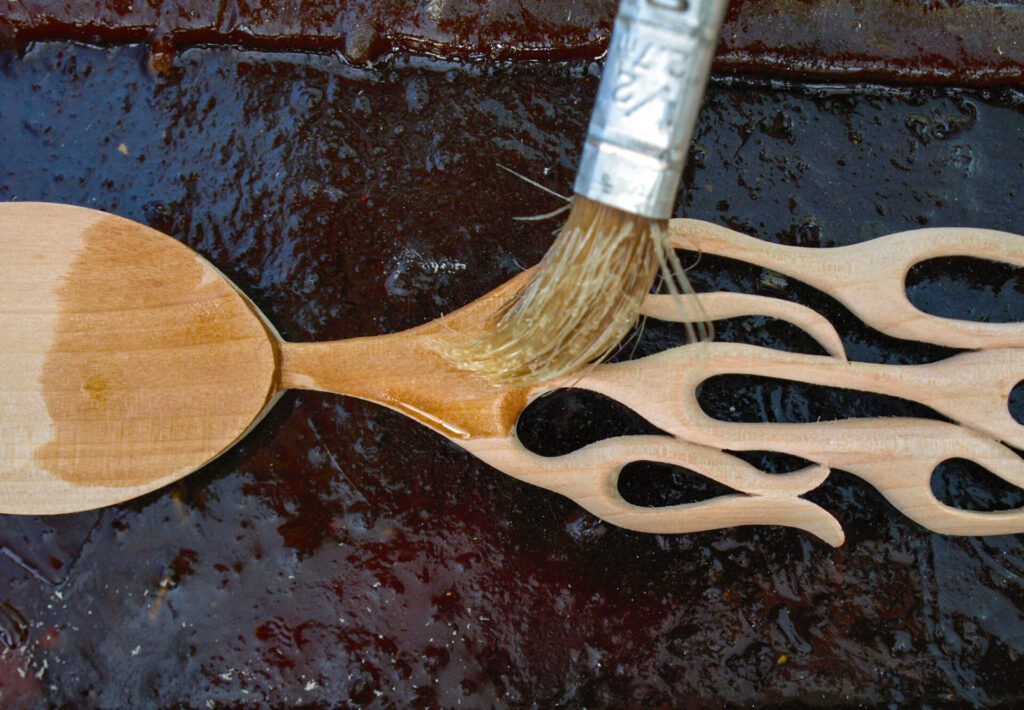
19 With all the carving and sanding completed, it’s time for the fun bit. A few coats of oil, coupled with light 1,000-grit sandings between each coat, followed by a buffing with a good beeswax polish will give you that luxurious, touchable finish you’d expect when you run your hand across the fender of that ’57 Chevy.