
Kurt Hertzog looks at using waterborne finishes
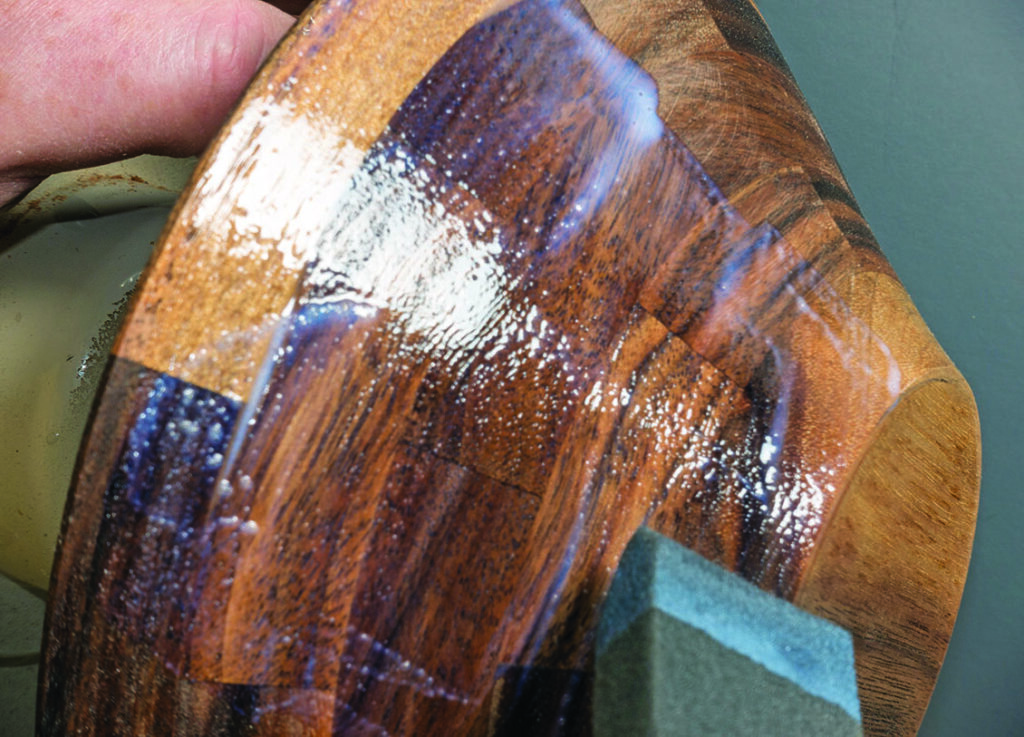
Coalescing finishes are waterborne finishes and they cure by a combination of both the evaporative and reactive processes. I will use the terms coalescing and waterborne interchangeably. Imagine little balls of reactively cured resin floating around in a sea of water with some additional solvent. As the water evaporates, the little balls of resin get closer and closer. This continues until they come into physical contact, creating a larger blob of touching balls. The solvent in the mix works on the balls, making the contacting balls in that blob combine. The water is gone and now the solvent is gone, leaving the solid surface film finish formed by all of the combined balls of resin.
Safety & terminology
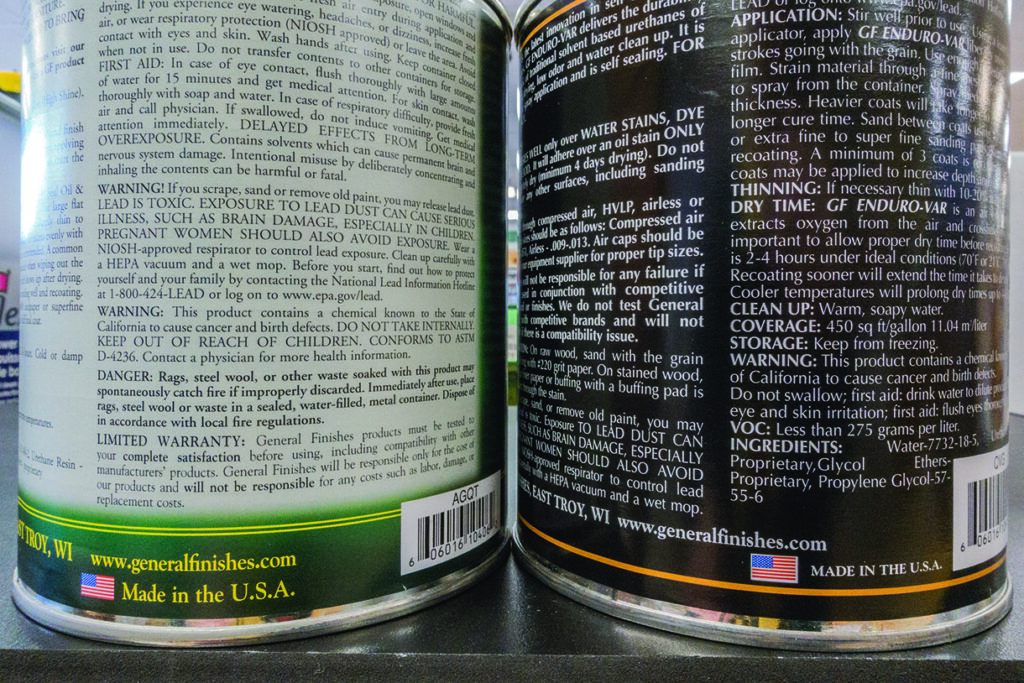
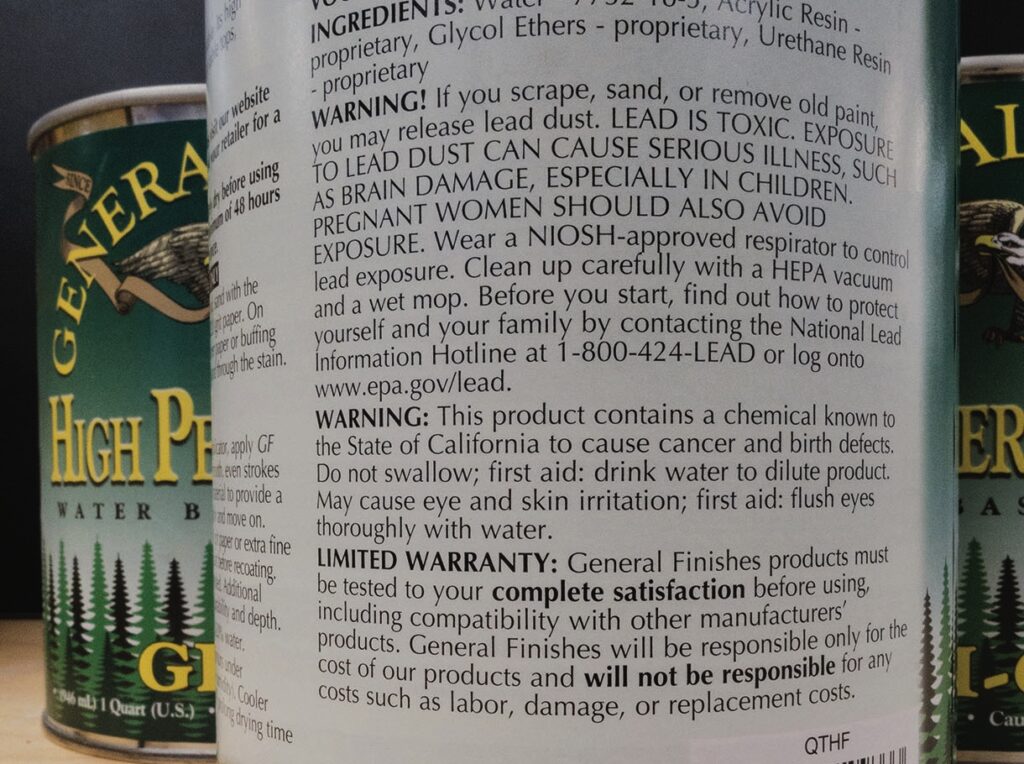
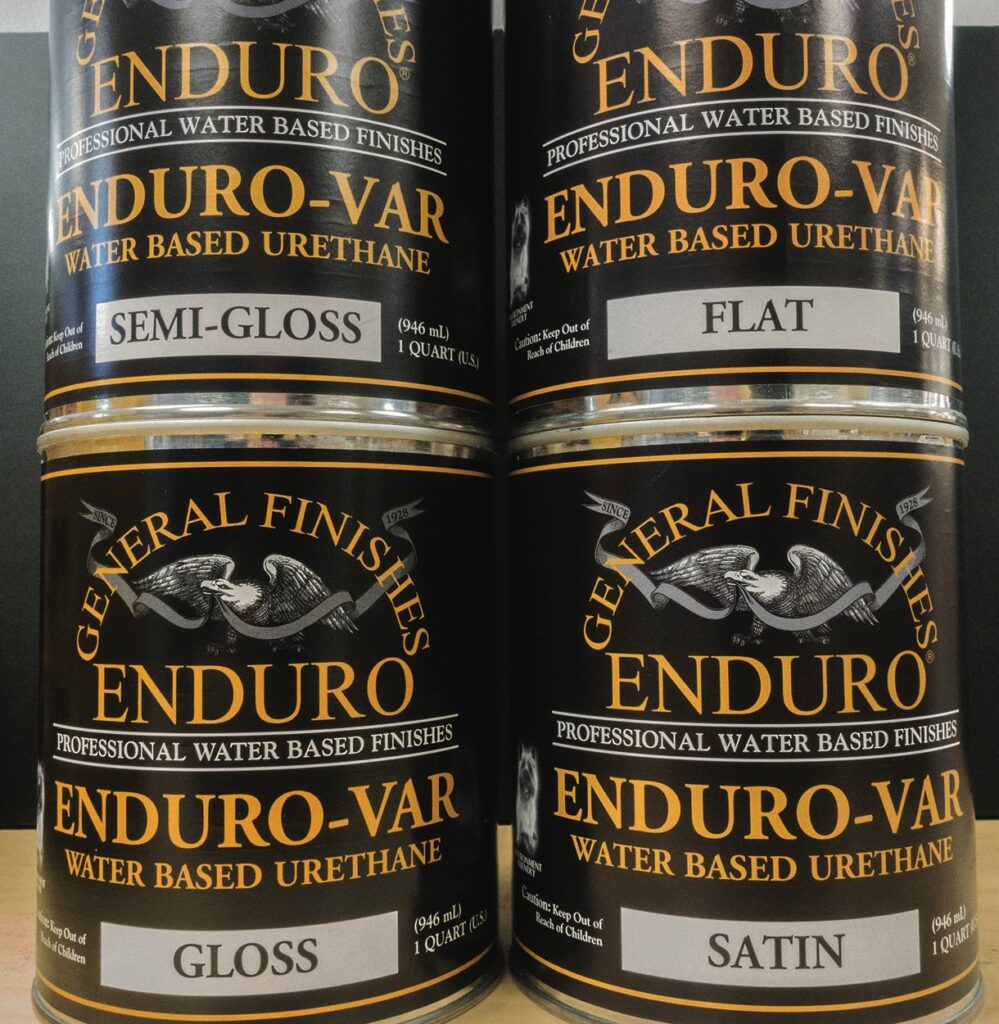
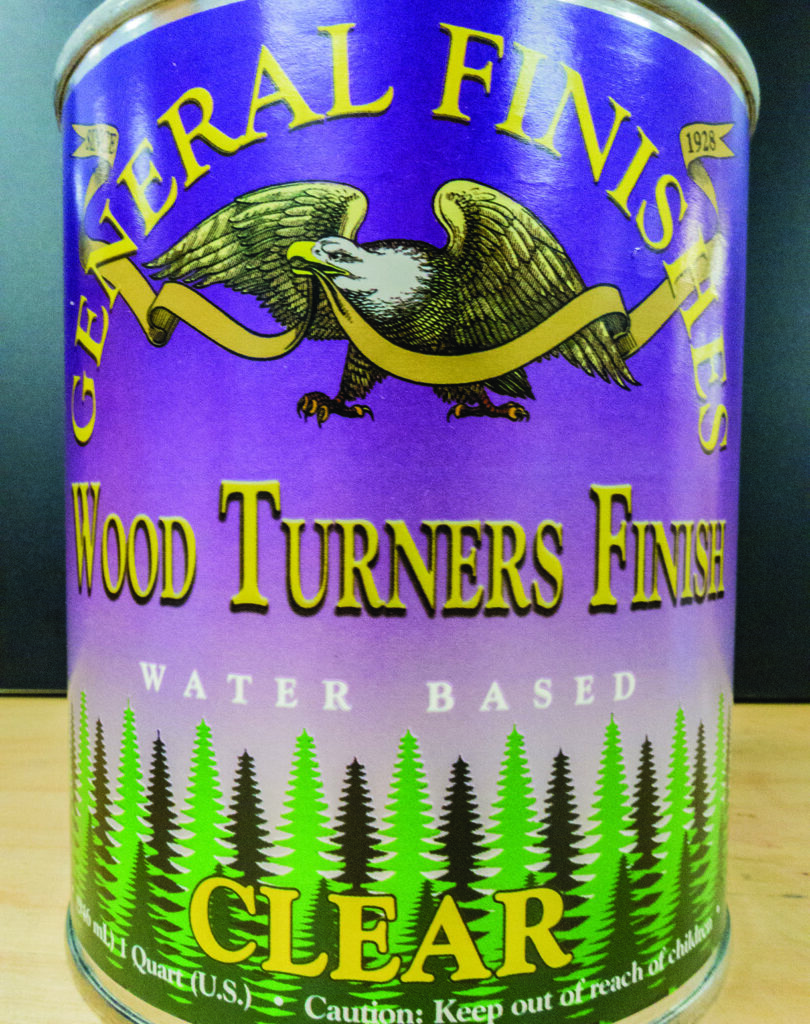
Coalescing finishes are much more user-friendly than the typical evaporative and reactive finishes. Their development and, in some localities, their mandatory usage, has been driven by the problems with the health hazards and waste streams of the traditional finishes. Coalescing finishes don’t contain the high percentages of volatile distillates or exotherm as the other finishes do. Regardless of the term ‘waterborne’, or the often-used, but I believe incorrectly, ‘water-based’, don’t become complacent. They need to be handled in the manner that is indicated on the safe-use panels on the container. Proper use and disposal are key to being healthy in the workshop and keeping the environment in order. Each country will have its own safety labels and legislation that products needs to comply with.
Don’t get lost in the terminology. You’ll hear water-based and waterborne. I don’t believe they are really interchangeable. Water-based implies that the formulation is based on water and that the water is somehow an active ingredient, i.e. the solvent. Not so with the finishes we are discussing here. The water is certainly there in large amounts, typically 50% of the volume, but it doesn’t play a part in the chemistry of the actual finish. The water is the carrier for the resin and the actual solvent, normally glycol ether. The process of creating the finish relies on the resin and the solvent, not the water. The water is only carrying everything along to keep things from becoming a mess before you get it applied where you want it. In addition to being the carrier, it does aid with the spreading of the actual components during application. The water evaporates and the solvent reacts with the resin. Rather than water-based, I think coalescing finishes are more correctly waterborne finishes.
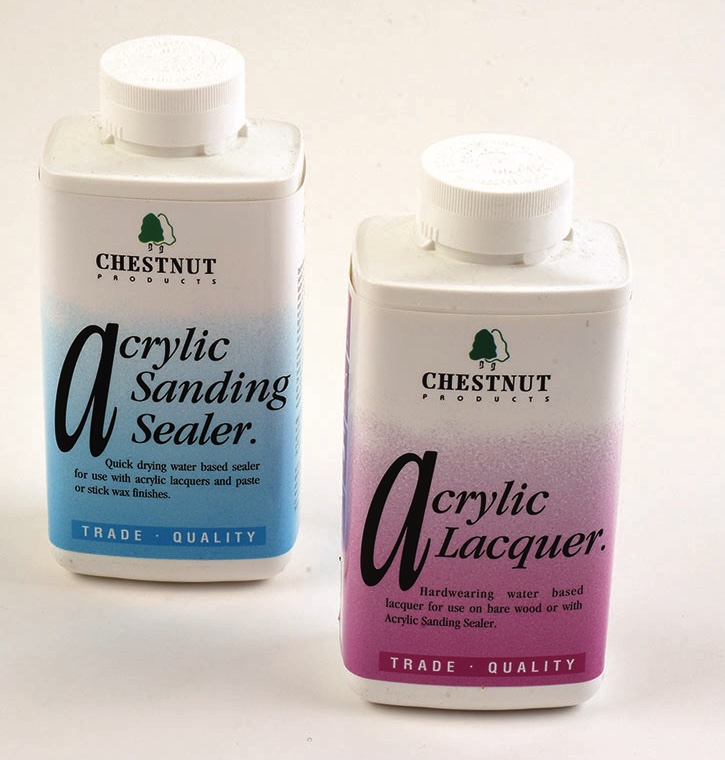
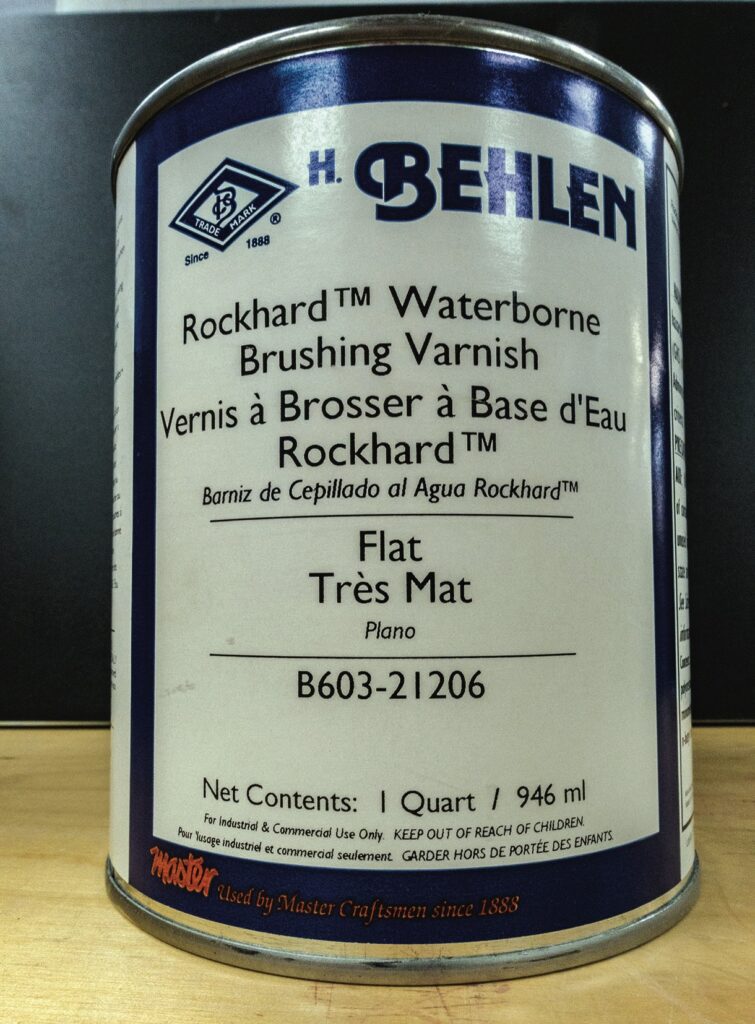
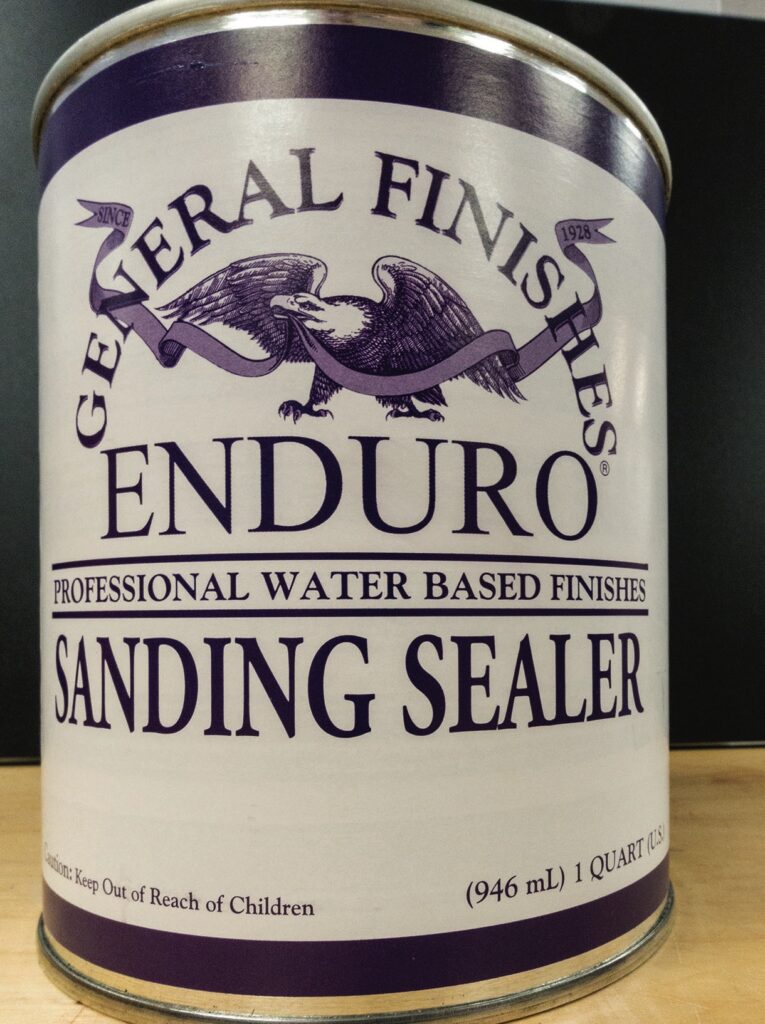
Why use coalescing finishes?
Apart from any local legal requirements that usually impact commercial operations exempting hobbiests and amateurs, the best reason for using coalescing finishes is the safety aspect. Nearly all of them are low odour and quick drying. Because of the nature of the curing, nearly all of the cured films have a matrix of miniscule gaps through which the finish can ‘breathe’. The best reasons I have found to use these waterborne products is the lack of odour and the simple clean-up process. Clean-up is easy, requiring only some soap and water.
Why not use coalescing finishes?
Regardless of what the manufacturers claim, I haven’t found a waterborne finish that is the same as their original formulation. That is not to say they do not work, it’s just that they are different. Polyurethanes, varnishes and lacquers that are now waterborne don’t give me the same results as the original. They try hard to accomplish it but I’ve not found them to exactly replicate the original. They may have their own benefits but I have always found the waterborne products to give me somewhat different results than the originals. You obviously need to test to be certain you’ll be happy with the results if you are moving from the solvent-based evaporative or reactive products to the coalescing replacement.
Applying coalescing finishes
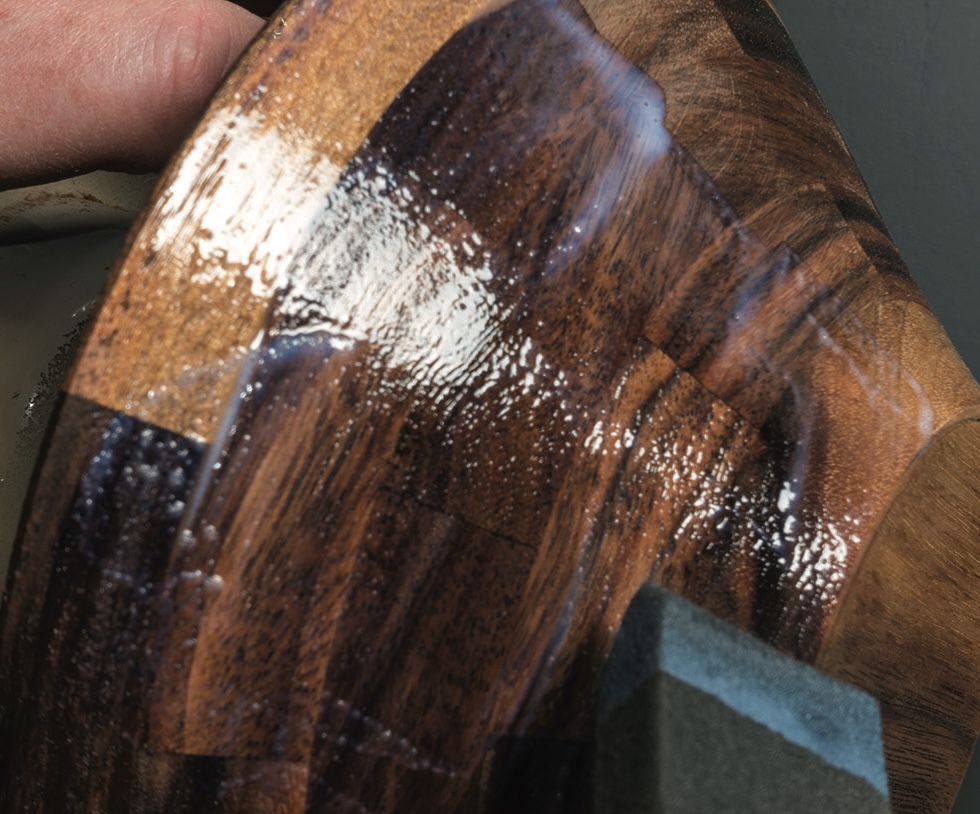
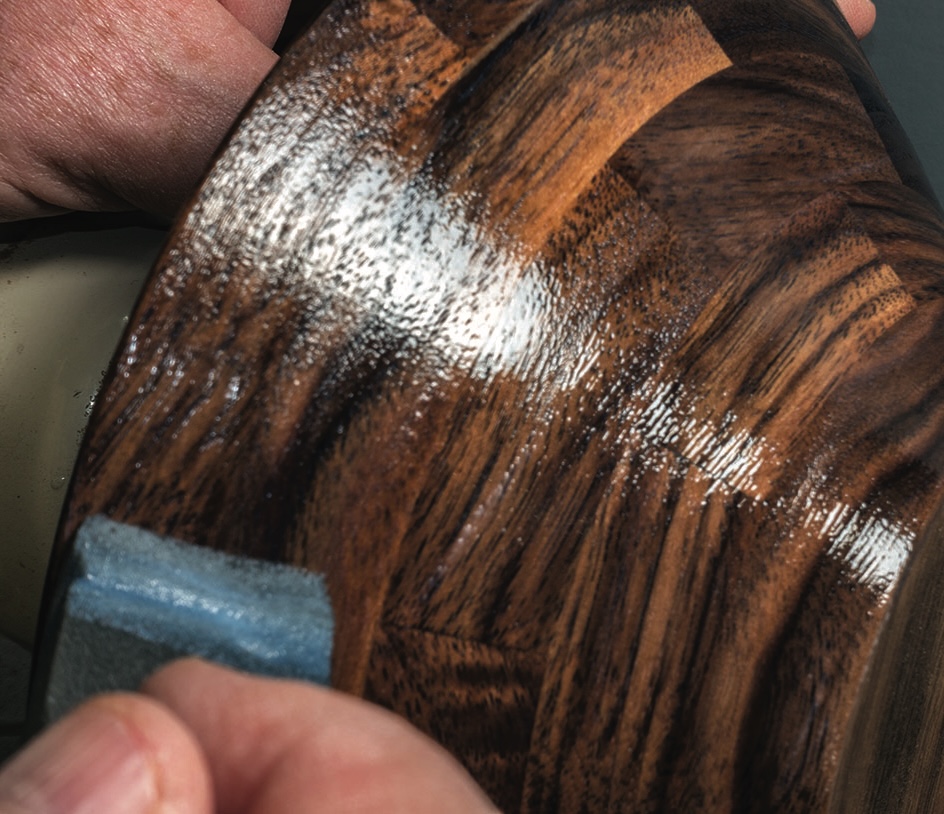
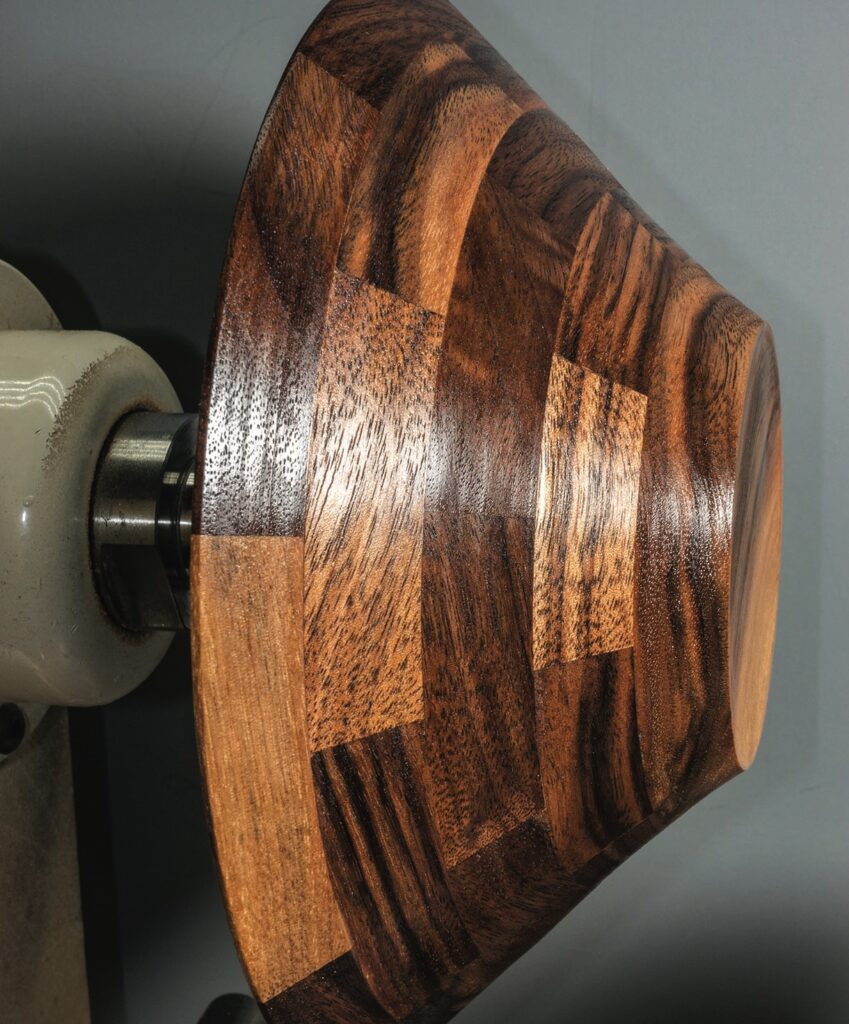
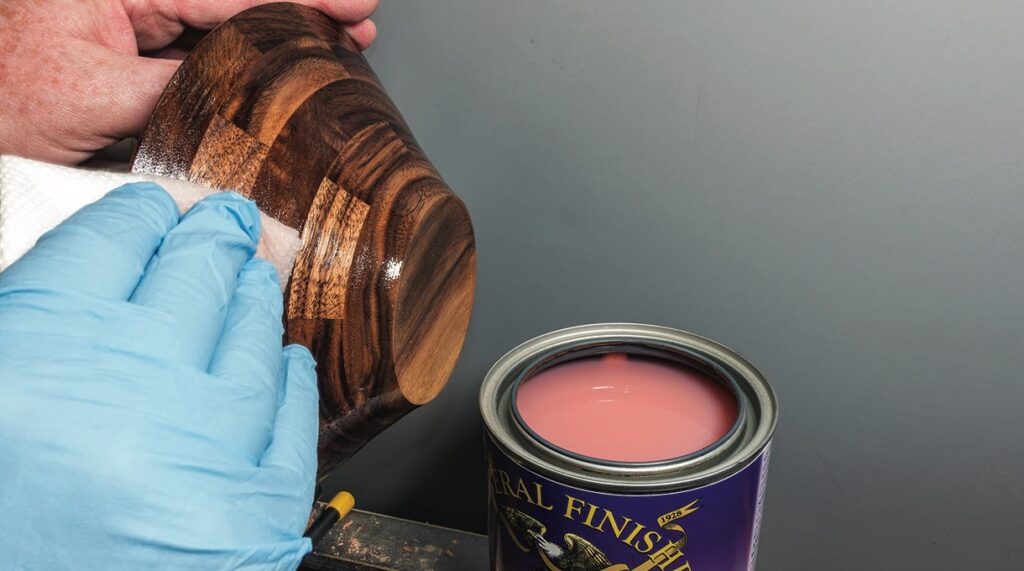
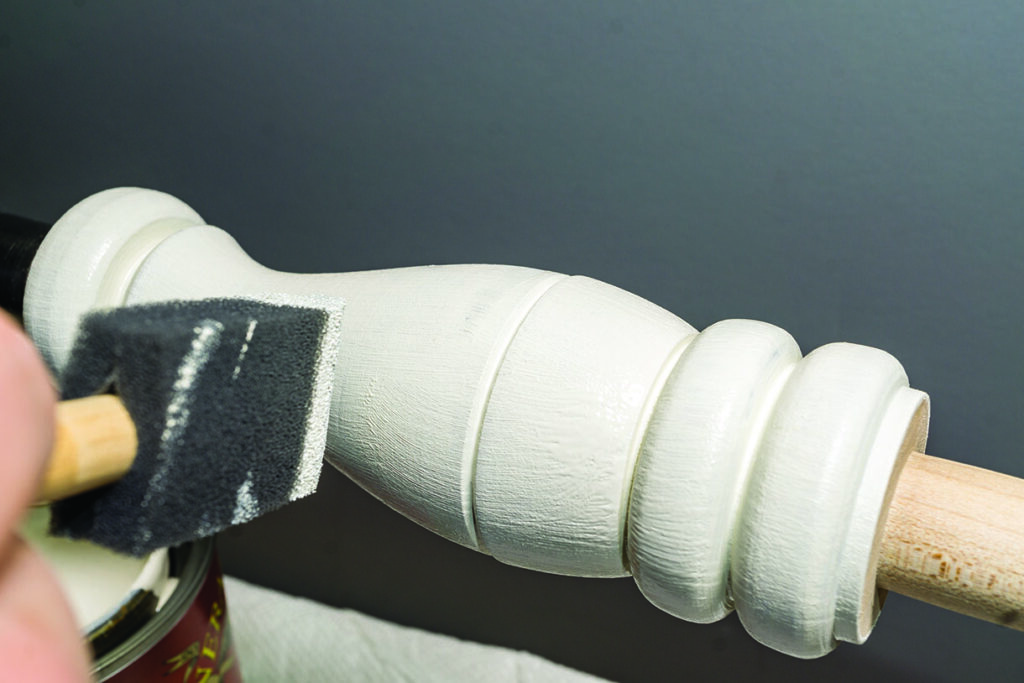
Prep as you would for any finish. Remember, the most important aspect of any finish is the prep work. We dwelt on it at the beginning of this series. It is that important. Poor prep almost guarantees a poor result. Some coalescing finishes instruct you to raise the grain before hand. Sand, wet, let dry well, and re-sand. Remember, these are waterborne. Knocking back the grain beforehand will help with the success of the finish. There are ways around the grain-raising process if you’d rather. Using the universal intermediate coat of shellac will work. An oil varnish stain will also seal the wood. If you’d rather do one of those, you can skip the grain-raising process and go right to finishing. I’m a huge fan of foam brushes and use them to apply finish while spinning the lathe by hand. Others may want to try to apply finish with the lathe running slowly if they can get their controller down far enough. My lathe will go all of the way to off via the speed control but I still favour rotating my workpiece by hand when it is mounted on the lathe. If you have a favourite brush other than the foam brush, go for it. Any quality brush will work. The beauty of using a fine quality brush is that you’ll clean it in soap and water before drying and storing for its next use. More good quality brushes are ruined by improper cleaning than anything else. Especially when the cleaning requires one of the various thinners. A clean cloth will work for applying the finish as well. No power on the lathe if using cloth please. Dampen your cloth with adequate finish and wipe on. Like painting a wall, keep a wetted edge and progress until you get complete coverage. A good wet coat is sufficient. Too much will cause you problems. Far better to have a thin coat that can be repeated many times than a thicker coat with bubbles, runs, or streaking. Of course all of this finishing can be done off the lathe if you wish.
Spraying the finish
These waterborne finishes can be applied quite nicely using an air system. A standard spray gun will work fine. An HVLP is actually ideal for applying waterborne finishes. I’m told that airless sprayers will also work well for applying waterborne finishes but I have no personal experience with that type of application. For furniture, a spraying system aids in the process with the ability to spray tops, bottoms and sides rather quickly. Most woodturners won’t have the need to cover that much surface or underneath and insides. Unless you have a lot of pieces that require finishing, getting the HVLP system out and running is probably far more effort than it is worth. On the plus side, it is very easy to clean up after shooting waterborne compared to shooting solvent-based finishes.
Subsequent coats
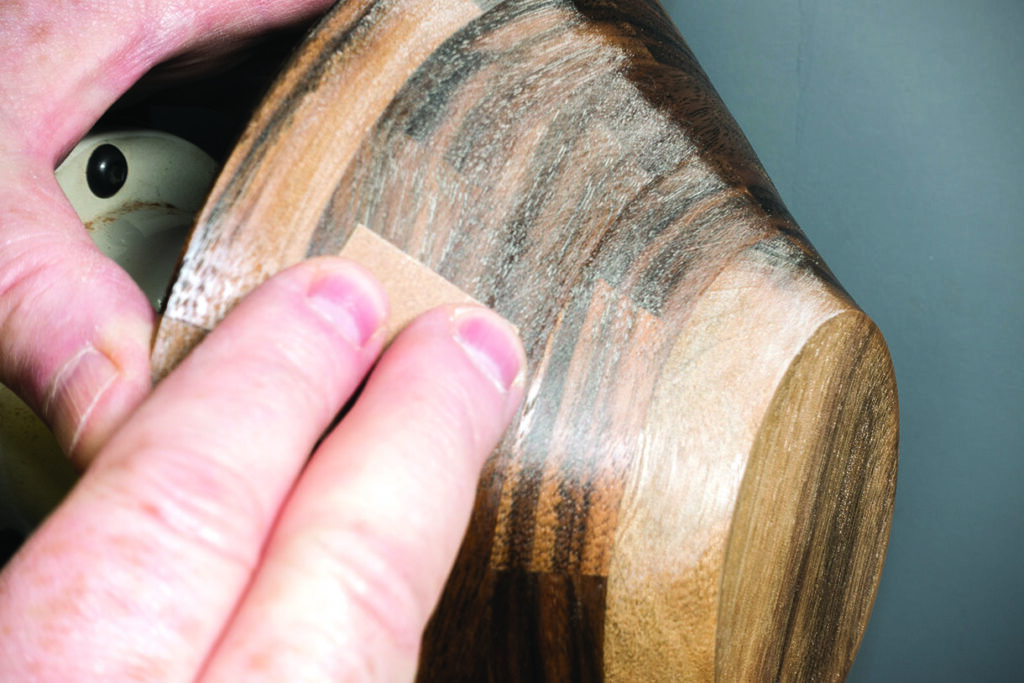
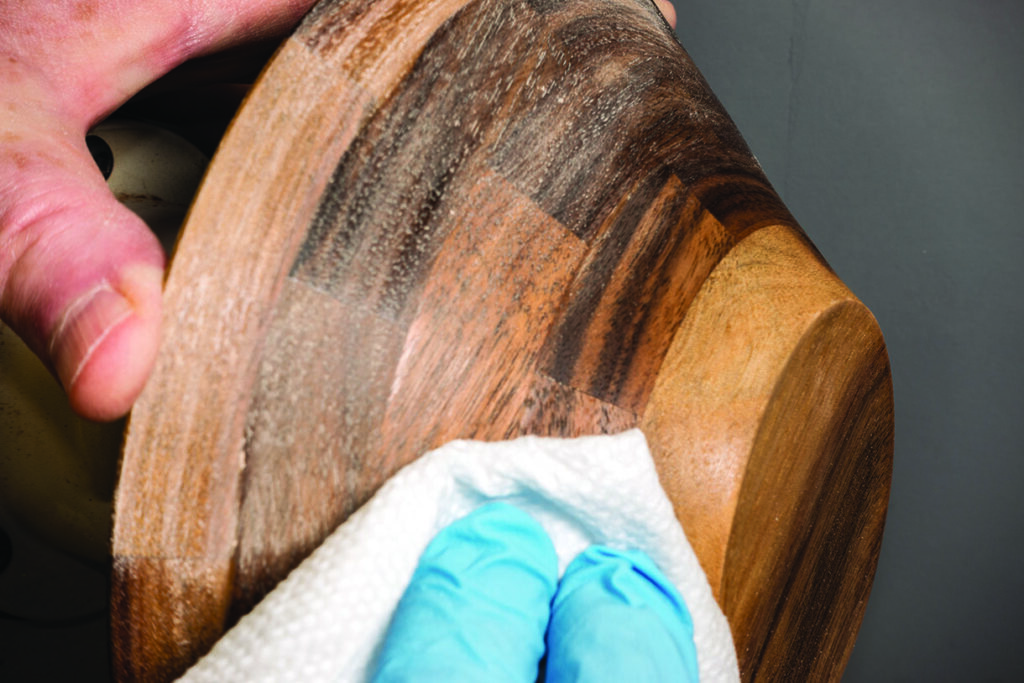
One of the advantages of coalescing finishes is high-solids content. It doesn’t take much to build up a very durable finish. The number of coats is up to you, but I find that three or four are usually more than enough. Unless your instructions tell you otherwise, let each coat dry well. Once dry, I like to lightly scuff between coats. You can use 320 grit, dry or wet with water as a lube – not slobbering wet, just sufficient water to lubricate the surface and help when removing the swarf. After you sand, be certain to remove any of the debris or you’ll embed it into the next coat. You can use a well-wetted rag but, of course, not under power if it is cloth. I typically use a paper towel wetted with denatured alcohol. Once cleaned, you can apply your next coat. The scuffing will help this coat adhere to the coat beneath. Waterborne finishes don’t ‘cut into’ or chemically dissolve the surface of the coats beneath in the same way as shellacs and lacquers will. One of the tricks I’ve learned from some of the more accomplished with waterborne finishes is to make your last coats very thin. This is particularly important if you are going to rub out the finish later on. We’ll cover rubbing out and buffing later in the series.
Colouring
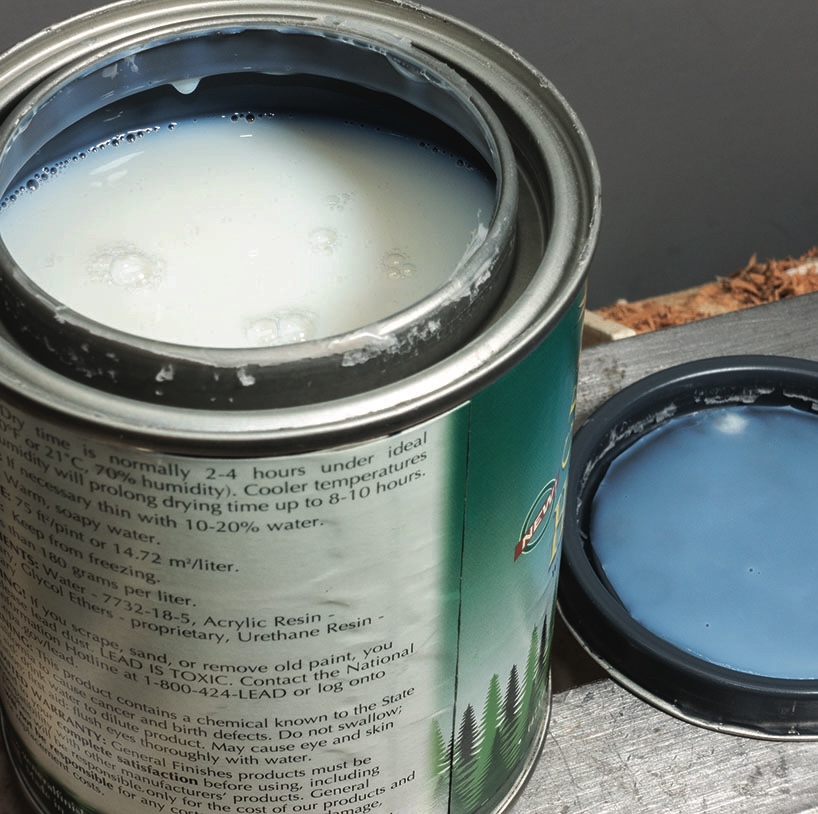
One of the common complaints I’ve heard about waterborne finishes is that they sometimes have a blue tint to them. I haven’t experienced it but some claim it is a downside to waterborne finishes. That, along with the fact they sometimes make the wood seem bland and washed out, makes you want to do some colouring. One method you can use with waterborne finishes is to colour before and between coats. You can apply any water-based stain you wish between coats. You can choose the colour based on the wood you are using, the finish, and your final desired colour. One of the beauties of this is that you can dilute the colour as needed to get any intensity you wish. Be certain to let the stain thoroughly dry before you apply any finish coat over the top. You’ll be able to repeat as needed between coats if you require more to achieve your desired results. Another method is to add dye to the finish. Your colourant should be mixed prior to adding it to the finish. Get your dye powder mixed with some water to ensure that it is well dissolved. Use that mixture to colour your finish. Remember to add a little bit of colour and check things. If you put in too much colour, you can’t lessen it without diluting with more finish. The only tricky part is to colour sufficient finish to complete the project. You really will have a difficult time trying to match things should you run out. Err on the side of preparing a bit too much finish for the project so you don’t run into that problem.
Problems
Coalescing finishes sometimes can be tough to repair if the need arises. They are also difficult to strip once they’ve cured since they have no stripper or thinner available. Once they are cured, they are there for good. If you want them off, you’ll need to sand them off. You can do some repairs if needed by sanding back enough to remove the problem and provide some tooth for the new coat(s). A beauty of coalescing finishes is that they are very scratch resistant. Did you ever wonder why they commonly use these finishes for wood floors? Adhesion can be a problem if you wait too long between coats. That usually isn’t a problem for turners. They don’t tend to wait days between coats of finish. If you do wait long, be certain to go through the scuffing of the surface and thorough cleaning before applying your next coat. I find scuffing is a good practice regardless of the time between coats. For the artistic sorts who may have done some dyeing or colouring of any kind prior to the finish, you’ll do well to seal it. Waterborne finishes can have a tendency to cause problems with anything already in the wood. Shellac works wonders as an intermediary coat. Whenever you are in doubt, you can never hurt yourself with a coat of shellac. It will bond to everything I know of and everything else will bond to it. If you need a refresher on buying, mixing, or using shellac, you can find plenty of information in Woodturning 285 – Fast and easy finishes. If you run into curing problems, it is most likely the weather. Much like lacquer is fussy about the temperature and humidity, so are waterborne finishes. Because you are counting on the water carrier to evaporate, the speed at which it does so will impact the curing of your waterborne finish. Too hot or too cold along with too humid or too dry will impact the rate of curing. All of the manufacturers will provide best results suggestions, including temperature and humidity. If both are within reason, you likely won’t have any problems. The extremes will be the issues. If the weather isn’t conducive to applying your finish, wait for a different day with more appropriate conditions.
Side note
This next comment doesn’t fit in the problems paragraph because it is a benefit, although not one really touted by the manufacturers. My waterborne finishes have a far greater shelf life when compared to the traditional solvent-based finishes. Over the years, I have never had a waterborne finish ‘go bad’, skin over, or change viscosity to become unusable as has happened with many of my other finishes. I’m not certain why this has occurred but I am very happy about it. I’m guessing it is the lack of volatility of the water compared to distillates. Because my waterborne finishes tend to sit much longer than others, it is pleasing to open them and have them be 100% serviceable. The amount of traditional finish that has become unusable is not only a cost but an inconvenience. When you go to open it for use and find it ready for the trash, you need to replace it or change your finishing plans. Both are an inconvenience.
Paints
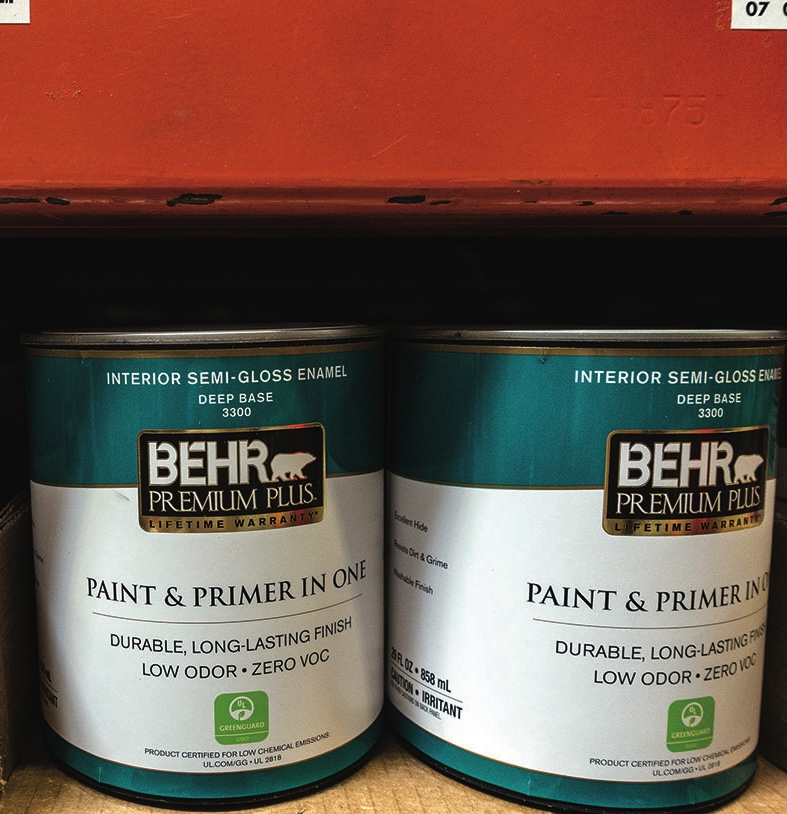
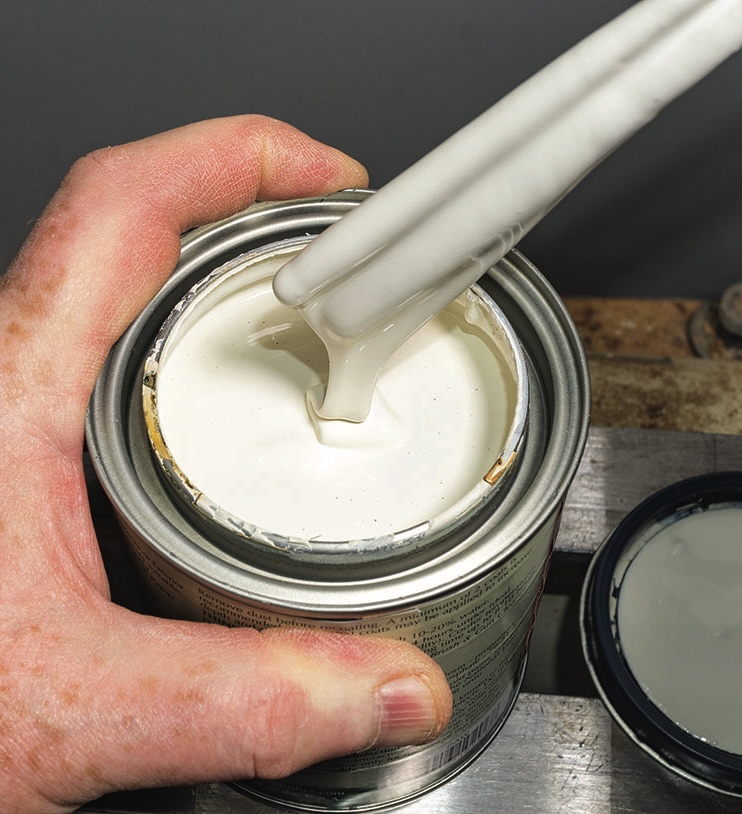
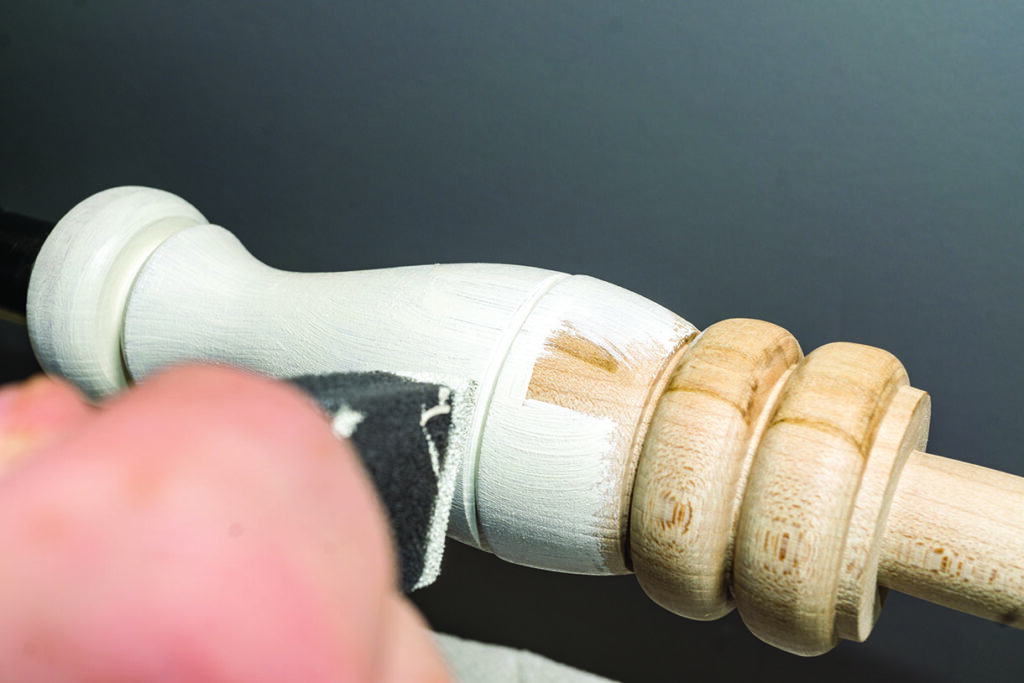
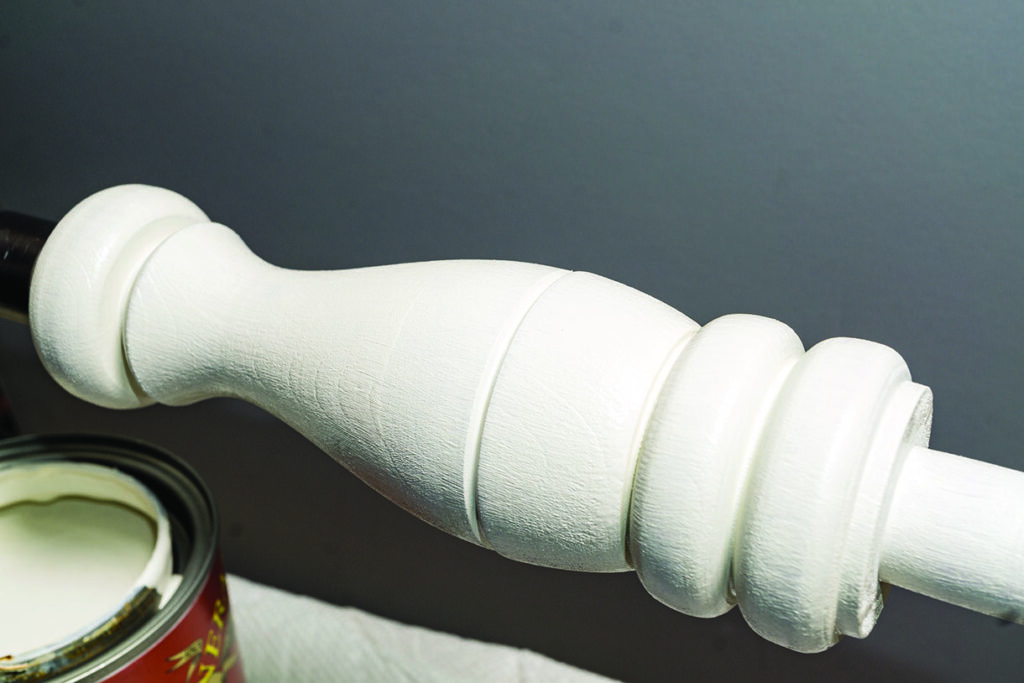
Paints of various kinds are now being used by turners and, given the pace of developments, we may see an ever-increasing use of them. The debate of whether to colour or not and the issues that some finishes may cover the wood will continue, but many turners are using paints and, since they fit in this category of finishes, they need mentioning.
colour by mixing products
Conclusions
There is truly no free lunch. For finishes, it is the same. Each time you select a finish, you are making a conscious decision why you want that particular finish. You’ve weighed the good and the bad to decide. Waterborne or coalescing finishes are exactly the same. Water clean-up is wonderful but raising the grain is a pain. They are better environmentally and have less noxious odours but do not exactly replicate the results of the traditional version. Regardless of what you decide for each project, you’ll likely weigh your familiarity with that product, the difficulty using it, and the expected result.
They are continually developing and are vastly improved since their inception in the 1950s, so waterborne finishes do have a place in the finishing world. If anything, they will become a larger and larger part of our finishing selection. Continuing efforts to reduce VOCs (volatile organic compounds) and increase awareness of health and environmental considerations will continue to drive the finishing manufacturers to create and market additional waterborne products. Personally, I tend to favour the results I get from traditional finishes over the waterborne finishes. Waterborne finishes work well and I do use them. I have a couple of favourites but waterborne isn’t usually my go-to choice at the moment. You’ll need to make your own decision where they fit in your finishing selection. They certainly work and there are many products across many brands to choose from.
Top tips
• Cleanliness. Sand and wipe clean. Fingerprints, grease and dirt will cause problems.
• Stir the product well. Then stir more. The solids will have settled to the bottom. Uniformity requires thorough mixing.
• Apply a liberal coat and work keeping a wetted edge forward.
• When adding colour or unsure about absorption, test in an unseen area.
• When working in high temperatures or low humidity, check manufacturers’ instructions about dilution.
• Under normal conditions (70° and 70% relative humidity), two hours is sufficient between coats.
• Lower temps and/or higher humidity require additional time.
• Depending on species, you may need pre-sealing. Test in an unseen area.
• If applying over another stain or sealer, especially oil-based, be certain it is completely cured.
• When applying paint, you can leave a slight bit more tooth to the piece for better adhesion.