The Woodworkers Institute

We bring you the very best of woodworking!

“Make it with us”

Friendship cup

Andrea Zanini shows how to make an ancient Italian drinking vessel
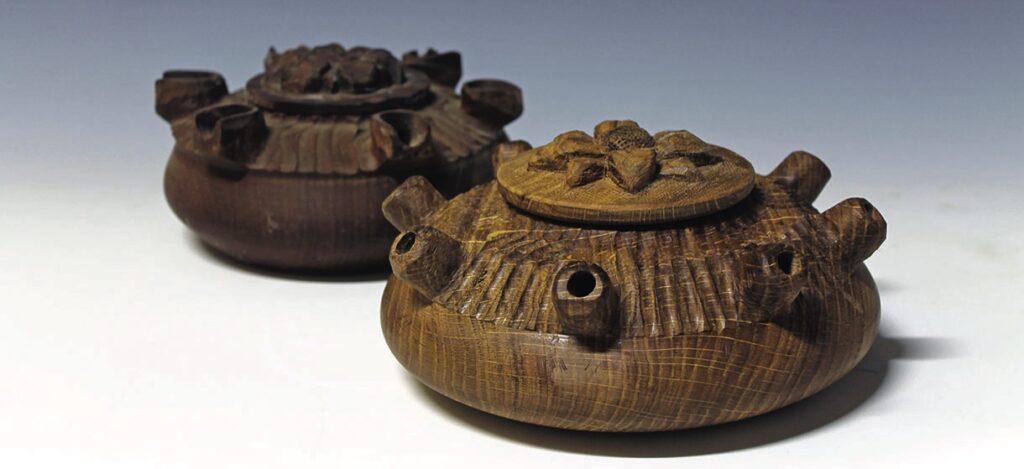
Two wooden carved pots with decorative lids.

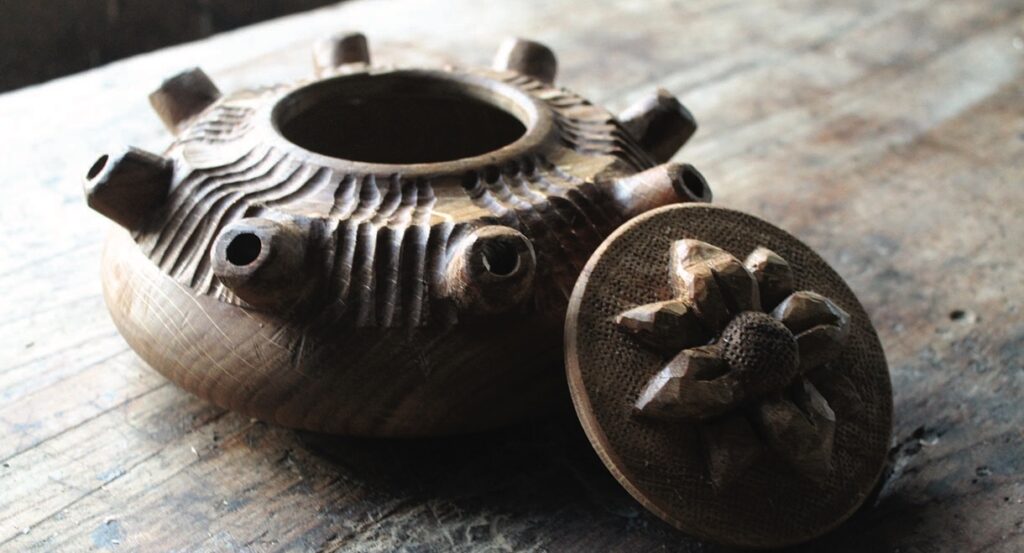
The latest in ancient Italian turning items I’ve been experimenting with is the friendship cup, which comes from the Aosta Valley – the same region as the grolla which was featured in Woodturning 303. In ancient times it was just a plain and simple lidded wood bowl – until richer and more adorned silver grollas started to appear. The silver grollas were initially reserved for high-society meetings, so common people needed a similar symbol to use during gatherings or simple family reunions. That’s why friendship cups started to appear. In order to avoid bad luck, the first person had to pick up the cup, take a drink from one spout then pass it on to the next person in line, who would drink from the next spout, and so on without putting it back on the table first. This way of drinking in turn is called ‘a la ronde’ (in circle). Even today in the Aosta Valley area the friendship cup is still widely used during big dinners. You can see crowds of people using it to drink scalding-hot wine or a very strong and flavoured coffee blend called caffè alla valdostana (Aosta coffee) comprising Italian espresso, grappa and sugar.

Friendship cups were traditionally made from a wide variety of woods: mahogany (Swietenia spp.), maple (Acer spp.) and walnut (Junglans spp.) were the traditional ones, but I chose to use a very nice piece of French oak (Quercus robur). This item does feature some carving so pick a timber that can be carved easily and if you want ultra-fine detail, use a close-grained timber rather than a more open one like the oak used in this project.

Caffè alla valdostana (Aosta coffee)

To make Aosta coffee you need to brew a strong coffee. Traditionally this is done in a moka, which is a two-chambered coffee pot that sits on a stove. While the coffee is brewing, heat a mixture of grappa and herb liquor, sugar, cinnamon, cloves, lemon and orange zest in a bain-marie. When the coffee is ready, pour everything in the cup, let it soak for a couple of minutes then, with a lighter, flame the sugar. As soon as the superficial layer is caramelised cover it with the lid to extinguish the flame. The coffee is ready to be served.

Tools and materials

• PPE & RPE
• Good extraction
• Bowl gouge
• Parting tool
• Jacobs chuck with 12mm drill bit
• Hollowing tool
• Calliper
• 10mm woodworking chisel
• Carving chisels (optional)
• Puncheon 
• Rasp and file
• A drill with a 10mm bit
• Abrasives down to 240 grit 
• Food-safe finishing oil

Drawing
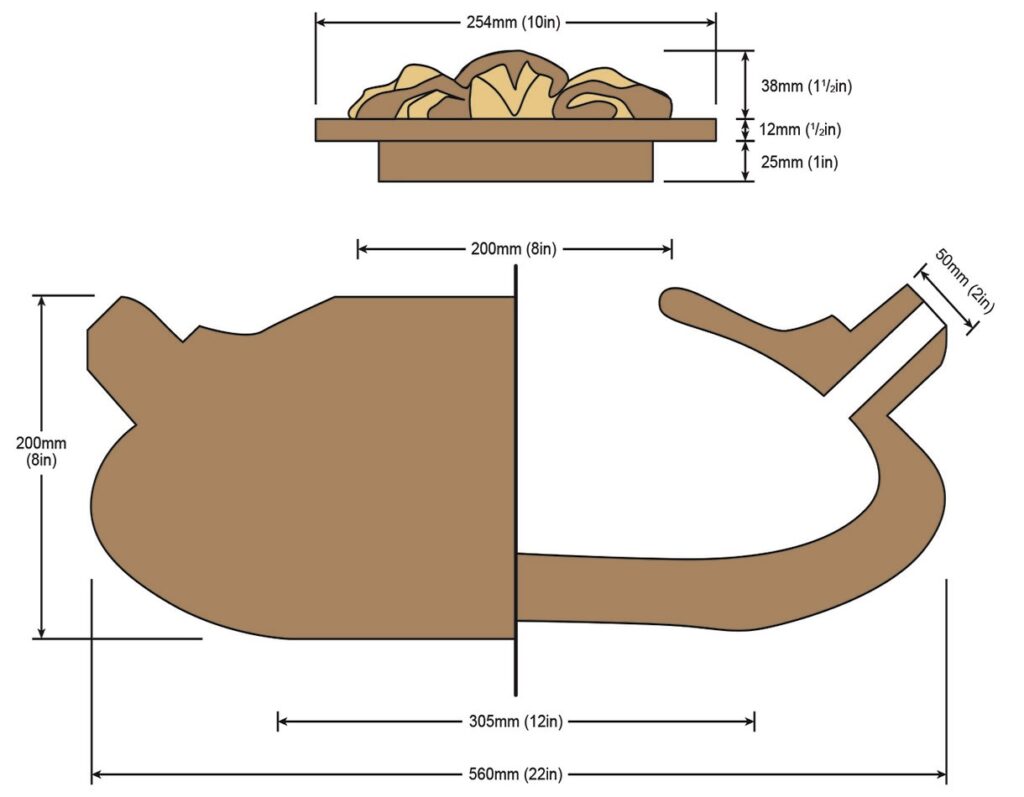
Stylised wooden elephant clock side view dimensions.
Drawing circle on wood with compass tool.
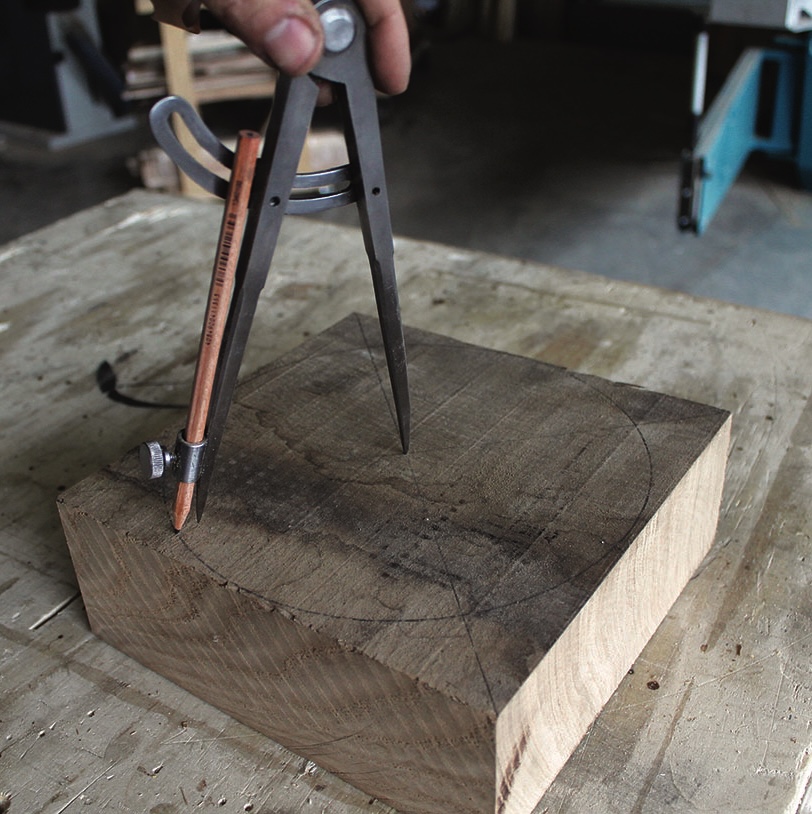
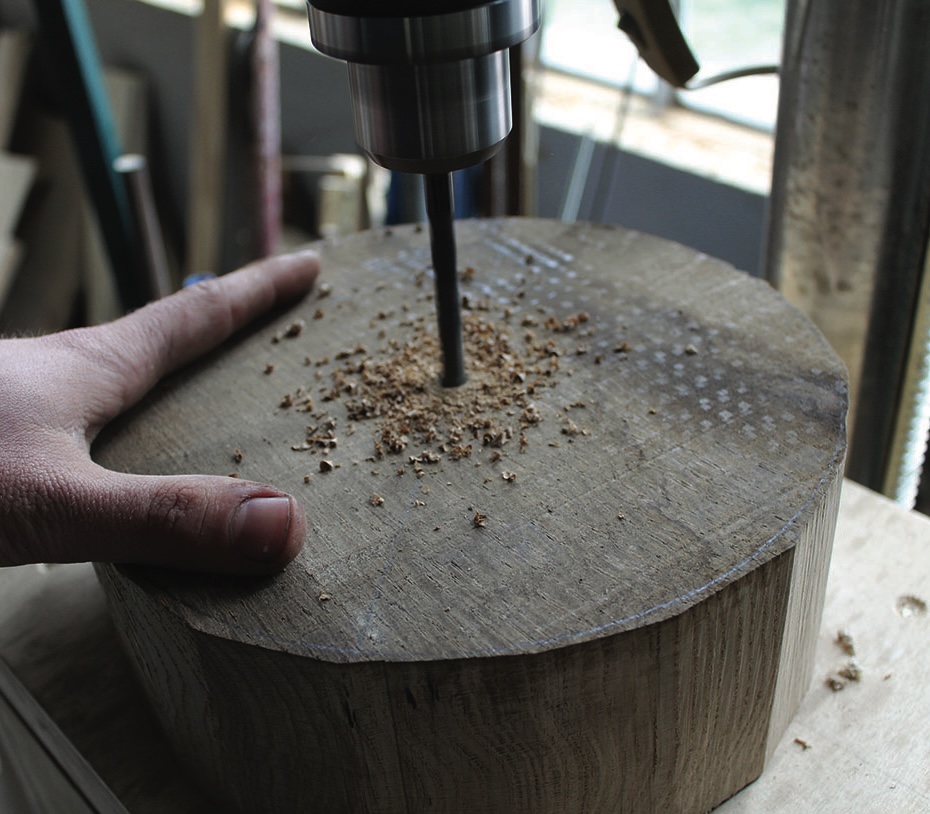
1a. Mark the centre and, using a compass, draw a circle. Cut off the waste on the bandsaw and drill a hole in the centre that will fit a screw chuck. Be as precise as you can when cutting and drilling in order to have as little waste as possible
Hand drilling a hole in wooden block.
1b. Once you have drilled the hole take off the corner of the hole with a cutter or a knife. This will prevent the shaving that will eventually be created while screwing the blank on the screw chuck from getting stuck between the wood and the chuck itself, causing an off-centre effect
Wood turning on a lathe in workshop.
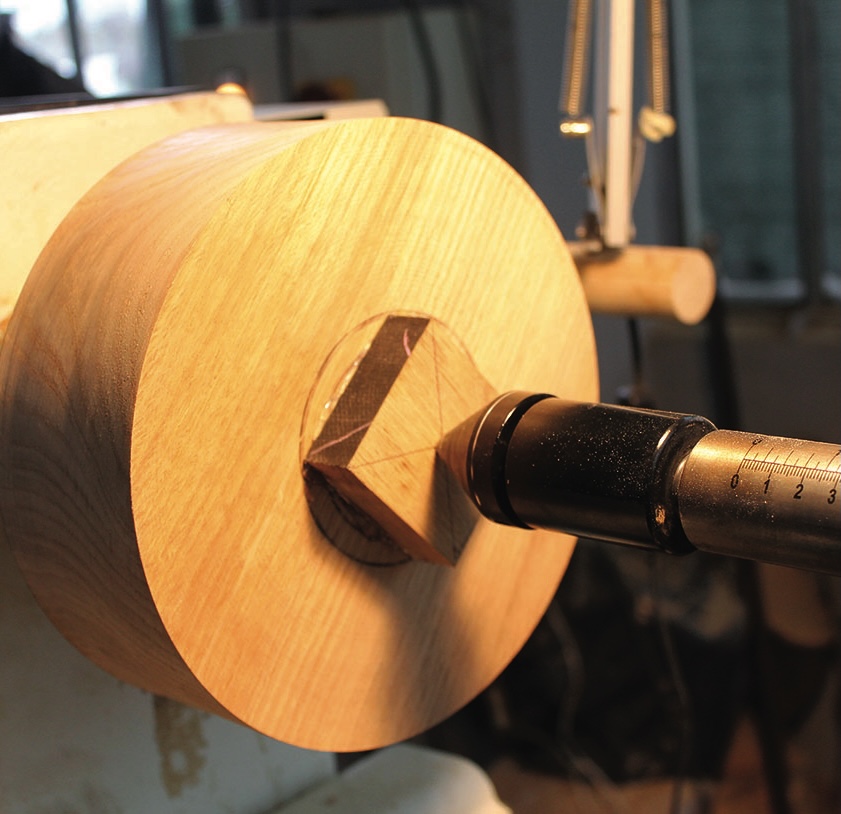
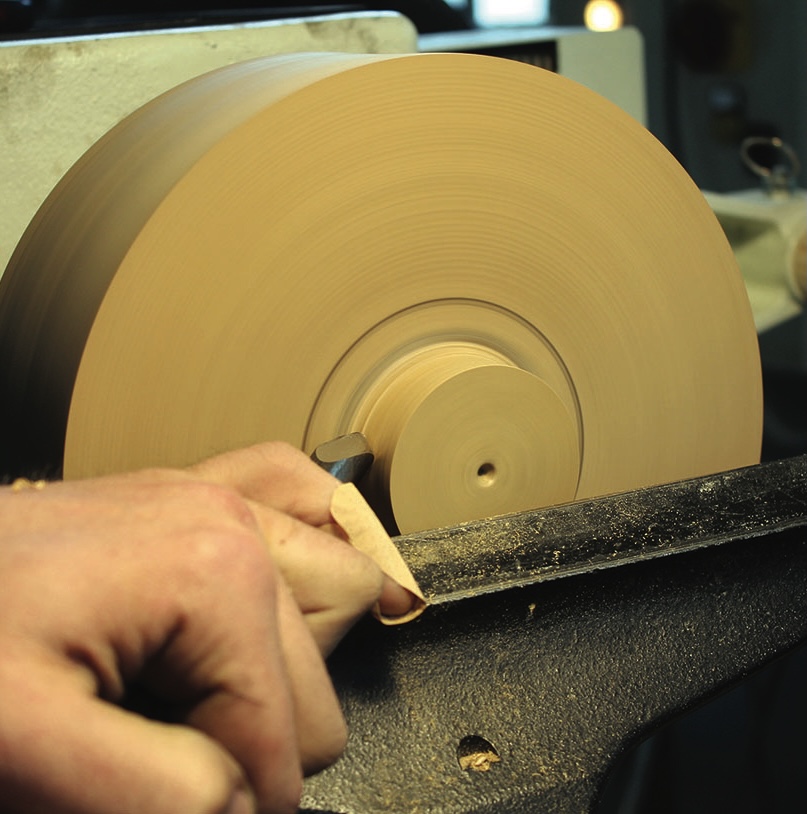
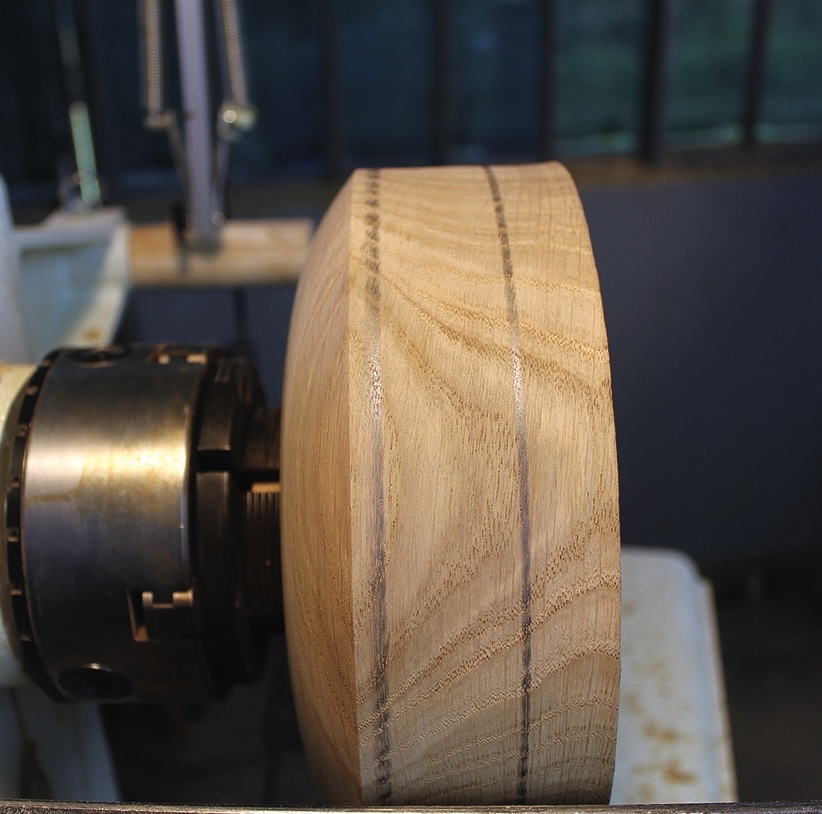
2a. Using a bowl gouge, turn the edge of the blank to a smooth square to the face surface and true up the face of the piece. If the wood is thick enough, cut a tenon to suit your chuck. Alternatively, create a glue chuck tenon. Take a piece of hardwood – oak in this case – and on a flat face place some adhesive. I used hot-melt glue but good quality PVA works well too. Allow it to set and turn the piece to the right size to suit your chuck jaws
Woodturning with lathe and chisel in workshop.
2b. Never make any spigot too small width-wise or you may put too much pressure on too small an area
Wood bowl in progress on lathe machine.
3. This project doesn’t have many measurements to keep track of but it is good practice to mark the main shapes of the body in order to do things right
Person using lathe to shape wooden object.
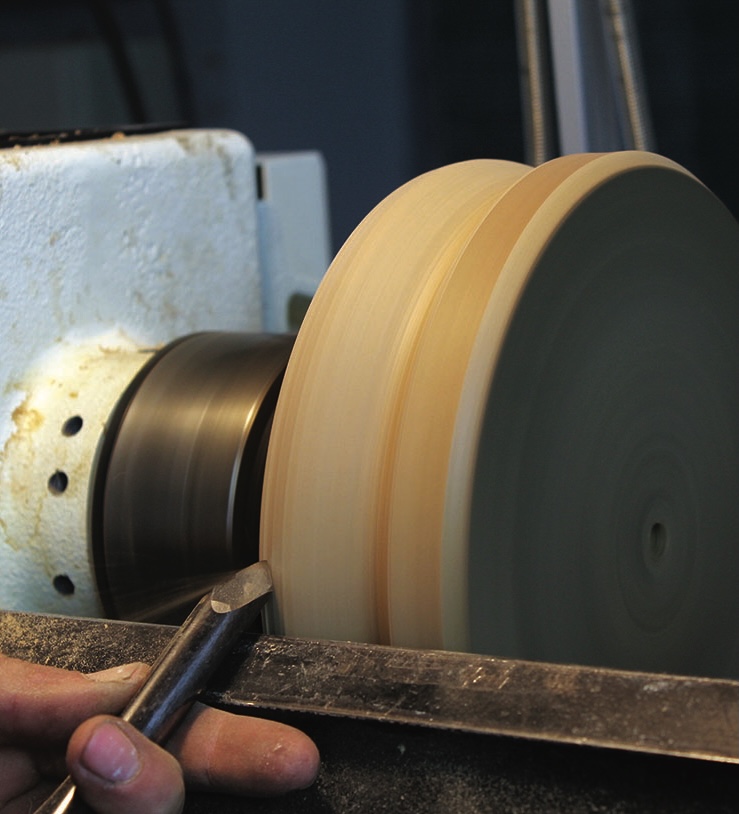
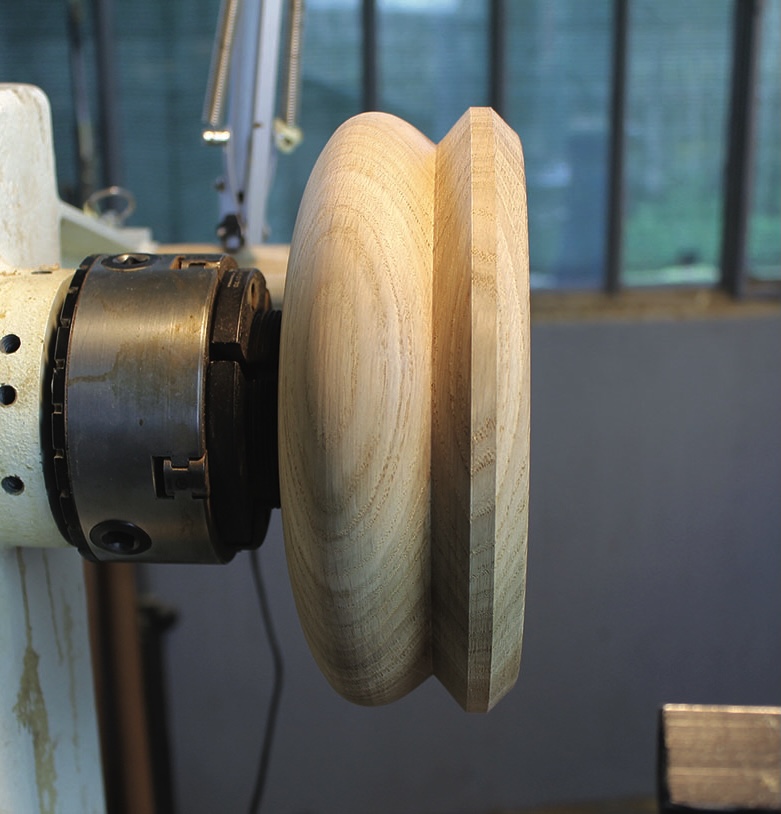
4. Take your time and shape the body of the cup. The angle that connects the ring where the spouts will be carved from and the main curve of the body is critical. Don’t make it too steep even though it is better to have it a little bit steep rather than too flat
Wooden bowl on lathe in workshop.
5. The outside is to be quite simple, with the outer line shaped like the number 3. Try not to make the ‘belly’ too pointy because it would then be difficult to obtain an even wall thickness during the hollowing process
Woodturning tool shaping spinning wooden bowl.
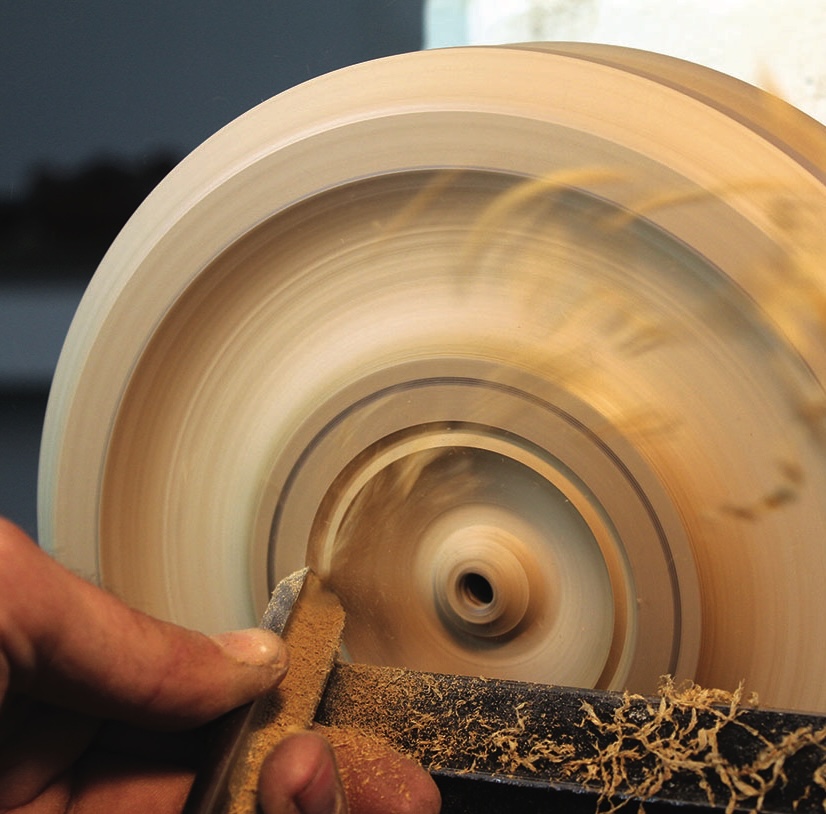
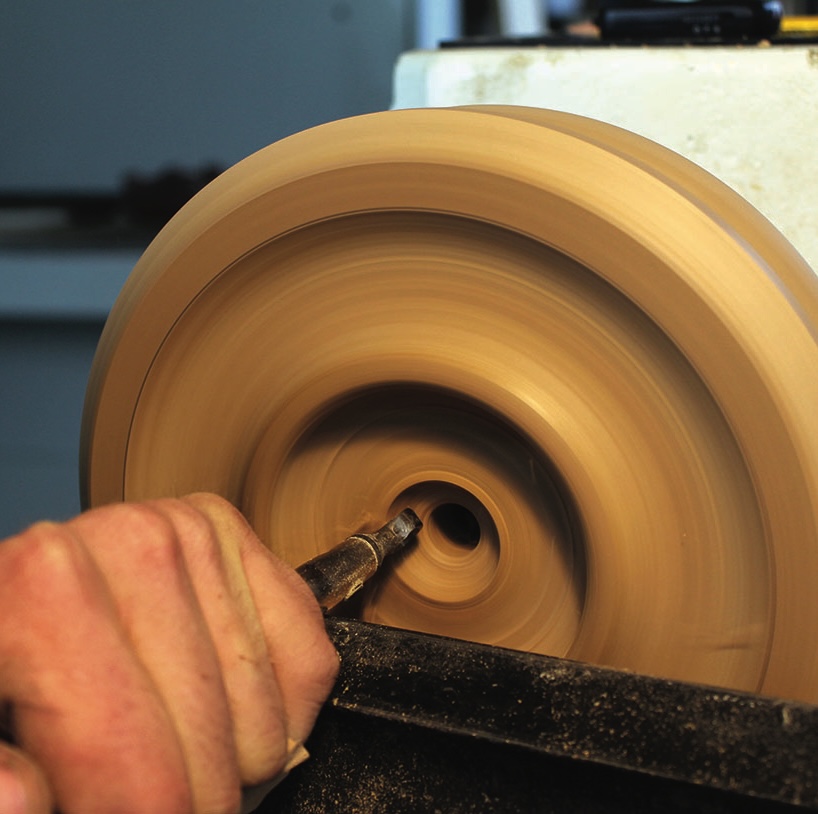
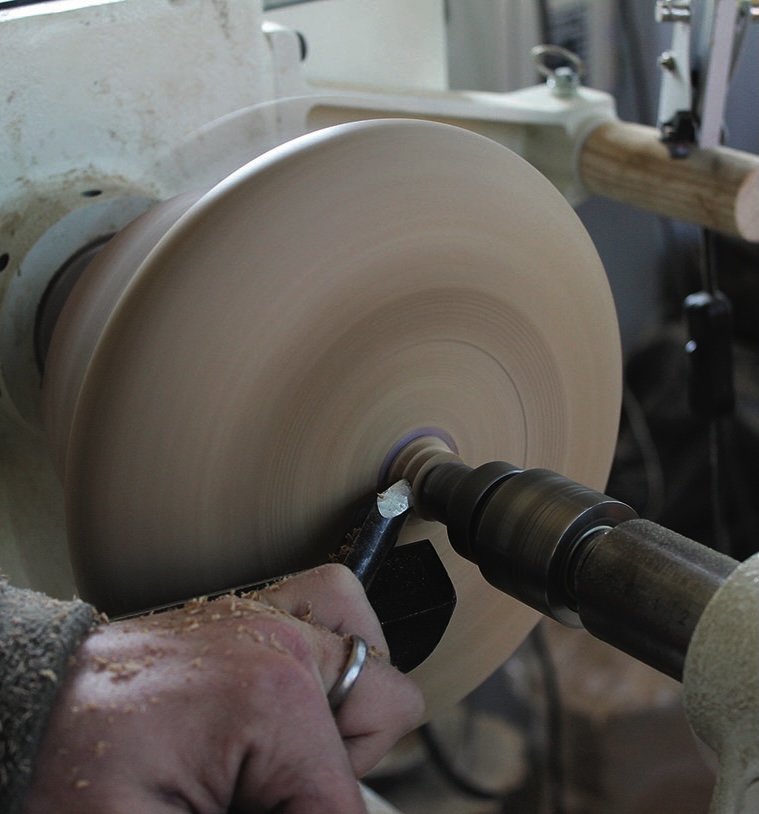
6. Flatten the top side and make a shallow U-shaped ring. This will help when carving the spouts later. Start turning the opening with a smaller bowl gouge in order to establish the rim. Avoid sharp edges and make a rounded lip
Person woodturning a wooden bowl on lathe machine.
7. Drill a 12mm pilot hole using the tailstock and a Jacobs chuck then, with a hollowing tool of your choice, start hollowing out the cup. Initially hollow a cylindrical portion establishing the bottom and making space for the undercut rim
Woodturning tool shaping wooden bowl interior
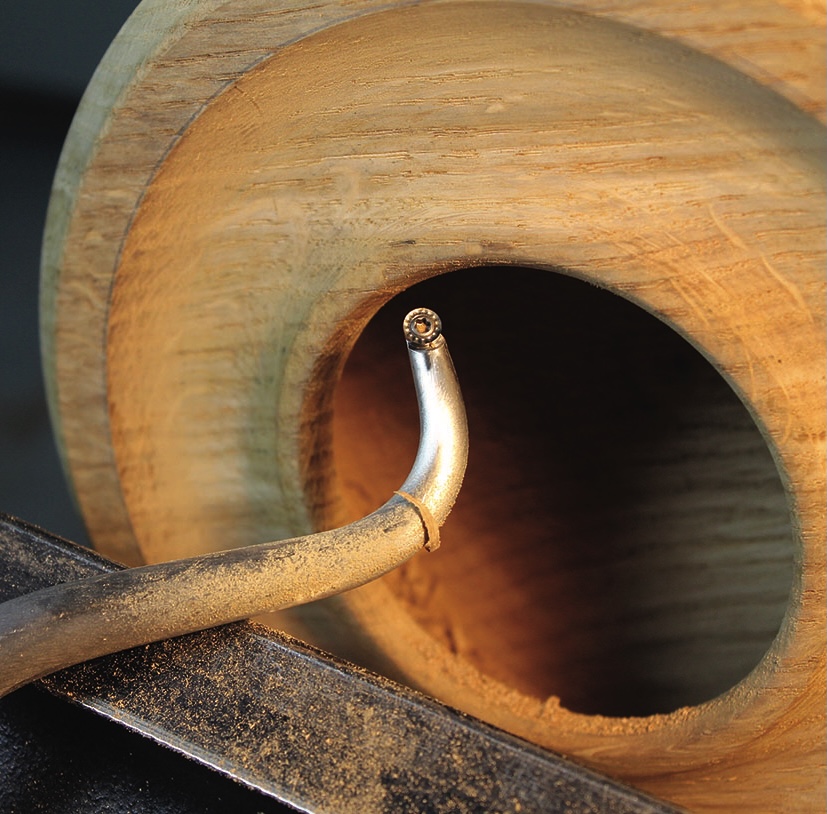
8. Switch to a swan-neck or articulated-head hollowing tool. I use the tool shown here. Carefully hollow the inside with the tip laid horizontal or trailing down when cutting. Check the wall thickness constantly – you don’t want to turn the wall too thin, especially if you intend to actually pour liquid in it. Make the wall too thin and any liquid may seep through the end grain
Person drilling into wooden object on lathe machine.
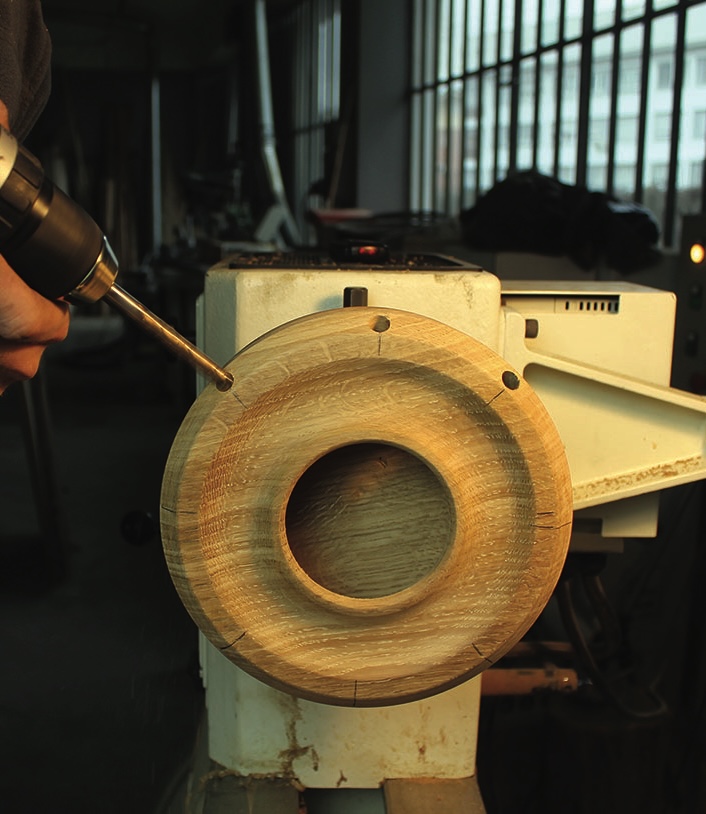
9. When the hollowing process is finished, use an indexing jig to trace four, six or eight pencil marks on the raised outer band. Then, using a 10mm drill bit, drill one hole in the centre of each of the lines marked on the outer flat section of the raised band. These holes will be the spouts
Cutting woodwork disc on lathe with saw
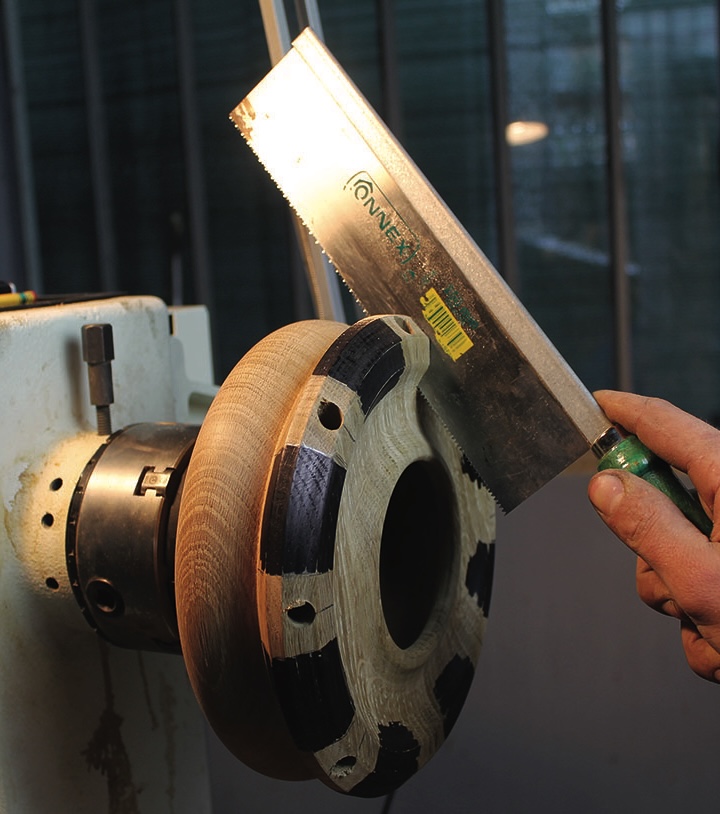
10. Use a permanent marker to clearly mark the location of each spout. I make the waste section all black and leave the areas to be carved into spouts natural wood. This helps minimise the risk of making a huge mistake by cutting off the wrong area – an error so very easy to make. To help speed up the carving process, use a handsaw to cut the outlines of the spout sections
Woodturning with hand tool on lathe
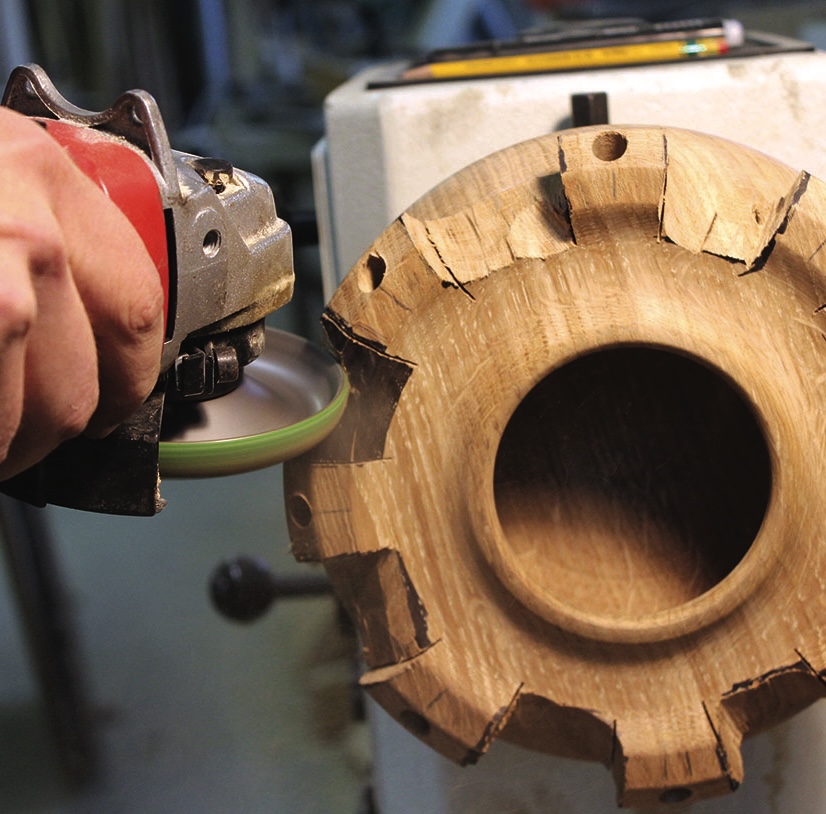
11. At this point you have a couple of options as to how to carve or shape the spouts. You could go on with hand tools only, or use some power tools to speed up the process. I used an angle grinder with a power carving disc to quickly get rid of most of the material between each spout. I used the spindle lock on the lathe to keep the work stationary so I could use the angle grinder with two hands. You can use smaller rotary carving units or even the 50mm angle grinders with smaller cutting discs if you wish to work with one hand. The rotary power carving route means there is a lot of dust and debris so extraction and face protection are musts
Hand crafting intricate wooden sculpture piece.
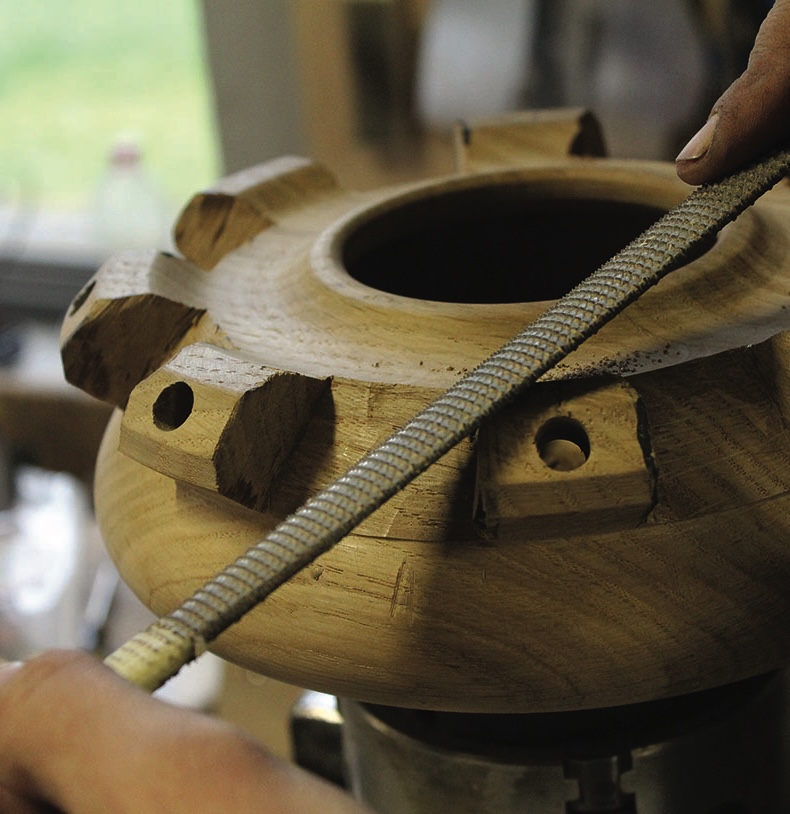
12. Shaping of the spouts can be done with a flat rasp and a flat file, rotary carving units or hand tools. Whatever method you use, be careful to cut with the grain accurately in order to avoid major chips or shards of wood breaking off. It might seem a bit tedious but you won’t have to remove too much material and you can help yourself along by using a sharp chisel to ease away bigger portions of wood prior to using a rasp or similar
Hand sanding wooden object with sandpaper
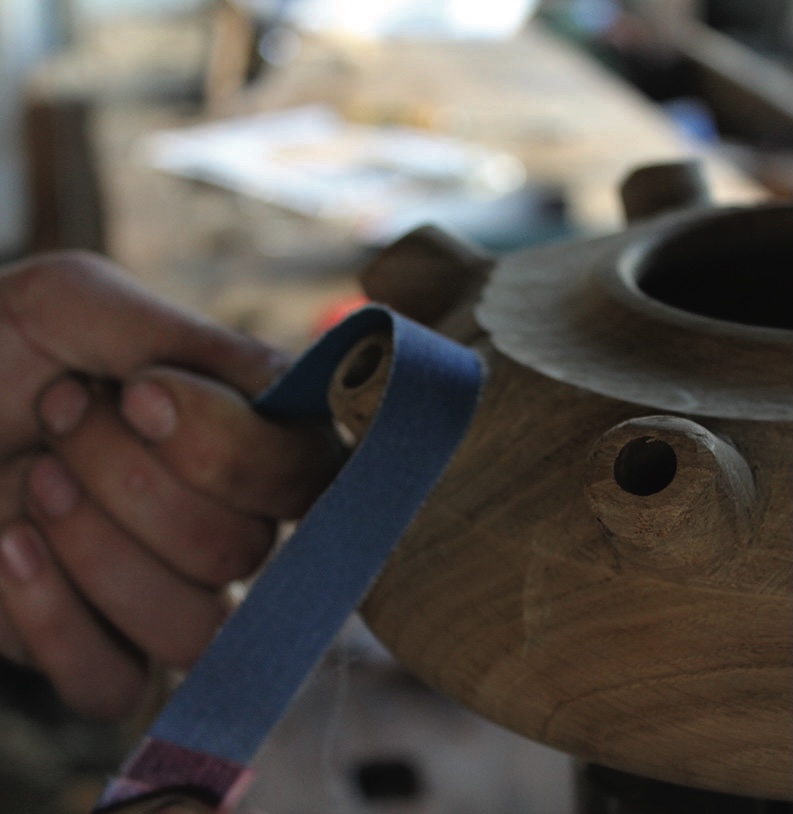
13. When you’re done with shaping the spouts, it’s time for some sanding. The best way is to take a strip of cloth-backed sandpaper and sand each spout as shown in the picture
Close-up of wood carving with chisel.
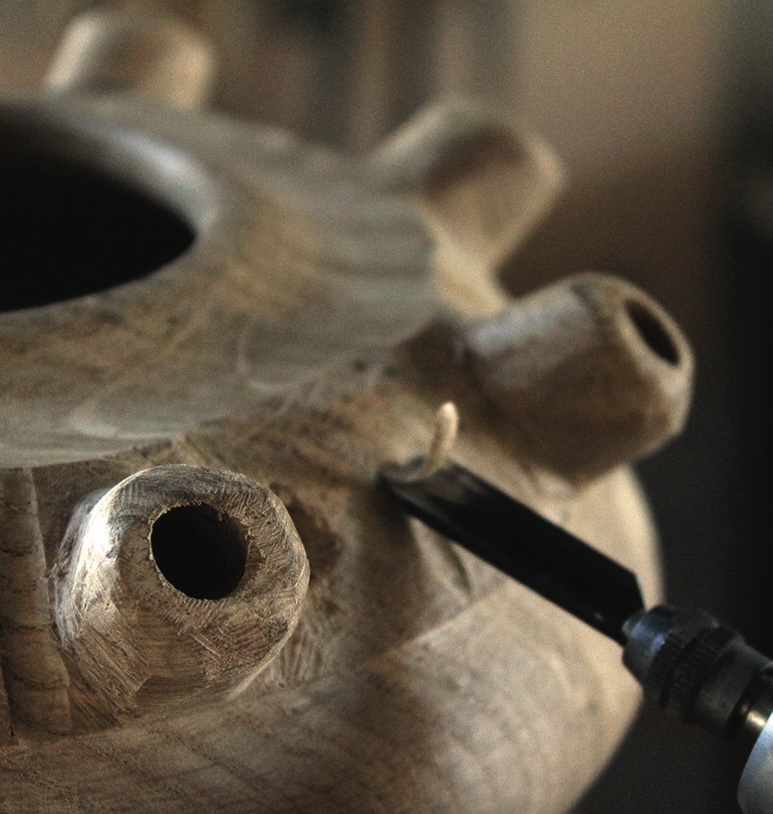
14. Friendship cups are traditionally carved with a groove pattern. You can find some very richly adorned ones, full of mountain animals or flowers, but grooves are definitely the most ancient decoration and probably the best to get started with. Again you can choose between hand and power carving tools. In either case take your time and evenly space each groove
Person using lathe for woodworking precision.
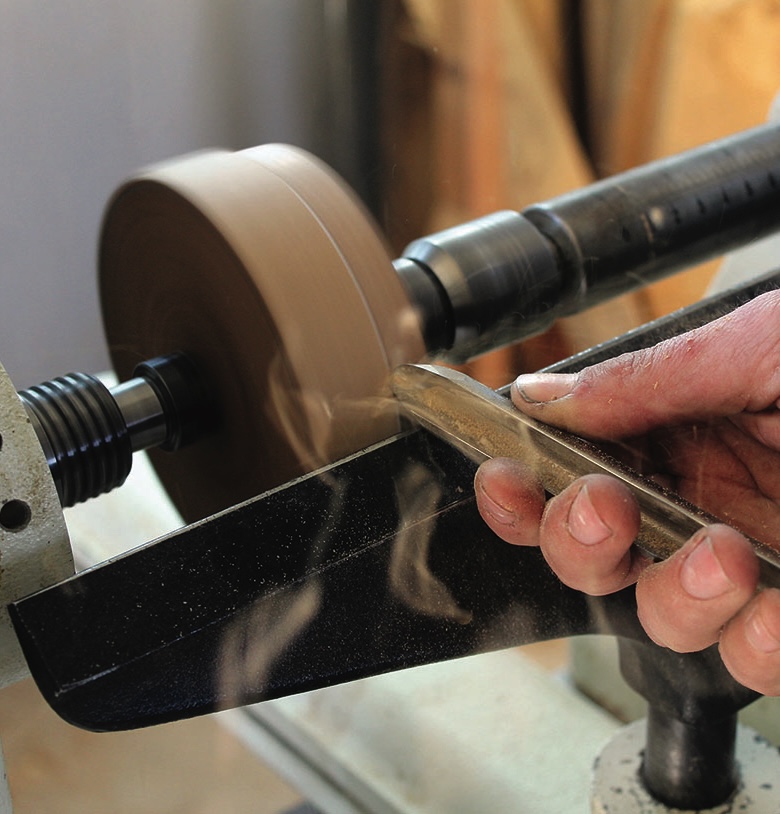
15. Now it is time to turn the lid. Since the top of the lid will be carved, you need to allow enough wood for that. It will look like a sort of flying saucer shape, with a thinner wide disc in the middle and a tenon on the top and bottom. The top of the lid will have a large tenon and the underneath will have a smaller section to fit into the opening on the bottom section of the vessel. Mount the disc between centres, true up the outer edge and shape a tenon on the tailstock end that will be the top of the lid. This will be the carved part 
Woodturning on a lathe with a chisel tool.
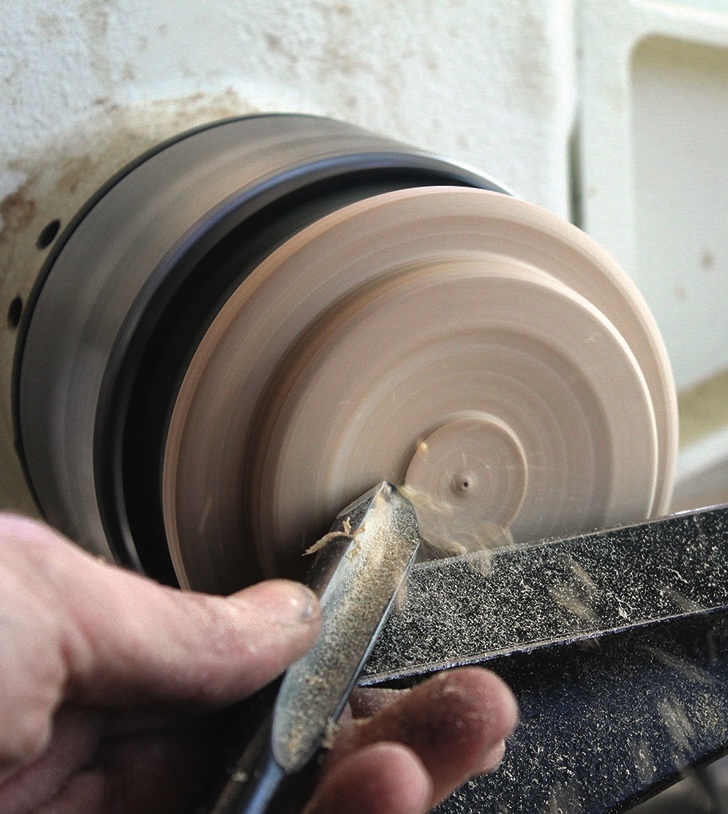
16. Put it in the chuck and turn another tenon, stopping frequently to check the fit with the cup. When you obtain the right fit – which is not too tight, remember the cup will contain a liquid – cut a shallow depression to make it look more refined. In order to make it easier to fit the cup, round the outer corner
Wood carving with flower design in progress
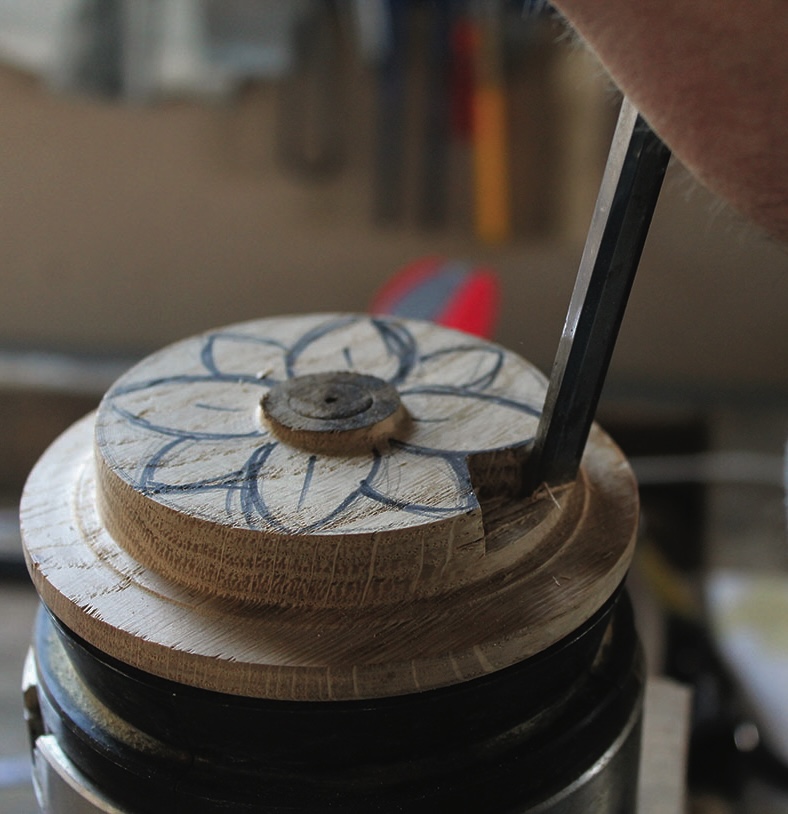
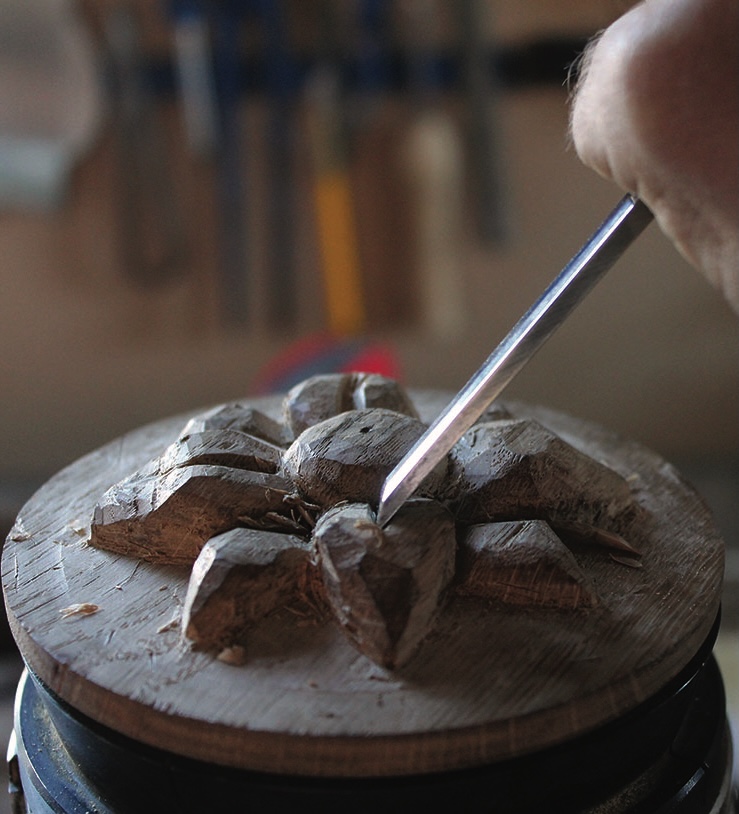
17. Place the lid back in the chuck and draw a flower with four main petals and four smaller ones. Then, using a 10mm flat chisel, start carving it by removing the excess material. It’s very easy, you only need to chop along the lines and remove the material with a light stroke in the end (or side) grain by carefully levering against the forming shoulder. It’s an easy task with sharp chisels
Wooden flower carving in progress with chisel.
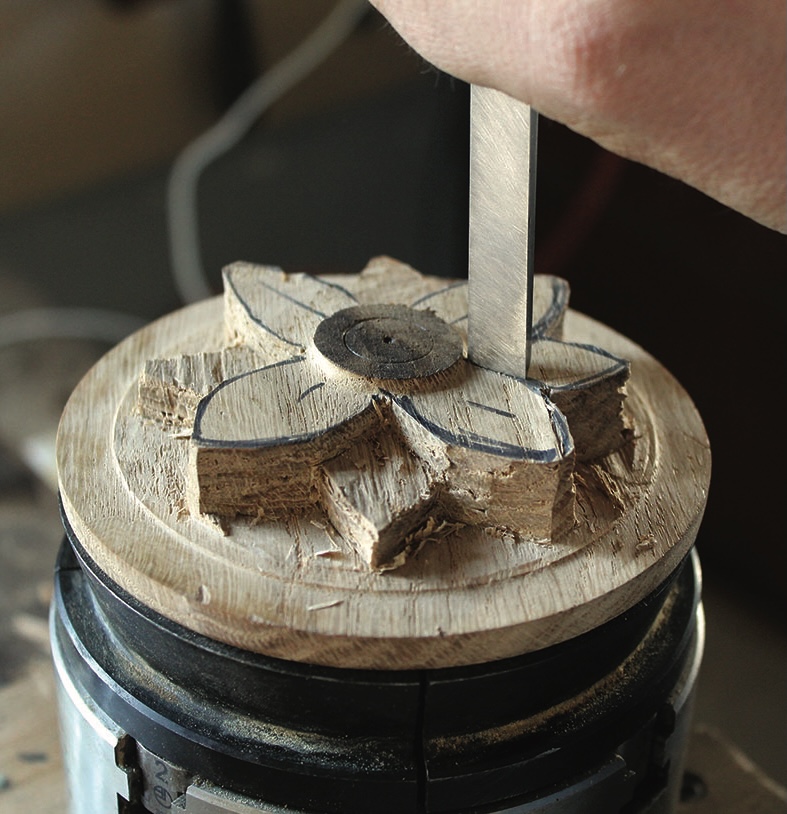
18. Once you have cut the outside start giving it depth by removing material from the smaller petals. The process is exactly the same – chop following the line and, with a gentle end grain blow, remove the excess. No need to be super-skilled, it only requires patience
Wood carving with chisel in workshop
19. After a little bit of chopping you should obtain something similar. If you want to carve steep concave curves you might need a gouge, but if you stick to convex or slightly concave curves the only tool you need is the 10mm carpenter’s chisel. To finish the leaves cut a V-groove that starts from the centre and stops halfway. At this point you should ‘clean’ the curves and shapes with a freshly sharpened chisel in order to avoid sanding it
Hand holding metal stamping tool close-up
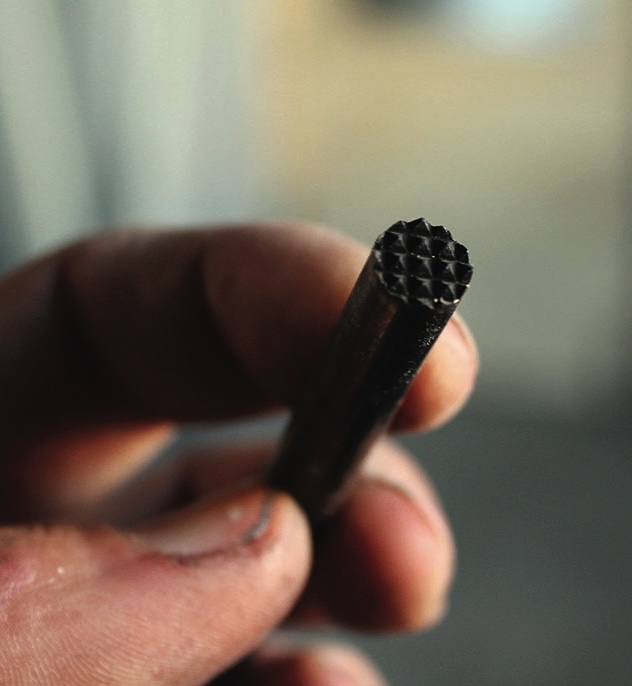
20. Friendship cups and grollas were adorned with similar patterns. A widely used tool is the frosting/background punch. They come in various sizes, shapes and patterns and can really change the look of a piece by adding a subtle accent 
Wooden flower carving on round block
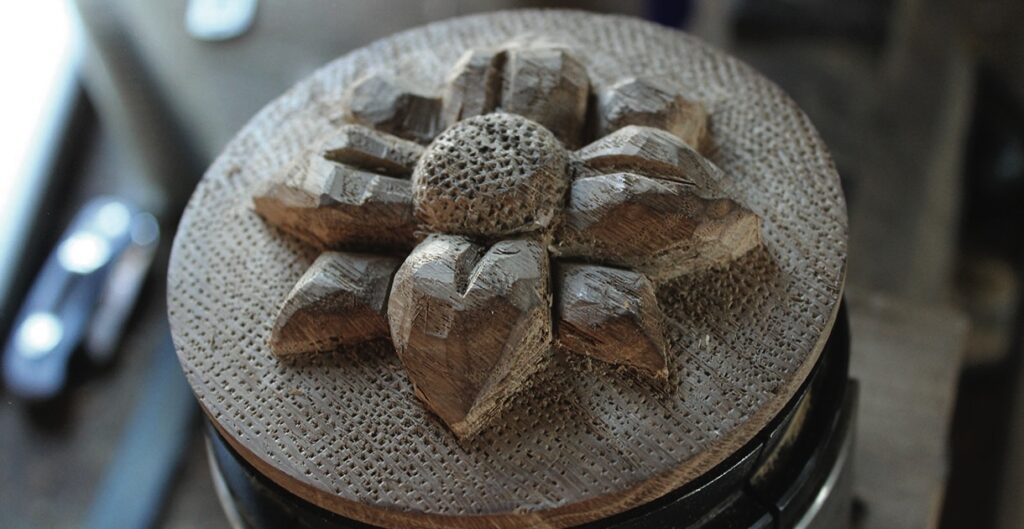
21. You can also use background punches to add lifelike details such as the centre of the flower or to highlight a carving by texturing the contour of it 
Wooden bowl in progress on lathe machine.
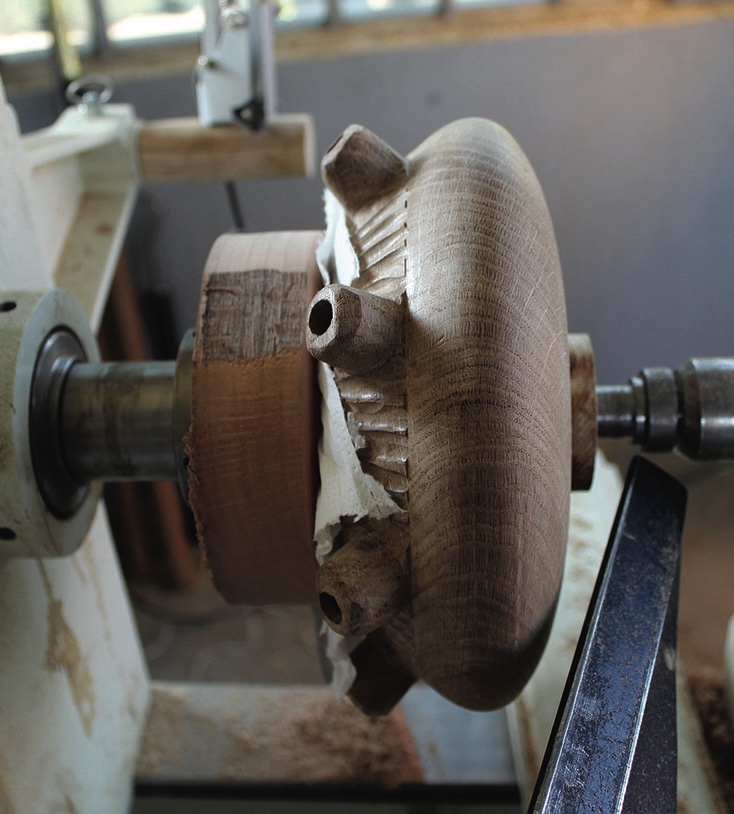
22. Using a jam chuck to fit on the opening of the cup, place a couple of layers of paper towels on the jam chuck, put the cup back on the lathe between centres and turn off most of the tenon. Be wary of the spouts spinning round
Woodturning on a lathe with cutting tool.
23. As you cut remember that the spigot is glued in place so don’t go too thin. Once most of the tenon is removed stop the lathe and cut the rest off by hand with a sharp chisel
Wooden sculpture with circular lid on table.
24. The finished friendship cup. I only used a little bit of food-safe finish because I definitely will use it at meetings with friends. But before using it you must prepare the wood. Buy a cheap wine and heat it up without boiling it. Then pour it in the cup, let it soak for a couple of minutes and throw it away. Repeat the process a couple of times for two or three days and the wood will be ready to contain some delicious caffè alla valdostana

If all goes well, you now have a friendship cup.

Leave a Reply

Your email address will not be published. Required fields are marked *