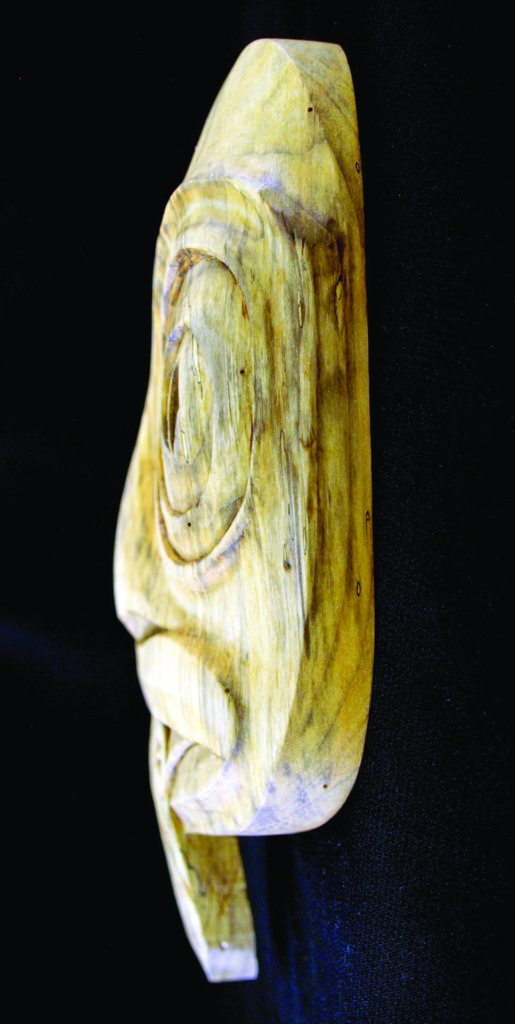
Dave Western hops into action with this frog face
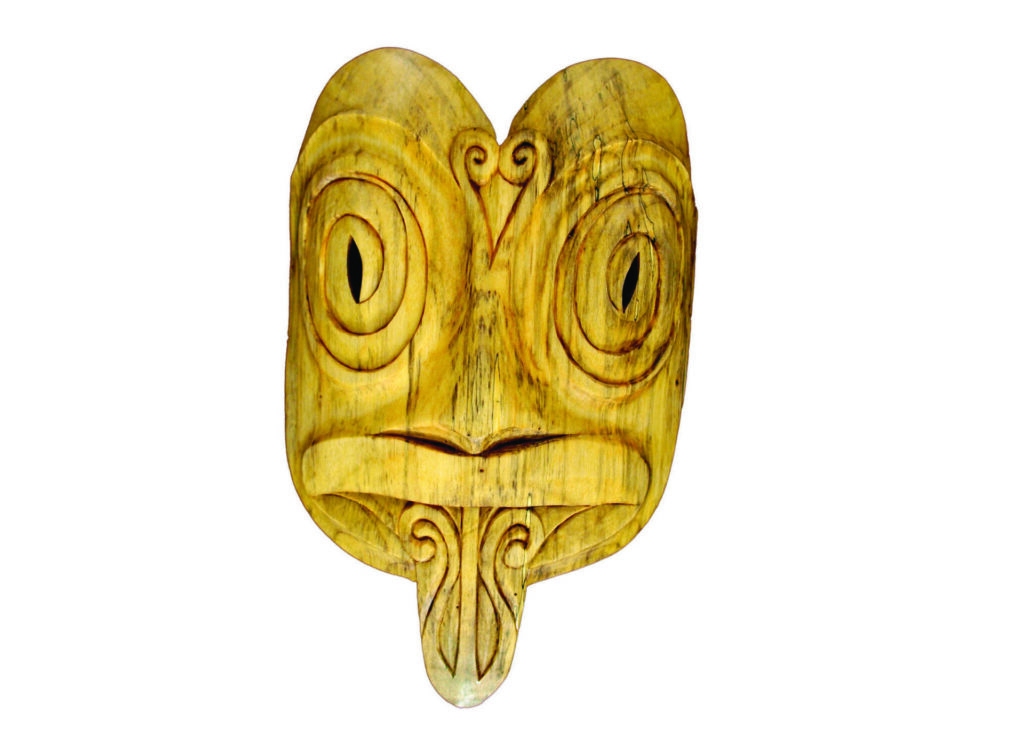
For many years I have been particularly taken by the beautifully rendered animal designs of 2nd and 3rd-century Celtic art. During this period, throughout the vast region stretching from France through Hungary, Celtic artists decorated their bronze work with remarkable animal heads and faces. While lacking the elaborate knotwork patterns which would come to prominence a few hundred years later, they are, nevertheless, masterworks of elegant simplicity. Leaning heavily toward stylised rather than realistic representation, they generally get to the essence of each particular animal rather than attempting precise anatomical accuracy. The results are dynamic and exciting representations which still retain a contemporary feel nearly 2,000 years after their creation.
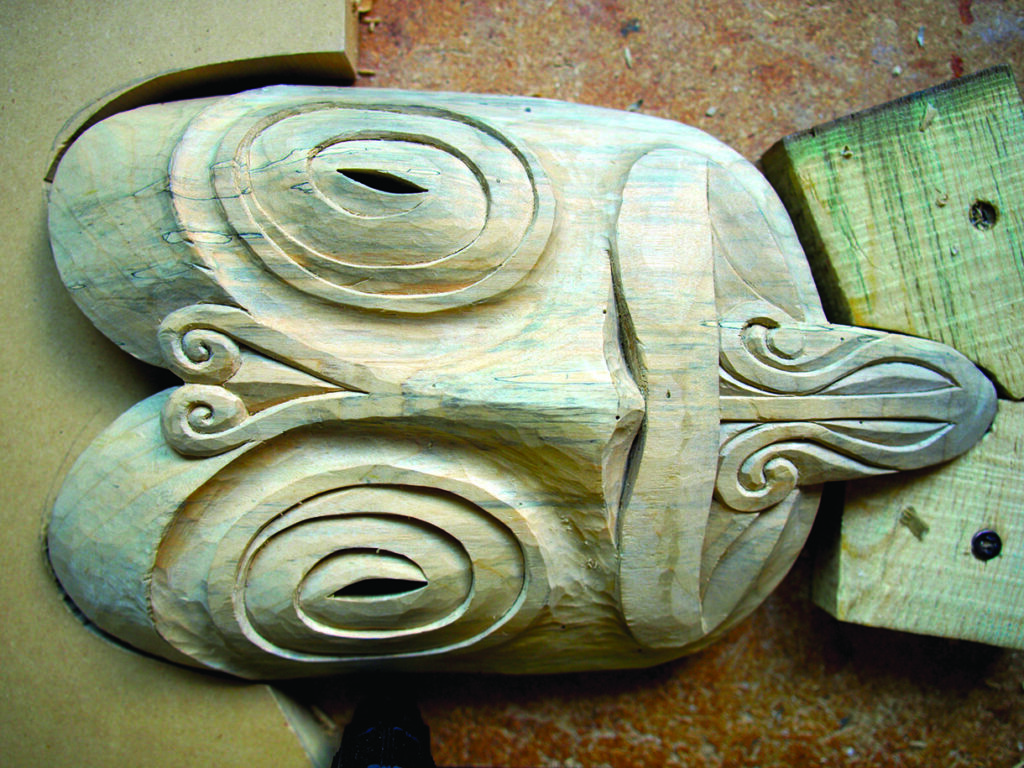
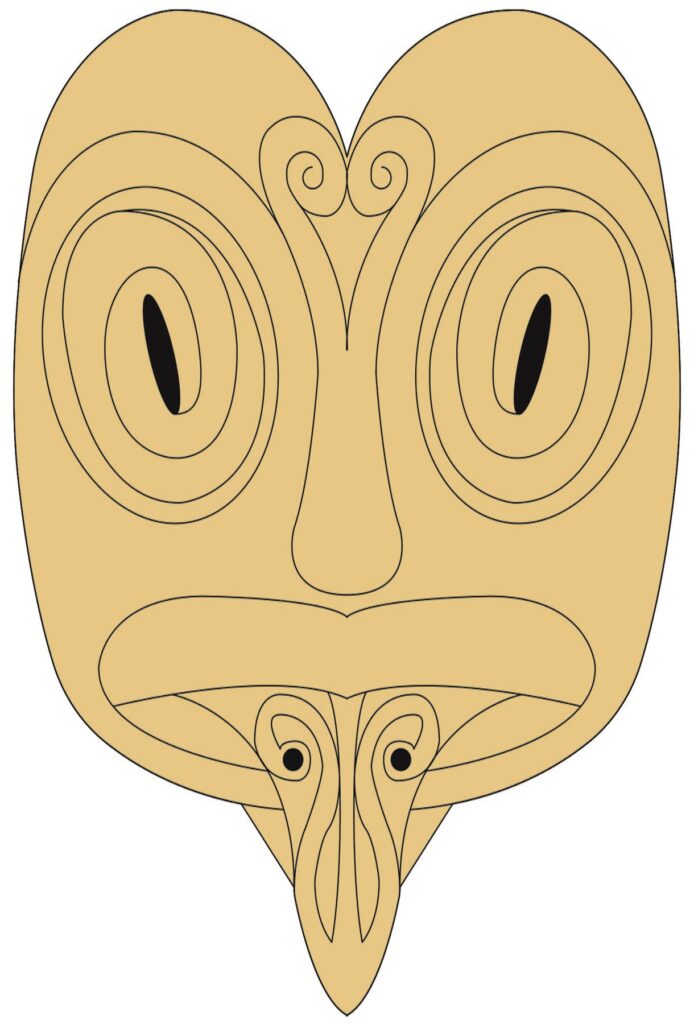
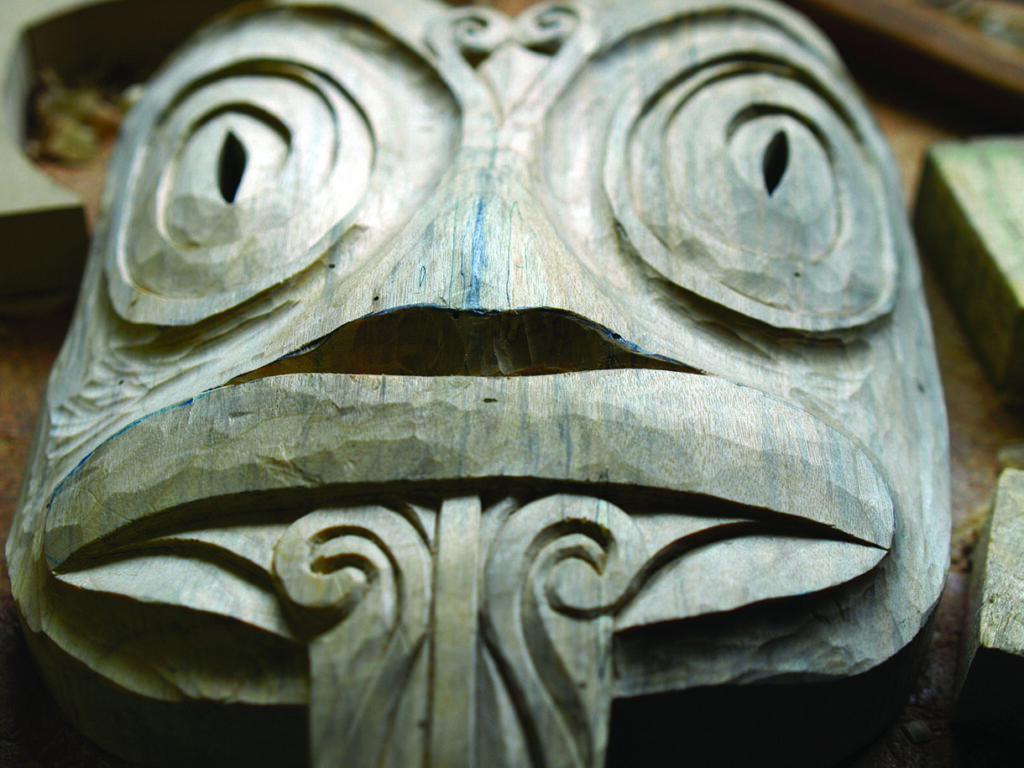
I have wanted to make a frog mask for some time now and thought that rendering it in this early Celtic style would be an exciting challenge. I’ve stylised the frog’s face considerably and have limited the decoration to the elegant ‘swirl’ patterns common to the 2nd century time period. The frog has a bumpy head shape and prominent bulging eyes which are ringed by a swirling pattern. It has a flat, broad nose which is vaguely human and which hints at some of the many early myths and legends in which frogs and humans have the ability to shape shift. The frog’s mouth is broad, with large lips and a protruding tongue. The tongue and forehead sport elegant, swirl patterns to stylistically hint at movement, but the rest of the face is kept smooth and unadorned.
Pattern and laying out
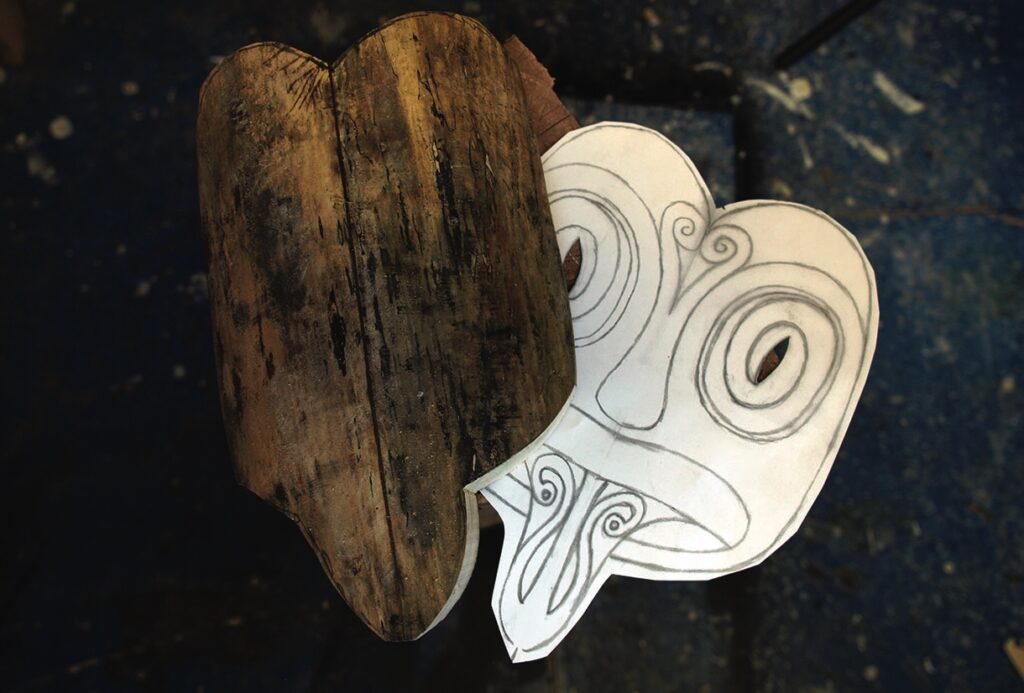
The piece itself is carved from a 405mm-long log of maple which I halved and de-barked. I stored it in the deep freeze in a plastic bag for several months, but recommend hollowing the back out a fair bit to relieve drying stresses if you intend to work with fresh timber. If you lack access to log lumber, you can make this from a block of 50mm-thick dimensional timber. Use a bandsaw to cut the rough outline of the mask and use a photocopy of the pattern as a tracing template as you work.
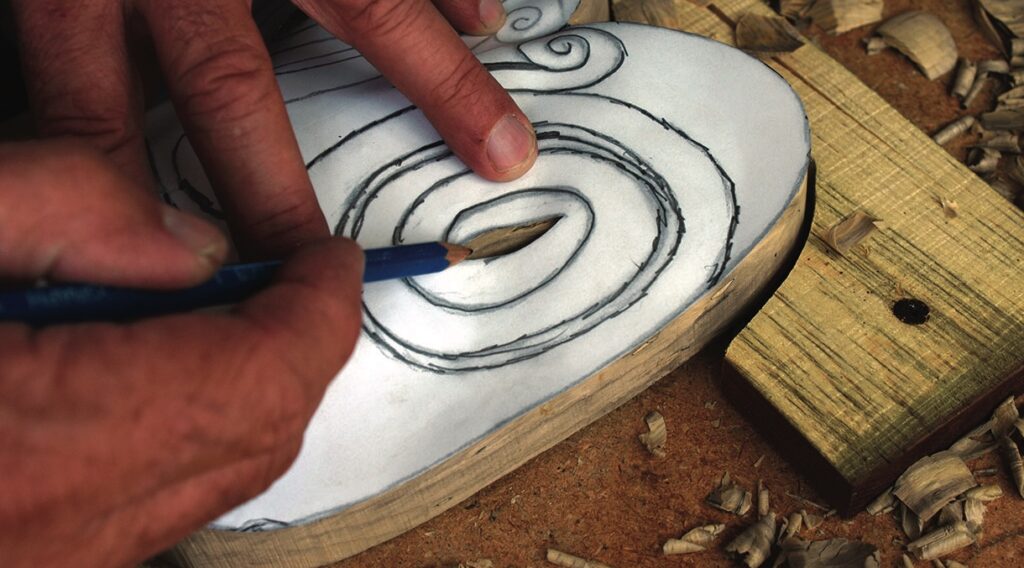
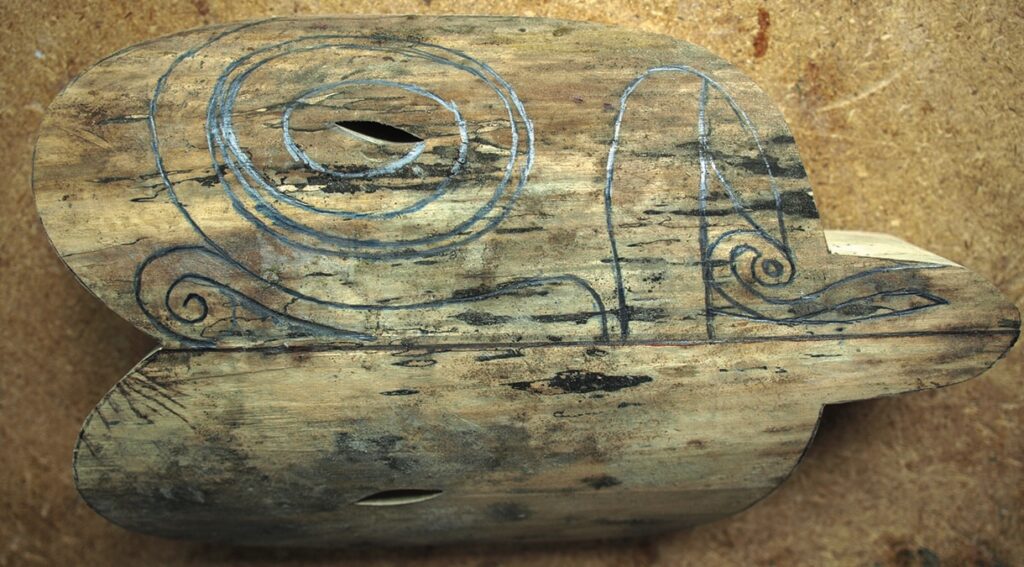
Lay the pattern on the blank (orienting it along the curved outer edge of the log or plank) and locate the eyeholes, which you can cut out with a jeweller’s saw or with a drill and knives. Having the eyes positioned helps simplify any freehand drawing which may be required later in the process.
Rough shaping
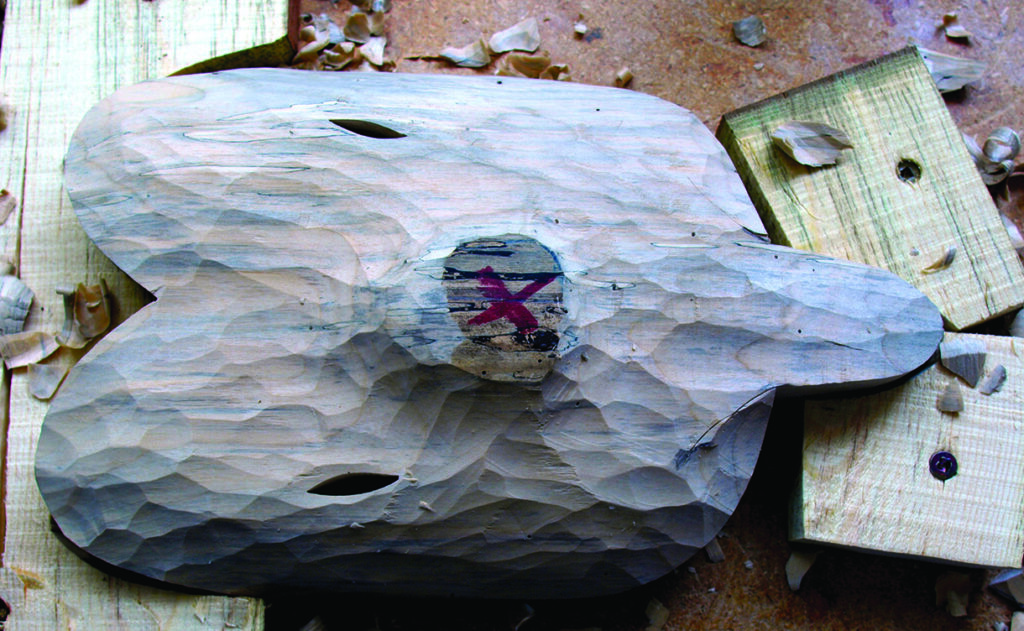
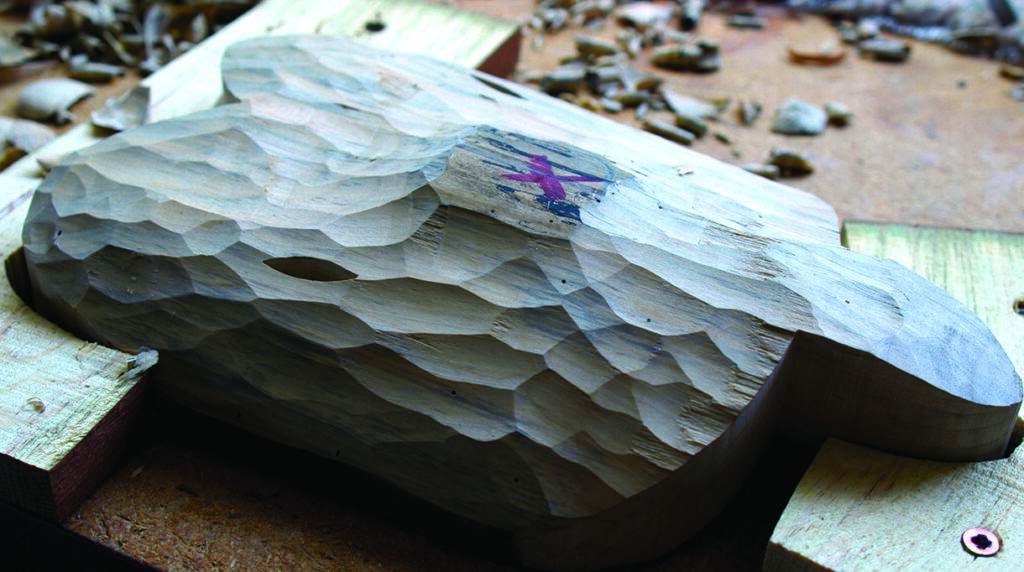
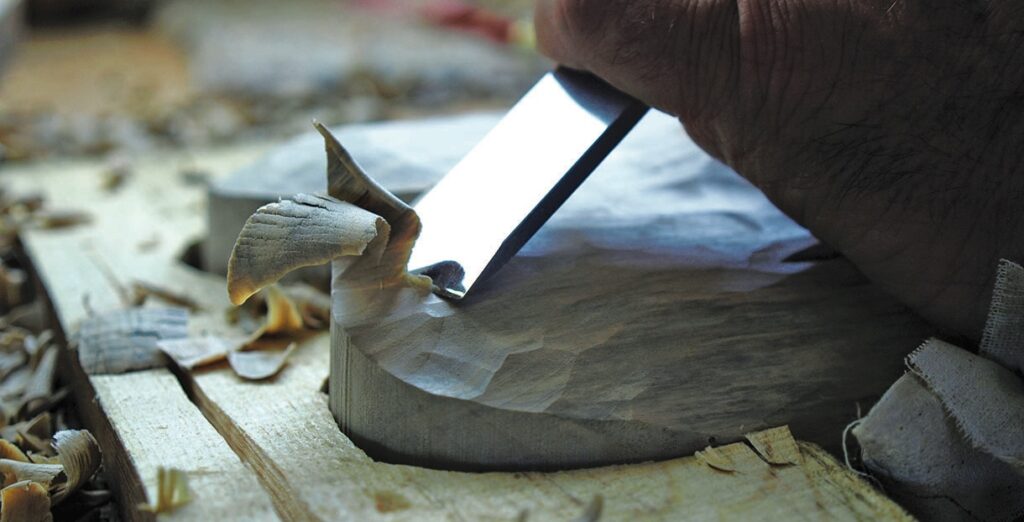
Next, run a centreline through the mask from top to bottom and locate the tip of the nose with a mark (here it is a red X). The nose is the highest point of the face, so all the other material has to be cut down from that point. You can use big tools and cut quite coarsely at this point; the object is to cut away as much wood as quickly as possible.
With the coarse shaping completed, you can start cleaning up the cuts and smoothing the facial details a bit. Start by shaping the forehead and tilting it back with a nice rolling dome shape.
The main features
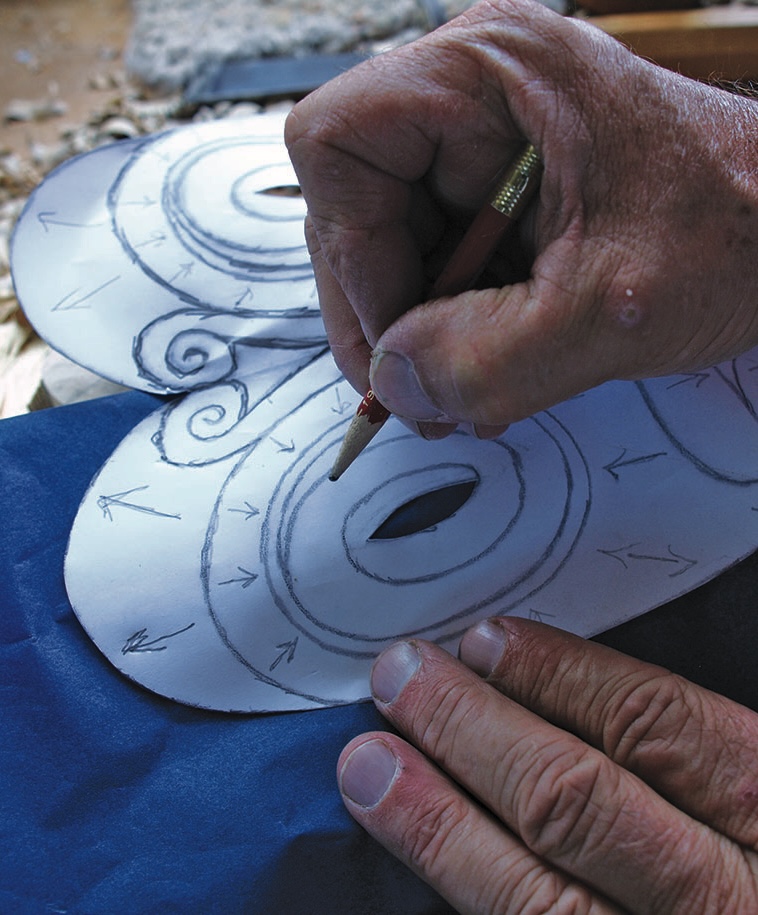
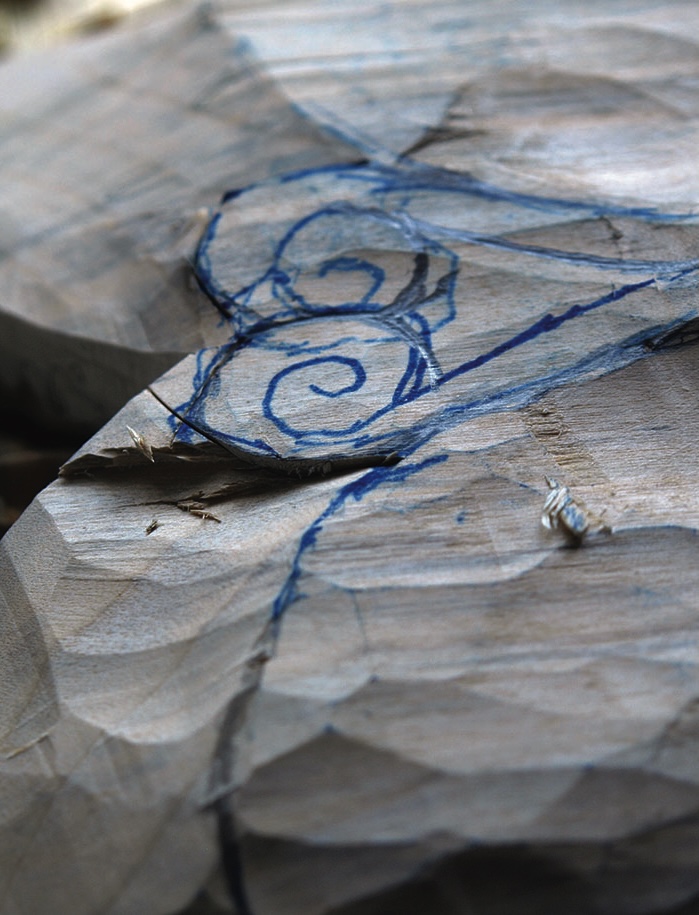
The next step is to redraw all the lines that have been lost to the rough shaping. I like to make use of a bit of carbon paper slid underneath the pattern to accurately trace my lines back on to the workpiece. You might prefer to freehand draw them on using the pattern as a guide. If you opt to freehand, I recommend using a rule and callipers to keep things accurately located.
With the face details clearly marked on the mask, remove more material from the forehead and start smoothing the cuts. Be careful to leave the material which will become the forehead swirls intact. Use a straight knife or suitably shaped gouge to cut the side walls of the swirl so it stands proud of the forehead. With that complete, begin shaping the side of the nose and the eye sockets with gouges or bent knives.
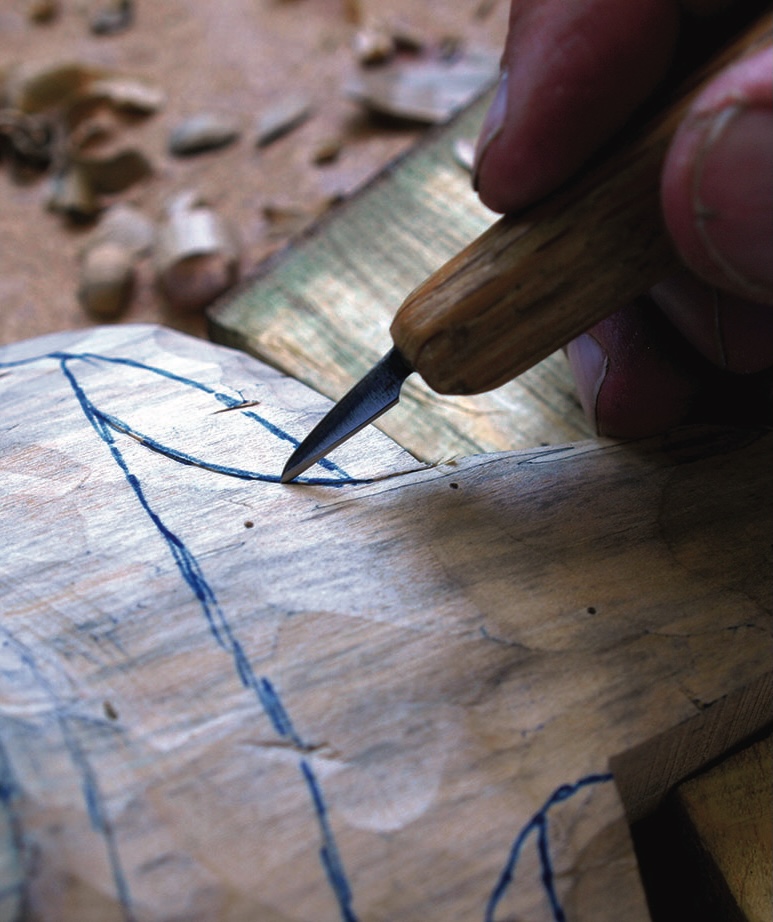
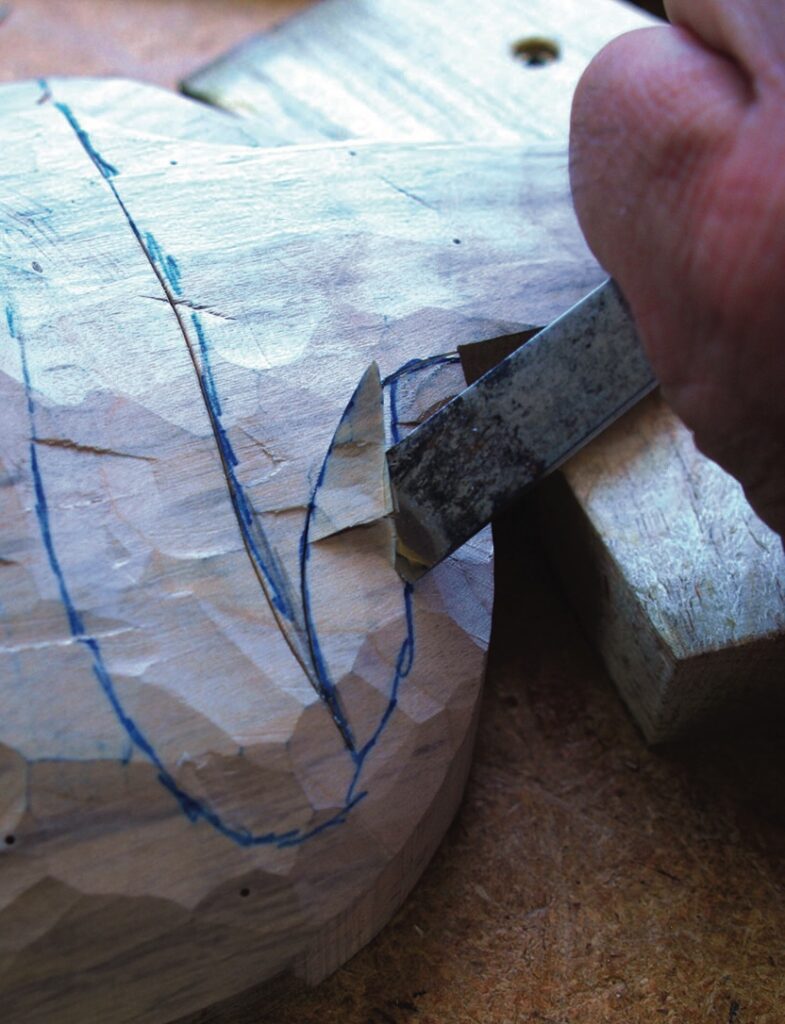
Once the eyes have been outlined and the nose has been shaped, start defining the tongue area with a straight knife by scribing along the drawn lines. Be cautious here and don’t rush, as it is easy to wander off course and cut wobbly inconsistent lines. With the lines scribed to approximately 3mm deep, use a straight gouge or 13mm-wide chisel to remove stock and start shaping the bottom lip.
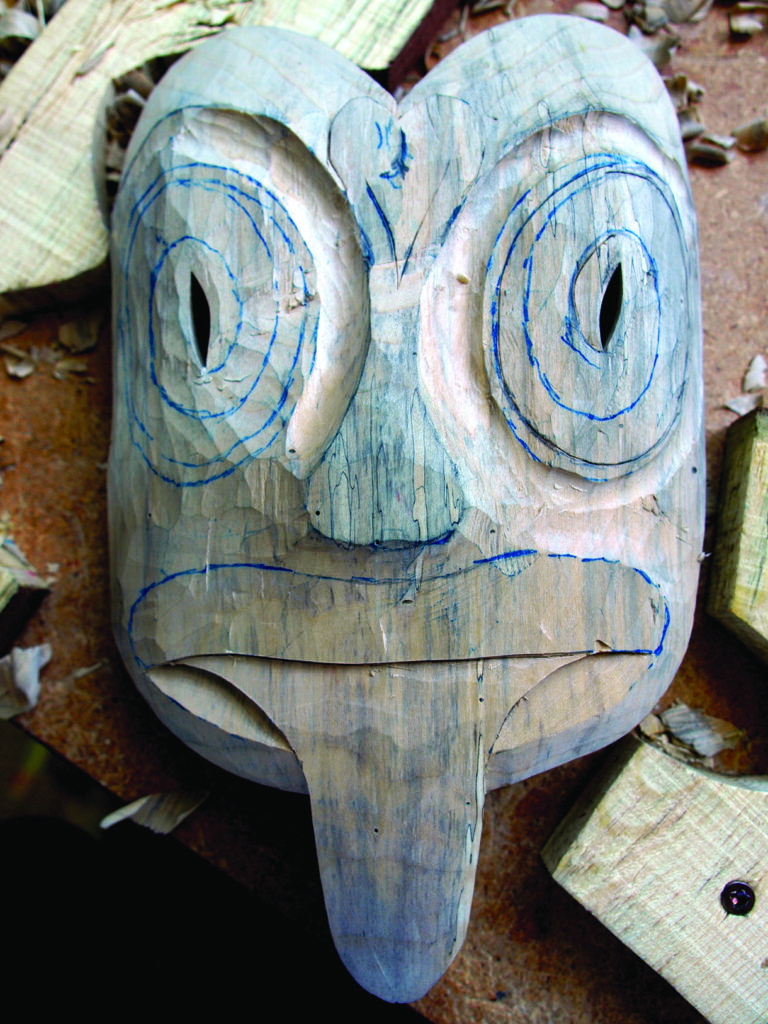
Having defined the bottom lip, the tongue can be shaped by cutting it down approximately 3mm from the top lip and curving it toward its tip. The tongue can also be domed slightly from side to side at this point, but don’t take too much stock away as you will later have the Celtic pattern to cut in. At this point, the eyes should be taking shape, the lips should be roughly defined and the nose rough shaped.
Mouth, cheek and eyes
Cleaning up the mouth and cheek area and the sections at the top and bottom of the eyes will require a fair bit of cross-grain carving. Keep your gouges or bent knives razor sharp for this as any dullness will lead to shredded grain and a great deal of frustration. Be conscious of grain direction at all times and take light cuts to avoid the risk of tear-out.
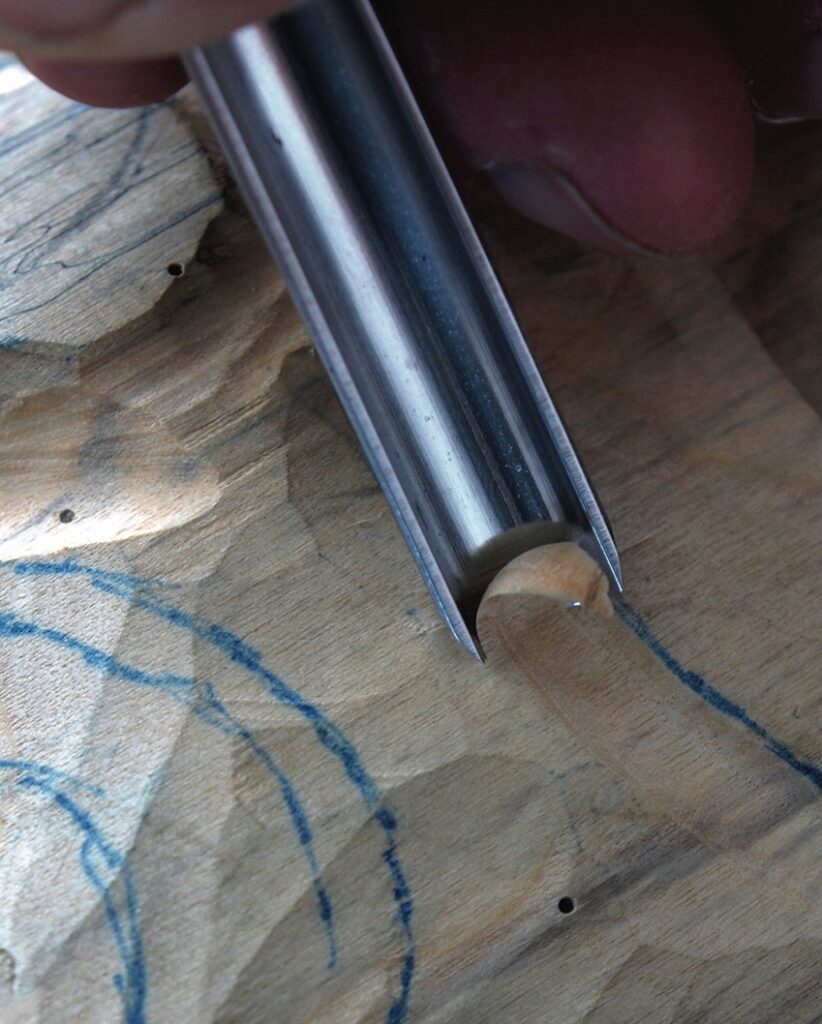
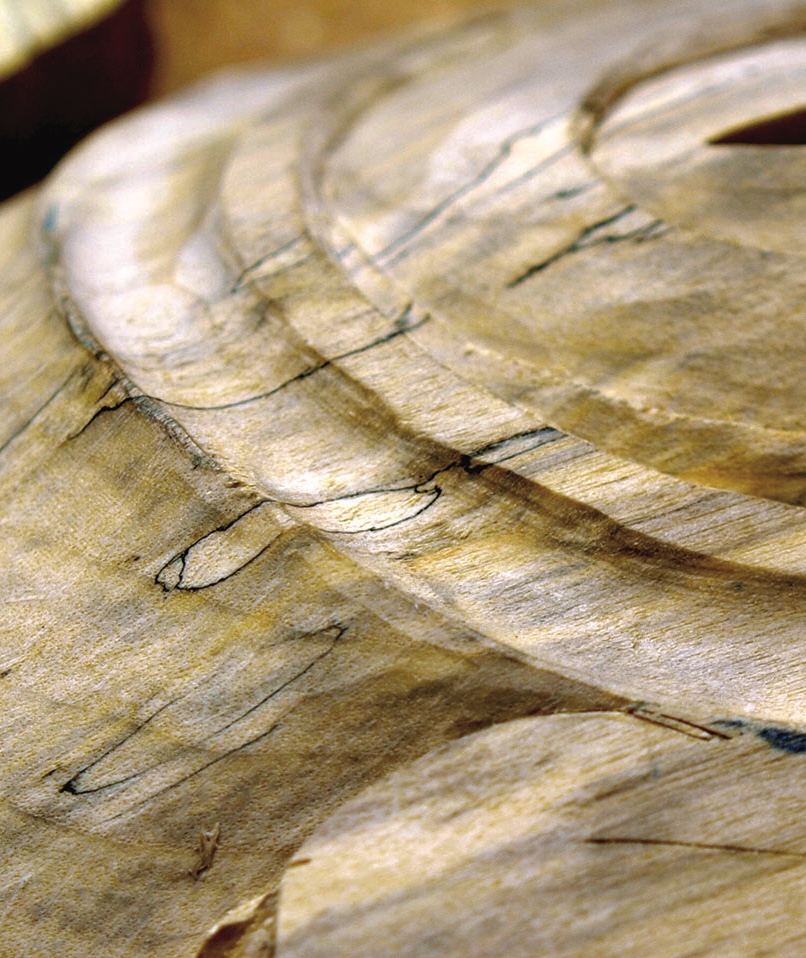
Aim to keep the grooves around the eyes as consistent and fair as possible. Wild deviations in the width of the groove or in its depth will leave things looking rushed and amateurish. In this photo, the groove wanders a bit and some time will have to be spent fairing the lines and cleaning the cuts a bit more.
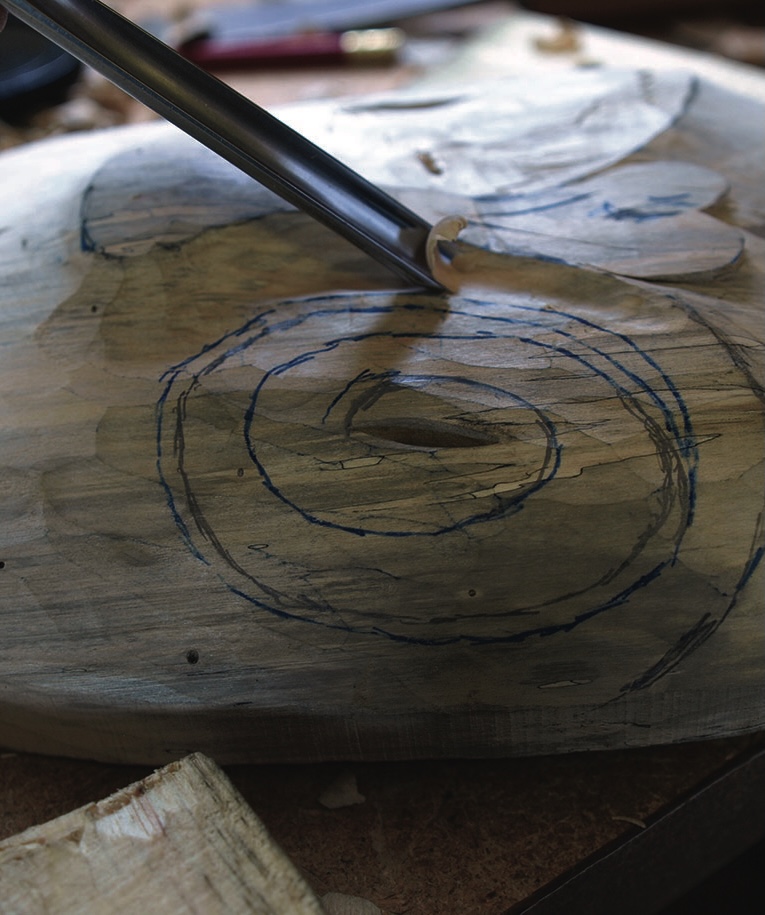
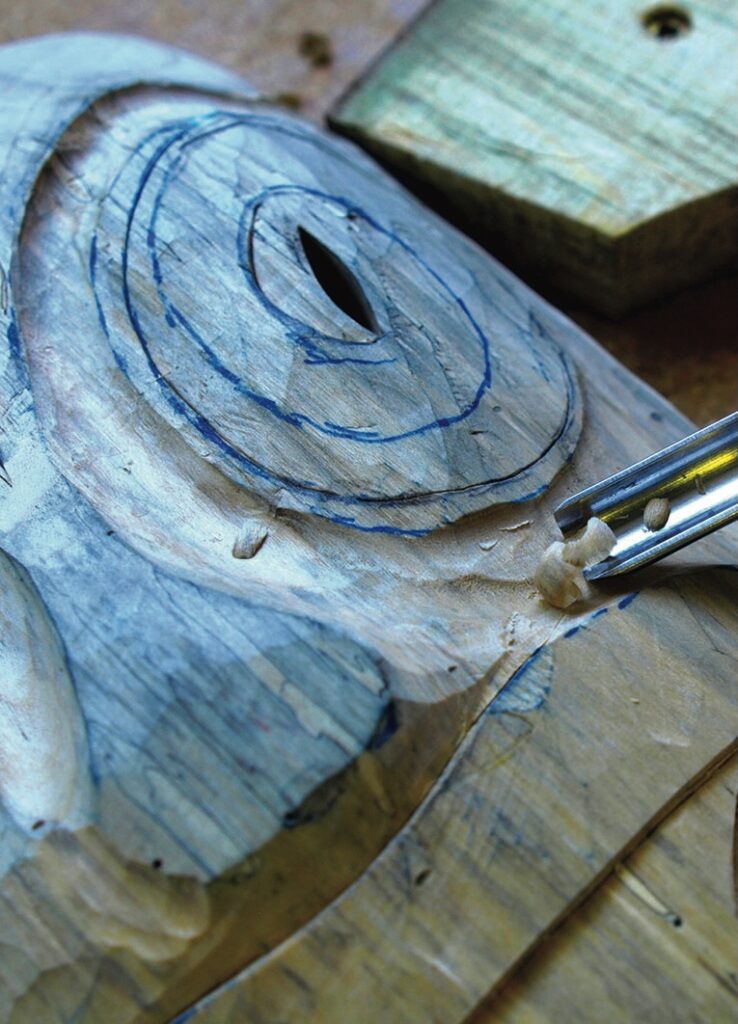
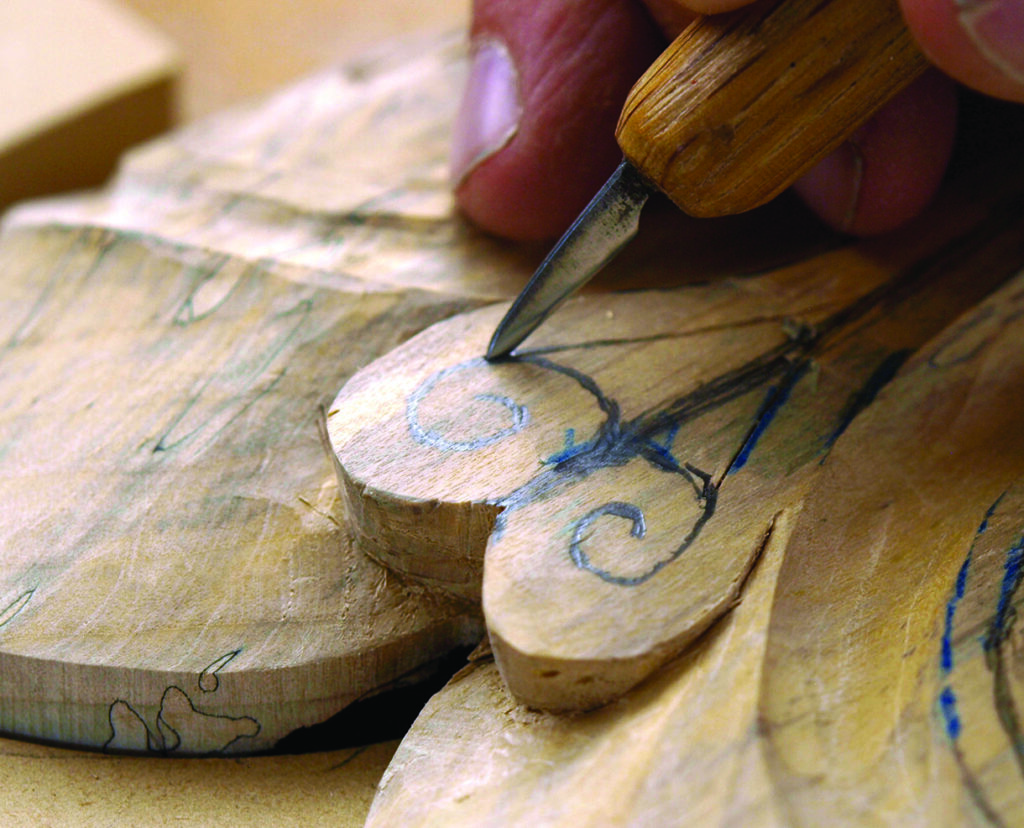
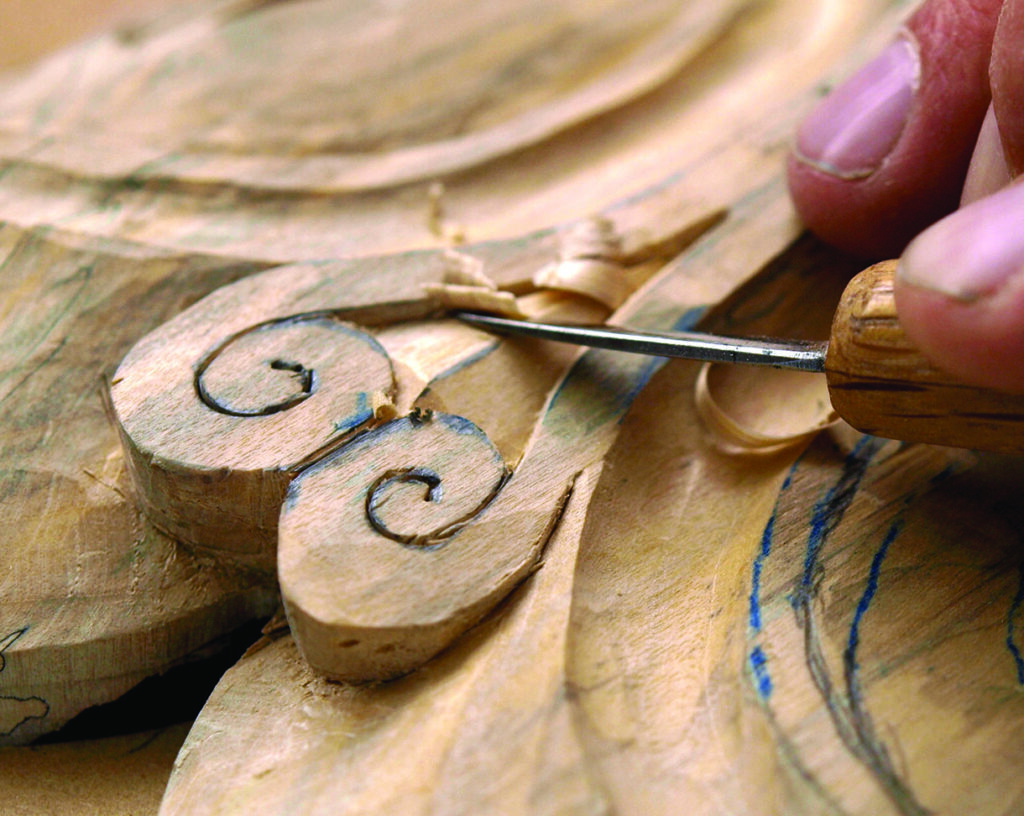
With the eyes and the area around the mouth defined, cut the swirl pattern into the eyeballs. Use a good sharp No.1 gouge or chisel to get a flowing, consistent angle on the swirl. Tilt the angle away from the eyehole and follow the swirl around until it tapers out on the outer ring of the eye. Go slow and follow the grain carefully as it will change directions often and a split out can easily result.
Detailing
Begin the shaping of the forehead swirl by cleaning up any excess and roughly cut material at the top of the mask. Then mark out the swirl with some straight knife cuts to a depth of about 3mm. Use a straight knife or chisel to clean out the swirl as neatly and evenly along either side of the centreline as possible.
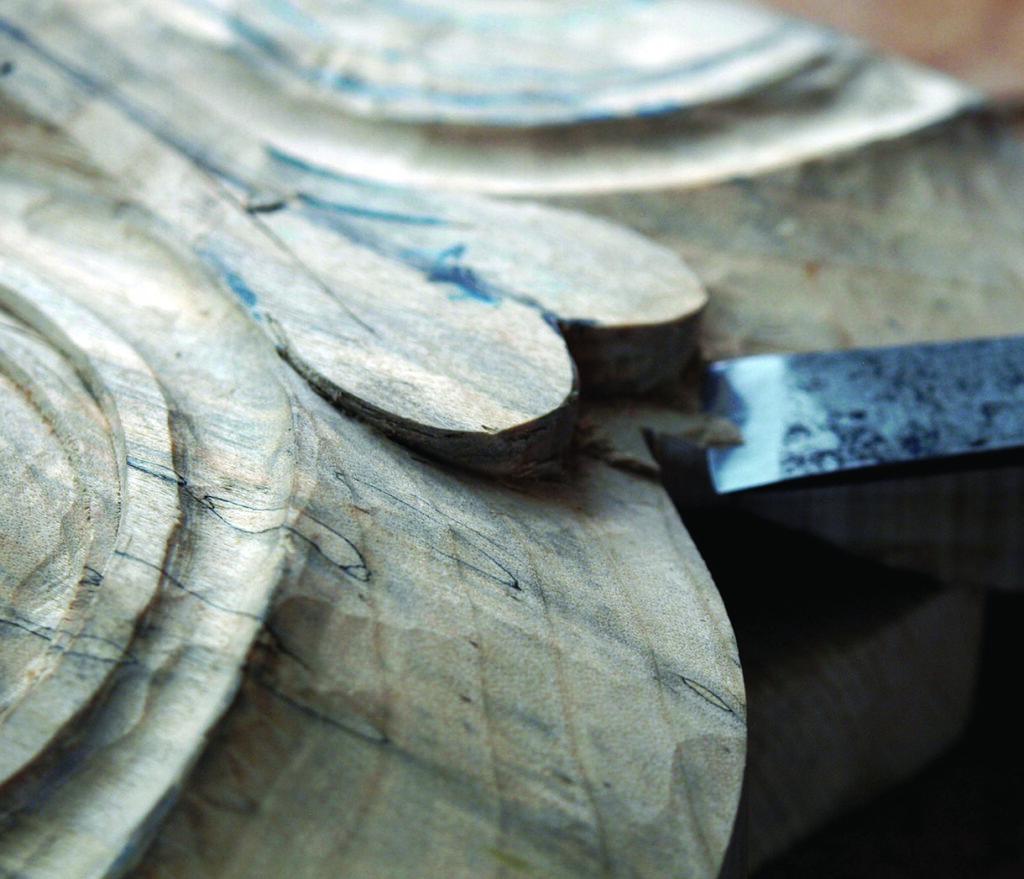
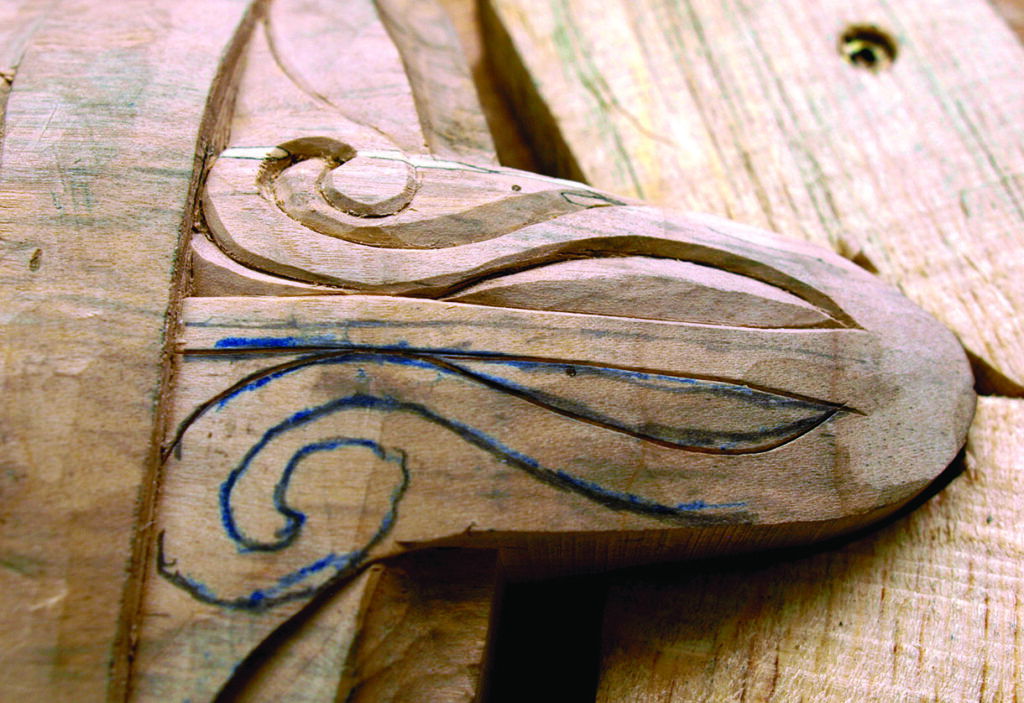
Use a straight knife or chisel to crisply mark out and detail the tongue pattern. Don’t cut too deep, 3mm or so is plenty. The photo shows one side drawn and the other largely completed. Aim for consistent, flowing knife cuts with as little waver as possible.
With the other facial detailing more or less completed, finish shaping the nose area. Aim for consistency on both sides of the centreline and a nice even shape. Cut the nostrils in with a straight knife or No.3 gouge and aim for a fair, matching curve to achieve a symmetrical appearance. Work at doming the nose slightly and having it gently flow down into the grooves surrounding the eyes.
The back of the mask
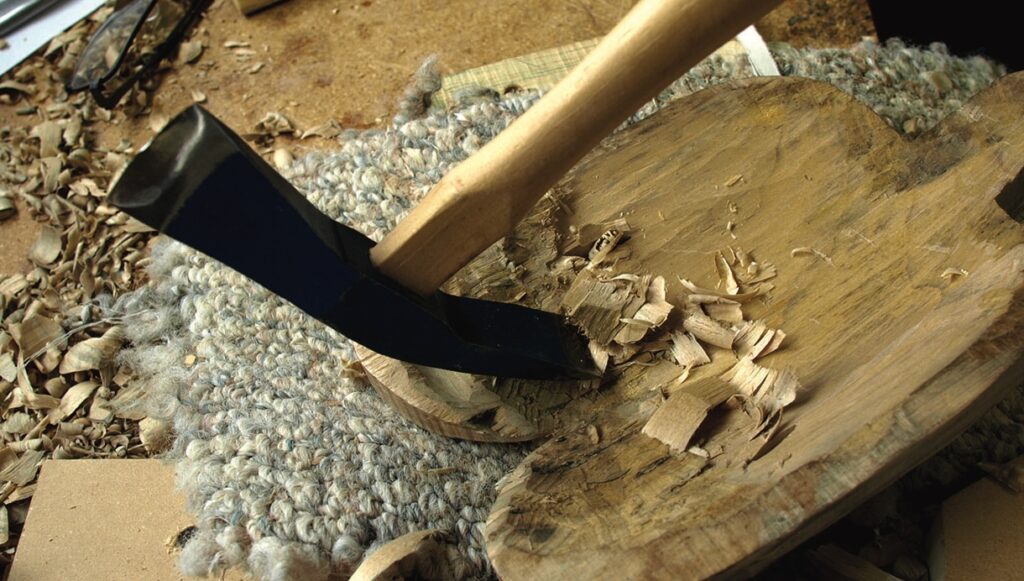
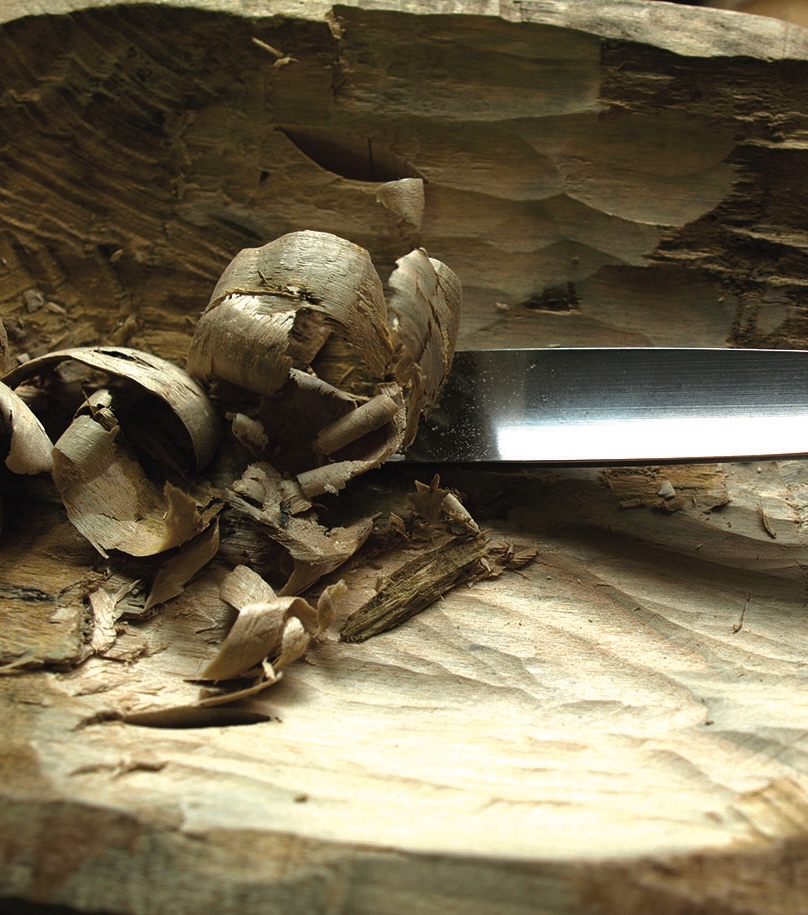
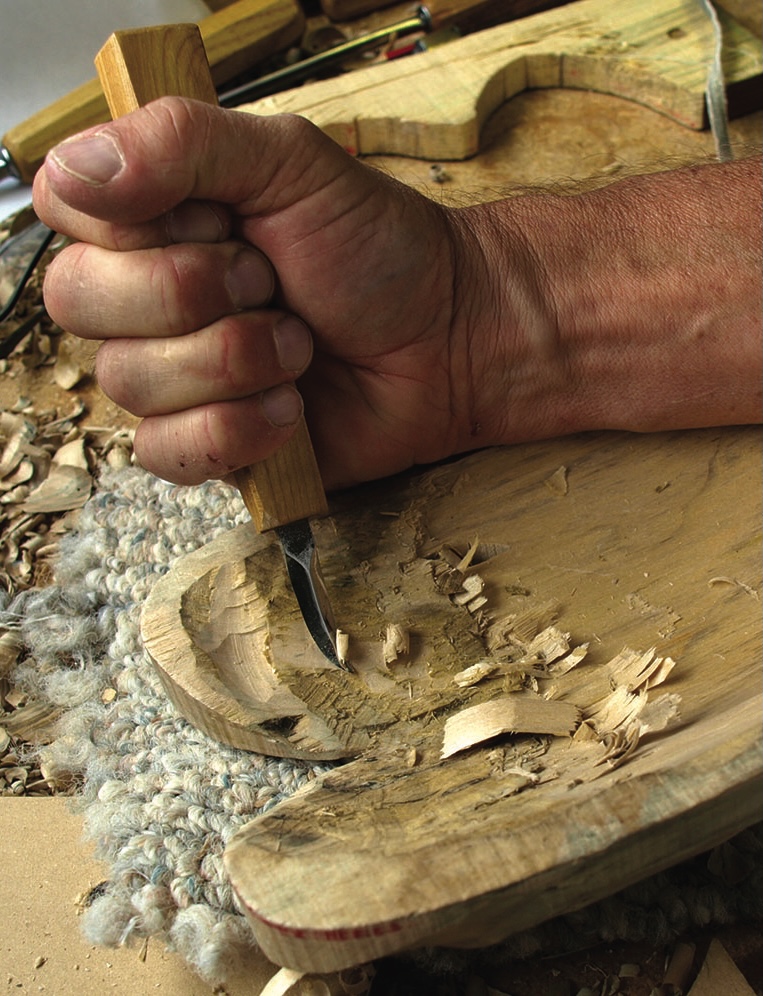
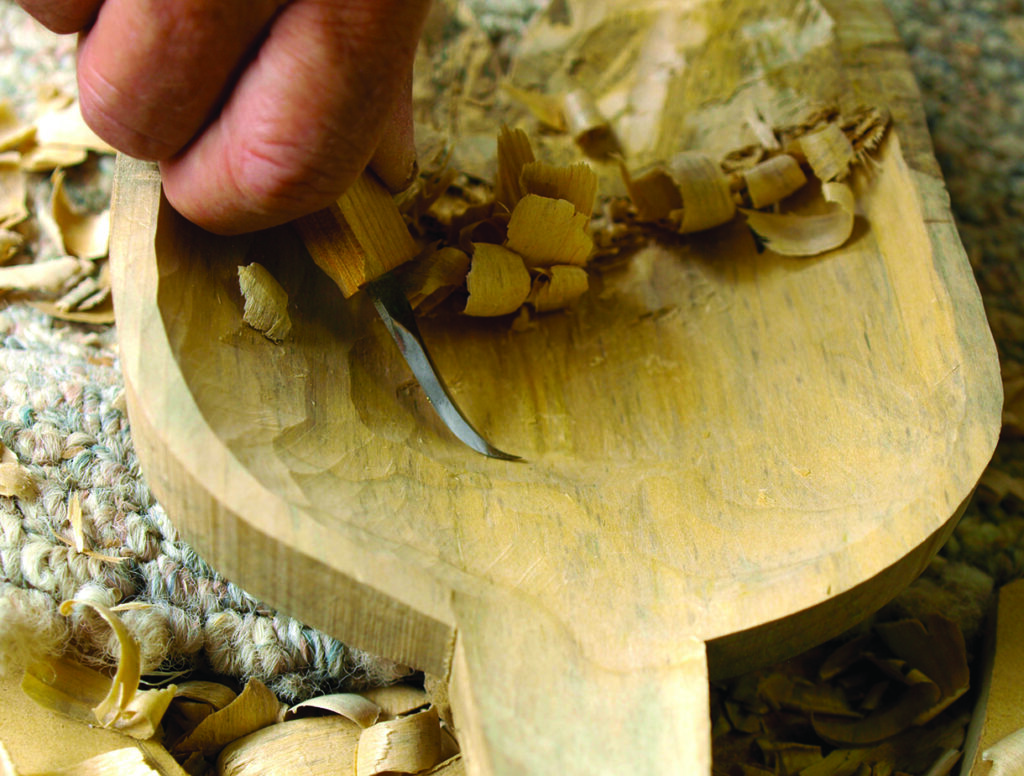
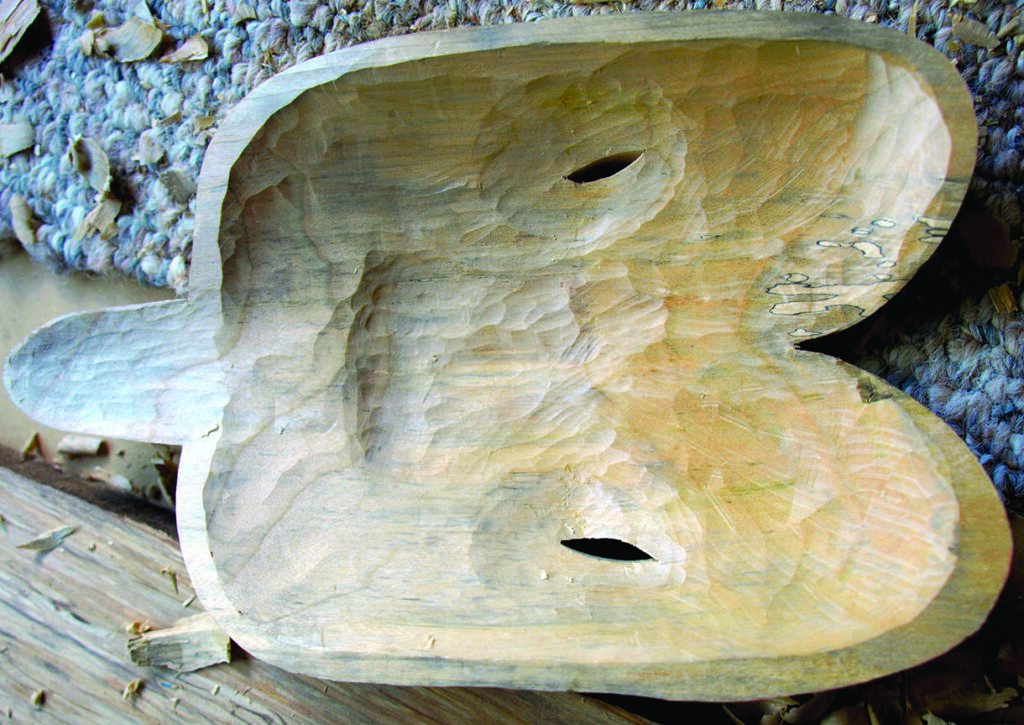
Having shaped most of the facial details, turn the mask over and begin removing stock from the back. You can do this with an adze, gouges, or with bent knives. The idea is to create a lip around the edge of the mask while removing stock to a consistent depth from the inside of the mask. I like to leave the mask about 10-13mm thick whenever possible. This makes the mask light and easy to place on the face, but still leaves lots of structural strength. Cushion and protect the face against damage by laying some carpet underlay or soft material on the bench.
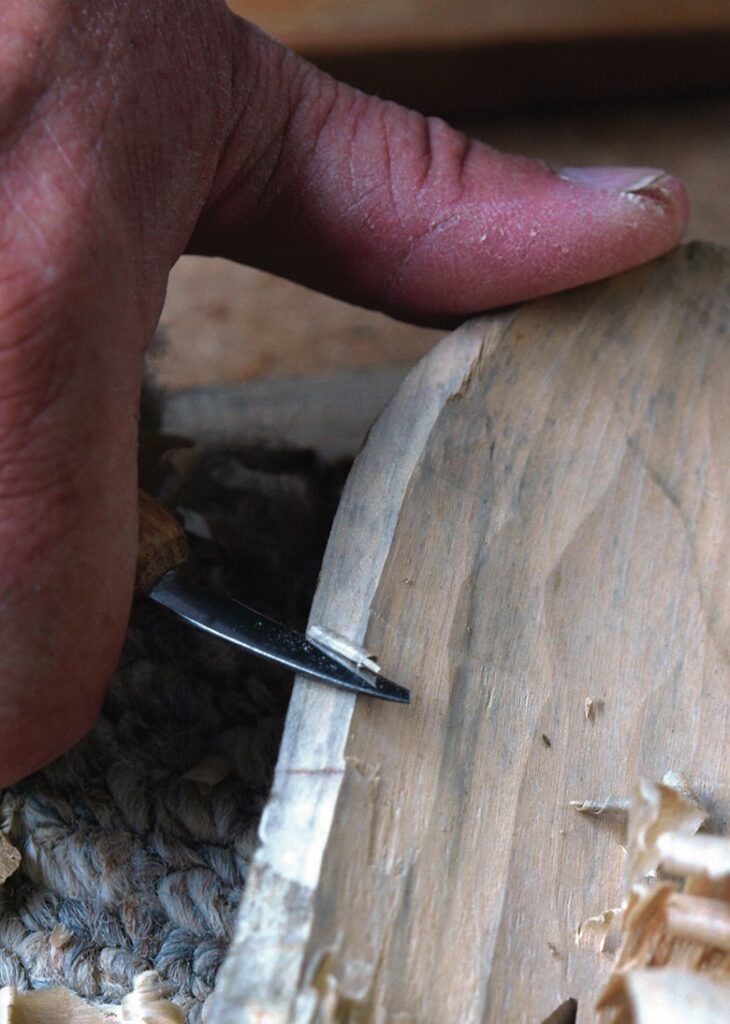
Use a straight knife to cut a flat edge on to the outer lip of the back. Again, a nice, consistent edge is the goal without any noticeable dips and rises. Aim to have the mask lay flat on the workbench.
In the area around the nose and eyeholes, the mask back can be hollowed slightly deeper than the surrounding areas. You can use callipers or just rely on your finger and thumb to gauge how deeply you are cutting. If you maintain the same 10mm thickness you have on the other areas, you won’t need to worry about breaking through to the front.
Finishing touches
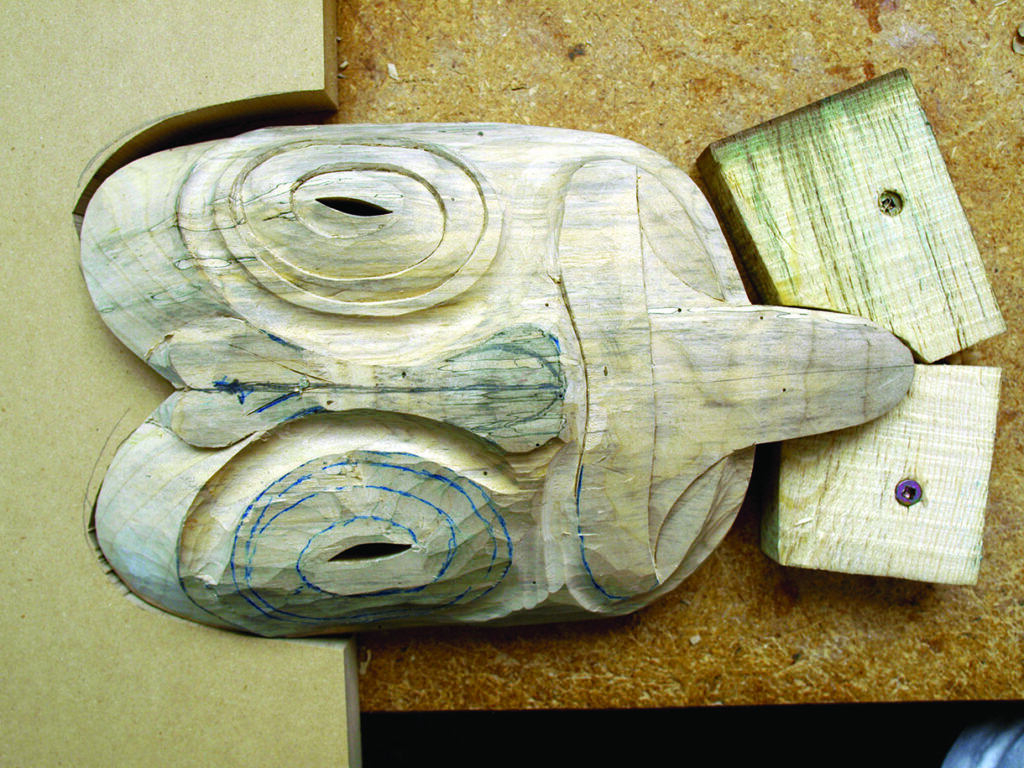
The picture below shows the front of the mask pretty much ready for final finishing. It also shows the little clamping system I used, which was fashioned from a couple of bits of scrap wood and screwed to the bench. This kept the mask firmly in place without the need for clamping, while letting me easily remove it for hand-held carving operations when required. At this point, it is worth going over the whole mask one last time with razor-sharp tools to clean up any chips or rough spots before committing to the final finishing stages.
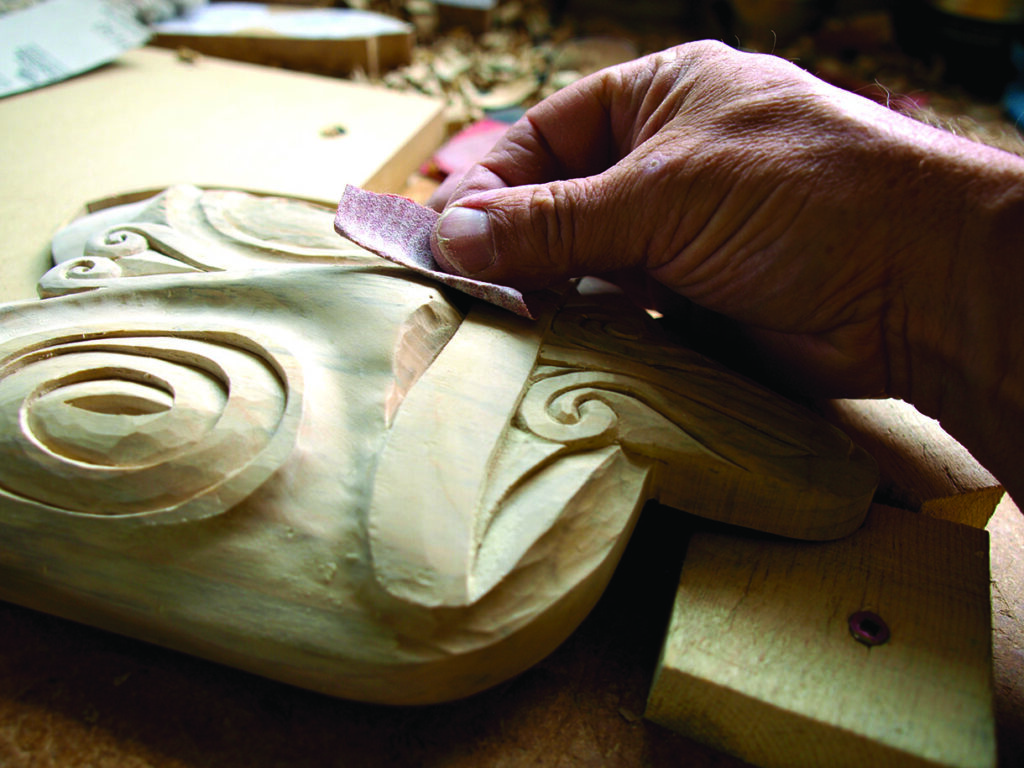
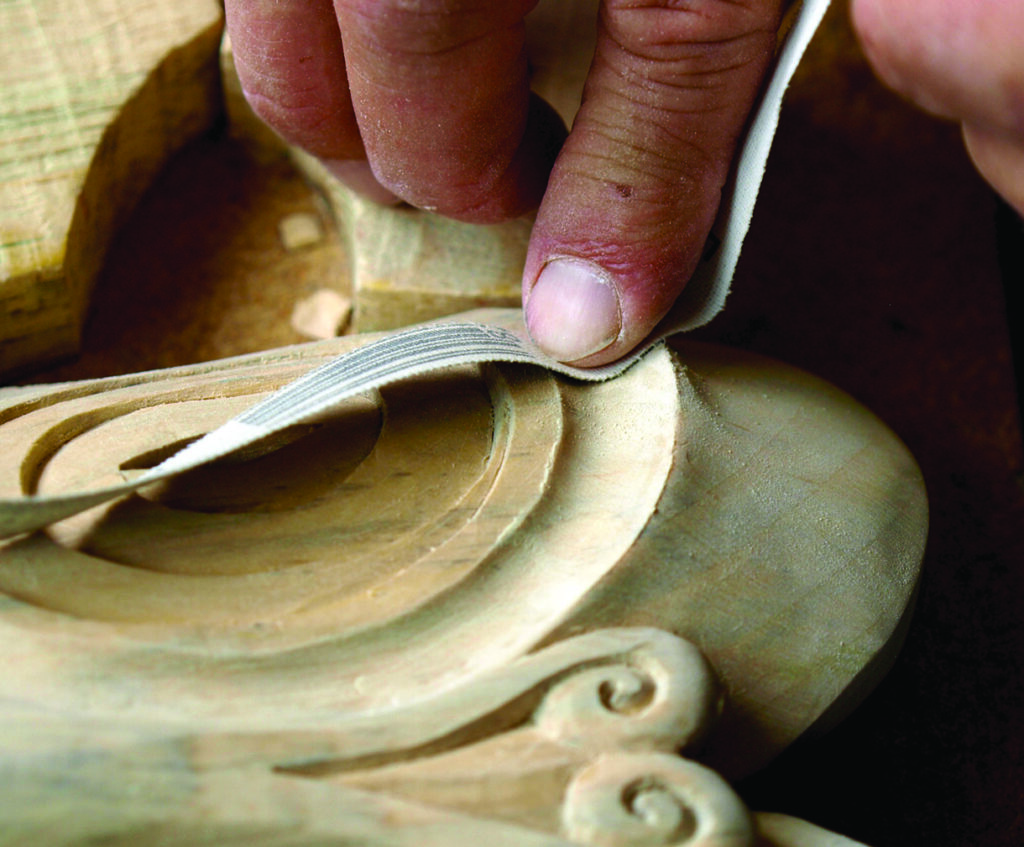
If an ‘off the tool’ look is satisfactory, the mask is complete, but if a really smooth and satiny look is preferable, now is the time to do some sanding, filing and scraping. If using abrasive papers, be sure to follow the grain as much as possible to avoid those awful scratch lines that can ruin the finish. Make use of fine, cloth-backed abrasives to fair curved areas and achieve a nice, velvety finish.
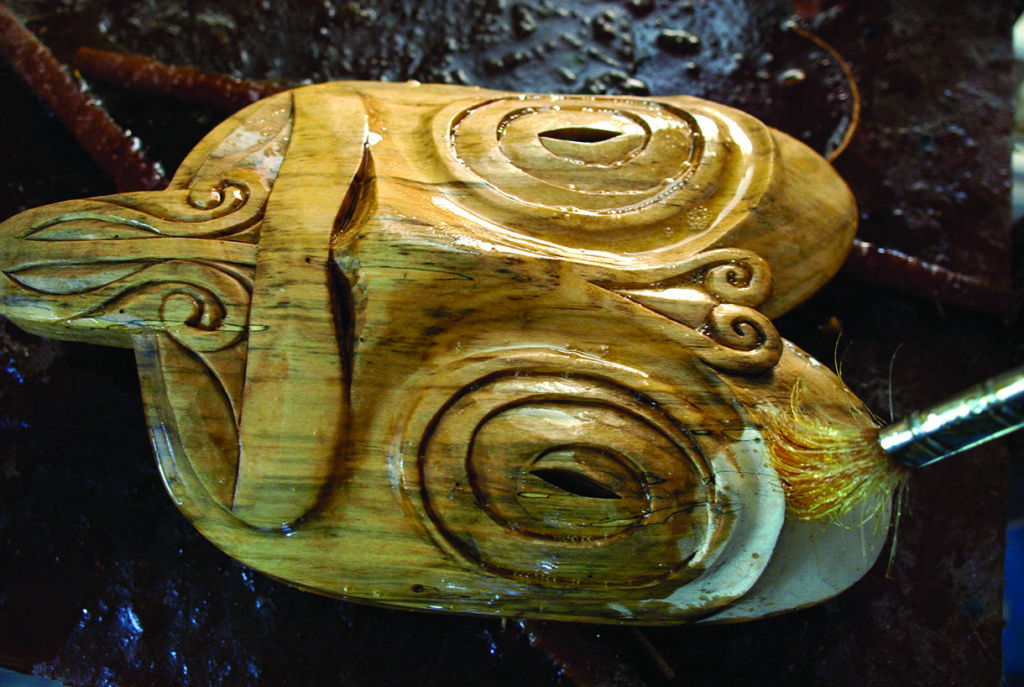
Because this particular piece of wood had some nice figure and some spalting, I was keen to highlight that feature, and brought it out by using penetrating oil. I brushed on four coats of clear Danish oil, allowing a full day of drying time between each coat, before finishing with a light coat of beeswax polish to give the mask a soft sheen.