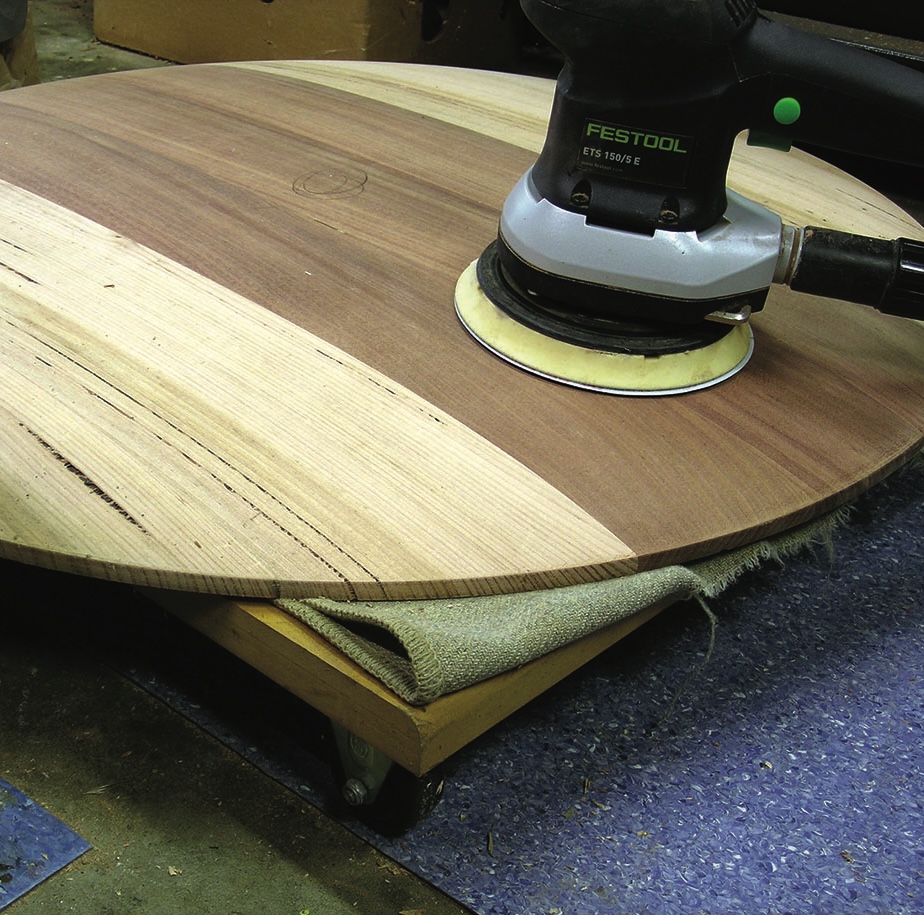
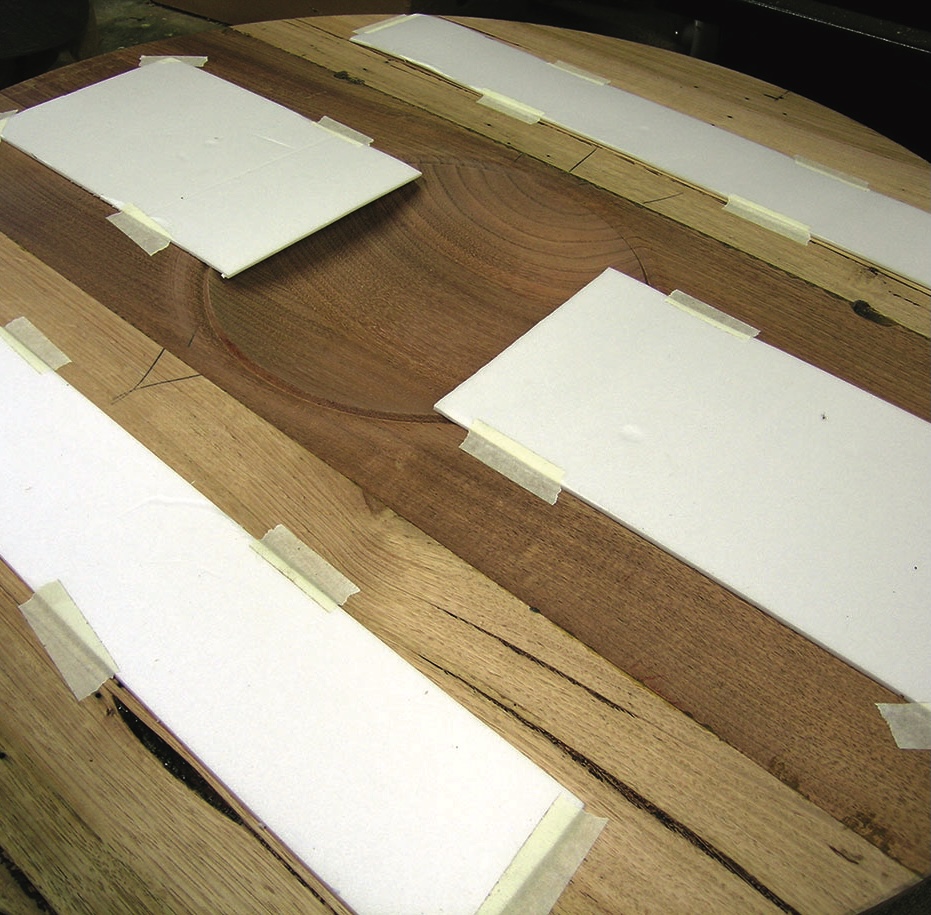
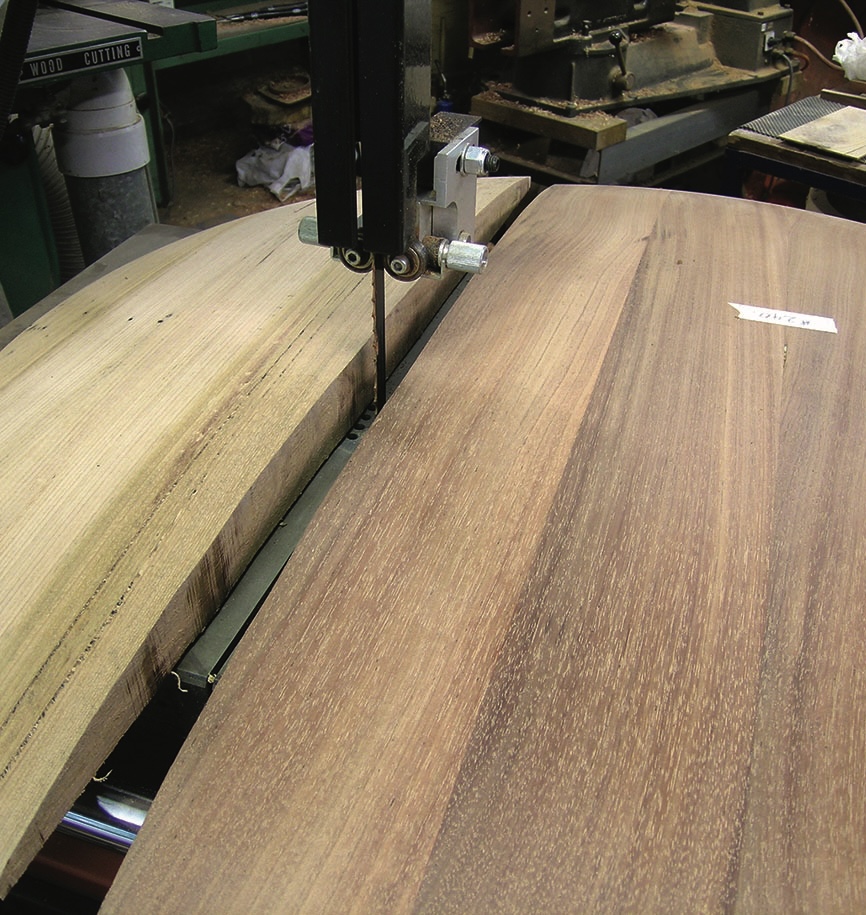
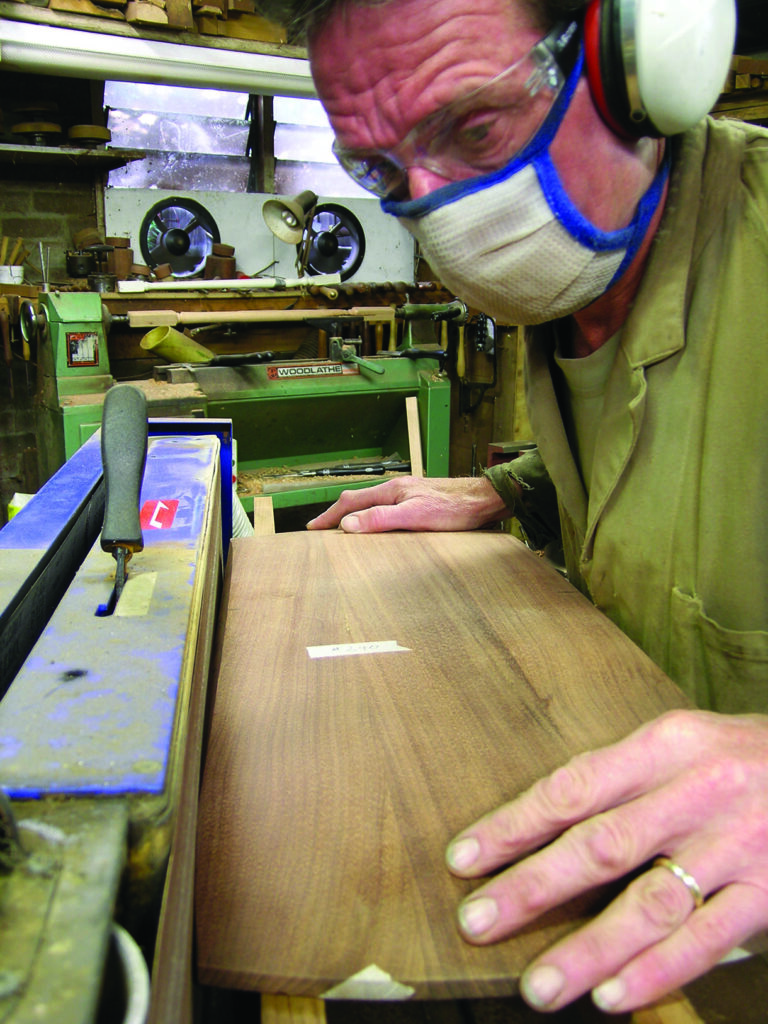
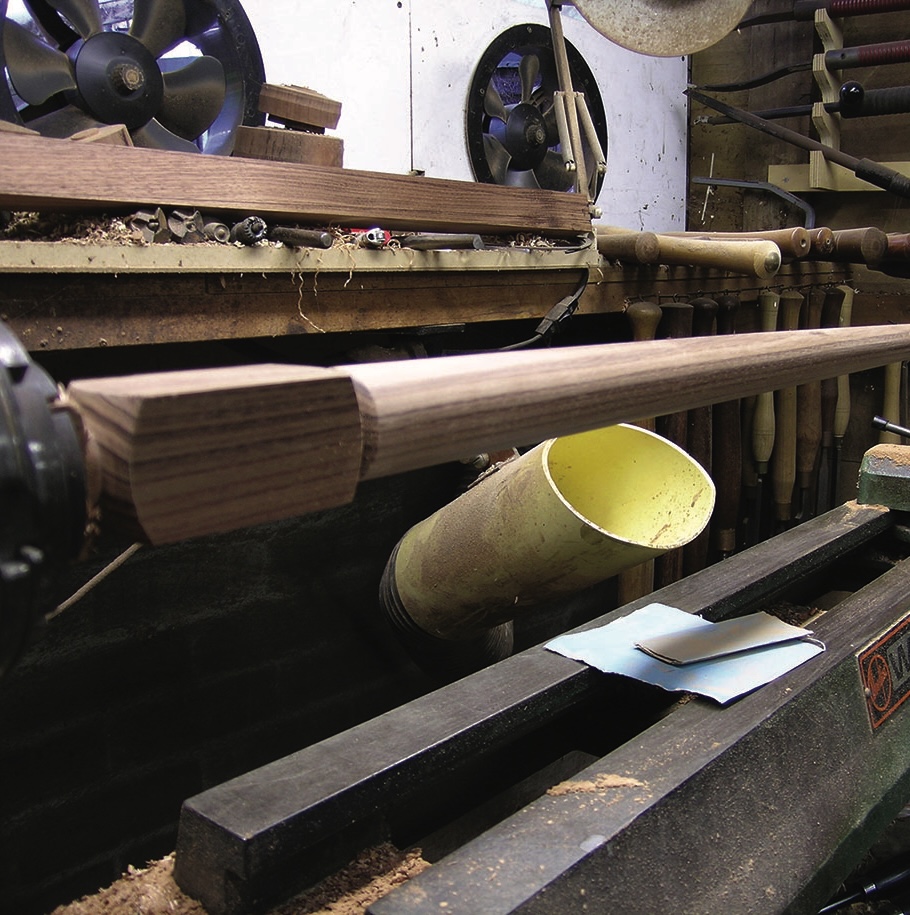
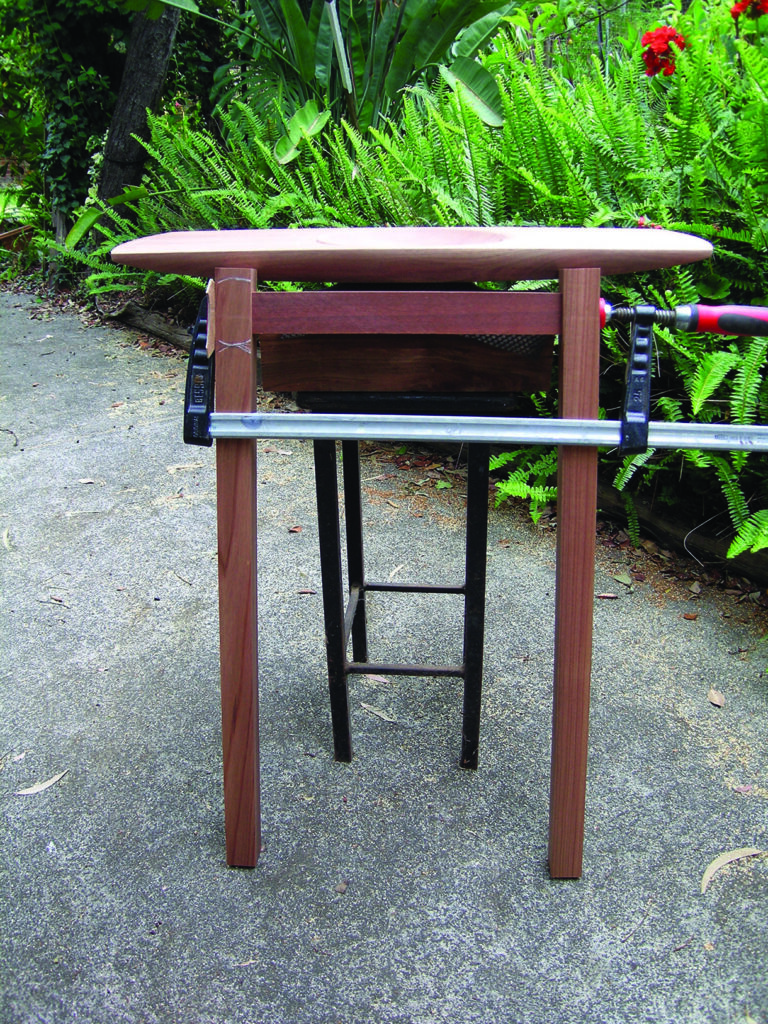
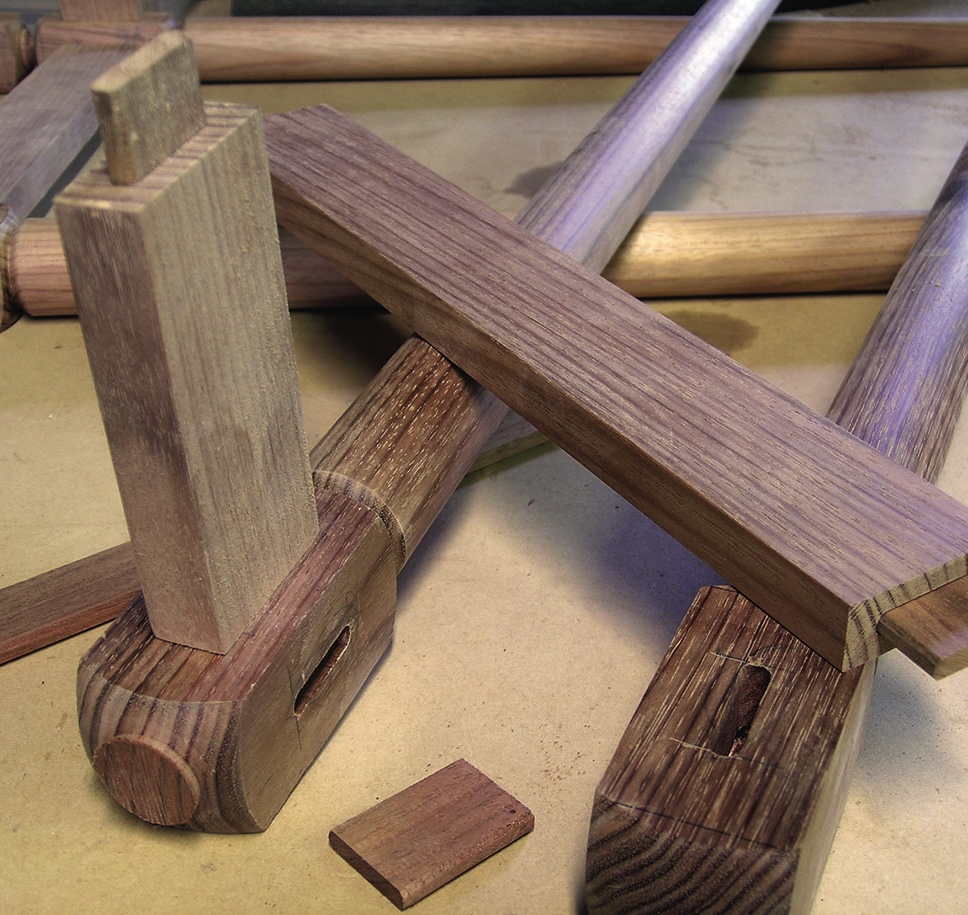
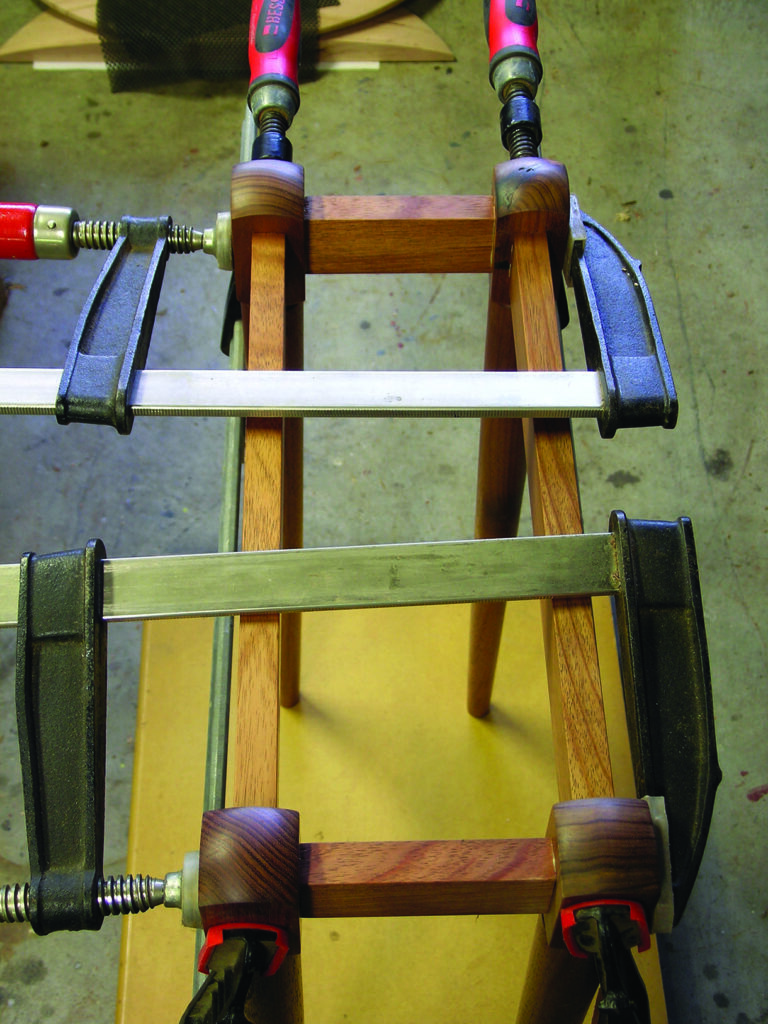
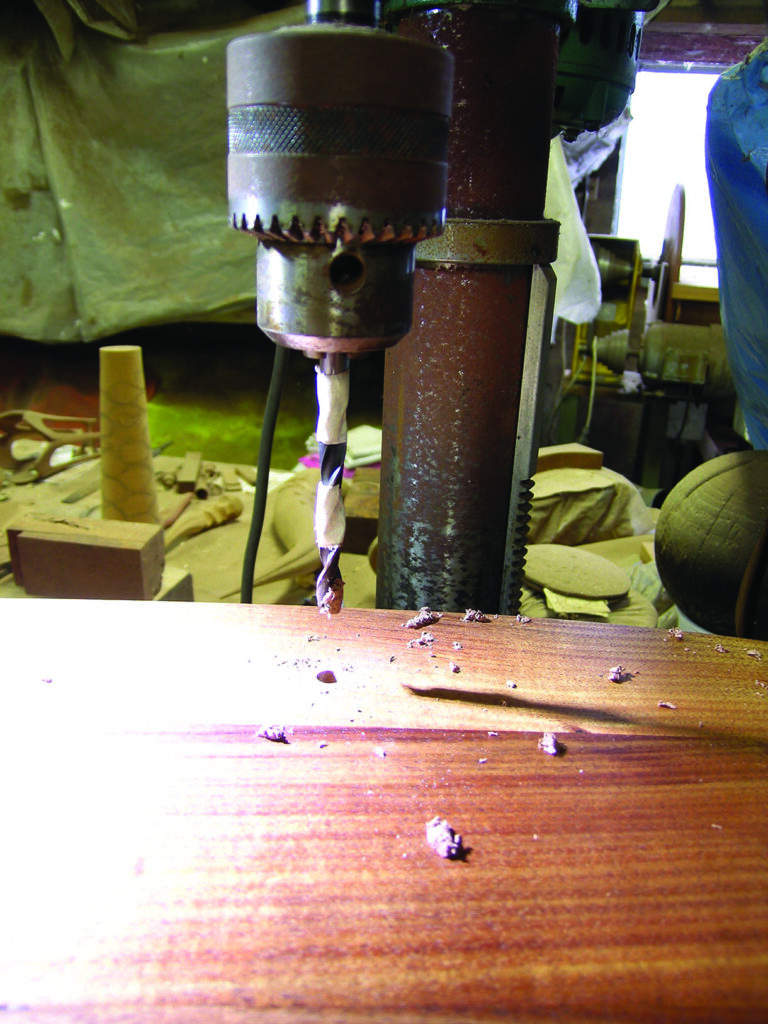
Andrew Potocnik shows the stages involved in making a modern hallway table
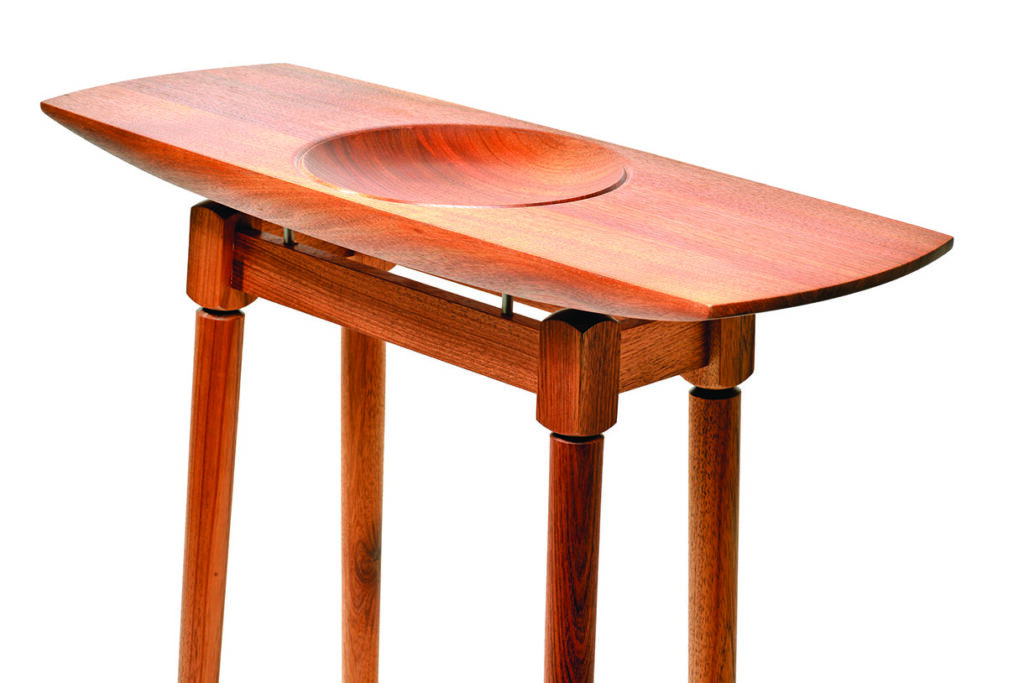
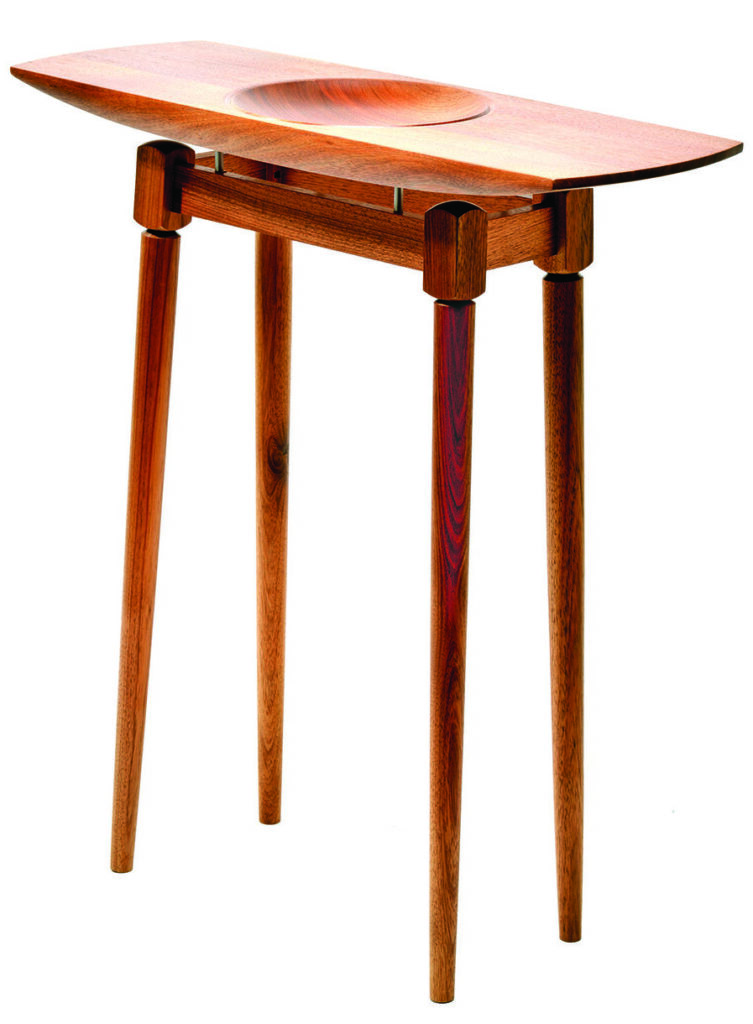
When asked by my in-laws to make a hall table that would suit the entry of their recently downsized home, I was a little apprehensive. There were several qualms: it’s a modern build, my in-laws are in their 80s, and I don’t make mainstream furniture. So I had to tread a fine line to keep all of us happy, especially as I’d only recently become an ‘in-law’, hoping not to become an ‘out-law’ too soon…
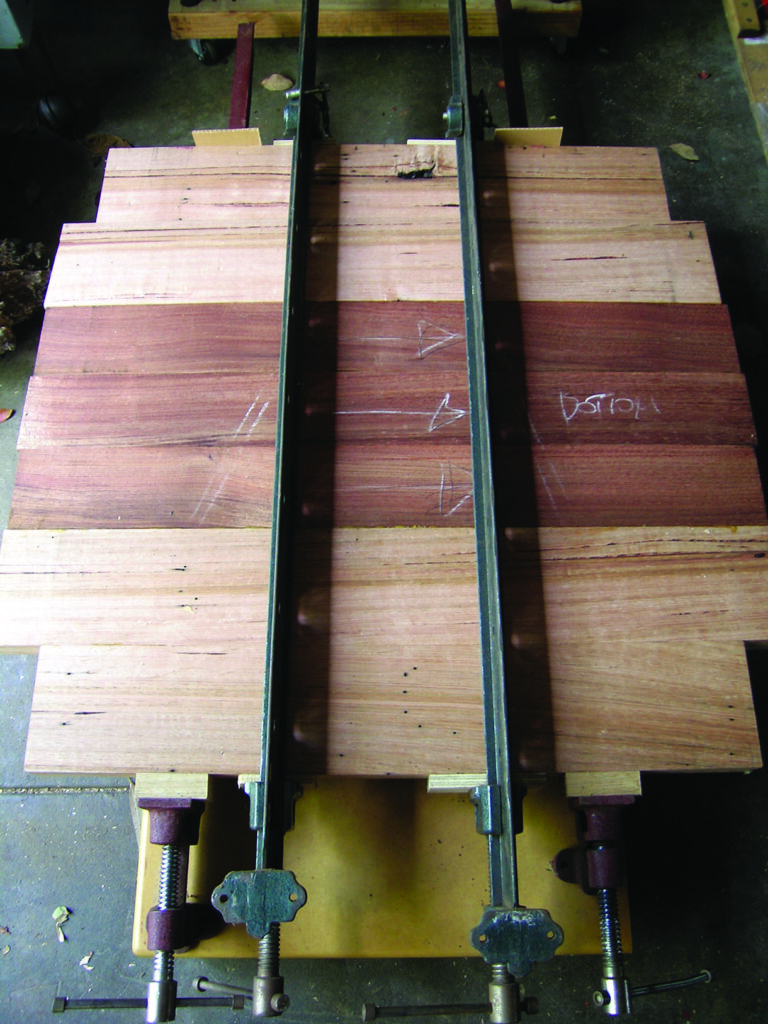
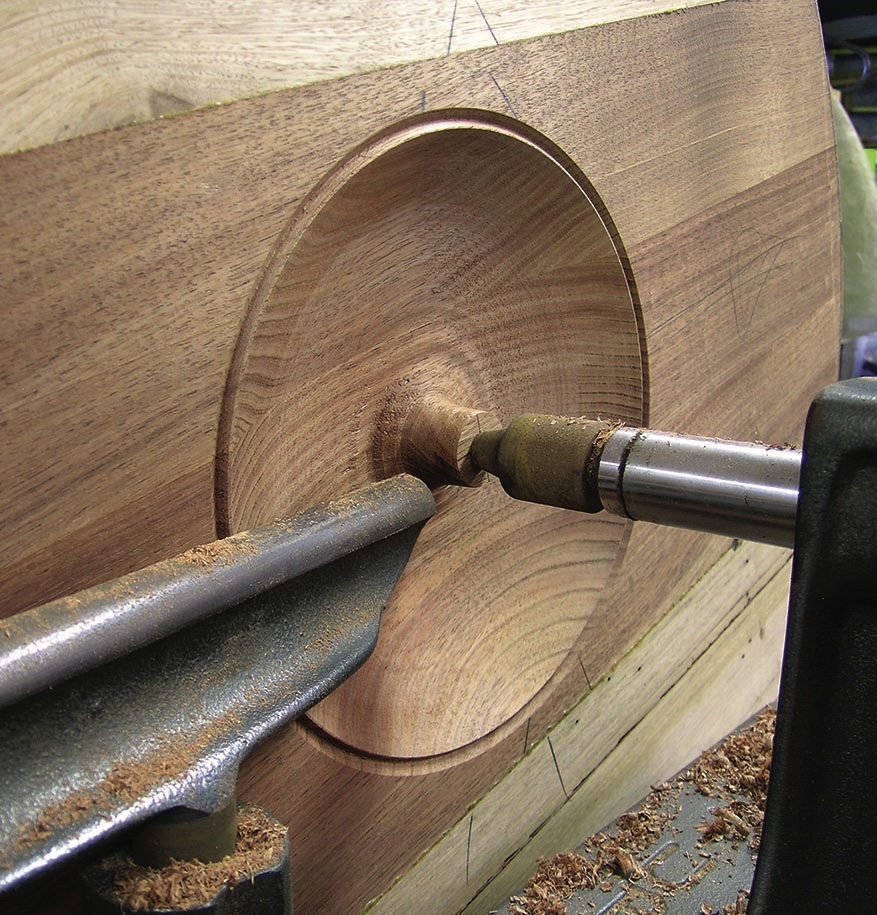
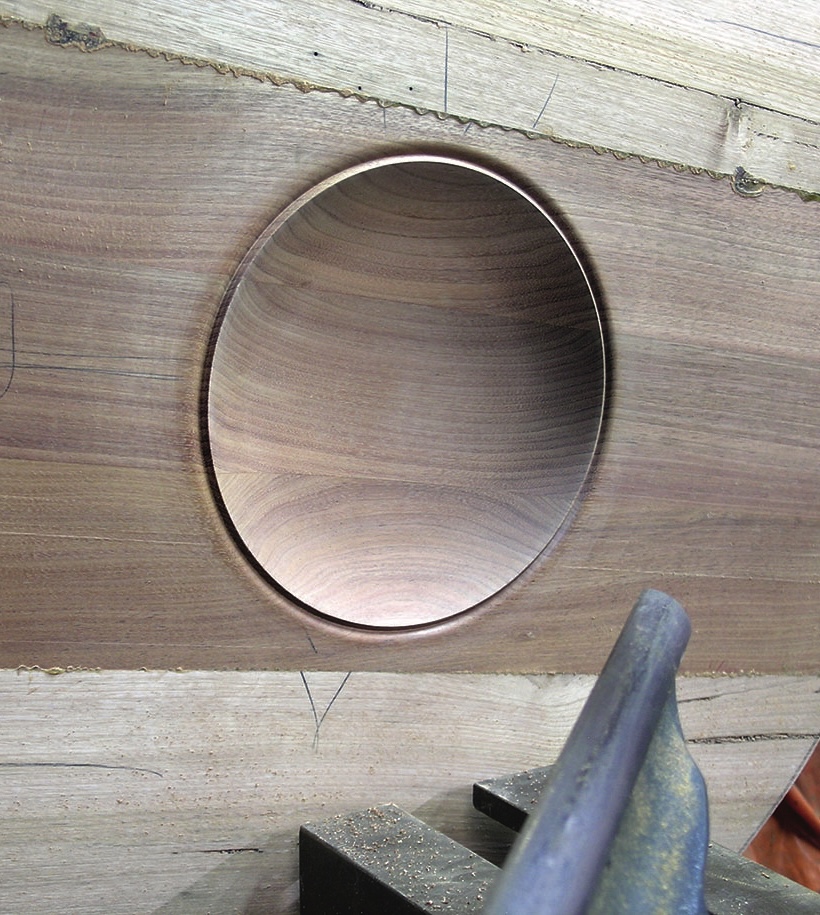
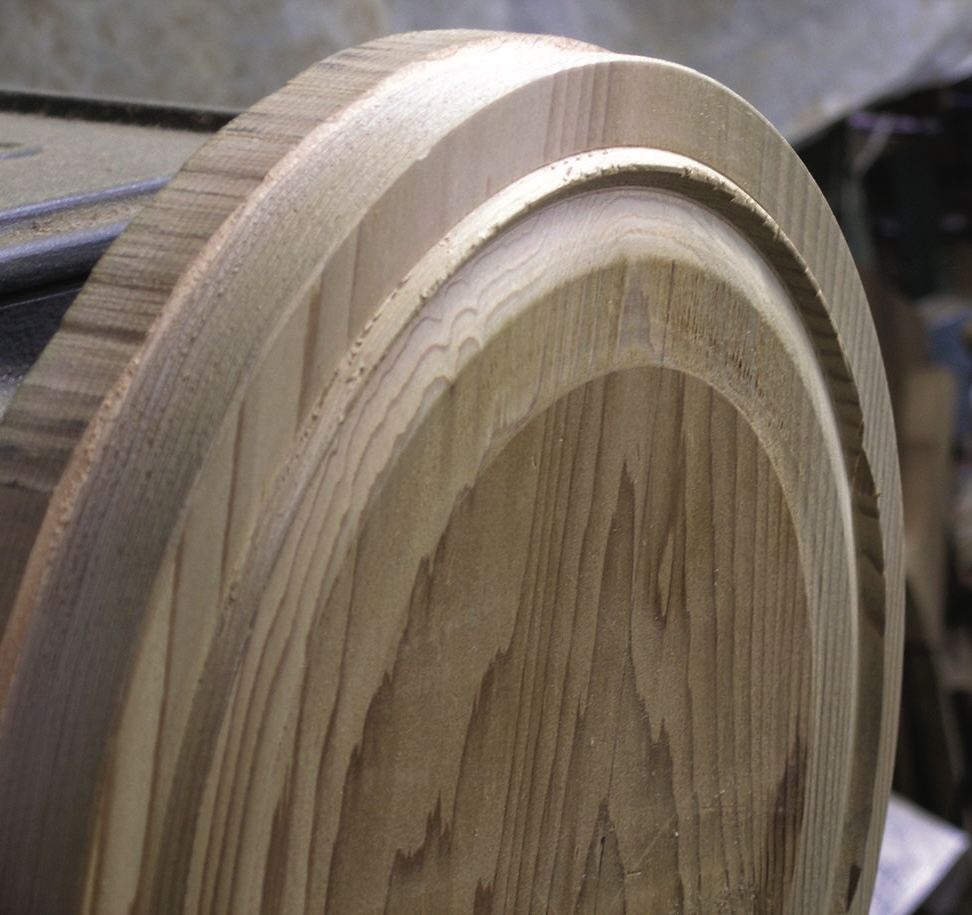
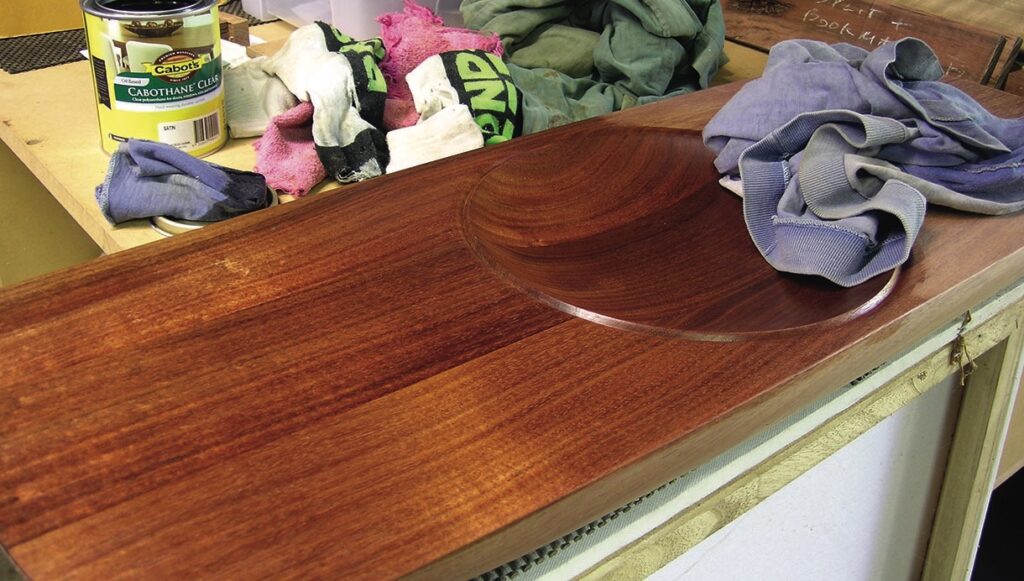
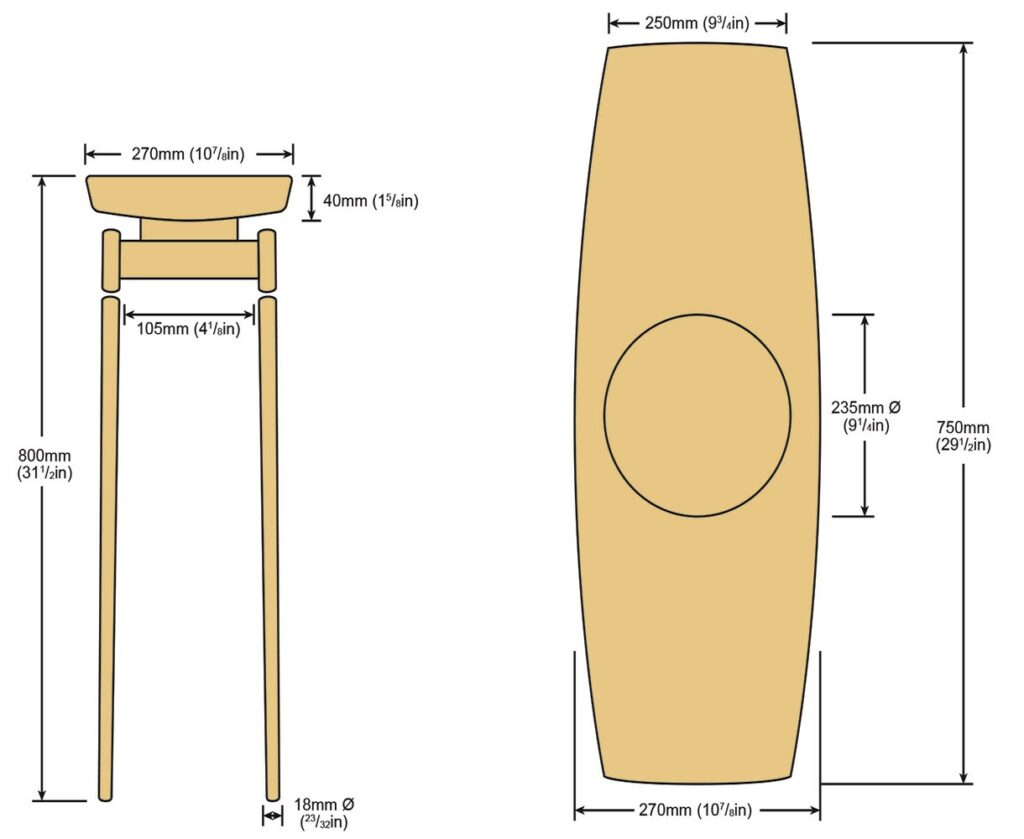
Assessing the space and requirements of the table it quickly became apparent that a receptacle for keys and other bits that need to be deposited as one enters the home could be fulfilled with a dish form at the centre of the table-top. There needed to be a flat area for a light to stand on, so my mind went to work. It seemed that the simplest solution, from my turning background, was to turn a dish-like form into the centre of a rectangular table-top.
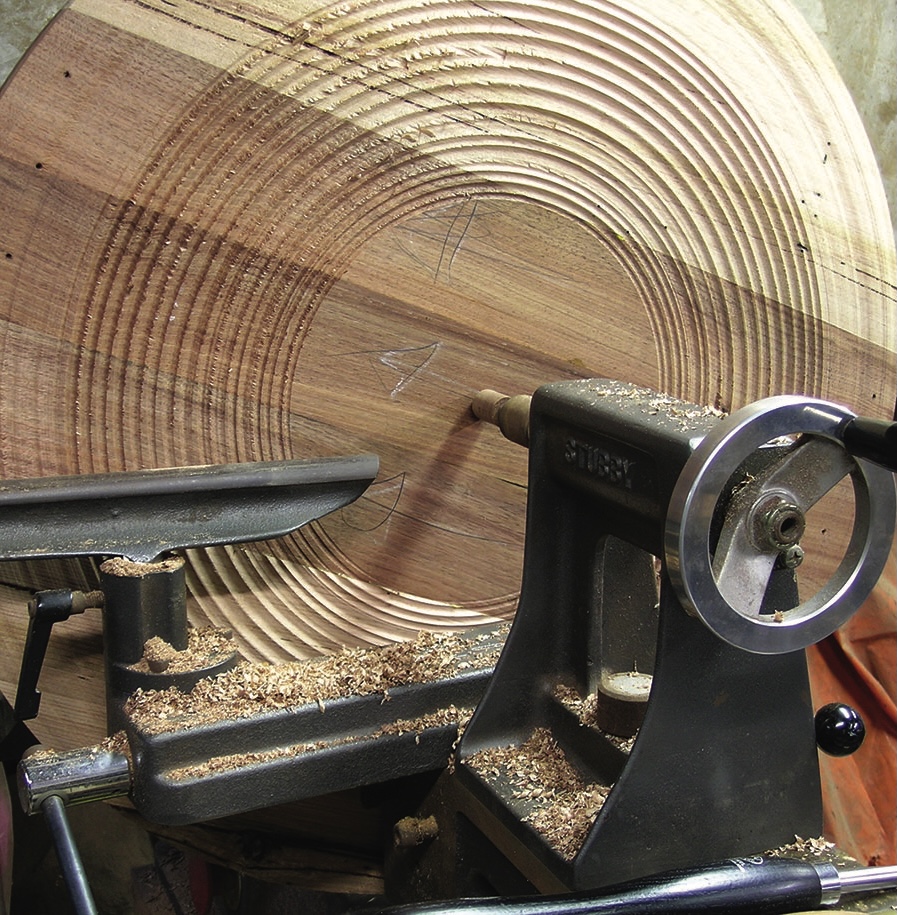
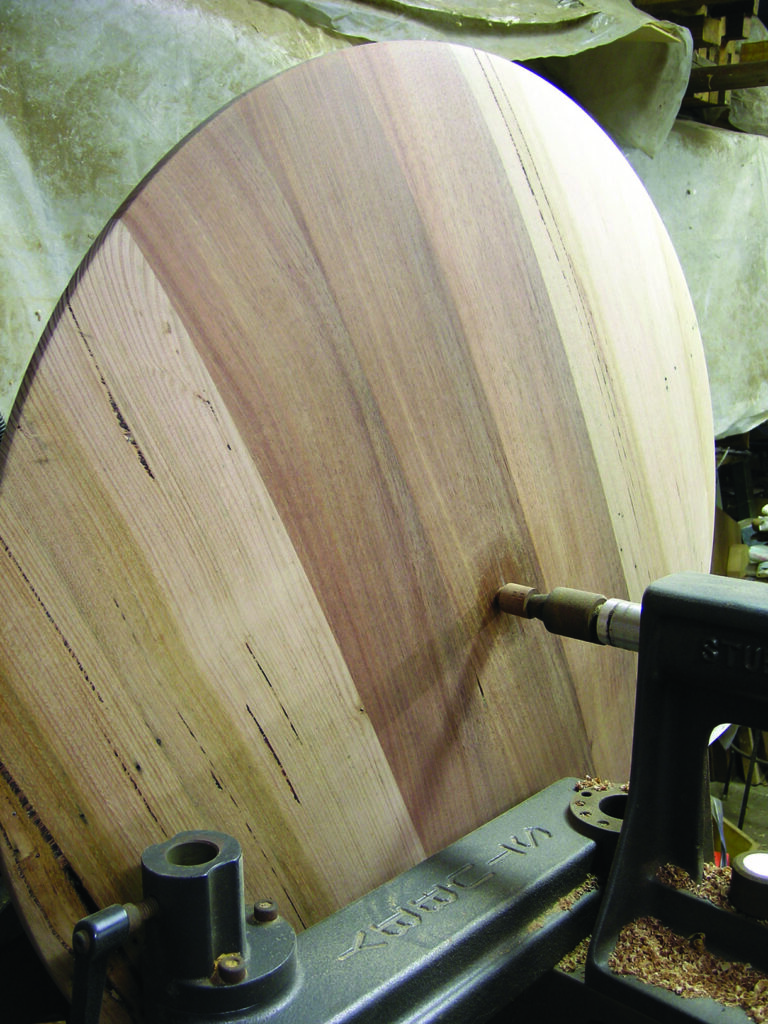
Easy enough for me to propose this initial solution, but would it suit the in-laws, and could I actually turn a piece of wood this size? Fortunately for me, both answers were yes. The top was accepted, and I could fit a disc of 750mm diameter to my Stubby lathe. Phew!
But with something this big it is not just about lathe capacity. It is also about working safely and, because the top is long and thin, holding the wood effectively, turning it at low speeds and never standing directly in with the edge of the work.
Many people do not have this size of lathe to work with, so if you like the idea of turning the table-top smaller than shown here, the techniques for turning the top still work and it makes a great bowl in its own right without the leg and sub-frame.
Tools and materials
• PPE & RPE
• 13mm bowl gouge
• 20mm spindle roughing gouge
• 20-25mm skew
• Round-nose scraper
• Faceplate and screws
• Revolving ring centre
• Woodworking tools for the table legs and frame
• Belt and random orbital sanders
• Metal table supports
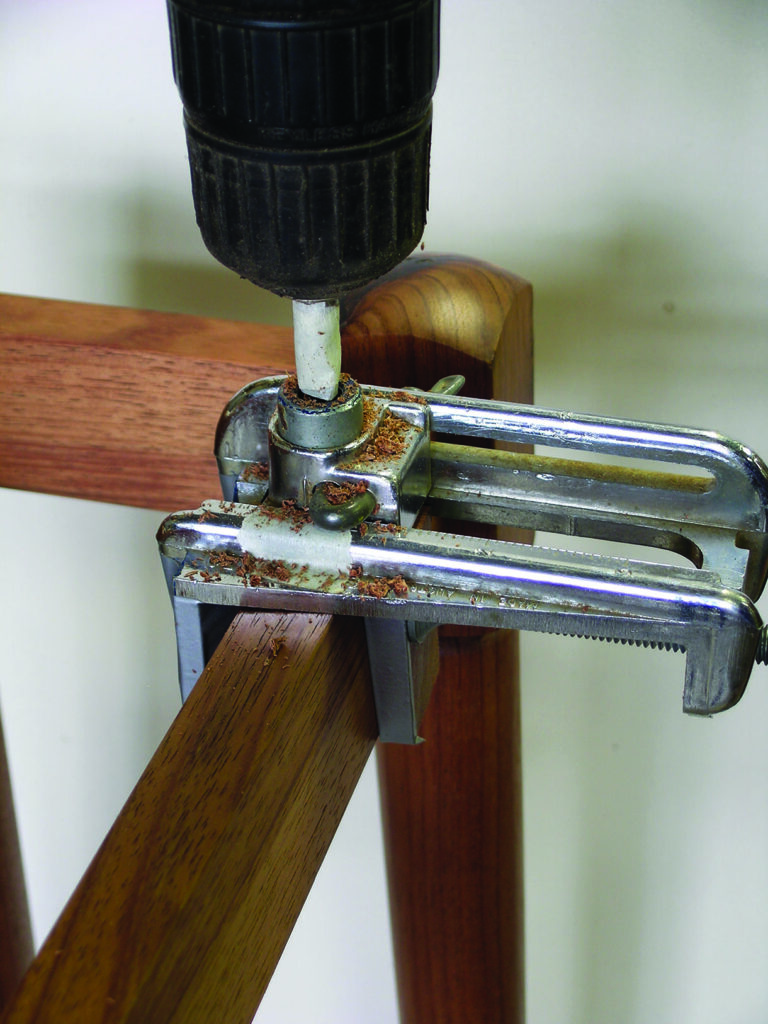
• Drill with drill bit to suit the metal support spacers
• Dowel drilling guide
• Clamps
• Abrasives
• Bandsaw
• Adhesive
• Finish of your choice
• Timber to suit the drawings
• Sacrificial timber/boards for the top and back support
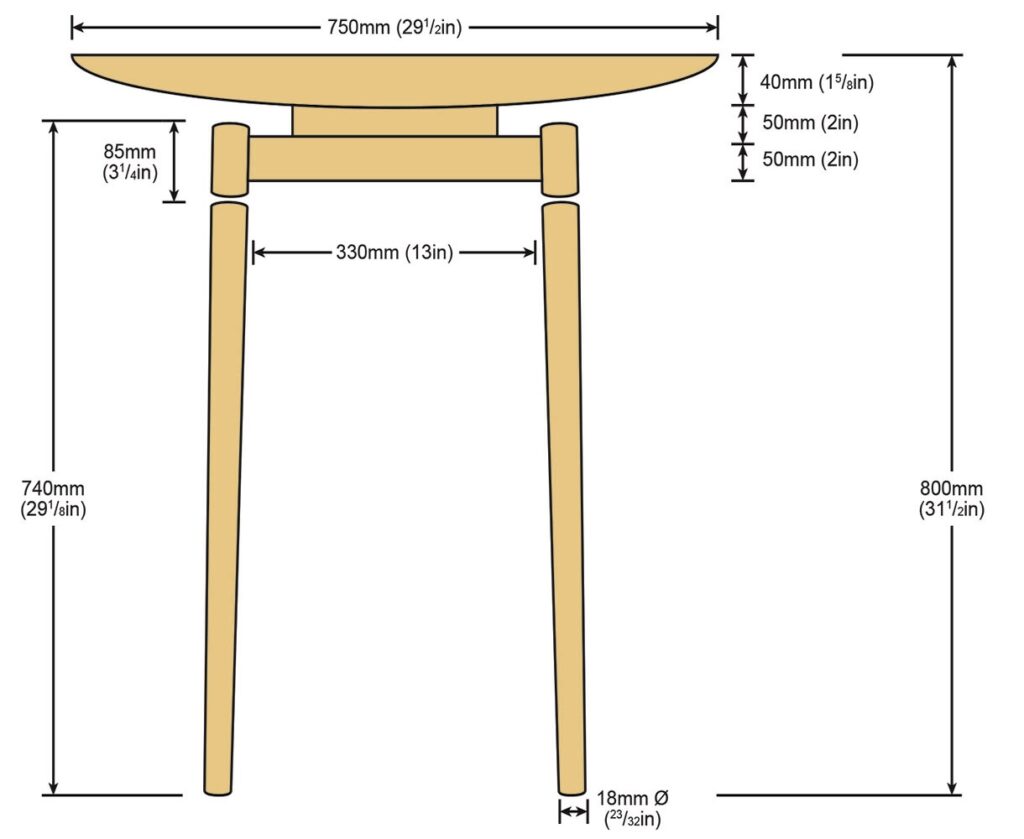
Drawings
The make