The Woodworkers Institute

We bring you the very best of woodworking!

“Make it with us”

Making a simple but effective cope and stick sled

Michael T Collins shows us just how easy it is to make frame joints
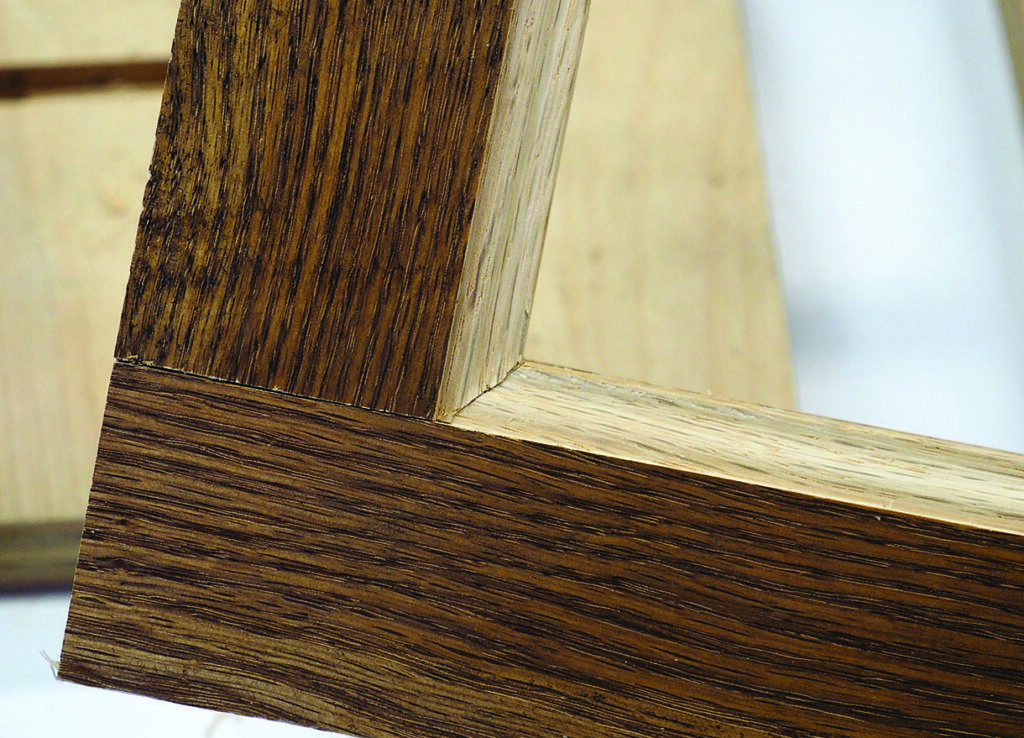
Close-up of dark wooden picture frame corner

The term cope is probably familiar to you – it’s the term given when cutting crown moulding or skirting board profiles so that one piece perfectly matches the profile of the other intersecting piece. Typically this profile is cut with a coping saw.

Cope and stick construction is a technique used in making panel doors and window frames. Rails and stiles are given a decorative profile, using paired router bits. The cope and the stick are the names given to the two pieces of wood that are cut using a router bit so that a smooth, perfectly fitting joint is created. 

Joiners refer to the moulded edge along the inside of a door or window frame as the stick. While a decorative type of edge is more appealing than a square edge, it creates a technical problem that requires joining moulded profiles at the corners. This is where the cope comes into play. The cope is the recessed complementary cut that is added to the opposite edge so the stick can be seamlessly joined, creating a much more ornate design. The greatest advantage, however, is the strength and tight-fitting durability that this technique achieves.

I can hear you asking: ‘Why wouldn’t you just make a panel door using bridle joints or mortise and tenon. Wouldn’t that be just as strong?’ Well, yes it would, but, as mentioned earlier, if you wanted a decorative profile on the inside edge of multiple door frames, that would be quite a challenge to cut, making the cope
and stick a better, faster and more attractive option. The rails have a coped profile cut across the end grain that fits the profile of the stile. If you’re building cope and stick panels, it’s important to be able to accurately and safely cut the end grain.

So let’s make a coping sled

There are several expensive products on the market, but being known for frugality, here’s a quick and inexpensive way to create an adjustable coping sled using supplies and scraps you probably have laying around. It features a sturdy toggle clamp to hold parts firmly against a sacrificial block, thus preventing end-grain blowout, while an abrasive strip prevents the work piece from moving as you pass the bit for a clean, square cut. The sled keeps your hands safely out of harm’s way with two large handles. This jig uses the mitre slot for smooth action.

Materials and tools

• 1 piece of 400 x 360 x 9mm birch ply or Formica for the sled (something that is stable)
• 2 pieces of wood 230 x 120 x 19mm
• 1 toggle clamp
• 1 T-bolt (or toilet bolt)
• 1 star knob or wing nut
• 1 old plane or saw handle
• 1 old plane tote or door handle (in my example I have used an old router handle)
• 1 piece of 19 x 9mm hard wood to act as a runner

Construction
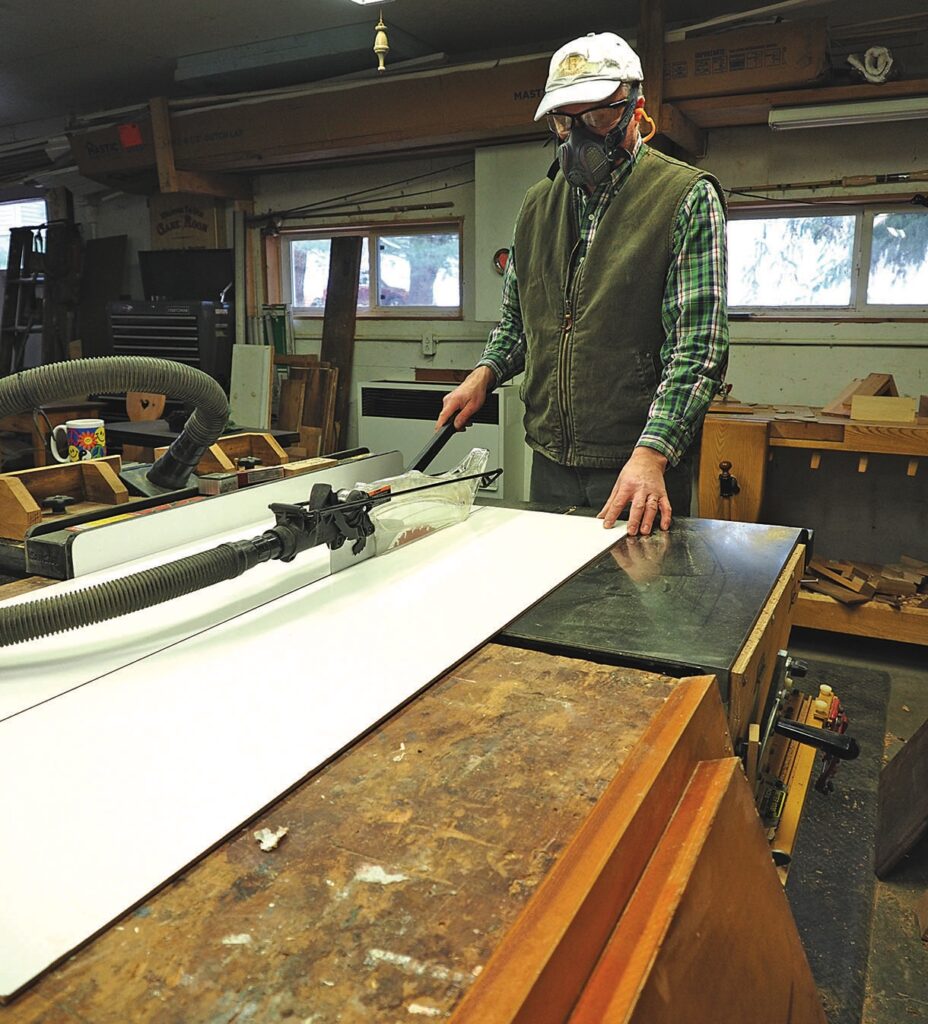
Woodworker wearing respirator operates table saw in workshop
1. Cut a piece of melamine or MDF to size
Woodworker positioning timber strip on table saw fence
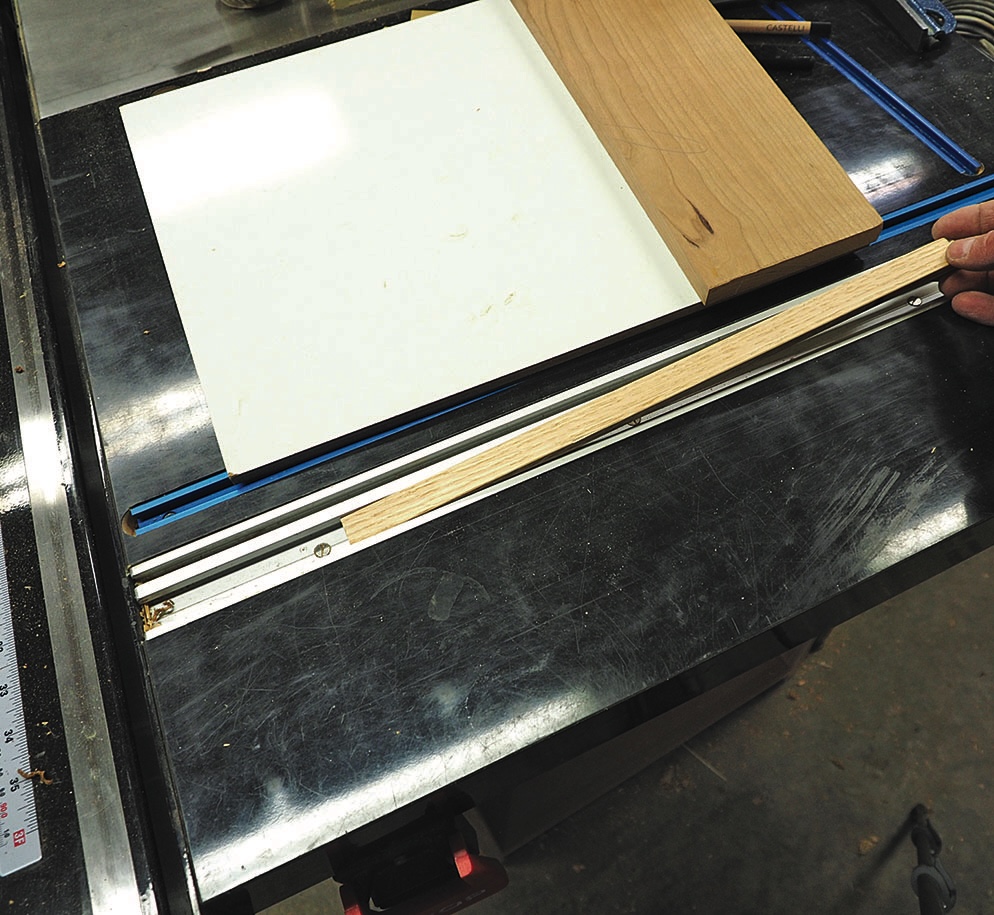
2. Position the runner in the mitre slot, placing the board on top, parallel to the longest side of the sled so that the sled clears the largest router bit you will be using by about 3mm
Router table with cutter bit beside wooden board
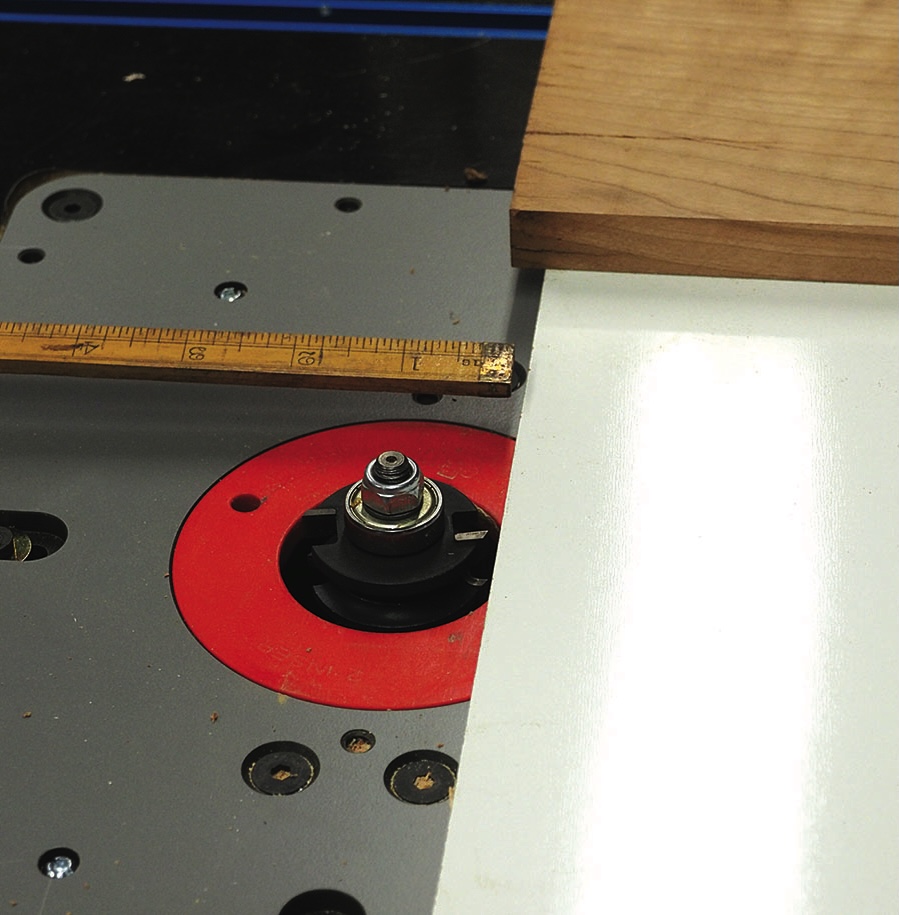
3. Use a couple of pieces of double-sided tape to temporarily hold the board in place
Person drilling wooden strip onto white board
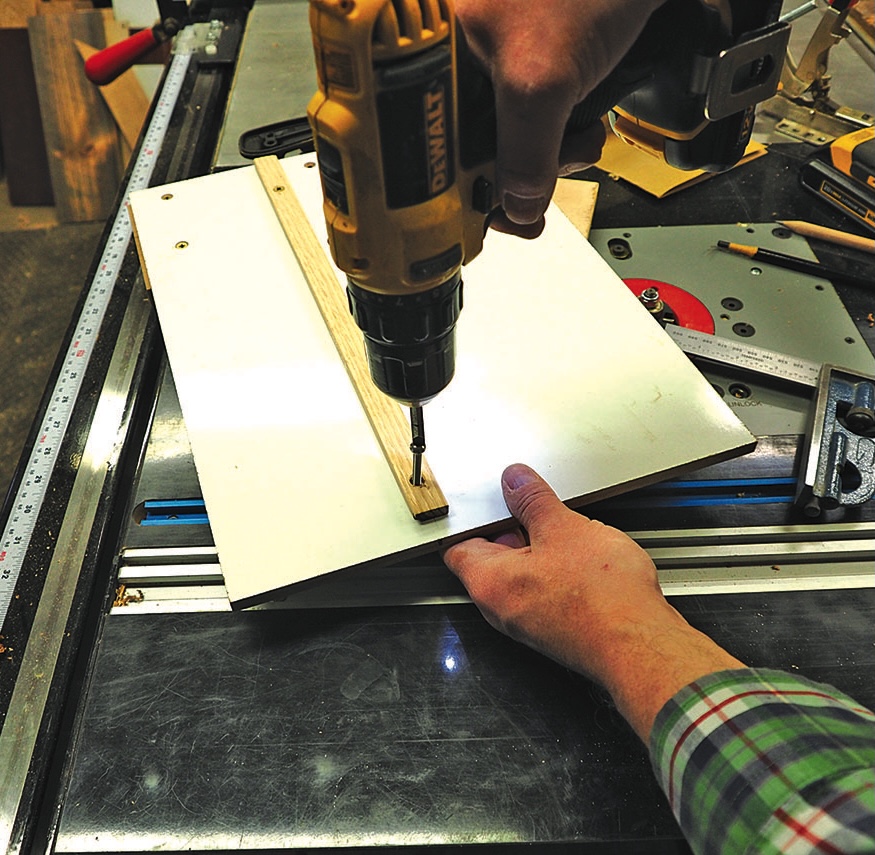
4. Secure the runner from the bottom with three counter-sunk screws. Screw one of the two blocks of wood perpendicular to the sled’s long axis – I glued and screwed mine. With the forces that a router bit exerts, one can’t be too careful
Woodworker assembling a table saw push block jig
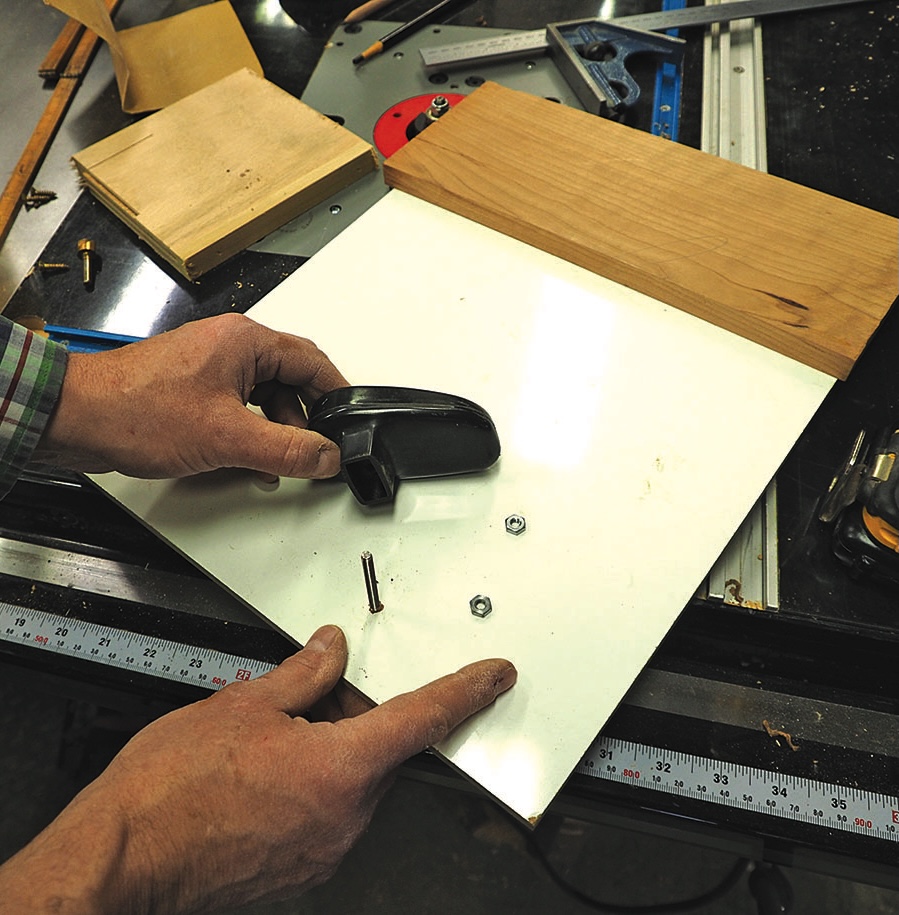
5. The front handle is secured from the bottom and again in line with the mitre slot – I used an old plunge router handle (I recycle everything)
Drill driver fastening toggle clamp to wooden board
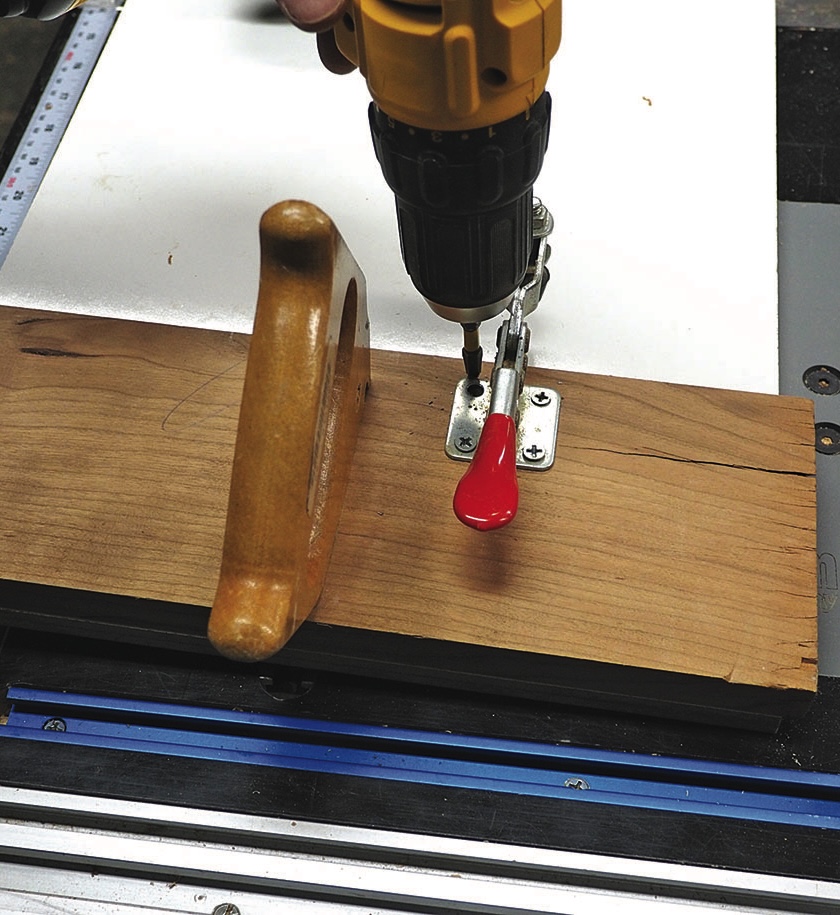
6. An old saw handle is screwed to back-stop from the bottom so it is in line with the mitre slot. The toggle clamp is screwed in position between the handle and the edge closest to the router bit. Make sure that it can span a 25mm scrap of wood. Glue a strip of sandpaper to the front edge of the backstop Note: old saw and plane handles are always very handy to have around
Woodworker using push block on table saw
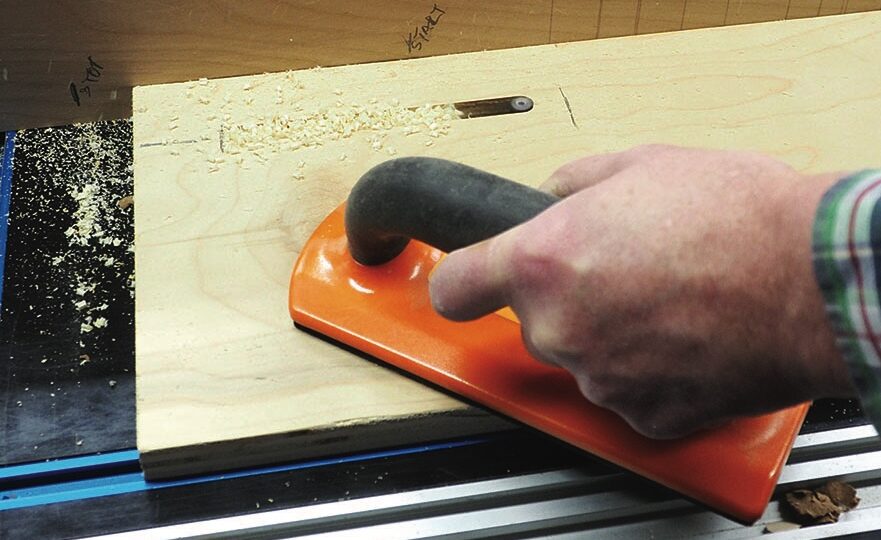
7. Take the second block – the ‘clamping piece’ – and rout a slot for the bolt. It needs to be able to slide back and forth allowing the maximum and minimum size rail. I used a small piece of wood to keep the clamping piece parallel, but this is not necessary. Recess the bolt head on the underside by counter boring the hole. Add a strip of sandpaper to the leading edge of this

Using the sled to make a panel door
Woodworker measuring timber edge with combination square
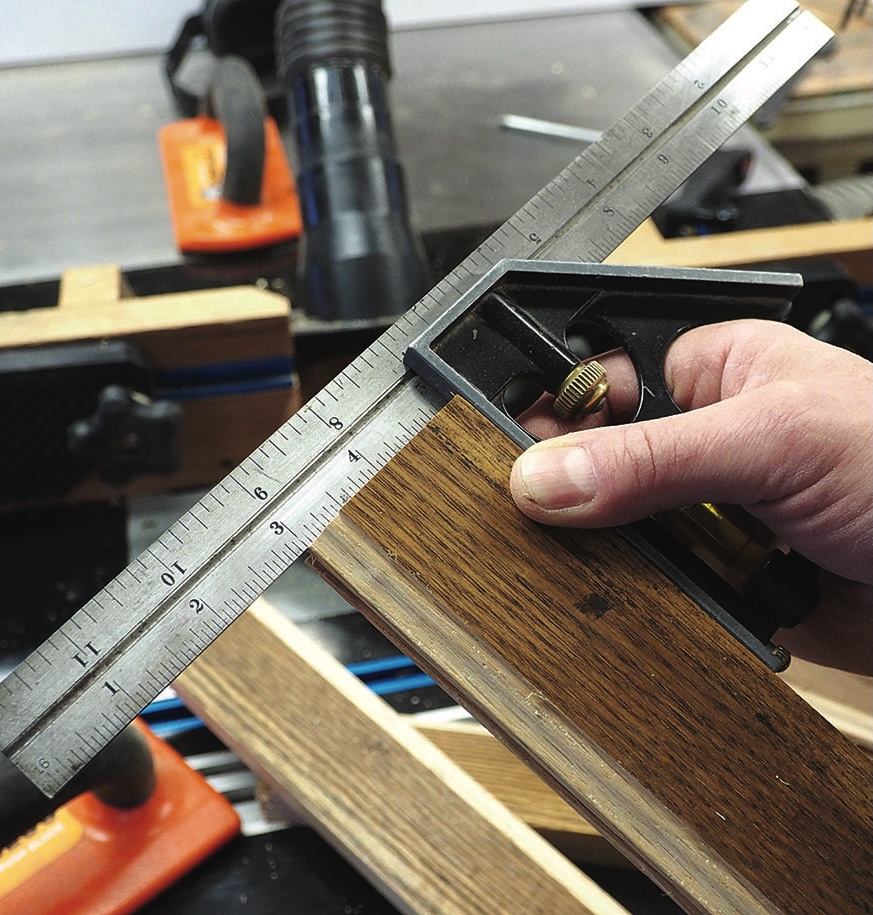
8. The first step to successful door construction is to measure the actual door opening. Always take measurements from the physical dimensions. The length of the rails will be the width of the opening minus the width of the two stiles. Unlike mortise and tenon or bridle joints we do not need to allow for the wood that makes up the joint. Cut the rails to the exact length and square the end. This is crucial
Woodworker routing timber using a router table and featherboards
9. I always make my stiles about 50mm longer than needed. Not only is this practice a holdover from when I make mortise and tenon frames, but I also find passing a longer piece of wood through a router gives more control and provides you with extra wood at the leading edge where tear-out is likely to occur

Routing the stiles

Woodworker routing a timber joint on a router table
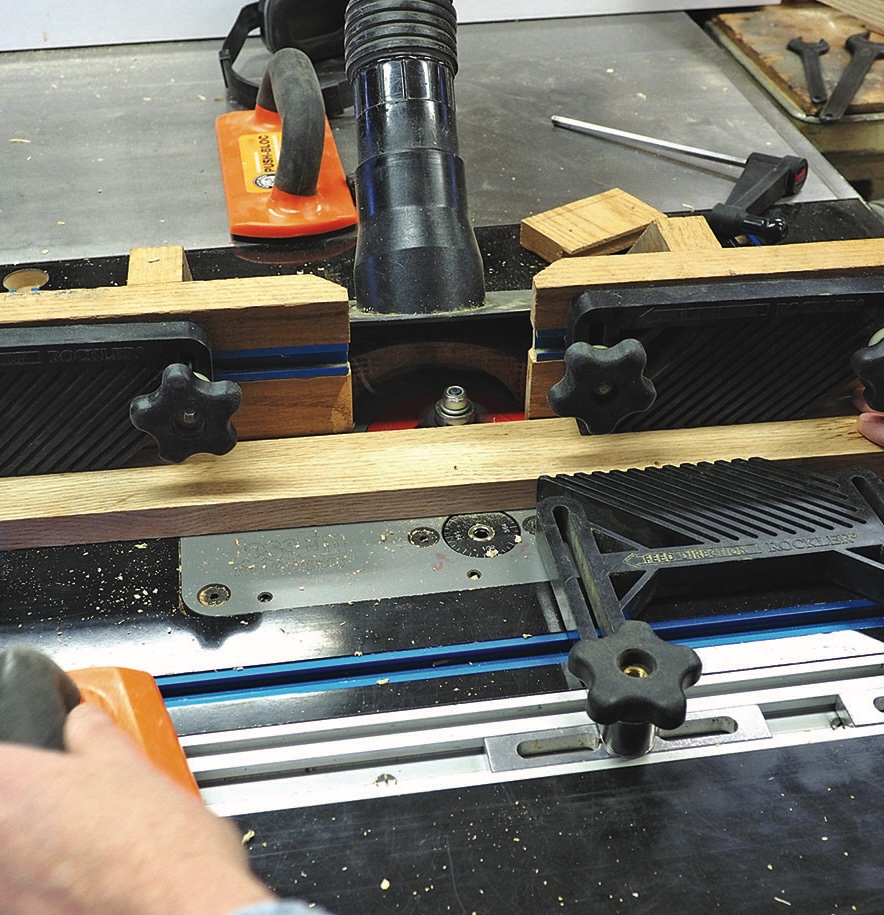
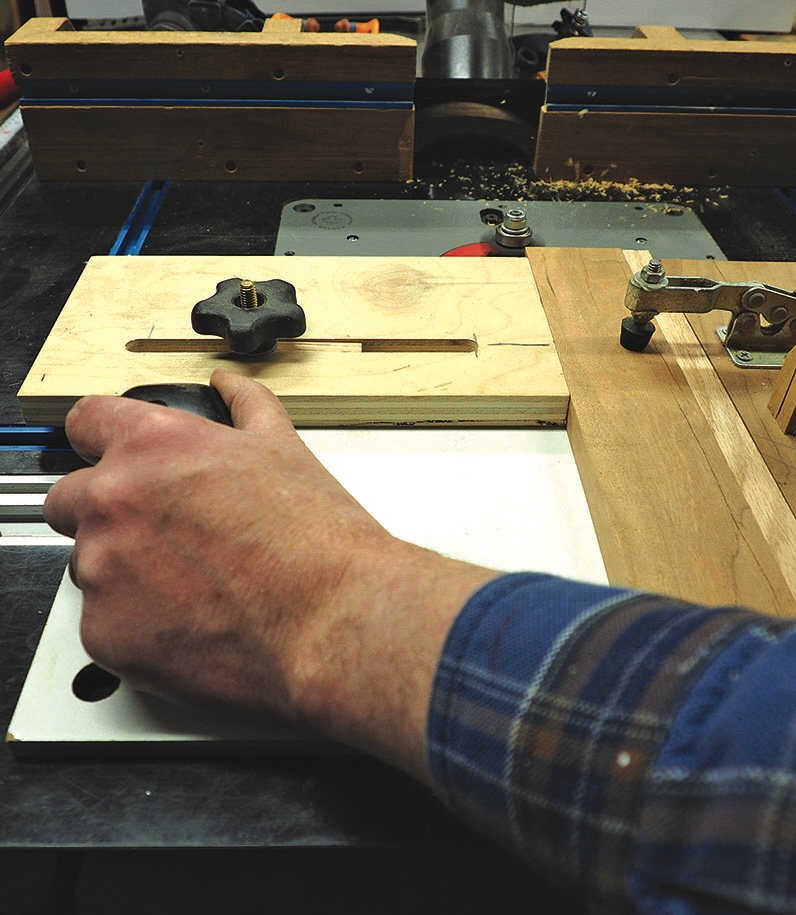
10. Note: when producing cope and stick panels the work pieces are pushed past the router face down. Take a piece of wood of the same dimension as the stiles and pass it through the router bits, adjusting the height until you have a proper profile.This will take some trial and error. For accurate cuts use feather boards to make sure that the wood is pressed firmly into the cutter. Once you are happy with the profile, run the stiles through the router bit, cutting the profile in stages, increasing the depth of the cut with each successive pass. Do make sure to take grain direction into account. Replace the stile cutter ‘stick’ with the rail cutter ‘cope’ and adjust the height, taking the sled’s thickness into account. At this point I realised that I needed a hole in the sled so that I could access the lift mechanism
Woodworker using router table jig with clamped timber
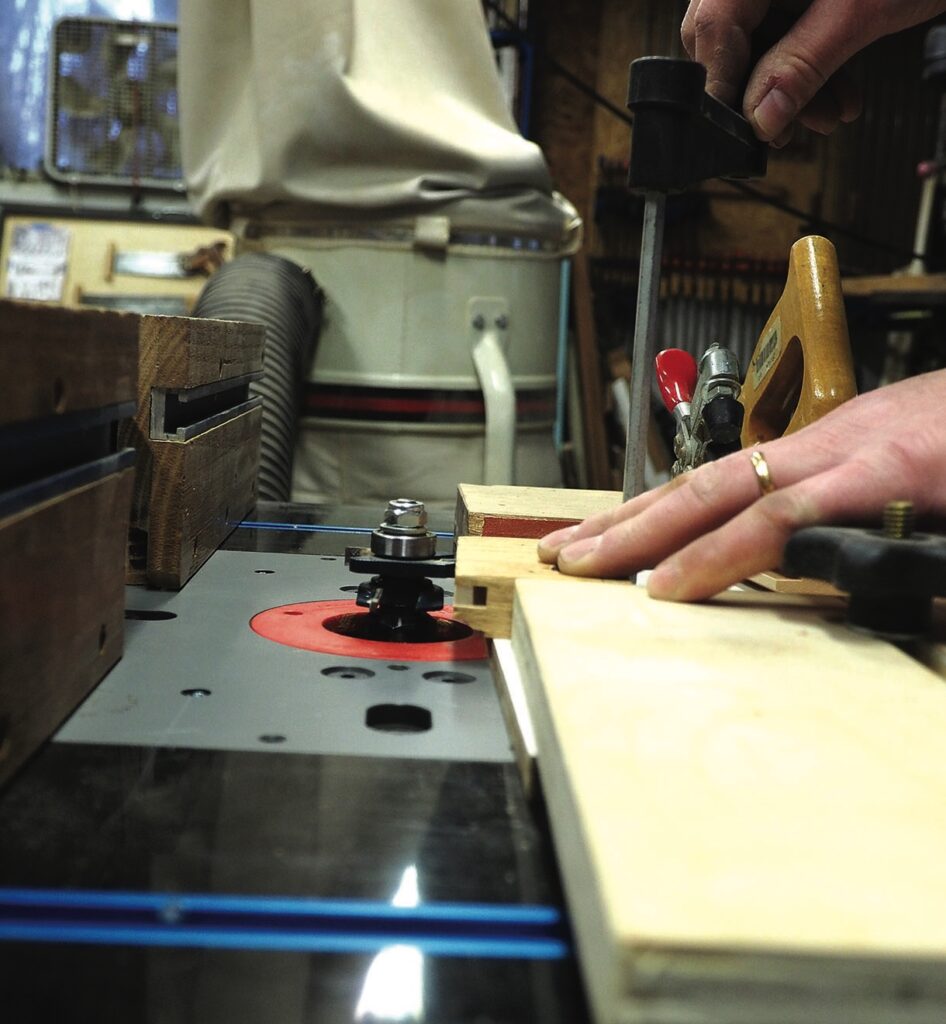
11. Use a backer piece to avoid tear out and pass the stile through the cutter, increasing the depth with each successive cut. Again, there is an element of trial and error here
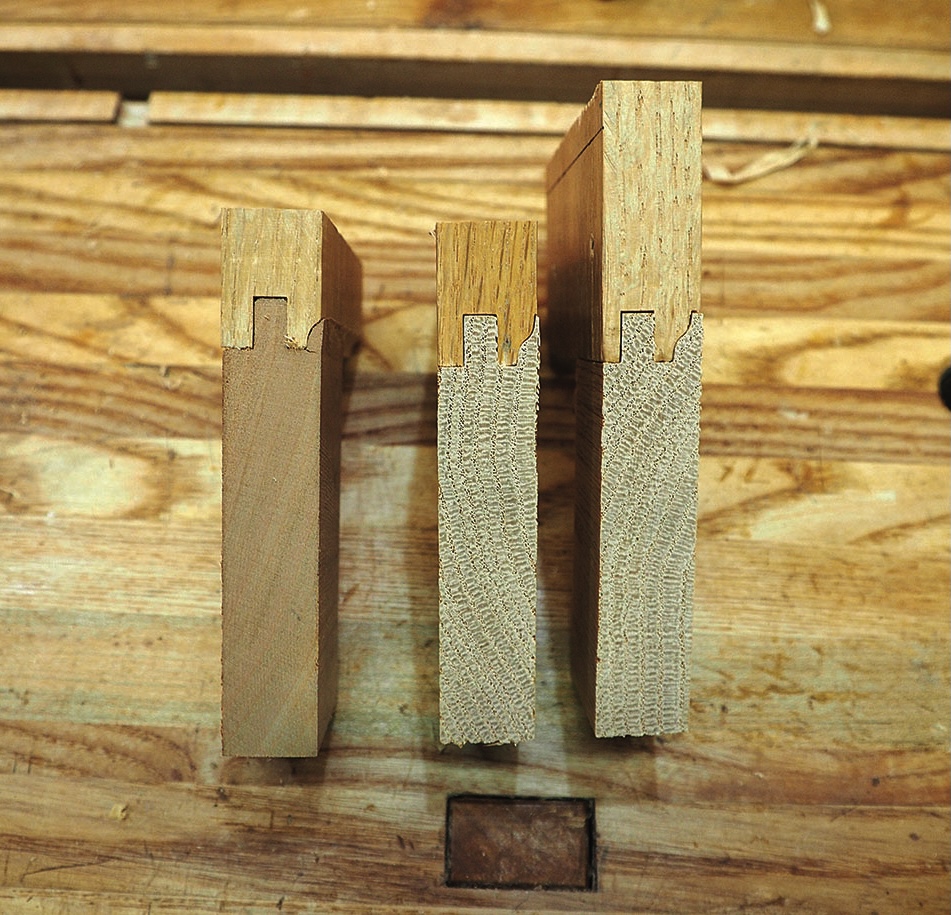
Three timber samples showing stepped joinery cuts
12. Here are three profiles. You can see that the left-hand profile is very weak while the right-hand profile is just right
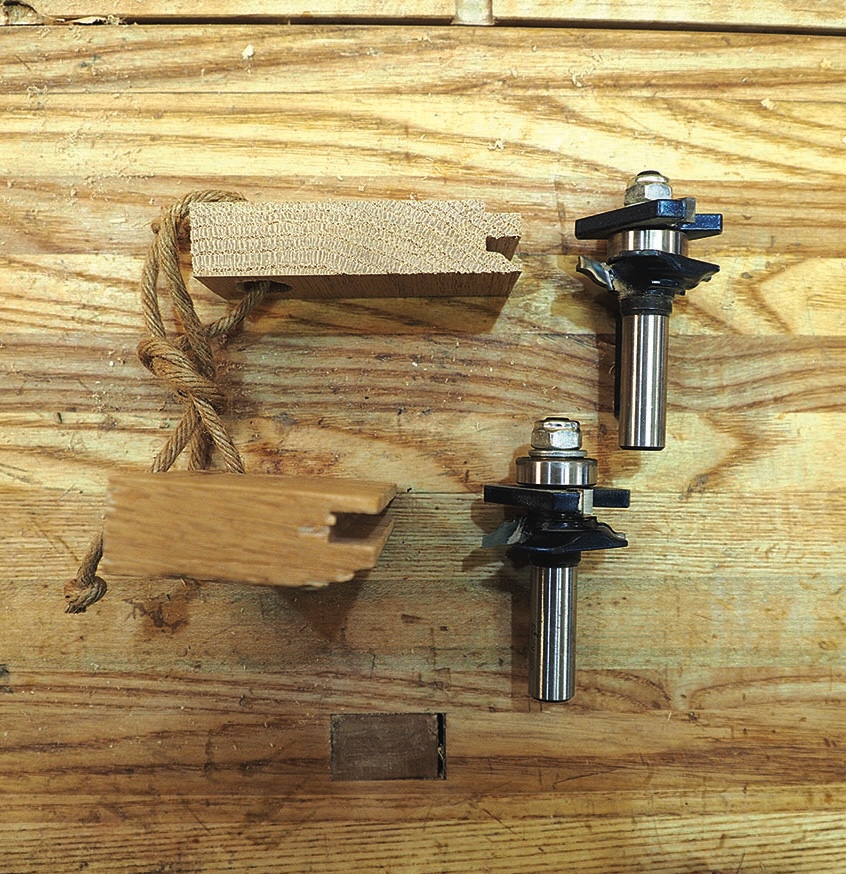
Router bits beside grooved timber pieces on workbench
13. Once you are happy with the mating pieces, put these aside – they will be the templates for future set up
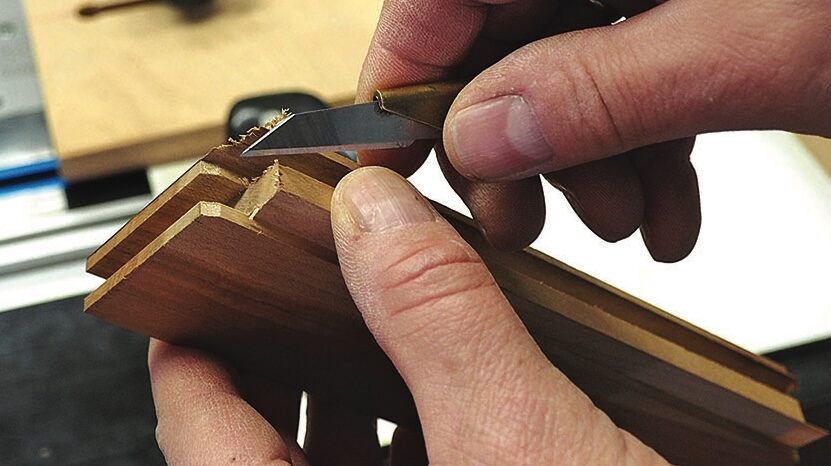
Woodworker carving a wooden joint with a chisel
14. Clean up any stray fibres – being careful not to alter the profile –so the joints fit cleanly together
Woodworker using a hand plane to shape a timber joint
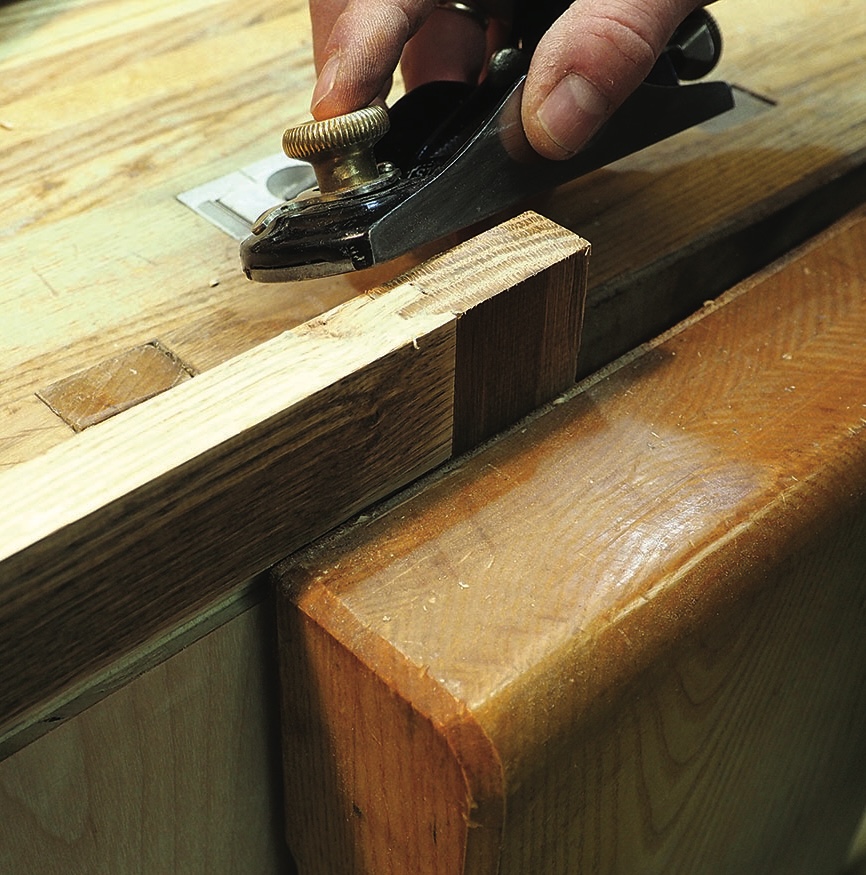
15. Glue the frame together and clean up the joint ends and edges with a block plane
Unfinished wooden cabinet door with dark rustic frame
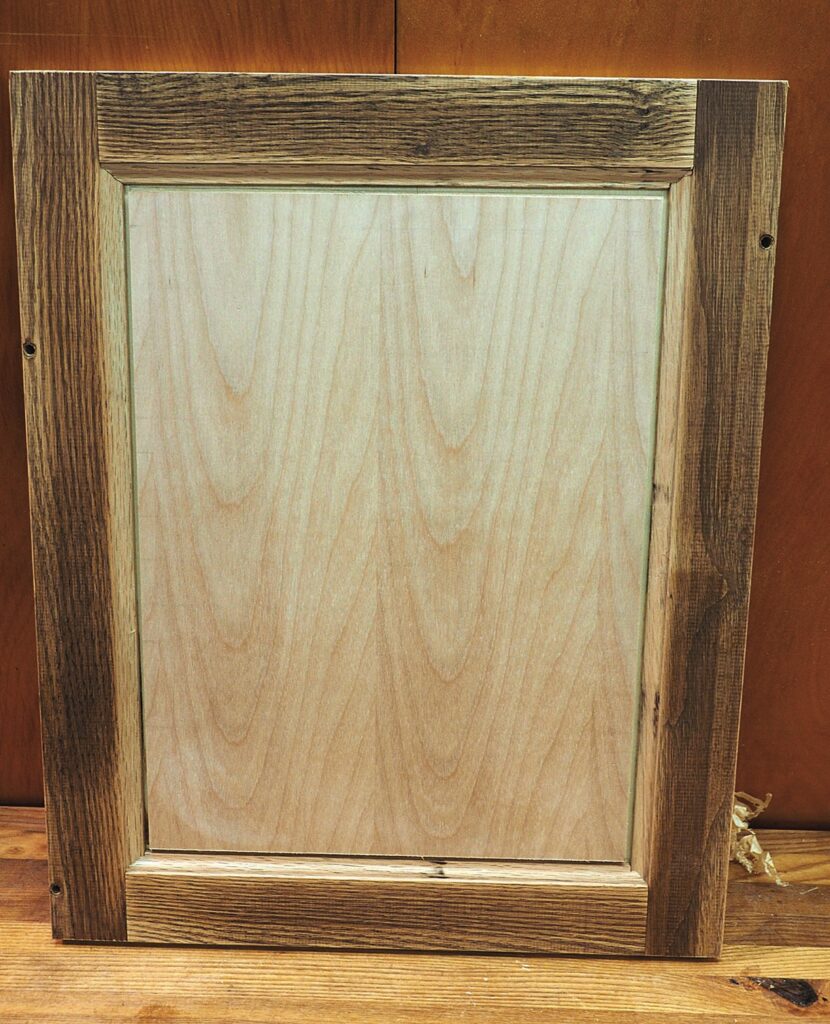
16. Now you are set to ‘cope’ with anything

Leave a Reply

Your email address will not be published. Required fields are marked *