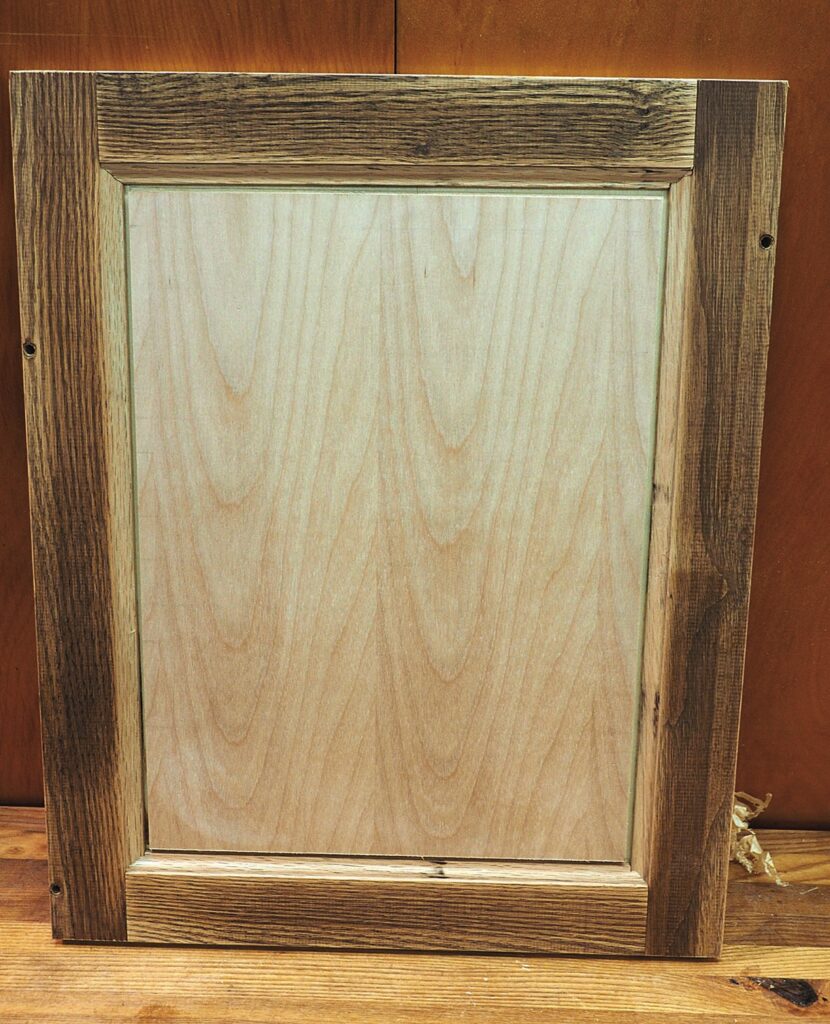
Michael T Collins shows us just how easy it is to make frame joints
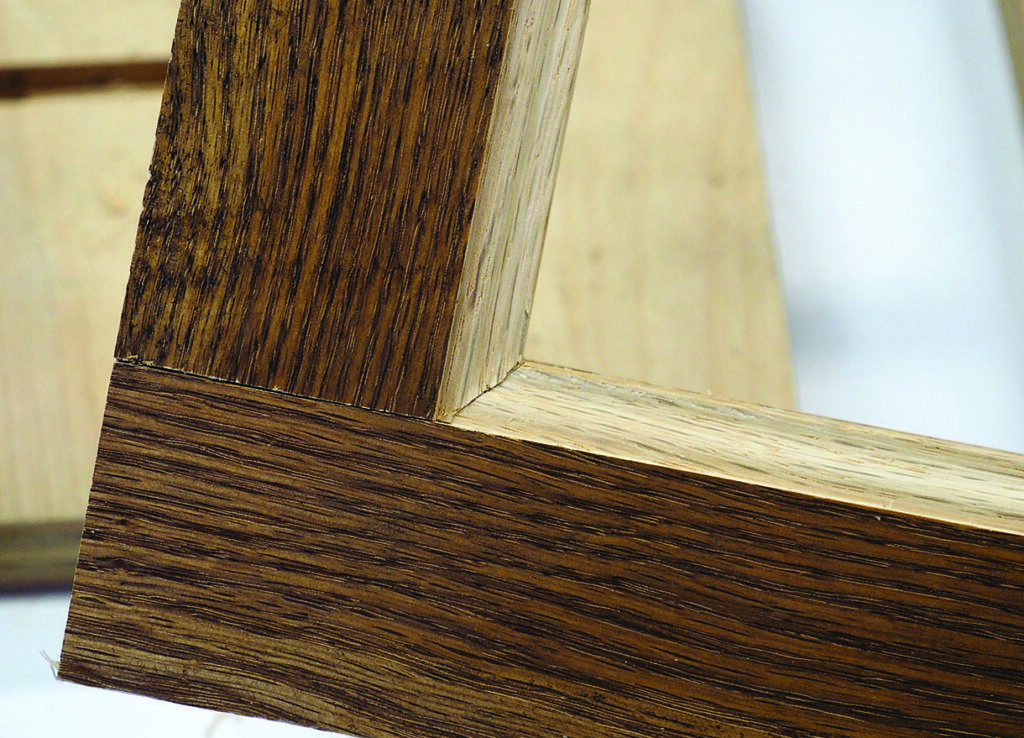
The term cope is probably familiar to you – it’s the term given when cutting crown moulding or skirting board profiles so that one piece perfectly matches the profile of the other intersecting piece. Typically this profile is cut with a coping saw.
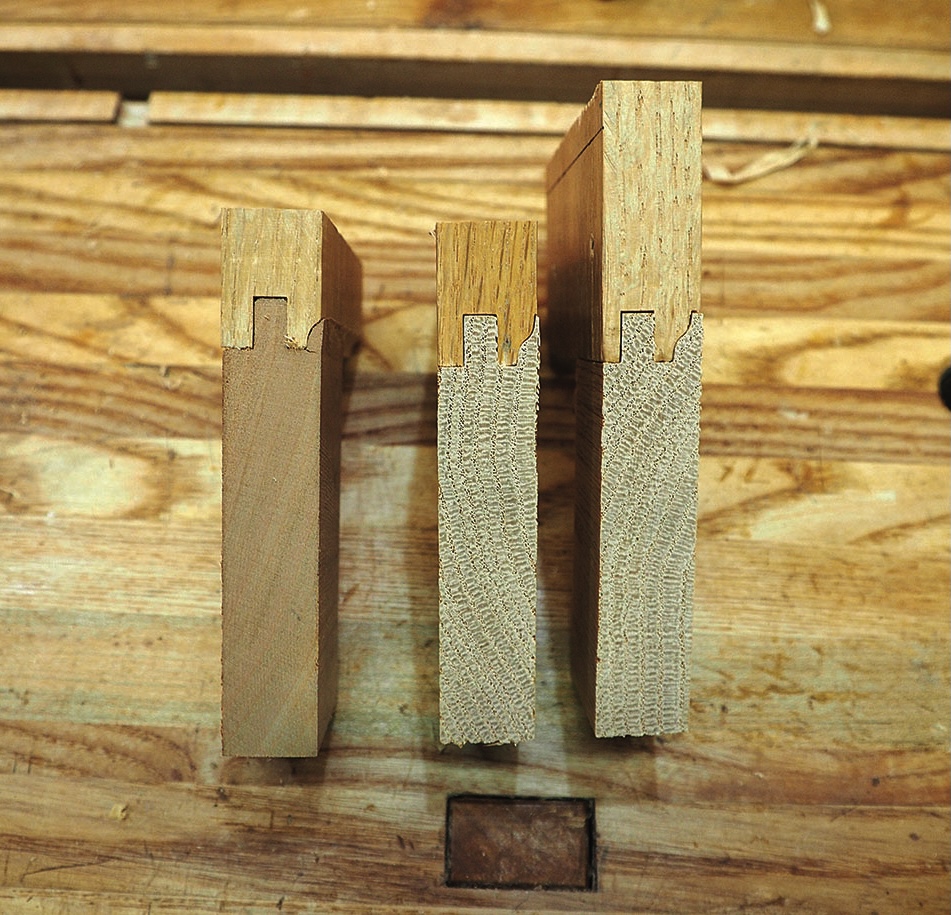
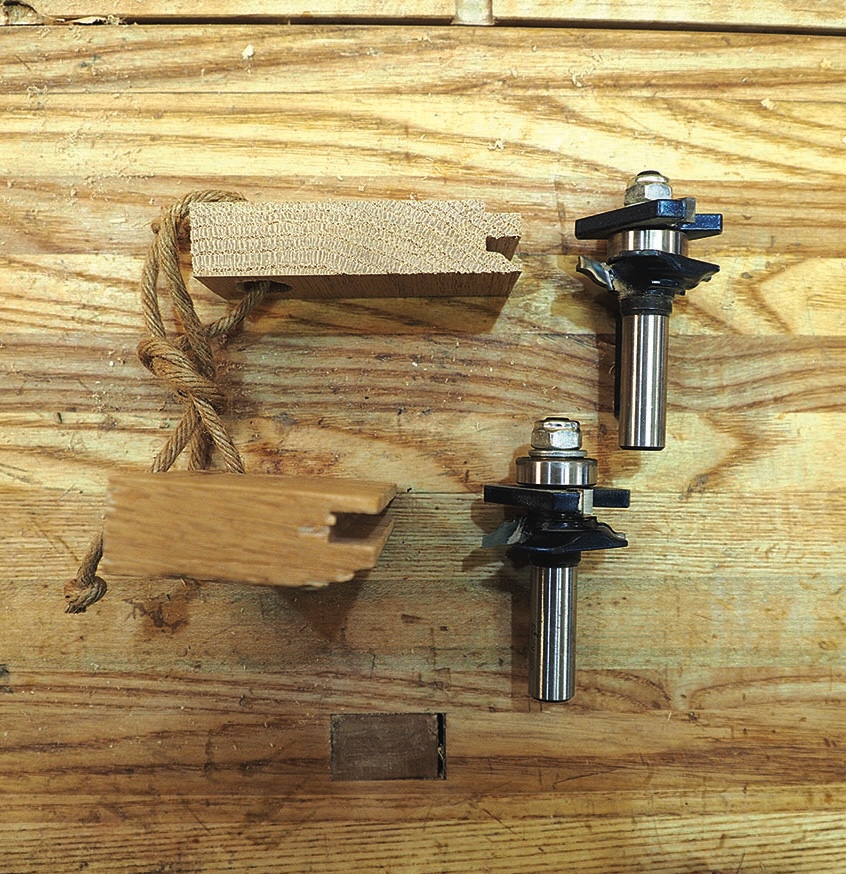
Cope and stick construction is a technique used in making panel doors and window frames. Rails and stiles are given a decorative profile, using paired router bits. The cope and the stick are the names given to the two pieces of wood that are cut using a router bit so that a smooth, perfectly fitting joint is created.
Joiners refer to the moulded edge along the inside of a door or window frame as the stick. While a decorative type of edge is more appealing than a square edge, it creates a technical problem that requires joining moulded profiles at the corners. This is where the cope comes into play. The cope is the recessed complementary cut that is added to the opposite edge so the stick can be seamlessly joined, creating a much more ornate design. The greatest advantage, however, is the strength and tight-fitting durability that this technique achieves.
I can hear you asking: ‘Why wouldn’t you just make a panel door using bridle joints or mortise and tenon. Wouldn’t that be just as strong?’ Well, yes it would, but, as mentioned earlier, if you wanted a decorative profile on the inside edge of multiple door frames, that would be quite a challenge to cut, making the cope
and stick a better, faster and more attractive option. The rails have a coped profile cut across the end grain that fits the profile of the stile. If you’re building cope and stick panels, it’s important to be able to accurately and safely cut the end grain.
So let’s make a coping sled
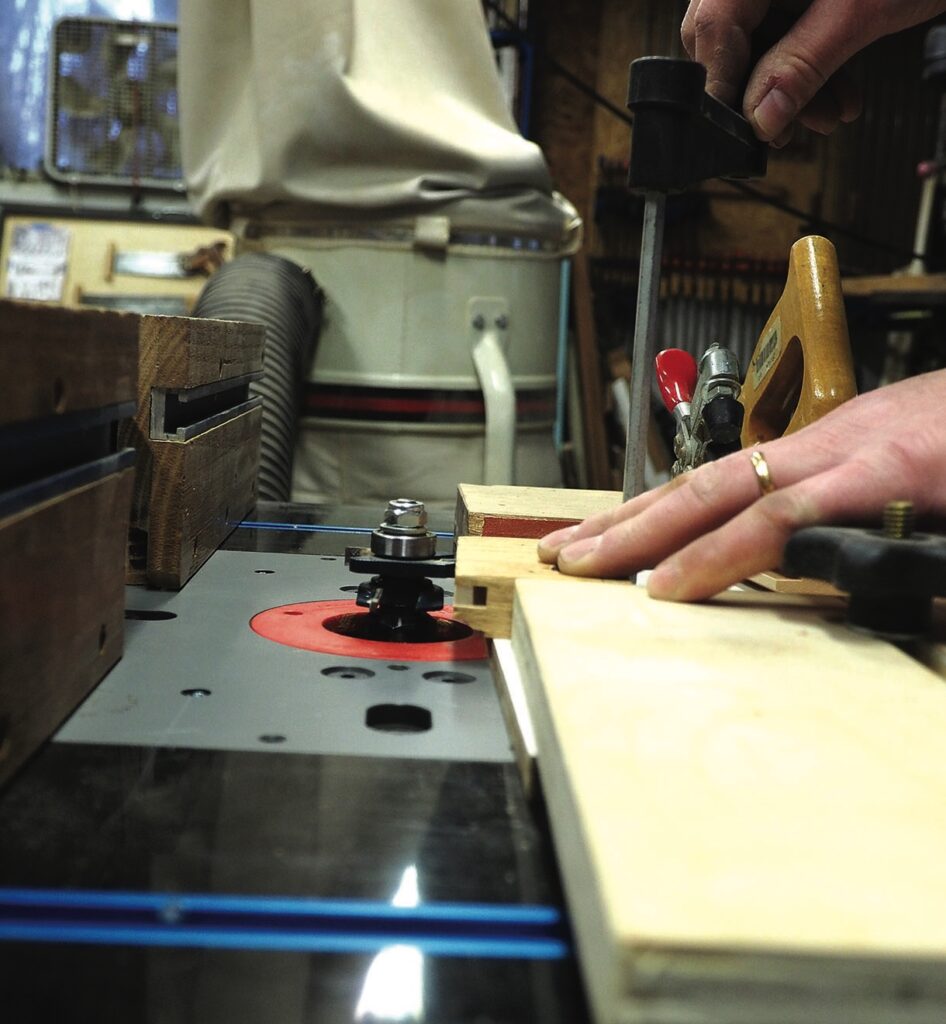
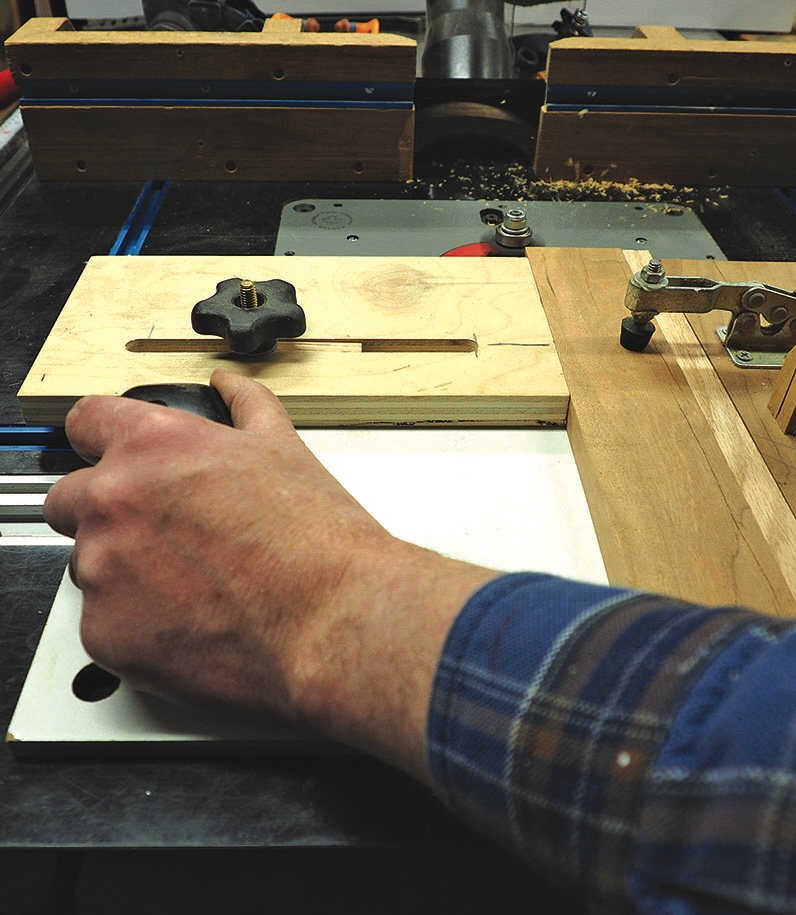
There are several expensive products on the market, but being known for frugality, here’s a quick and inexpensive way to create an adjustable coping sled using supplies and scraps you probably have laying around. It features a sturdy toggle clamp to hold parts firmly against a sacrificial block, thus preventing end-grain blowout, while an abrasive strip prevents the work piece from moving as you pass the bit for a clean, square cut. The sled keeps your hands safely out of harm’s way with two large handles. This jig uses the mitre slot for smooth action.
Materials and tools
• 1 piece of 400 x 360 x 9mm birch ply or Formica for the sled (something that is stable)
• 2 pieces of wood 230 x 120 x 19mm
• 1 toggle clamp
• 1 T-bolt (or toilet bolt)
• 1 star knob or wing nut
• 1 old plane or saw handle
• 1 old plane tote or door handle (in my example I have used an old router handle)
• 1 piece of 19 x 9mm hard wood to act as a runner
Construction
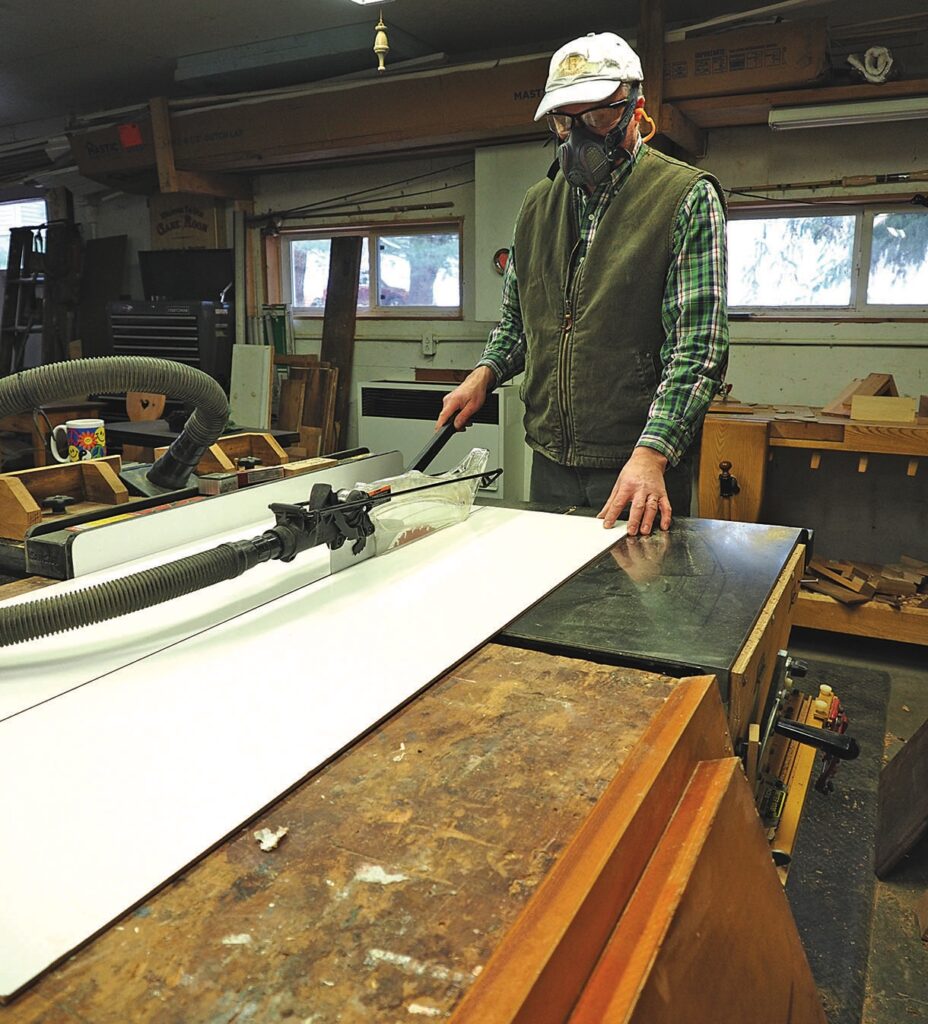
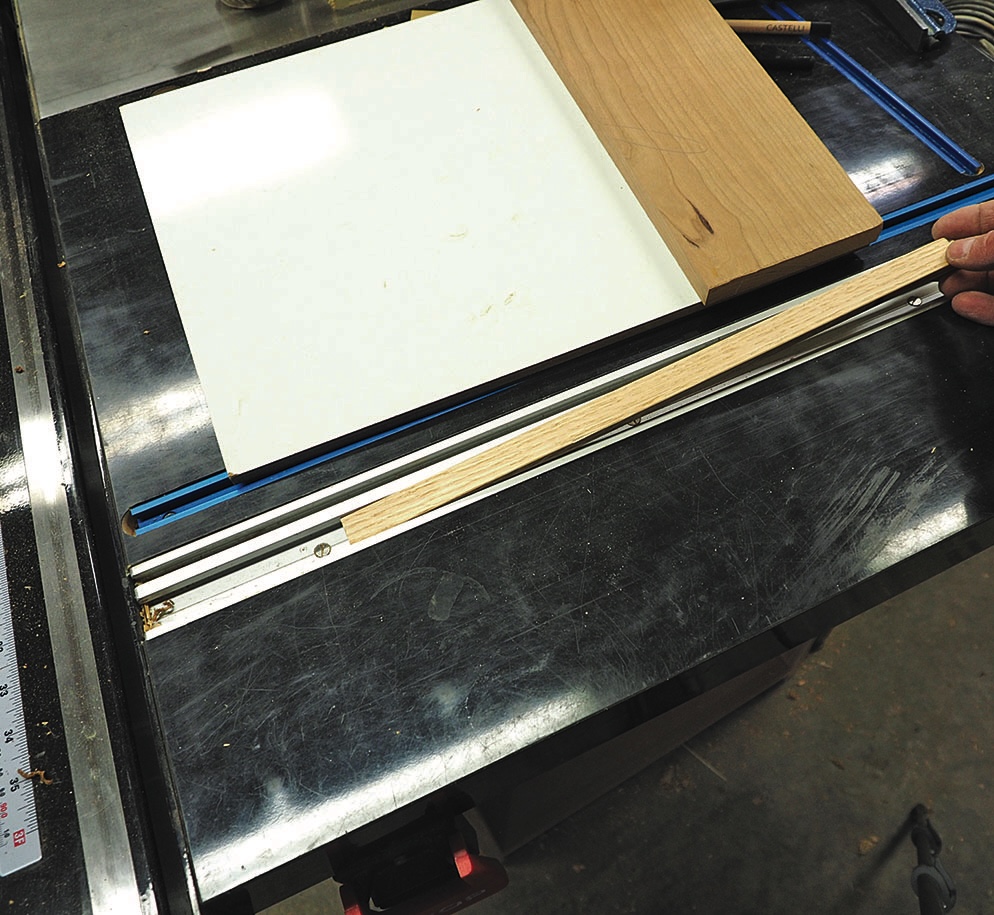
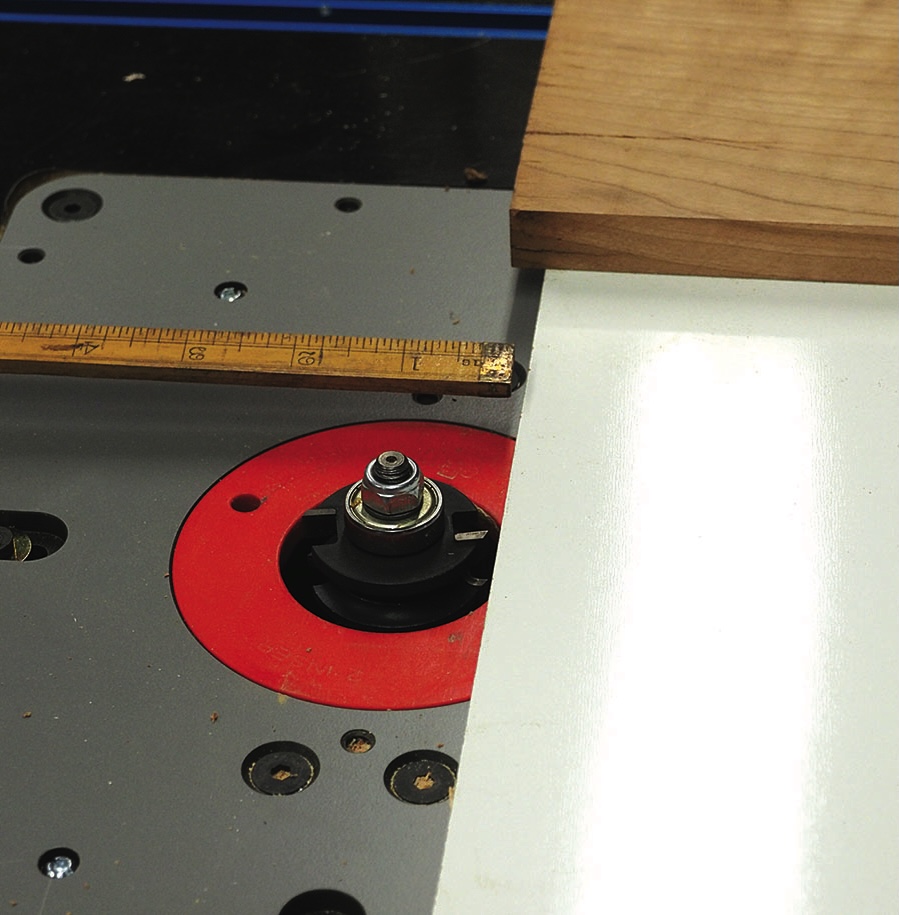
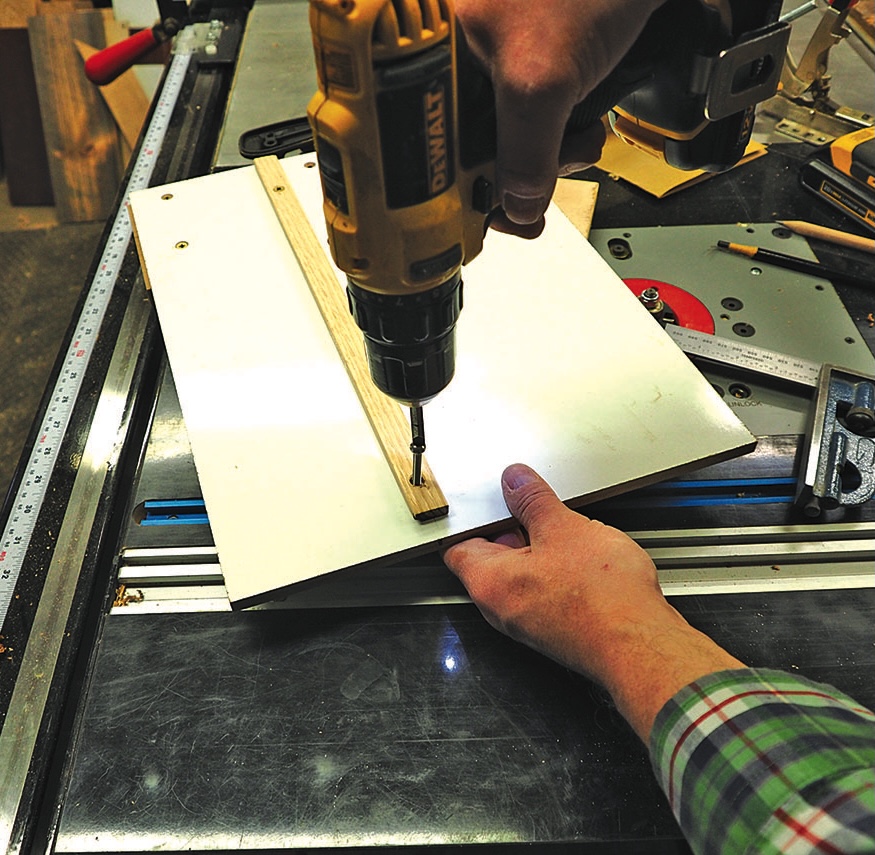
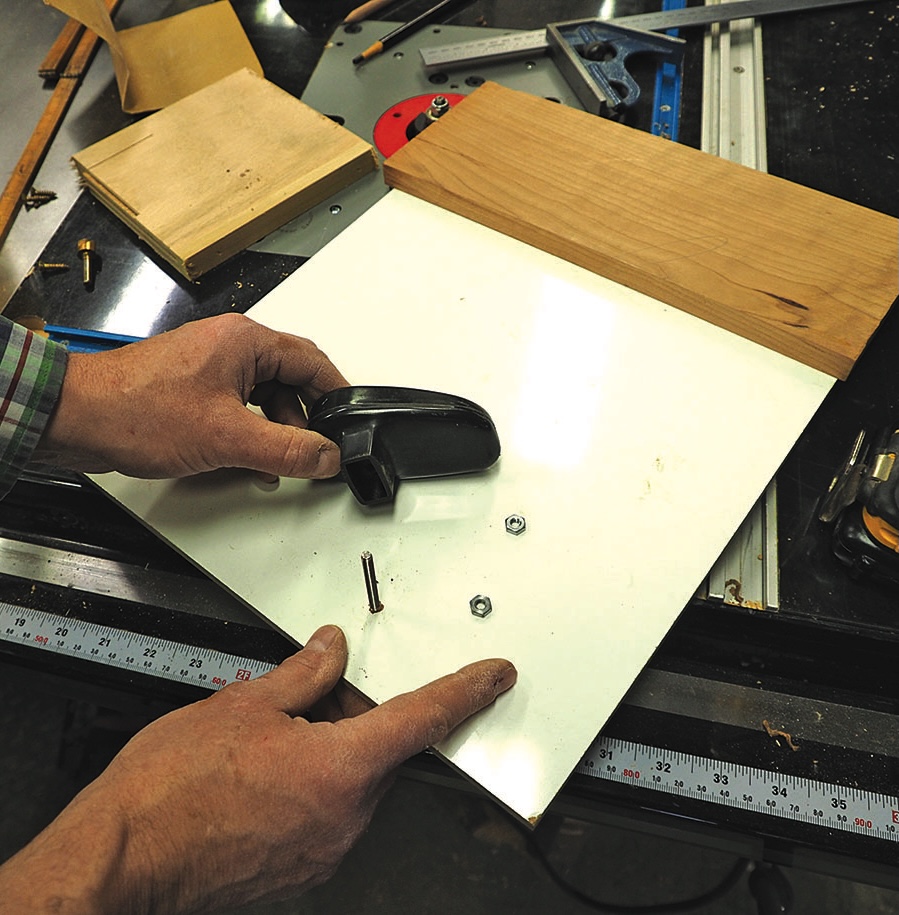
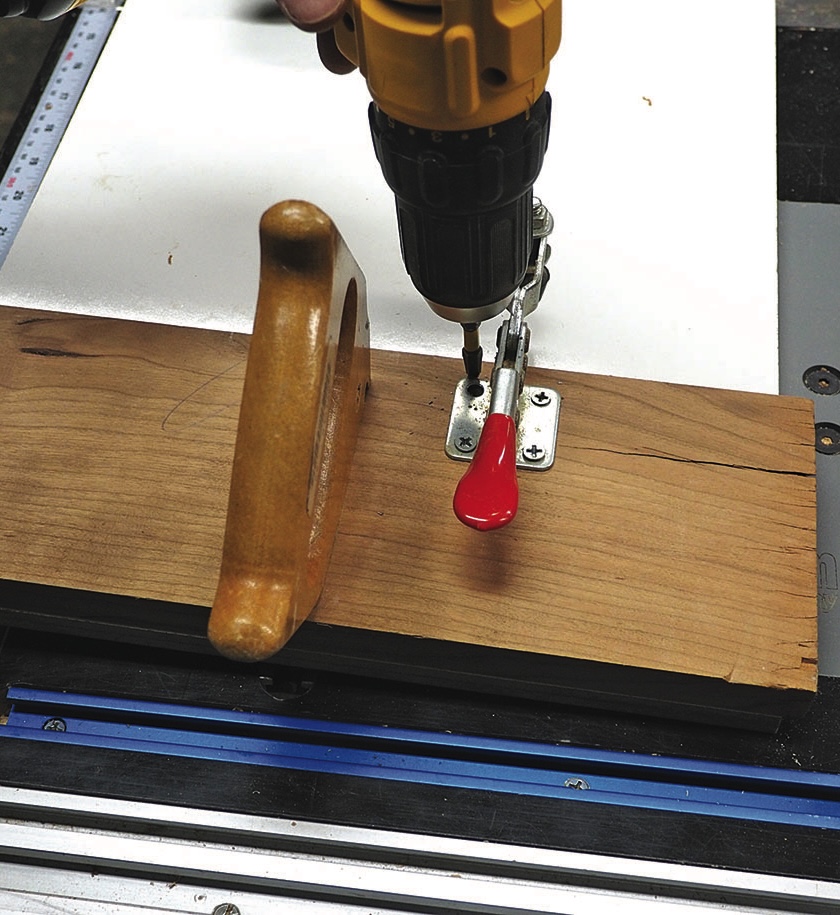
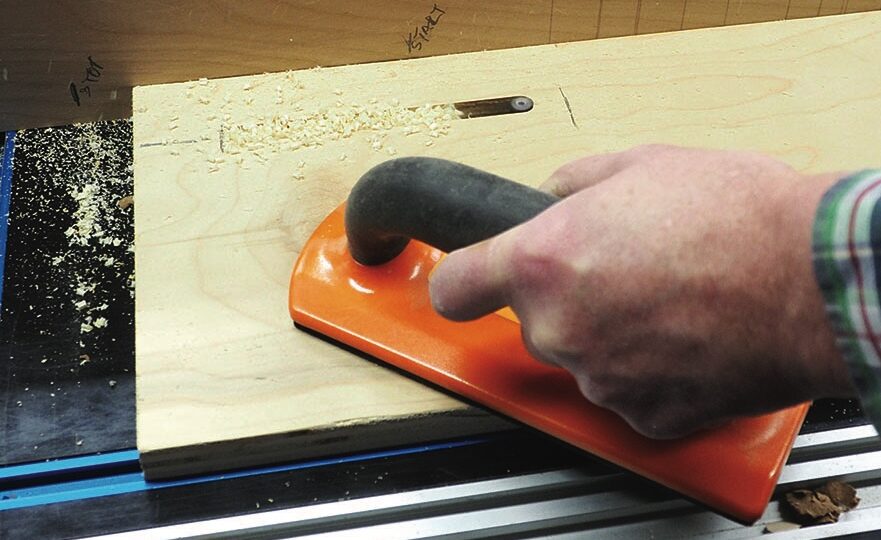
Using the sled to make a panel door
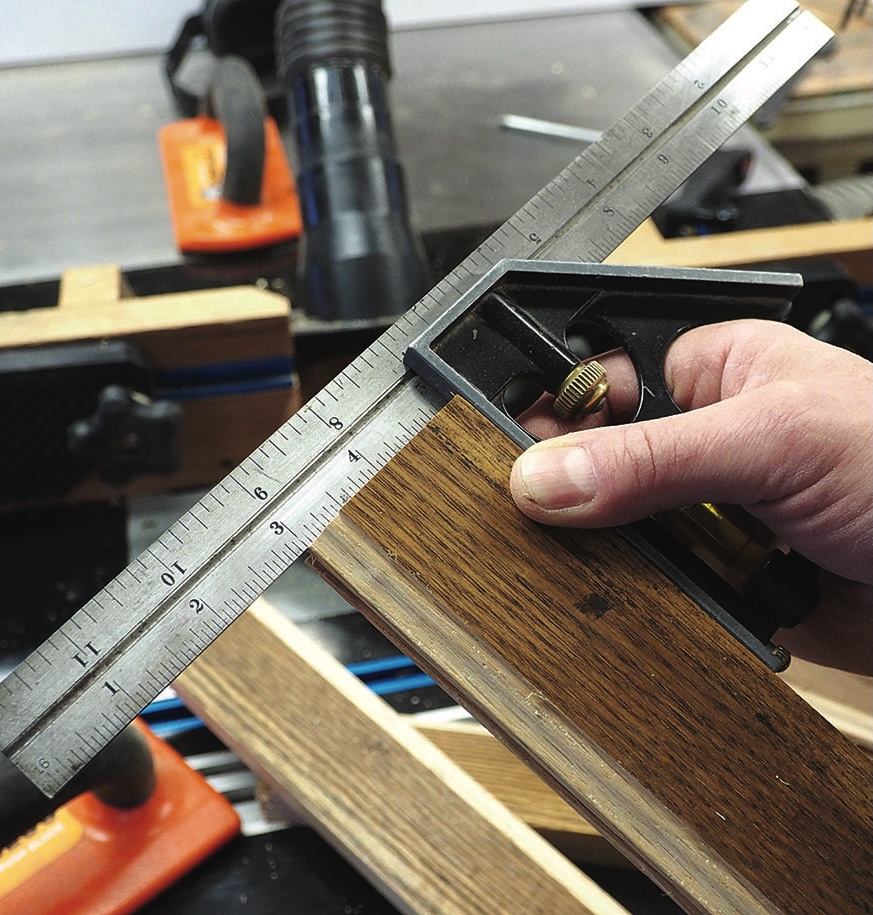
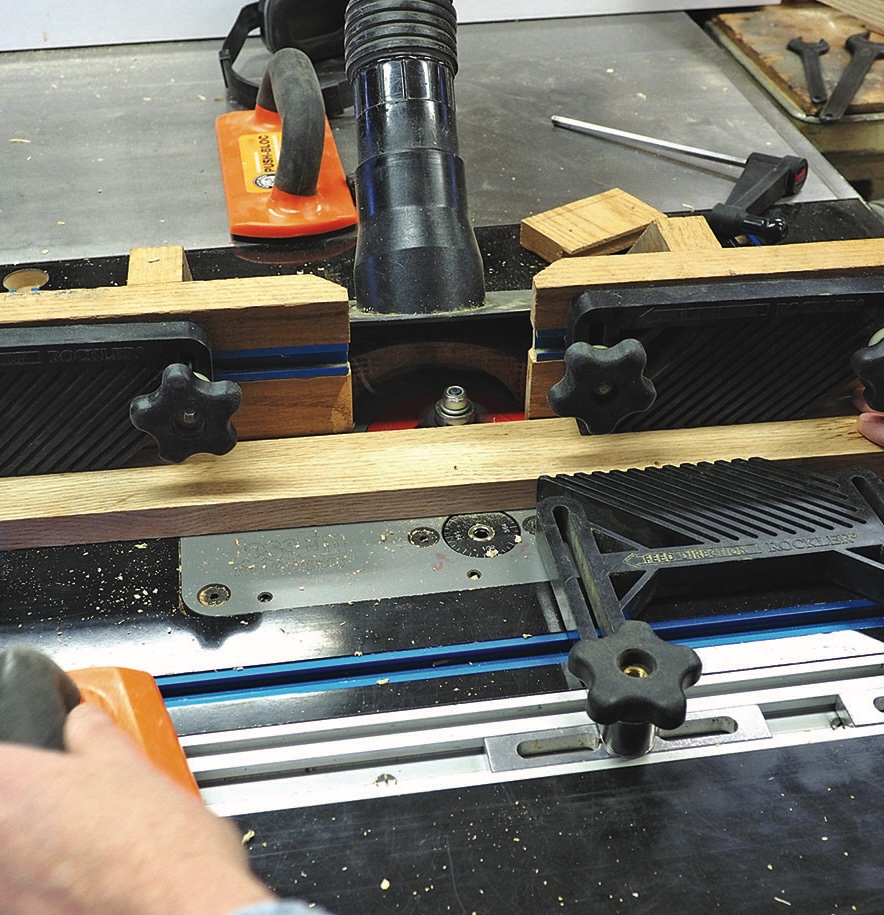
Routing the stiles