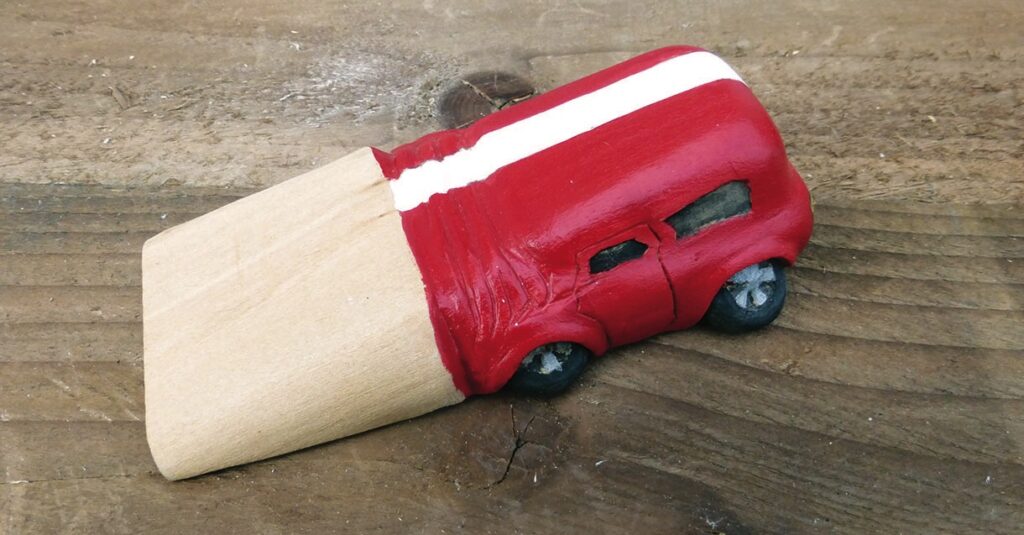
Peter Benson looks at carving a humorous and quirky doorstop
Two of the most irritating sounds in a household are a tap that is constantly dripping and a door that is ajar and keeps banging with each slight hint of a draught or breeze. We can’t do anything about the tap here, but we can help with a noisy door. The easiest way to do this is to use a door wedge that can hold the door in whatever position you desire.
The concept
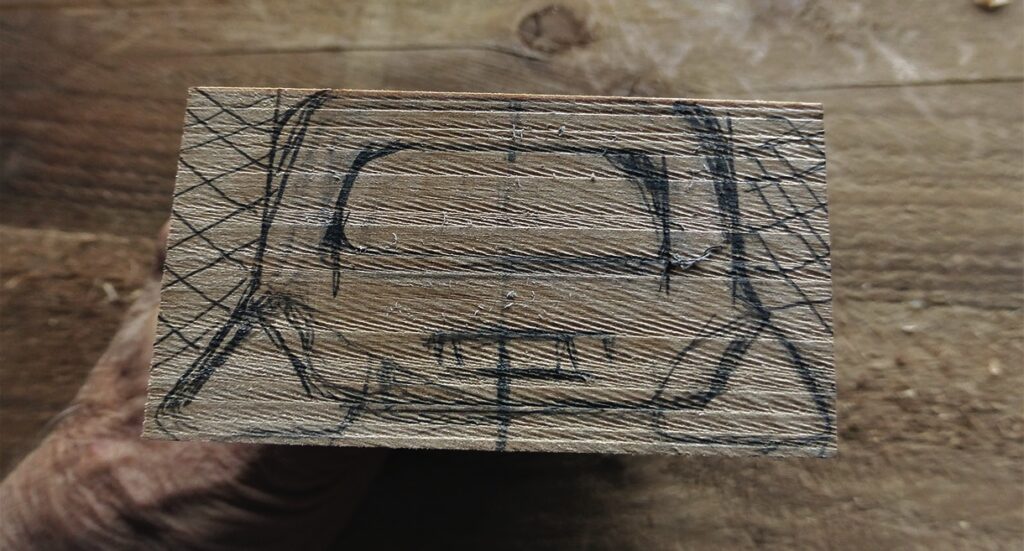
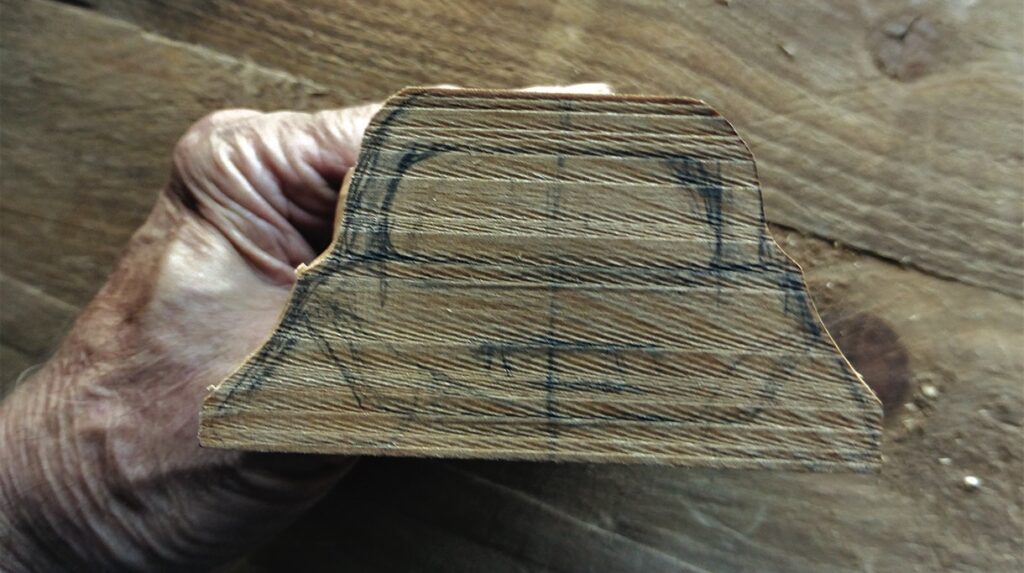
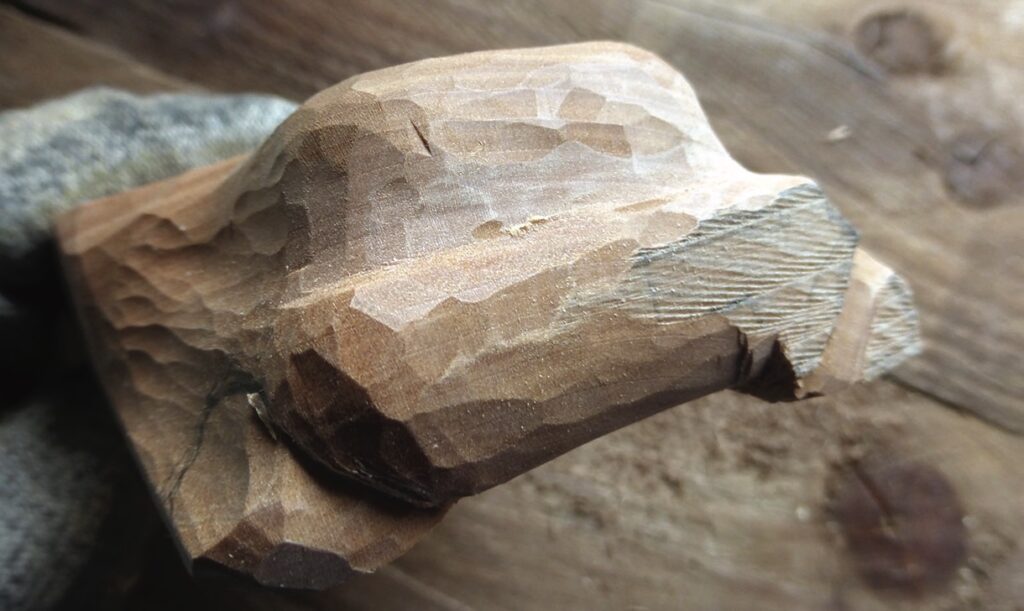
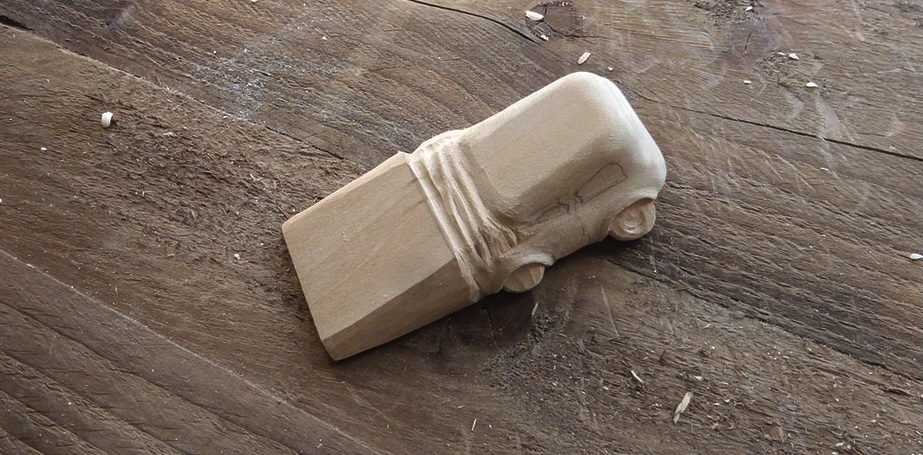
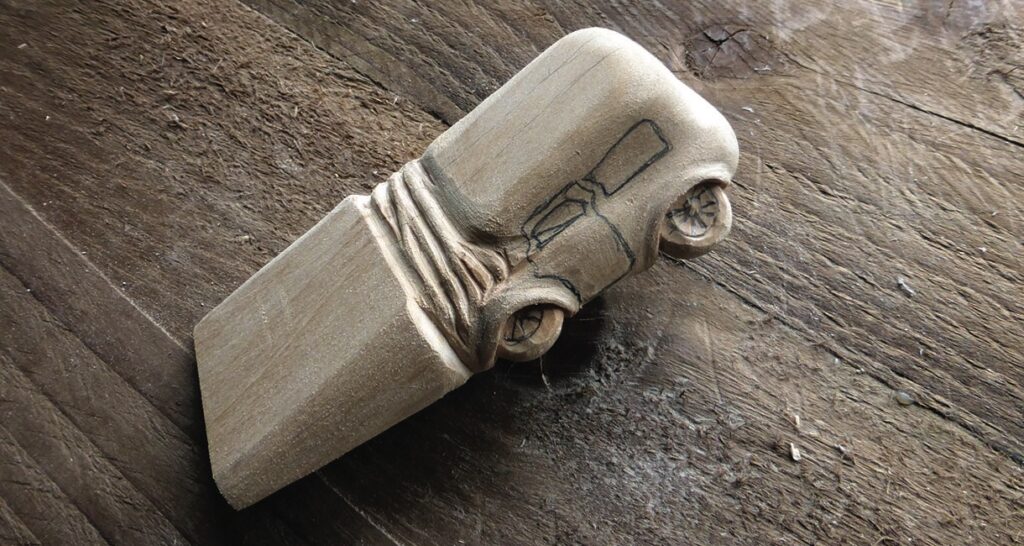
From the design point of view, as long as the wedge will fit under the door, you can add whatever you like to make it more attractive. As long as the wide end is larger than the gap under the door and there is a wedge shape, anything goes. Usually something is added to the top of the wedge, perhaps a mouse or frog or something similar, but this requires a piece of wood that is quite thick and this is not always available. I have chosen a car disappearing under the door so you could start with that and then find a design of your own.
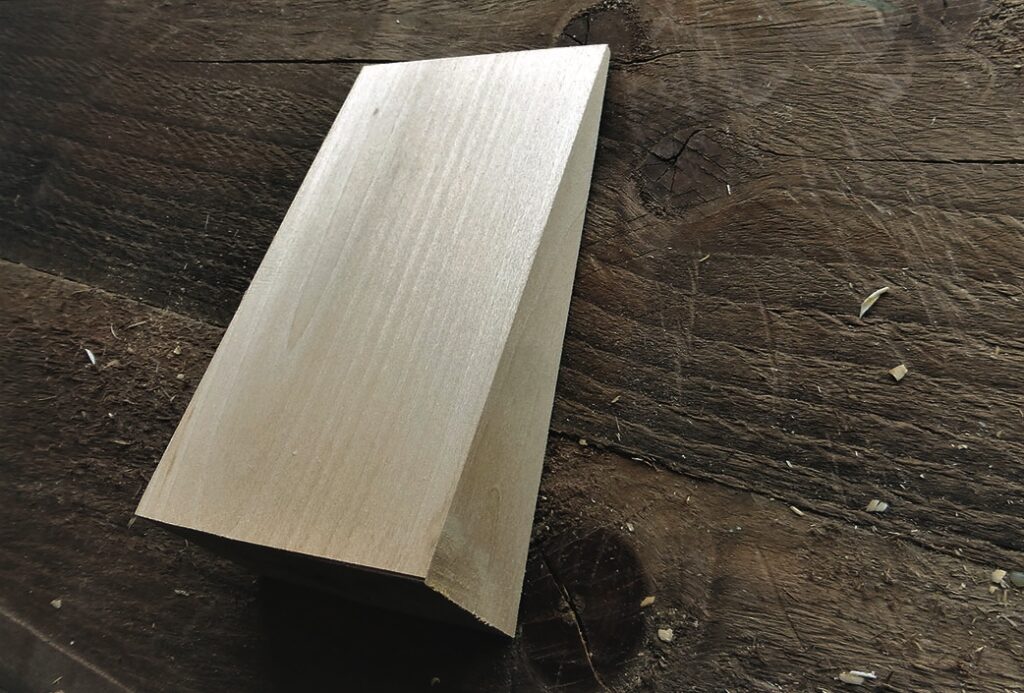
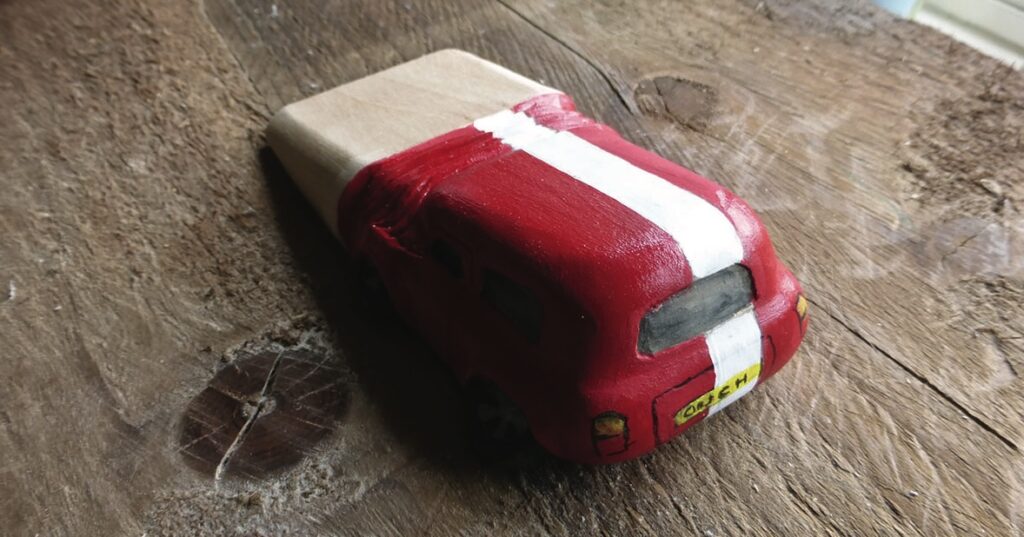
I have used a piece of lime (Tilia europea) 75mm wide, 40mm thick and 140mm long, tapering along its length. Your sizes may, of course, vary. So, before you start on this project you need to look at the door for which it is intended as the distance from the bottom of the door to the floor can vary considerably from door to door. For this design to look right the blank part of the wedge needs to be hidden under the door. Measure the clearance between the door and the floor and cut your block so that this distance is the same as the thickness of the block approximately halfway along its length. You can check this again later before you do any painting.
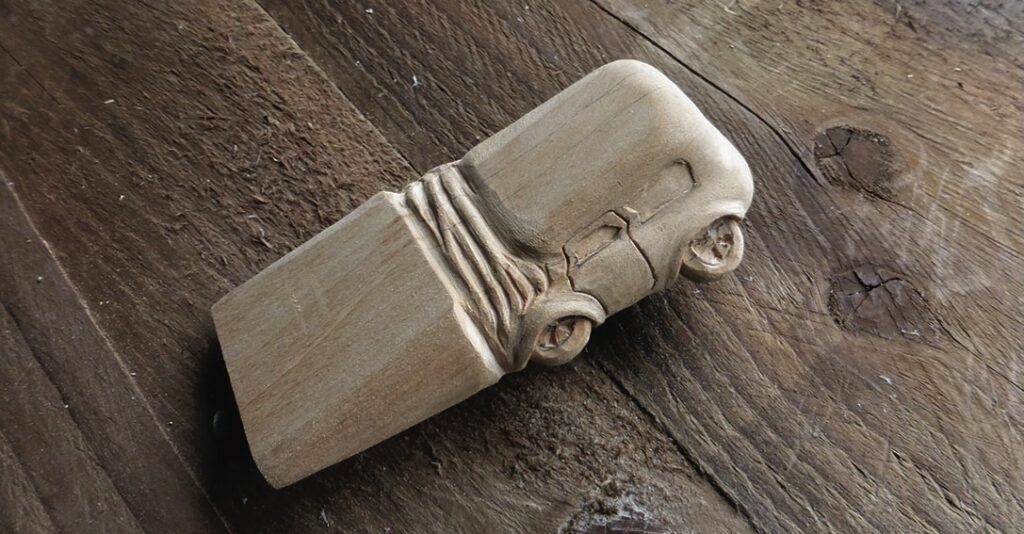
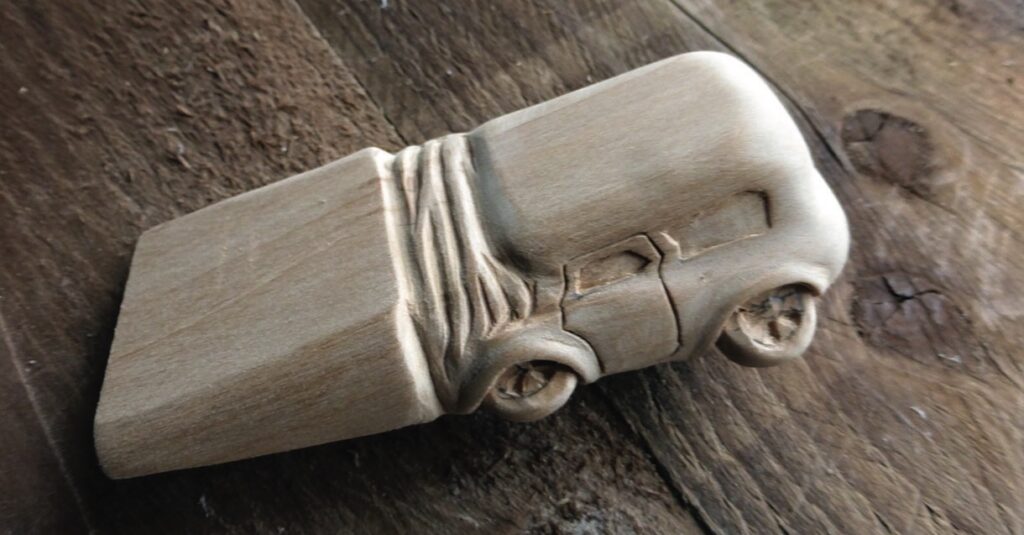
There is a wide range of variations that you can include in this project. The one shown is pretty basic and simple with a minimum of detail for someone who would like a quick project. For the more adventurous carvers amongst you, a more careful study of a particular car model and the detail involved can make the whole project much more personal and can make a gift with a difference.
Alternatively, if you are not into cars, why not carve a wedge to resemble a piece of cheese or even a slice of cake. The carving of these is very simple and you can really go to town on the painting. Carving doesn’t always have to be meaningful, it can just be fun – as in this project.
Things you will need
Tools:
• Personal and respiratory protective equipment
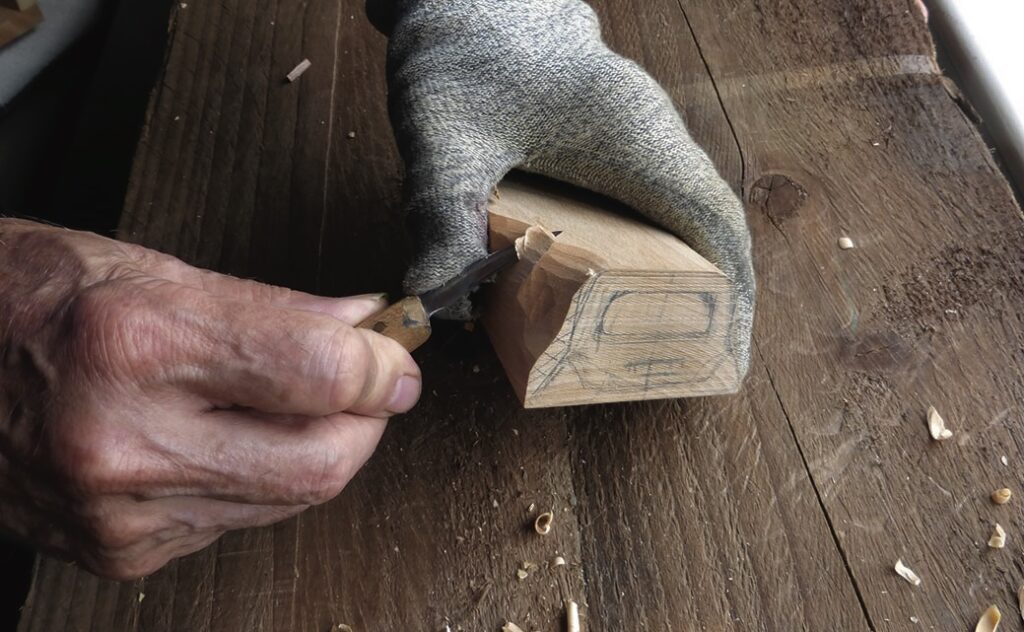
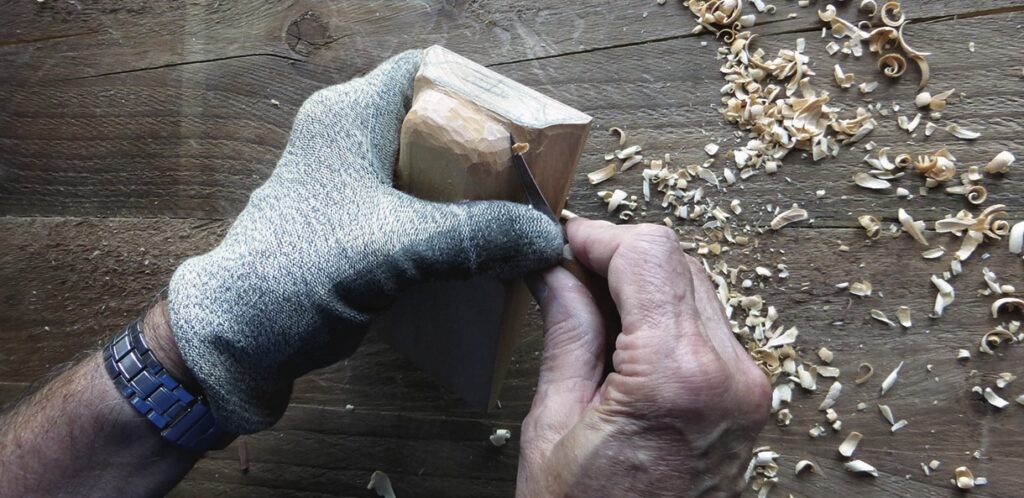
• Safety glove
• Knife
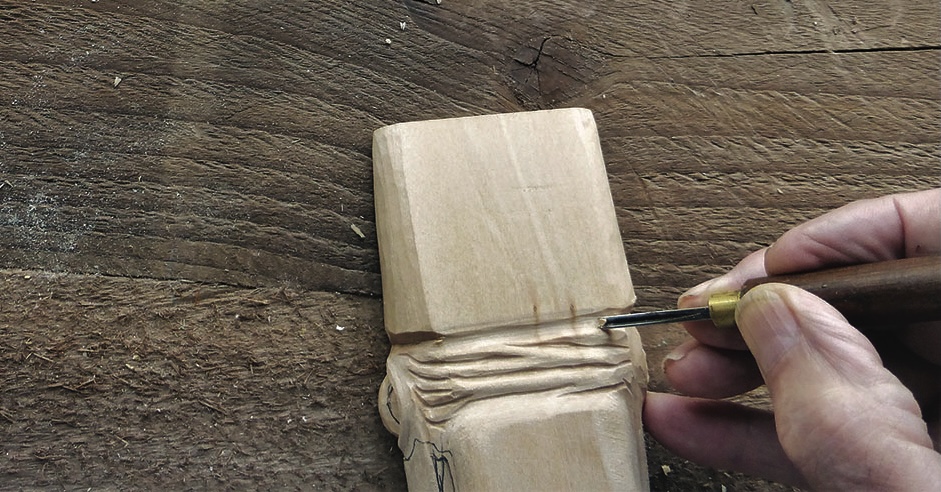
• No.5, 7 or 8mm
• No.3, 3mm
Materials:
• Lime (Tilia europea) 75 x 40 x 140mm (adjust for size required)
• Abrasives down to 240 grit
• Finishing paints of your choice
• Varnish
Drawing
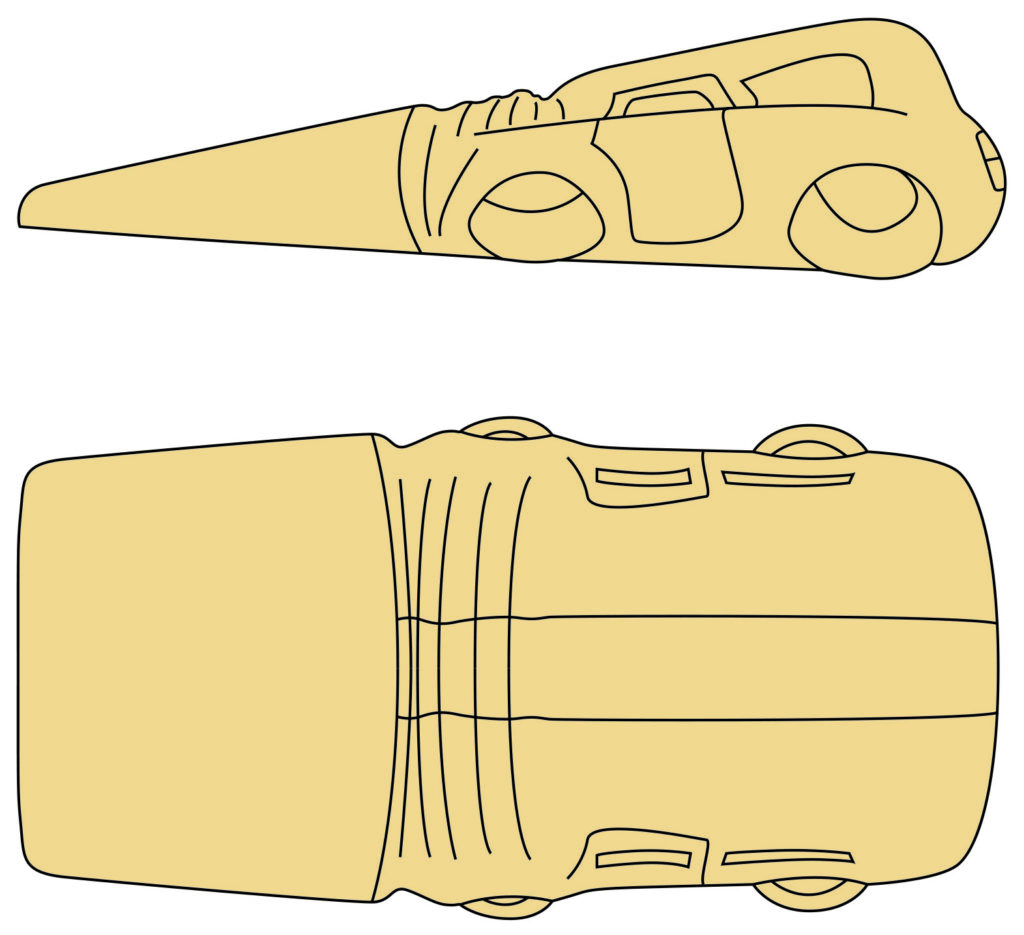
The project